Phase Five - the last, longest, and most difficult stretch of the game. Serpentshrine Cavern and Tempest Keep came close, but phase five (or, as it was, 2.4, the Fury of the Sunwell) was the hardest, wall-hittingest world of warcraft ever got for me. Even the drama with marbles at the end of phase one and beginning of phase two pales in comparison.
But that's another blog post. Today, we're talking about everything else that dropped with phase five. Much of the content released in phase five forms the blueprint for content outside of raids in future expansions.
That is to say, dailies.
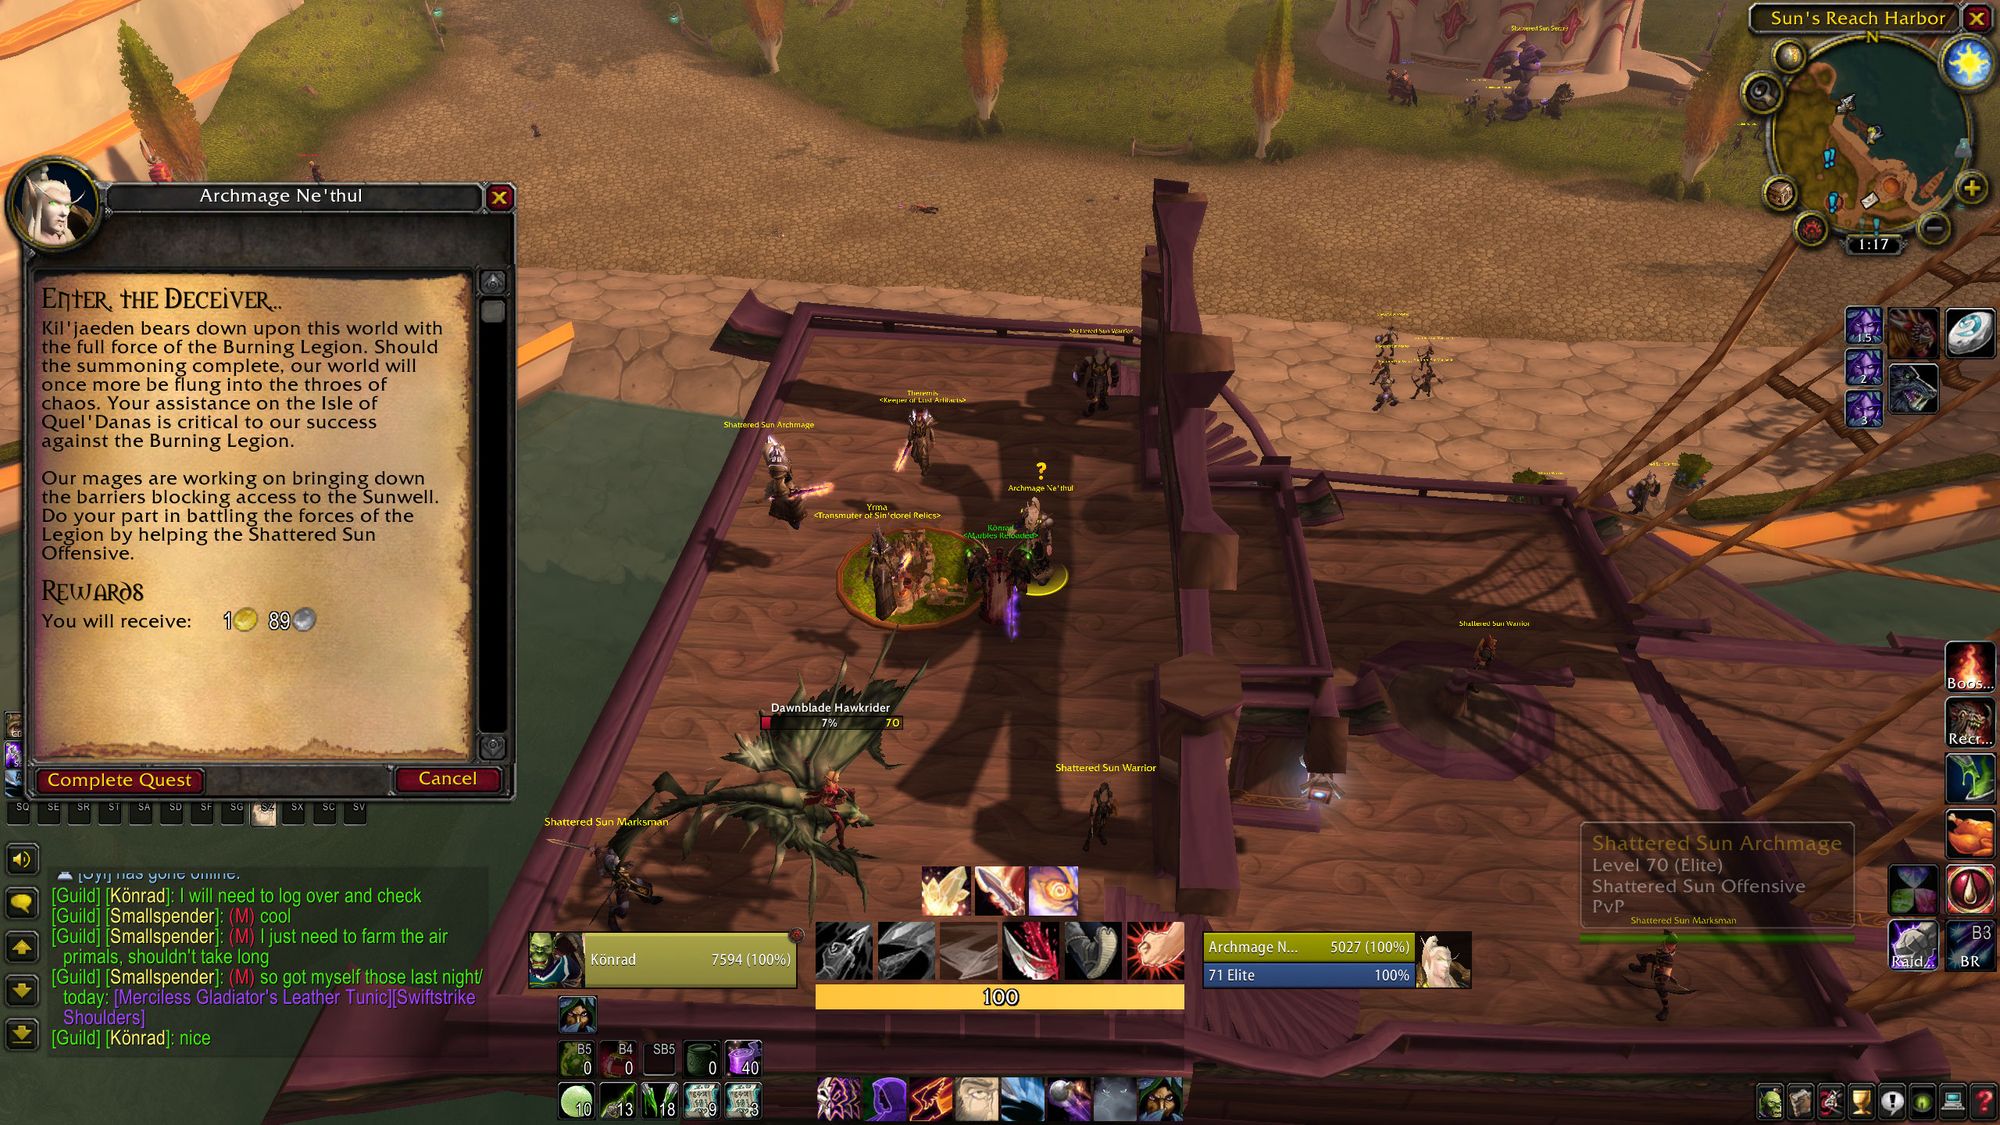
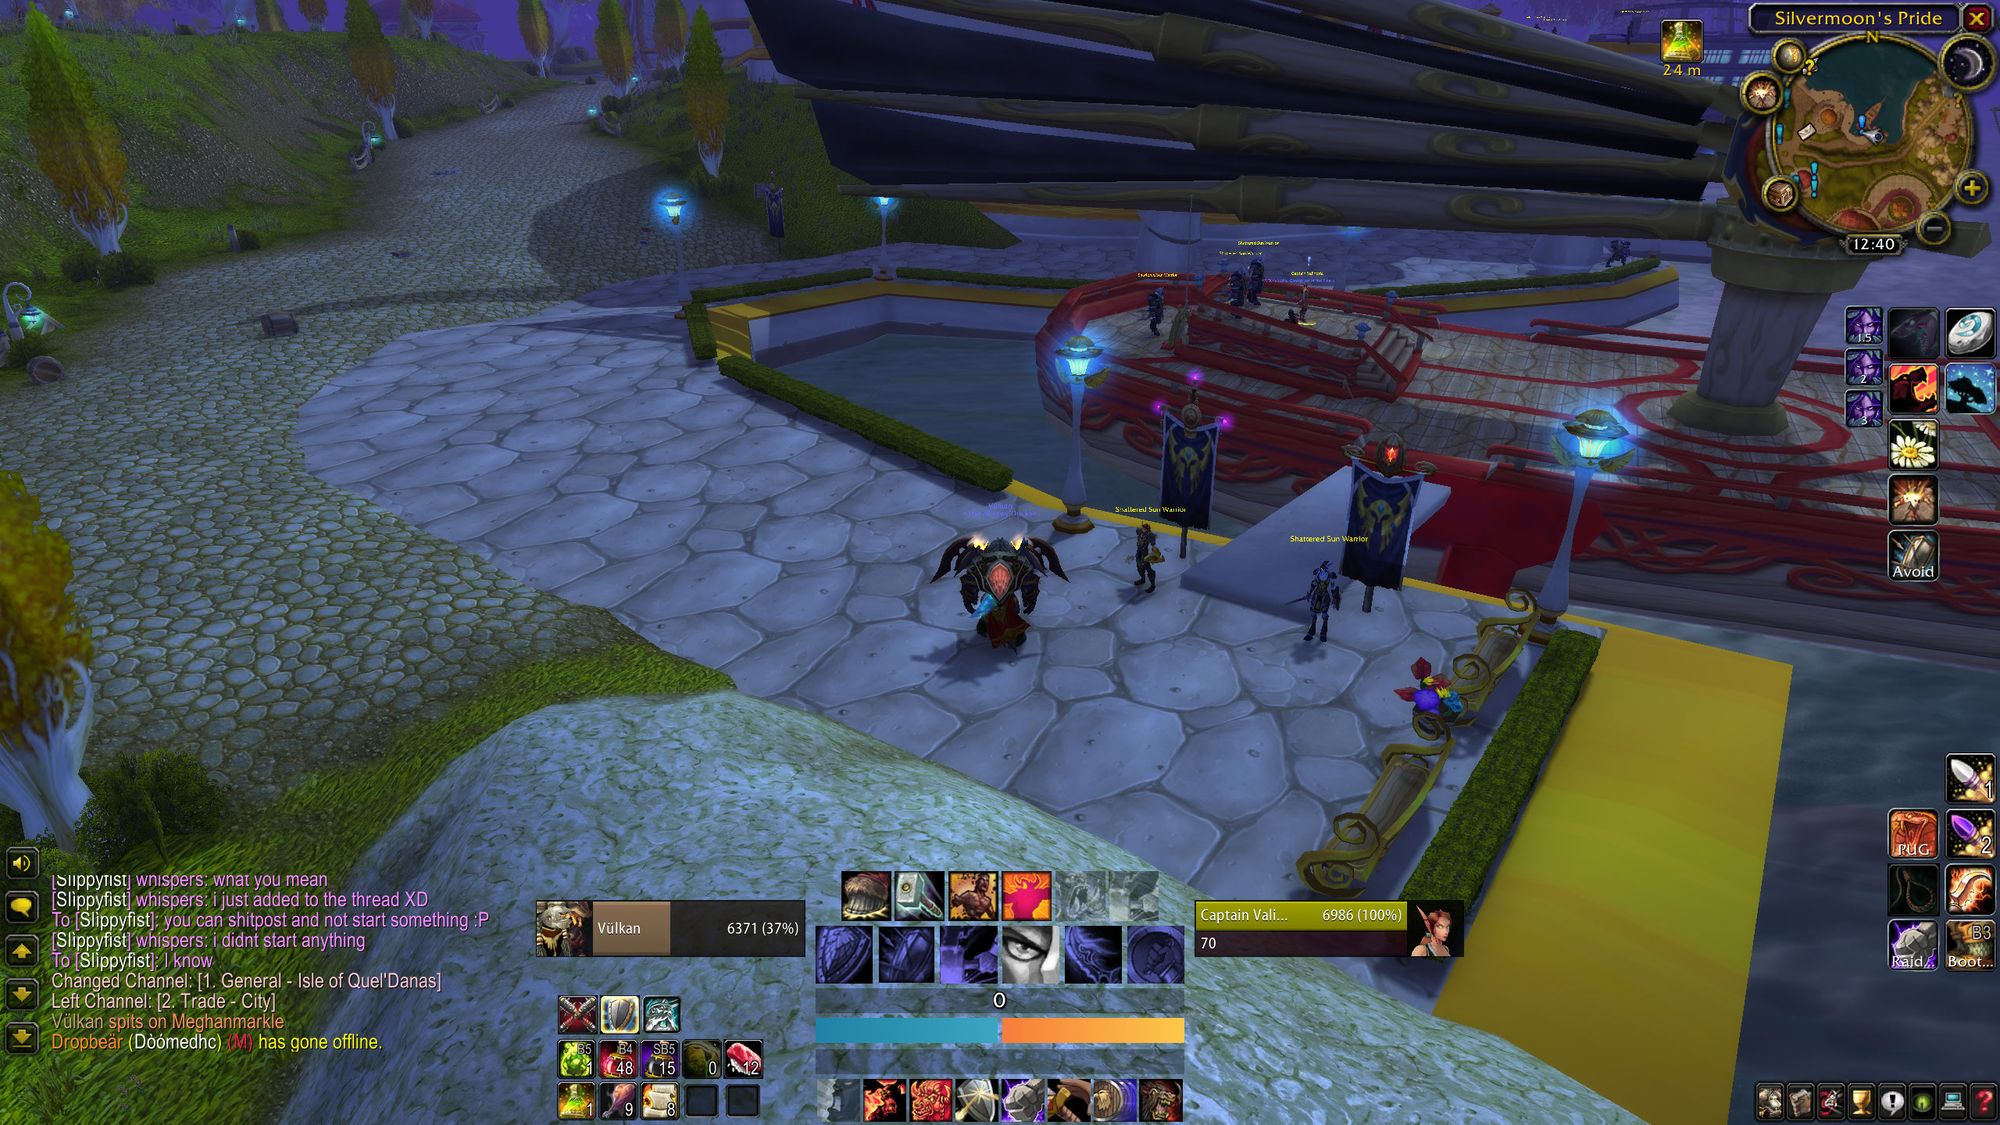
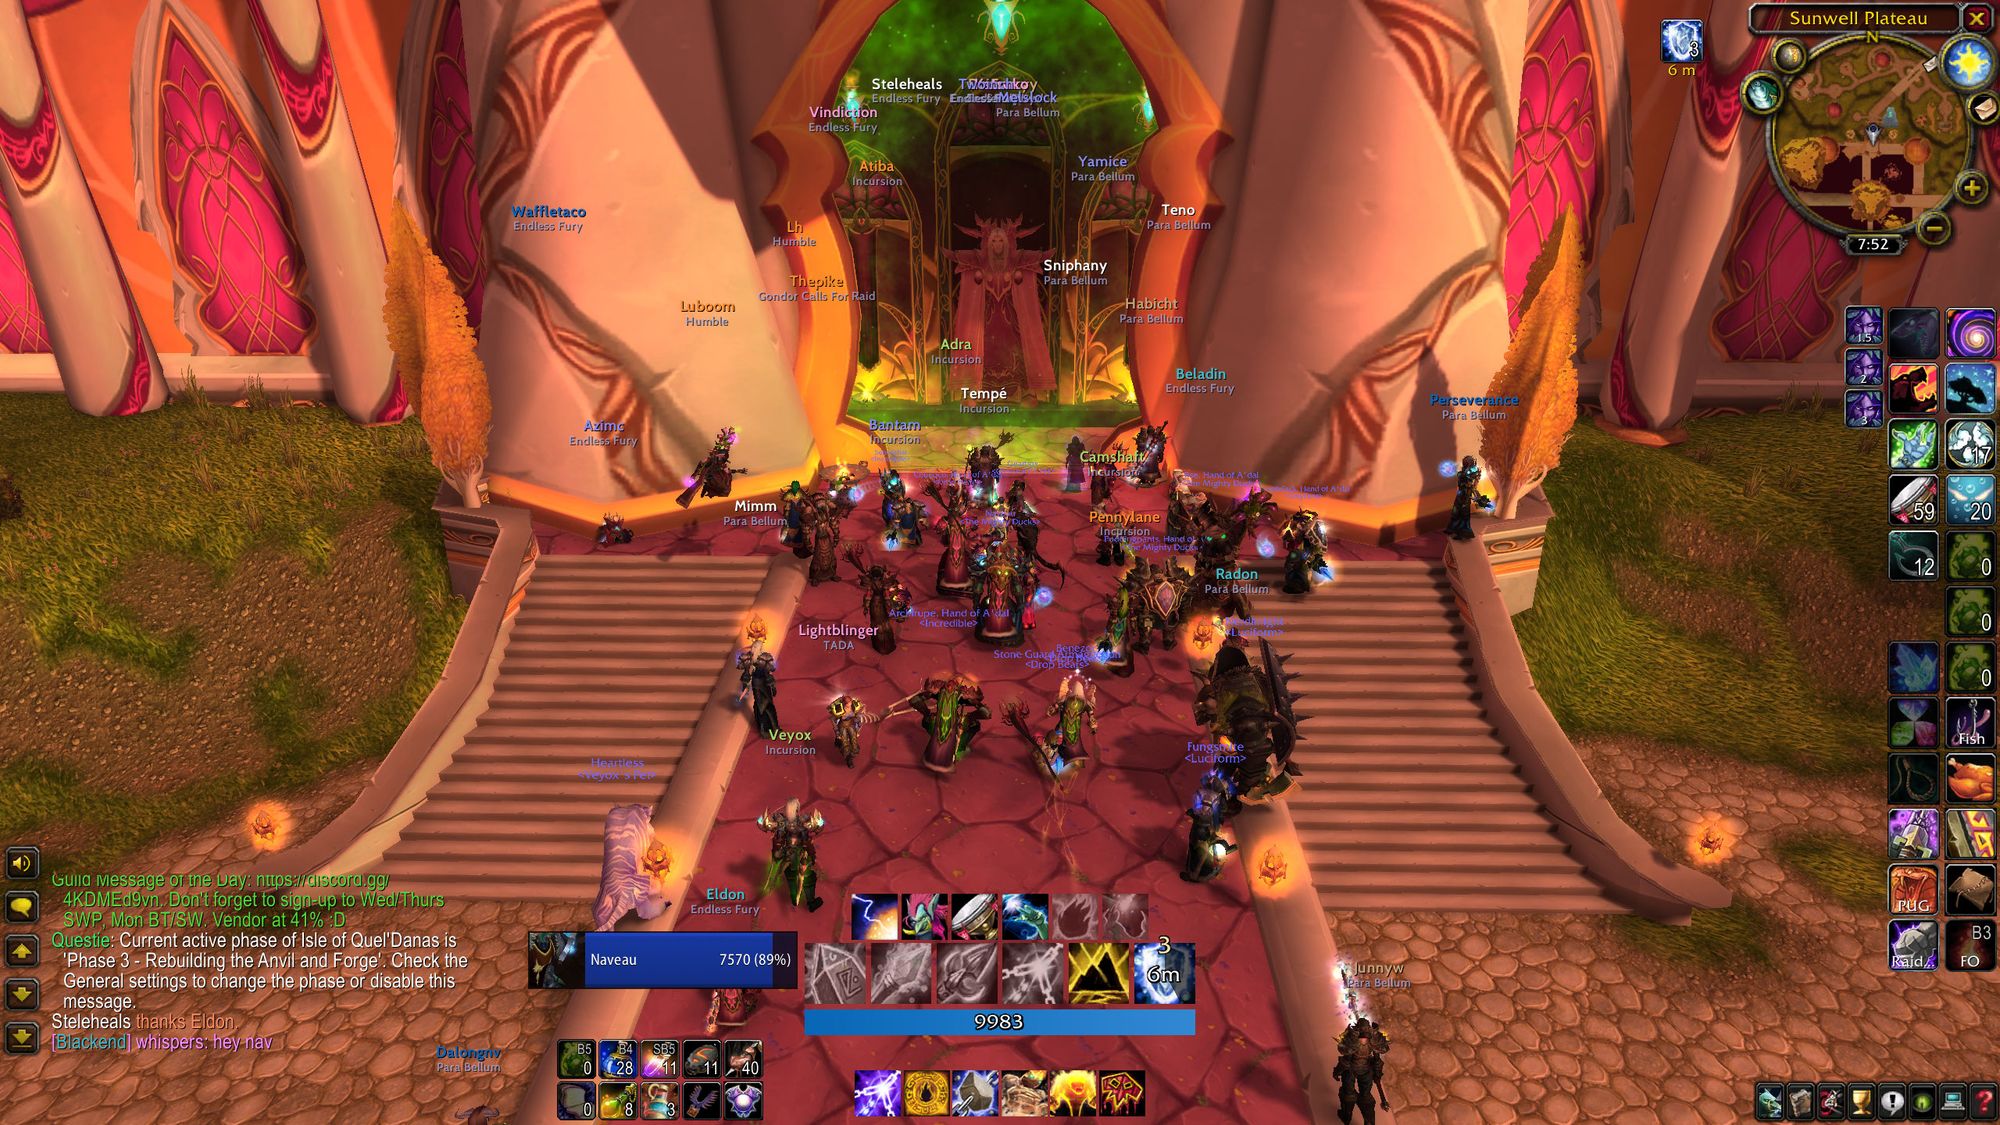
Before we get into that, phase five centers around a particular location, previously entirely inaccessible. The Isle of Quel'danas is now accessible, which is a small island and easily traversed with a fast mount. As it's in Azeroth, there's no flying mounts allowed.
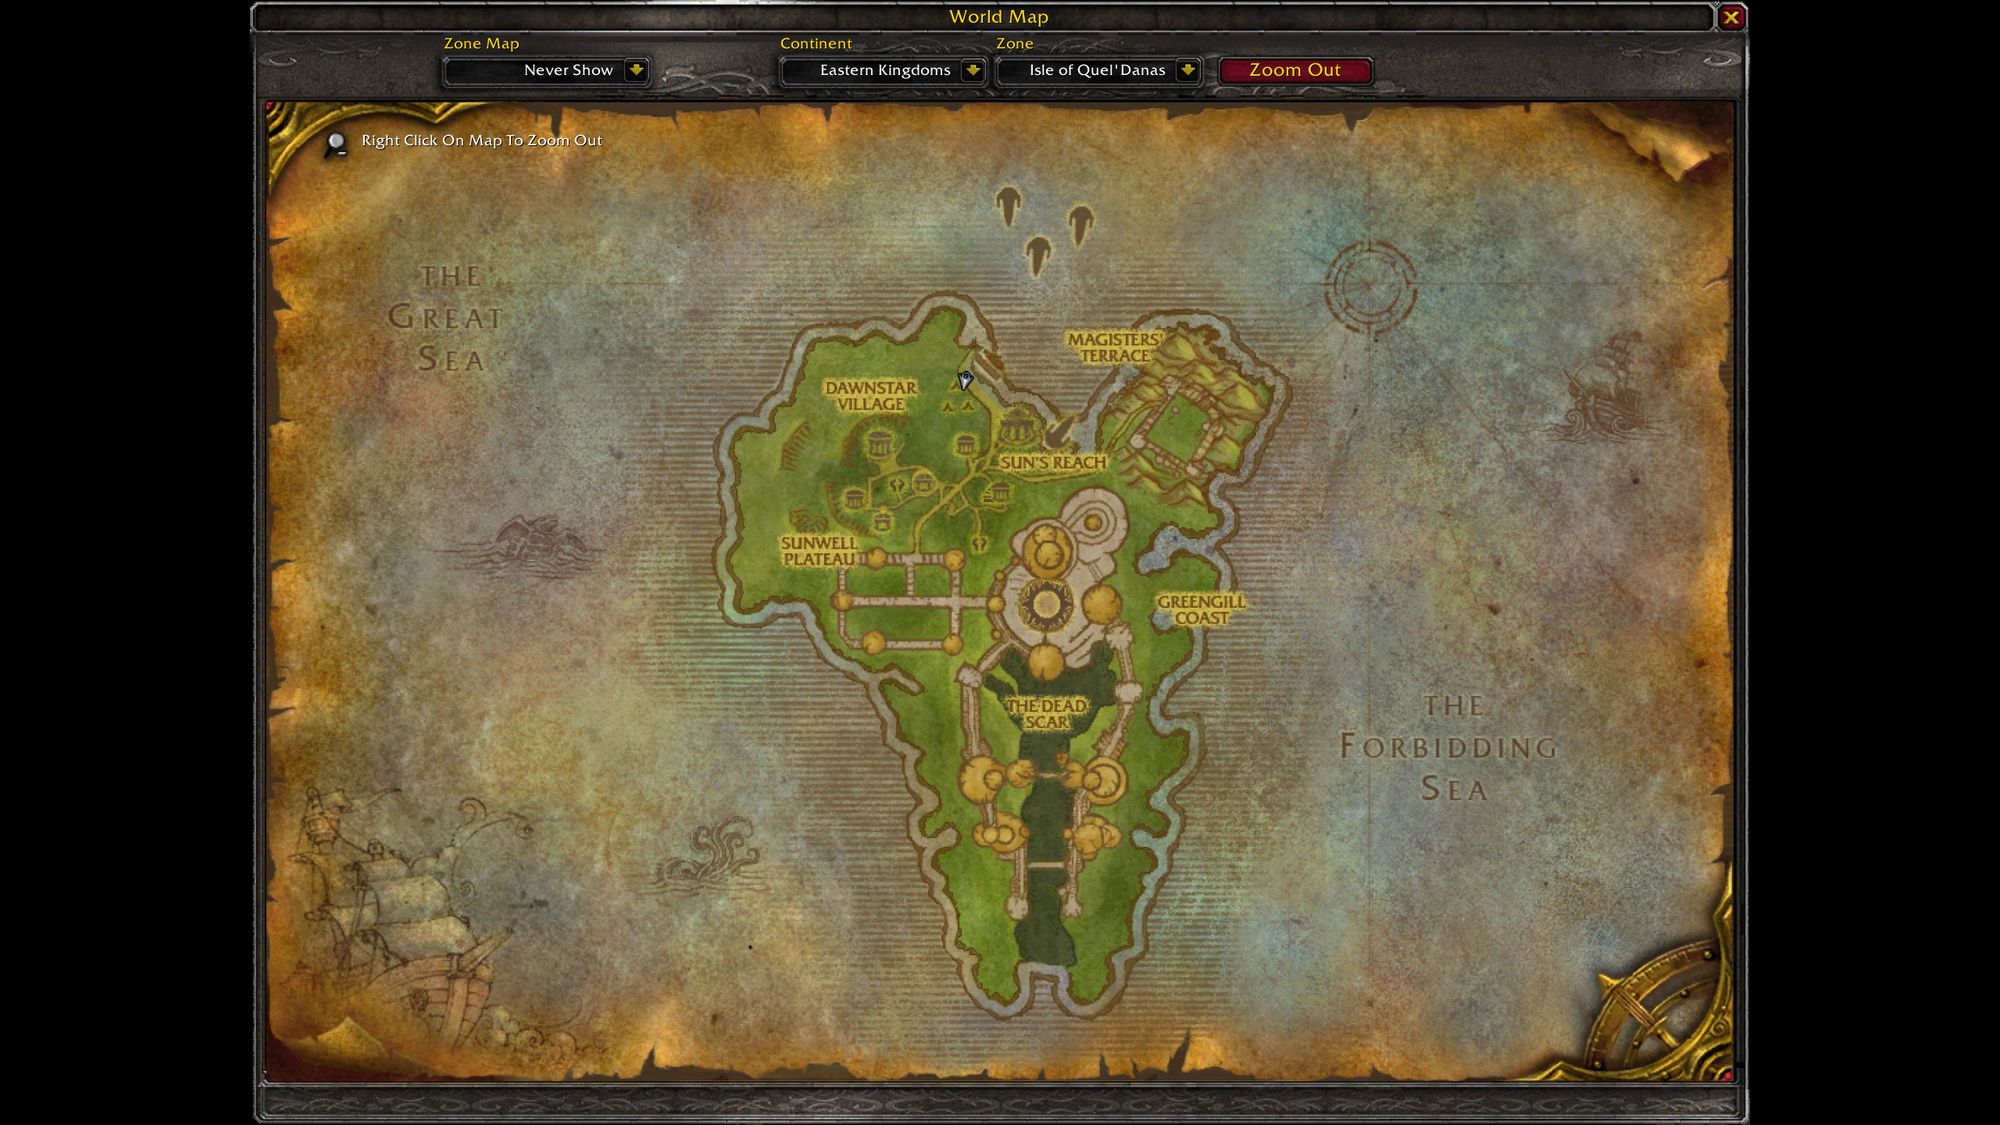
Getting there (initially) is a bit painful. You'll need to fly there - initially by flying from either Silvermoon City (if you're a red chad) or from Ironforge (if you're a blue loser.) With enough dailies a portal gets opened to the Isle which cuts out a lot of this garbage.
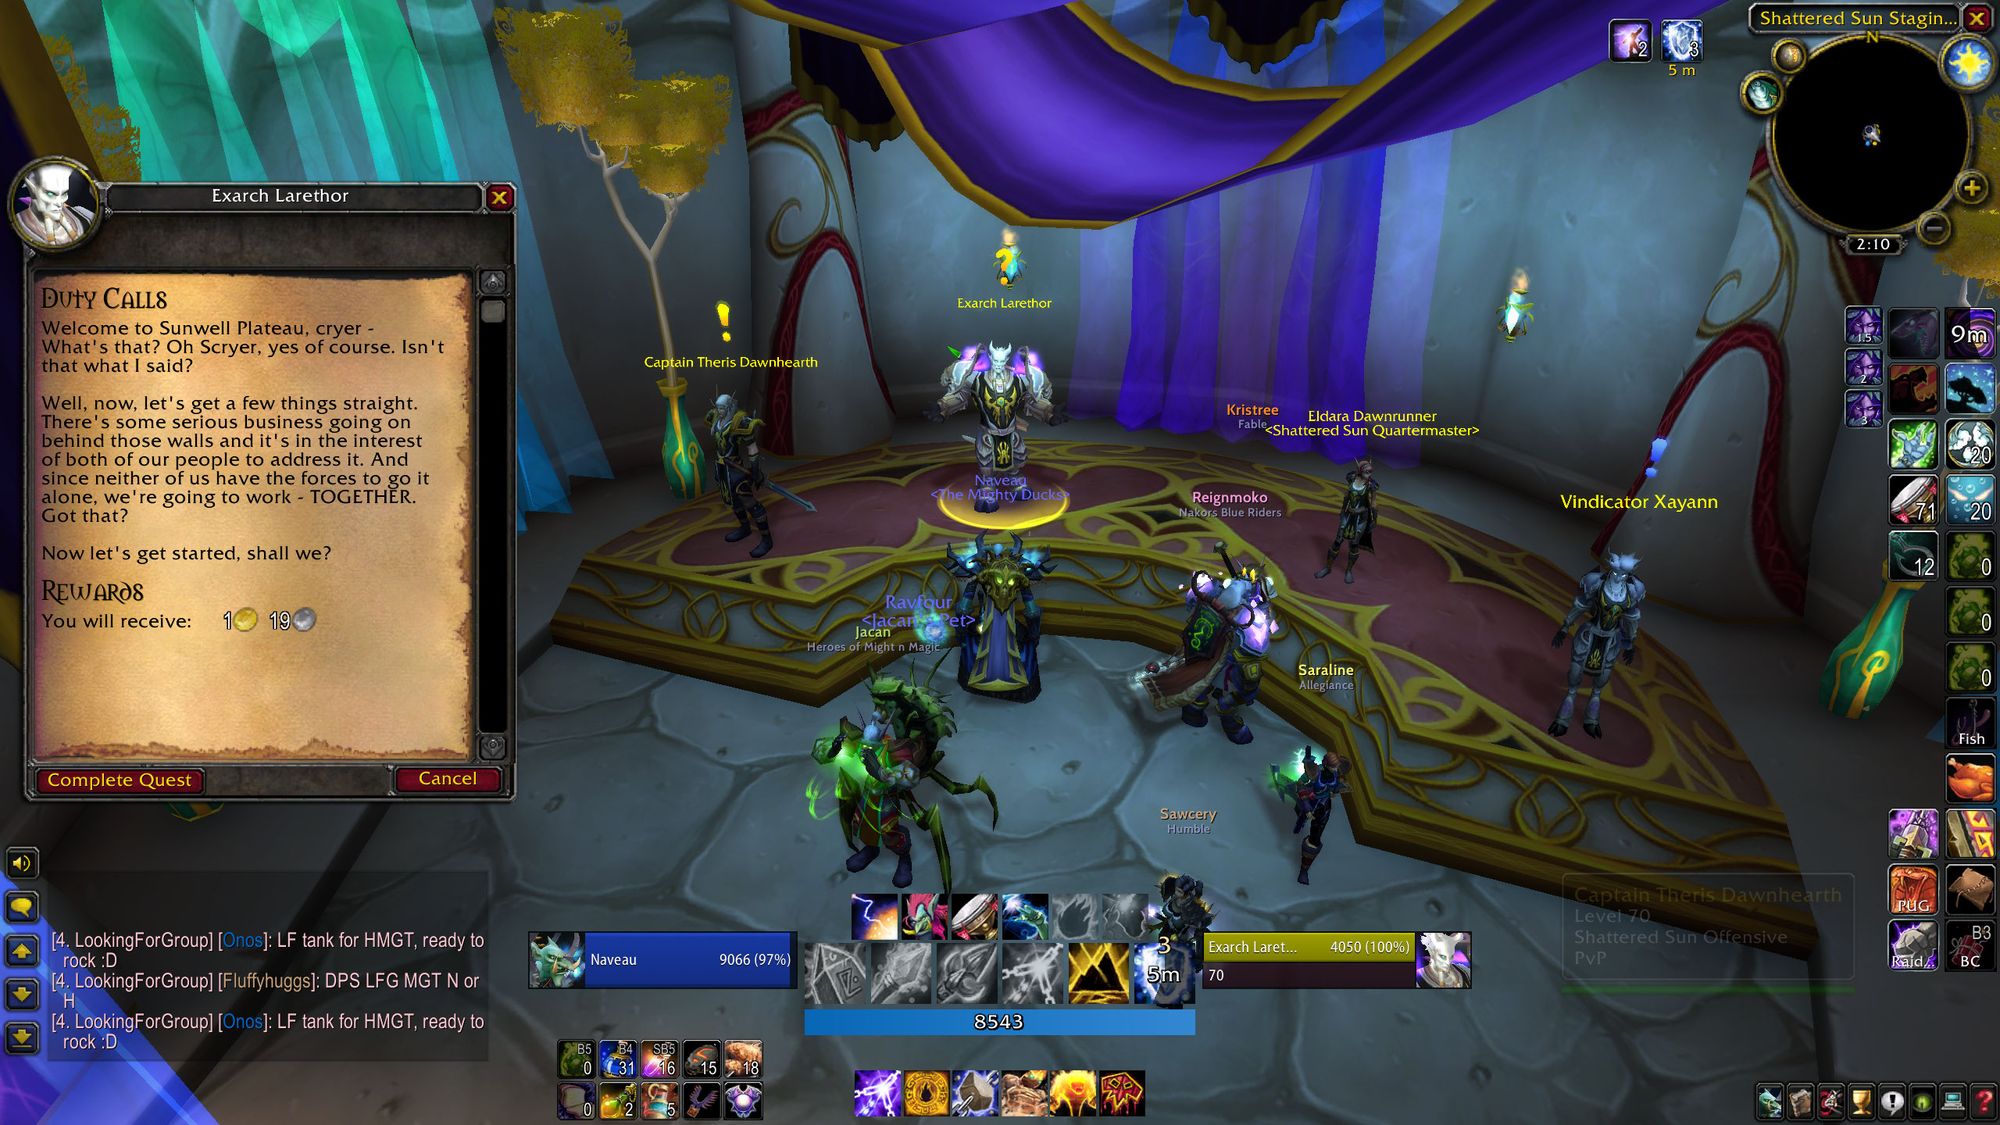
You're introduced to the Shattered Sun Offensive, the combination of the draenei and the blood elves (but not really, as the Aldor and Scryers still hate each other) setting aside their differences to take on the big, bad evil hinted at at the end of Tempest Keep - Kil'Jaden and the reignited Sunwell.
As a fun little tidbit, if you go to Silvermoon City prior to phase five, if you look in the right place, you'll enter a room with two levels. The top has a hole in it, and if you jump down, you'll find M'uru, being used by the Blood Elves as a source of power to feed their addiction to magic.
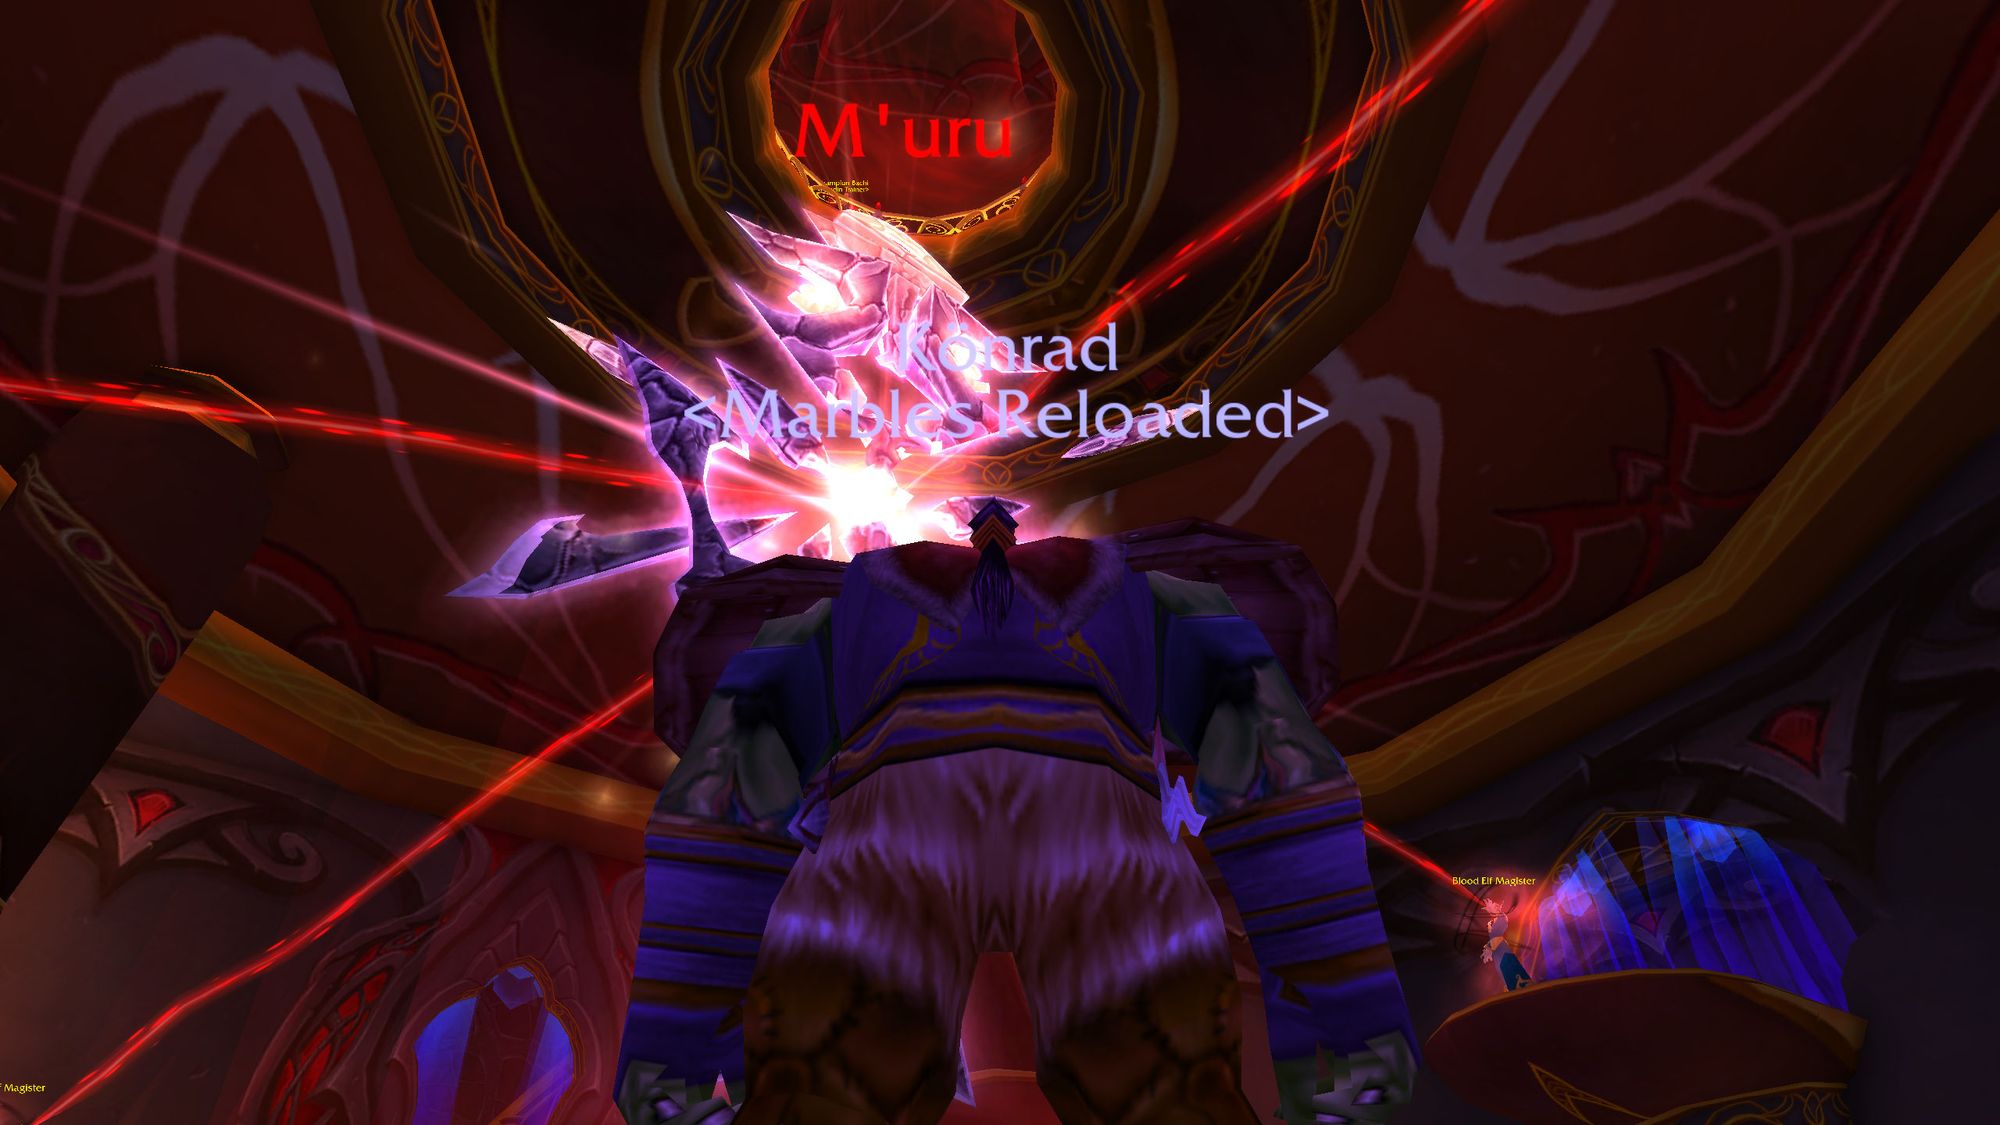
But as a fun bit of continuity, if you jump down in phase five, M'uru is gone. Kael'thas, newly reincarnated, staged a daring raid and made off with the Sha'tar. It's gone now, leaving only dazed and confused blood elves in his wake.
You'll meet M'uru later, in much less favourable circumstances.
Nevertheless, on the Isle you'll find the Shattered Sun Offensive (referred to here as the SSO) battling against everyone and everything on the isle. There's demons, blood elves allied to Kael'thas' cause, and a tribe of naga who have enslaved the murlocs along the coast.
The big draw here is that as you complete dailies on the isle, you'll progress the story of the isle and unlock more facilities, which in turn unlocks more dailies to unlock more facilities.
There's also the last dungeon of the expansion, Magister's Terrace, which is a largely unremarkable dungeon handing out mediocre loot. There are two points of interest, here, however.
The first is the dungeon features a "council" style boss which needs an experienced and well-equipped team to handle it, or a paladin. On heroic this can sometimes stop groups from clearing it entirely, particularly fresh level 80 characters. It does hand out some pretty hefty tanking and DPS trinkets - not better than raid-level items, but definitely a good place to start.
The second is the encounter with the final boss, reincarnated Kael'Thas. In a mini callback to the encounter in Tempest Keep he uses gravity lapse, and spawns pheonixes. If you'd been there since day dot, it was a nice touch. Although this fight is considerably easier considering you don't have to fight his four mates and then his legendary weapons.

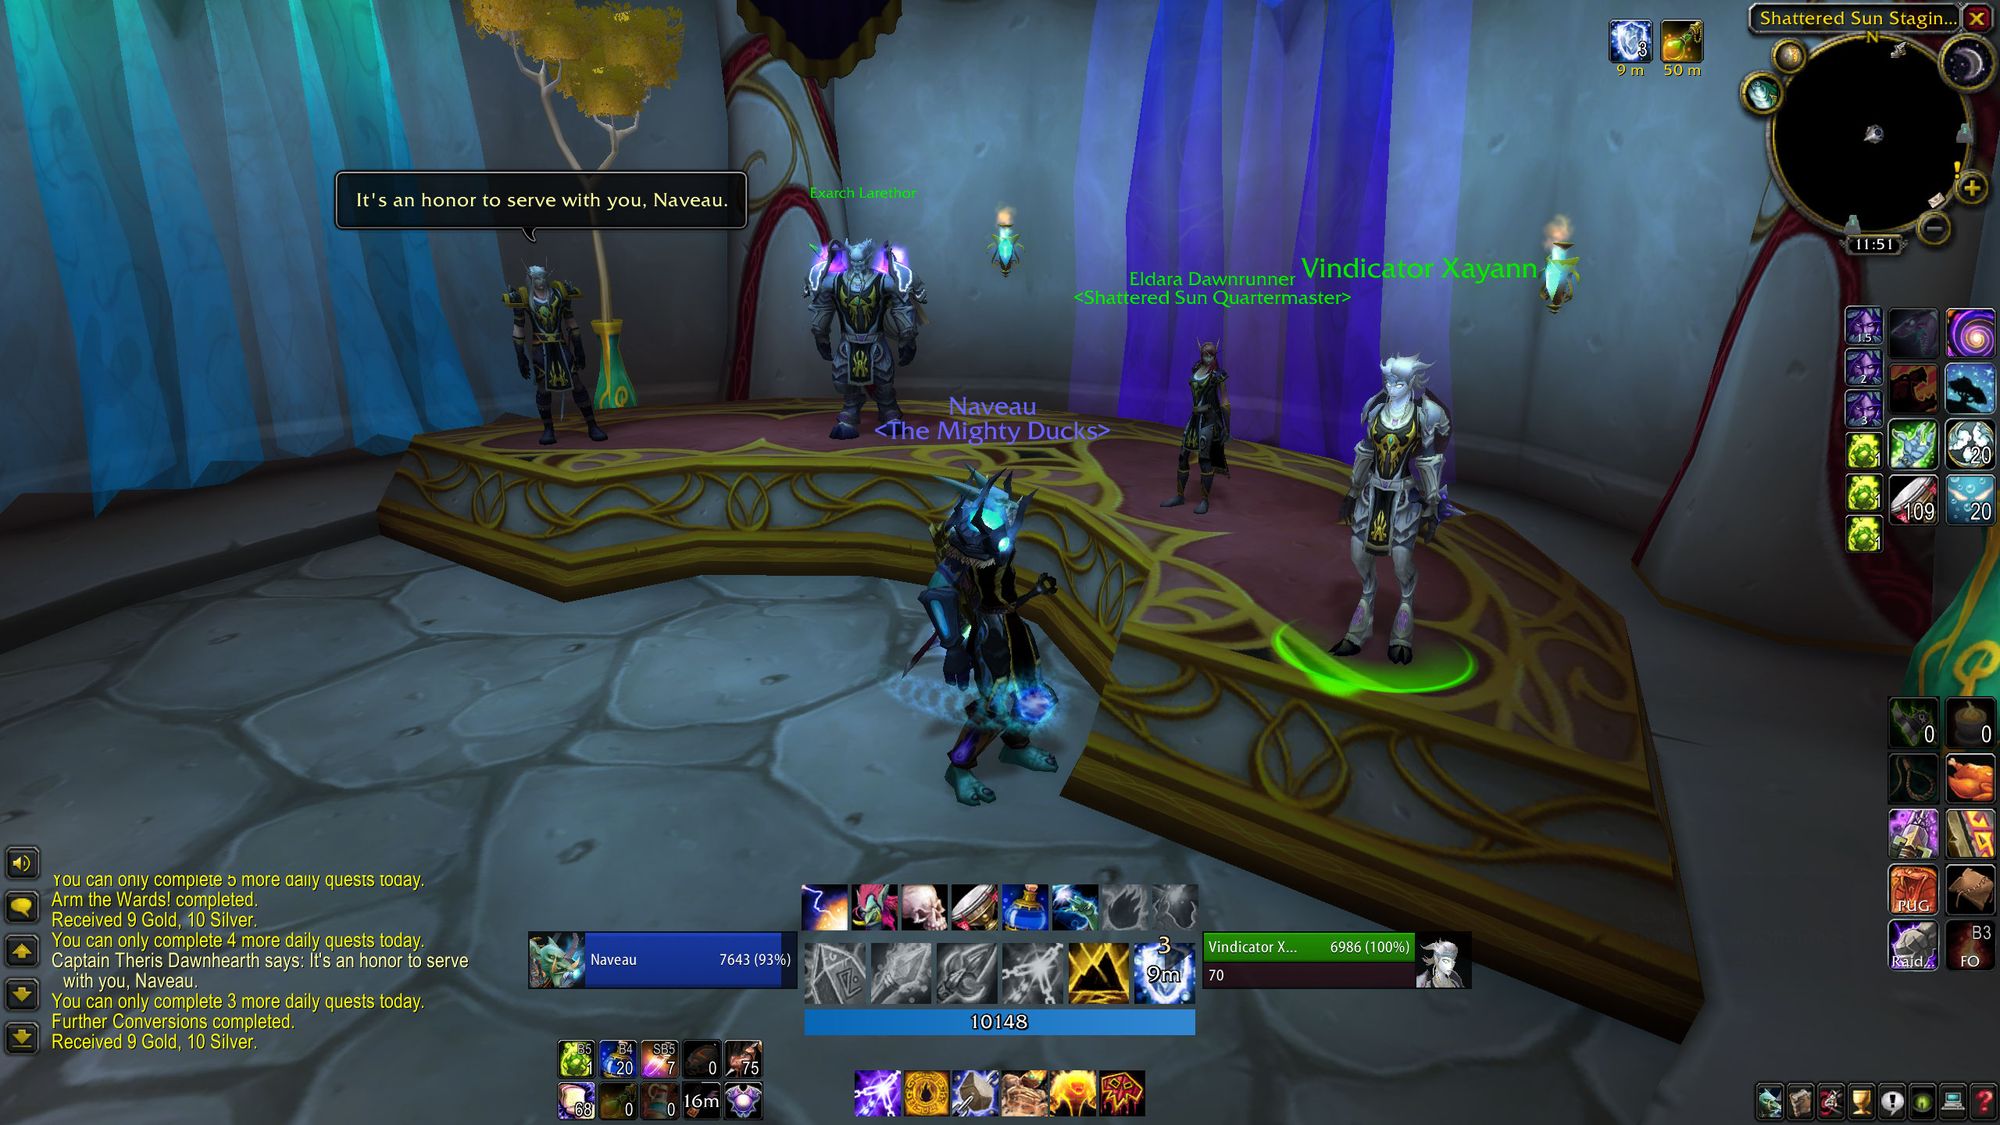
The real meat here, though, are the Isle dailies. The more dailies the server (both red and blue) do as a whole, the more of the Isle gets unlocked. Initially, you only have access to the landing site which has the quartermaster and the first two questgivers.
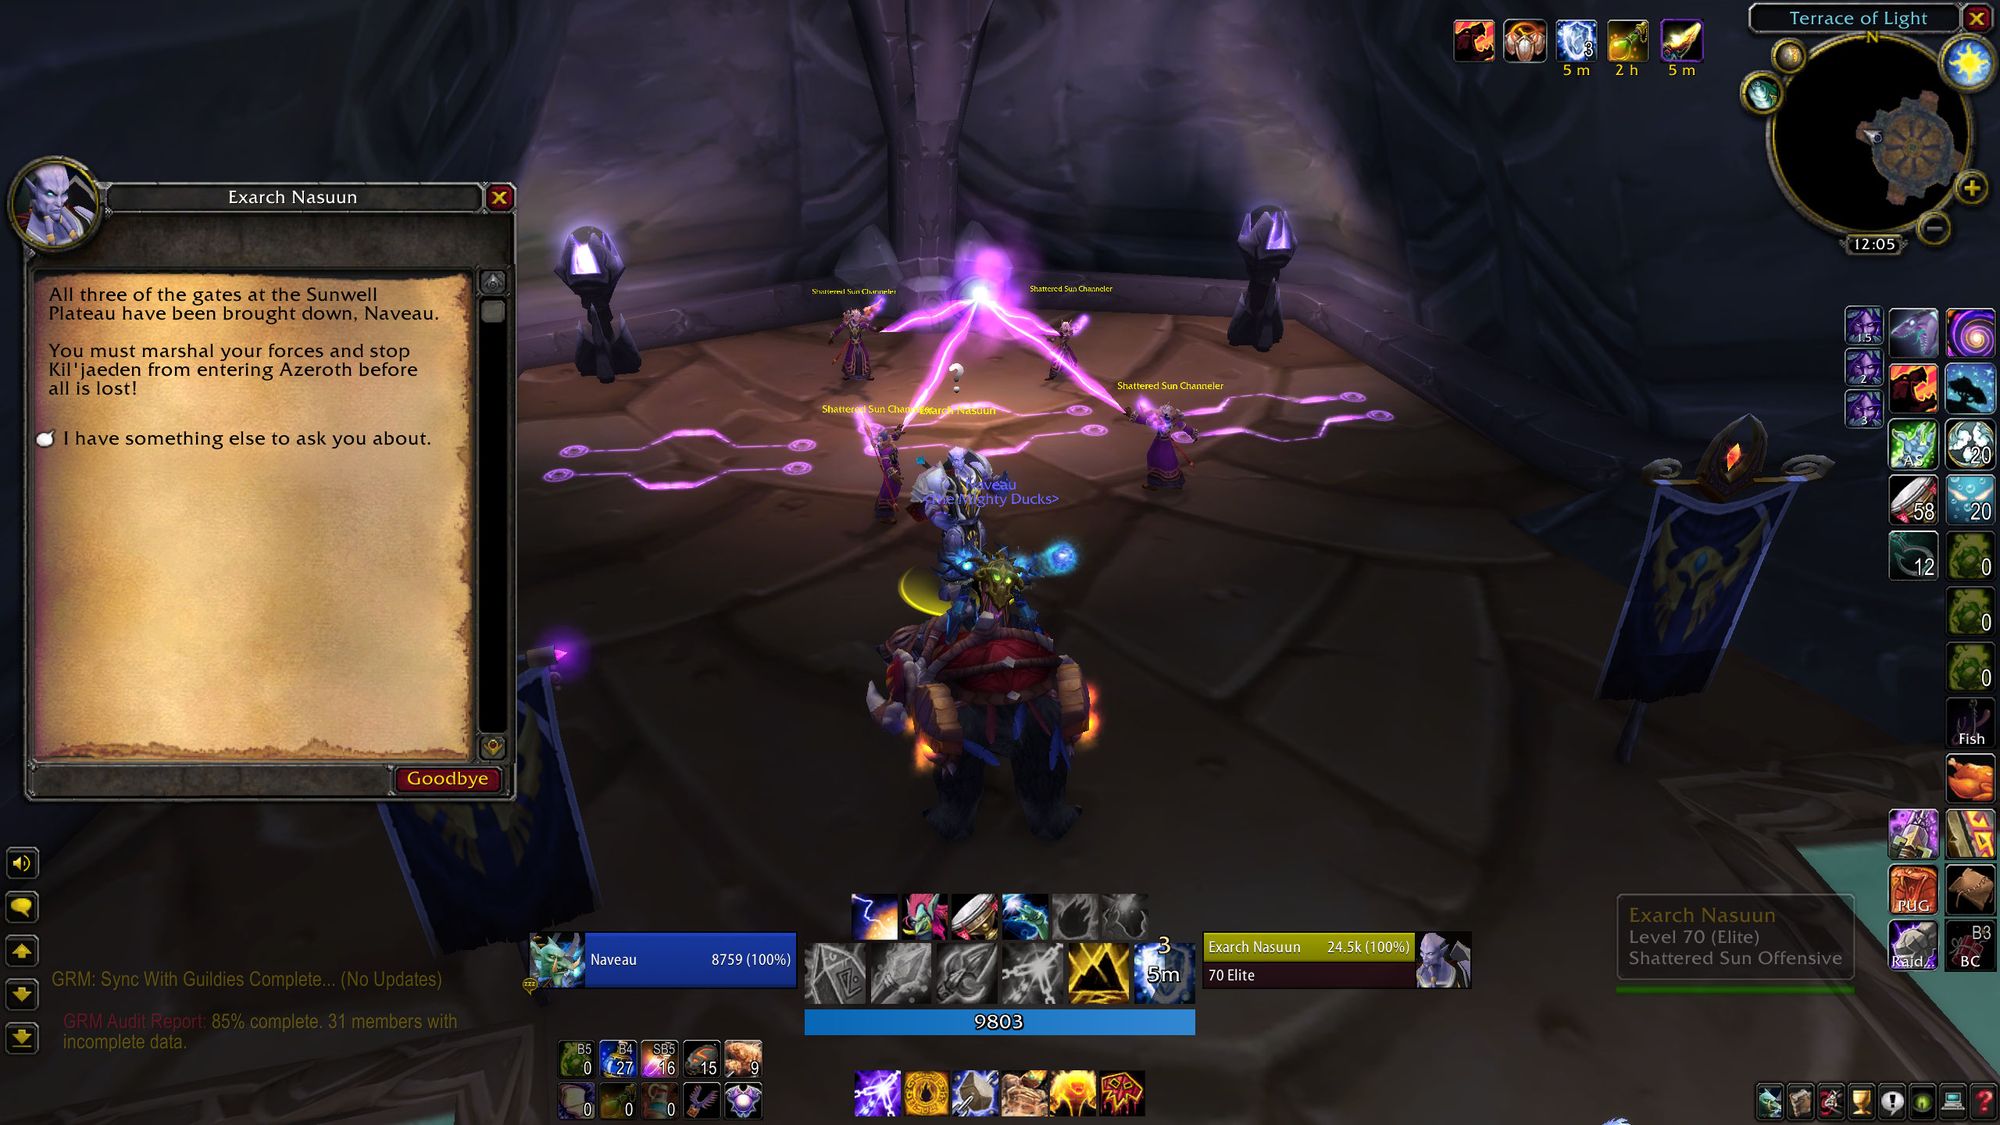
In the original TBC, you also had to do dailies to unlock more parts of the Sunwell Plateau raid. As the server completed more dailies, more bosses would become available. Whilst the option to check the progress is still there, from the get-go, all six bosses were available to be killed. You just had to do it.
We start off with phase one, which is the unlocking of the sanctum, giving you access to the quartermaster and trade supplies. At any time, you can check the progress from various NPCs, who will give you a vague percentage. It's never clear how many dailies unlocked the next phase, just that when they were ready, they were ready.
It's worth mentioning as well, as a quick aside, that none of these quests are particularly involved or difficult. As opposed to the Netherwing Ledge dailies, a design decision was clearly taken to make the dailies short and convenient. Whereas you could spend an hour on four or five quests on the ledge, once all the dailies were unlocked you could blow through the entire isle in about half an hour and make a lot of money doing so.
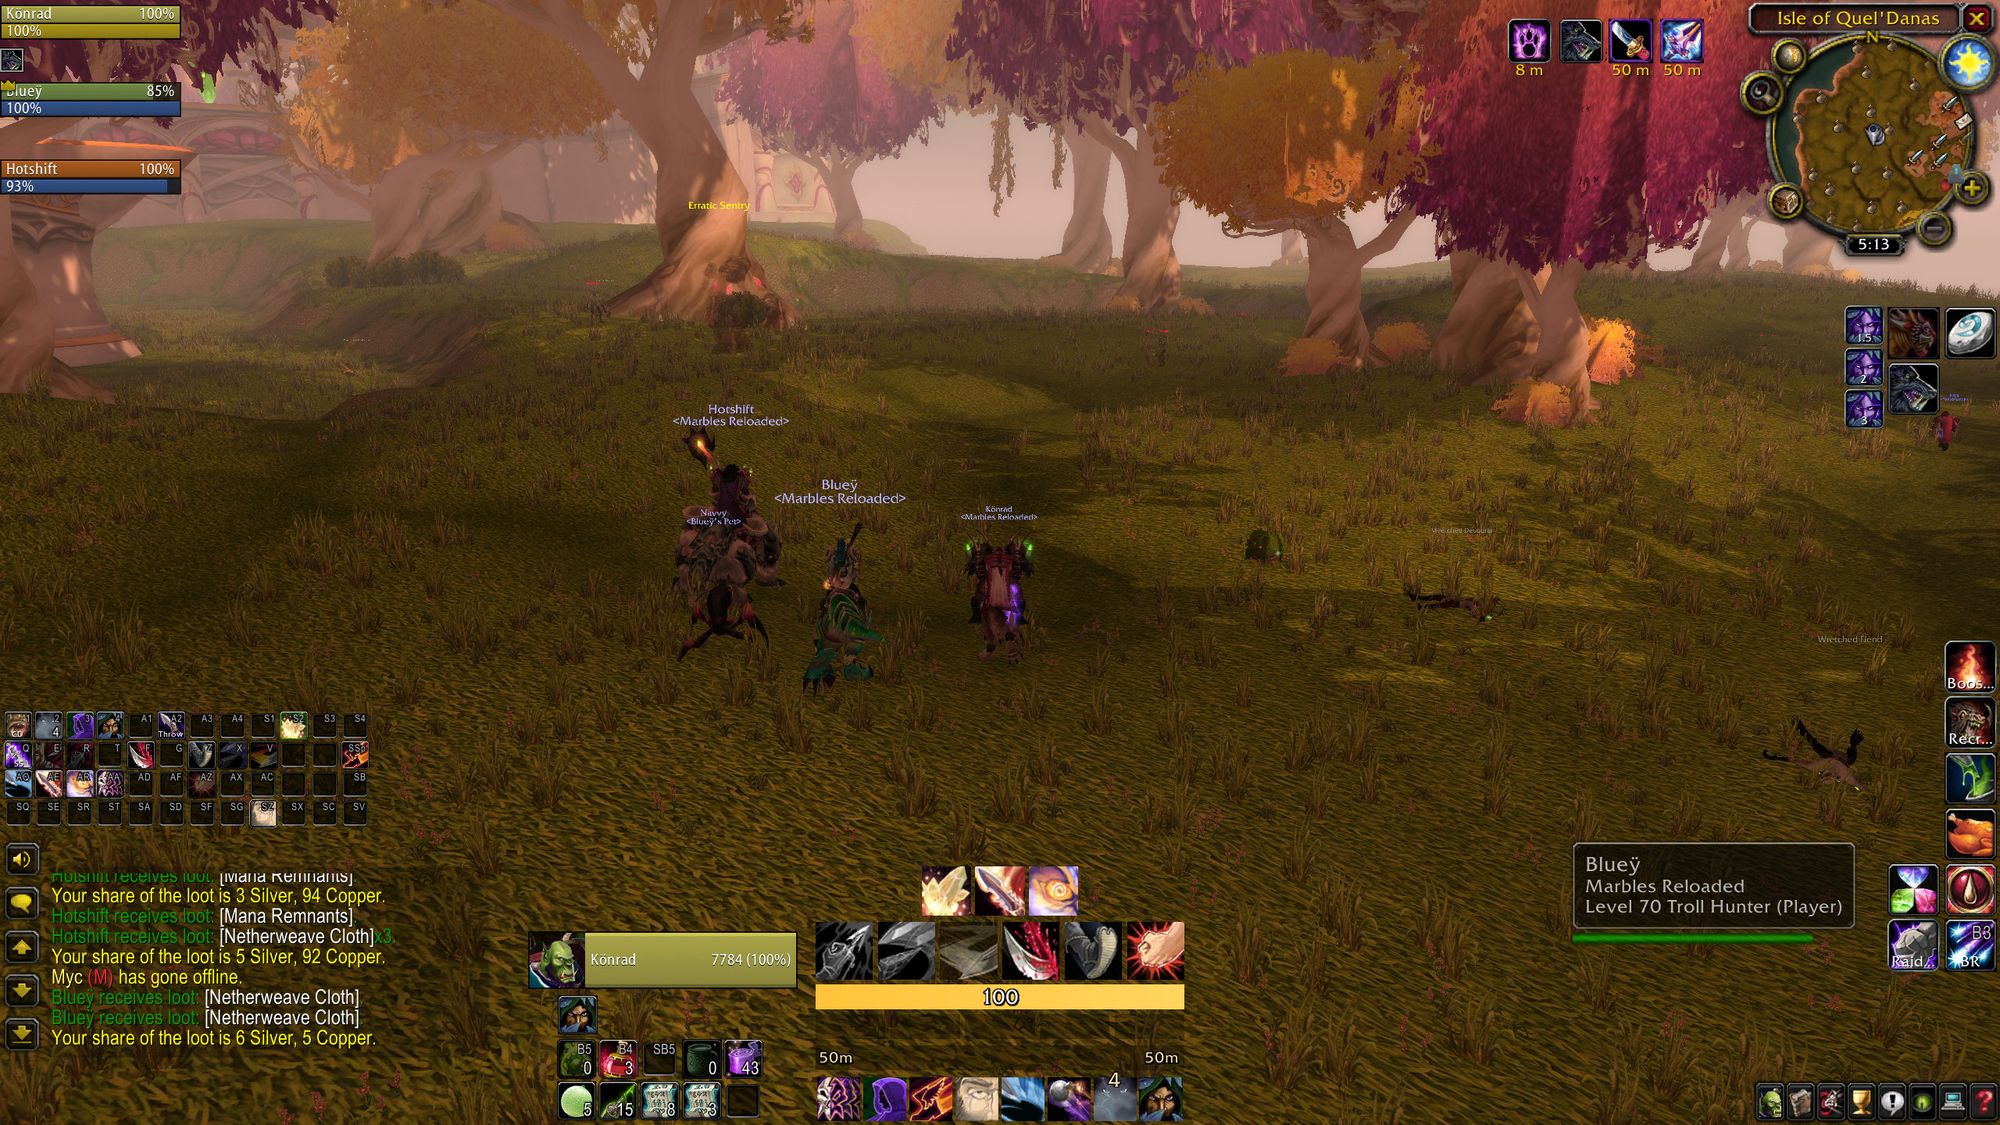
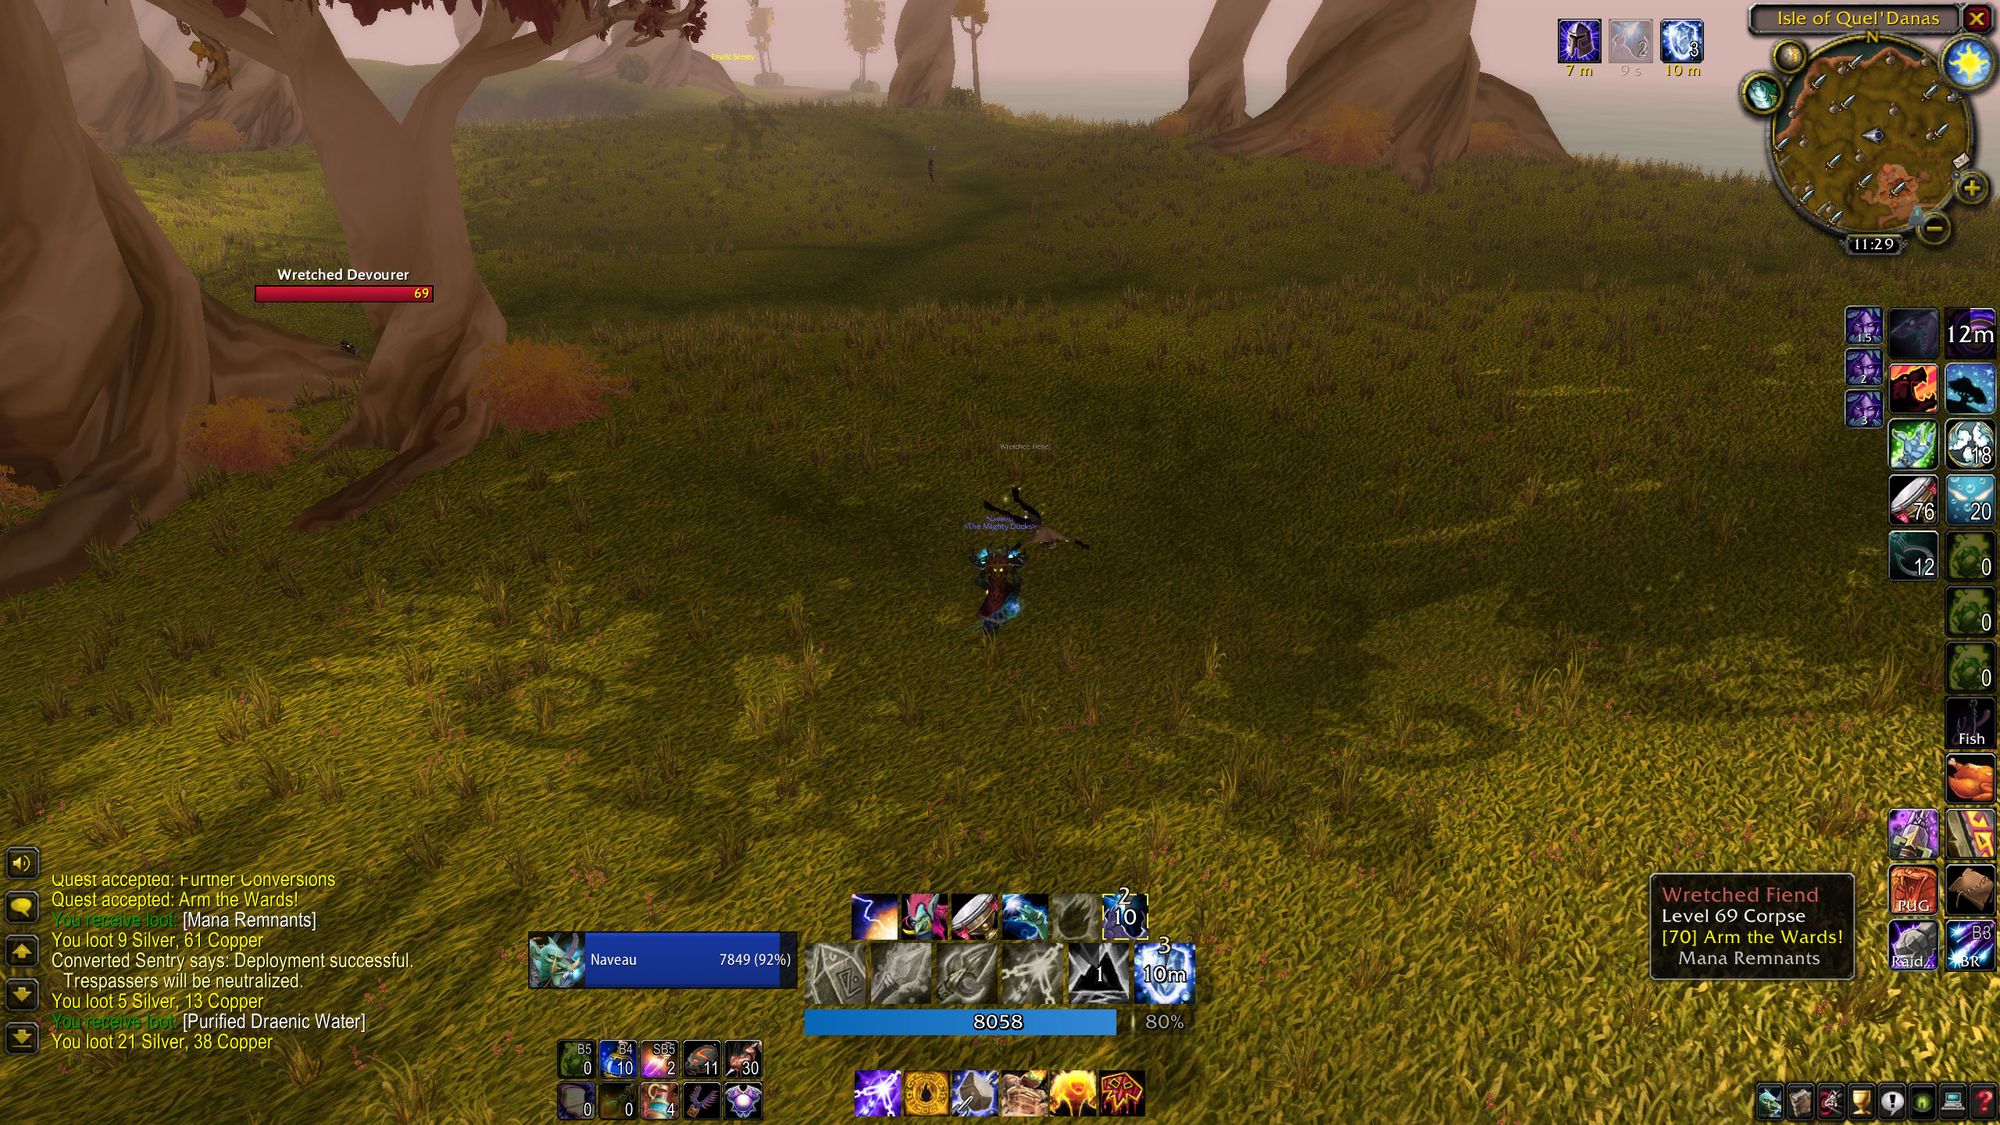
The first two quests are straightforward. You have to convert five sentries, which are neutral mobs on the east side of the isle and use an item on them. At the same time, you also need to connect mana remnants from Wretched Fiends (i.e, fiending blood elves, don't ask) and use their heroin mana remnants to energize a ward.
Once you've unlocked the sanctum, phase two starts - the unlocking of the armory. The first two quests can still be done, albeit with a name change, and they no longer reward progress toward the phase - they're just there to earn you money now.
As with the previous (and all future) phases, you get two new quests. The first has you clearing out demons from the armory. You kill six demons and jam a flag in the corpse of the chief demon. That's literally it. The biggest delay with this quest is dealing with everyone else tagging the same mobs you're trying to kill.
The second quest is more time consuming. It's a bombing run with modest kill requirements. Again, what causes the most delays here is the volume of other players trying to do the quest, as some of the targets (particularly the pit lords) take several hits to deal with.
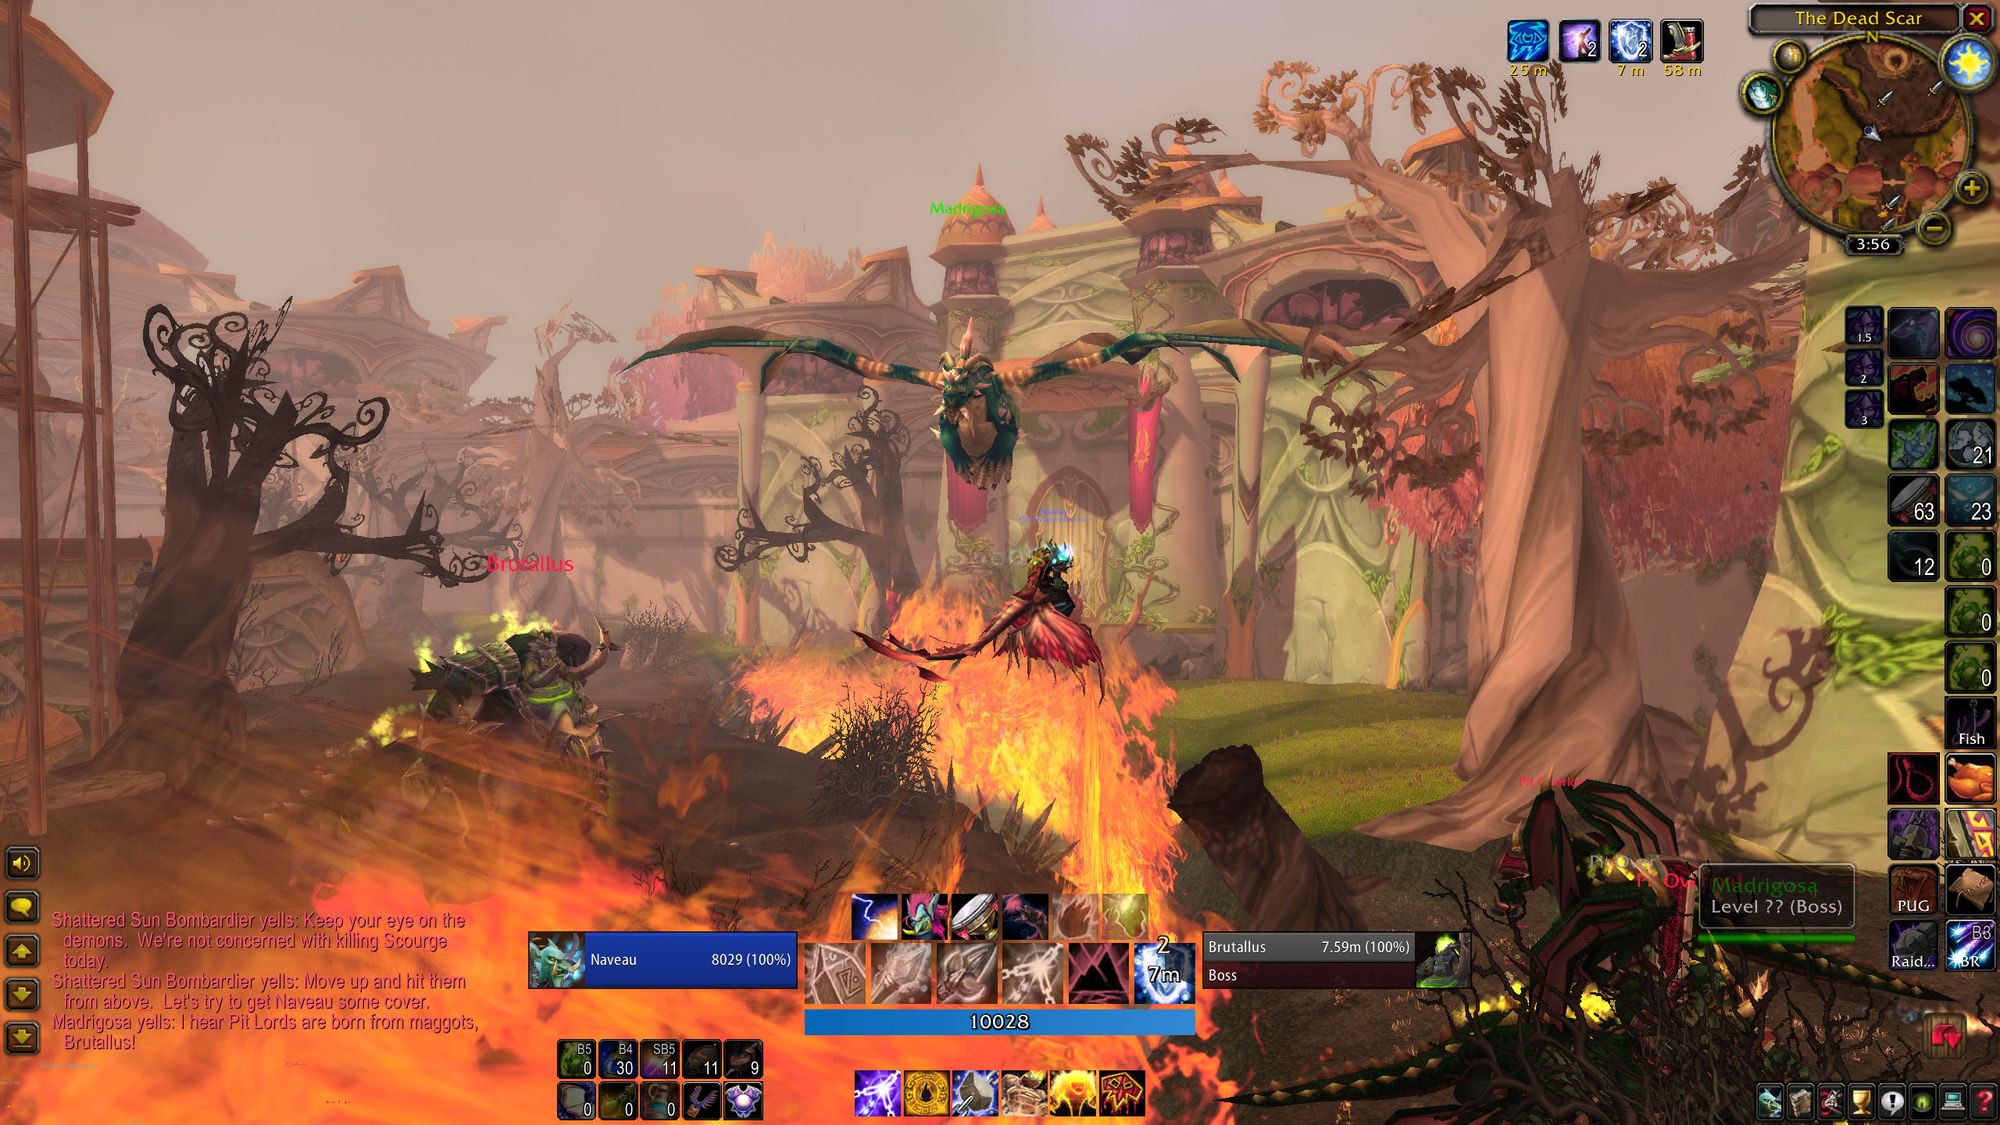
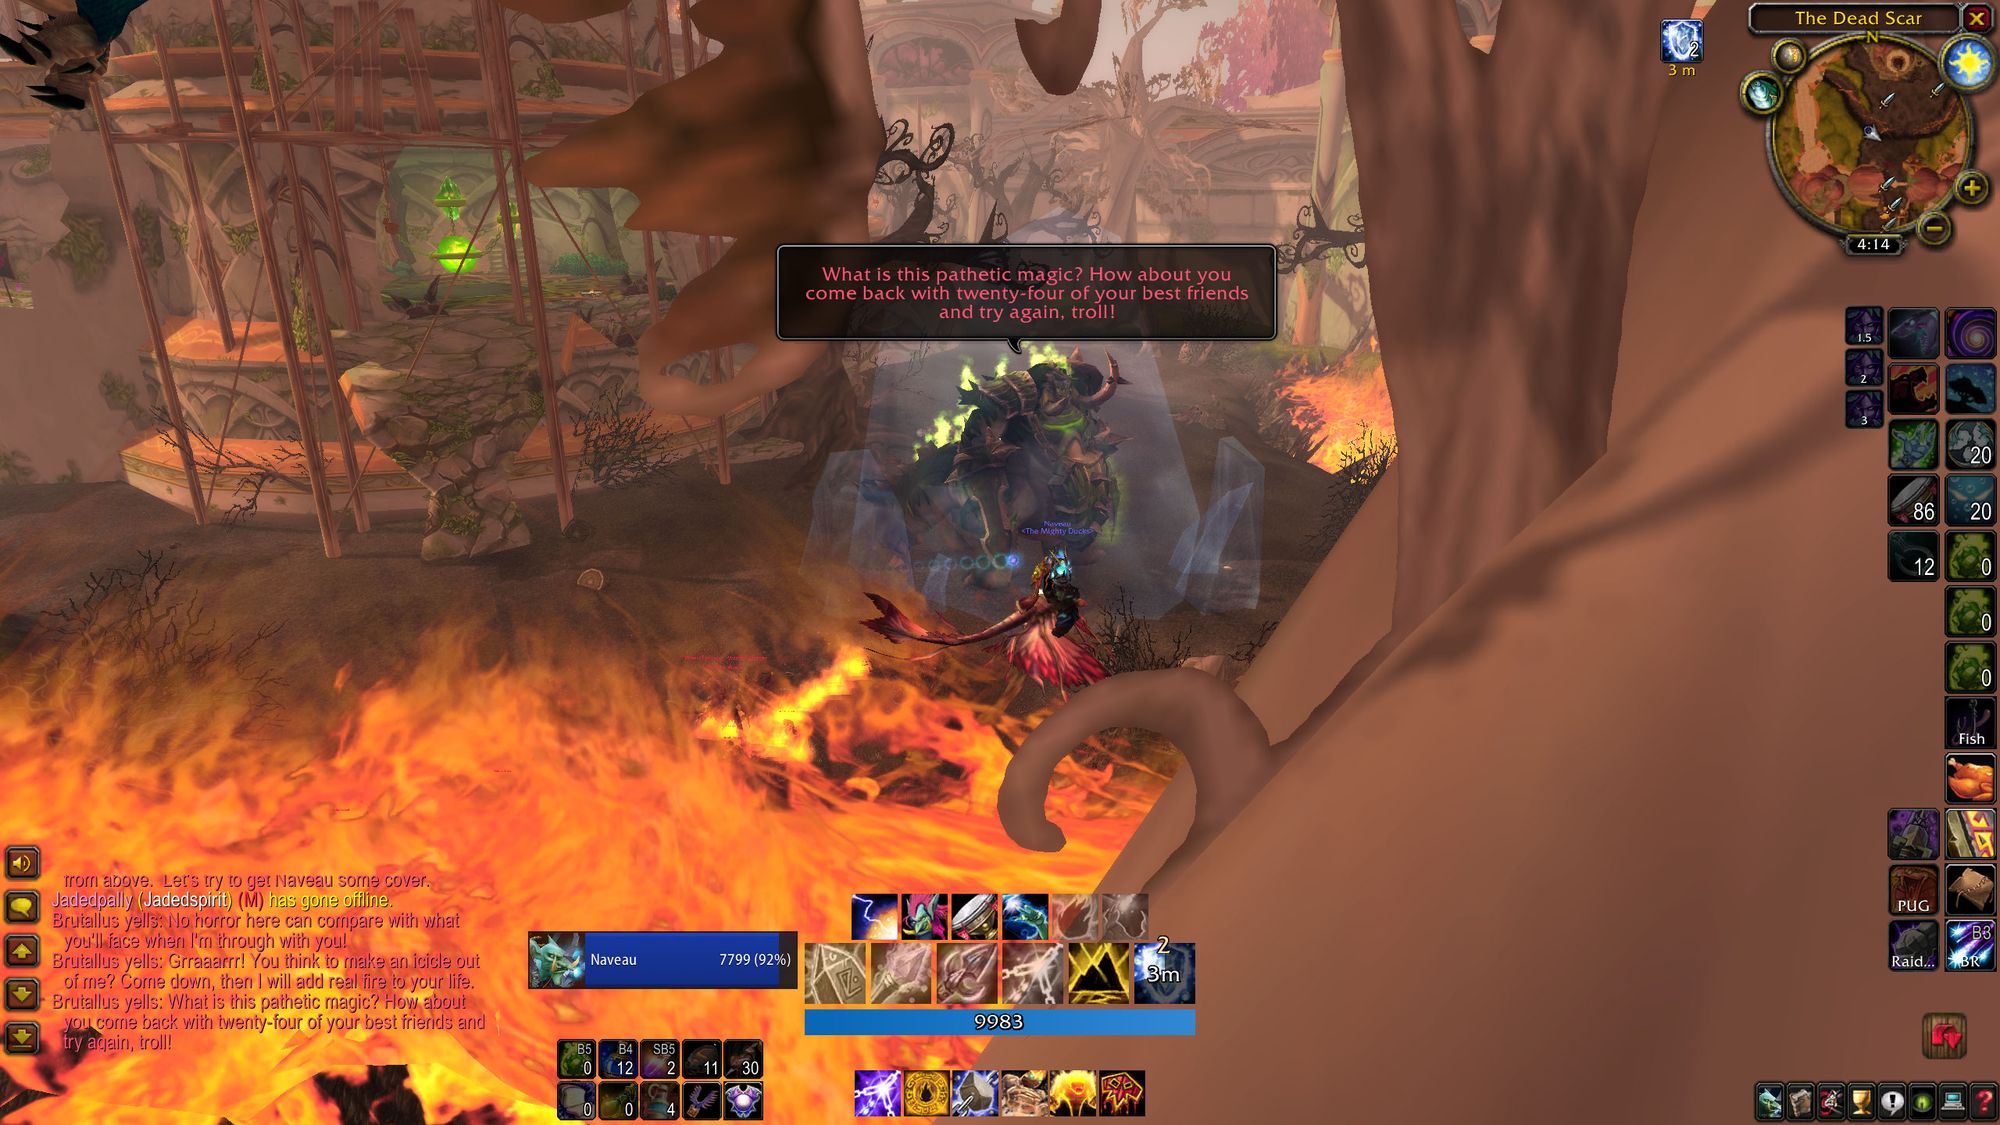
What is very cool, is at the center point of the run, you get to meet one of the bosses of Sunwell Plateau - Brutallus. If you try and bomb him, he taunts you, and tells you to come back with 24 of your friends. Challenge accepted.
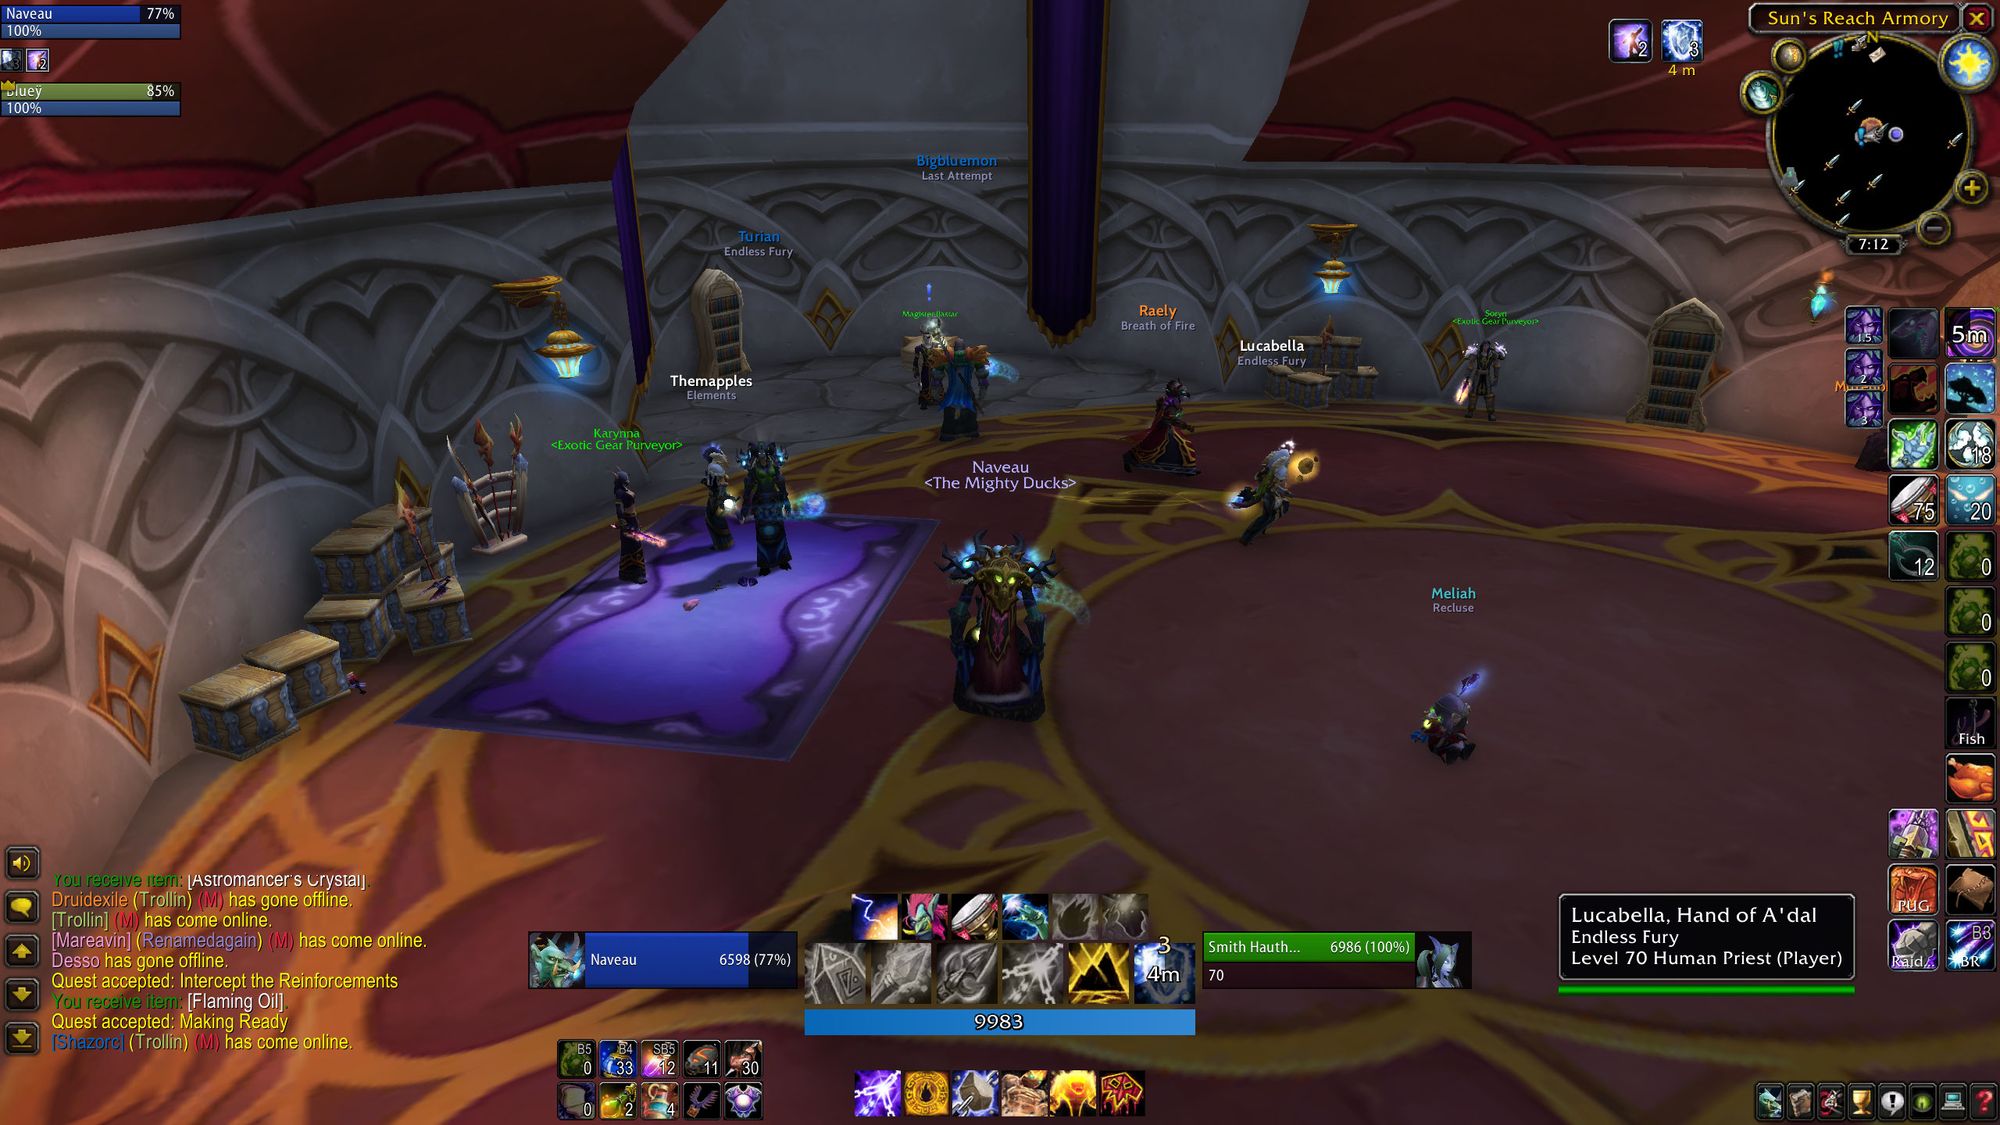
Completing those quests will grant you access to the armory. Initially, you'll gain access to PvP gear vendors, which isn't really useful. It's worth mentioning that the vendors that hand out the SWP gear (i.e, the good stuff) remain on the boat in the harbor the entire time, and never move.
Phase 2 also adds some Outland quests. Or, presently, one Outland quest. You need to travel to Blade's Edge Mountains, where you may or may not have done the quest chain to unlock Shaffar's Stasis Prison Key. You kill Ethereals until you get a phasing device, and steal ten mana cells. Not difficult, but made harder by the travel time for a single quest. You can soften the blow by doing the Ogri'la dailies at the same time (provided you have those unlocked), which is quite lucrative.
Once the portal is active, you'll be given access to another daily, which requires you to travel up and down the Isle taking readings with an item given to you by an NPC. You can do it at the same time as other quests in the area. It rewards you with a scroll that sends you back to Shattrath City, as the portal is one way.
With the armory unlocked and the portal in play, there are three additional Outland dailies that get unlocked.
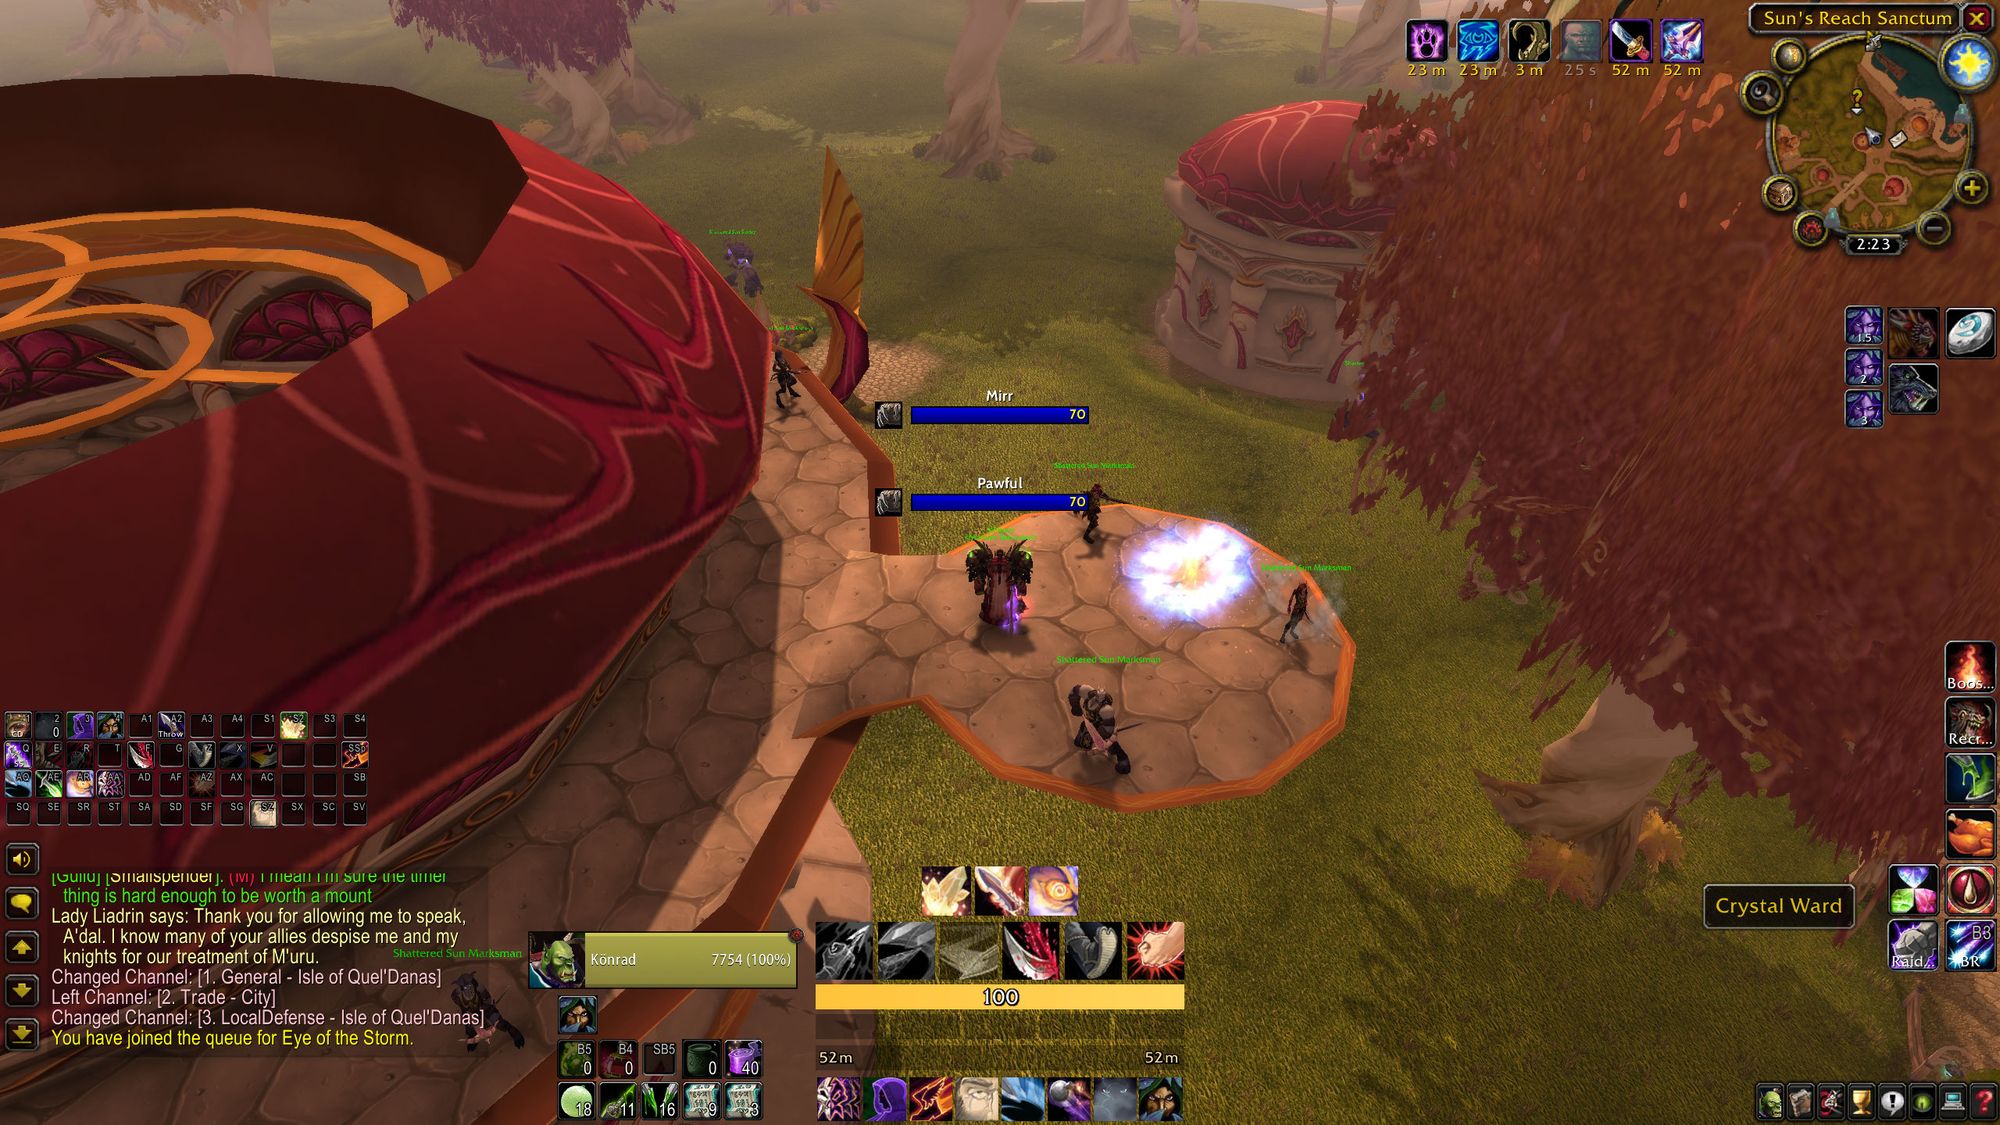
The first two dailies are in Hellfire Peninsula in the Throne of Kil'jaden. They reward you with gold and a green item, so quite a big reward for not a lot of time investment.
Be careful, though - the Throne is home to Doom Lord Kazzak, a world boss. In phase 1 he was killed on spawn, but as the loot he hands out has long been made obsolete, expect for him to be allowed to live. Some cheeky players (particularly bloosers) may even try and pull him on to you in order to kill you and get more time to themselves.
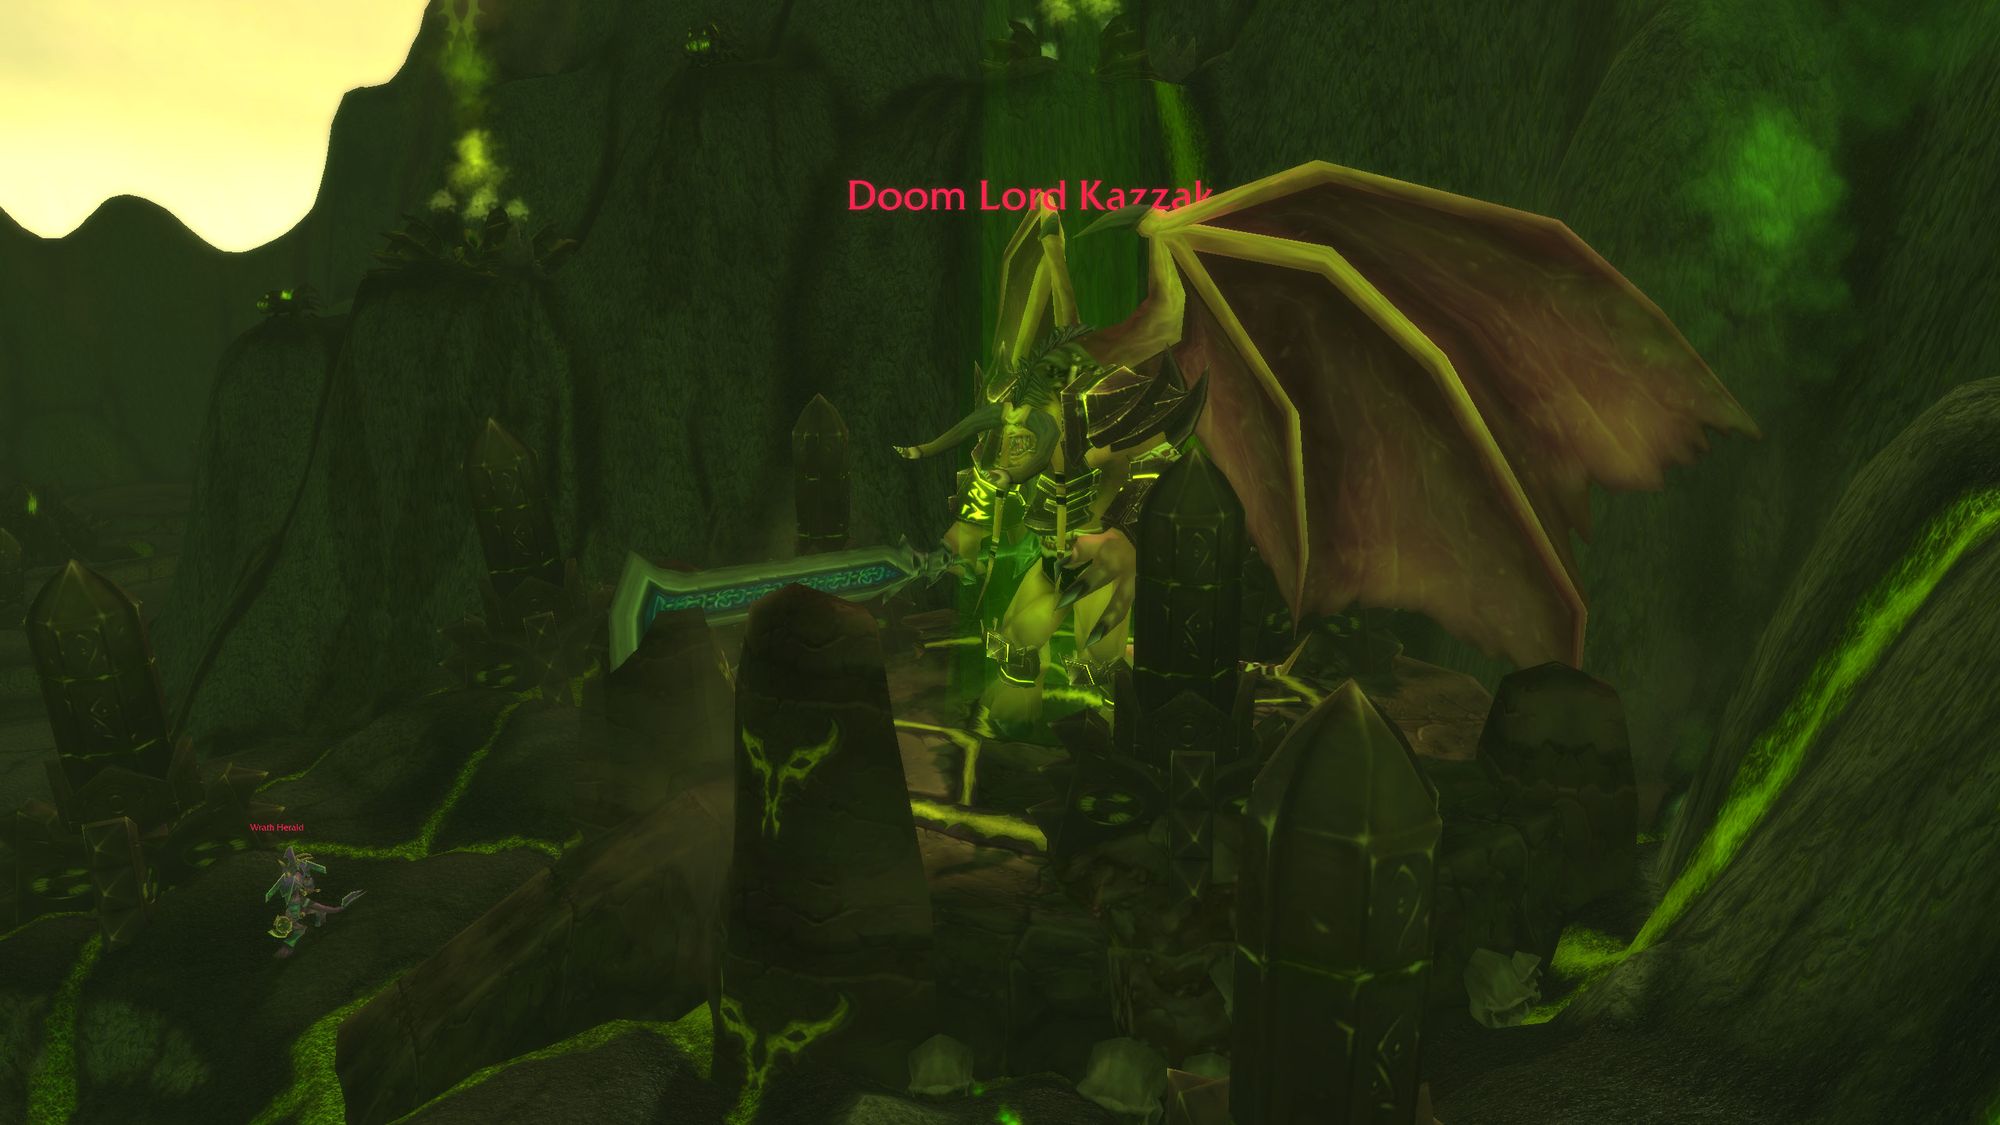
For the first daily, blast the portal, you summon a critter which follows you around whilst you kill elementals. As a blast from the past, these are the same elementals the server would farm for primal fires to make their belts of blasting. The good news here is that any elemental that dies within the (quite large) radius of your critter, tagged or otherwise, will give you progress on this quest, so it doesn't take long.
When it's all charged up (and you've done the other quest) take it back to the portal, where it'll slowly move into the middle and explode, and you'll get paid.
For the second quest, you kill the demons patrolling around the throne to obtain demonic blood, which you then use to stun, disempower, and kill elite blood elves around the suspended demons. You don't have to complete the channel, just start it, so if you're clever, you use the demonic blood and put in as much damage as you can in the second and a half the mob stays stunned and no longer elite. Kill four of them and you're all done.

(Editor's Note: As a bit of a flex, whilst farming primal fires, I used to practice strider kiting for SSC on these enemies. I killed more than my fair share of them in phase one gear, and I sure didn't need the help of demonic blood when I did it in phase five.)
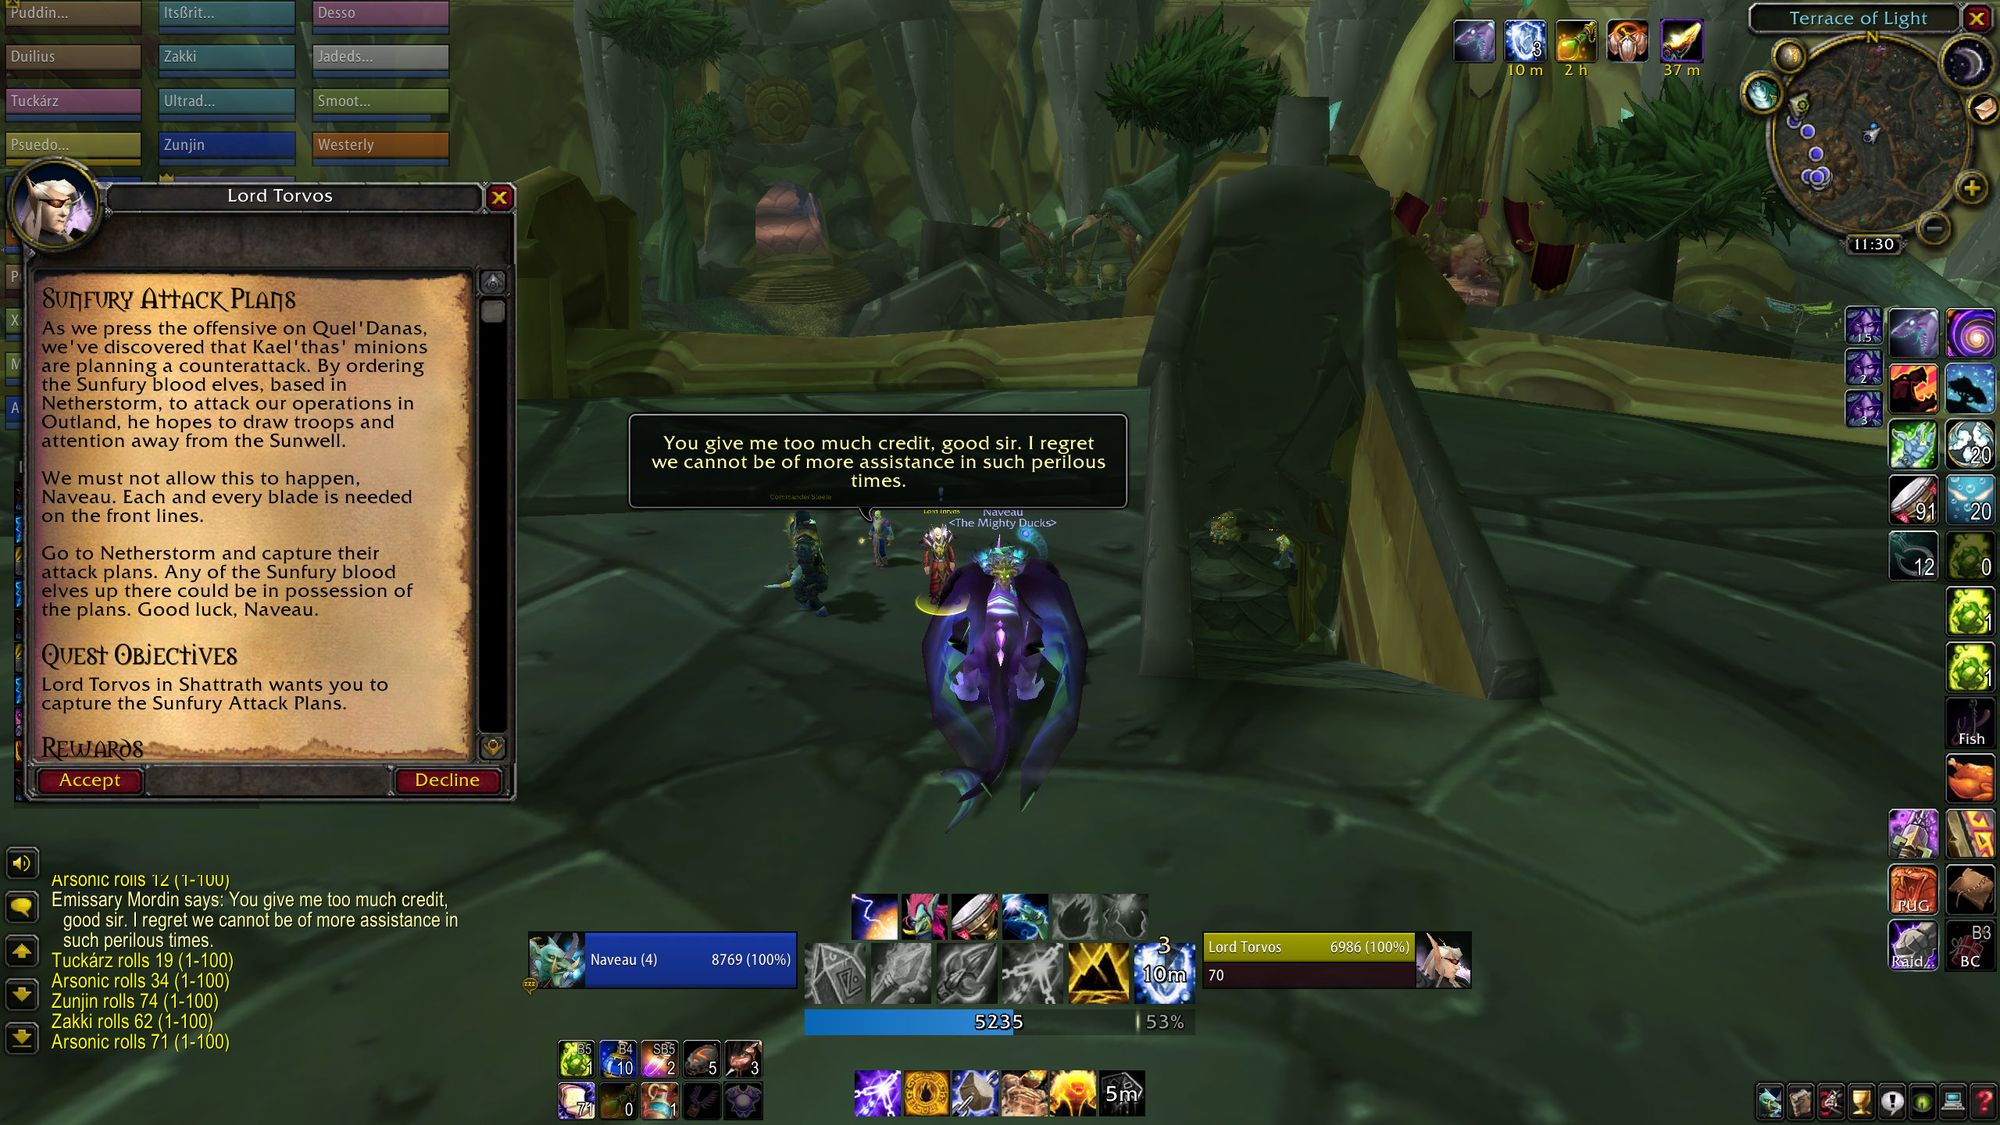
The next quest takes you to Netherstorm (although you pick it up from Shattrath). You need to kill Sunfury blood elves until you discover their attack plans. All the blood elves in the zone have a chance to drop this item, so you just go until you get it. Again, this is where I used to farm signets and tomes for scryer reputation in phase one. Ahhh, memories...
With the sanctum and armory unlocked, we've got two additional objectives. Retake the harbor, and get the armory's forge up and running. The harbor has two dailies and the forge has one.
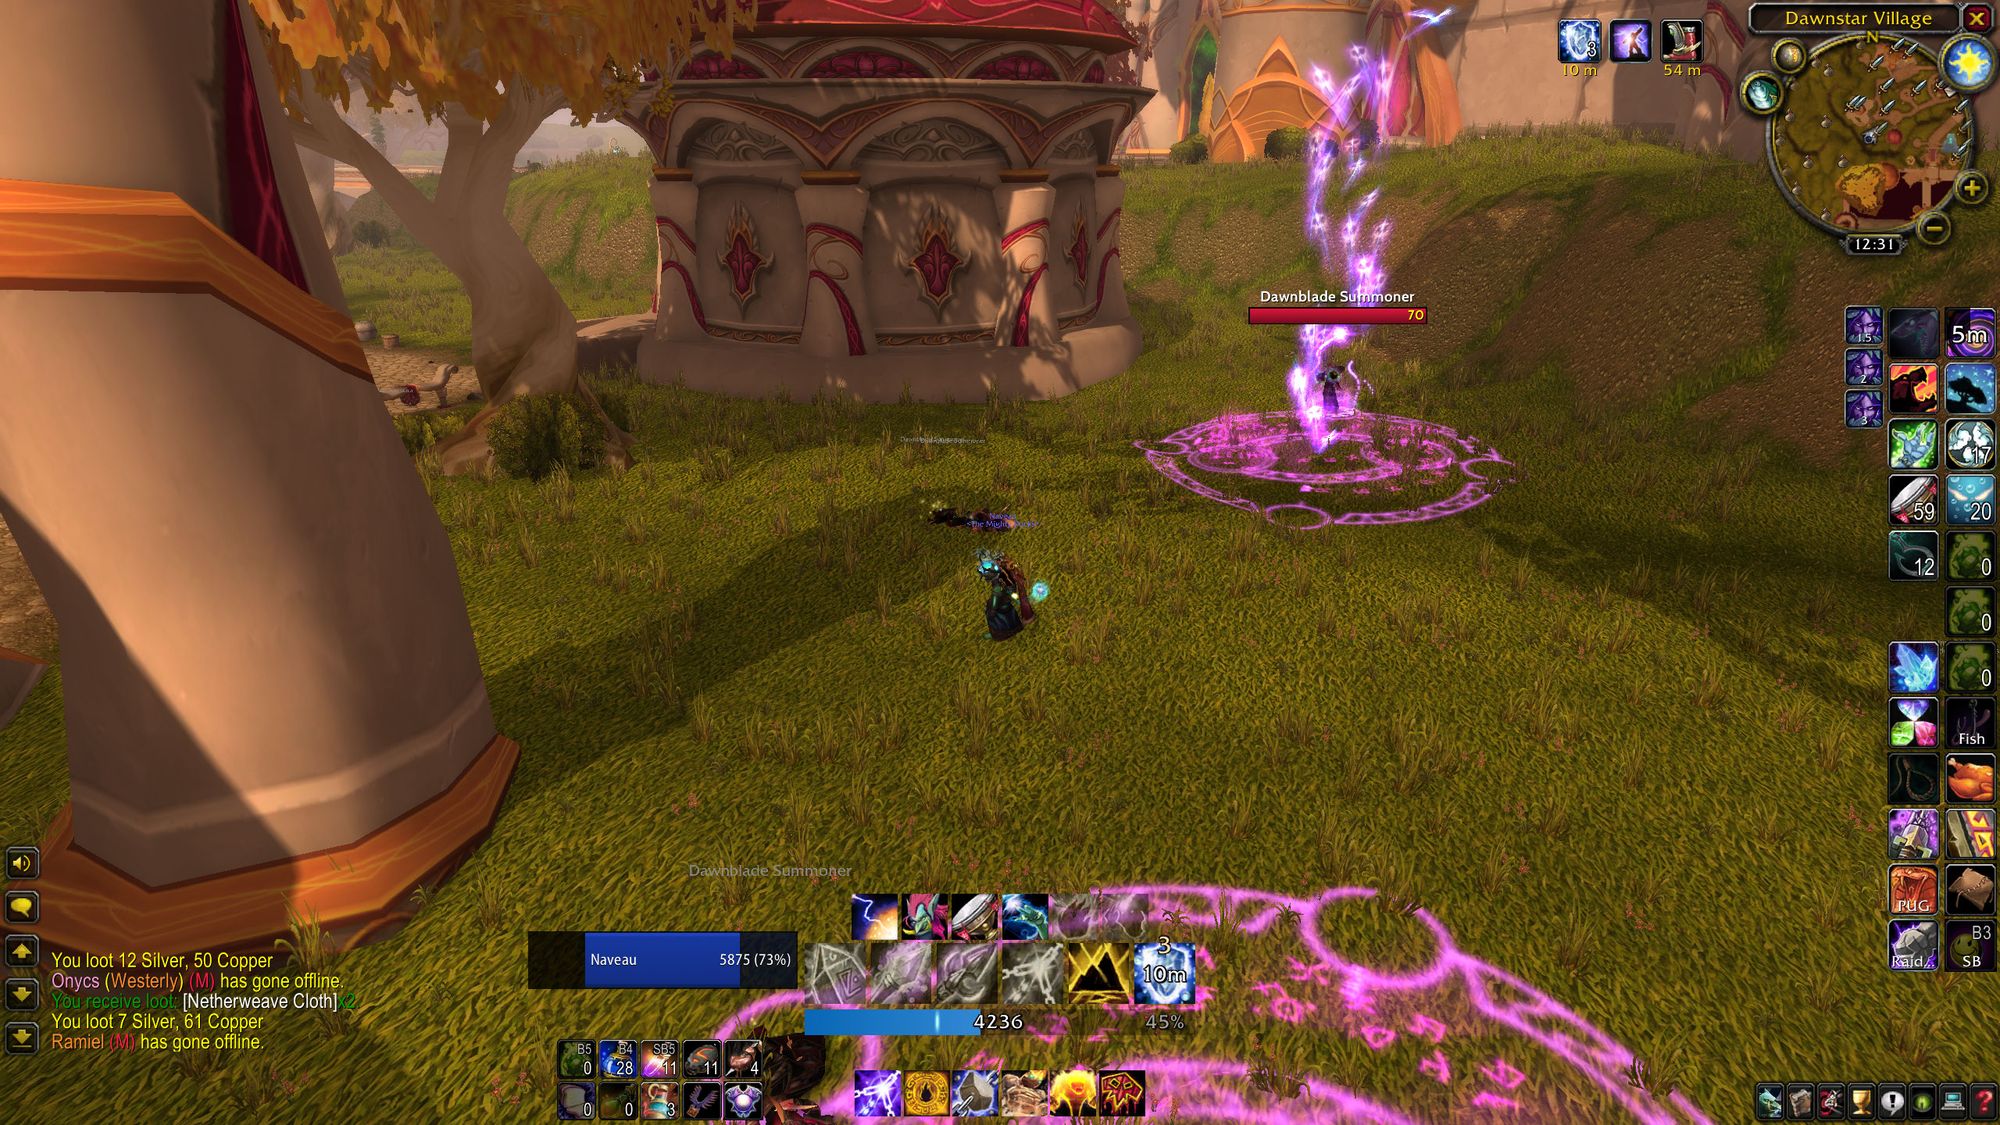
For the harbor, you need to go into Dawnstar Village to the east, and kill various flavours of blood elf. Three of each. There's a warlock equivalent, a paladin equivalent, and a hunter (without a pet) equivalent.
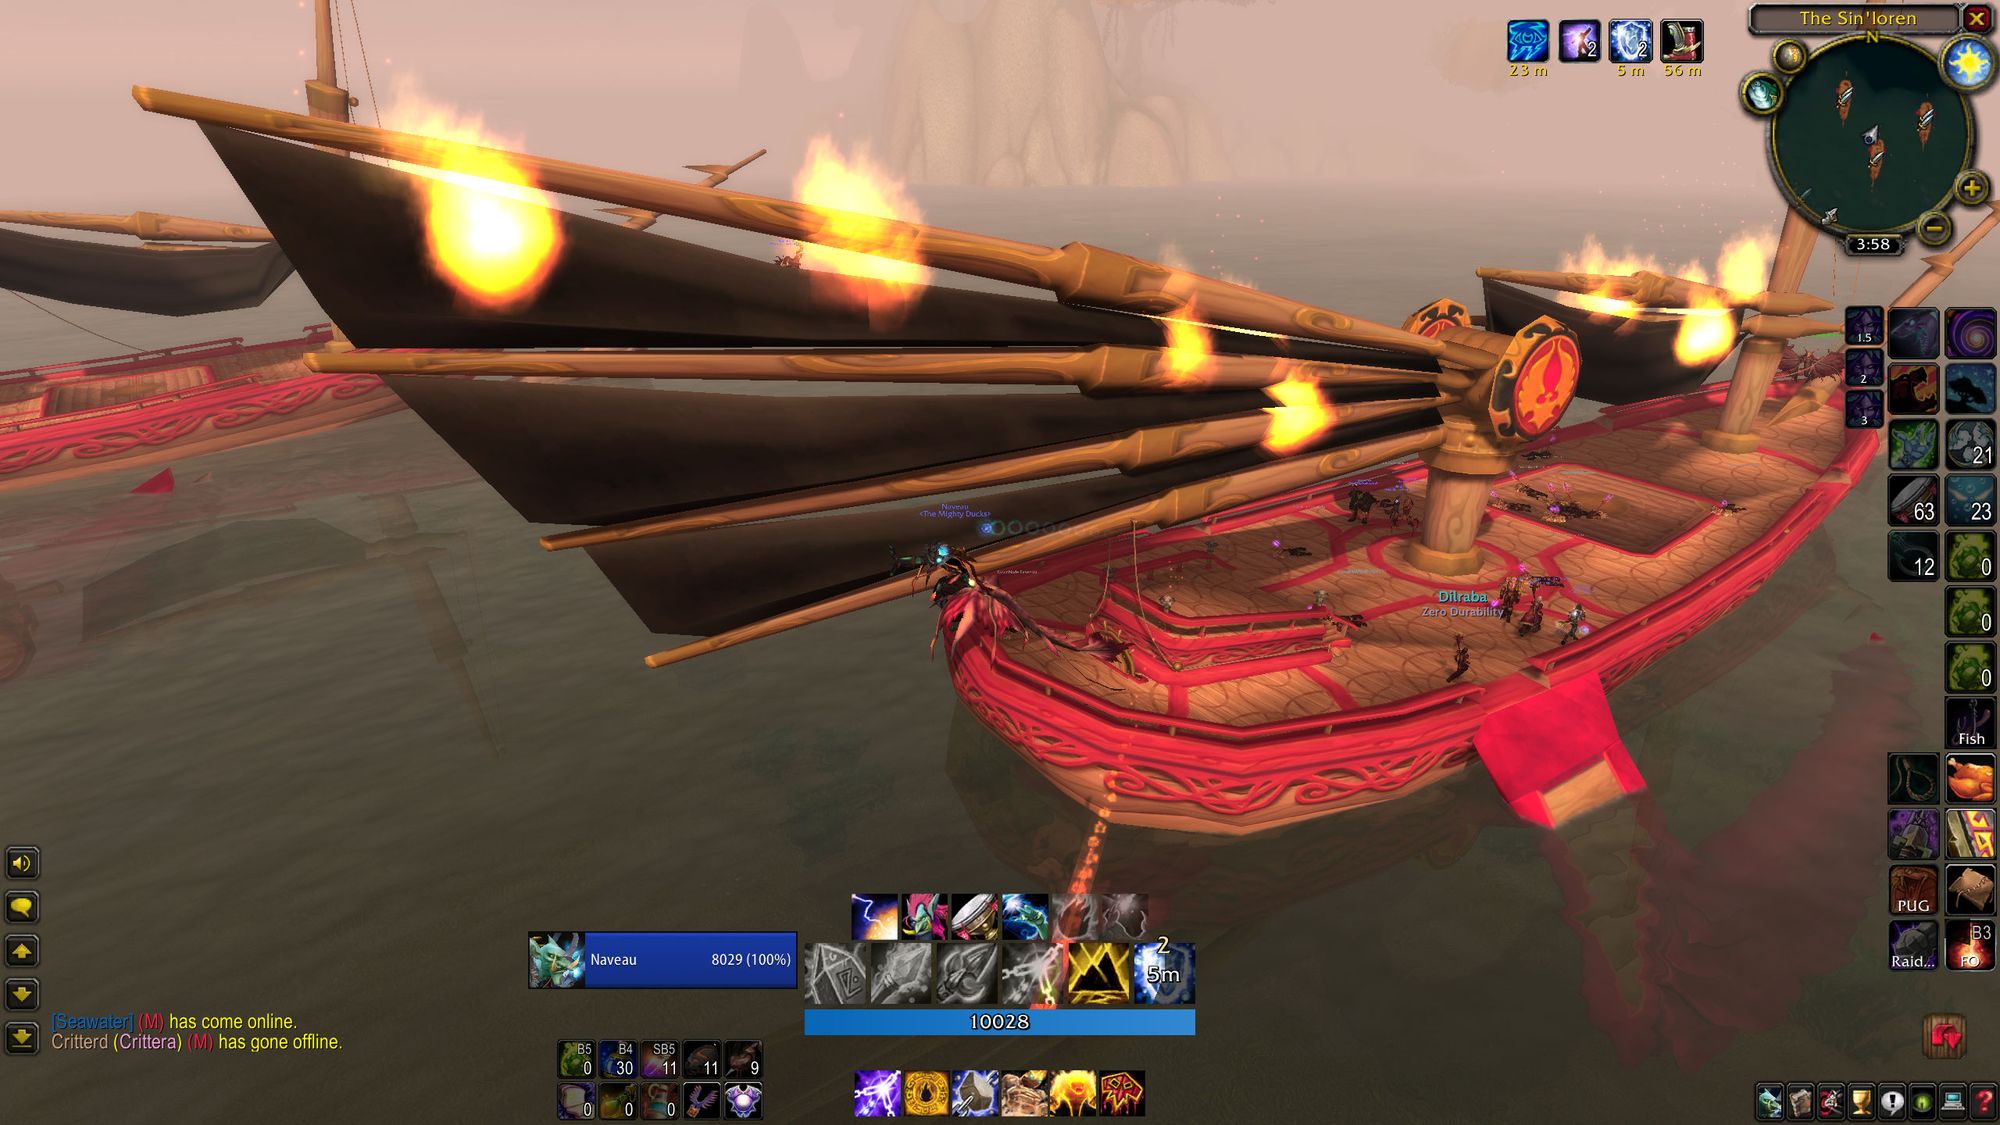
The second quest is more involved. It's a two part quest consisting of a bombing run (which can be done on the first pass) and then killing six blood elves on boats. Depending on the traffic on the isle that day, this can take a wee bit of time to complete, but there are three boats. A party trick of mine was to use water walking and stand to the side of two boats, shooting targets with lightning bolts on both.
For both bombing runs, I recommend using a macro which casts the item at your mouse cursor, which makes the whole ordeal a lot quicker.
Once the harbor has been unlocked, you'll gain access to (but not the ability to buy from, just yet) a gem vendor, an inn-keeper, a mailbox (which is more relevant than you might think) and for rogues and alchemists, a poison vendor and alchemy supplies NPC.
With the harbor under control, let's talk about the forge.
The first quest is one of the more time consuming. You need to kill Naga on the western shoreline of the isle. The myrmidons (and only the myrmidons) will drop keys (with a pretty miserly drop rate) which you use to unlock chests, in which you'll find ore - you'll need three to complete the quest, which can be a little rough.
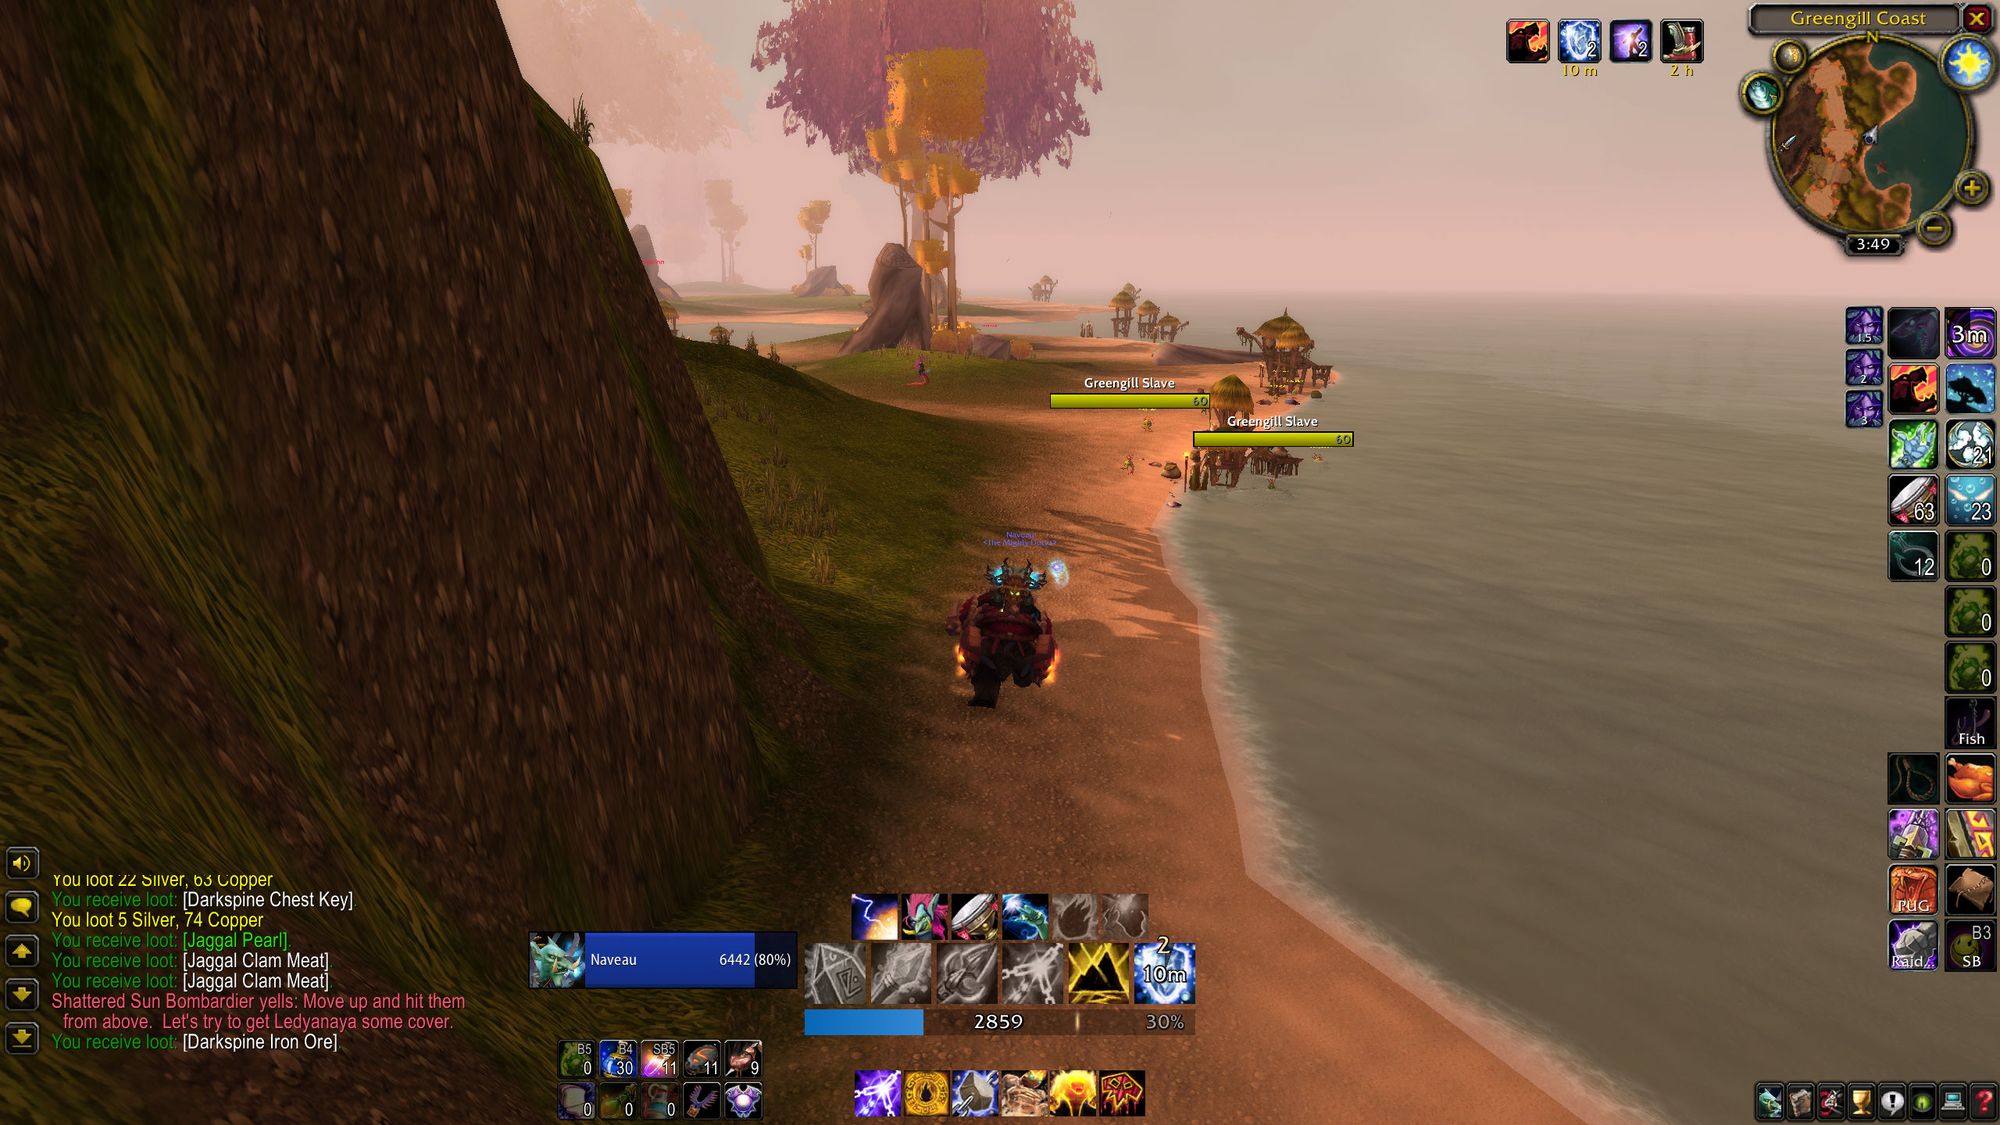
You'll also be given a quest to help the Murlocs rebel against their naga masters. Killing sirens will reward you with Orbs of Murloc control. Throw these at a group of murlocs, and it'll break the mind control and they'll make a beeline toward the nearest naga. Just be careful, though - if you're a class with rotational cleave (such as an Elemental Shaman...) they become neutral, not friendly. If you hit them with a spell like chain lightning, and you'll have to grant them mercy through extreme violence. Free 10 murlocs (even if you immediately kill them aftward) to complete the quest.

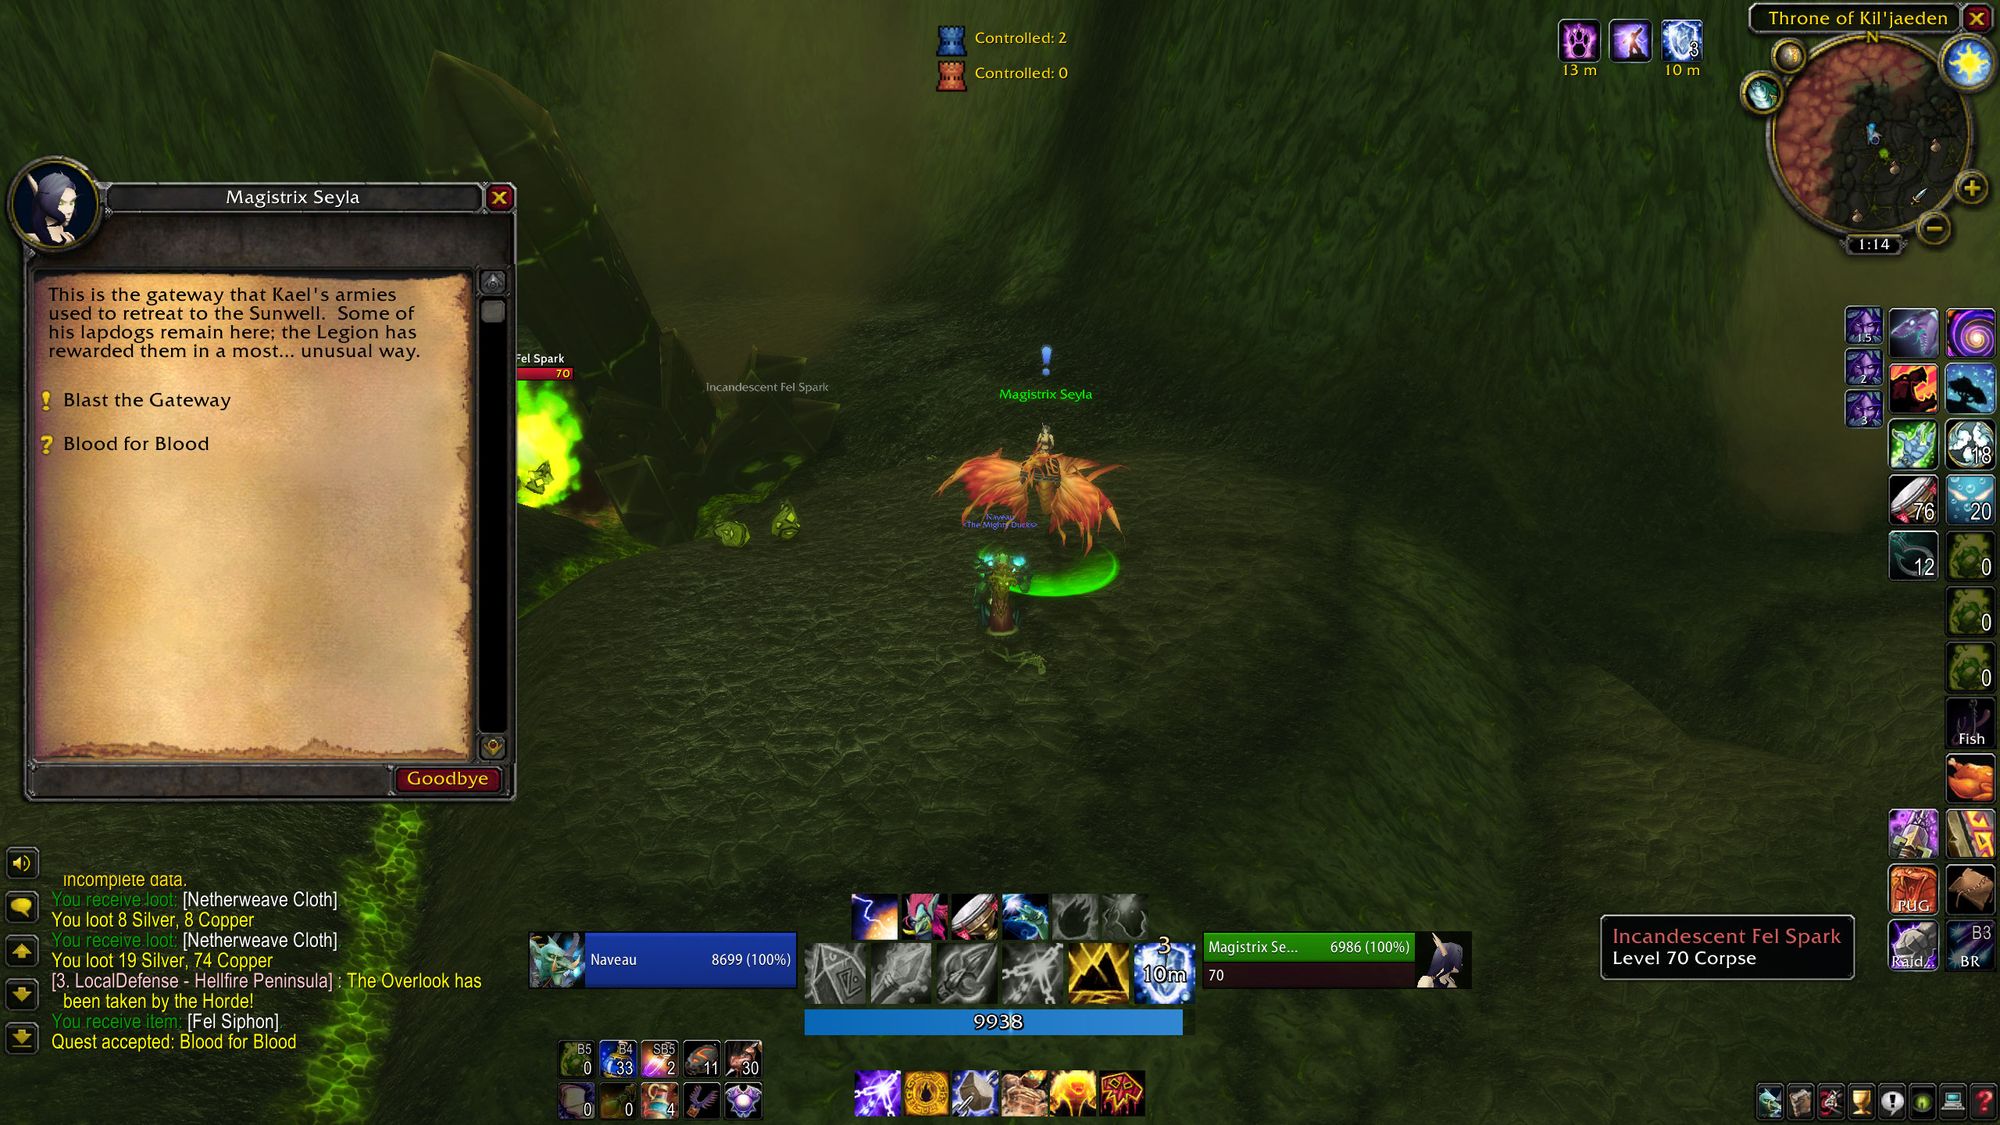
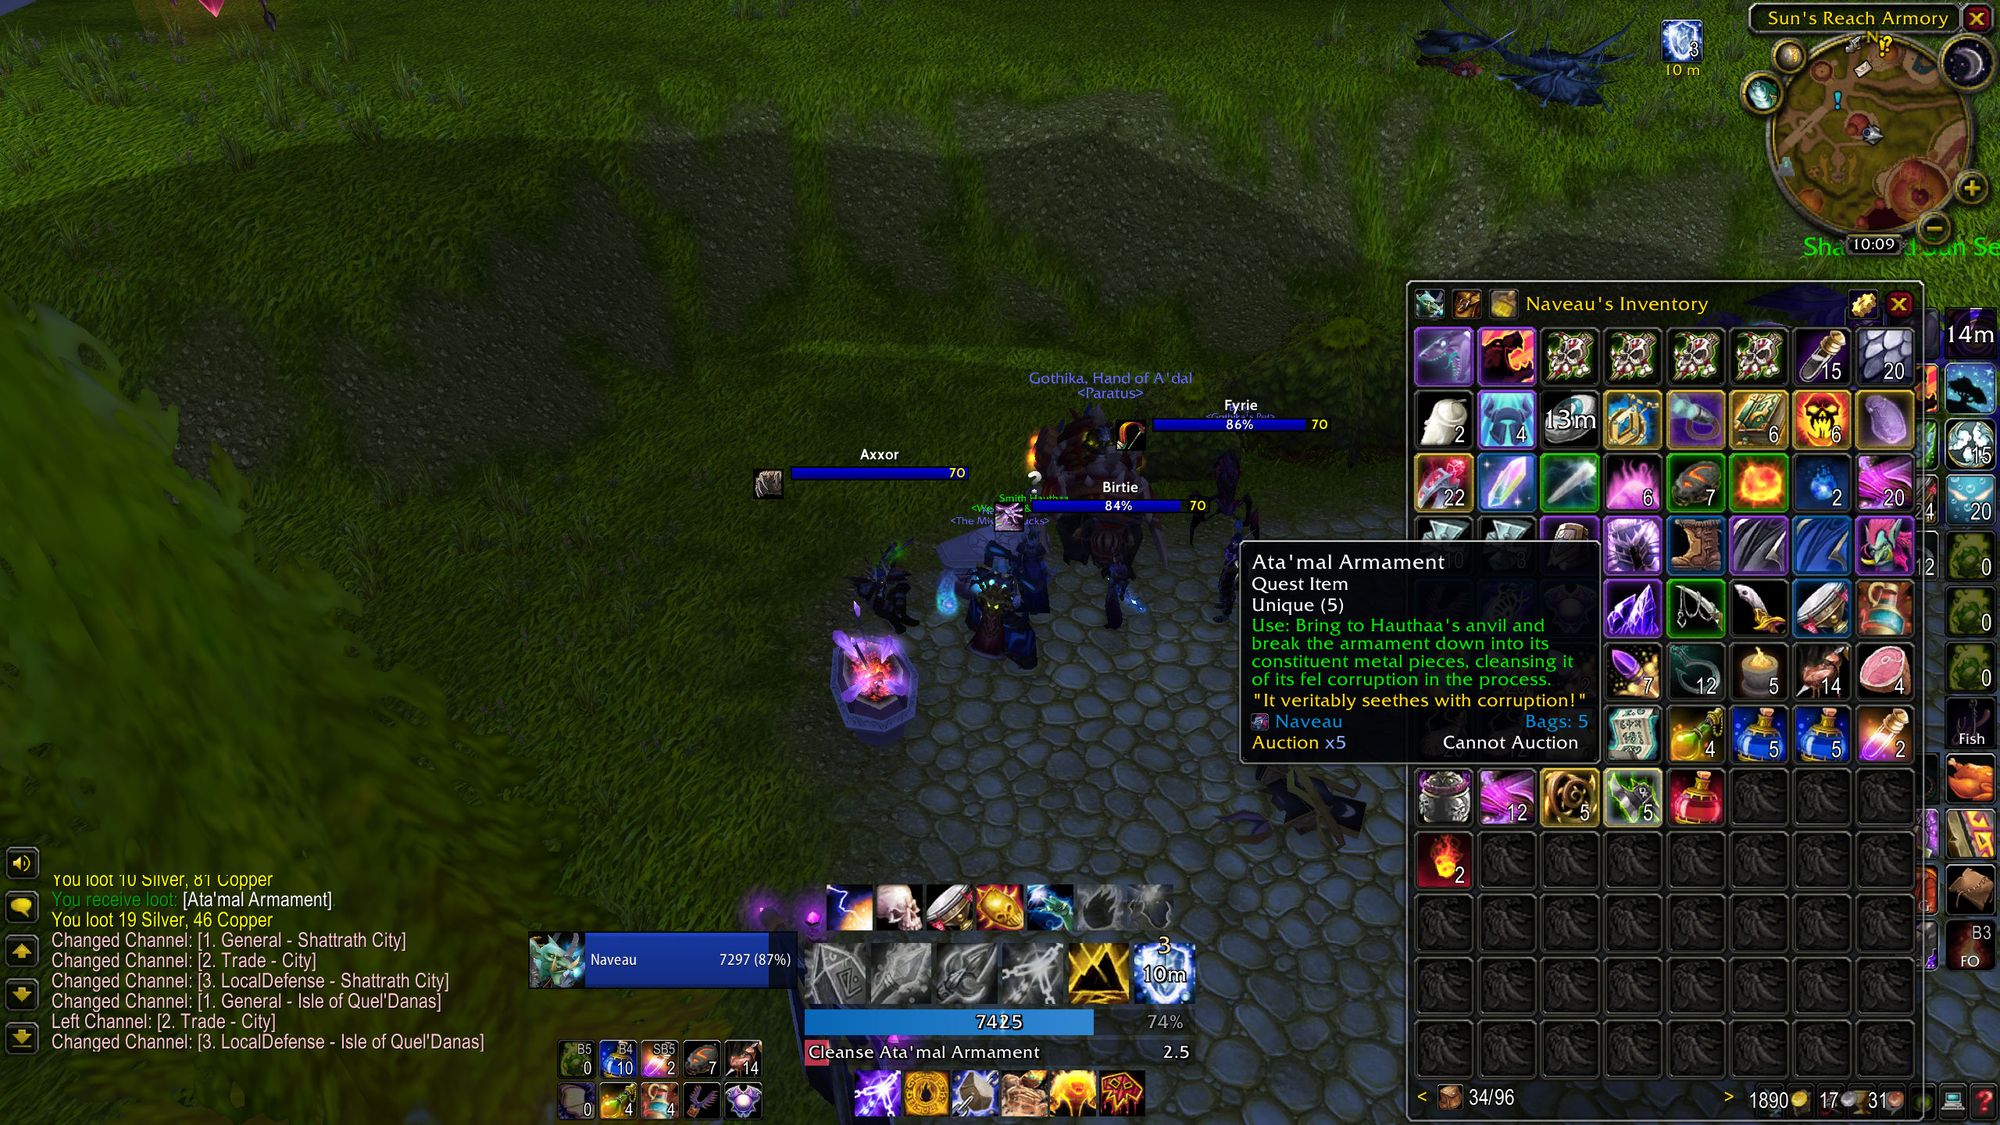
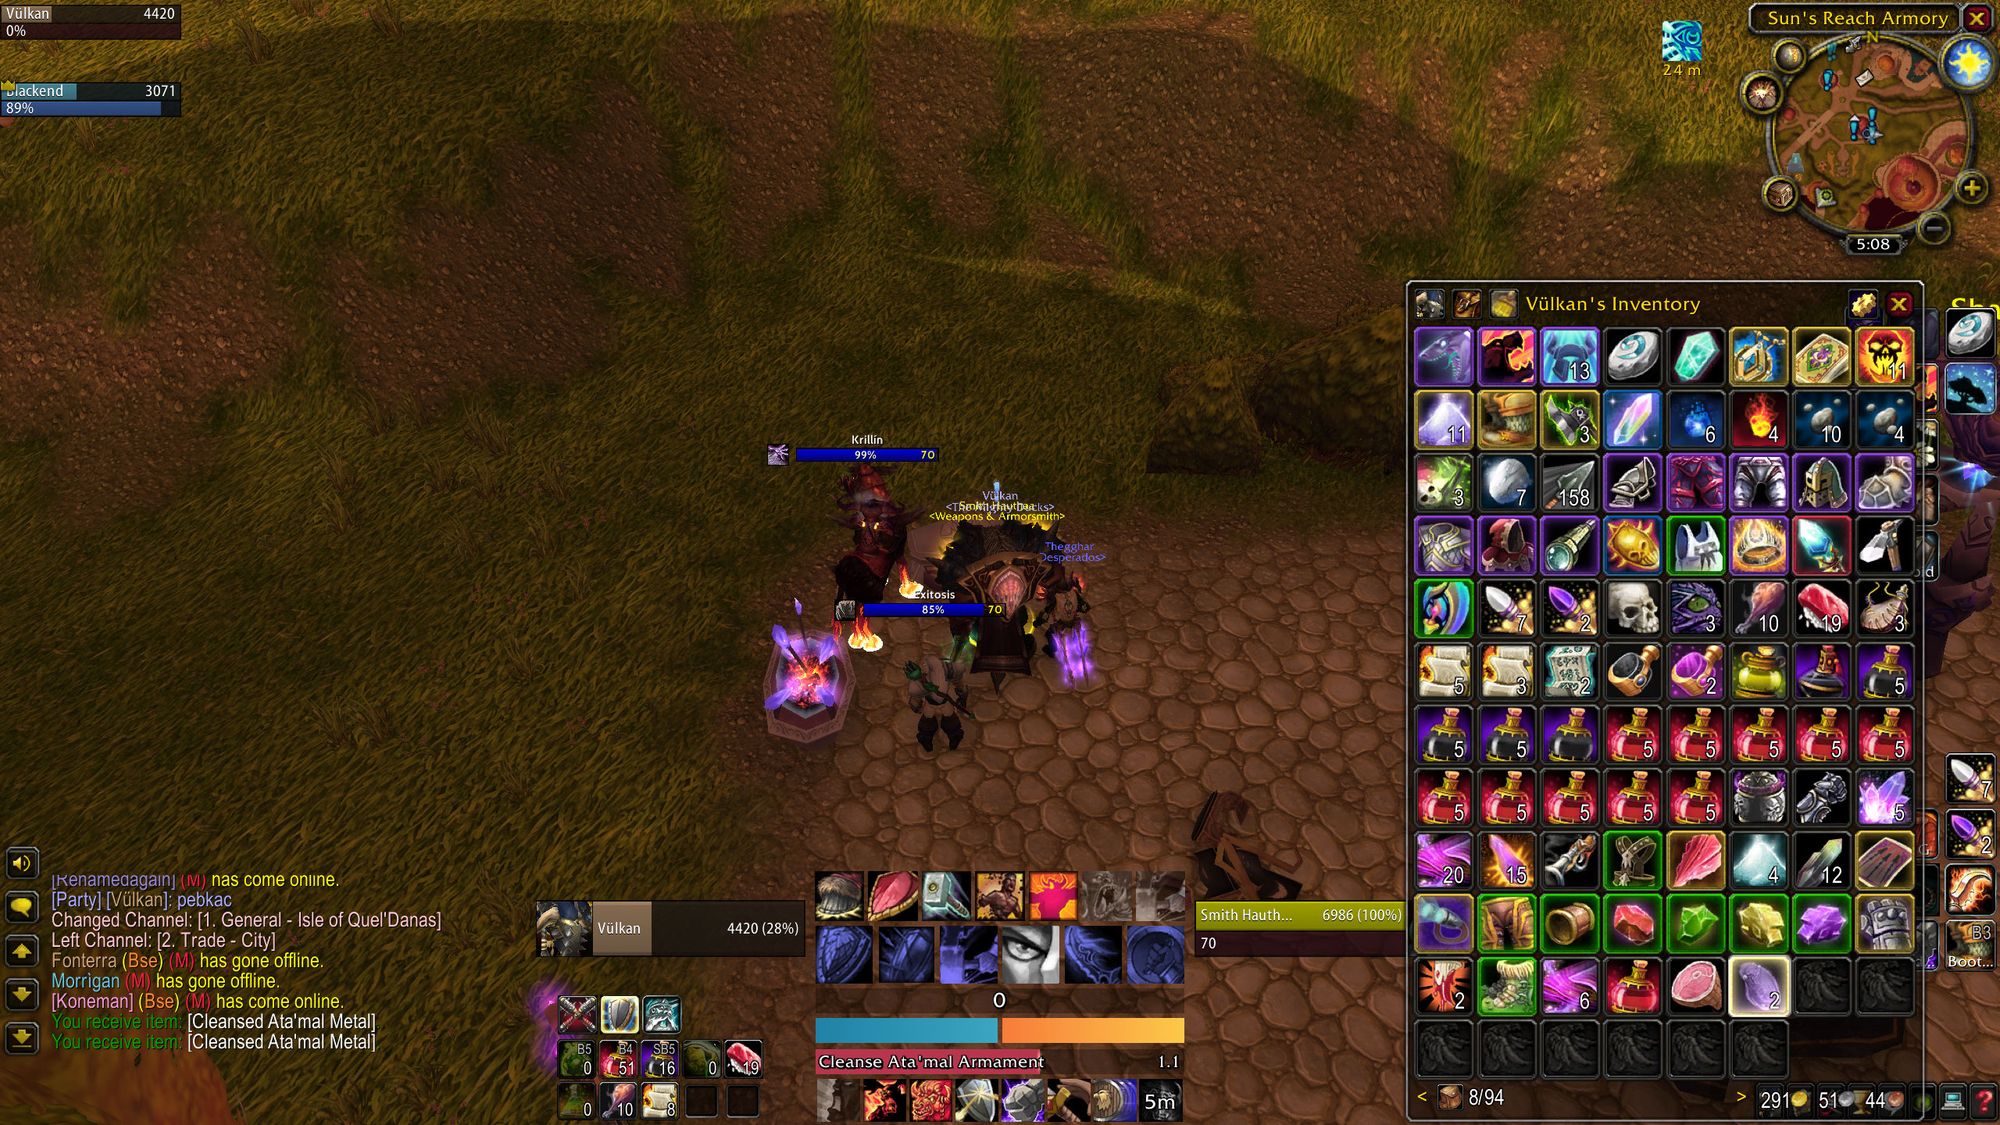
Once the forge is complete, you'll gain an additional quest for Shadowmoon Valley in Outland. This one is a bit out of your way so if you don't need the gold, skip it. You need to head to the outer parts of the Black Temple and kill fel orcs for Ata'mal Armaments. Once you have five, you can then schlep all the way back to the Isle and purify them on the anvil.
On the Isle, you'll gain access to the phase 5 badge of justice gear. This stuff is seriously mint and is on par with gear from 25-mans in phase 3. Very useful if you missed out on a niche drop or two, and for alts making the jump straight into Sunwell (as unadvisable as that is...) there are some amazing items for the right amount of badges.
You'll also get a repair vendor.
With the sanctum, armory, and harbor all taken, now comes the final push to retake all of Sun's Reach. You'll also want to get the Alchemy Lab all setup, as that gives you access to epic quality gems in exchange for badges. Although at this point in the expansion if your guild hasn't been rolling in those for a phase and a half, your guild is very, very late to the party.
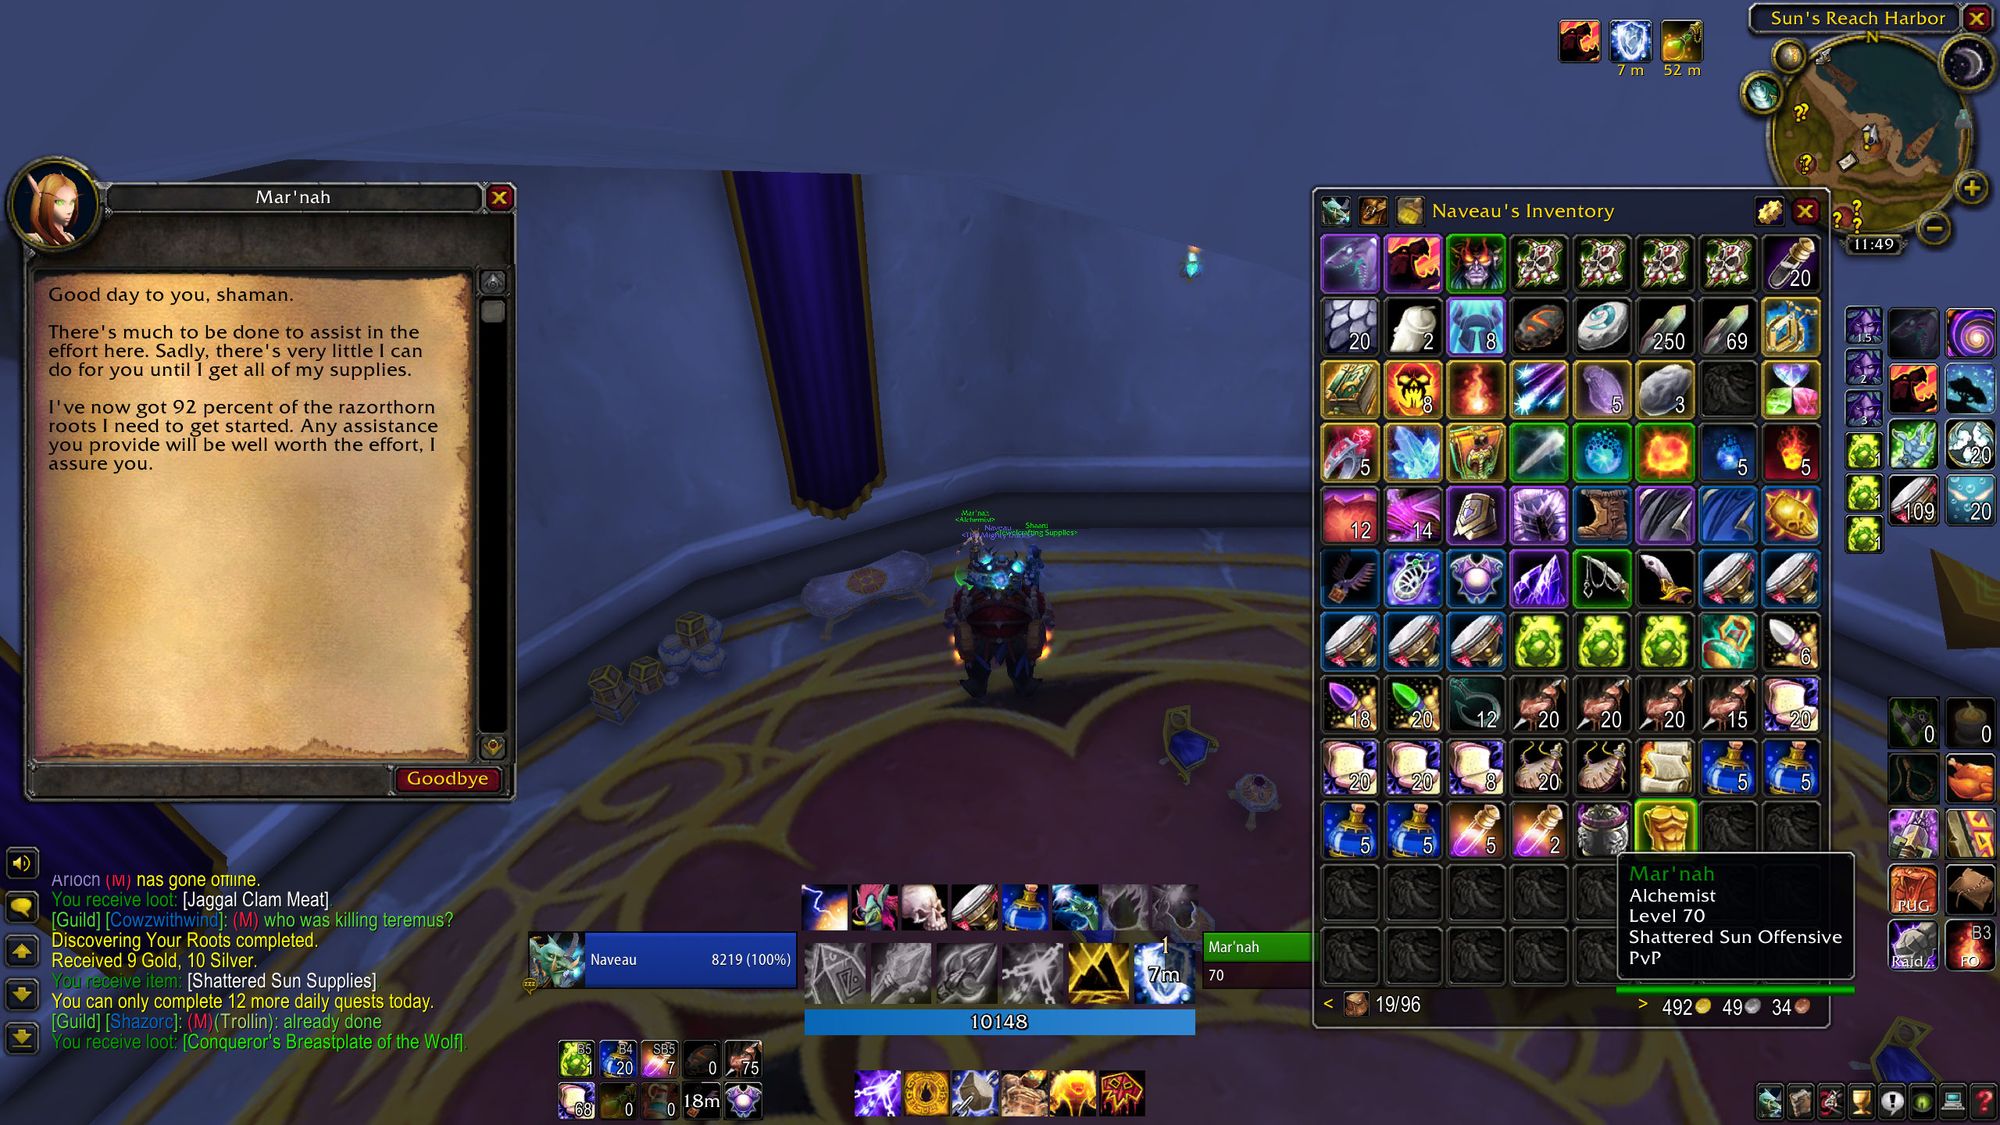
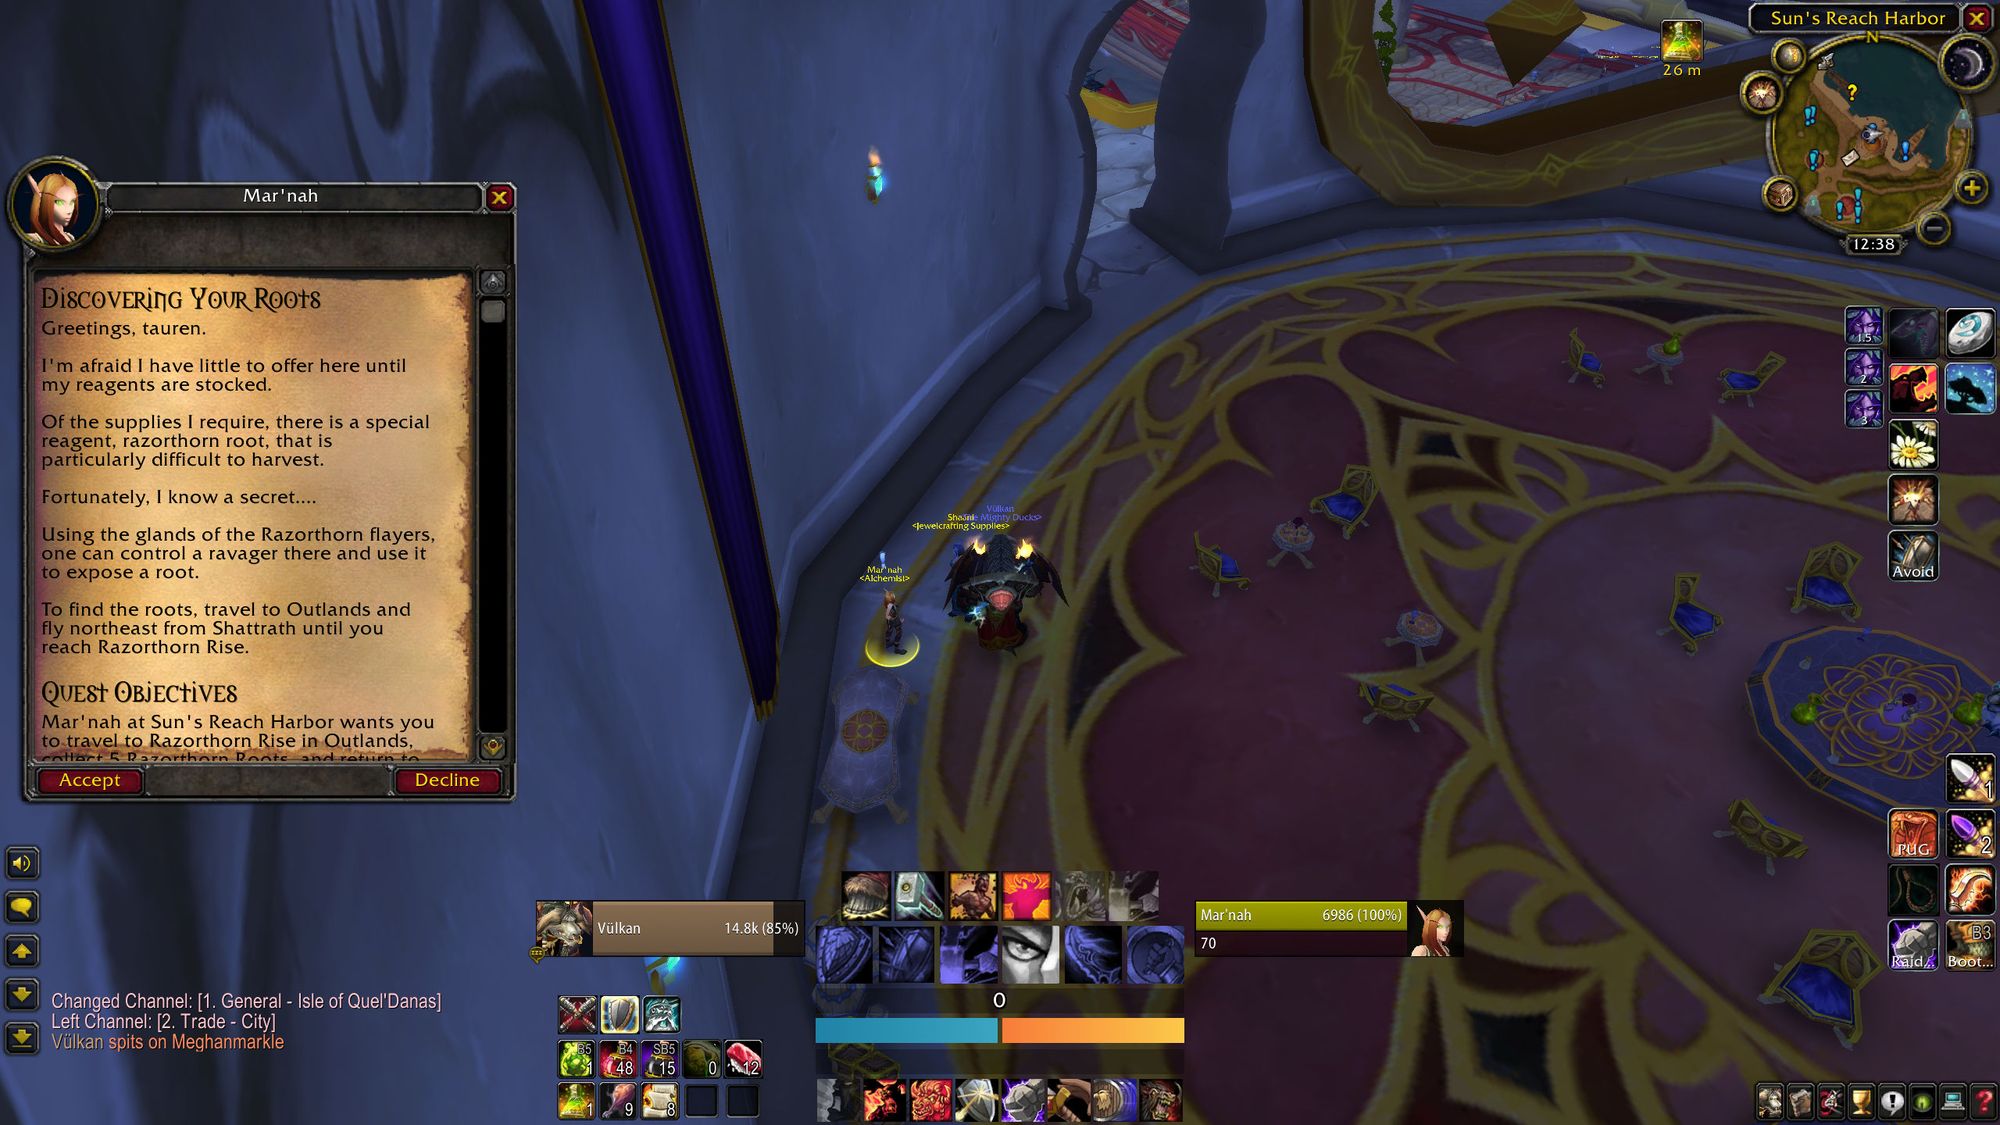
To complete the Alchemy Lab you have an additional quest in Hellfire Peninsula along Razorthorn Ridge. You use pheromones from a Ravager to control a smaller ravager - you then direct that ravager to dig up roots. You need five roots to complete the quest.
So now, you have five outland quests. The optimal route for maximum cash is to start in Shattrath, gather up all the SSO dailies, then fly out past Terokkar Forest, completing the Skyguard dailies - yes, you should look for the prisoner, because why not?
Then, go to Shadowmoon Valley, gather armaments, do the Netherwing Ledge dailies, gather the roots on Razorthorn Ridge, blast the portal and deal with blood elves at the Throne, fly across the twisting nether to Netherstorm, recover the attack plans at Manaforge B'naar, jump over and collect the mana cells in Blade's Edge, do the Ogri'la dailies whilst you're there, and complete one final SSO quest in Nagrand.
You're given an item to replace your head which allows you to see anomalies around Oshu'gun. If you put it on whilst you're not in the zone, you can't see them, so wait until you get close. When you're near one, you use the item in your head slot, which gives you quest credit. Do this six times.
Once you've done all that, go and do all your Isle dailies. Start by completing both bombing runs, finishing by bombing the boats and killing the reservists. Head east, turning five sentries and taking heroin mana remnants from wretched fiends. Move through Dawnstar Village killing every blood elf in sight, making sure to take your first reading here. Then head under the bridge, kill six demons and stick the banner in the chief demon's butt, take your second reading here. Purify your Ata'mal armaments, energize a crystal ward, then head out to the greengill coast killing myrmidons for keys for ore and sirens for Murloc Control Orbs. Whilst doing all this, keep an eye out for bloodberry bushes, then go and turn it all in.
Once you've completed that list of chores on your main, log in to all of your alts, and rinse and repeat until you have no more alts. Nine hours and one splitting headache later, you'll be swimming in gold, and definitely not questioning your life choices.
I may have done this once or twice - it was at this point that the veneer of nostalgia began to crack.
The last objective is to build a monument to the fallen. Yep, you read that right, the forces of Kil'Jaden and Kael'thas will know they're beaten when we've built a statue.
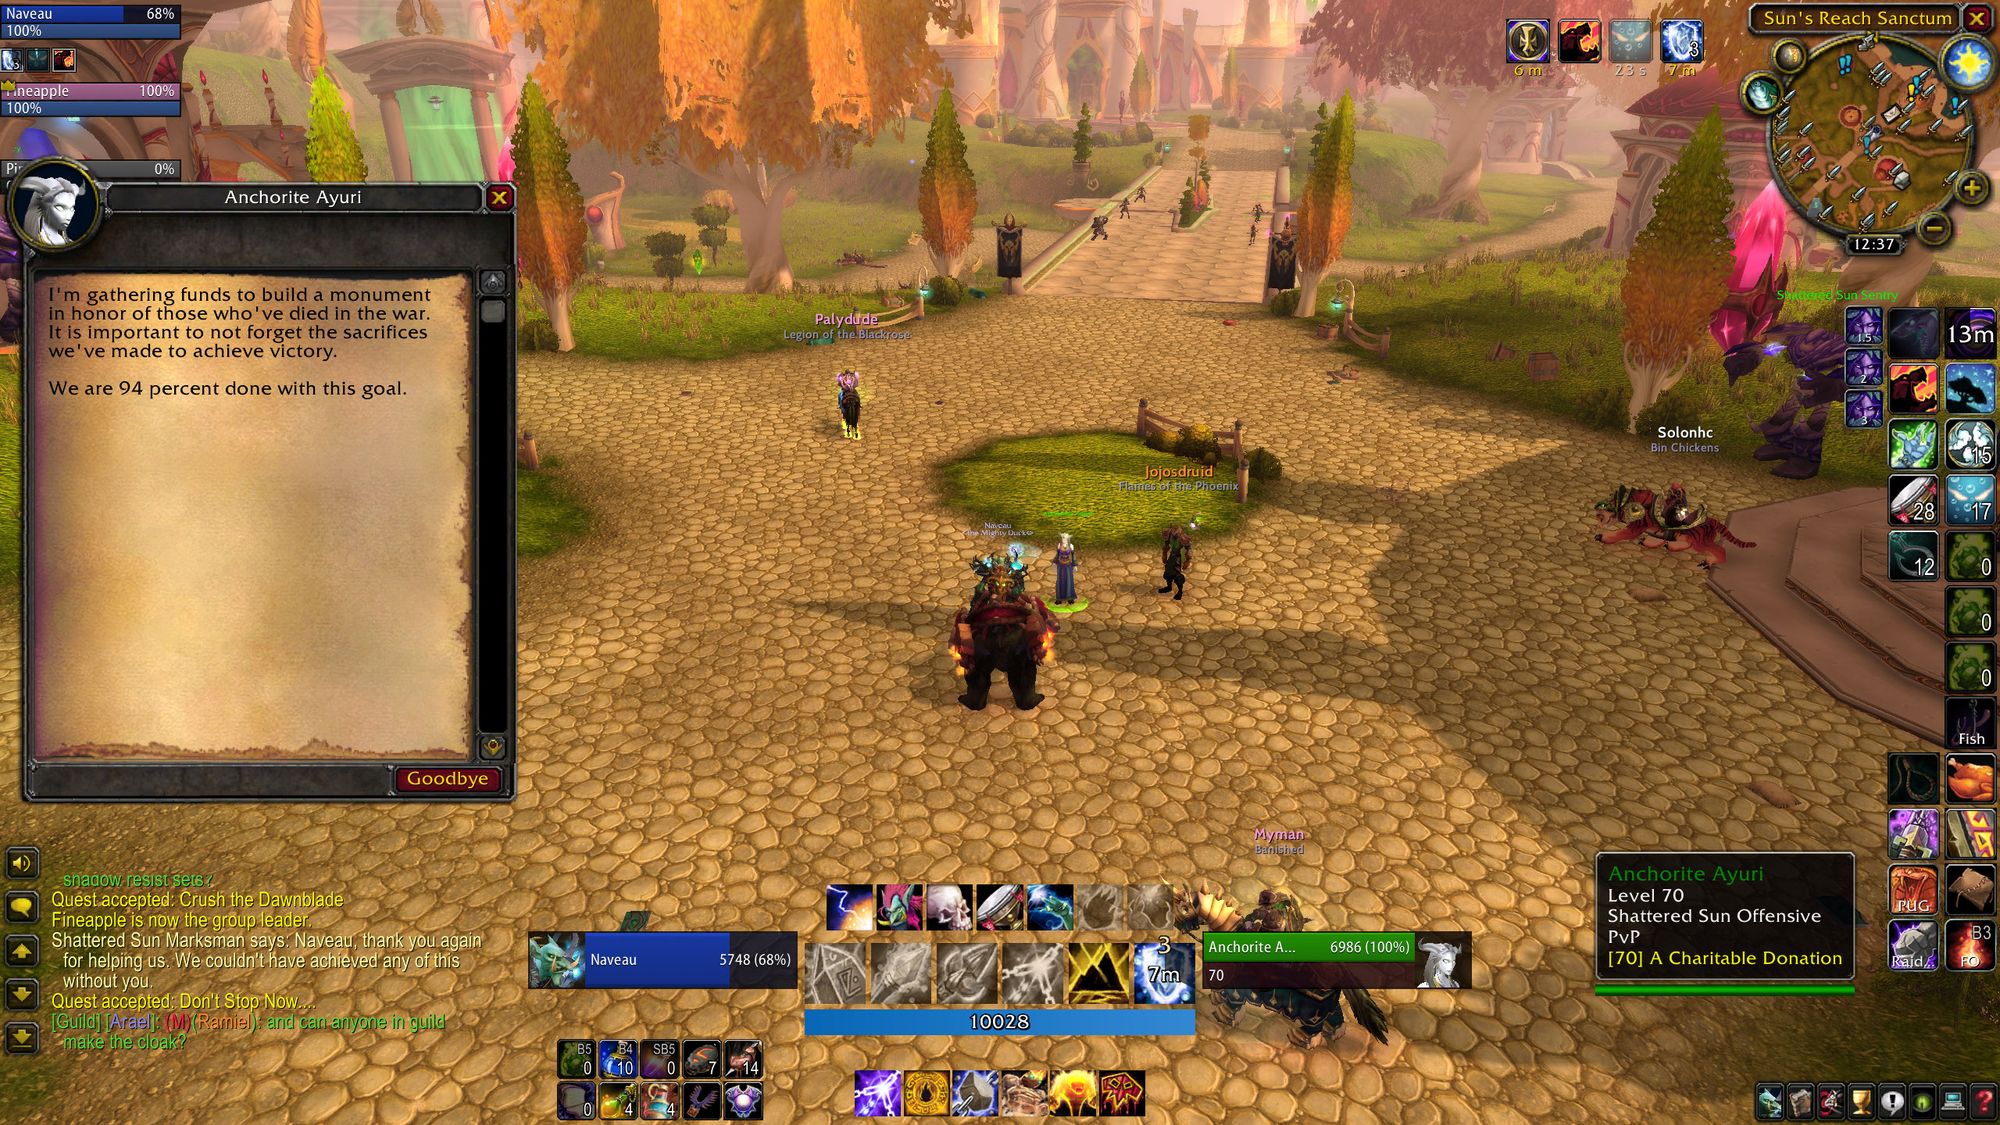
There's no daily for this one, instead it's based on donations from the playerbase. Any player can donate as much gold as they want, and in addition they can pay 1,000 gold to get a title - "of the Shattered Sun". No, I didn't buy it, and no, I don't regret that decision.
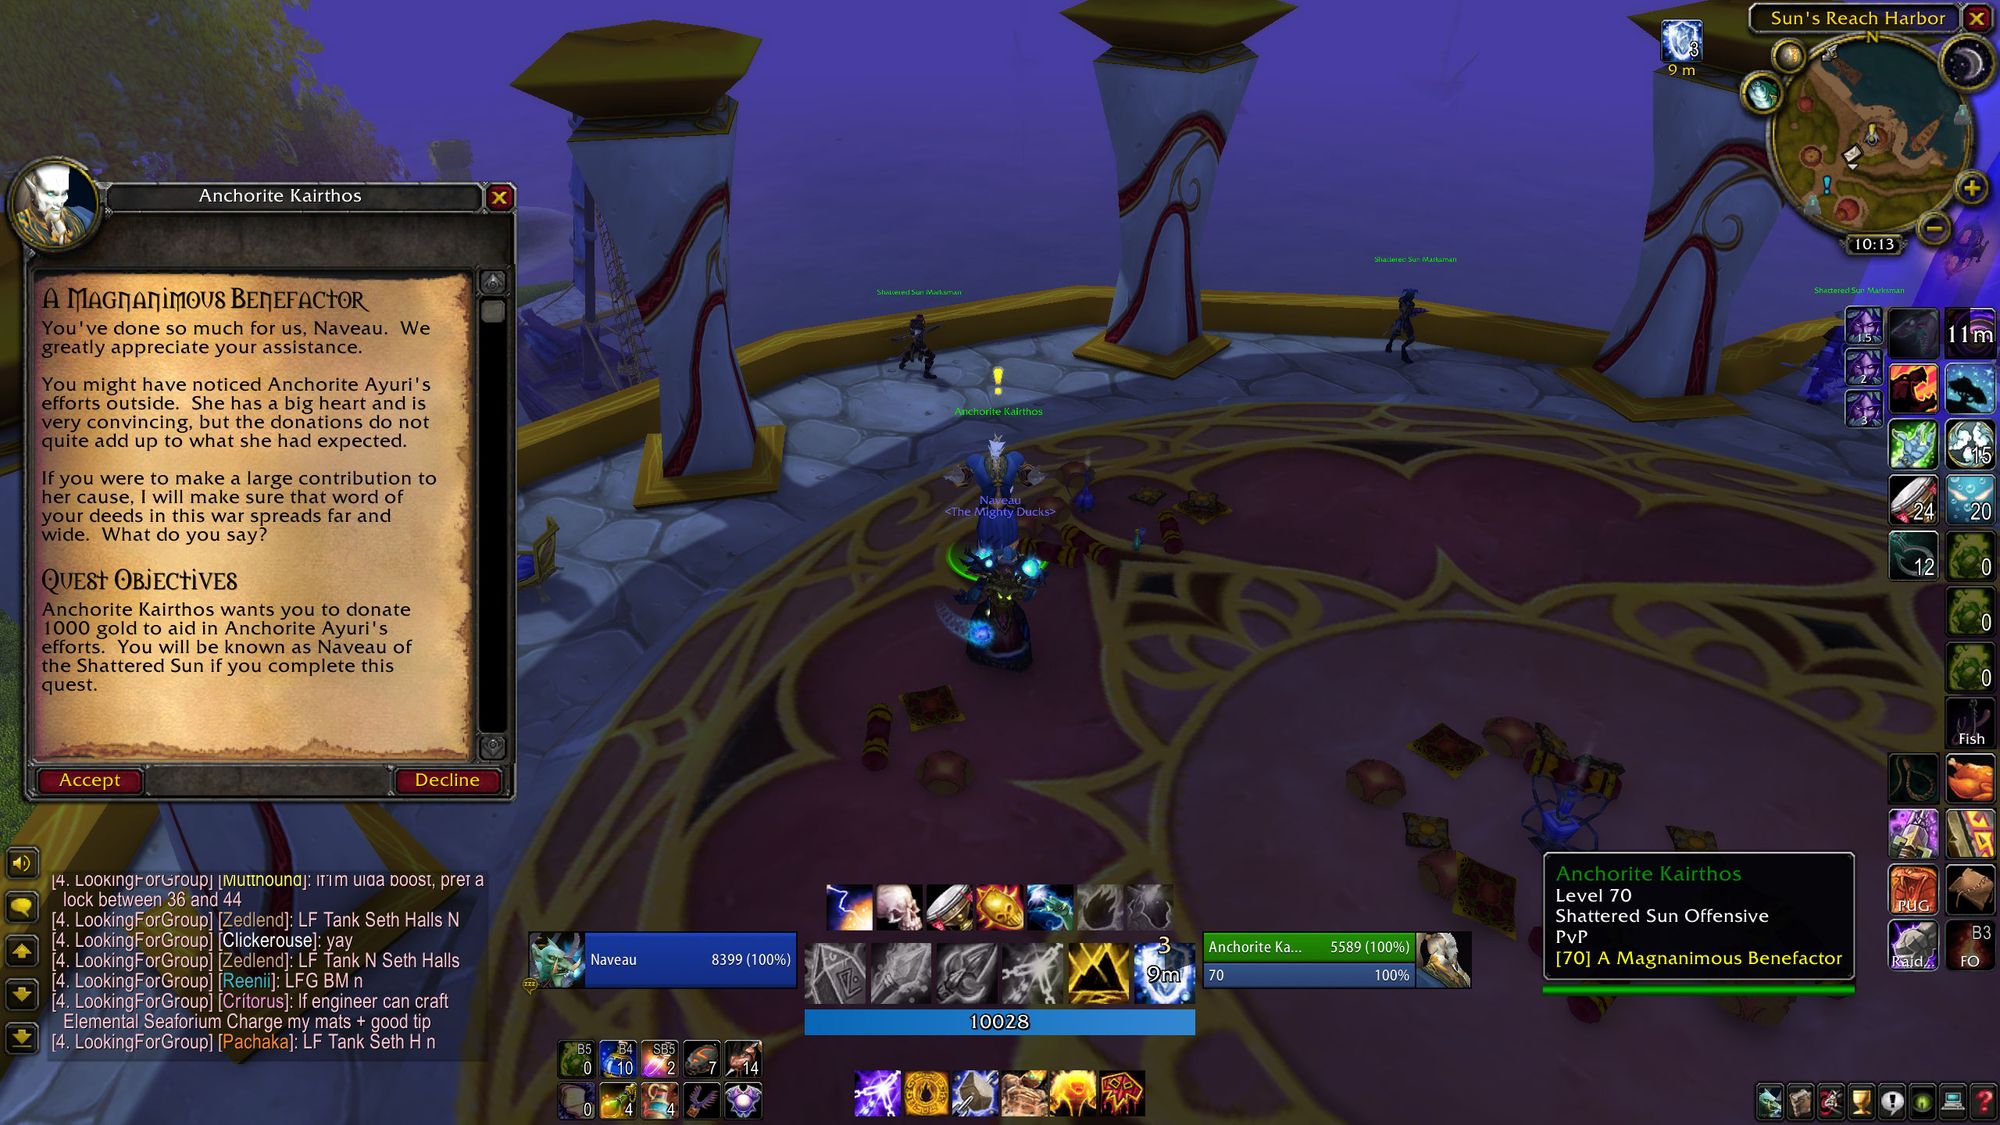
When the statue is completed, anyone on the Isle (and in Sunwell Plateau) will receive Kiru's Song of Victory, a buff that provides Arcane Intellect and Power Word: Fortitude. Although it's the crappier version of Fort, so your priests will sill need to cast it on your raid. Suckers! Mages get let off of the hook, though.
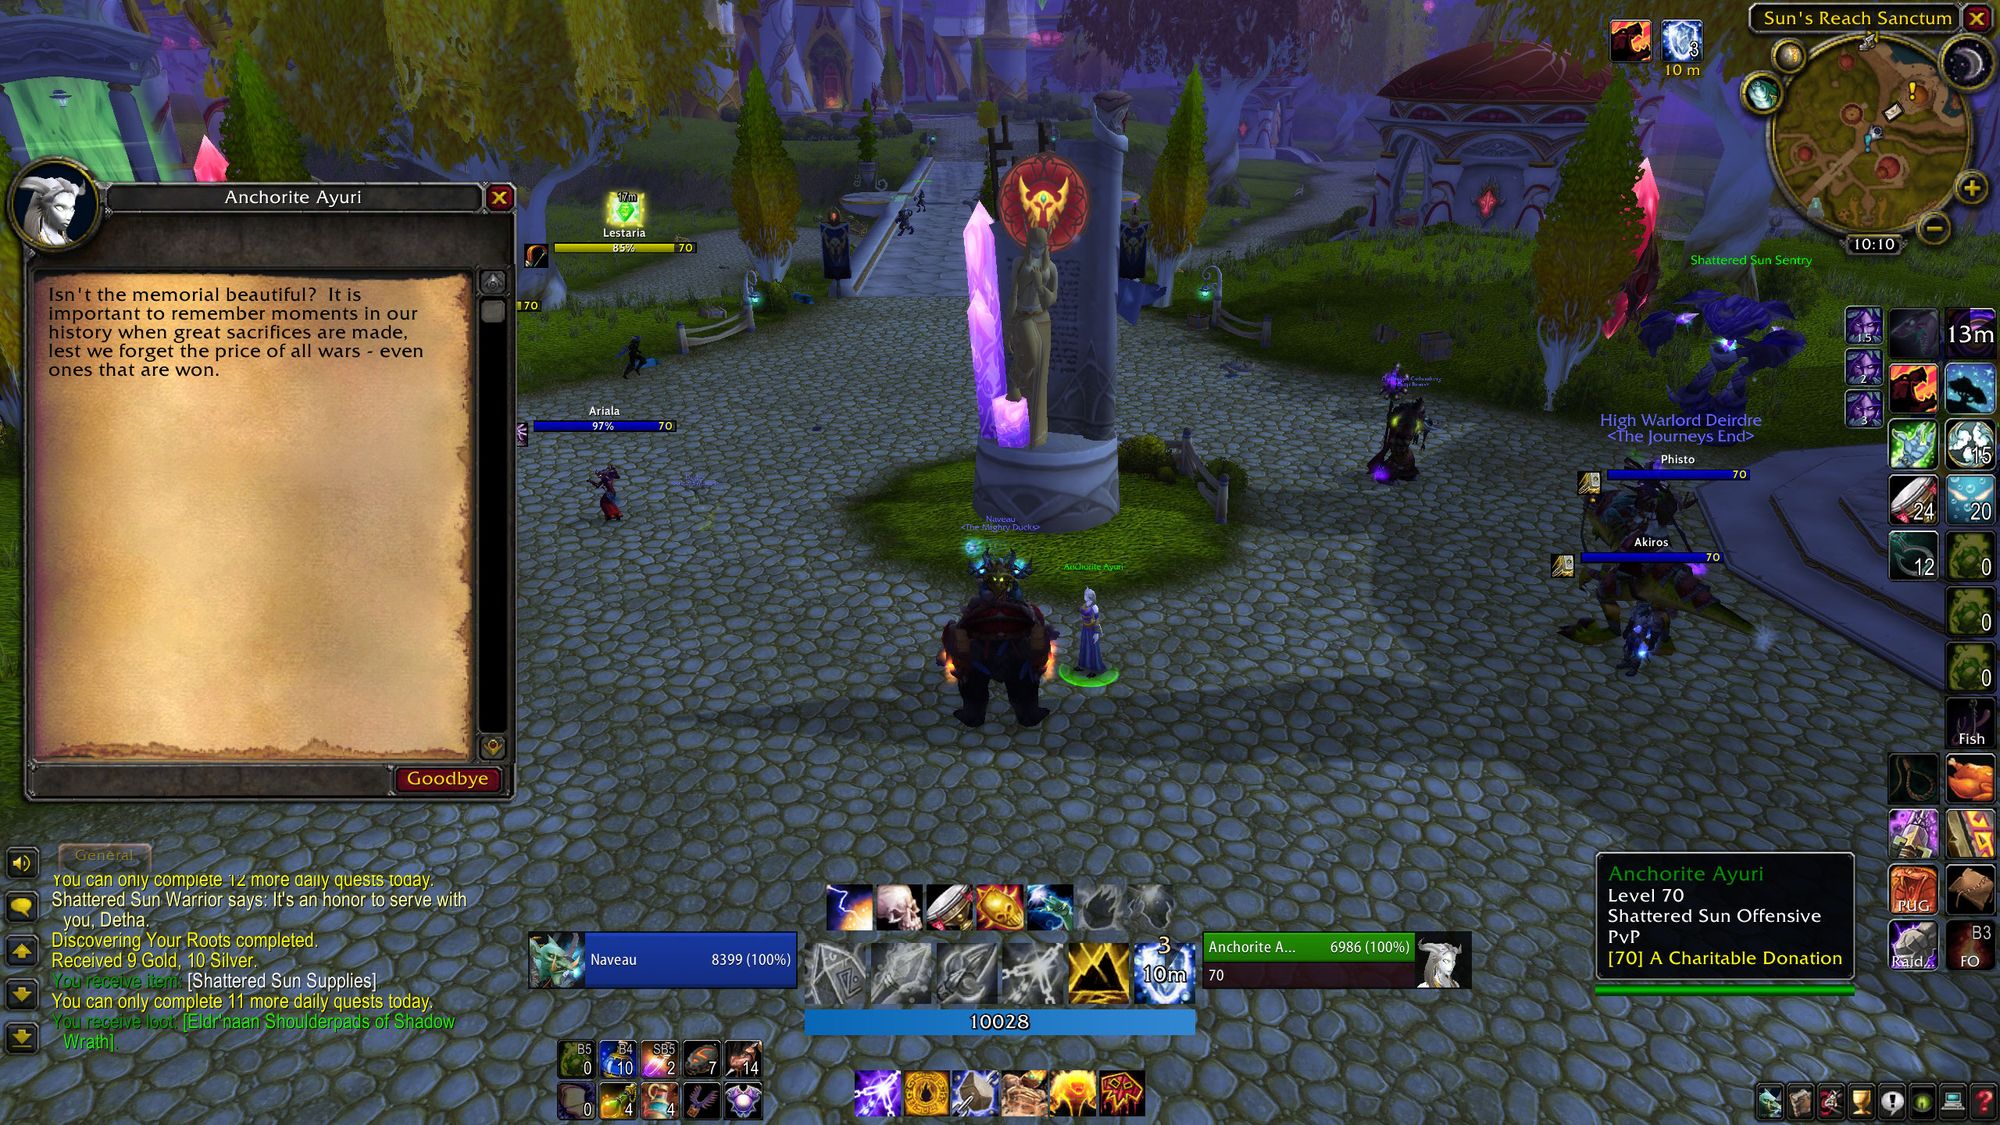
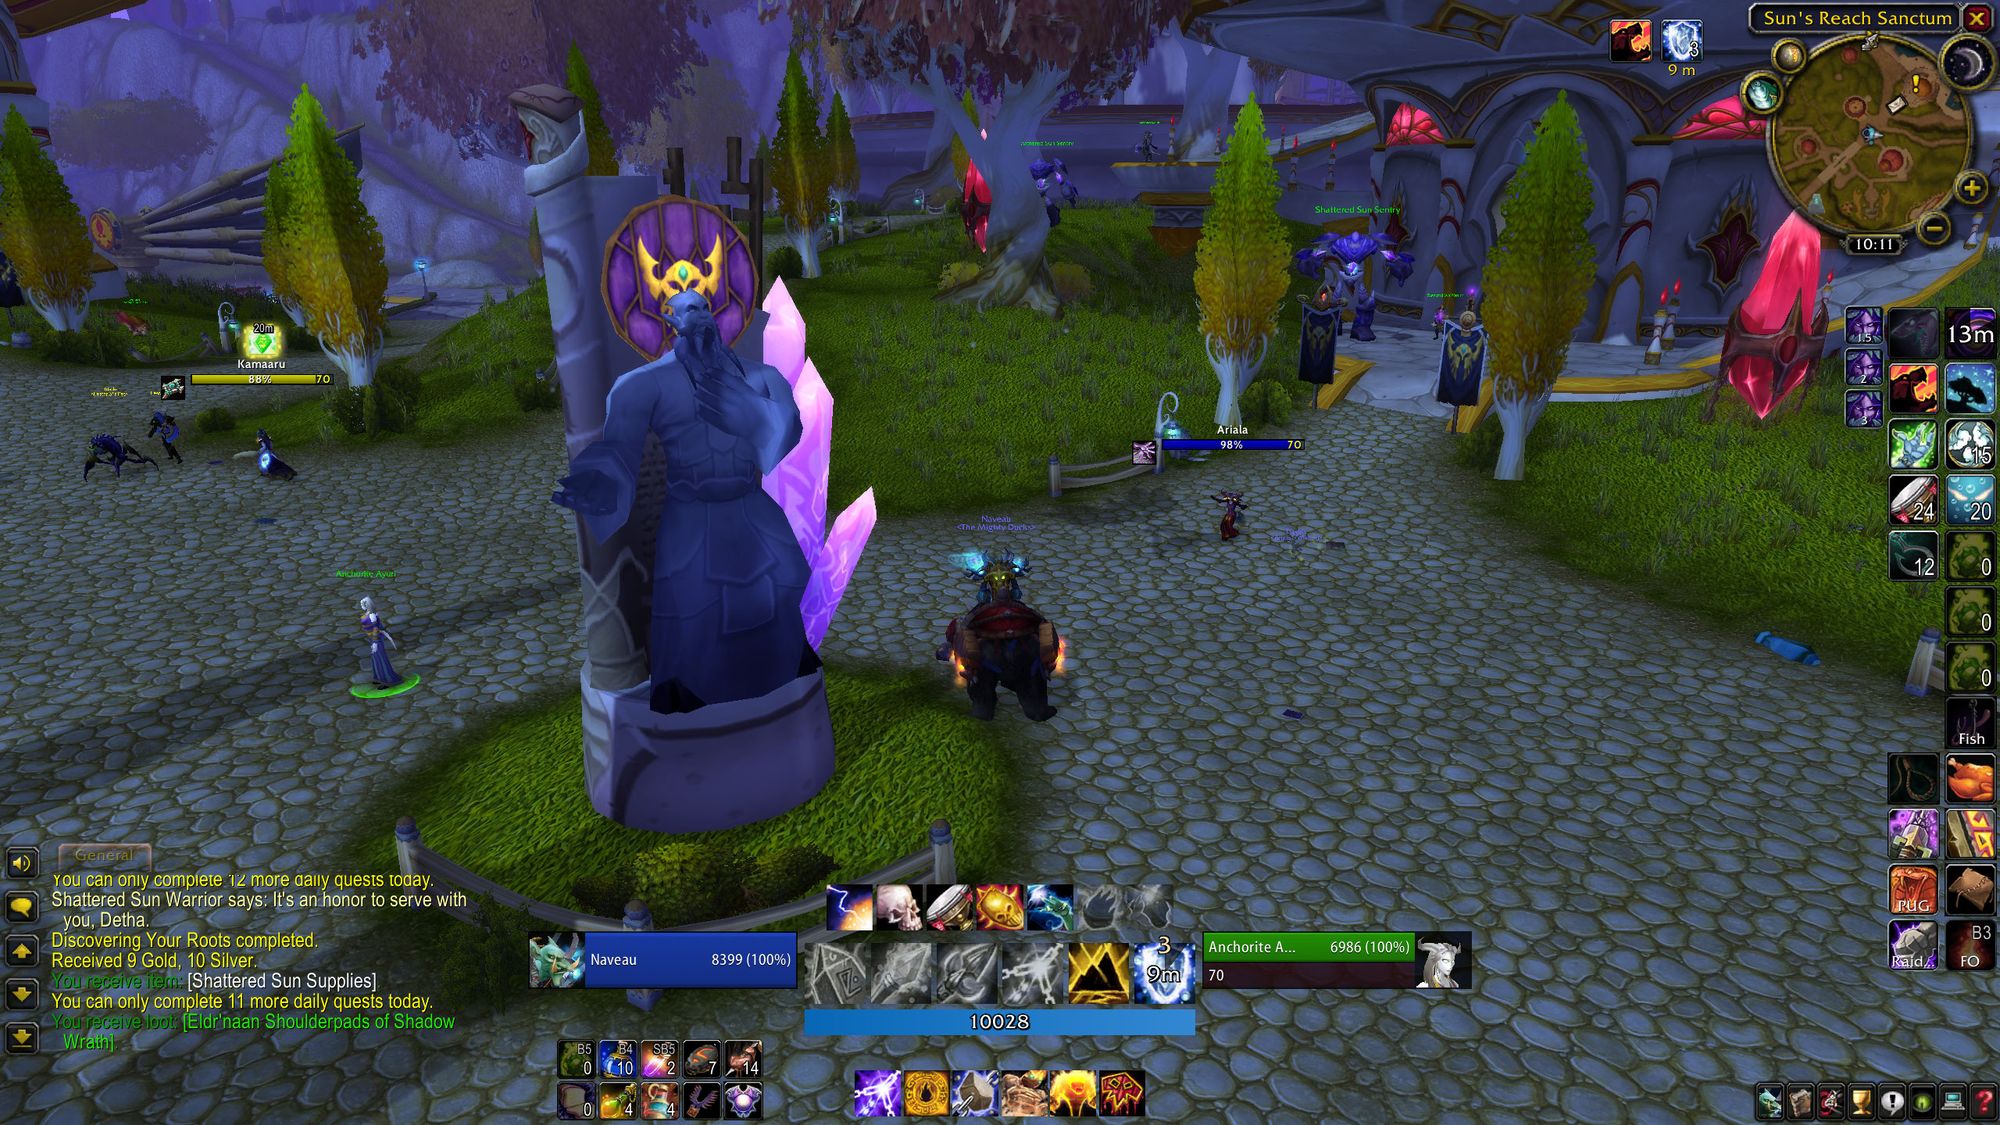
One cool tidbit about the statue when it is finished, though. On one side is a blood elf, and on the other, a draenei. It's a very touching and symbolic way to mark TBC as the debut of those two races.
Whilst reading the words on a blog post might make this seem like light speed, speed of progression is (obviously) dependent on the willingness of the server population to complete dailies. Some high population servers (such as the Oceanic Arugal) chewed through the phases very quickly. My home turf of Remulos, by comparison, very much did not. By the time the badge gear and gem vendor became available, their relevance was very much diminished.
But in many ways (and the overarching theme of world of warcraft in its early period) is that convenience took a back seat to challenge. It's the gem that's hard to get that becomes more coveted. But, more on that later. Much, much later.
Unlike previous sets of dailies, the Isle feels very close to "modern" wow. The chores are quick and painless, which is good. There's very little difference to me, in terms of feel, to the time I spent in Shadowlands. Short, bite-sized quests to reward you with income to continue your existence. Did I appreciate it at the time? Yes, very much so. But in hindsight, when you compare the experience to previous sets of dailies that had background you had to work through and obstacles to complete.
What was the price of convenience. Was it worth what you paid?
I'm not sure I know the answer to that. Clearly Blizzard's audience did, as the next expansion used the template set by the Isle and ran hog-wild. And that expansion is considered to be the greatest of all time.
Regardless, we're getting very, very close to the end. There's one more raid to go, but I want to produce a few more articles about TBC to cover off some things I found particularly interesting.
Additional Resources
Here's a tour of the isle on my warrior:
And here's a run of Magister's Terrace on my Shaman:
Catch you next time,
Vulkan
Did you like this article? Did you hate it? Go over and keep the discussion going on the official Vulkan's Corner facebook page! - whilst you're at it, leave a like!
