If you've read any of the previous content on the blog, you'll know that one of my key deliverables when deciding to play TBC Classic was to record it all. Memorialise it so that my long-suffering wife would never again have to endure the hardships of losing me to a video game mania so fervent that Sweden acknowledged it as an official addiction.
That doesn't help much now, but, you know.
The point of this article isn't to divulge all the secret little strategies and pick the raid apart with hard numbers. It's to recount my experience raiding in the instance with my guild over months. To try and capture what I felt so that when my memory fails me, this article will help me remember.
But I digress.
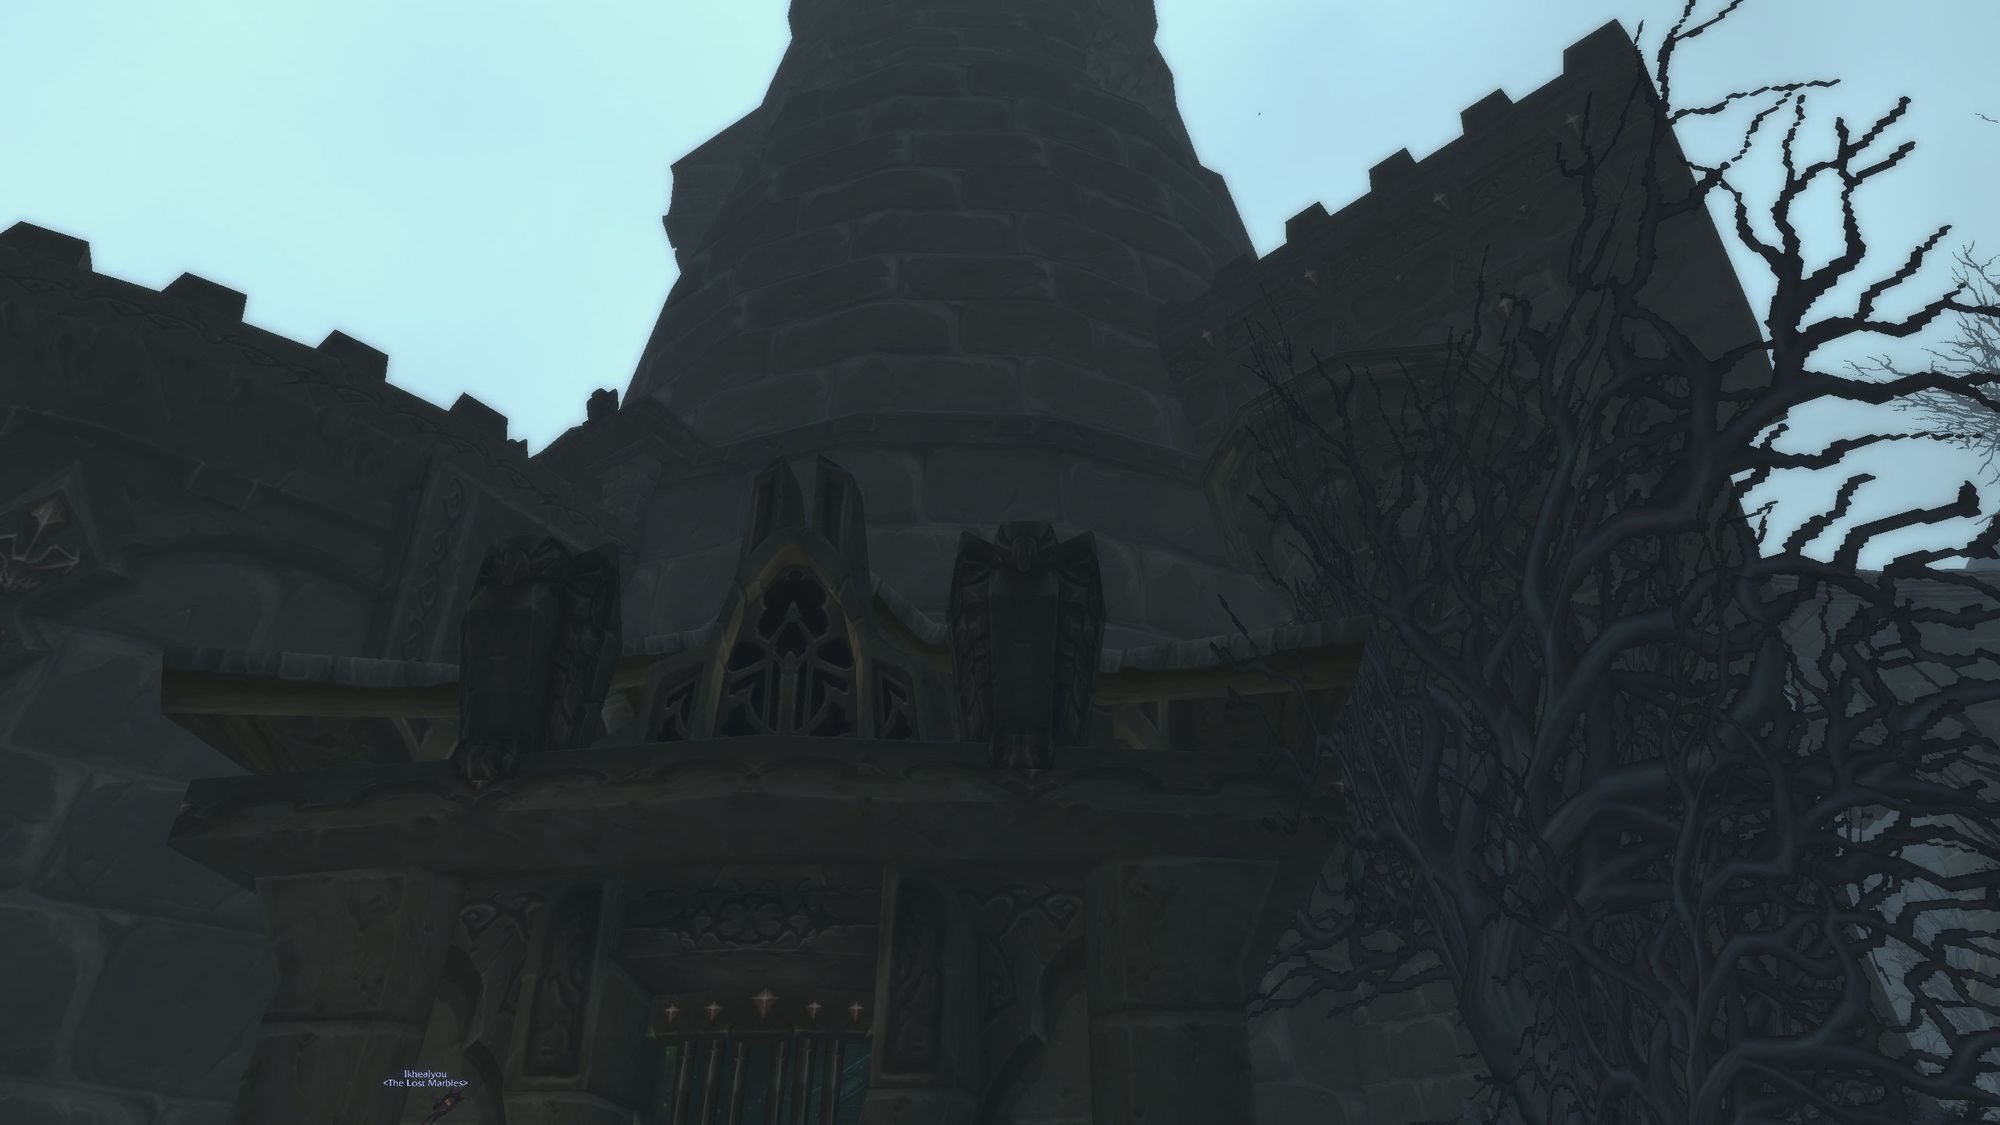
Karazhan is an iconic instance in The Burning Crusade. It was later reinvented into a five-man dungeon, but I do not care for such things. The subject of today's article is the full-fat, ten man instance of Karazhan. A whimsical place and marvellously atmospheric.
Also, let's be honest with each other, it's largely a walkover.
But, before we do all that, we have to get attuned to Karazhan.
And that was before phase two game out (September 15, for historical purposes) came out and turned the only threatening bosses into loot dispensers.
Until the release of Zul'Aman and later, the Sunwell, in order to access raid content, you were required to complete a series of quests in order to 'attune' to the raid. The term 'attuned' comes from a quest, that, when completed, allowed you to teleport to Molten Core rather than going through Blackrock Depths (which you'll remember me completing whilst levelling in this article...) called 'attunement to the core'.

Interestingly, if you did not complete this quest, you could always just go through Blackrock Depths to Molten Core. Unlike later attunements, which prevented you from entering if you had not met the requirements. All of the Raid attunements are hard gates - if you do not have them, you cannot progress.
So, let's cover it in detail...
Attunement Process
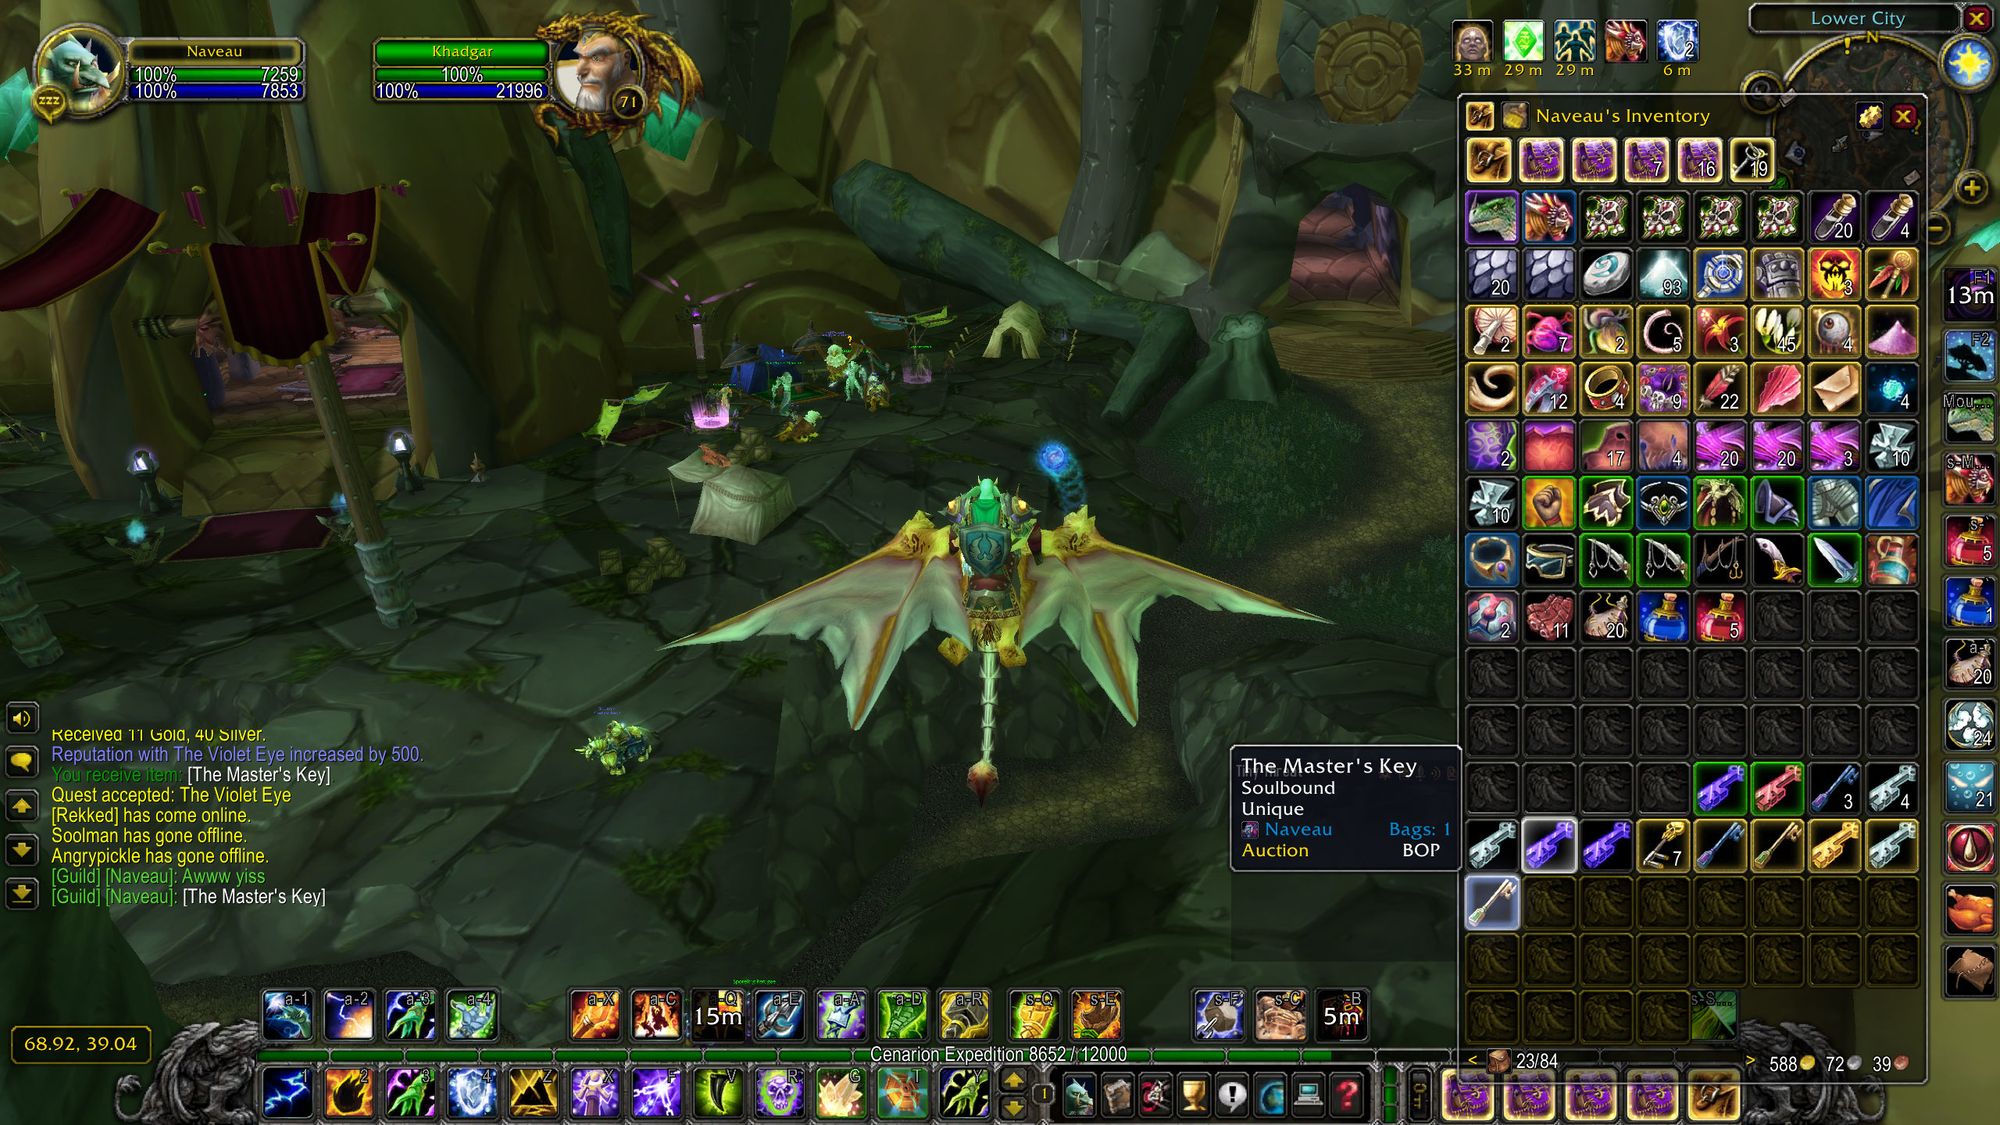
The end goal of the Karazhan attunement process is to acquire Medivh's key.
Simple, isn't it.
And yet.
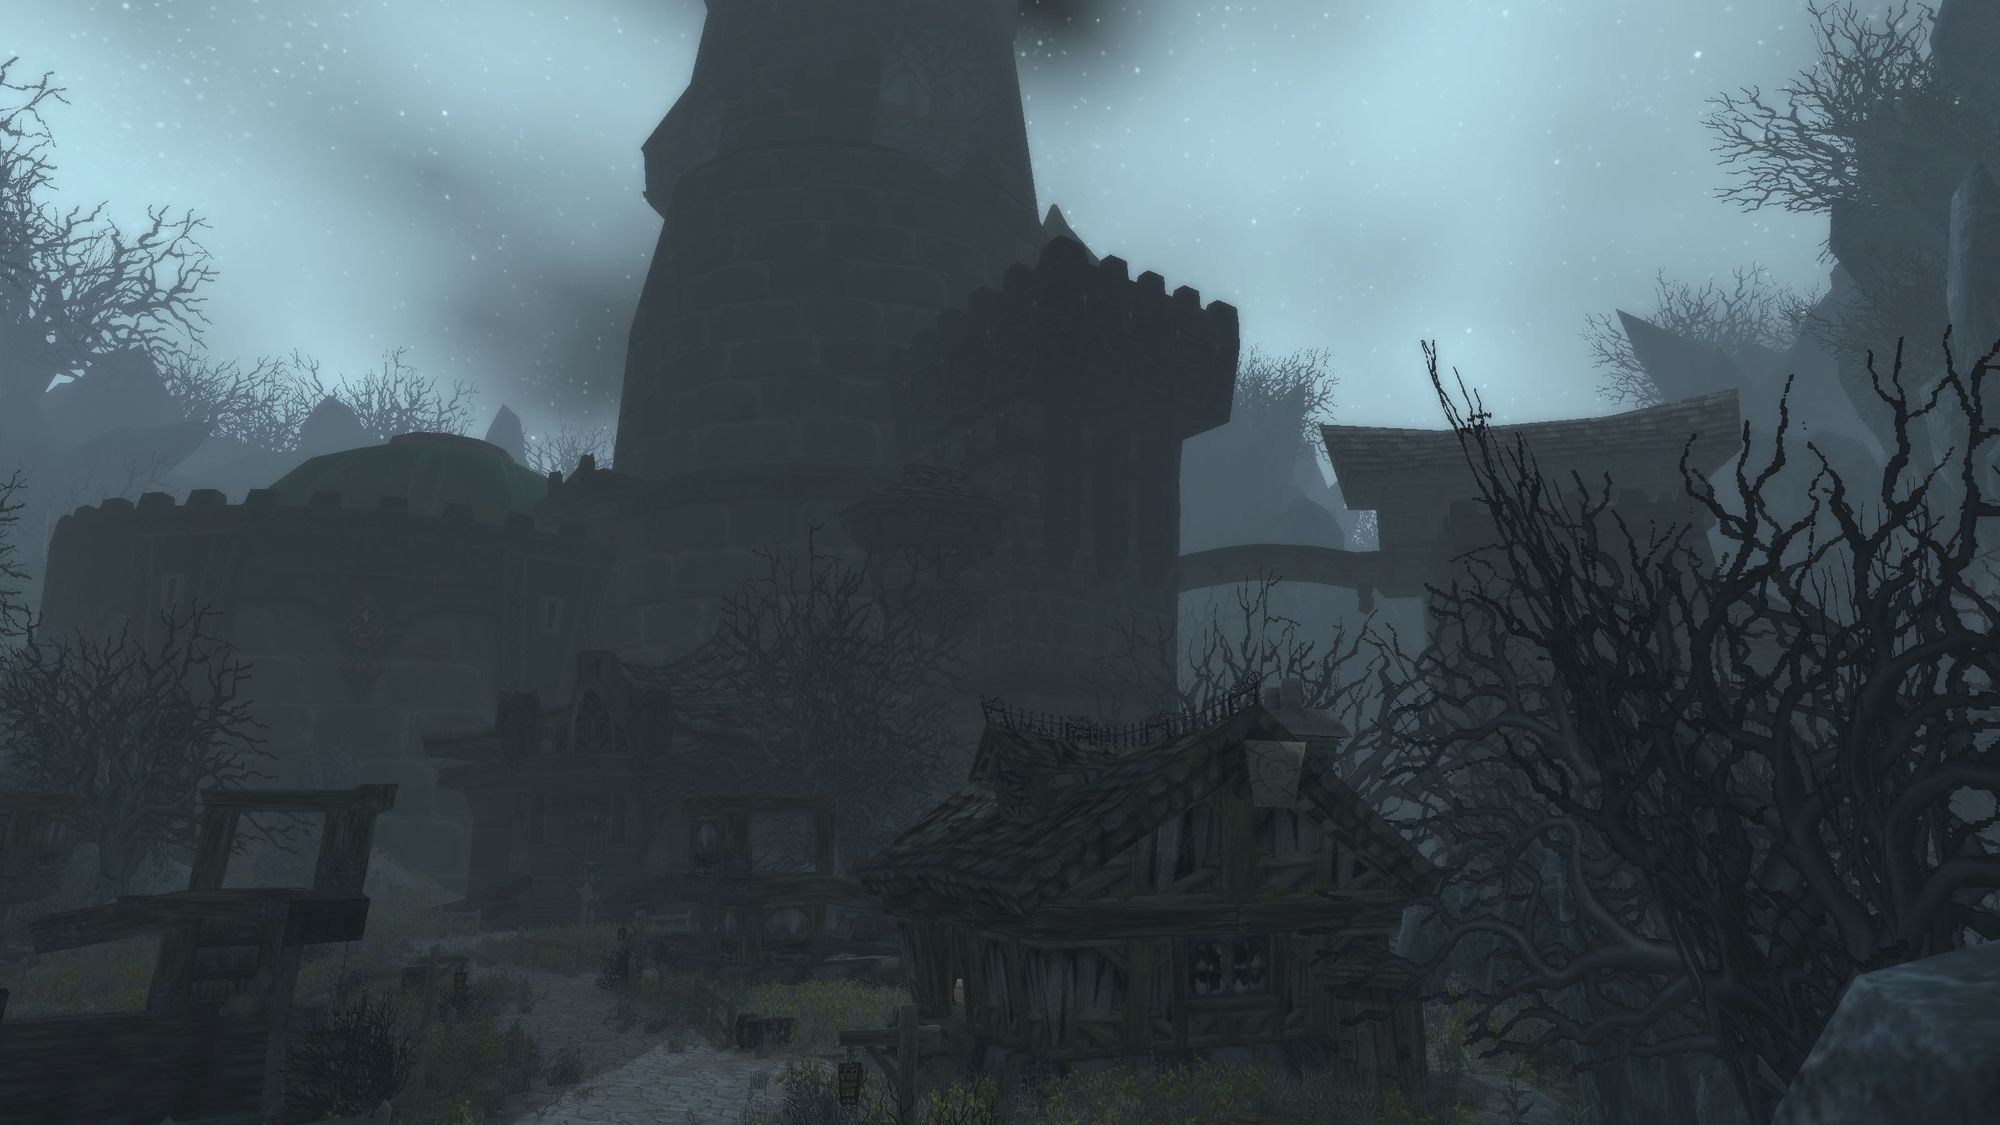
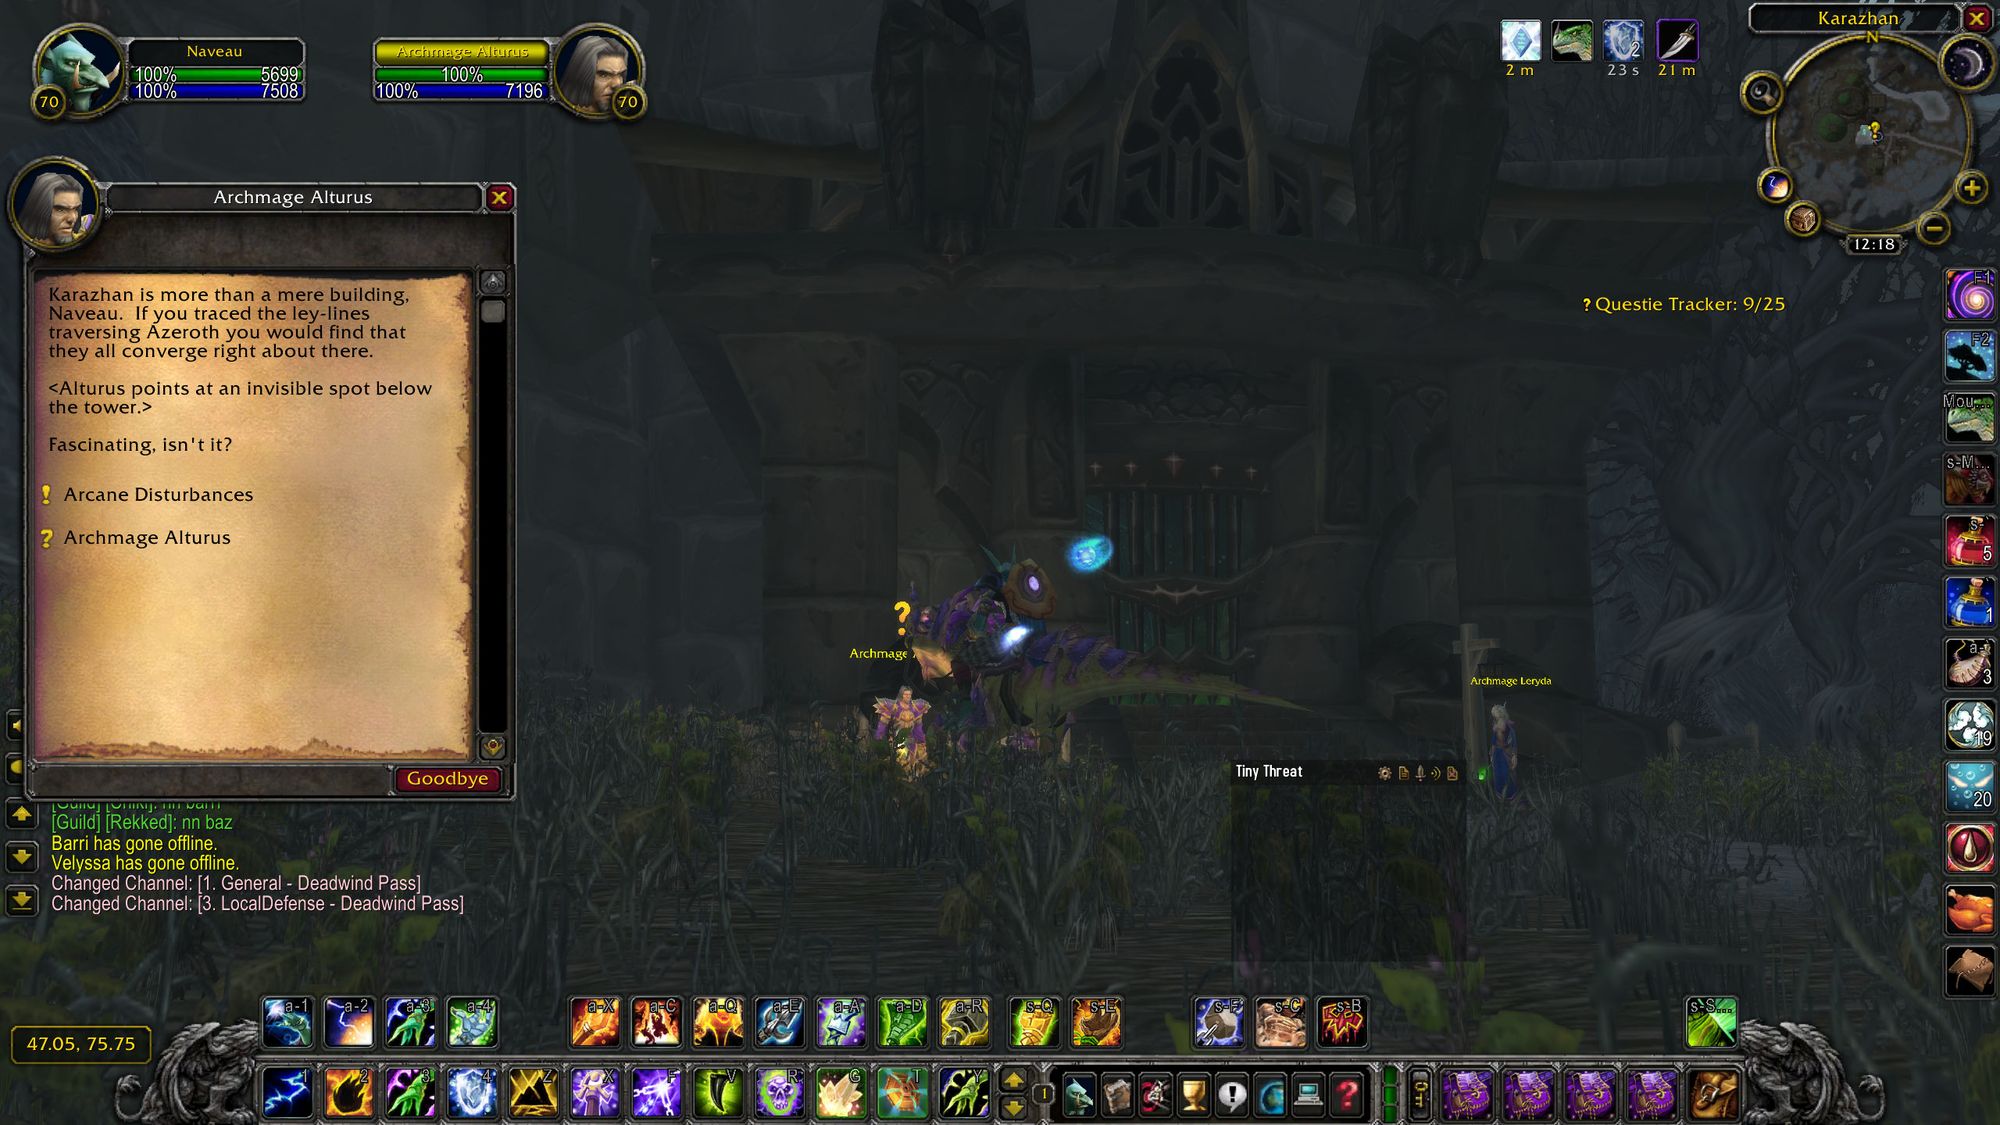
First things first, we have to take a trip to the venue itself - Karazhan. Located in Deadwind Pass, you'll meet a man by the name of Archmage Altrus, who tells you some very cool stories about Karazhan. It's position on the continent, the ley lines intersecting under the structure. It's almost like Karazhan was constructed by a very powerful wizard with a sense for these things!
Archmage Altrus tasks us to do a few things before he lets us in proper. First, we have to gather ghostly essences and secondly, we have to analyse water samples for magical energy. Kind of like a really lame CSI: World of Warcraft.
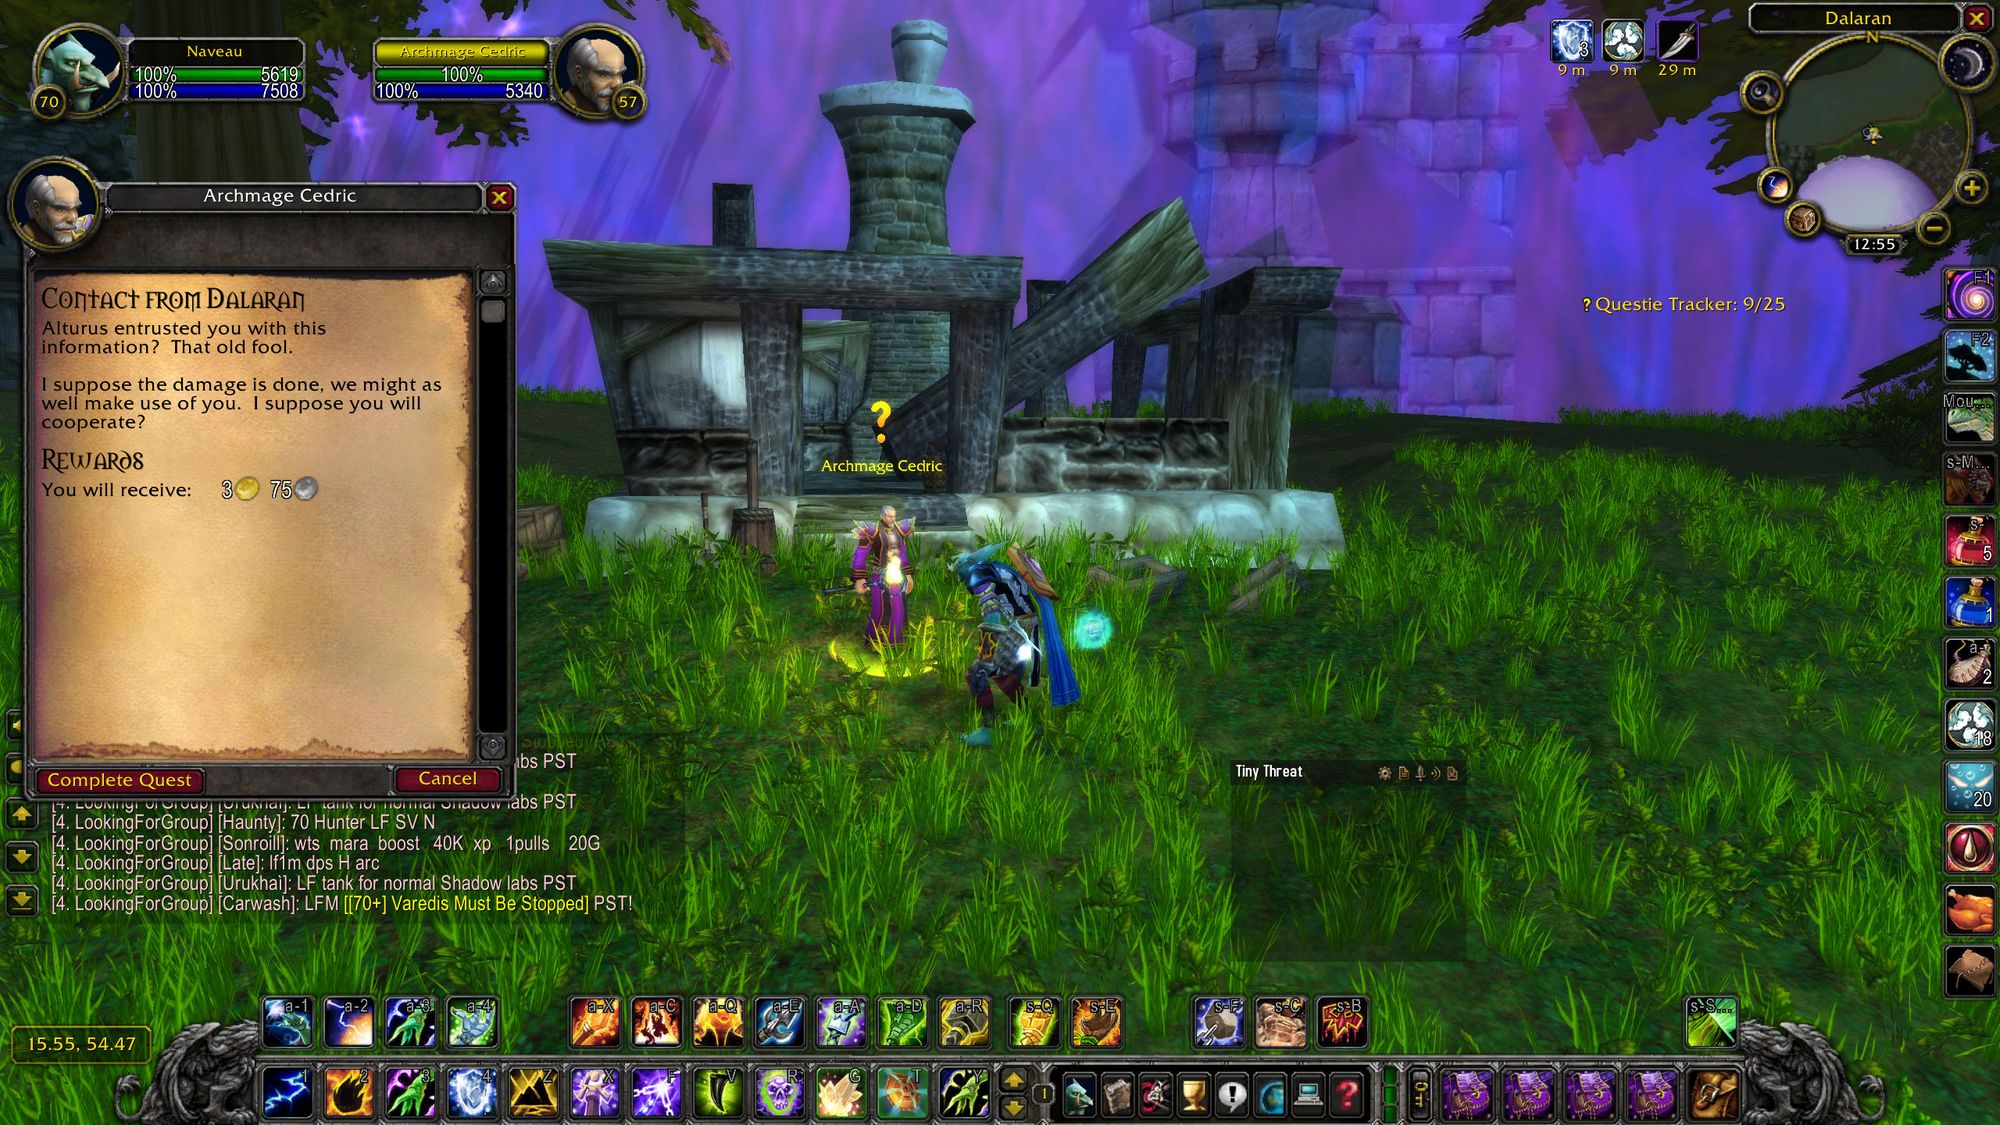
We then go on a trip to see Archmage Cedric near Dalaran - which, again, doesn't exist as it does in Wrath of the Lich king yet. It's a big purple dome, outside of which one guy stands. Interestingly enough, these are the same folks you killed for XP between level 30 and 40. Who knew.
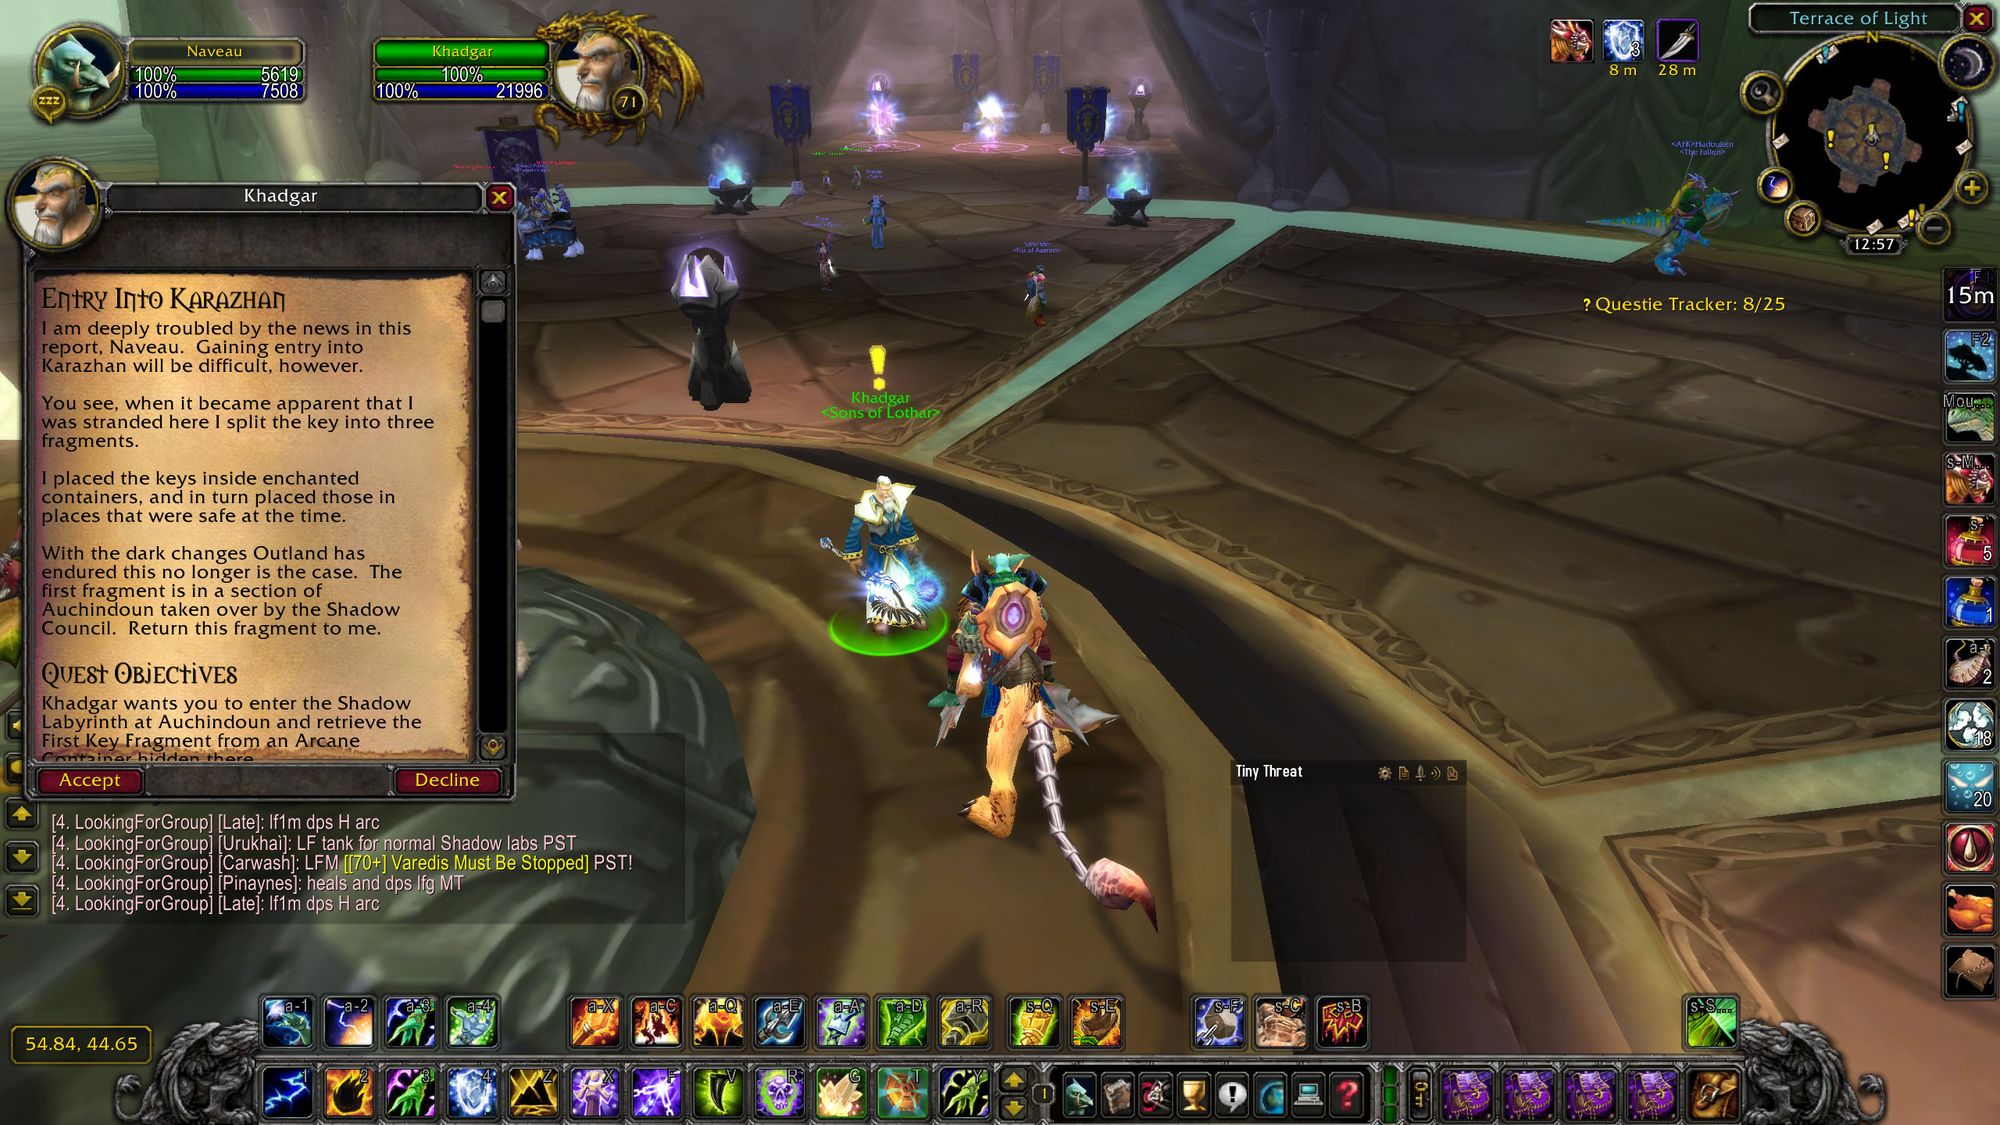
Archmage Cedric then sends you to go see Khadgar. But you just know it's not as easy as that.
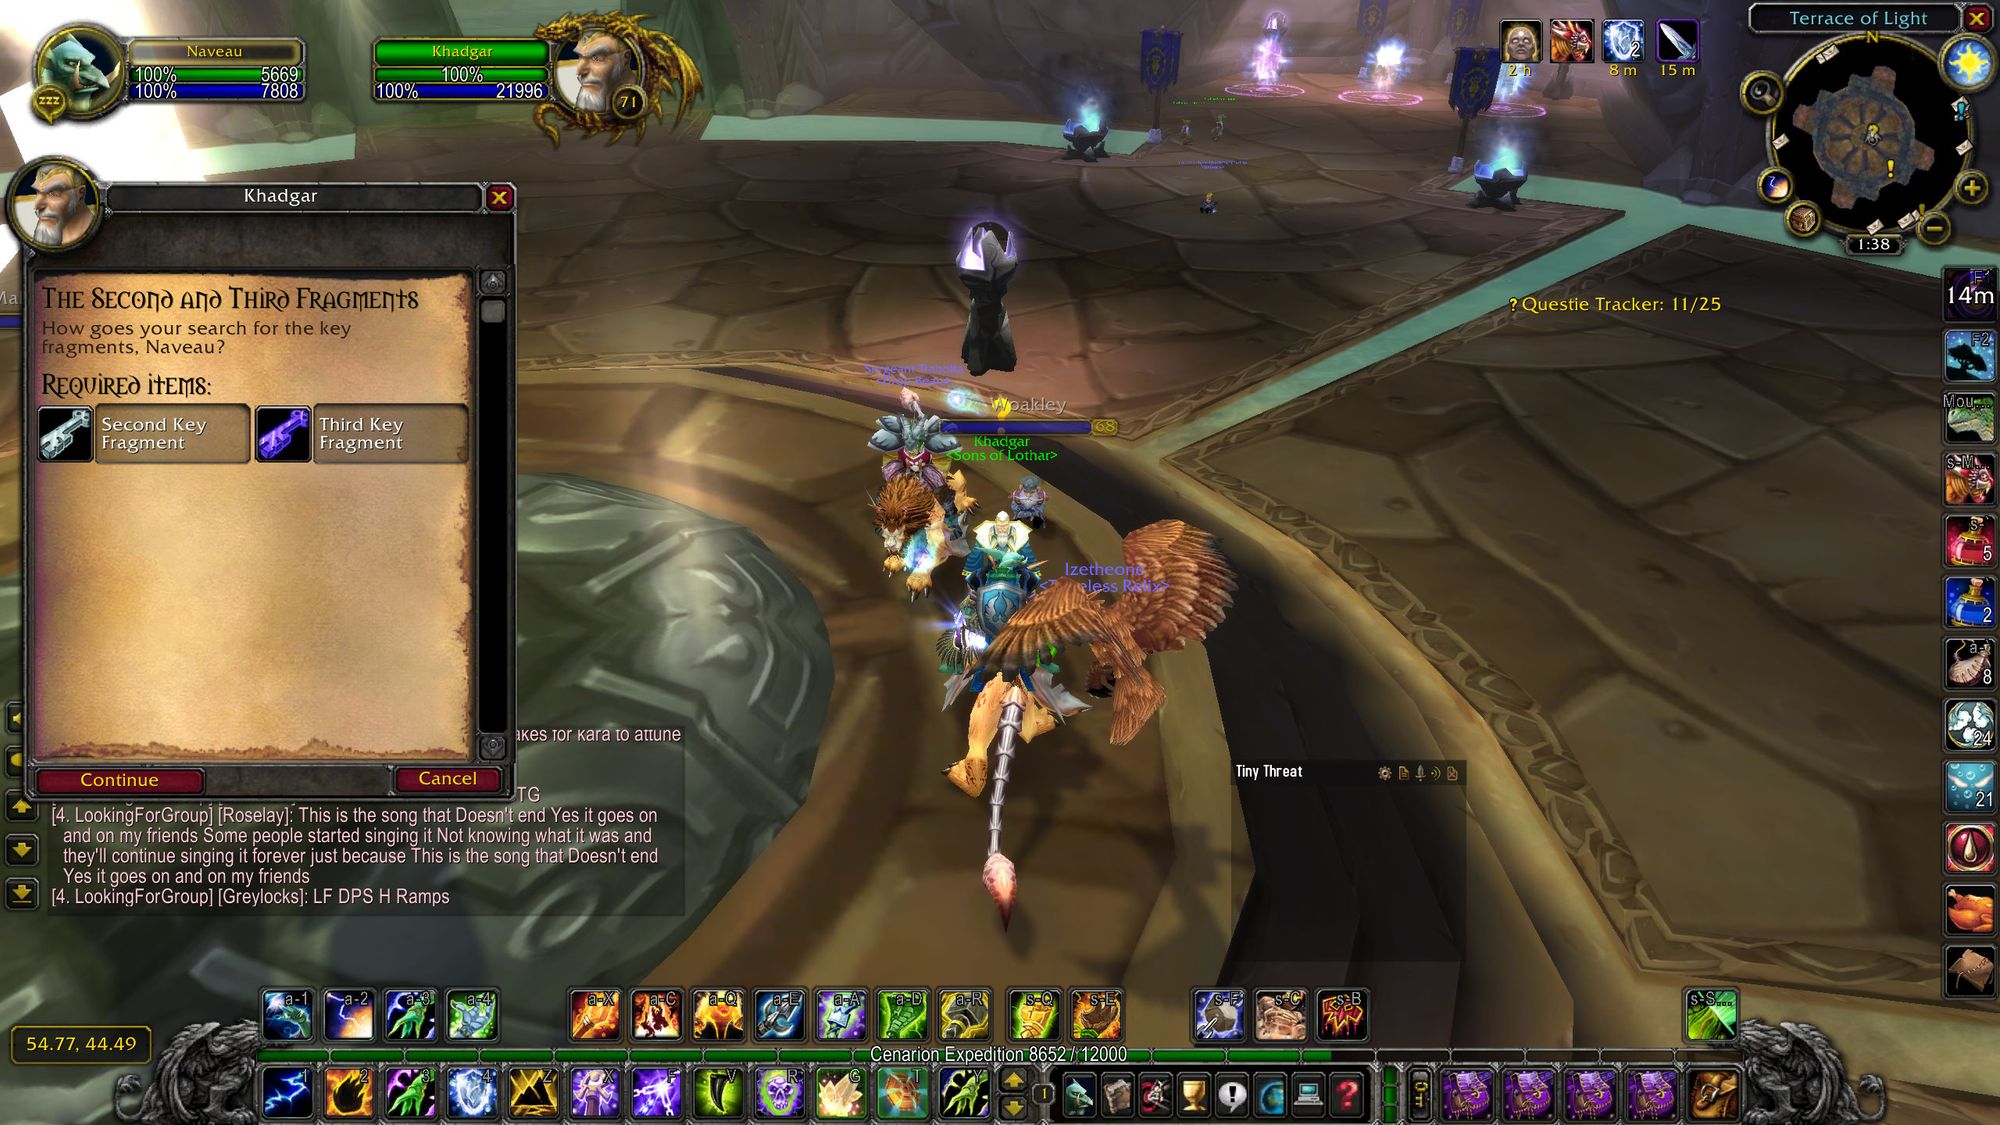
So you return to Shattrath City and meet with Khadgar, who sends you on a series of elaborate fetch quests to gather fragments of the key into Karazhan.
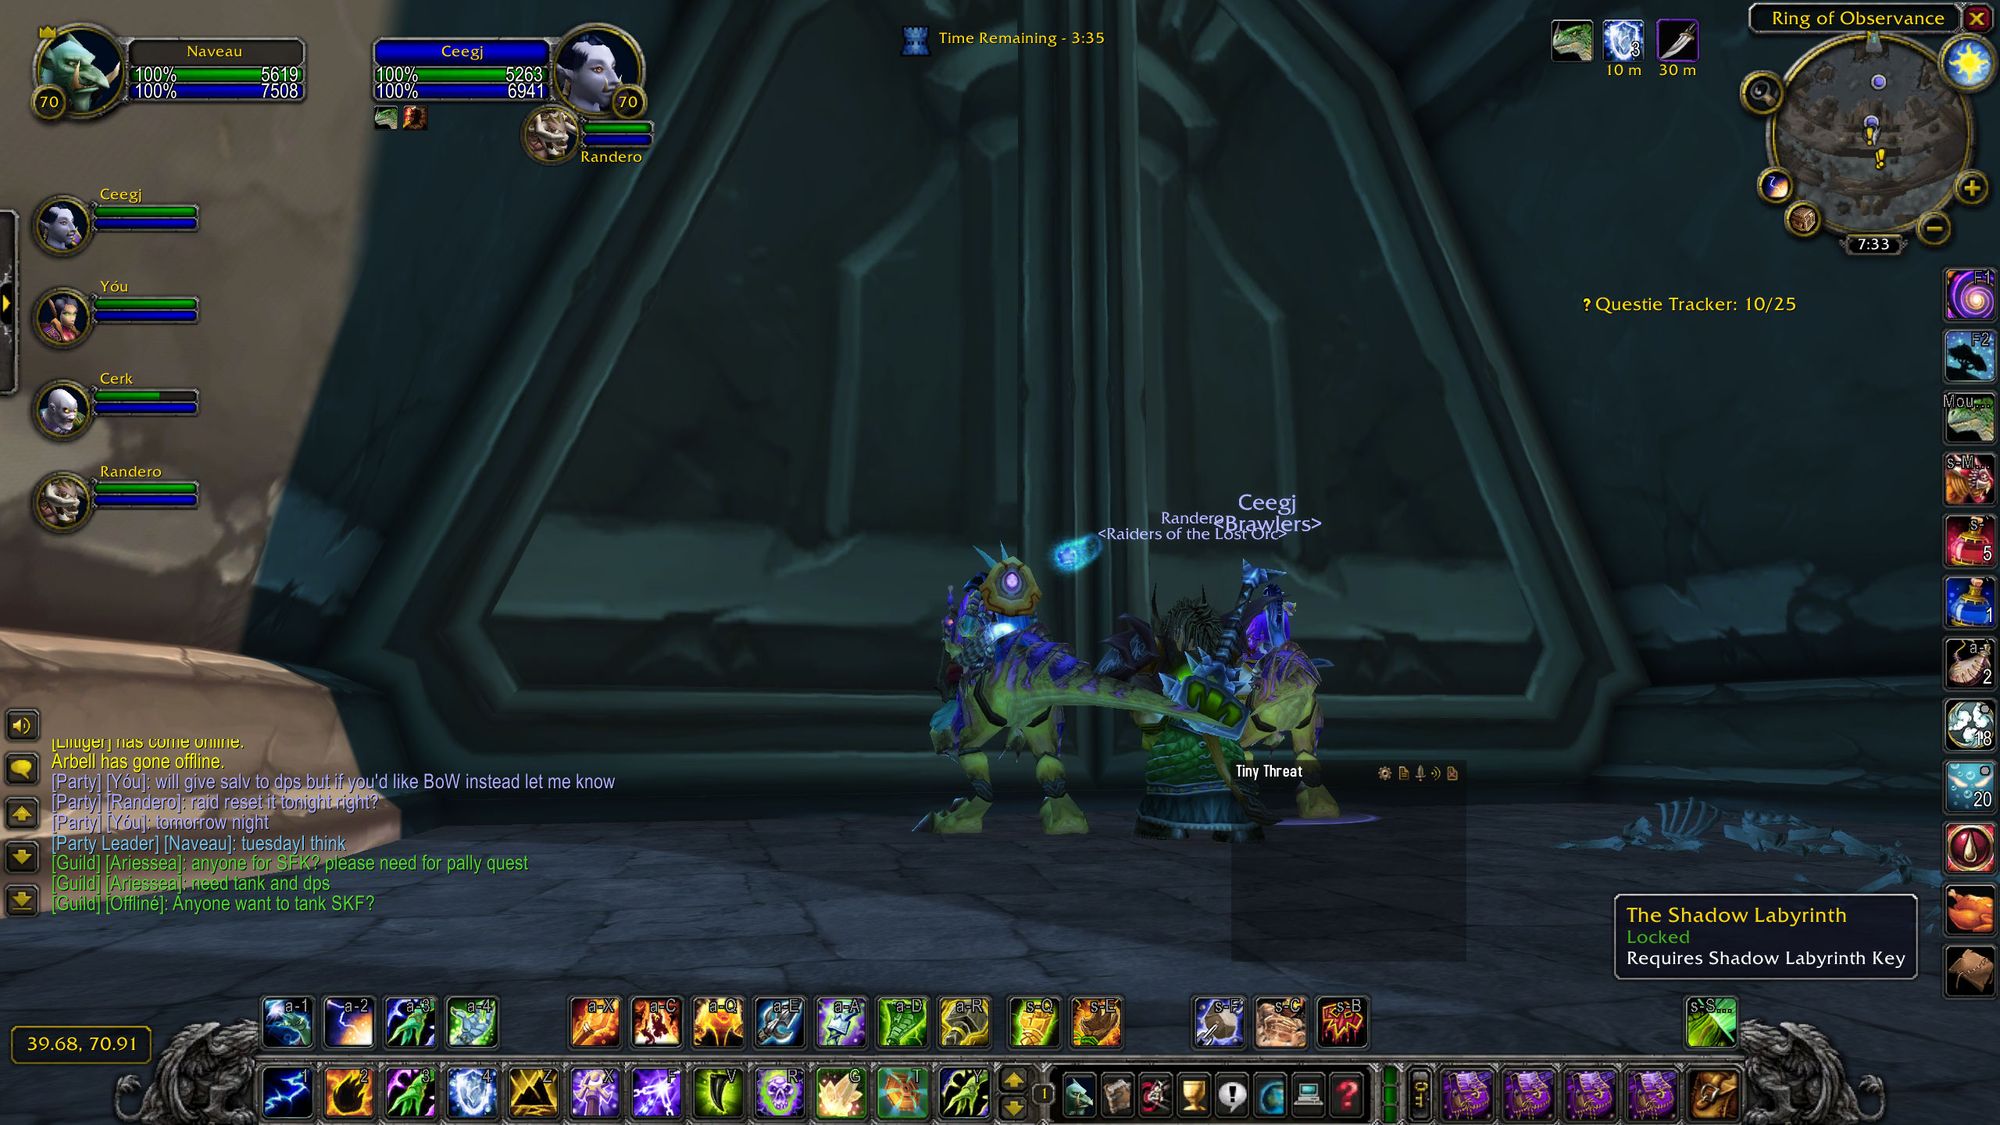
Here's where things get a little bit wibbly-wobbly timey-wimey. Because Raid attunements are borne out of dungeon attunements. The first key fragment Khadgar directs you to retrieve is in the Shadow Labyrinth - but before you can get into the Shadow Labyrinth, you first need to get the key for the big door - which you get from Sethekk Halls.
Are you with me so far? It's very involved.
The good news is that unlike Raid and Heroic attunements, anyone can collect a key for the door to the Shadow Labyrinth. So if you're cutting corners and have some already attuned mates, it's just as easy as going into 'Slabs', giving the boss a wedgie and taking the key fragment from the jar at the back. After stomping out an elite key fragment guardian, of course.
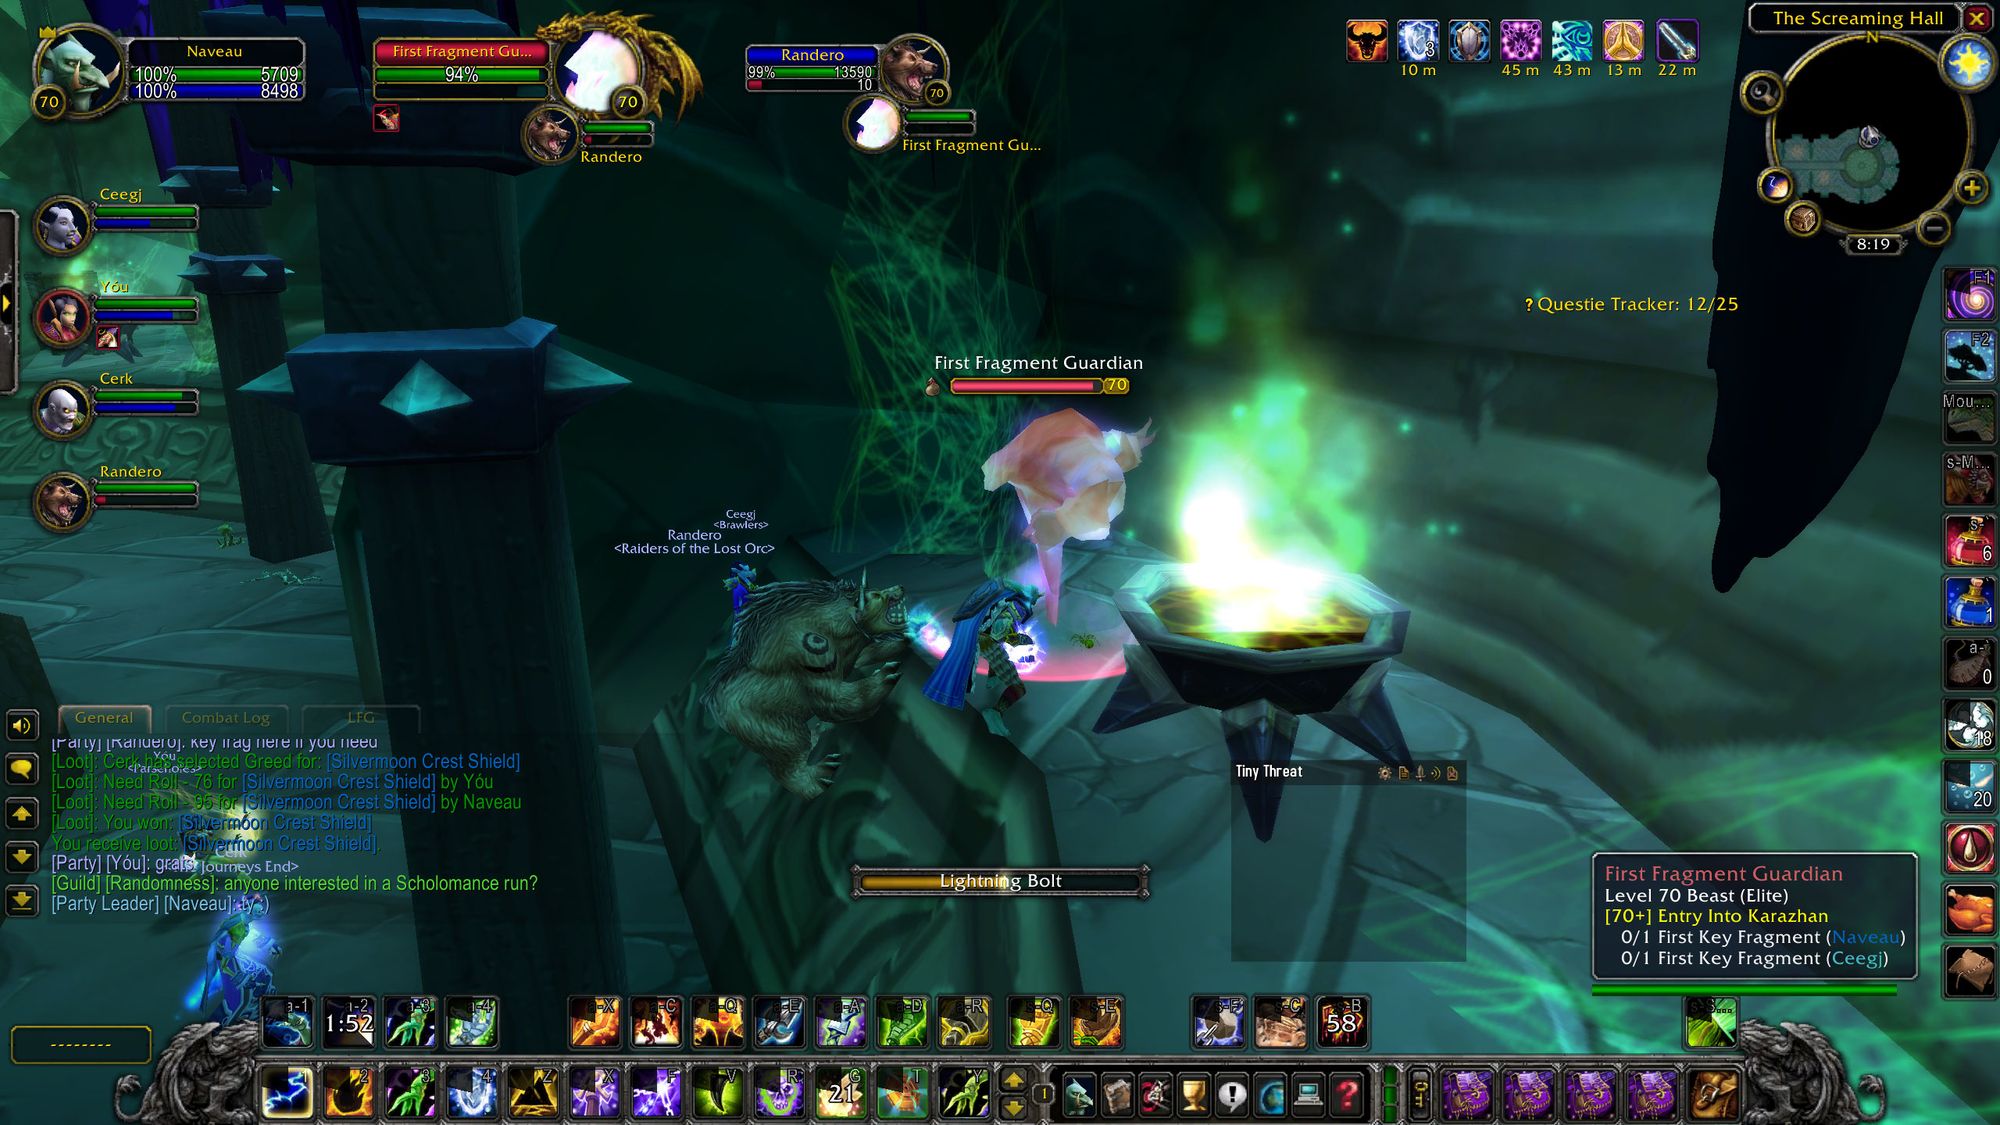
So we've got the first key fragment - but there are two more to go. The second two are dealt with in the same quest, though - small mercies.
The first is in the Steamvault. This is just a straight up and down normal dungeon, no fancy tricks. You kill the first boss, Hydromancer Thespia and swim down to kill the second guardian and collect your key.
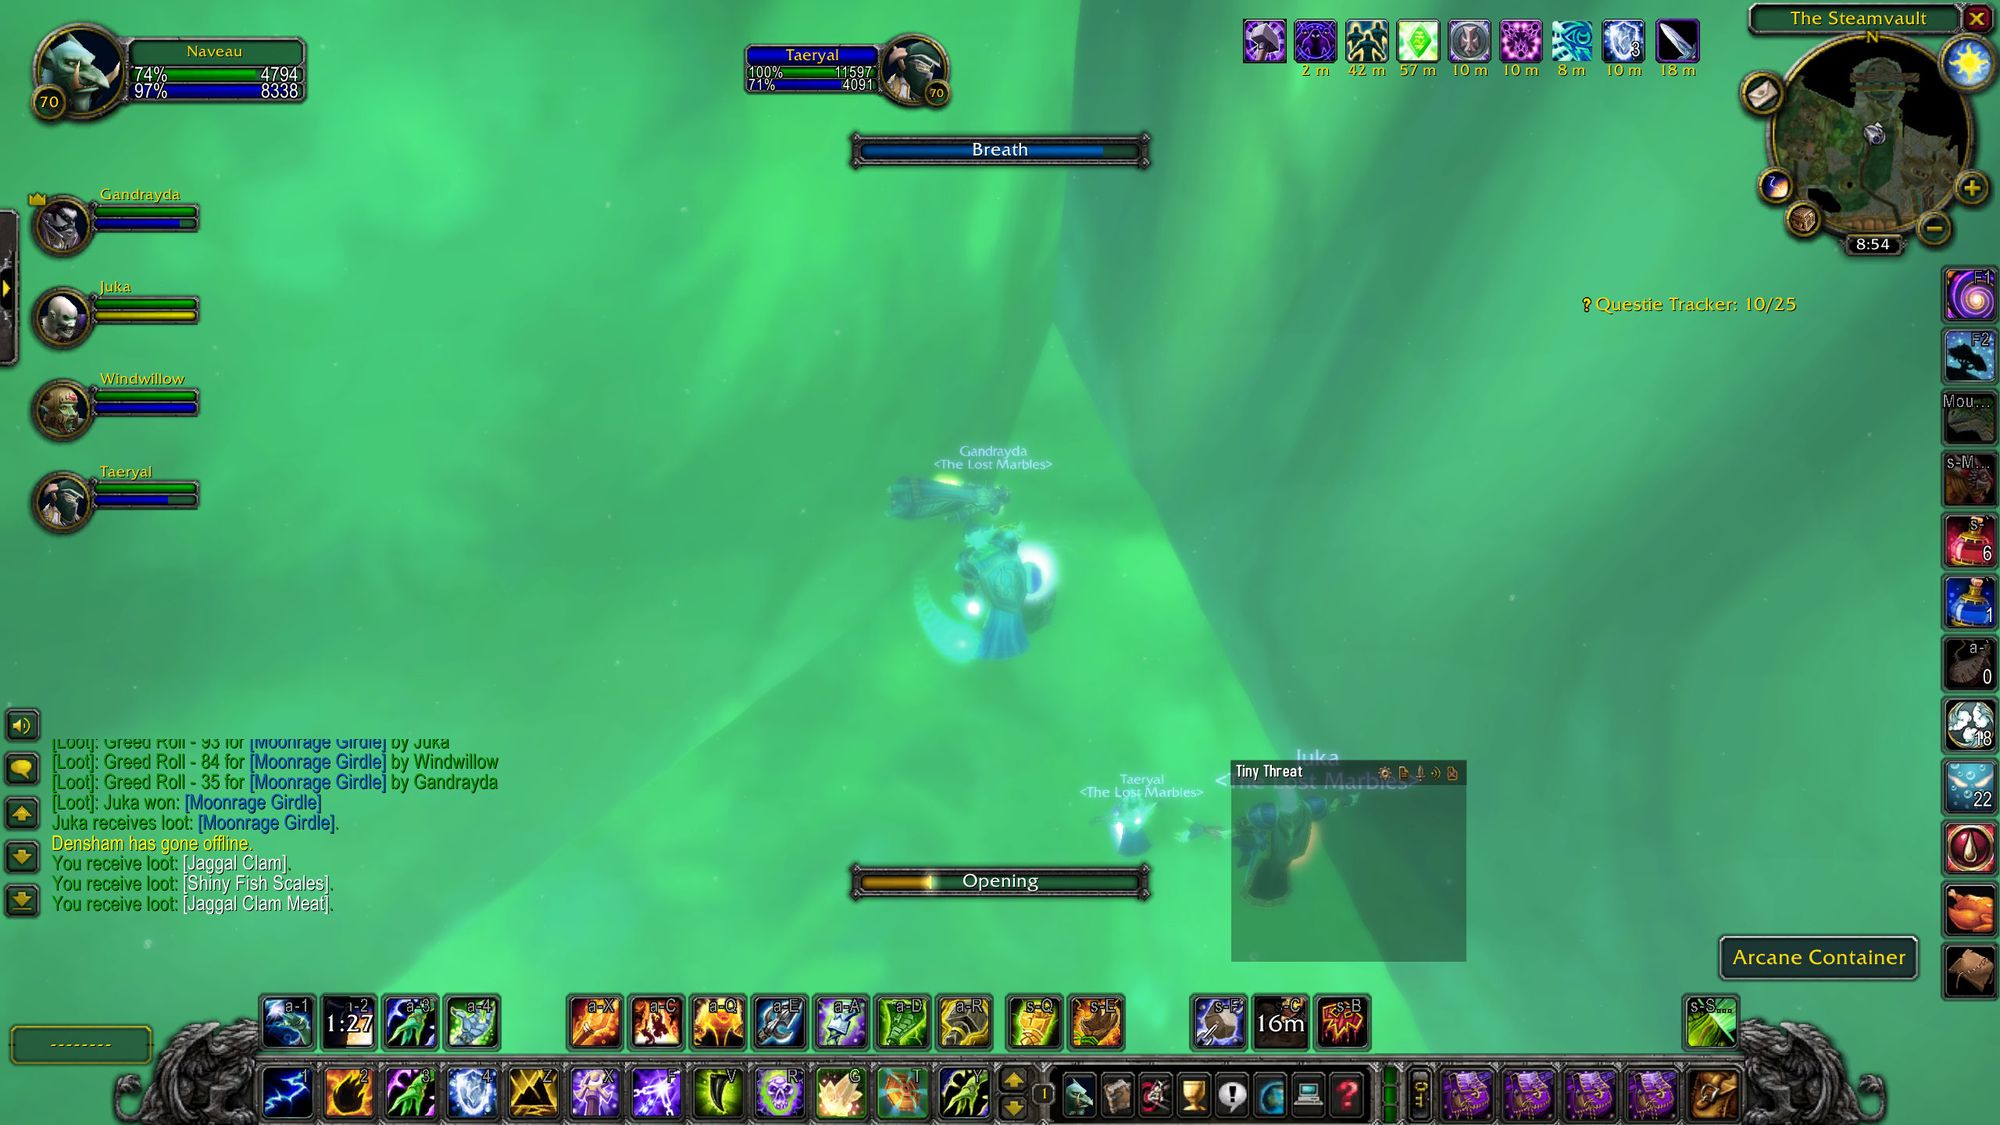
In later runs some people did accidentally drown waiting for the person who needed the key to swim down and activate the jar. So that's fun.
Now comes the most involved part of the attunement process. The Arcatraz.
Before you can gain access to 'Arc', if no-one else has a key, you first have to complete a series of quests in Netherstorm.
They're not too bad, simple kill-and-collect quests and three "go to here and do a thing" quests, before you eventually end up going back to A'dal in Shattrath City, whereupon to obtain a key to the Arcatraz, you need to first run the other two Tempest Keep dungeons - the Botanica and the Mechanar.

Is your head spinning yet? We're ten quests deep and five dungeons at this point.
So you finally run Arc and over in the corner in one of the rooms is the third and final key fragment. Ta-da! Well done!
So we've got the key fragments, but, ahh, this won't do - we need to put them back together. The only person who has the power to do so is Medivh, and we don't have access to him.
Or do we?
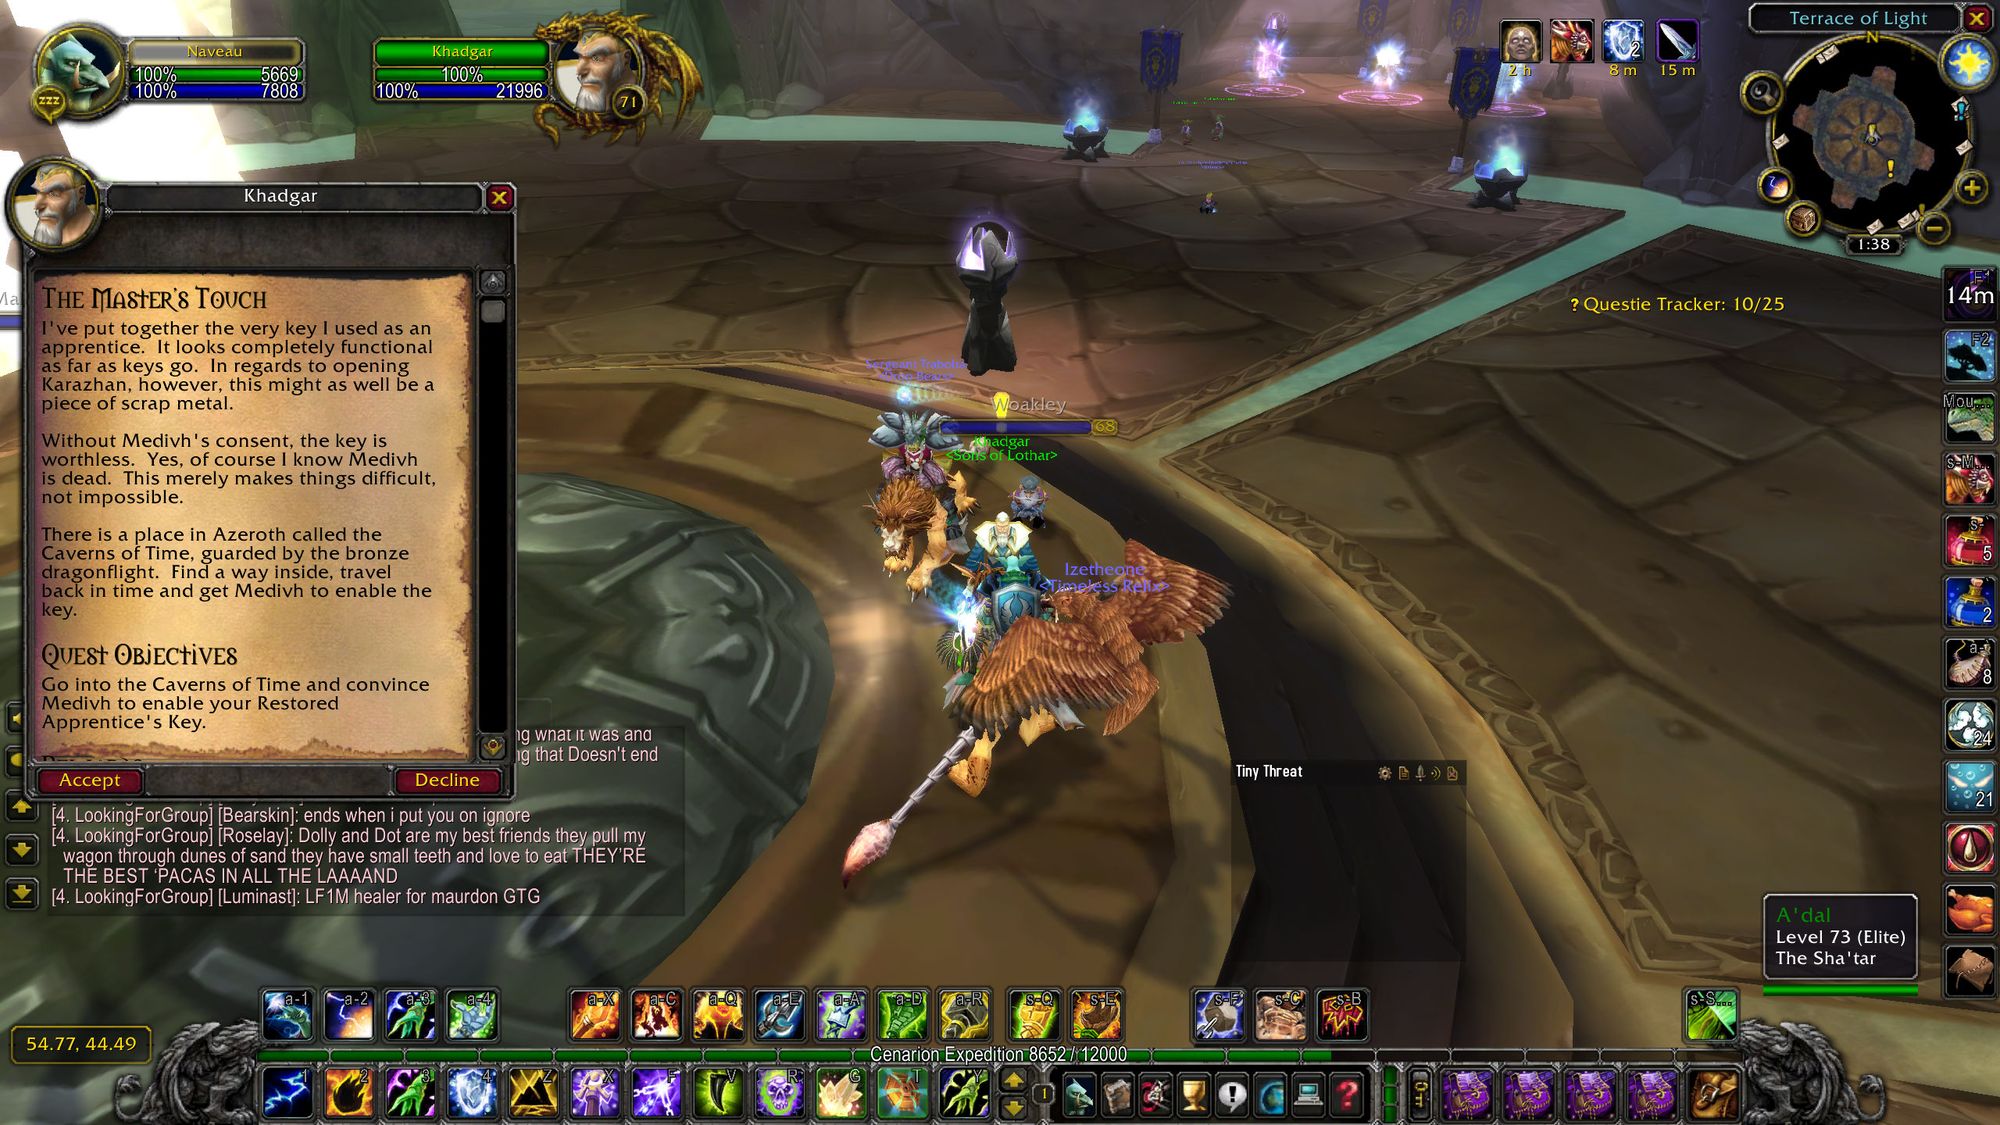
There are two dungeons left to run - and both are mandatory. The first is the Old Hillsbrad Foothills, which completing will then allow you to complete the Black Morass. The Black Morass sees you defending Medivh as he goes to open the Dark Portal. After holding off waves of infinite dragonflight, eventually you had Medivh your key fragments, he looks puzzled and puts them back together for you.
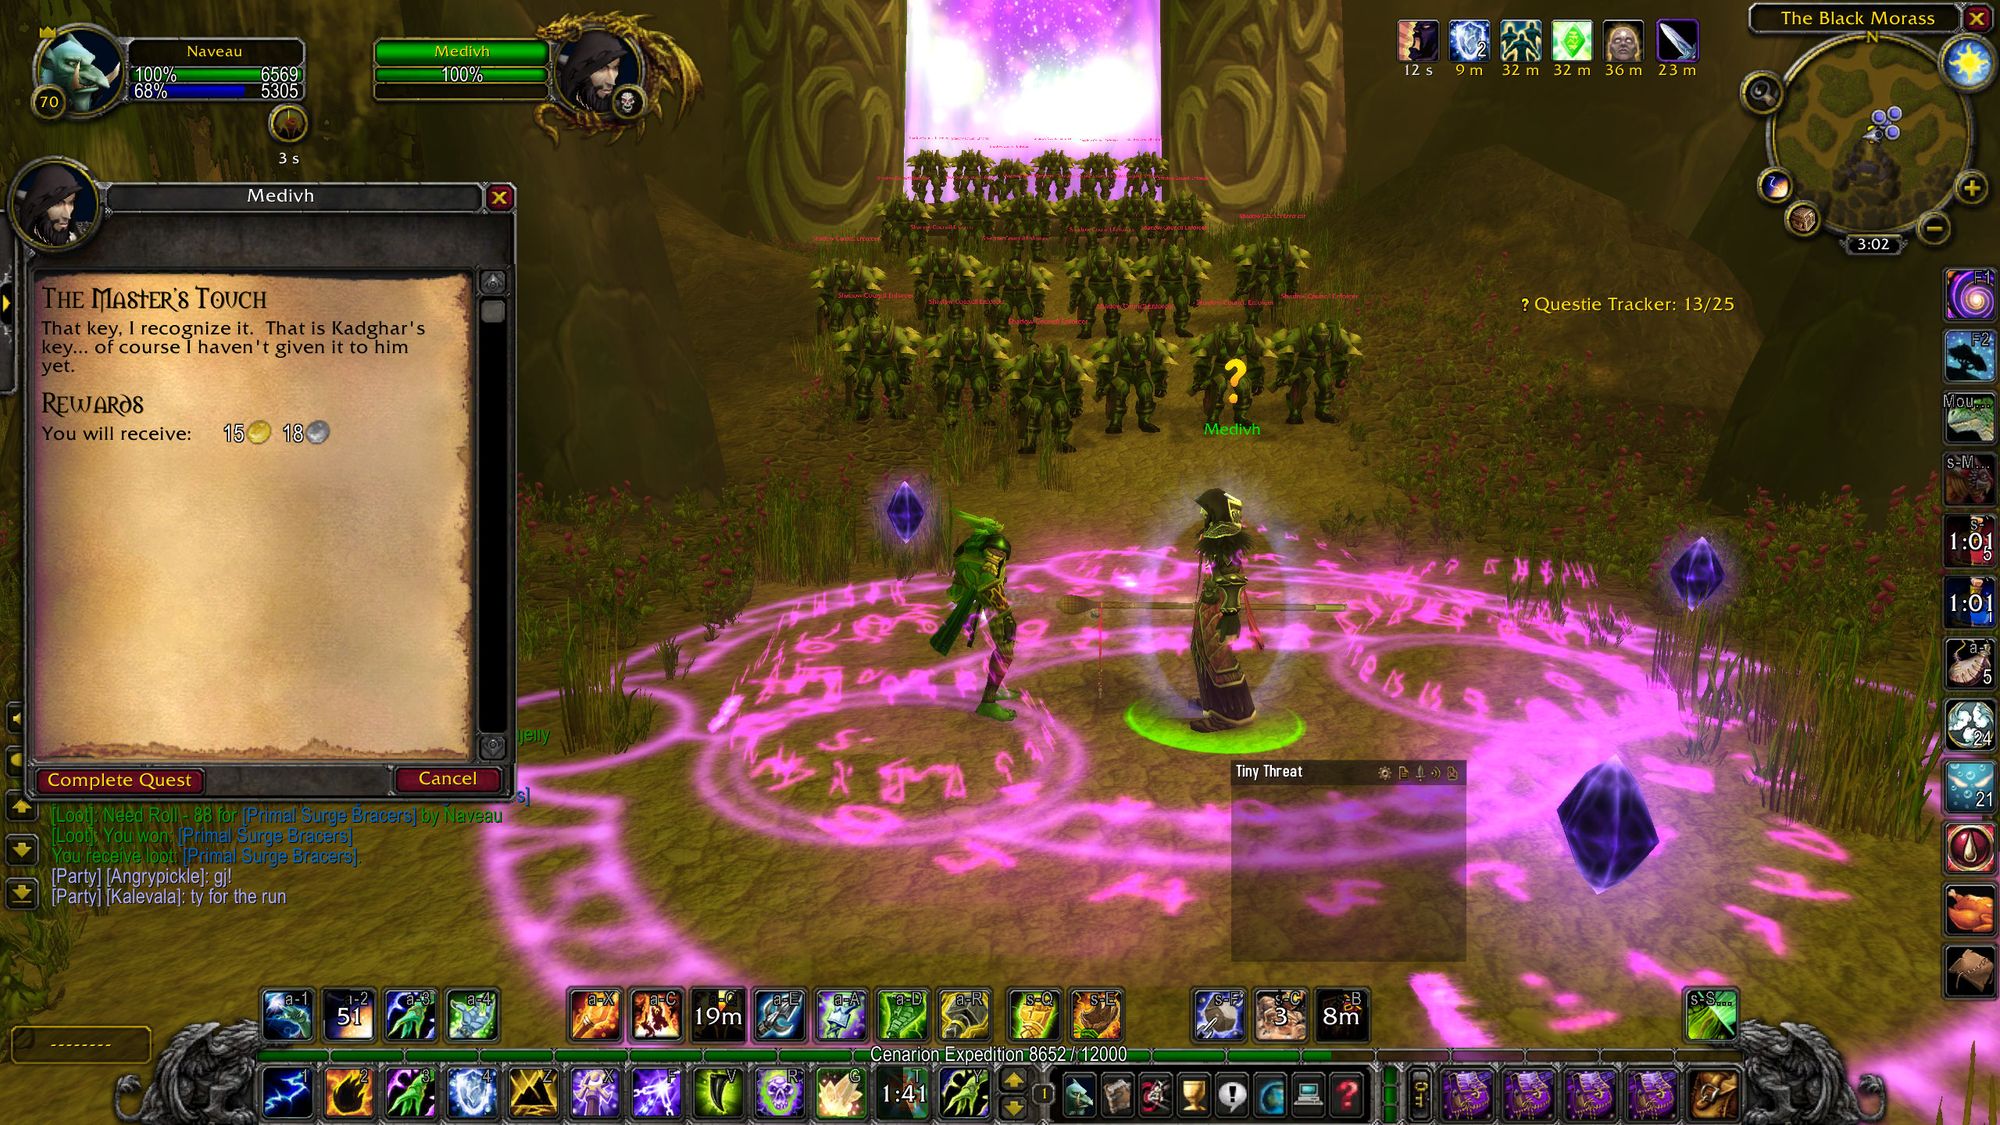
Job's right!
Now, it's time to get our fat loot...
(Editor's Note: Incidentally, an item drops in classic wow - a very famous item - Atiesh, the Greatstaff of the Guardian, which was previously owned by Medivh. It can be used to teleport the user to Karazhan. In classic, this just dumps you out the front - and doesn't change in TBC.)
(Editor's Second Note: This attunement quest, although now no longer needed, still is worth doing as it gives you a choice of four rings which scales in power as you gain reputation with the Violet Eye. You also need at least one person with the key in order to enter the instance.)
Overview
Karazhan is home to eleven bosses and one optional event, which we never completed, because it's not very good. We'll talk about all of the main bosses in due course, but I can't just transition straight from the attunement to a boss fight, now, can I.
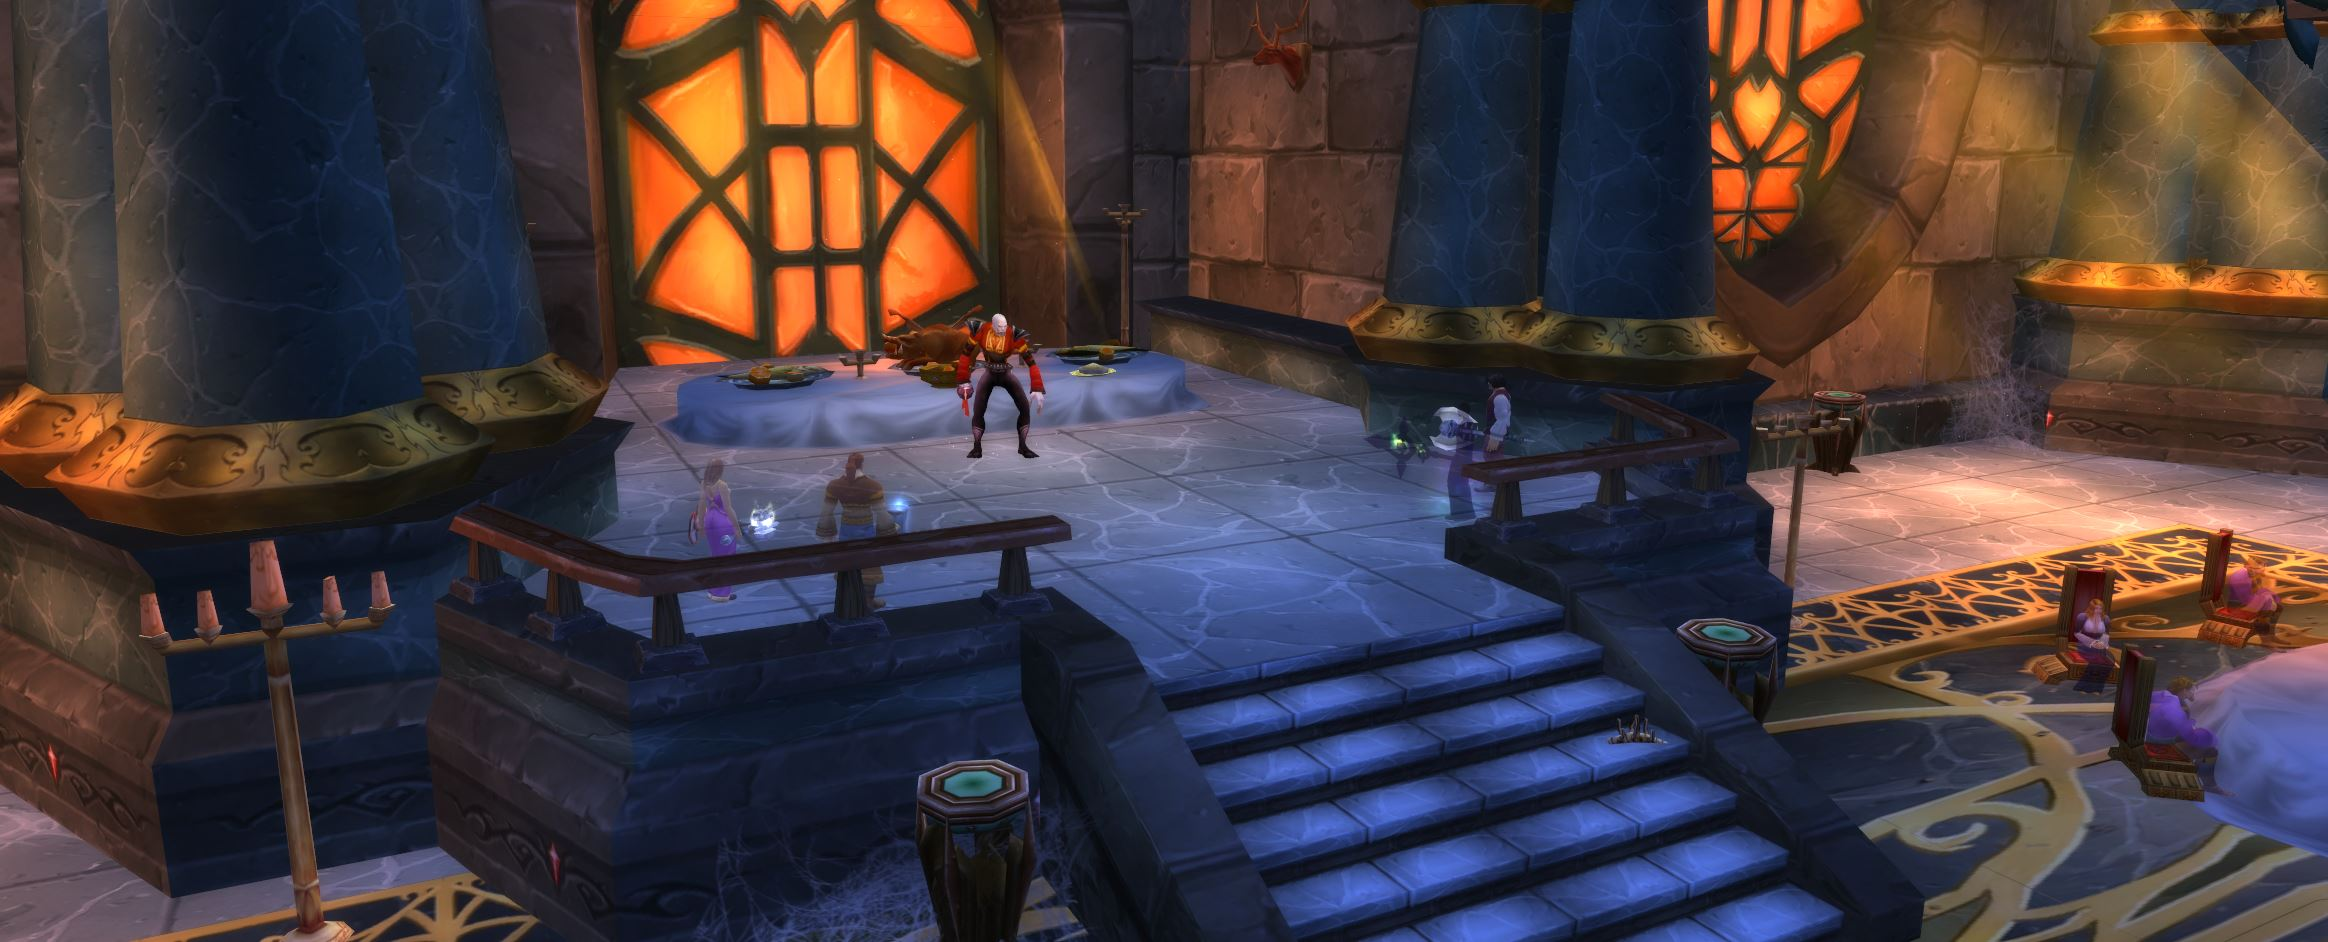
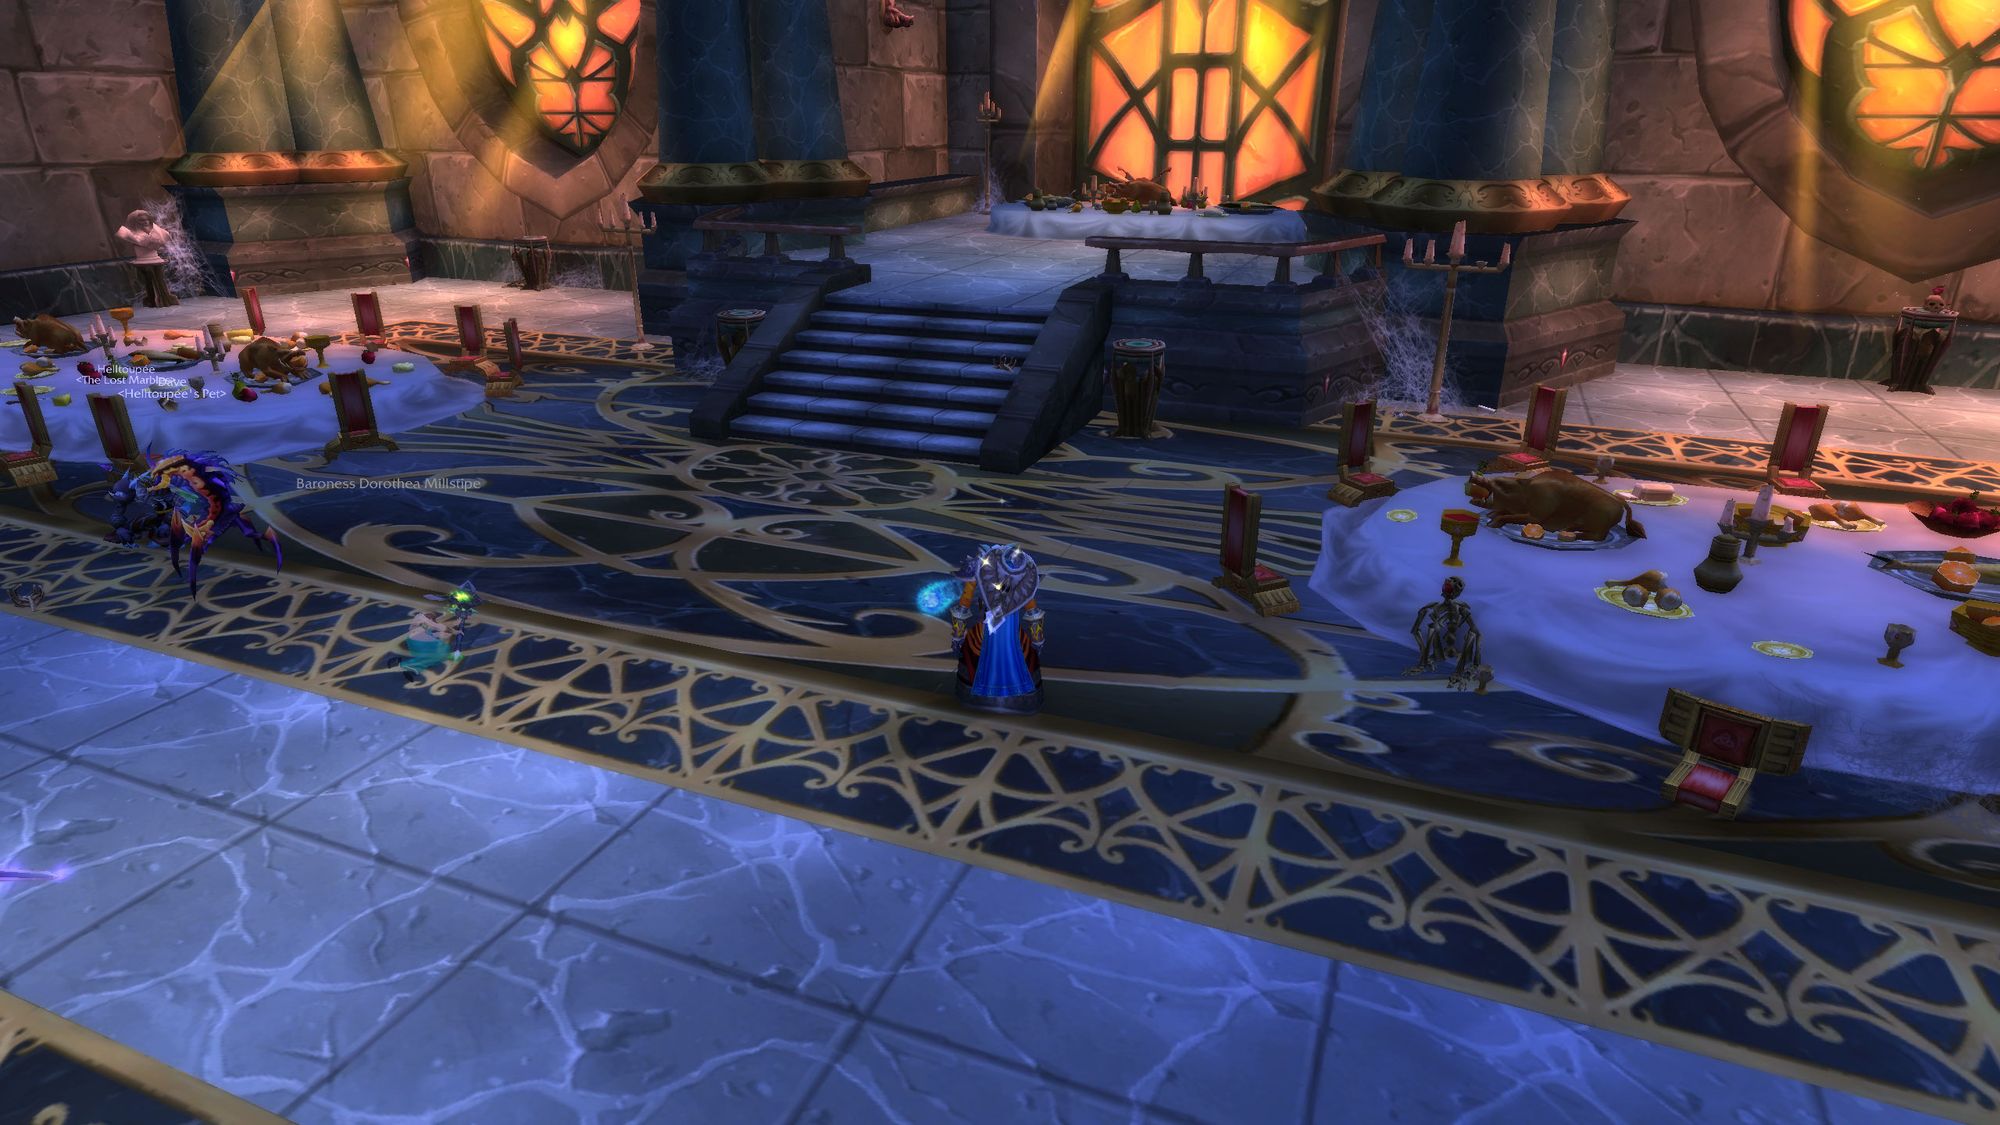
Karazhan is broken down into what I would call two very distinct halves. The first are all the public areas for the long-dead aristocracy. There's a dining hall, a ballroom, guests' quarters and a theater. As you progress, soundtrack is this classical, spooky score, which both reinforces the upper-crust nature of the enemies and the locale, but also reinforces that something is not quite right here.
But, starting in the stables, we have our first boss:
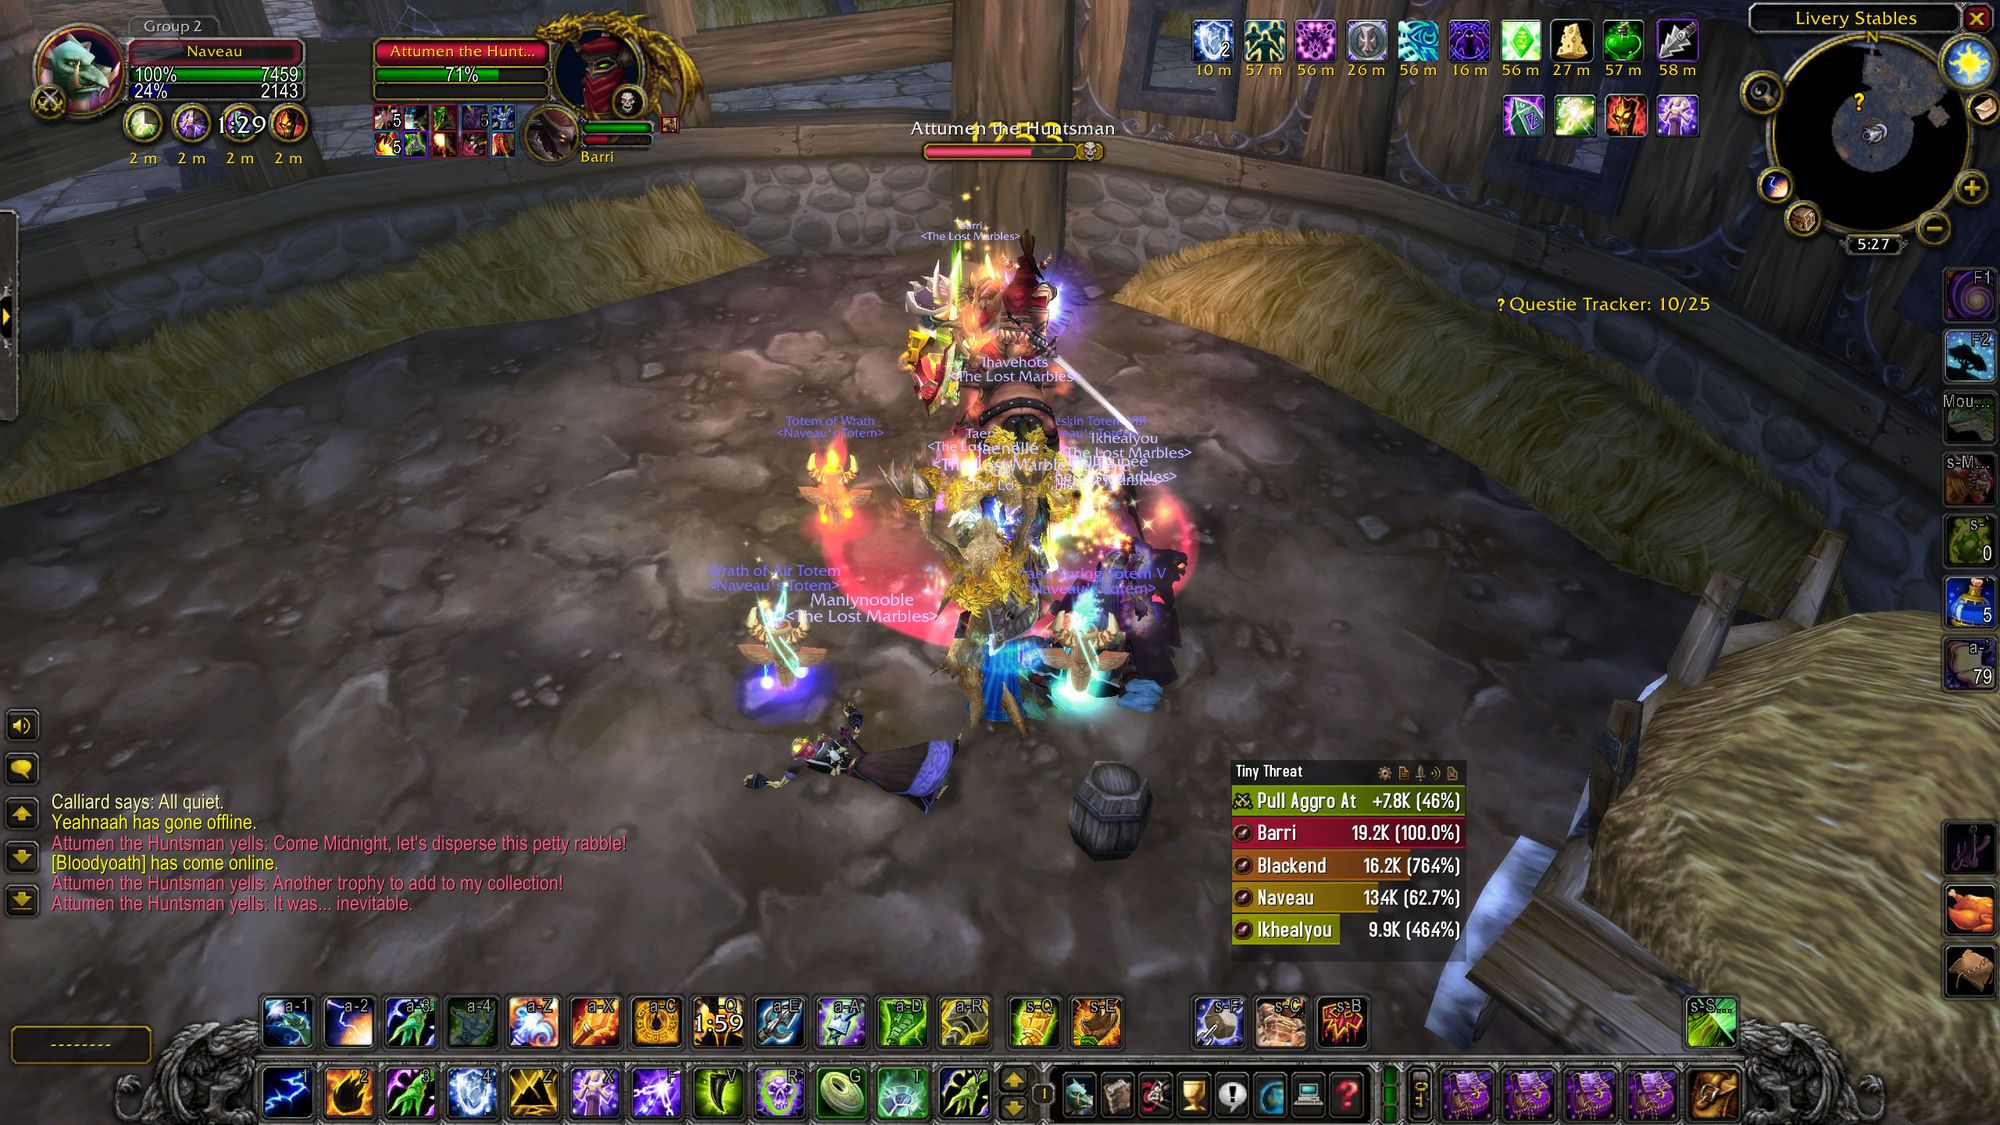
Boss One - Attumen the Huntsman
Picking your way through the stables, you first deal with ethereal horses, trainers and stablemasters. They don't pose too much of a threat, but the horses do fear your raid so you have to be on point with countermeasures. Otherwise you risk the trash taking slightly longer.
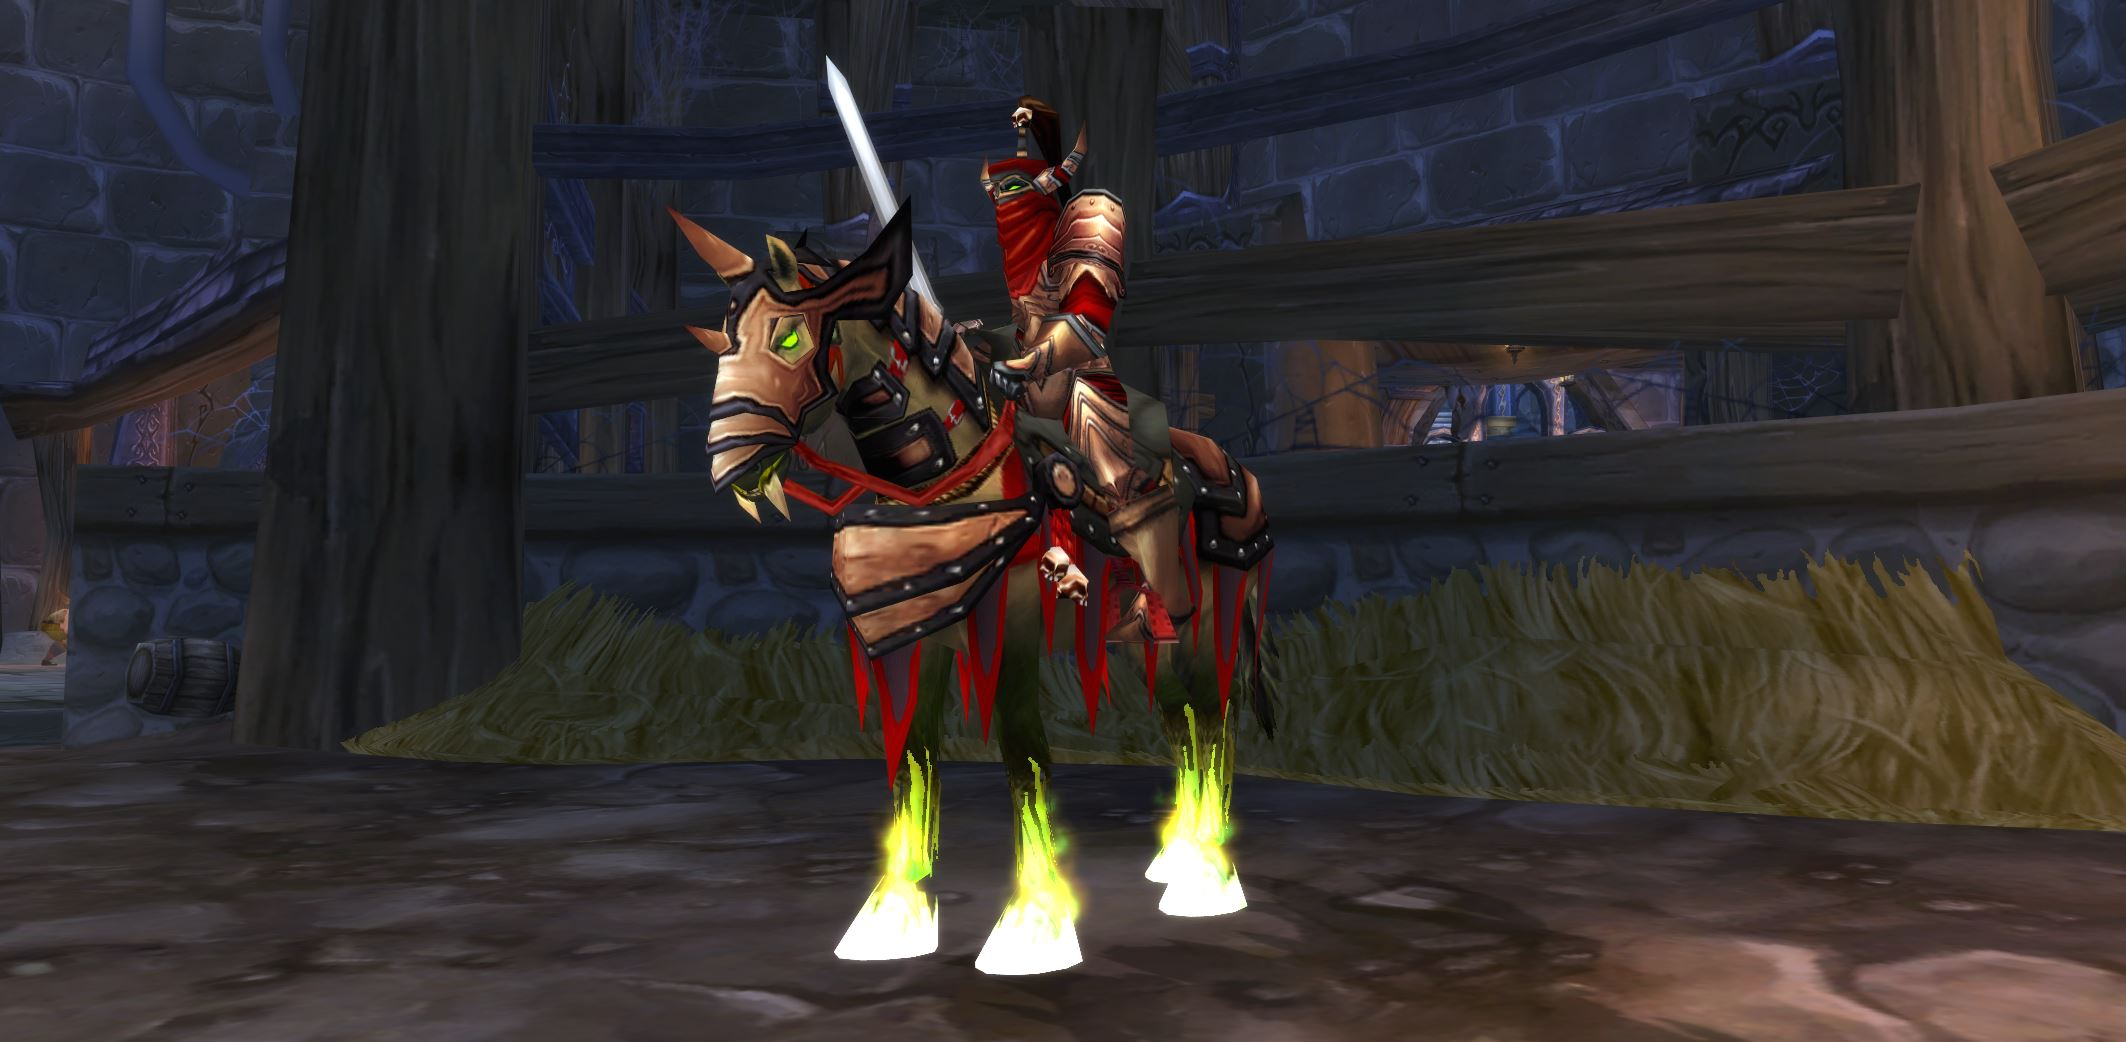
You work your way all the way around until you see a docile horse in the middle of the stable. Attumen's personal steed.
You eat your buff food and then you tell your tank to run at him and the fight is on...
Tactics
Anyone who has raided in Karazhan can confirm to you that Attumen is the easiest boss in the instance. To start with, it's just Midnight. With the exception of the tank, the rest of the raid stacks on the bum. Then, when Midnight hits 95%, Attumen appears and your off tank has to pick him up.

Periodically, there'll be a debuff put on the raid called "Intangible Presence" which reduces accuracy (and spell hit, etc.). You need a mage to dispel this to make sure your tanks keep threat, otherwise Midnight will turn around and deliver a nice, hot, steaming one-shot to one of your Warlocks, or Mages or... throw a rock.
You blast Midnight down until he hits a certain threshold (I want to say 35%, don't quote me) and then the pair mount up, heal to full and then you get to kill them both.
And that's... it. First boss down - enjoy your first taste of fat loot.
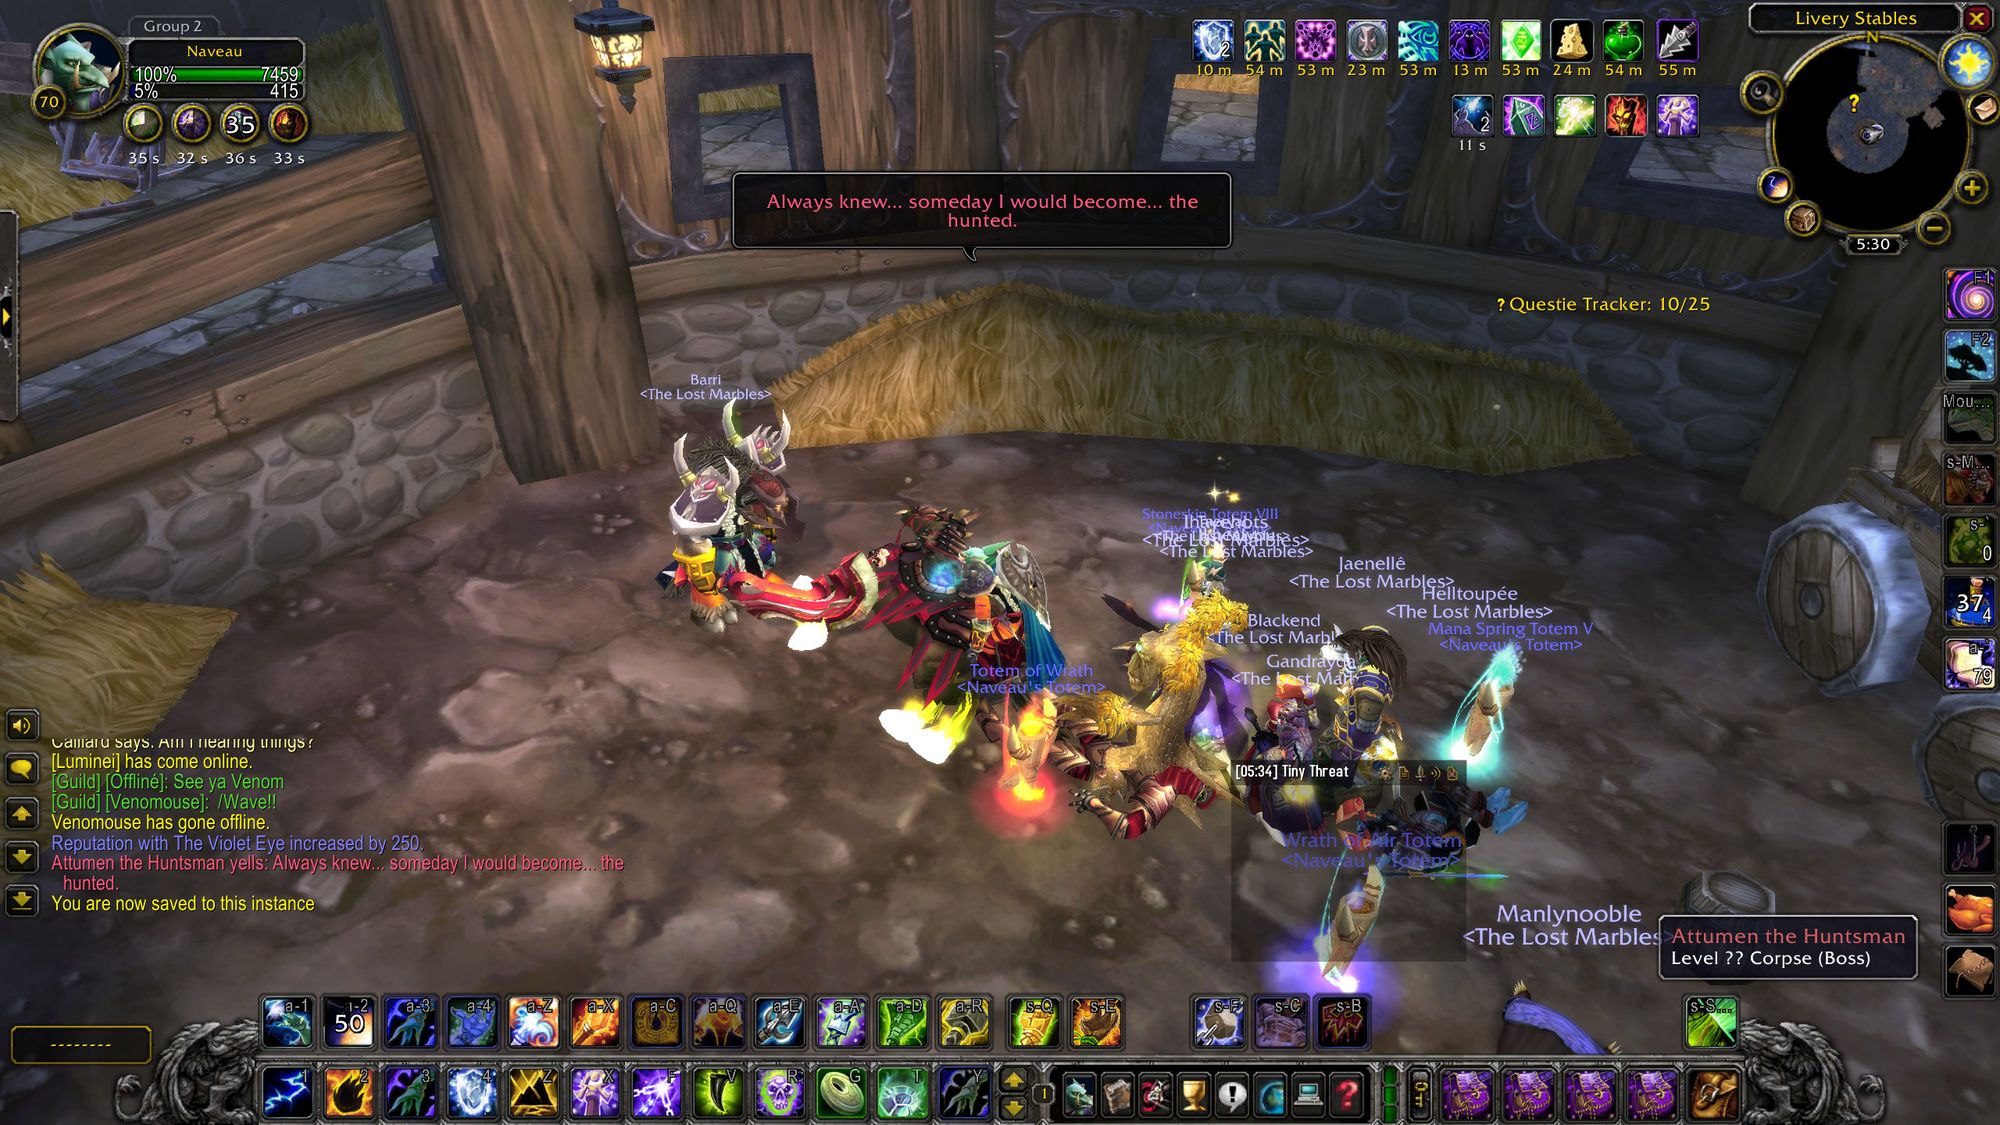
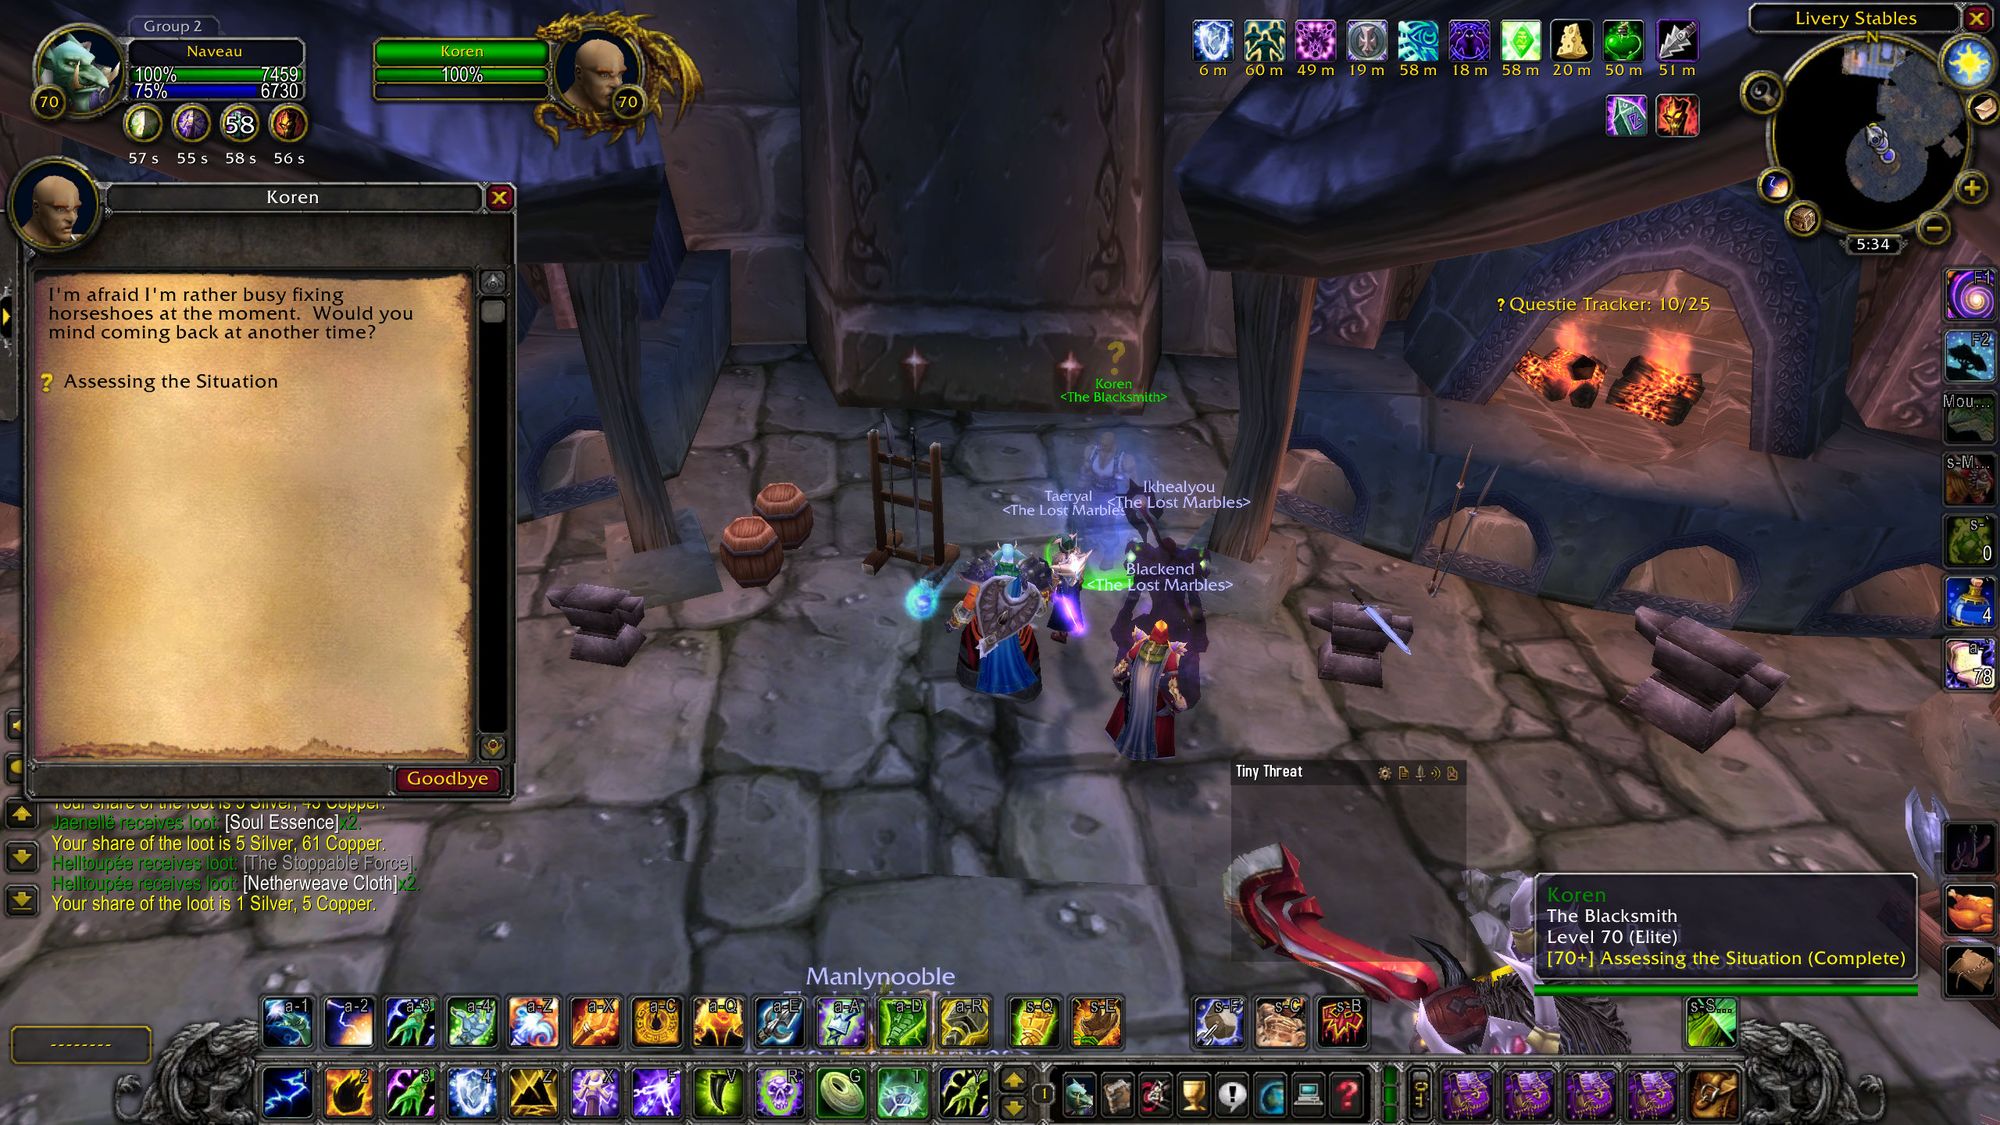
On your way out, you'll meet Blacksmith Koren (who is also a Violet Eye plant, somehow, despite being dead) who can repair your gear if you're honored with the Violet Eye, Which takes no time at all.
Incidentally, this boss also drops a limited edition mount, which is often farmed by nerds in later expansions. I saw it drop once in twenty-five resets.
Make your way up the stairs, clear out lots of trash in the room before the banquet hall (including some trash with hidden elite mobs which can one-shot clothies), then slowly work your way into the dining hall, killing lots and lots of normal mobs as you go. A Paladin tank really helps here. A Paladin tank really helps everywhere, to be honest. Blizzard loves Paladins in TBC.
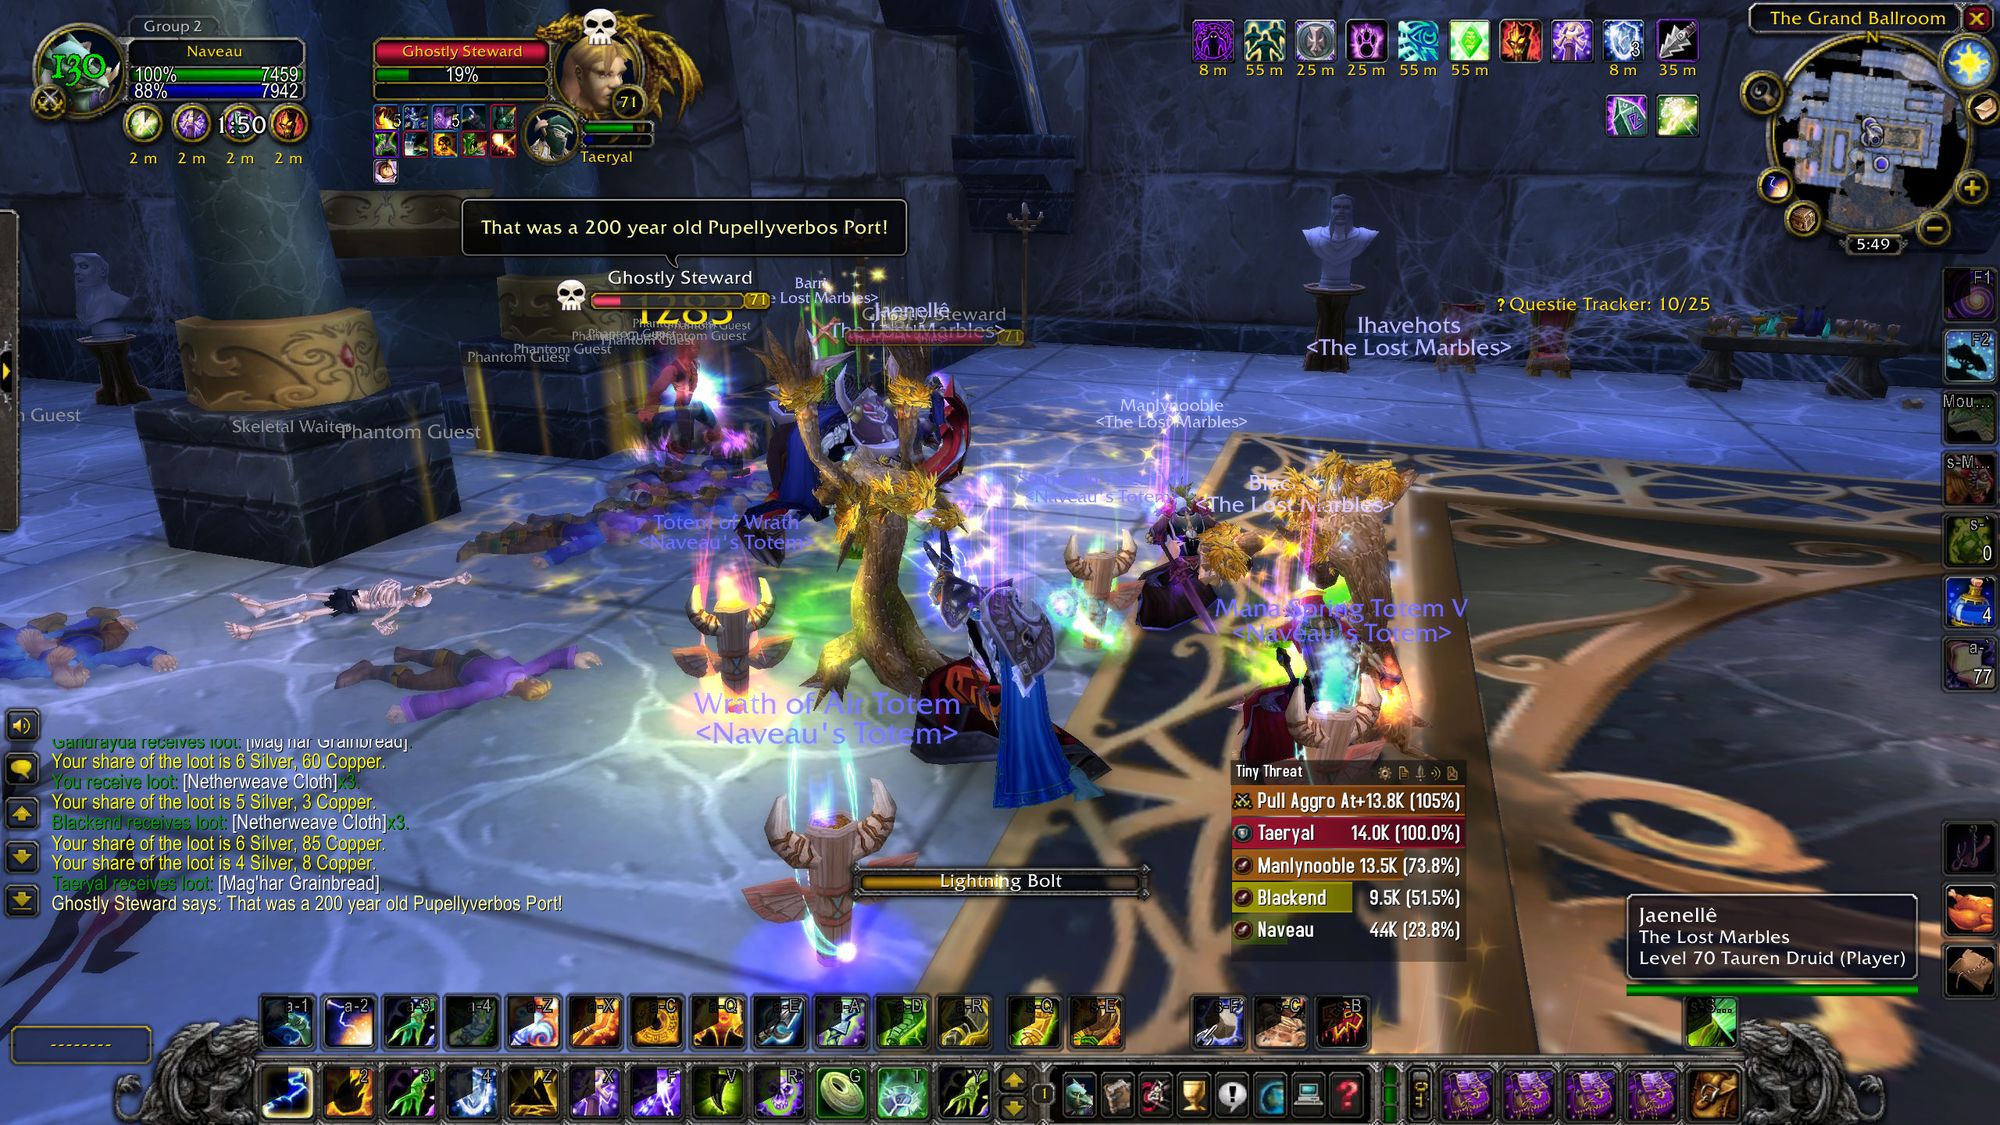
Once you've cleared all the trash in the adjacent area and the dining hall, it's time to deal with the steward of Karazhan:
Boss Two - Moroes
Lots of people in my guild tell me stories about the horror that was dealing with Moroes back in the day. He'd pop out and one shot someone, it was really difficult to heal, etc.
But in the modern age with modern technology and a geared raid, old mate falls over like a sack of potatoes.
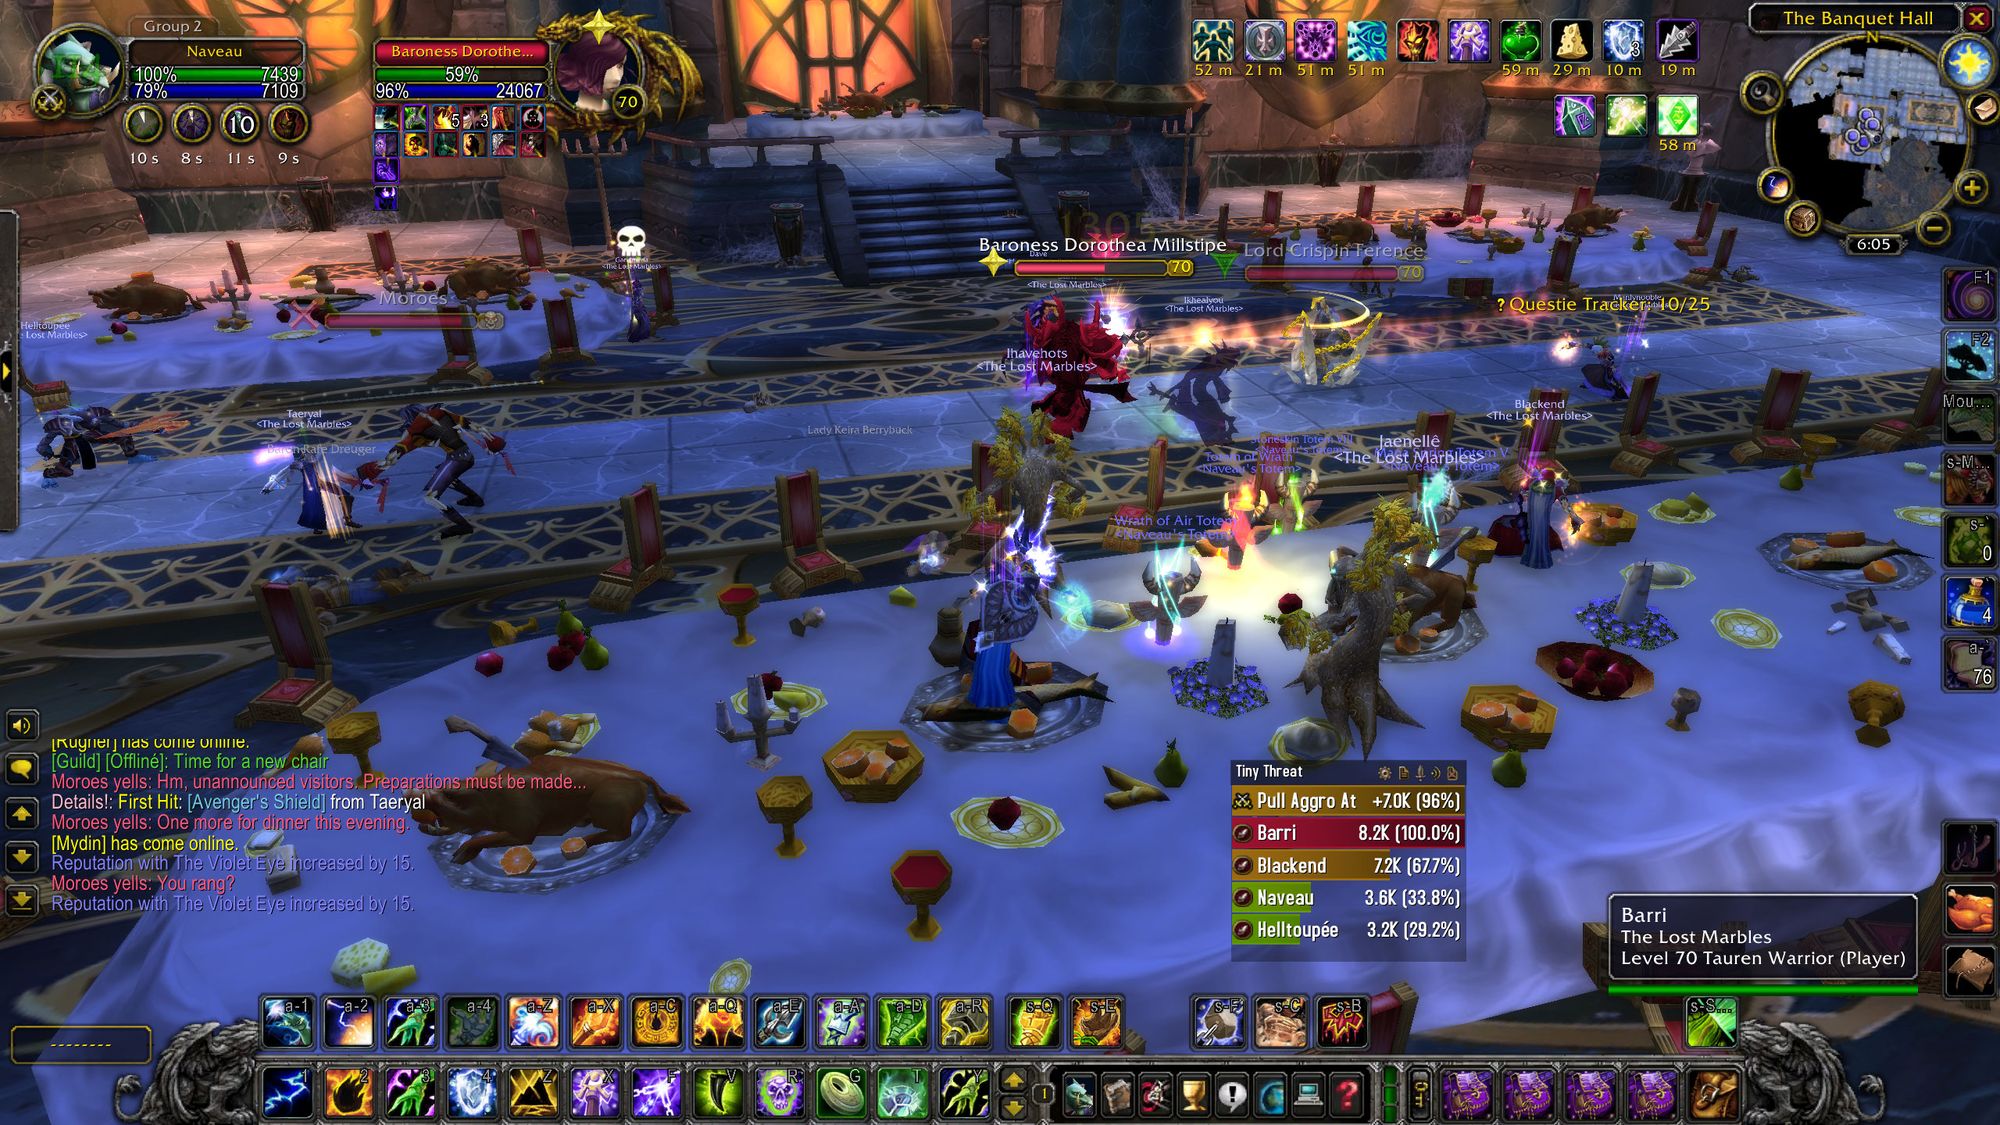
He's on a raised platform in the middle of the dining hall, surrounded by a number of long-dead named aristocrats. The objective is to kill all four and Moroes.
Tactics
The speed of which you beat this encounter depends entirely on your gear. I've seen folks hit the turbo button, have their off-tank (a Paladin, because of course) pick up all four adds and blast them before shredding Moroes like cheap lettuce.
If your raid is geared conservatively then it pays to crowd control at least one, preferably two so your offtank doesn't have to deal with all four at once. Then the DPS blow out the adds whilst the main tank holds Moroes.
It's important that your off-tank also appears on Moroes' threat table, because periodically he does a 'gouge' that deals a high amount of damage to the main target and switches to the second on threat.
Naturally, it was a bit of a meme for one of our mages, or warlocks (or me) to get past our off tank on threat and then get their head punched in by Moroes instead of the main tank with all the armour. Which is certainly very funny when it happens.
So after blasting down the adds you then fight Moroes himself. Nothing changes, he just gets mad after you drop him down to a certain threshold - but not enough to seriously threaten the main tank. Periodically, Moroes will also vanish and then garotte someone in your raid, dealing hefty ticking damage over time.
That's the hard enrage mechanic of the raid - if you take too long to kill Moroes, eventually your healers will be overwhelmed with keeping everyone up and you'll fall over. It's worth mentioning, though, that this never happened to us and we've never wiped on Moroes.
But I digress - once the adds are down, kill Moroes, watch your threat so he doesn't one-shot you after gouging the main tank, collect more fat loot.
Now it's time to head in the direction of the Opera. First, we'll head up to the foyer of the theater, where more mobs of aristocrats and their caretakers are hanging about. Slowly cherry pick the groups one by one, taking care to avoid pulling a group of mobs and an elite mob.
Once you've cleared up enough space, hug the wall to the right-hand side. We're not going to the Opera just yet, first we have to pay a visit to the guest chambers, where we'll find our next target.
Boss Three - Maiden of Virtue
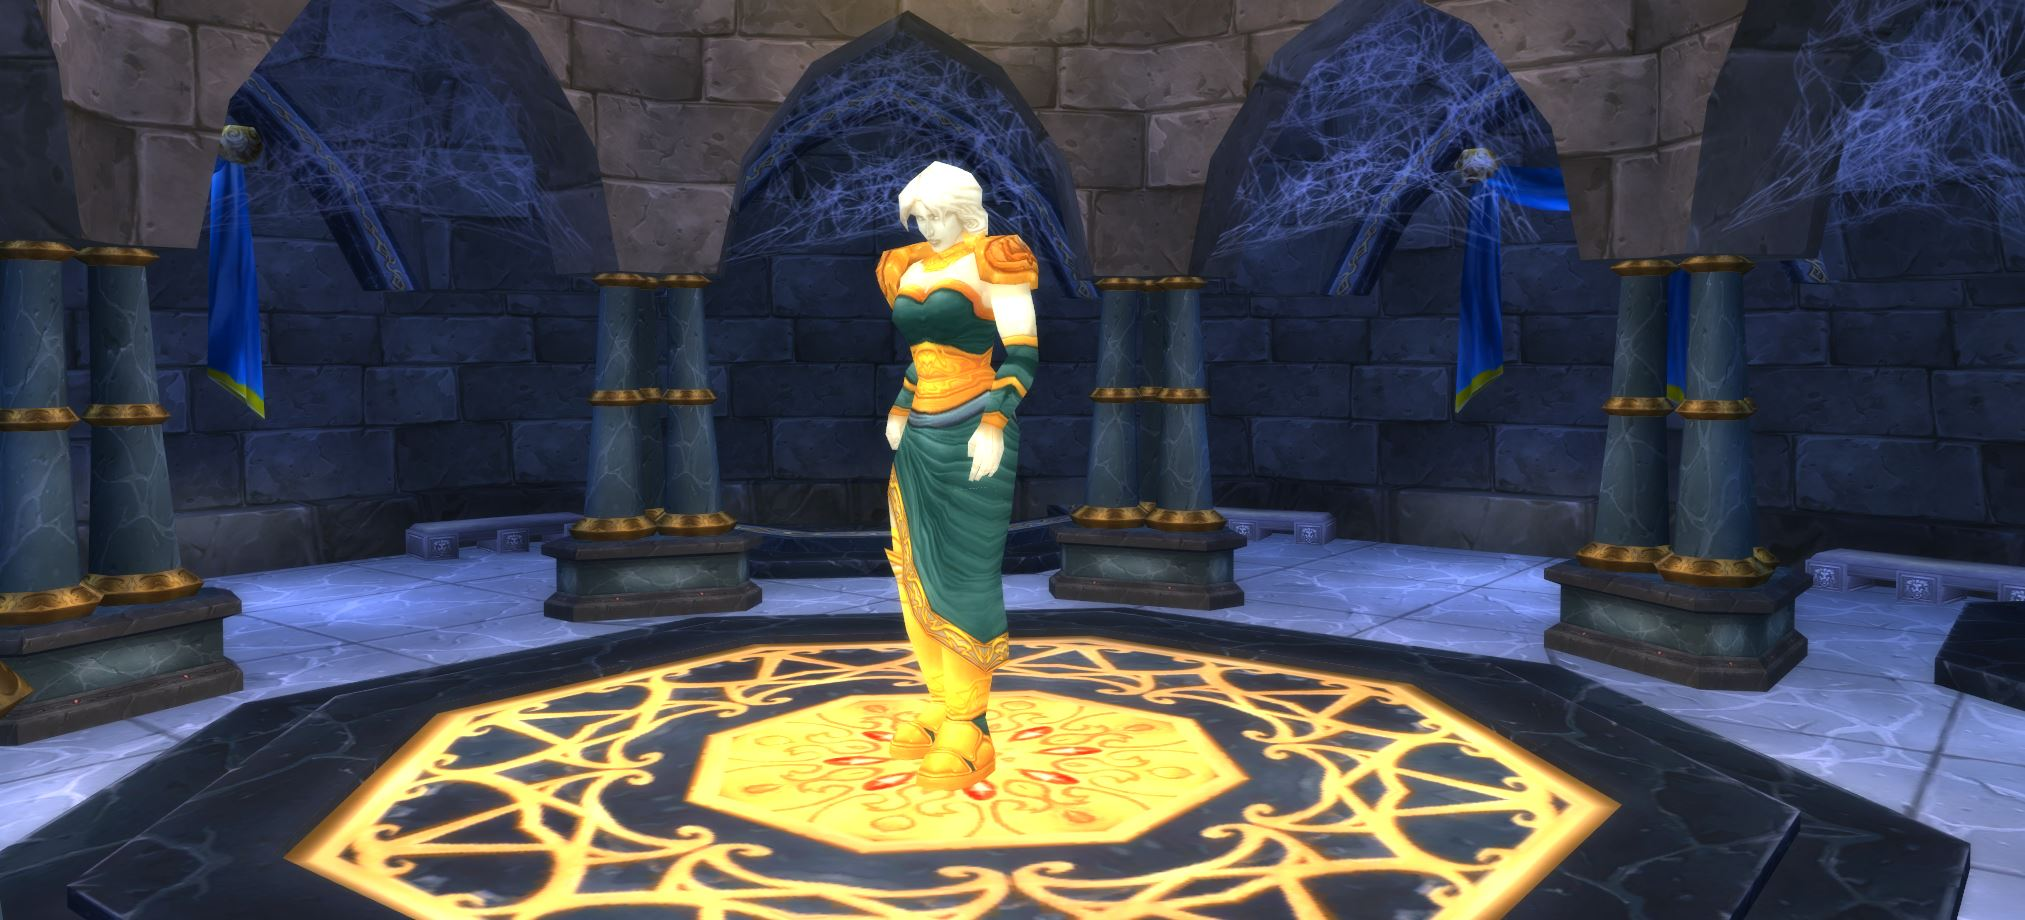
Inside the guest chambers, we'll find chambers for guests, as well as a mixture of undead and demonic concubines.
If your raid isn't geared or cautious in trying to keep up momentum, then a warlock to banish and a priest to shackle are nice additions. In particular, there's one large group of elite enemies halfway down which can be a pain if you're missing gear - and has been known to wipe raids.
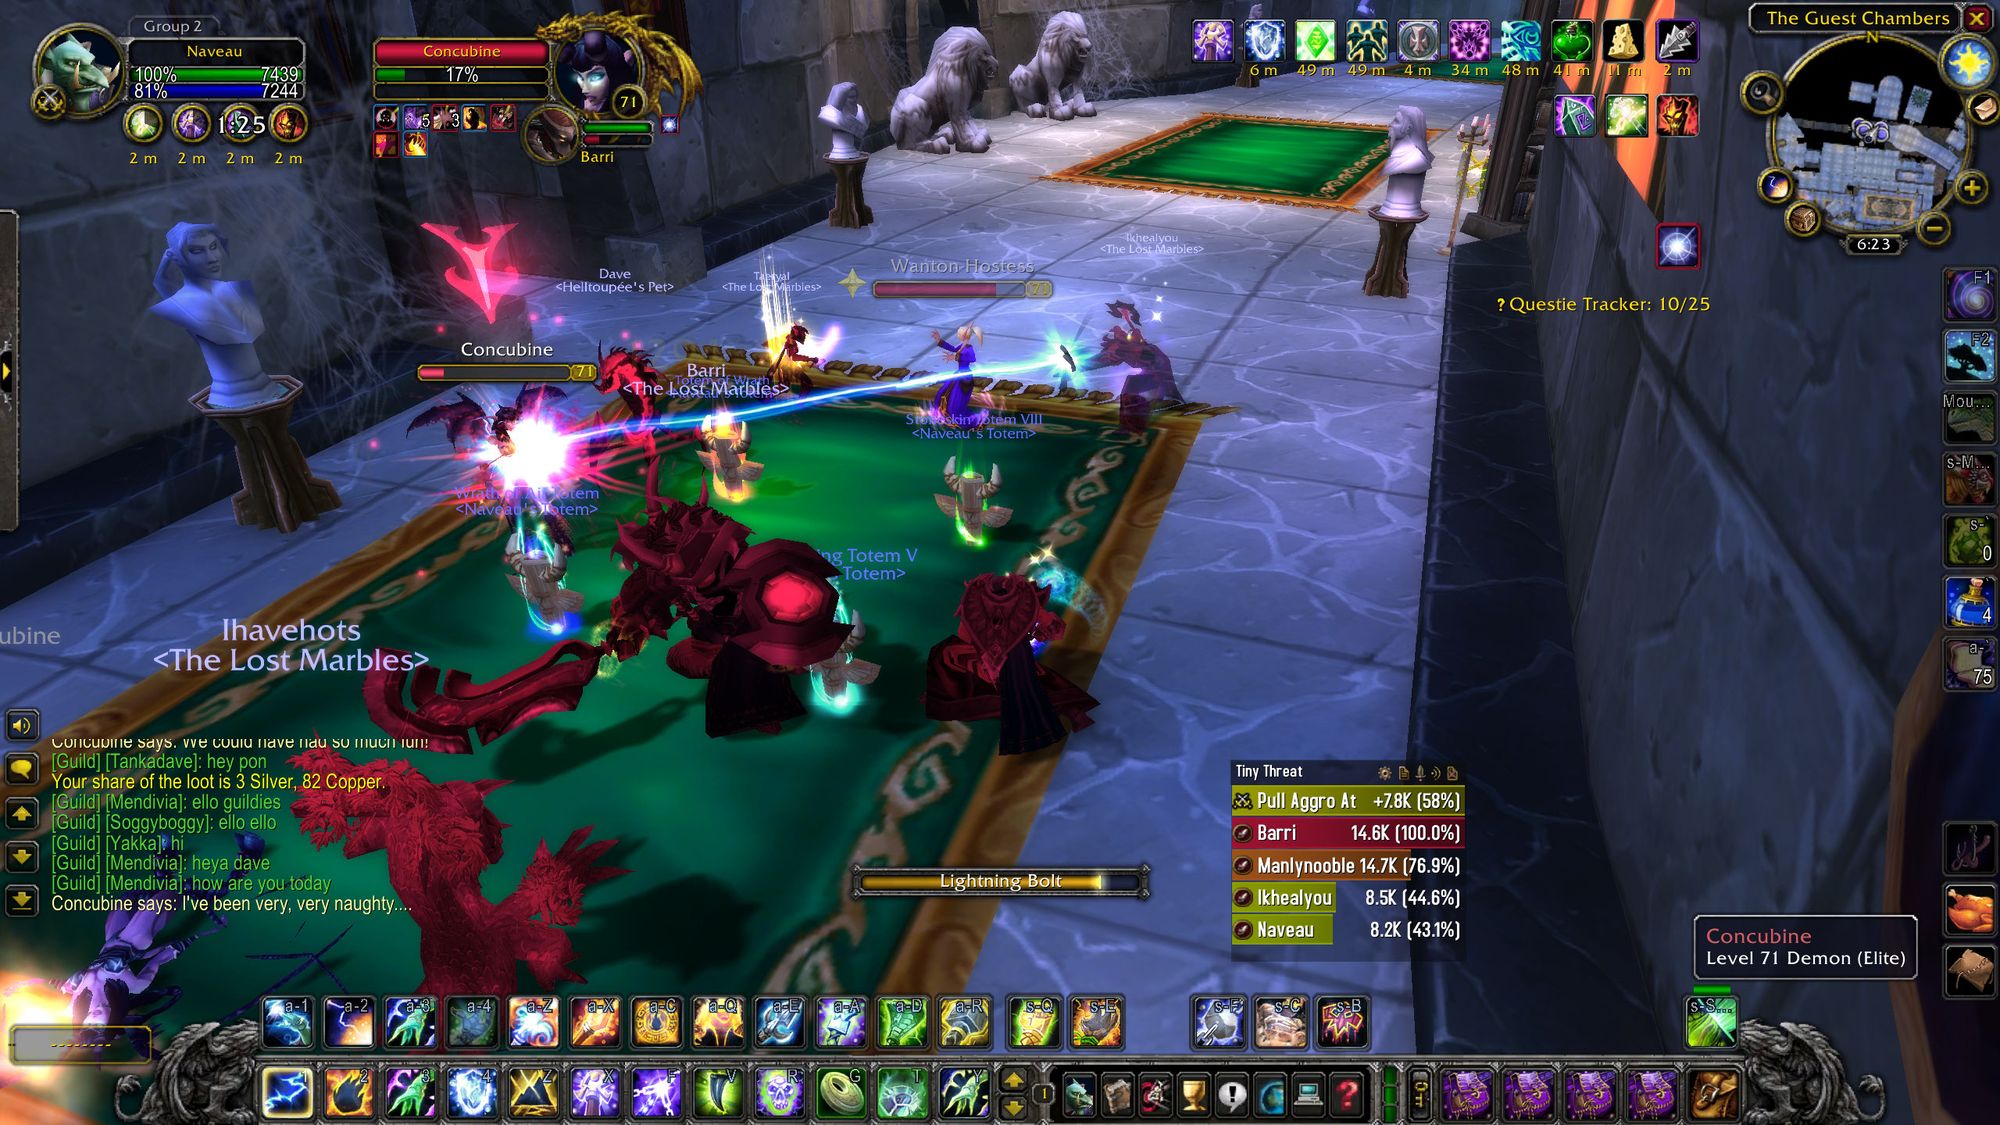
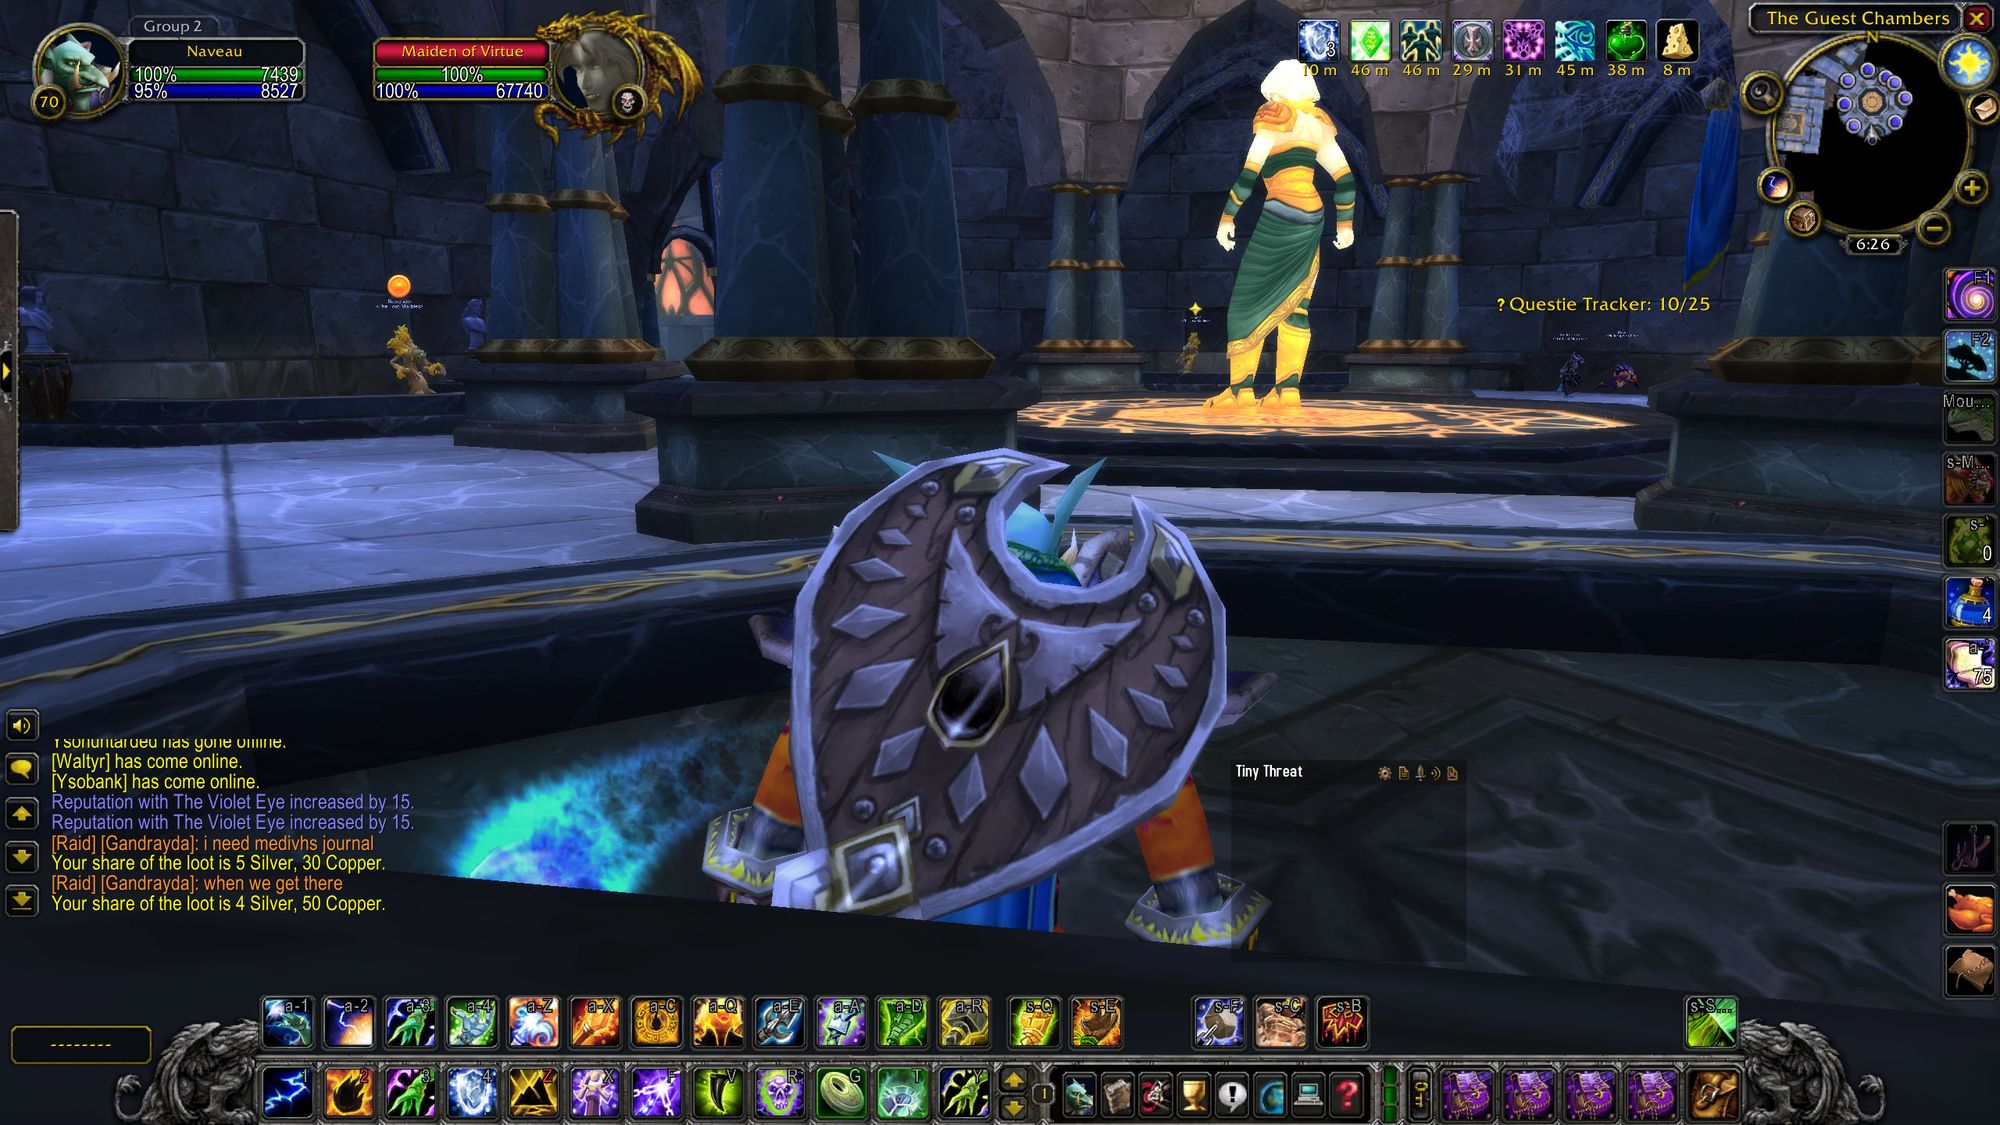
Two or three pulls and you're at the boss - the Maiden of Virtue.
If you had to ask me what the Maiden of Virtue is doing in the same general area as several rooms used by ladies of the night. If I had to guess, I'd suggest it has something to do with the idea that Karazhan is a place of contradictions - as you'll see later.
So first it's time to get into position - the room is round and the boss has an aggro range - so don't get too close. You want to spread out ahead of time as Maiden has an ability that jumps from player to player for tons of damage.
Everyone in position - then it's time to pull the boss:
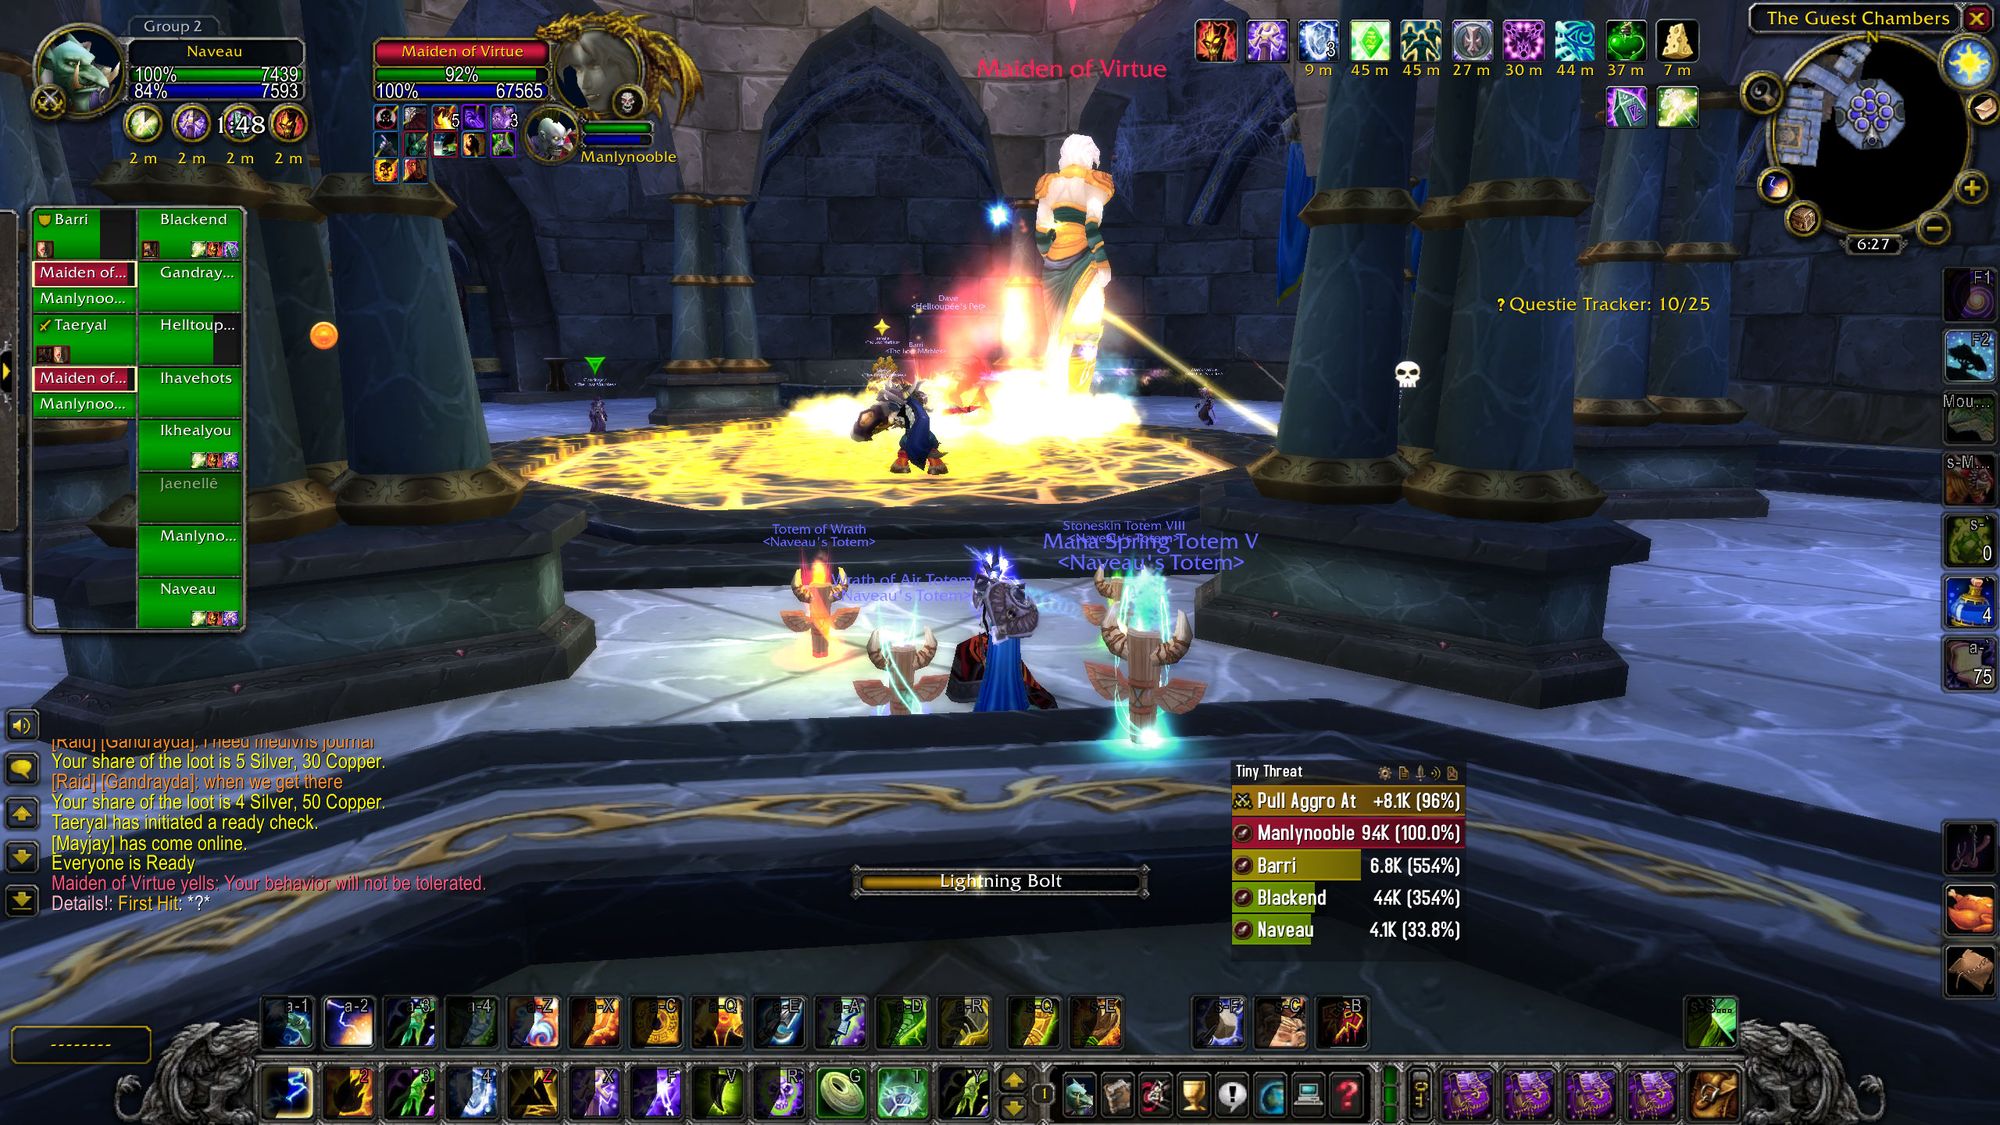
Tactics
Maiden is not a hard fight, but it requires a little bit of finesse and a reasonable group composition. You need at least one dispeller, preferably two, as the boss doles out a harsh damage over time spell, Holy Fire. This'll kill someone, particularly when timed with the next ability, Reptenance.
Periodically the boss will stun the entire raid for twelve seconds. The only way to break this stun is to take damage. The boss does an AoE for the entire fight. Ergo, pull the boss to break people out. Because everyone's divided up, you have to prioritise who gets broken out. Normally the healers get marked up and the boss is dragged by the tank towards only the healers and the ranged DPS get to suck it.
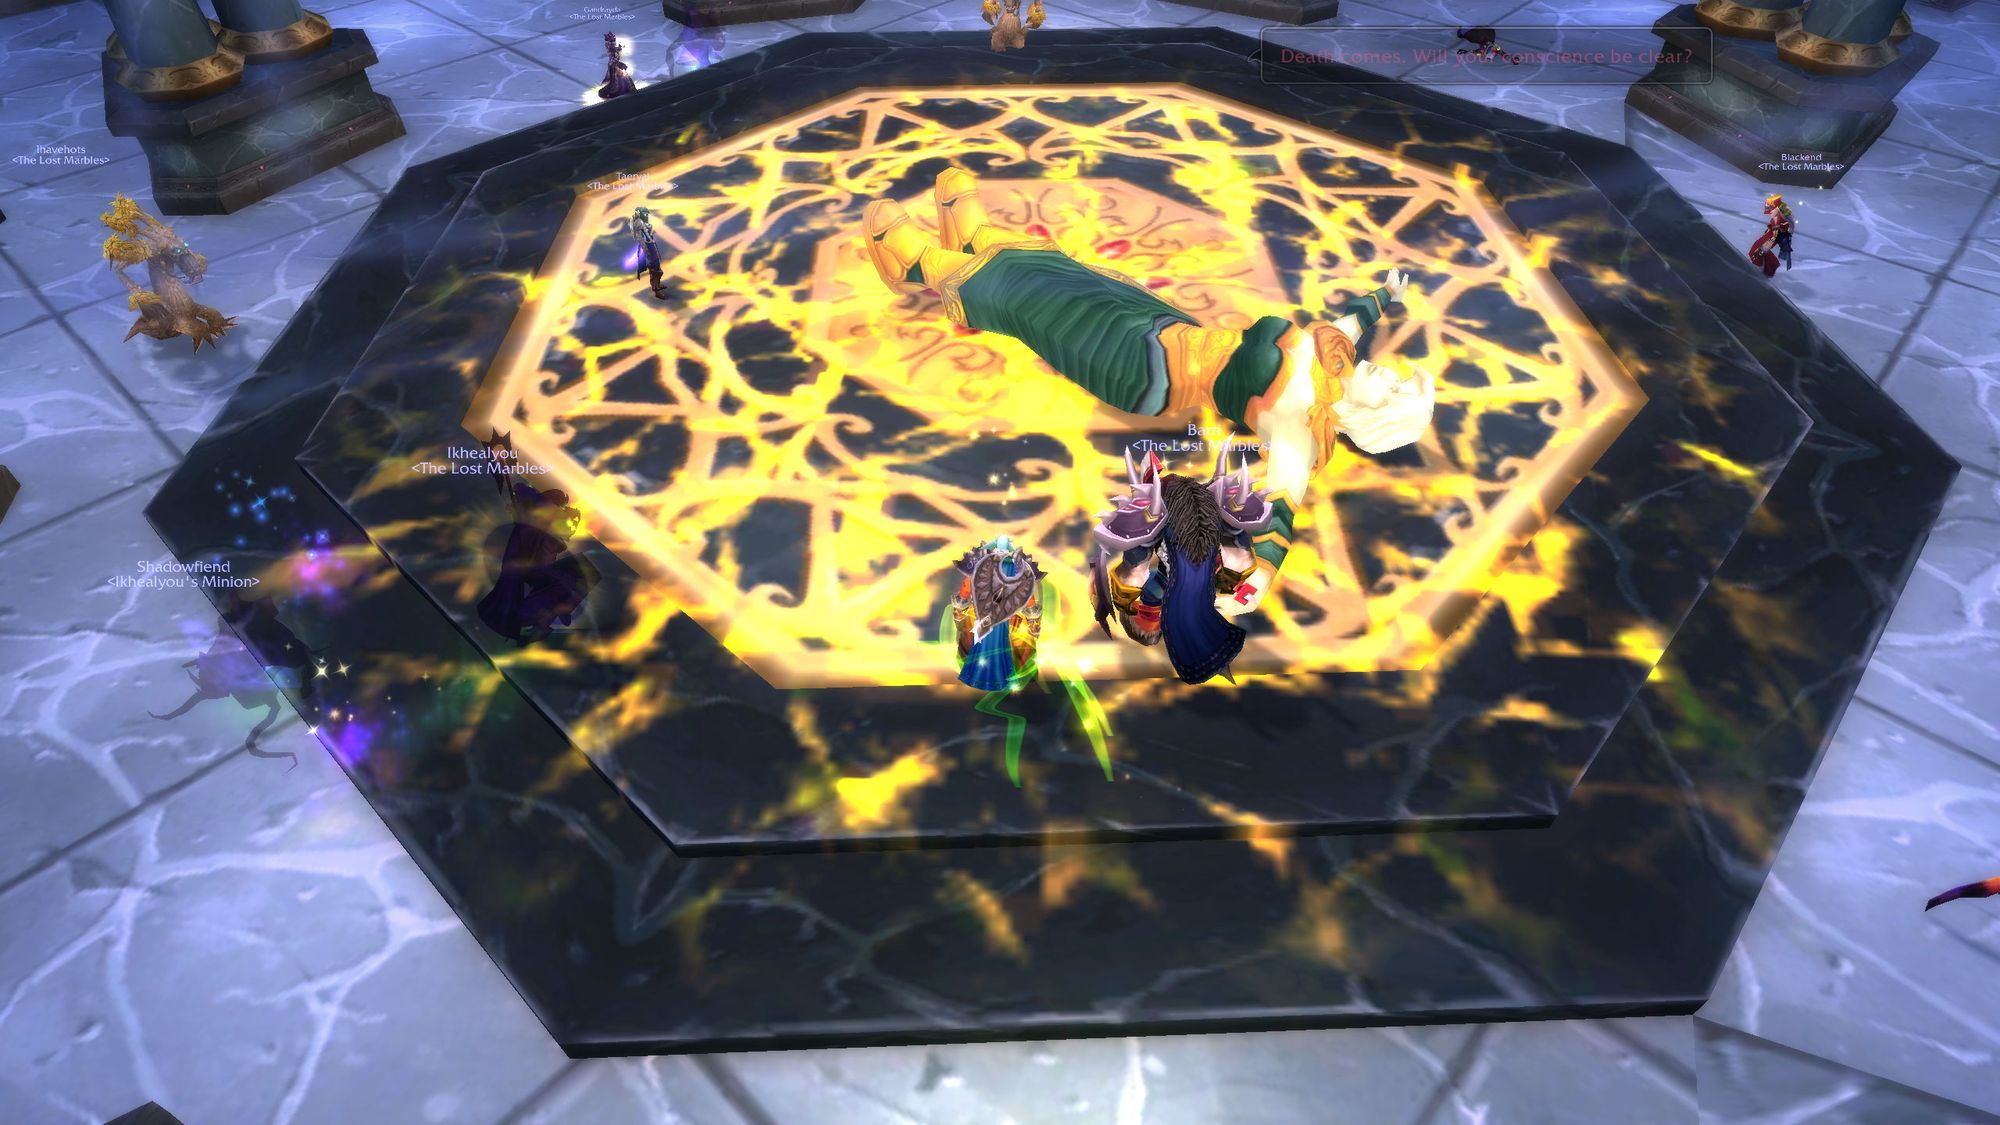
If you're a clever enough clog you can time it *just right* so that as reptenance goes off, you take the damage from the AoE and break yourself out. I've never been a clever enough clog to do that.
But that's the whole fight. Dispel Holy fire (or if you're a sneaky Shaman, use a grounding totem), break healers out on Repentance, job's right. It's not a difficult fight and the boss has a tiny health pool, so it falls over very quickly.
With that over, now it's time to exit the guest's chambers and head towards the theater. But first, we come to perhaps the only really difficult trash in the instance - the Skeletal Ushers.
The way these jerks work is that you have to make sure that both tanks are one and two on threat. They freeze their current tanking target and swap to second on threat. They're also strong enough to one-shot a clothie. Get it? If you go too hard, they'll freeze your target and then come and kill you - they'll wipe an unprepared raid.
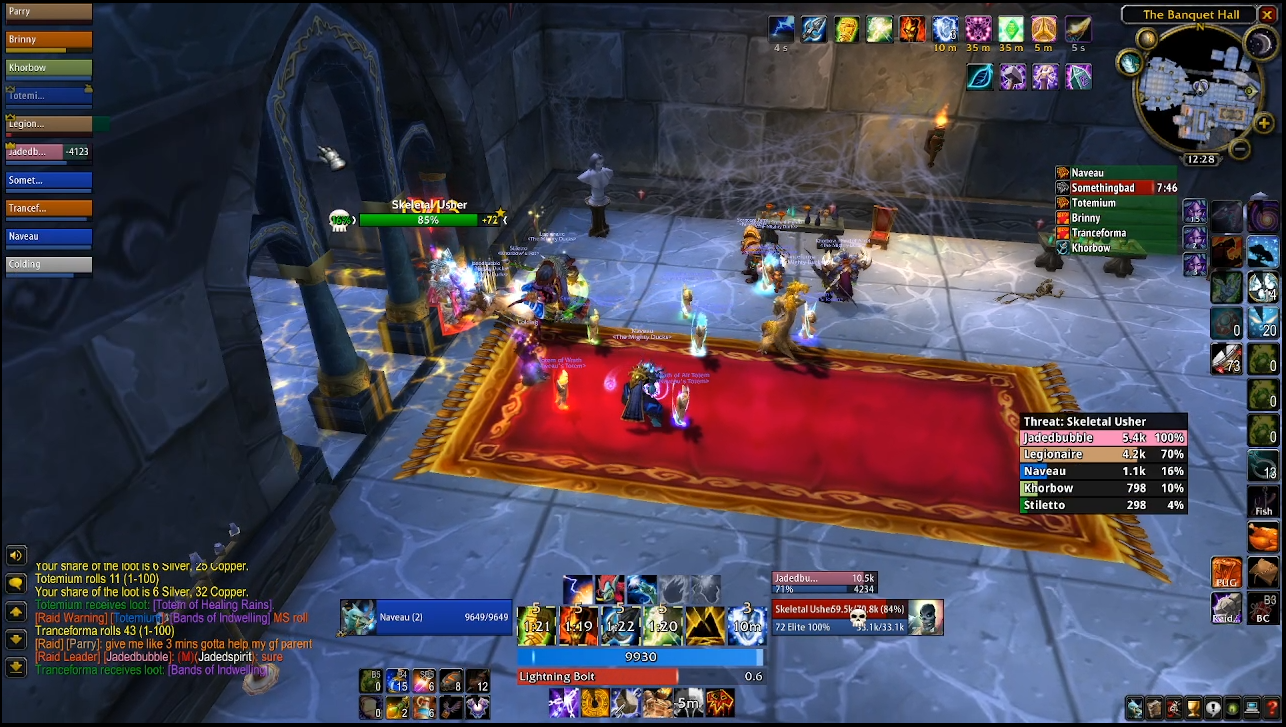
Fortunately they don't respawn and you only have two pulls before they drop down to one and the offtank can just quickly taunt them.
Now you head down to the right, underneath the stage and into the backstage. You'll deal with wannabe ghost actors, who create spotlights which boost damage by 20% - for both you and them - who also explode when they die. If you let them explode in the spotlight, you'll take tons of damage. If you don't let them do that, they'll do less damage. You also have to make sure you don't kill them two quickly - two explosions in short succession will kill most folks in your raid.
Kill enough of them and then you'll get to the next boss - the Opera Event.
Boss Four - Opera
The Opera Event is three bosses jammed into one. Each week you'll have a chance to face off against one of three bosses.
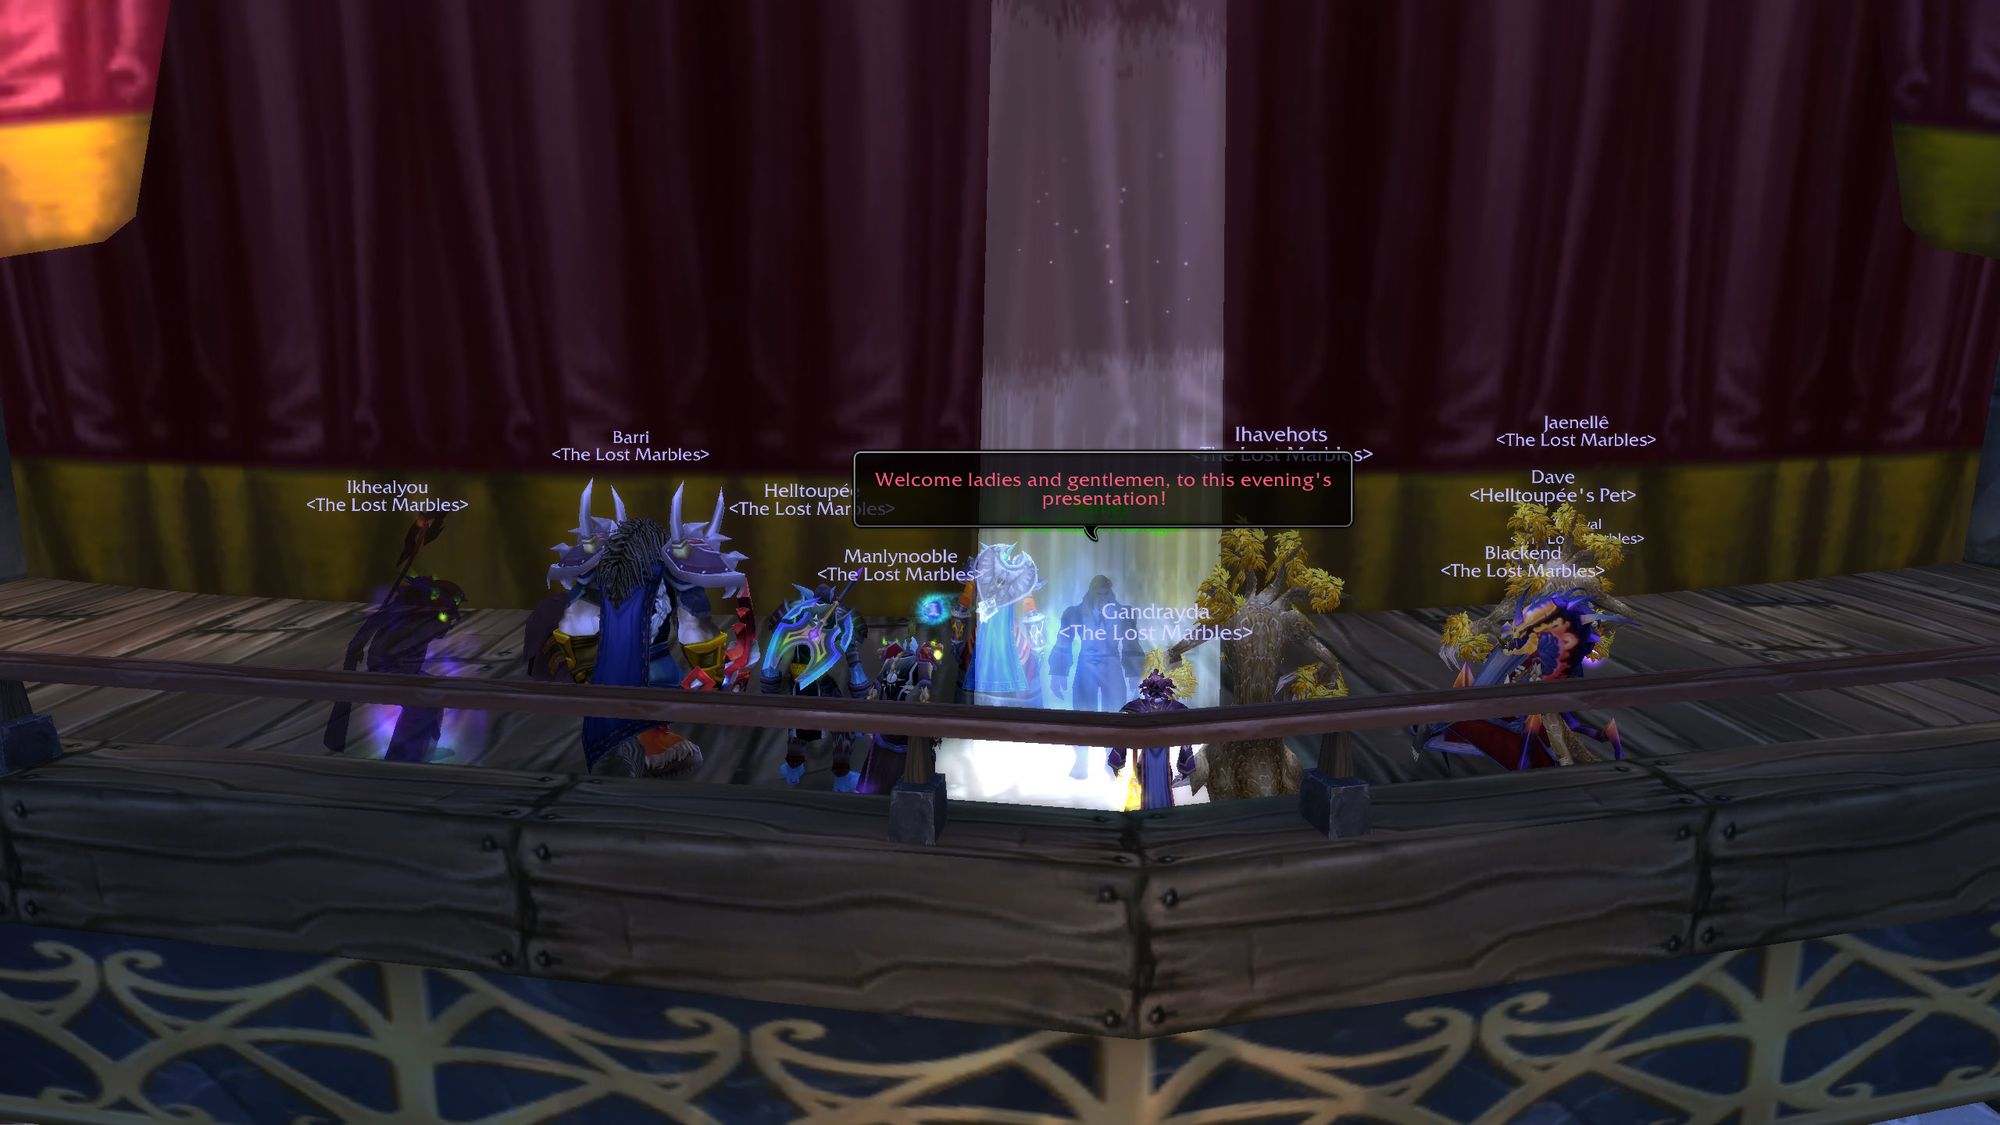
But before that, you need to speak to the stage manager, Barnes. He starts the event - which, if you're experienced and a chad, you can just go ahead and do whichever boss it turns out to be.
Otherwise there's a spot at the back of the last room where you can get the Raid to reset so you can see what it is and brief your troops.
As Barnes takes to center stage and announces to the ghostly audience what the play of the week is, you have a minute to steel yourself and get ready to rumble. We'll talk about the bosses in order of difficulty:
Big Bad Wolf
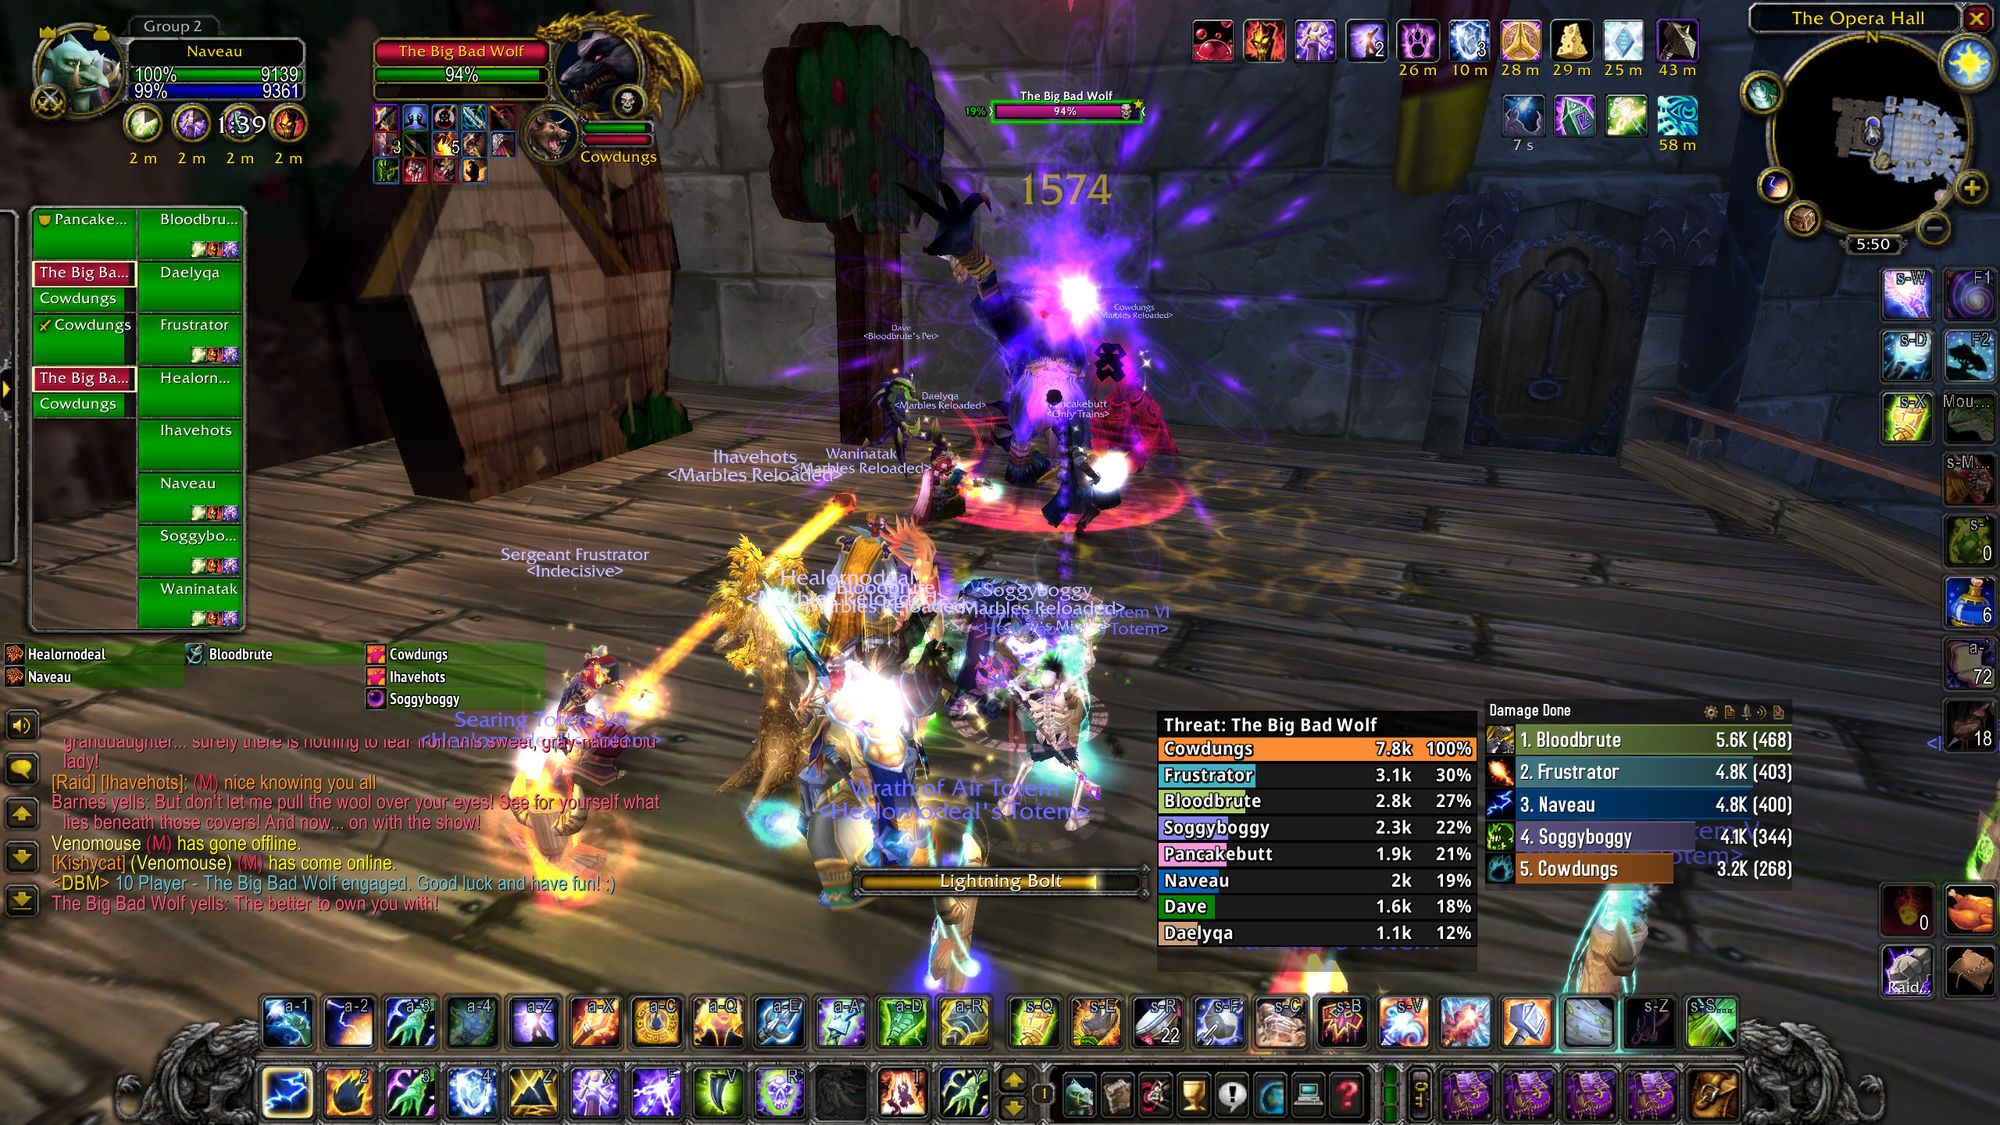
This boss is less difficult and more a bit of fun. If you set it to a bit of classic Benny Hill, there's a bit of a chuckle to be had.
This boss, unlike the other two, is manually started - the curtain raises to reveal an elderly woman. We all know where this is going. You speak to her and after a bit of manual dialogue, she turns into a wolf and starts going to town.
Prior to "the pull", your ranged DPS and healers should be in the center of the room. Once granny does what she does, your main tank should park themselves in the corner of the room to take a mild beating from the big bad wolf.
Then comes the infamous "run away, little girl, run away..."
When that soundbyte happens, it's time for one of the raid members to book it. They need to run around the room and get a speedboost so they can stay away from the boss. Some people who are slow to react might get their head punched in, adding to hilarity.
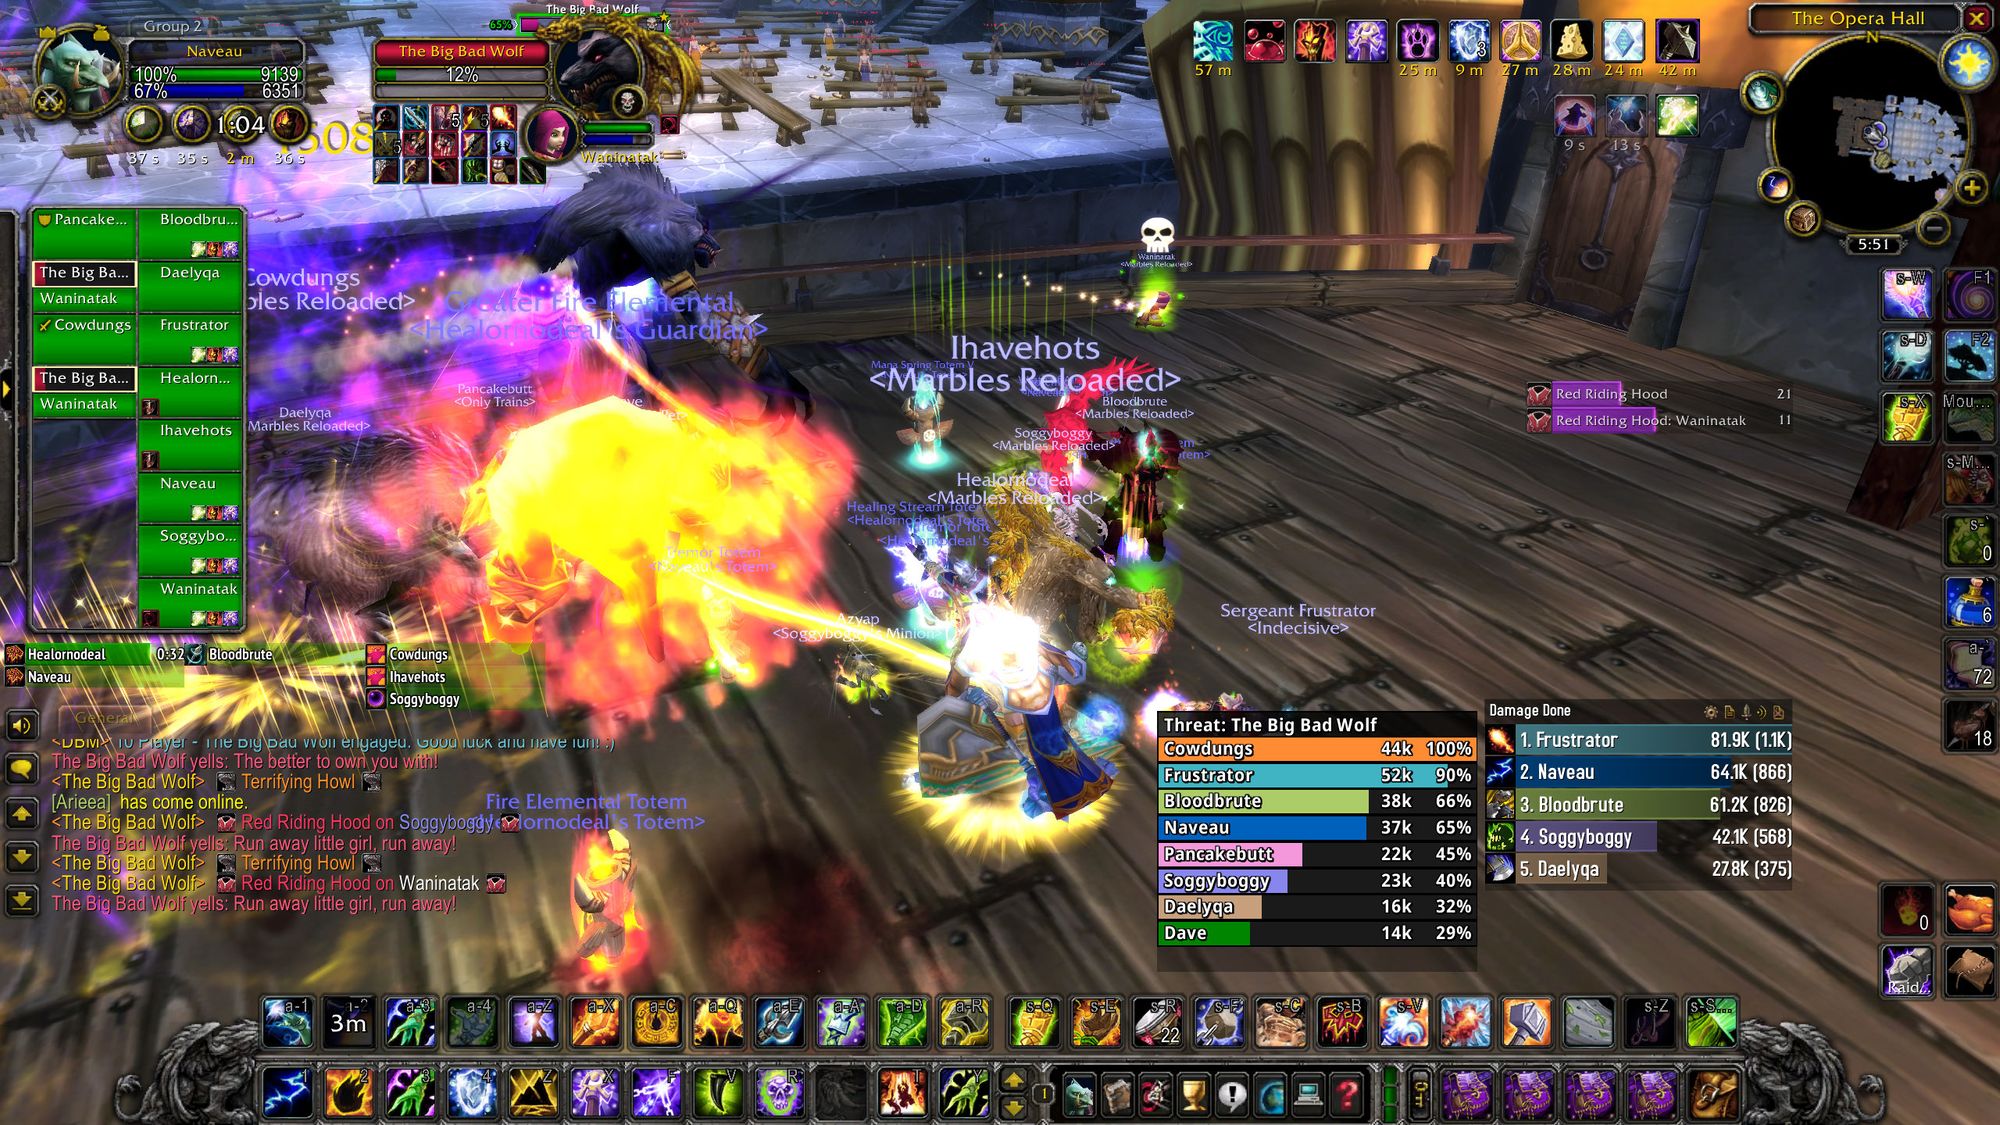
What's even funnier is the melee DPS and tank running after the boss to try and maintain threat. This fight is a serious bit of fun and a good comic relief break for your raid.
But that's basically the entire fight - tank the boss in a corner, book it when he fixates on you, kill boss, recieve fat loot.
The next boss is a step up in terms of difficulty - and moreso in terms of coordination:
The Wizard of Oz
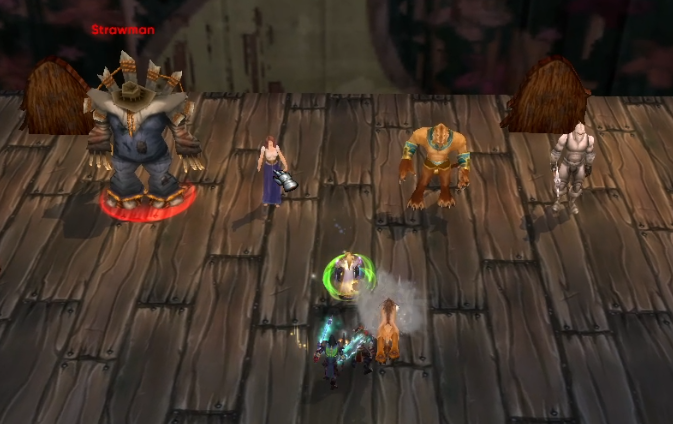
To avoid what I believe is copyright infringement, the names of the bosses are all like the budget knockoff version of the real characters.
That means Dorothy is Dorothee, the Cowardly Lion is Roar, the Strawman is the Scarecrow and the Tinman is the Tinhead.
and the Wicked Witch of the West is the Crone. That'll fool the legal department.
The challenge here is just to make sure everyone is switched on and knows what they have to be doing. Don't do that, and it can get a little rough. Each one of the bosses has a mechanic that allows them to be managed simultaneously.
Roar can be feared (geddit?) Strawman can be set on fire (not too sure about this one) and Tinhead just gets tanked (ok that's definitely not accurate.)
Dorothee, in a role befitting of the main character, can't be tanked, has no threat table and just blasts random people in the raid with water bolts. Don't ask me what that's a reference to. Eventually her dog, Tito (Dorothee's dog, not Dorothy's dog, Toto) comes out and needs to be picked up by your off tank. If you kill Tito before Dorothee, she gets all mad and stuff.
Once you've killed Dorothee and Tito, then your offtank picks up Roar, who at this point has been running around the stage like a headless chook, then you kill the Strawman, who's still being panicked by your Mage or Warlock feeding them fire damage and lastly you put down Tinhead.
If your main tank wants to take less damage from Tinhead, eventually Tinhead begins to rust and his movement slows down. But if your healers aren't stressed and your tank doesn't care, this mechanic is redundant.
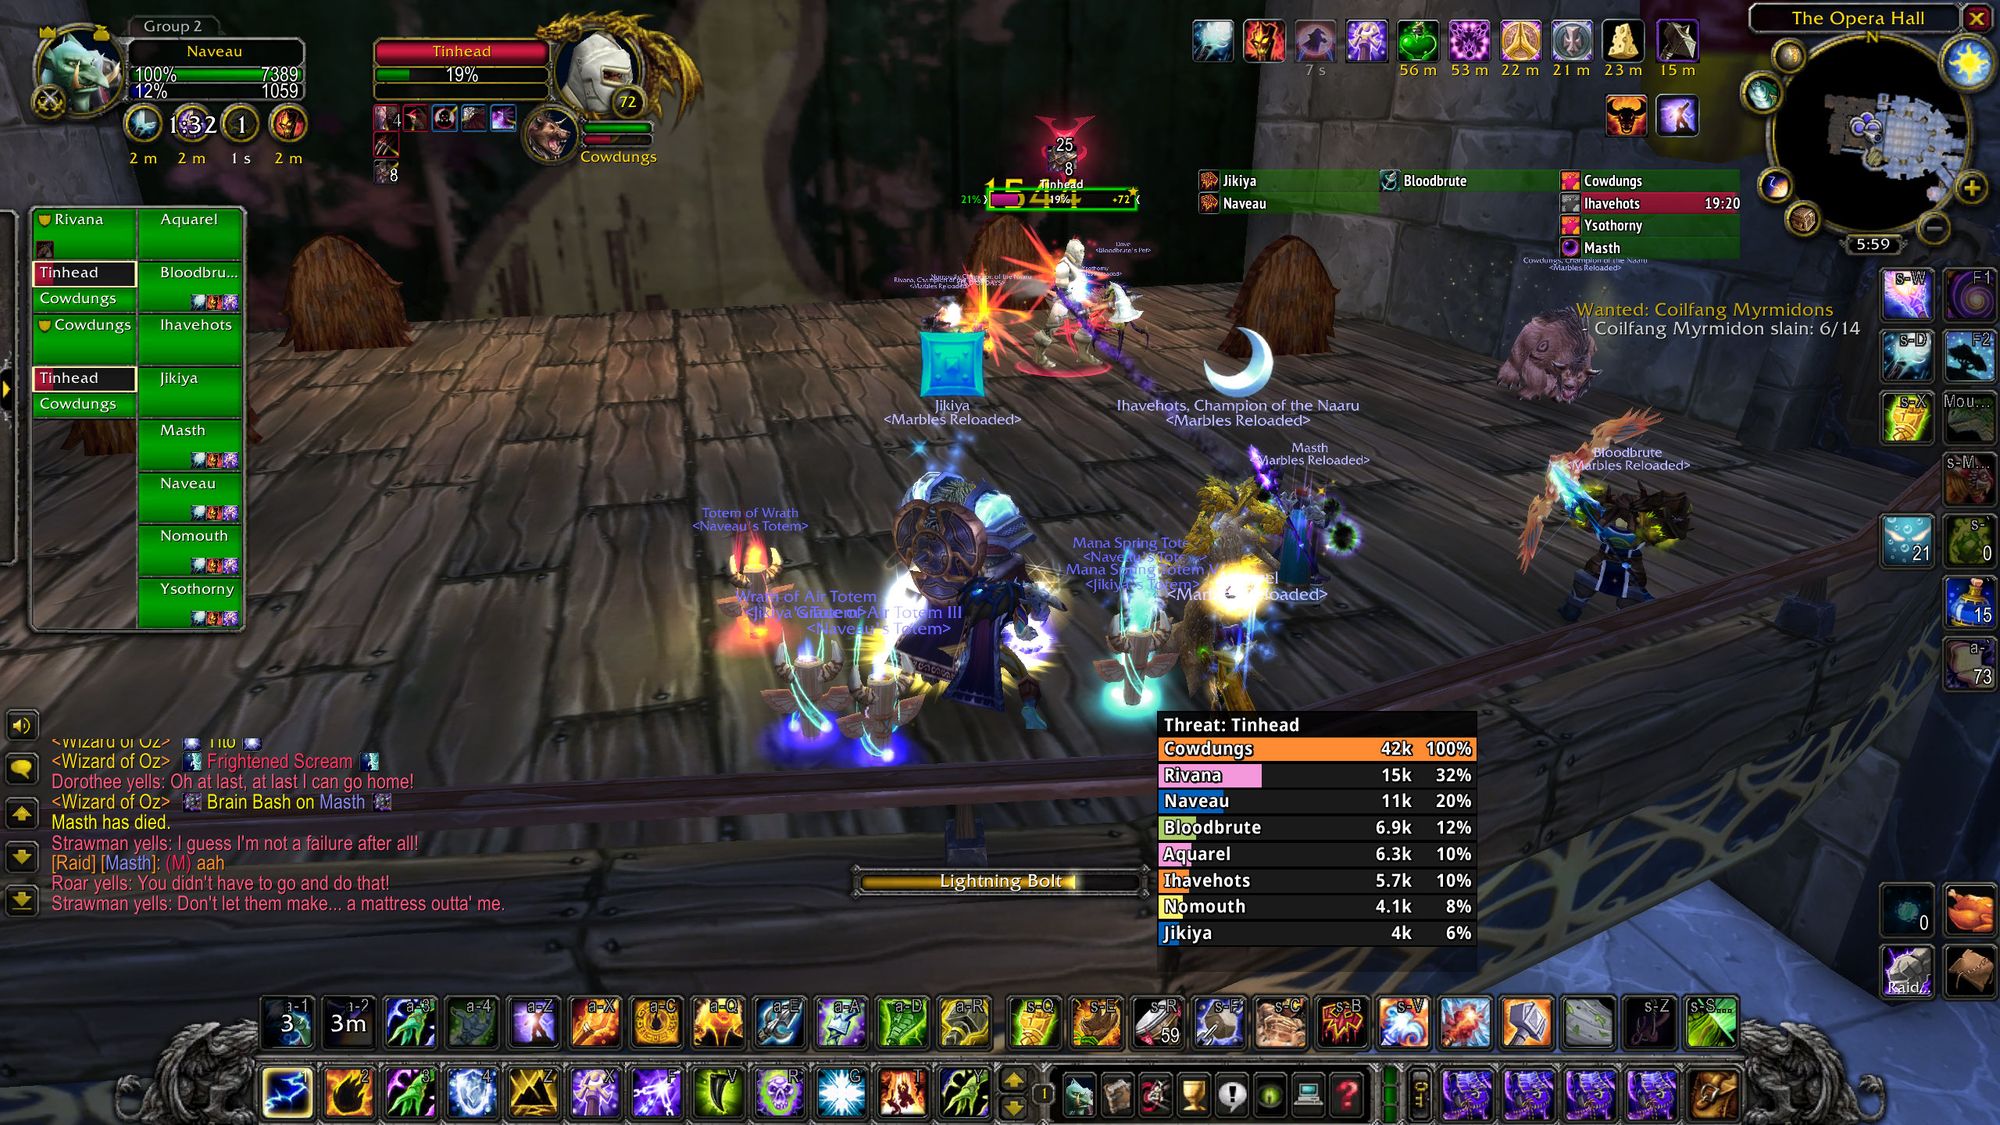
After you've killed the cast of the Wizard of Oz, then the Crone comes down. The stage is filled with tornadoes you have to duck and you have to spread out for a chain lightning cast. This is just an easy downhill ride compared to the coordination-heavy first phase.
When the Crone keels over, that's all she wrote. Congratulations, you've ruined the Wizard of Oz!
The last boss of Opera is perhaps the most difficult - it requires coordination and communication - and if you get it wrong, you'll be doing it all over again.
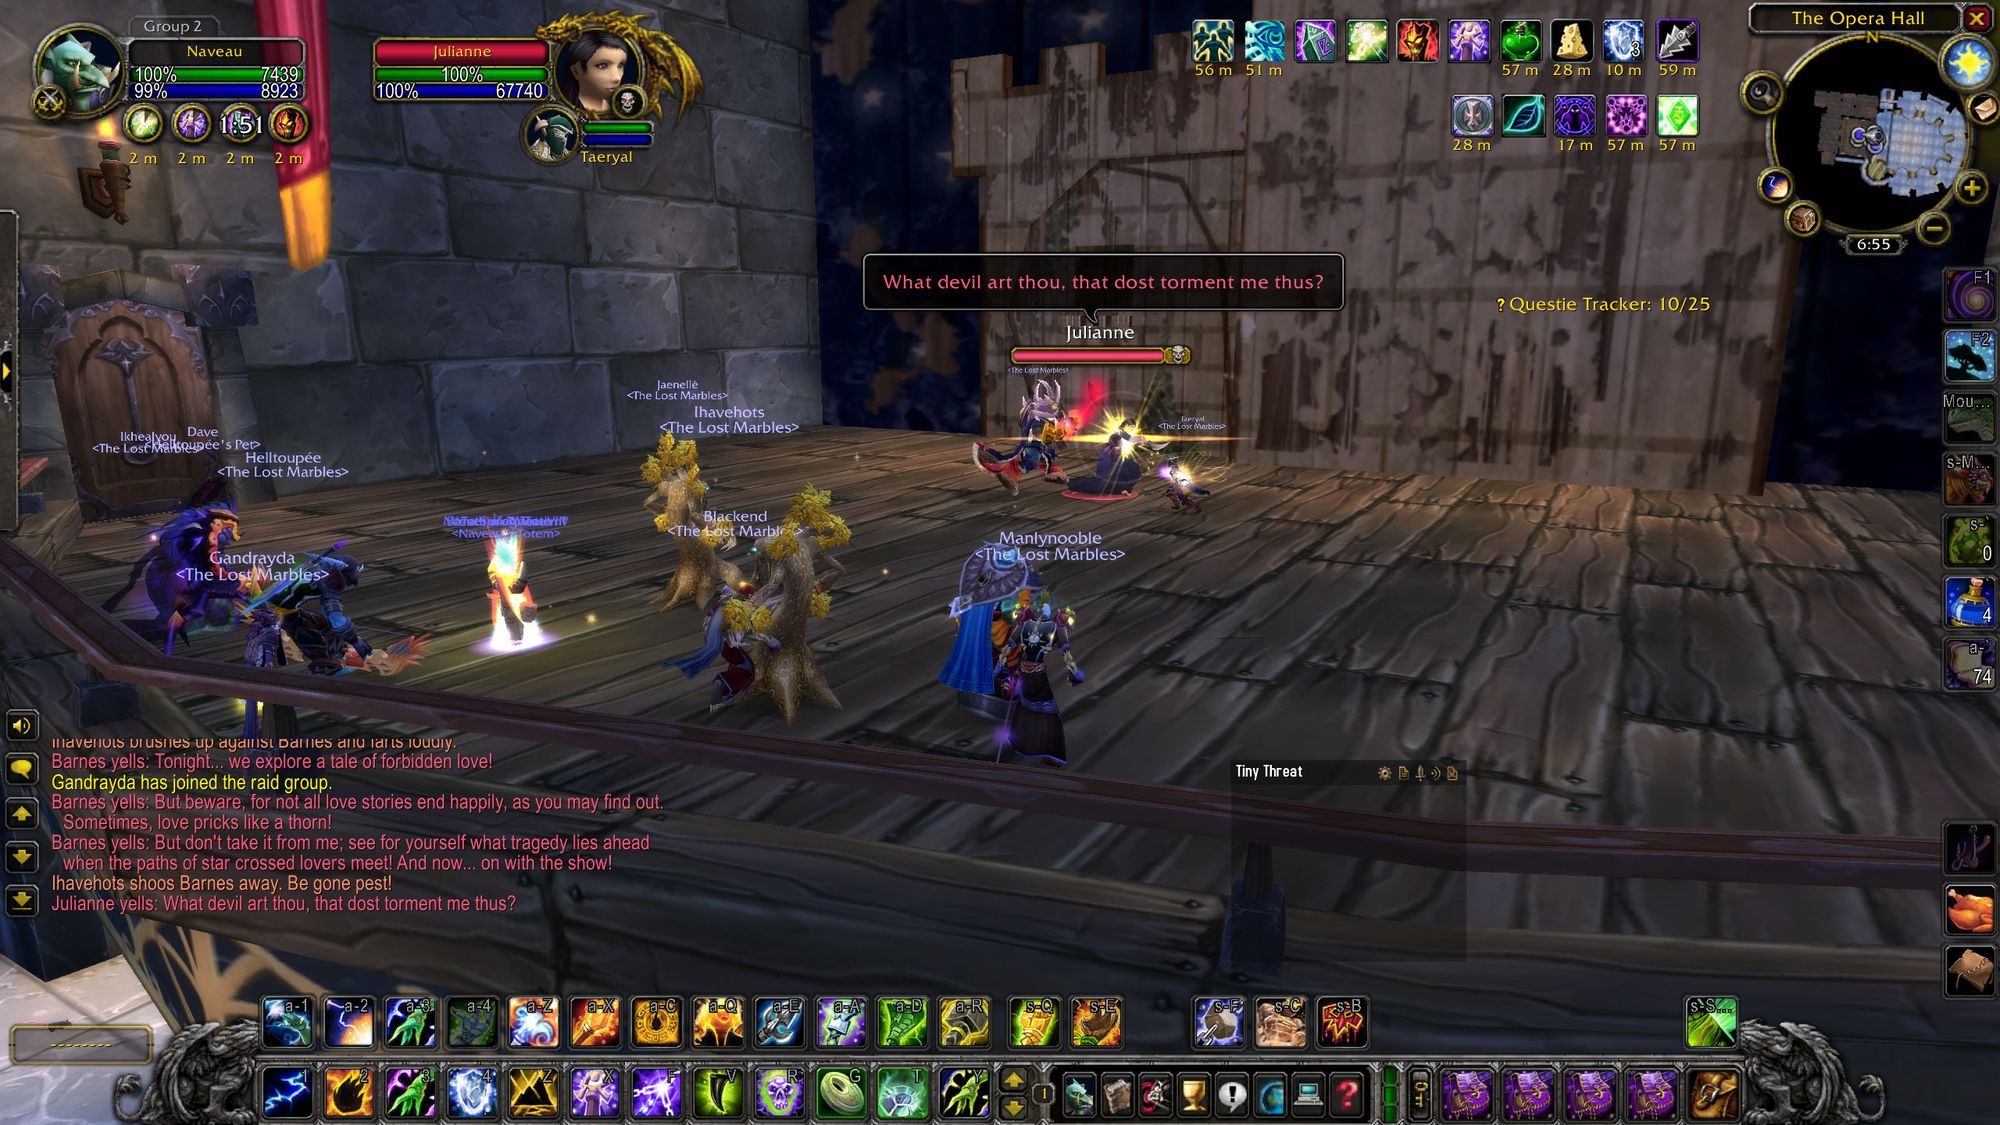
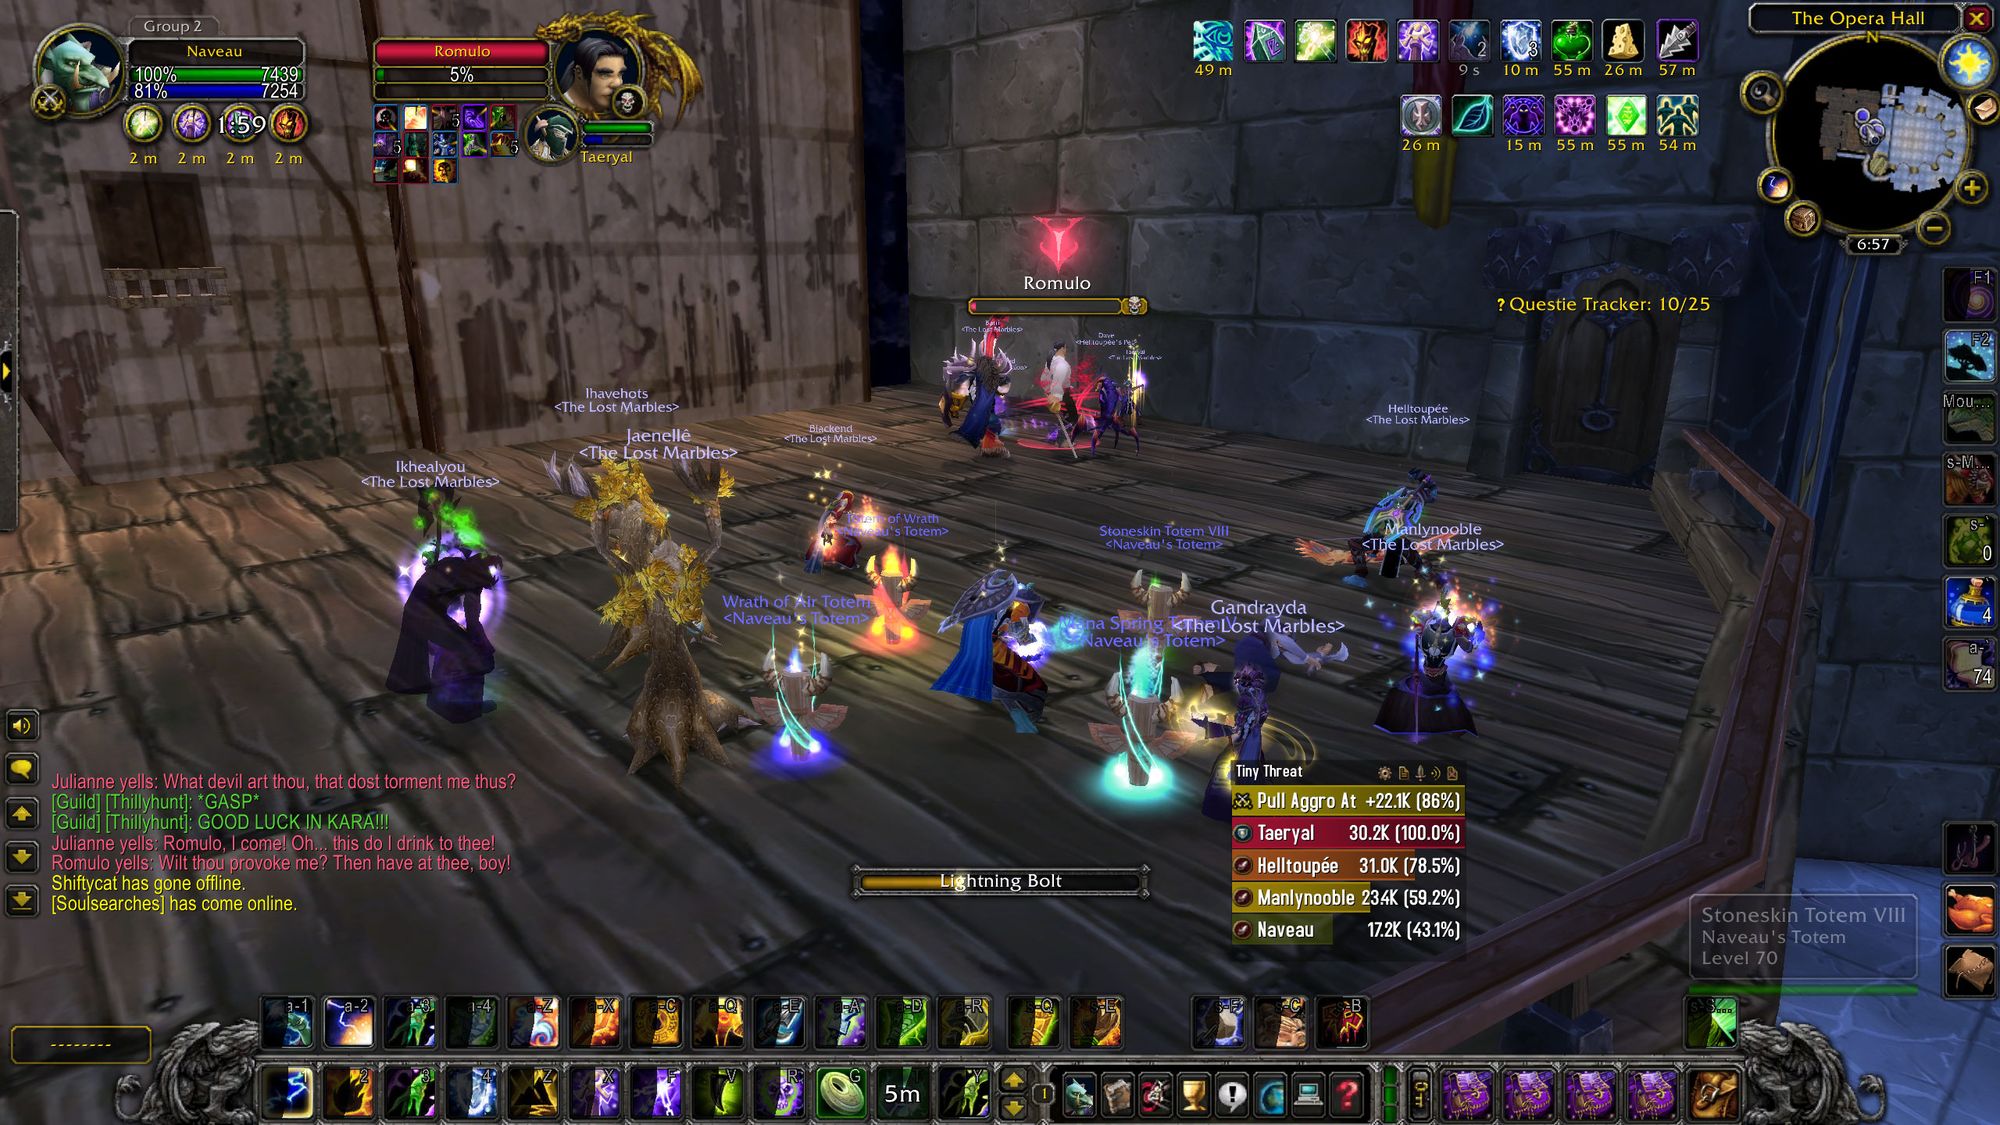
Romulo and Julianne
Star crossed lovers - a tale as old as time. However this time you get to KILL them both! Isn't that nice?
Firstly you fight Julianne. She doesn't have a threat table, can't be tanked and just does whatever she wants. The key here is to interrupt her casts - she does a charm, a chunk of damage and a heal. Whilst these aren't dangerous when pitted against just Julianne, they are a bit later.
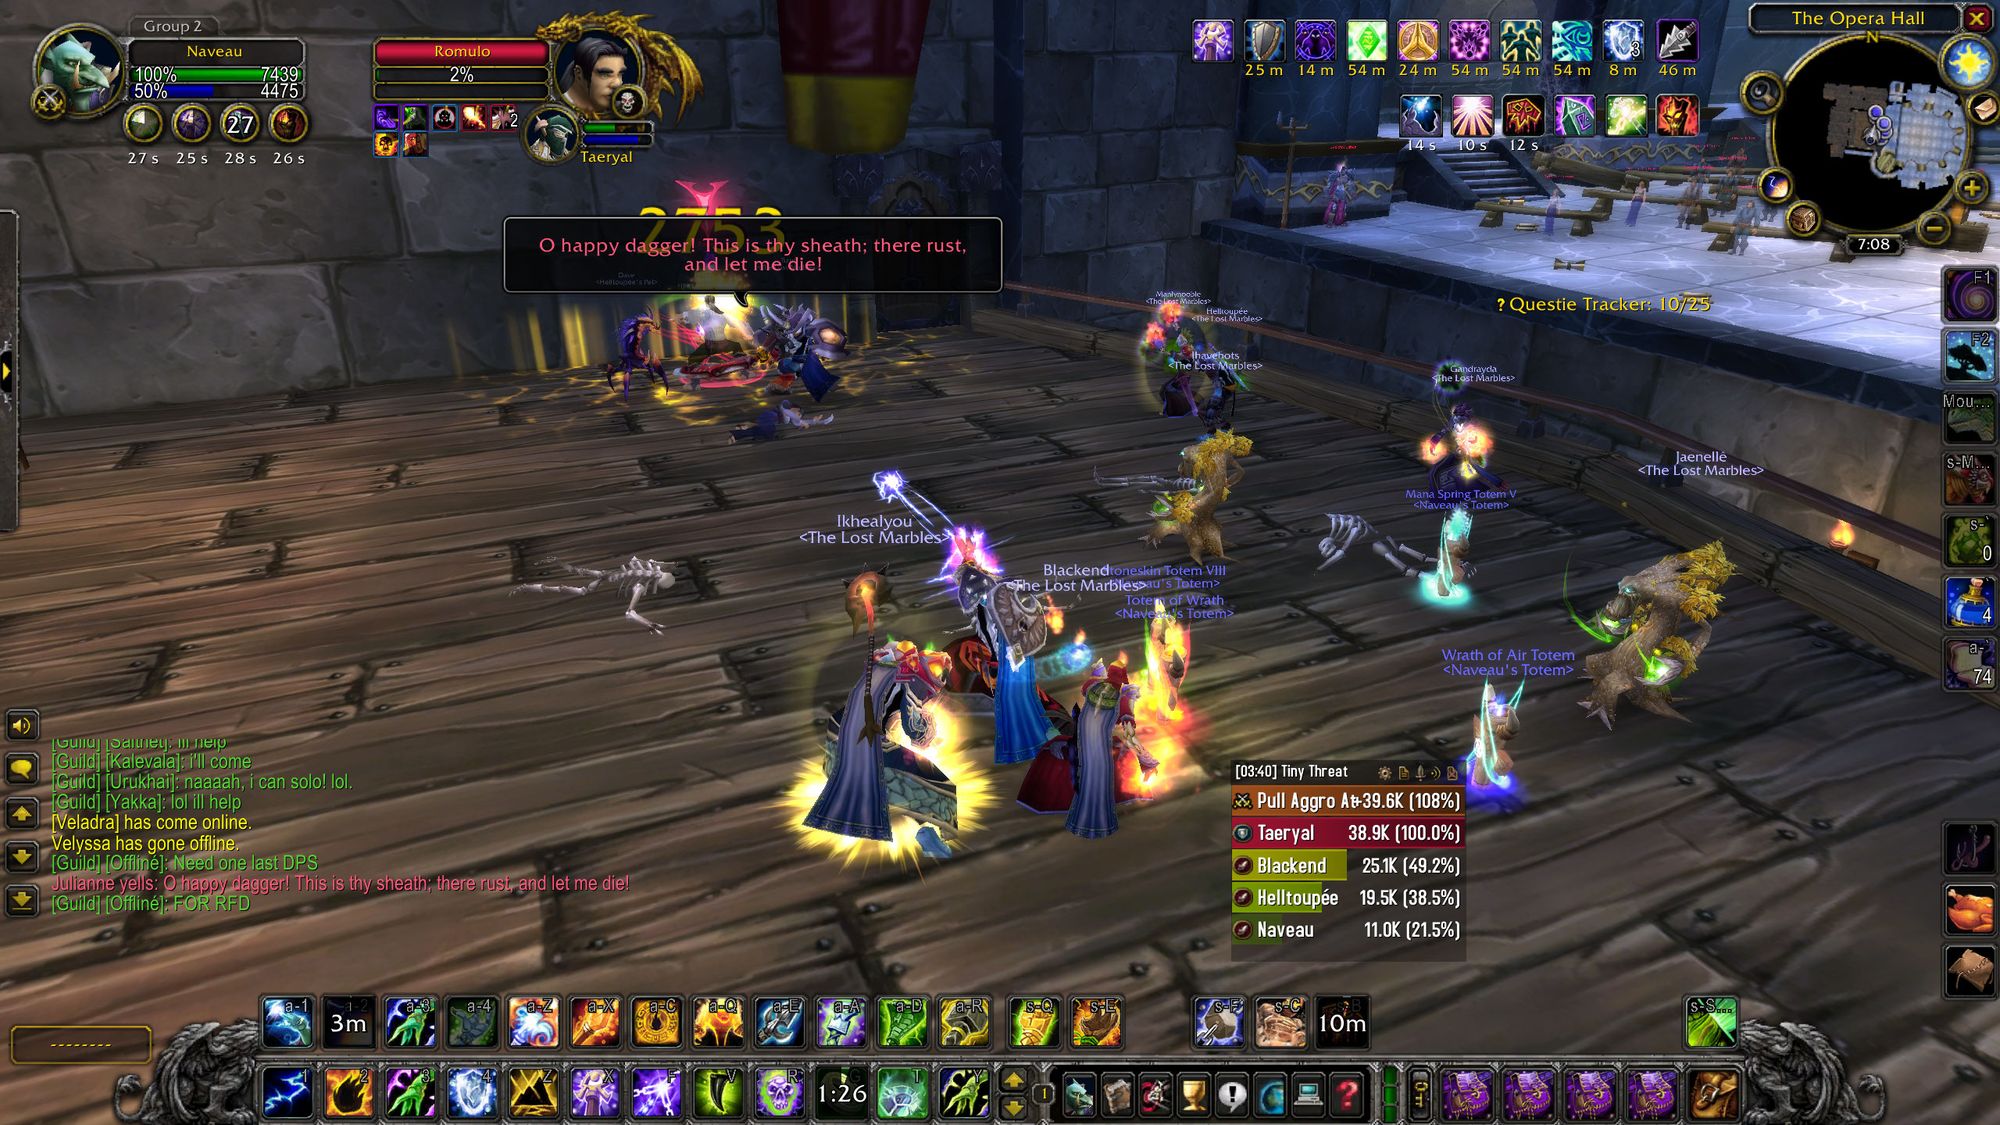
After you put Julianne in the bin for the first time, now it's time to fight Romulo. Romulo has a cleave, poisons your tank and has a self-buff called Daring which you need to remove. Or spell-steal. Tank him facing away from the raid (duh) and put him down.
Now comes the final flourish. You fight Julianne and Romulo together. This is where you need to be on point with those interrupts as now Julianne heals Romulo and gives him buffs. Wonderful. You just need to DPS them down together and pop them within ten seconds of each other. Simple, isn't it?
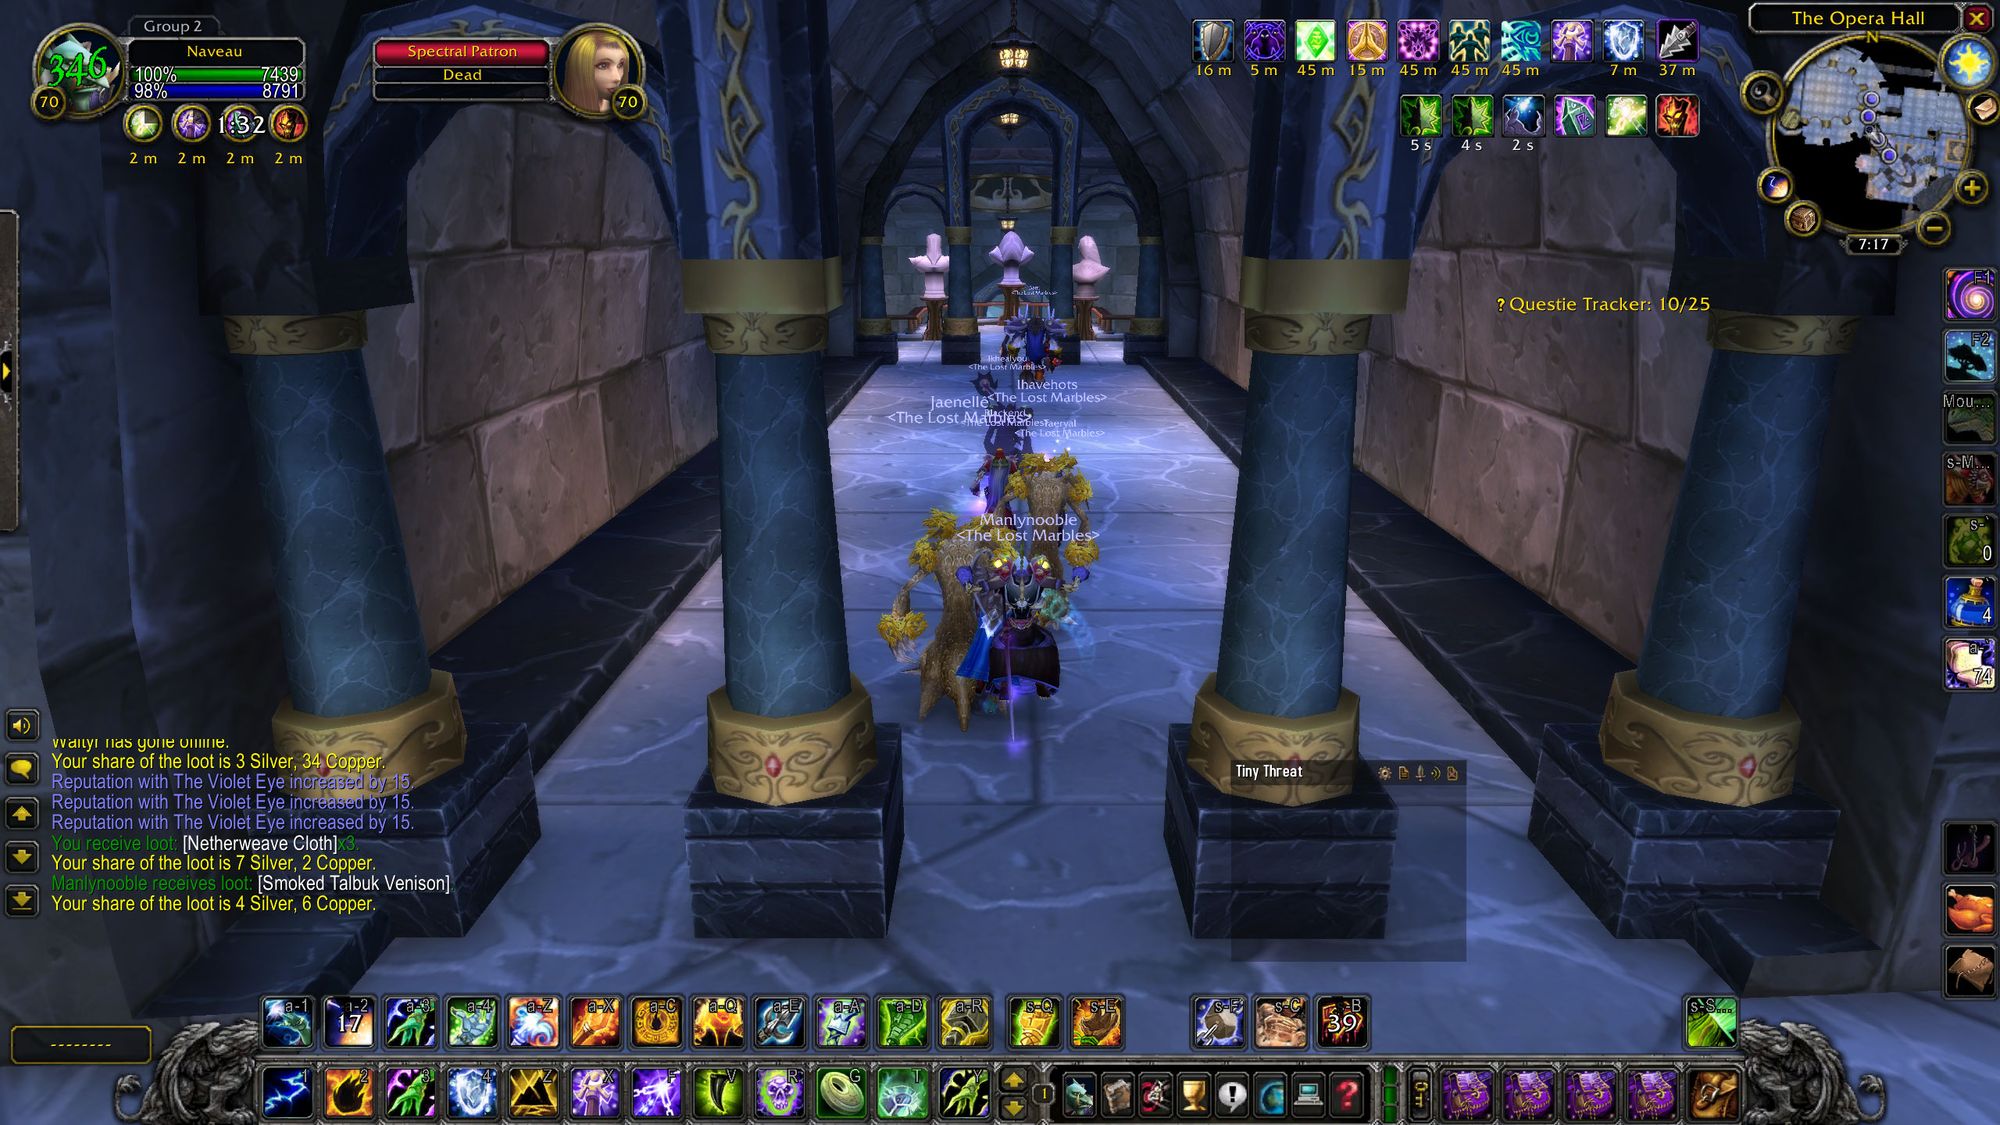
With the end of them, comes the end of the opera event and the conclusion of the first part of Karazhan. Sort of.
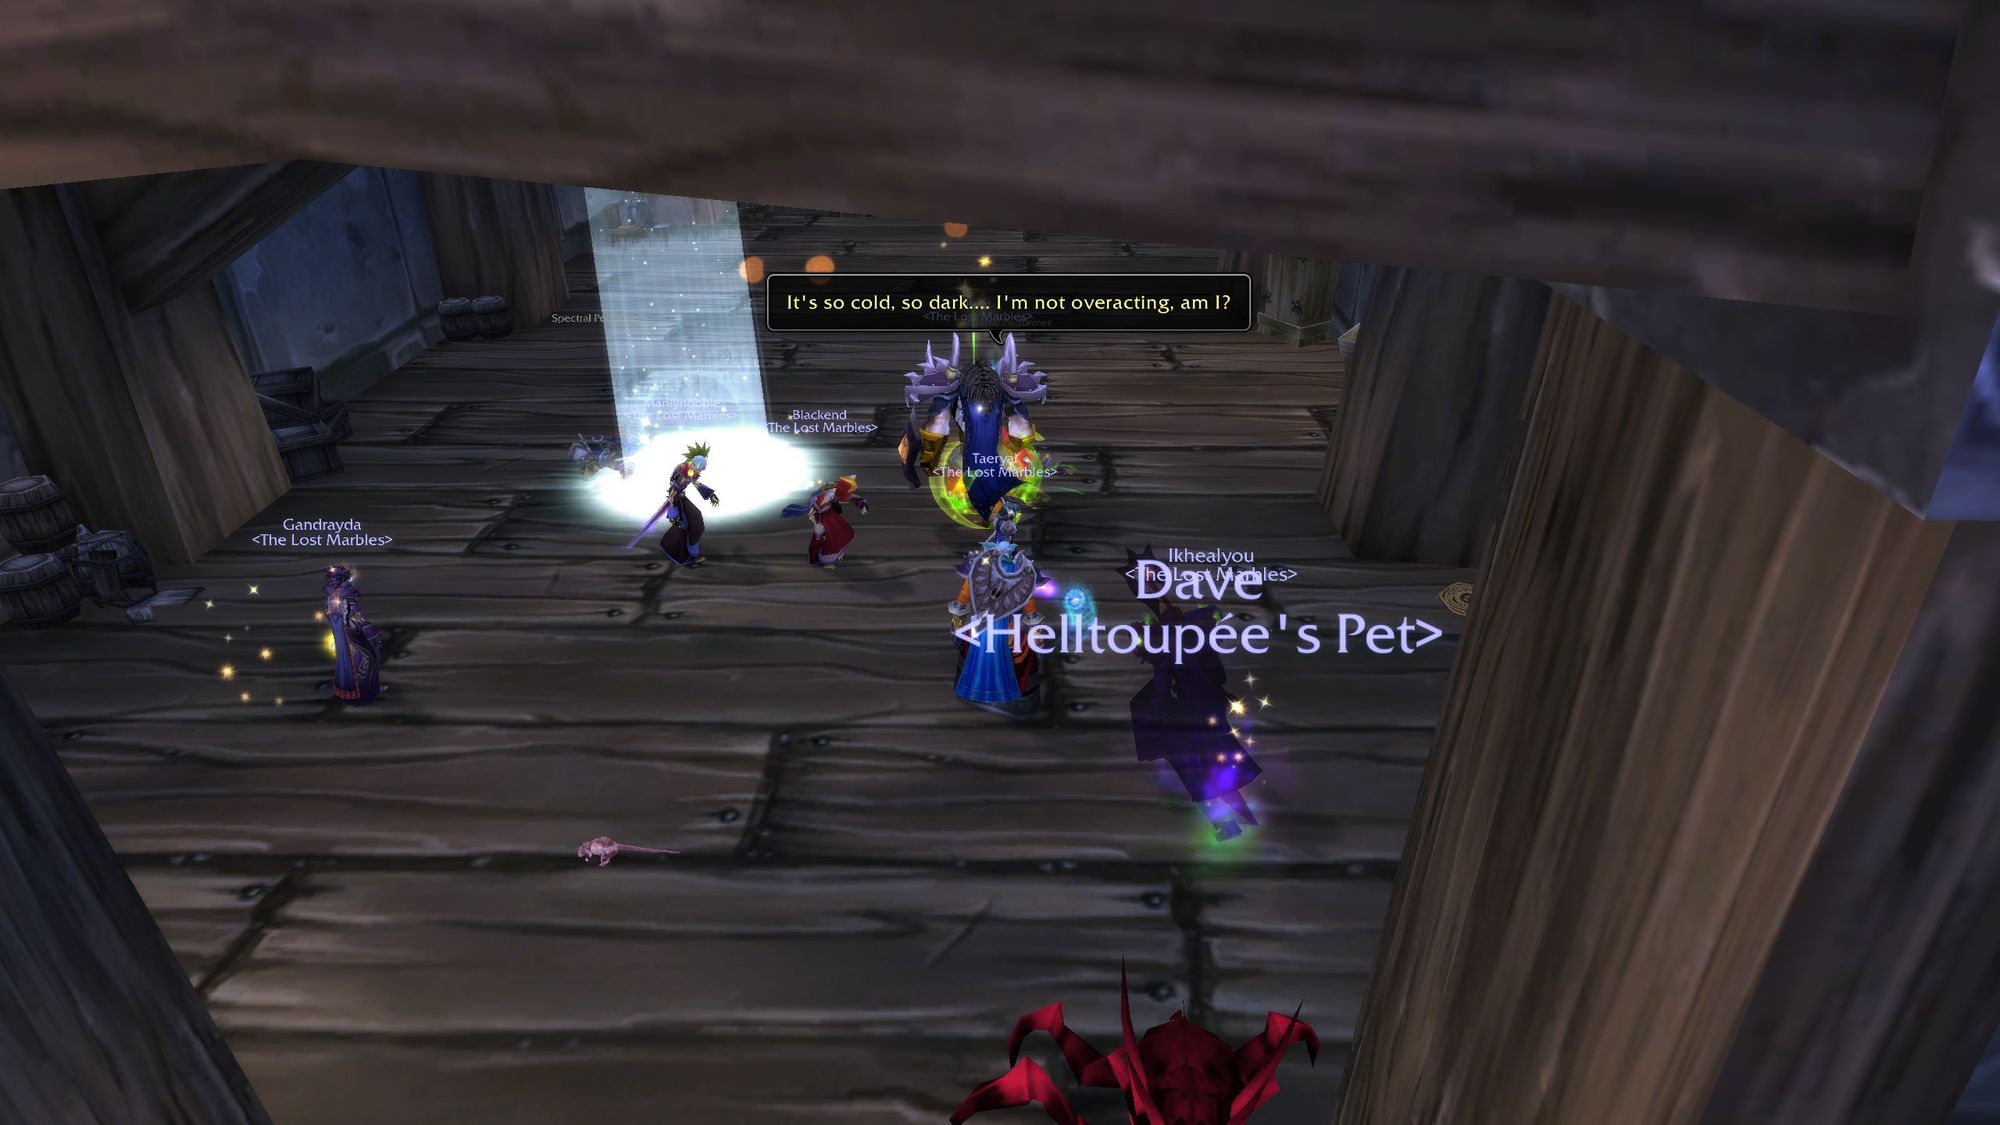
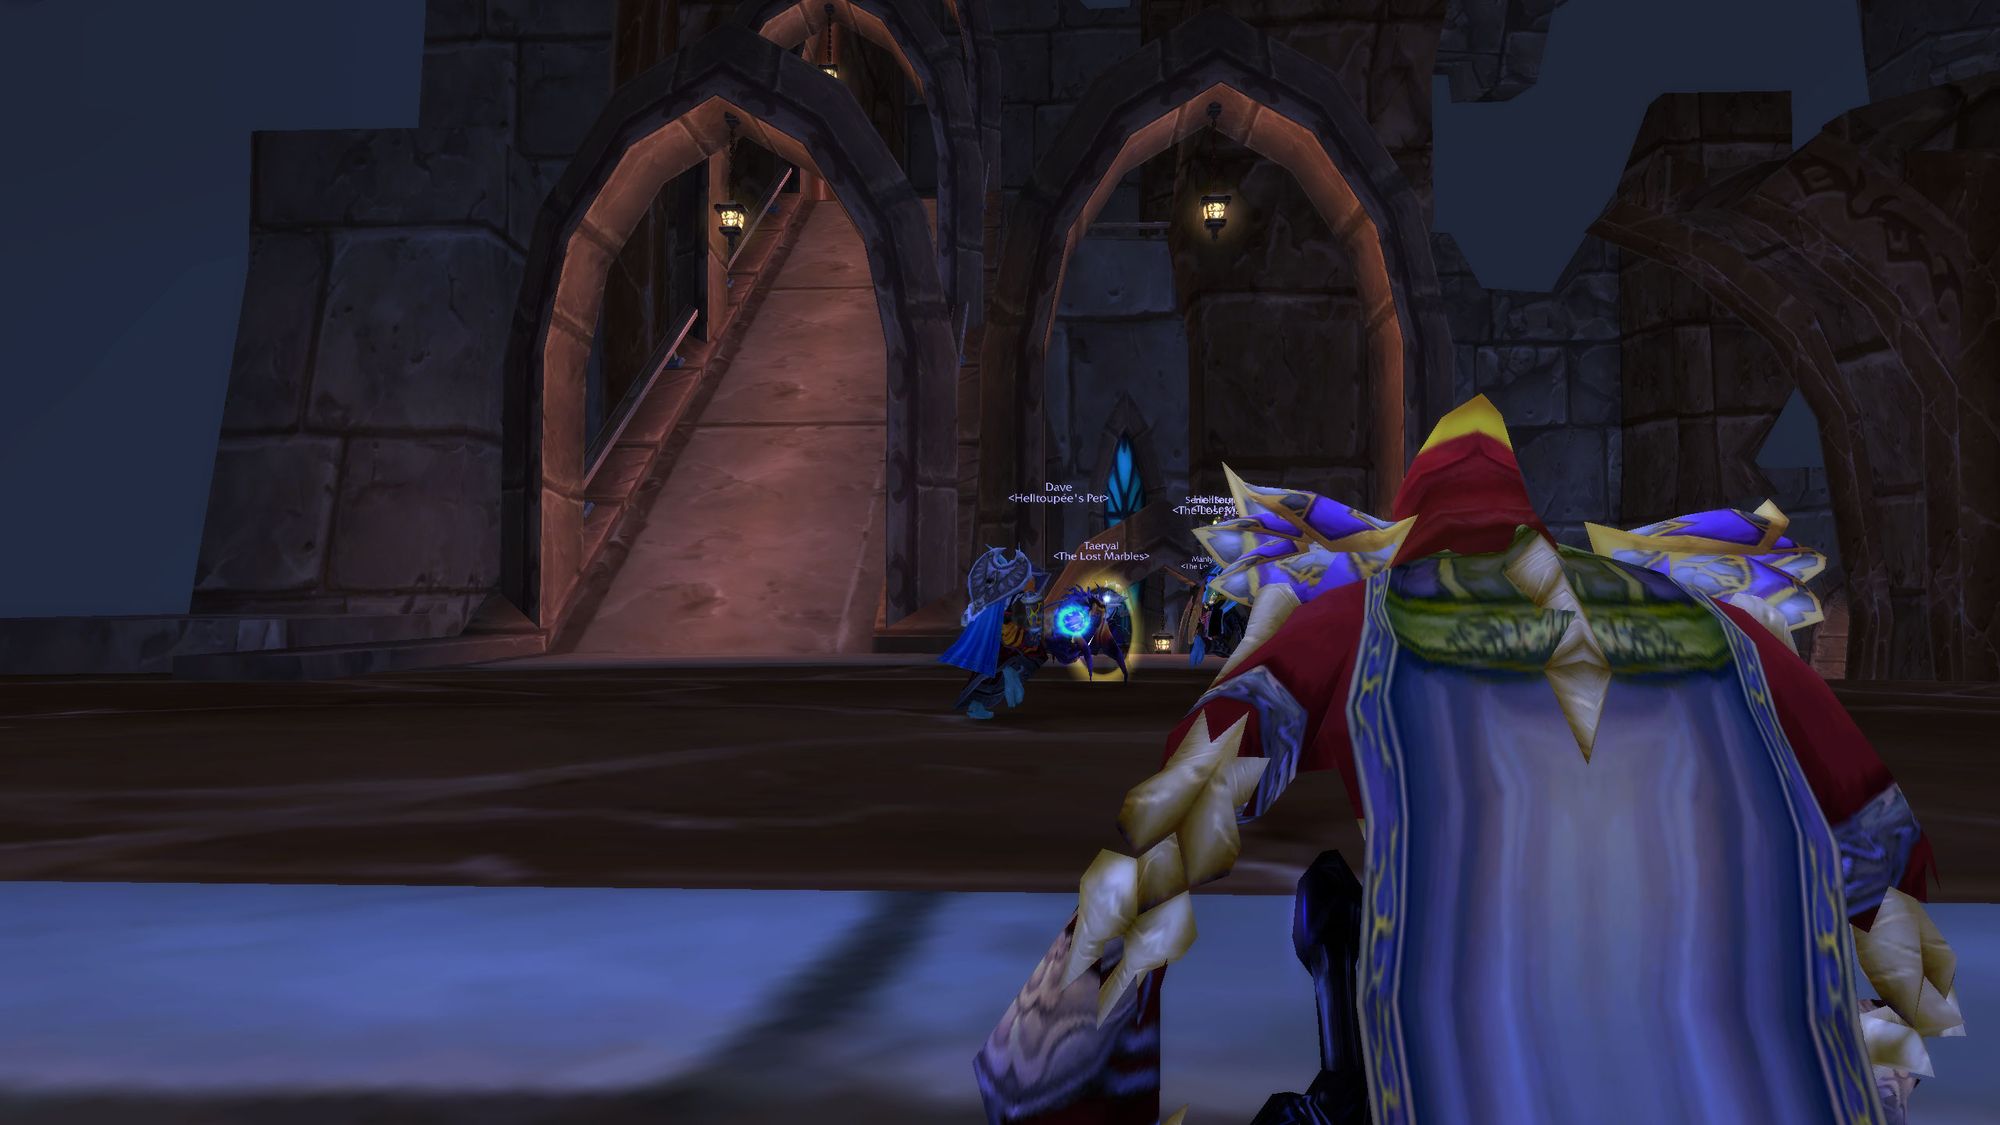
Exit stage left, killing rich undead ghosts for cash. You'll know you're no longer in the aristocratic facade of Karazhan when you go through an arched passageway on the second level, which spits you out in a ruined part of the tower inhabited by real deal ghosts.
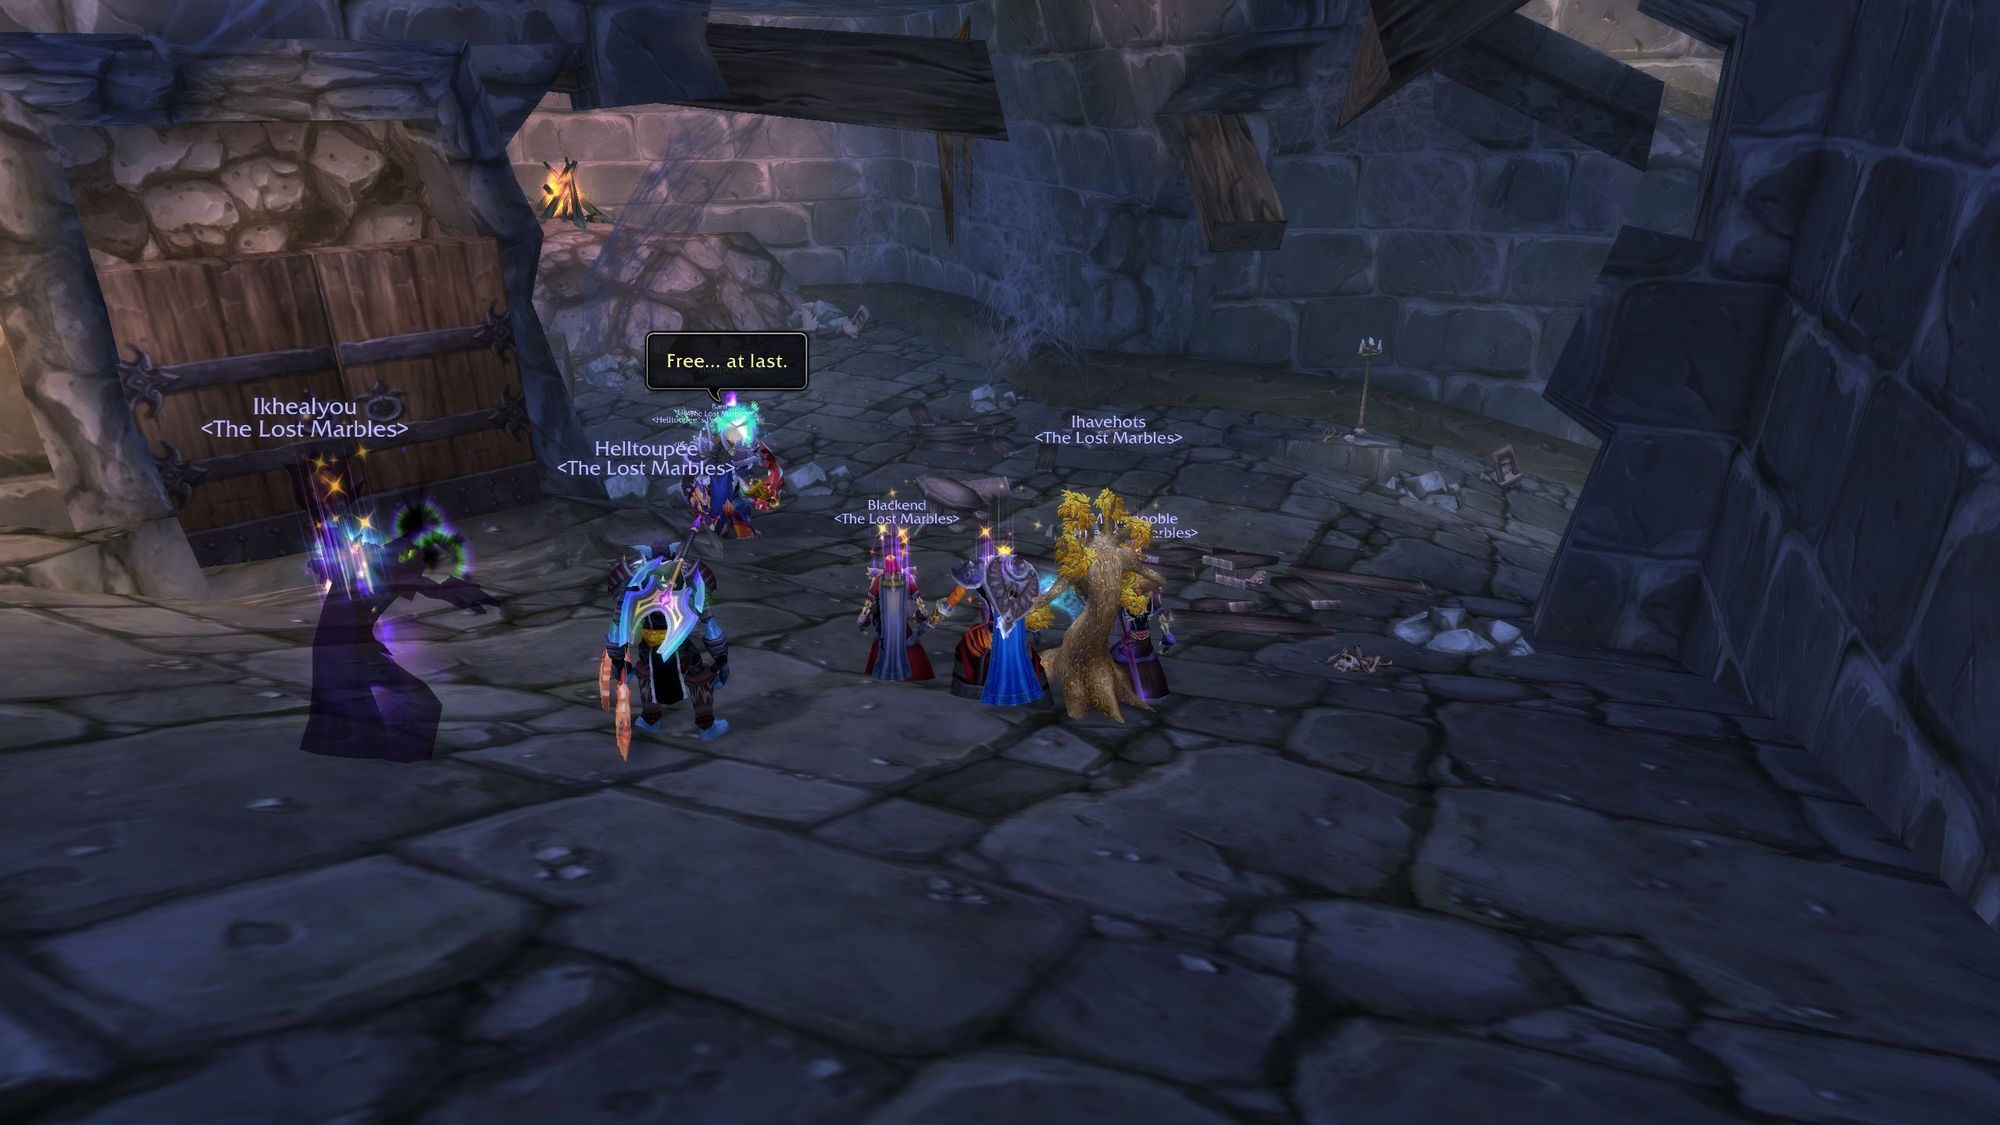
The second half of the raid is when things start to get... odd. At this point you cease to battle undead aristocracy and start to fight the sorcerous leavings of Medivh. The facade of whimsy falls away to haunting oddity - and the further up you go, the creepier it gets. Slain foes tell you to turn away before it's too late - the tone shifts and becomes similar to that of cosmic horror. I love it.
But I digress. Make your way through the passage, popping ghosts as you go. Early on there'll be a doorway to an arena, but we'll cover that later. That is where you go to battle Nightbane.
Continue to move up through the tower, killing real-deal ghosts. These lads hit hard, so try to only pull them one at a time. They also buff themselves with a magic shield which reduces magic damage dealt to them, so watch out for that one too.

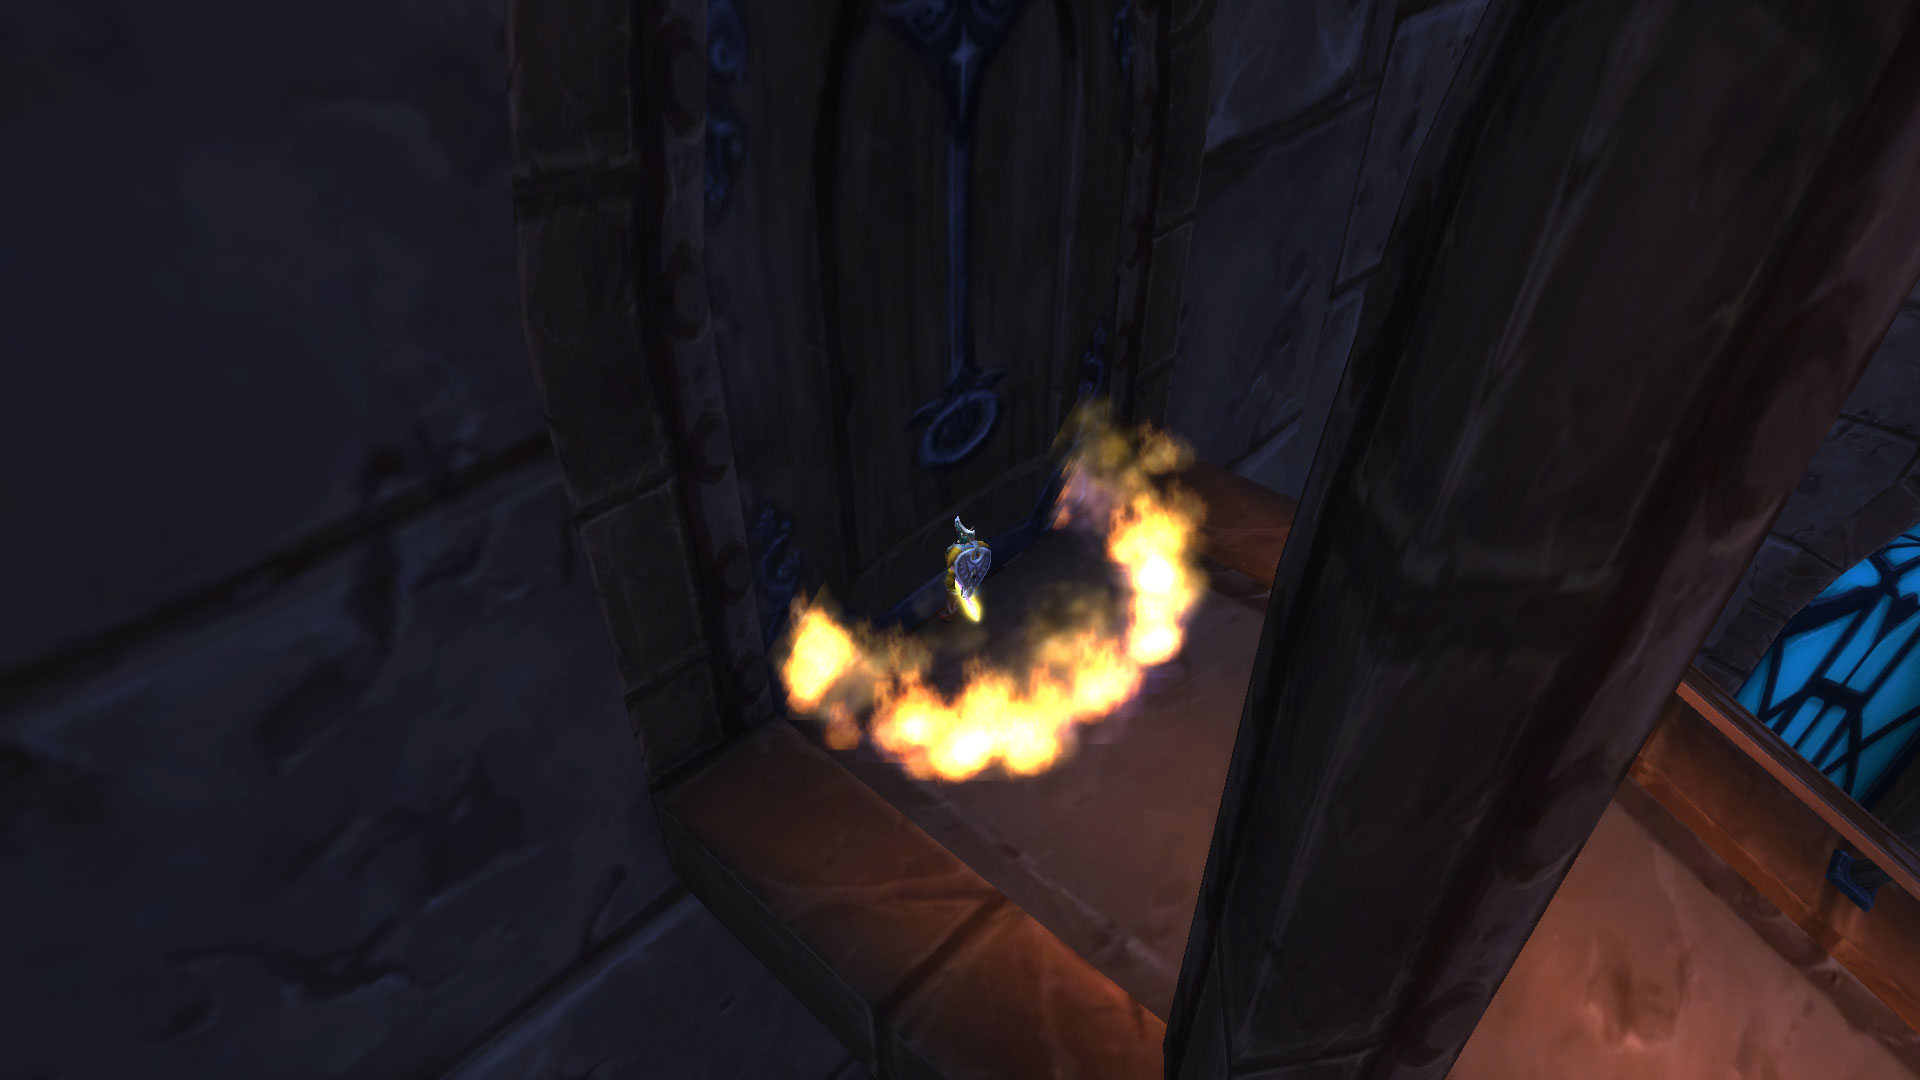
Watch out for the gaps in some of the platforms, too - an unlucky raider can find themselves plummeting through the gaps in hilarious fashion.
You'll know you're nearly at the next boss when you find an arched doorway which will lead you inside. You'll see two large robots who hit extremely hard and who need to be pulled together. So if your raid is undergeared, prepare for a tough battle. Up until recently, the way we handled it was to assign out healers for each tank and a raid healer.
You'll then reach a circular area with a statue in the middle - this is where you'll pull the next lot of trash before taking on the next boss.
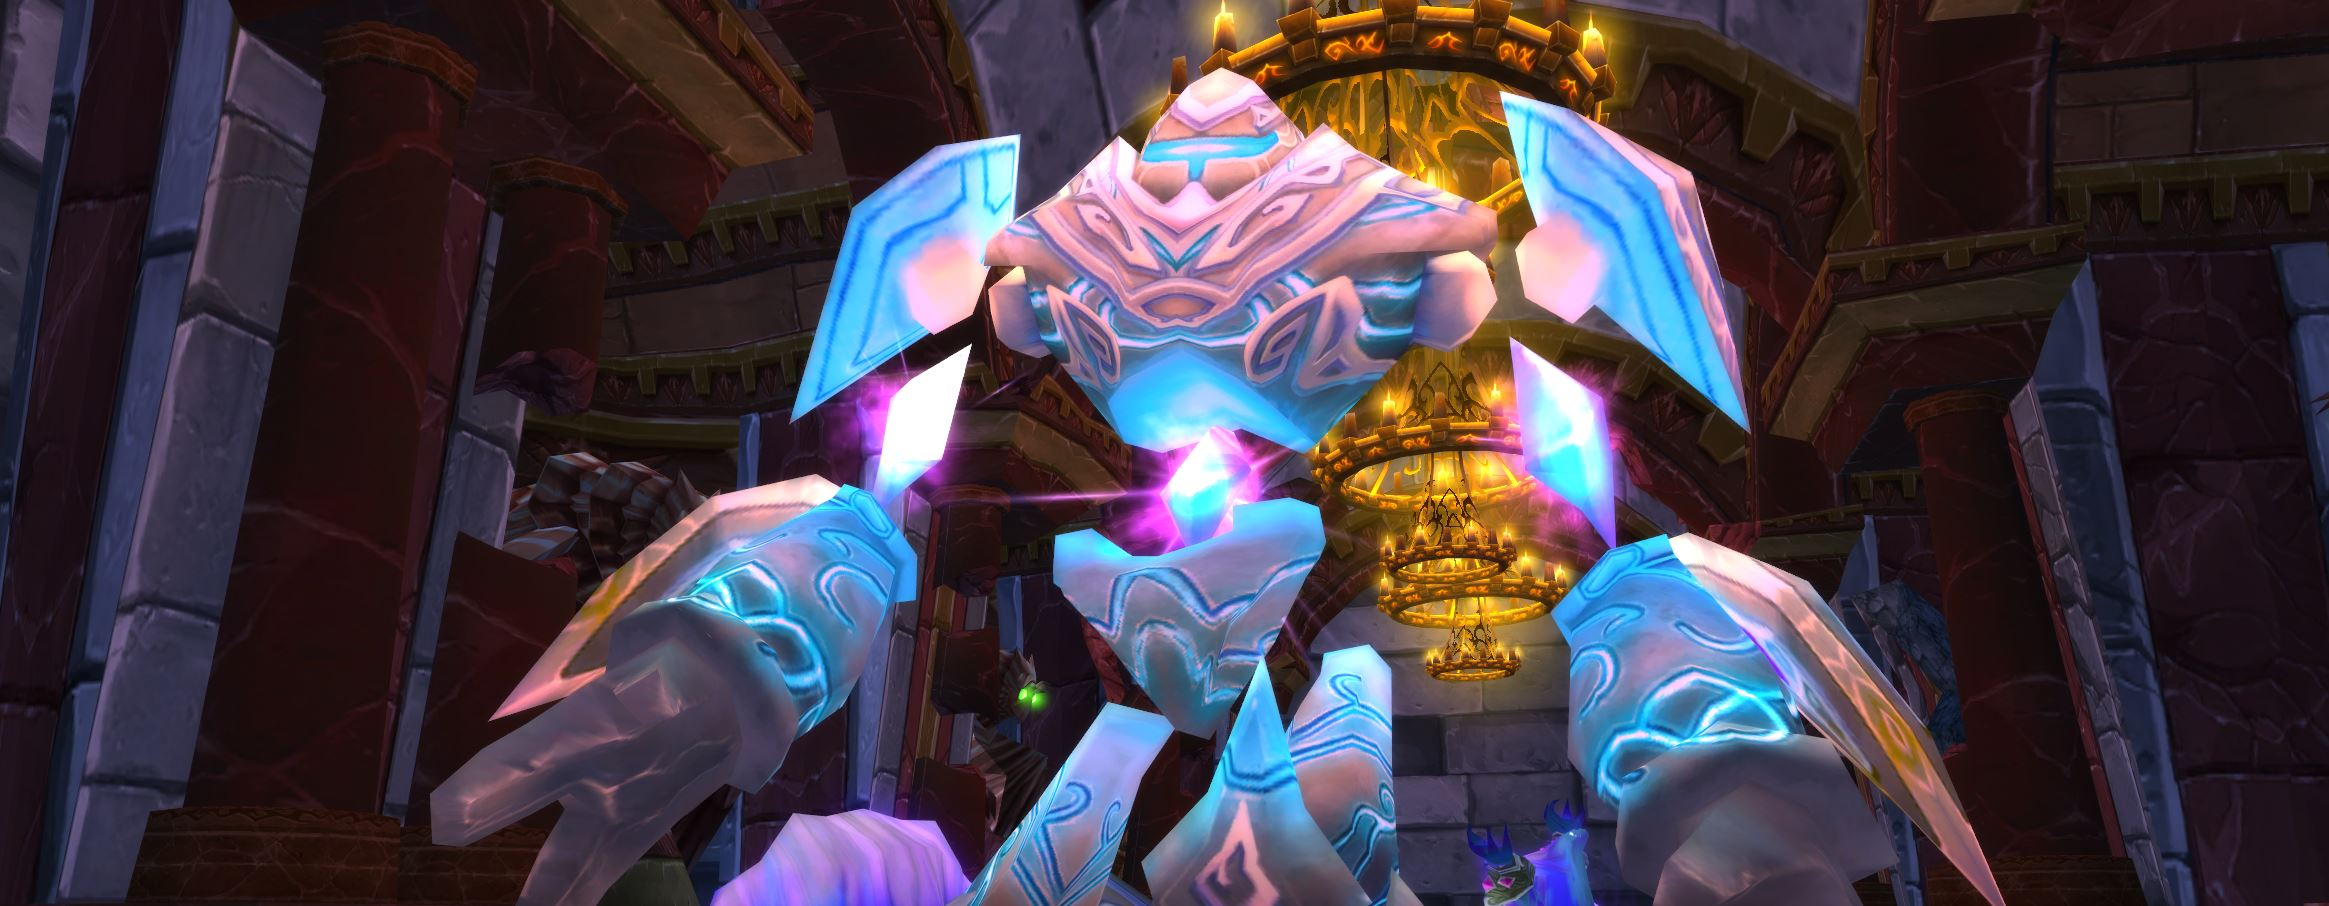
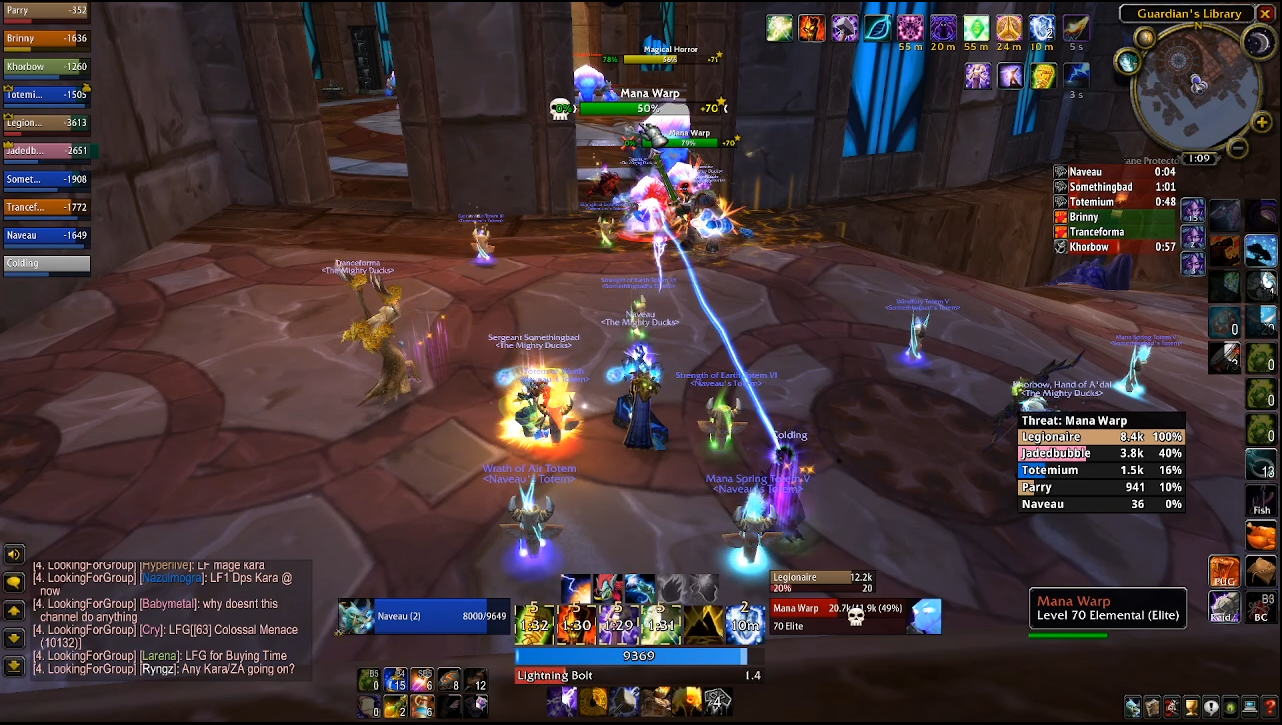
Boss Five - The Curator
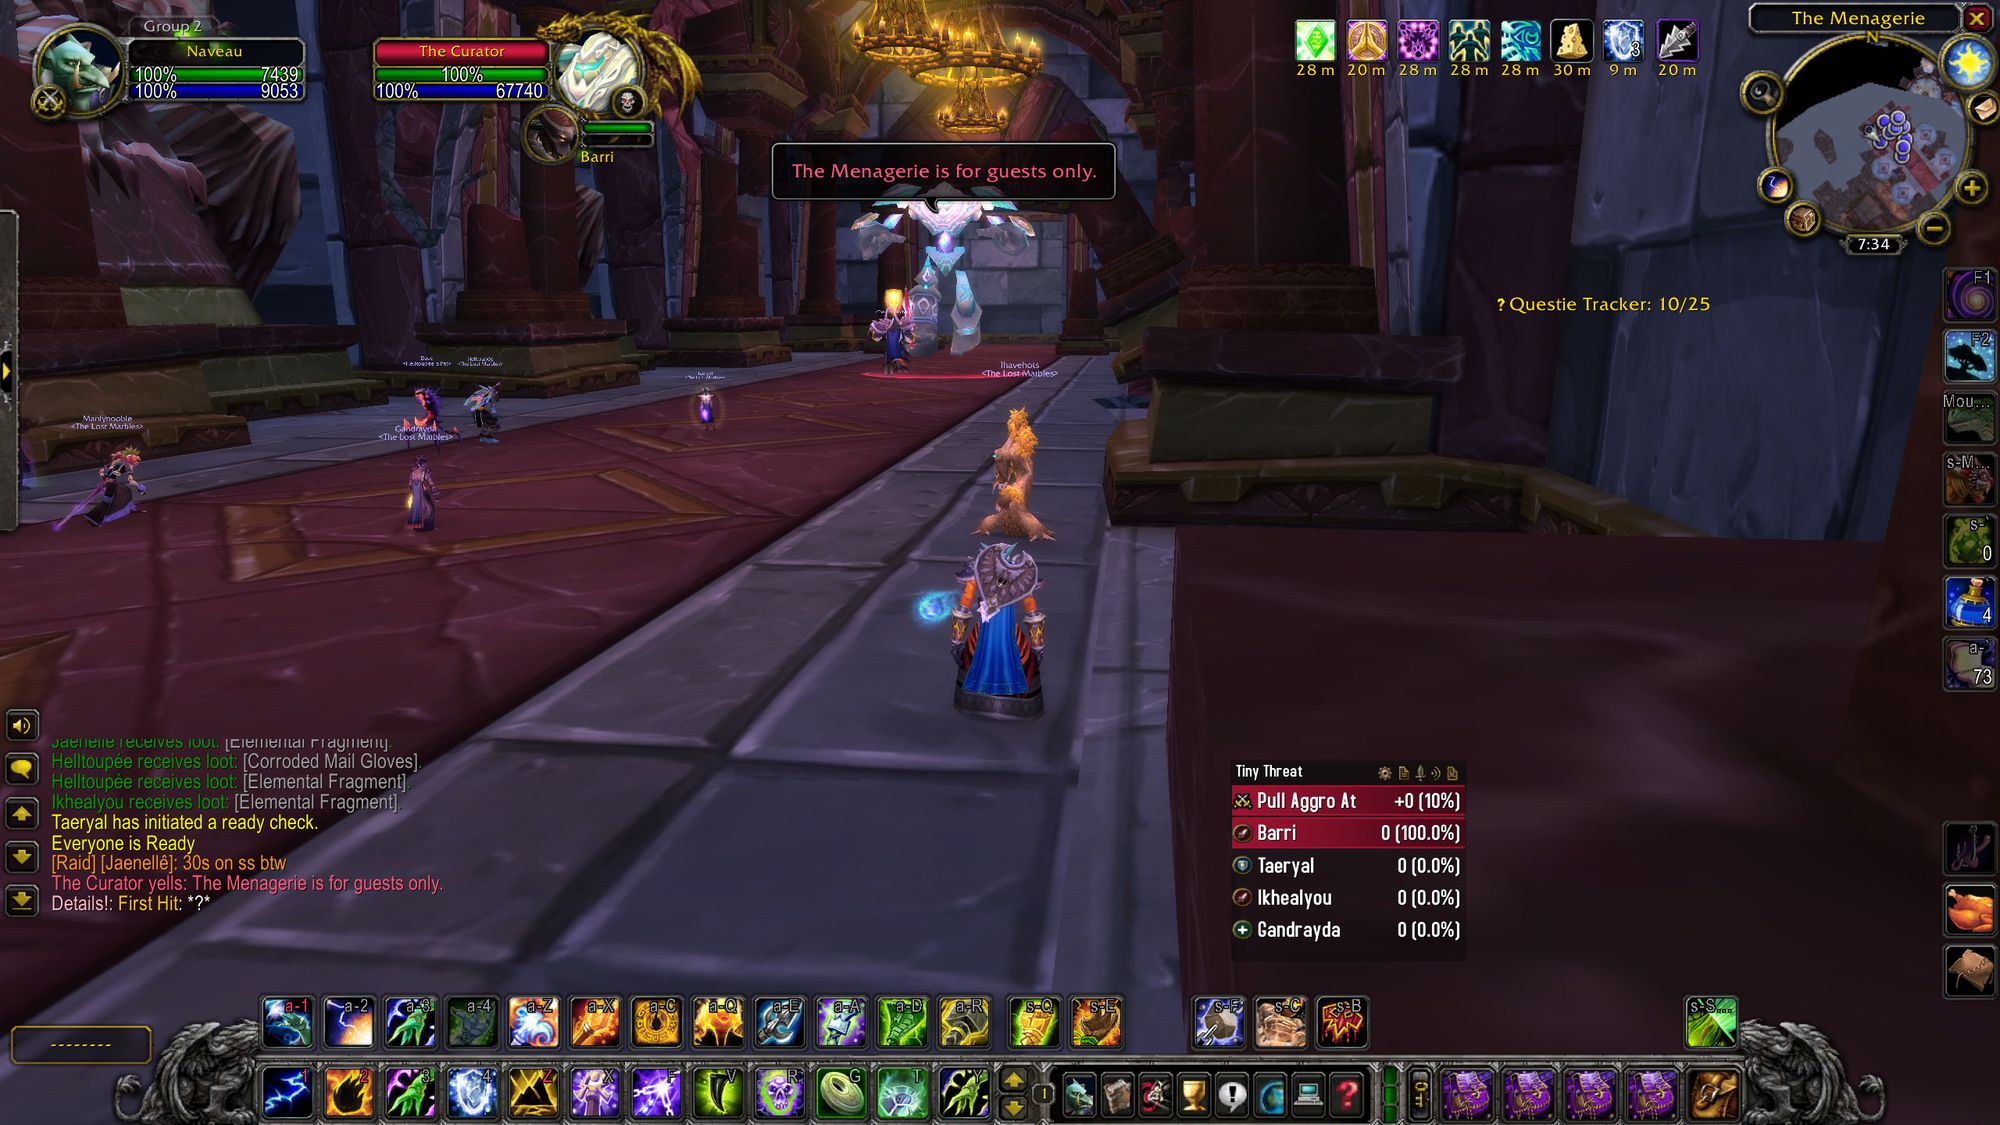
Before we fight the Curator, first we have to clear to him. The trash in here consists of a type of mana wyrm and a big arcane elemental which has mana as a health bar. With everyone still in the statue room, you pull the packs in, one by one, mana drain the big one (viper sting, priest mana drain, etc.) and then aoe down the wyrms. When the big one does he does an AoE mana recovery effect, meaning you can pull the trash rapidly.
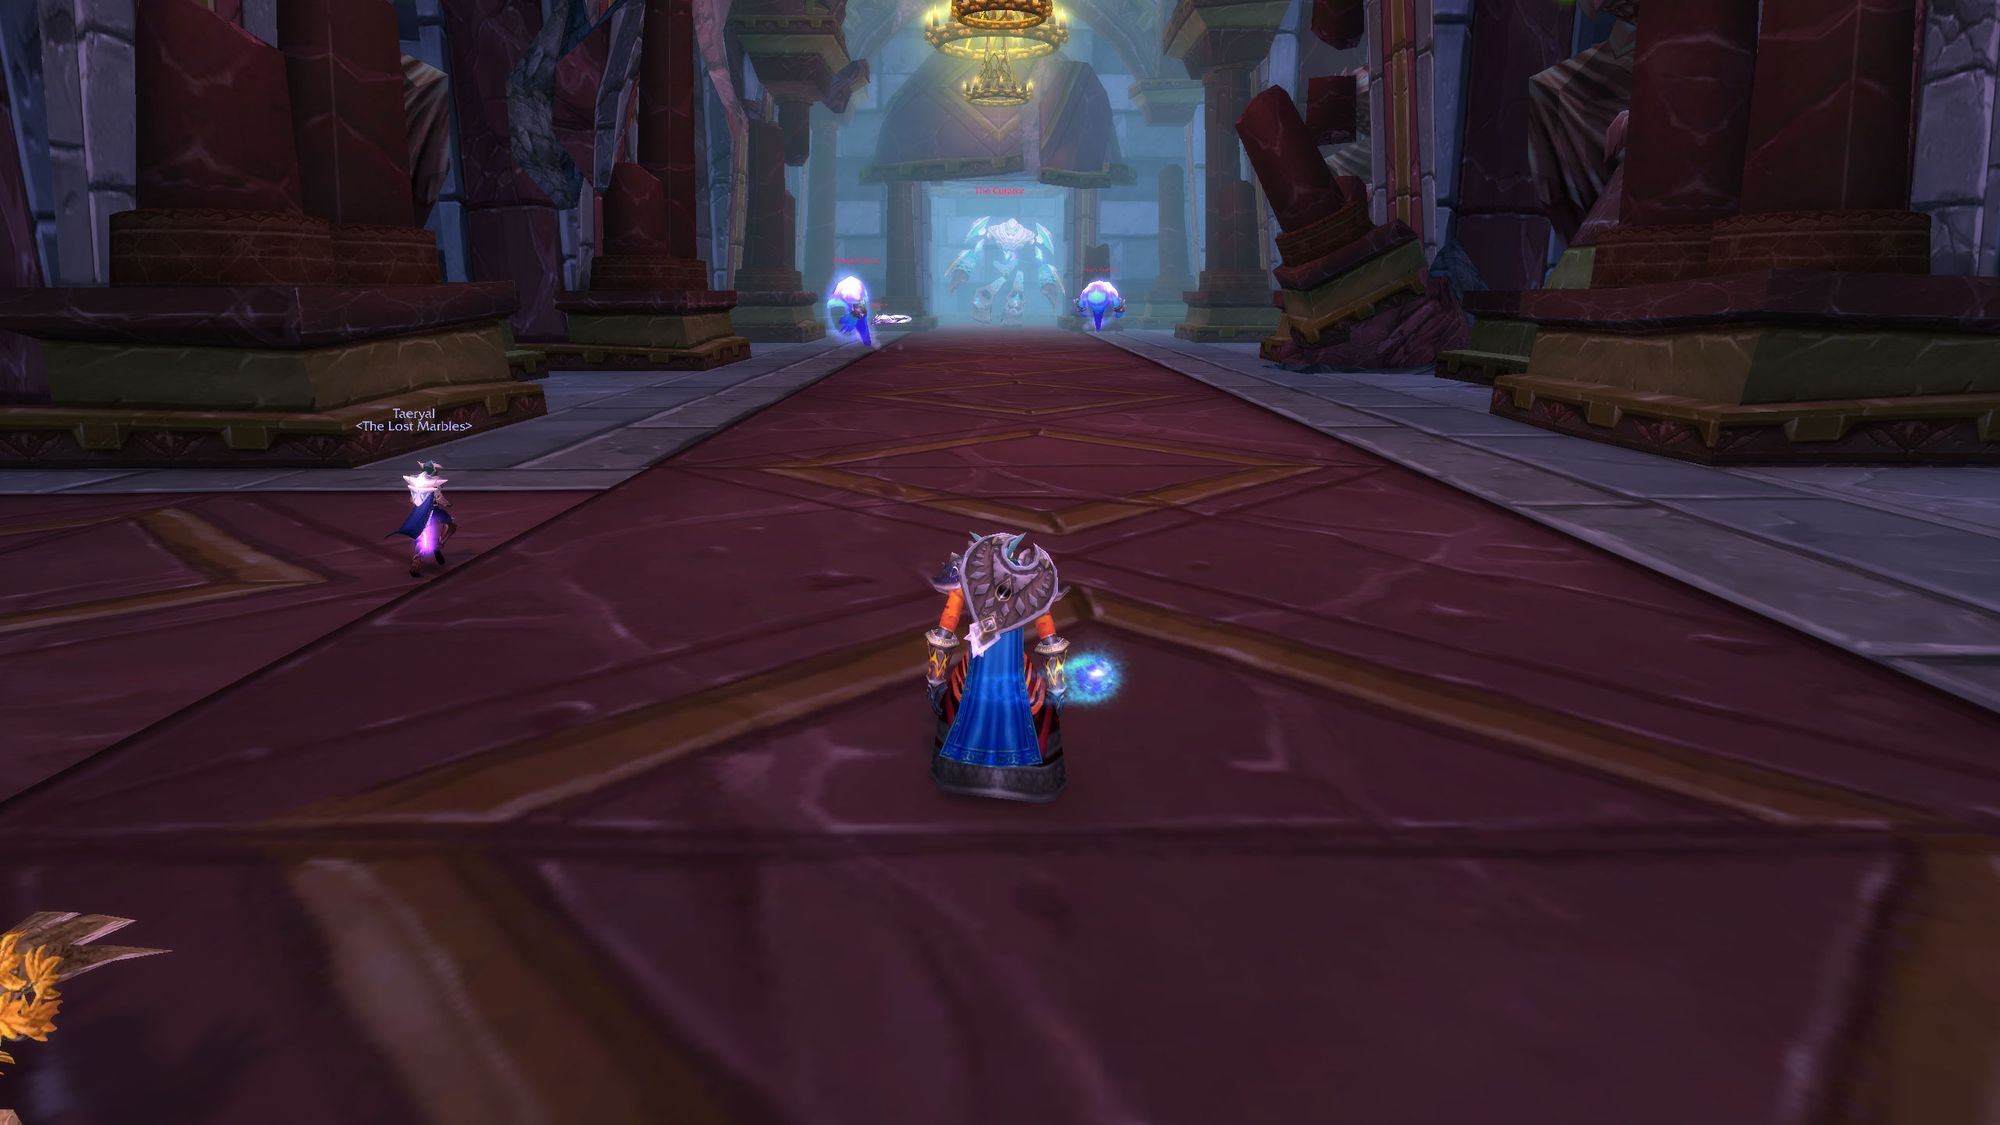
After four or five trash packs, you can head into the hallway and get ready to pull the Curator.
Tactics
The Curator is a gear check - or at least, it's supposed to be.
First things first - the Curator has a damage reduction of some ungodly amount - 90%, or something. This means that a Paladin tank is very nearly useless. This then ties into the next mechanic.
Periodically the Curator will hit the person second on threat with a whacking great hurtful bolt. Normally this is supposed to be your off tank, but if your off tank is a paladin, well...
Through the fight the Curator will rapidly spawn astral flares - these need to be DPS'd down and you need to spread out as they do an AoE chain lightning. This is the gear check - if you cannot kill them fast enough, they will eventually overwhelm the raid. Not that it's likely.
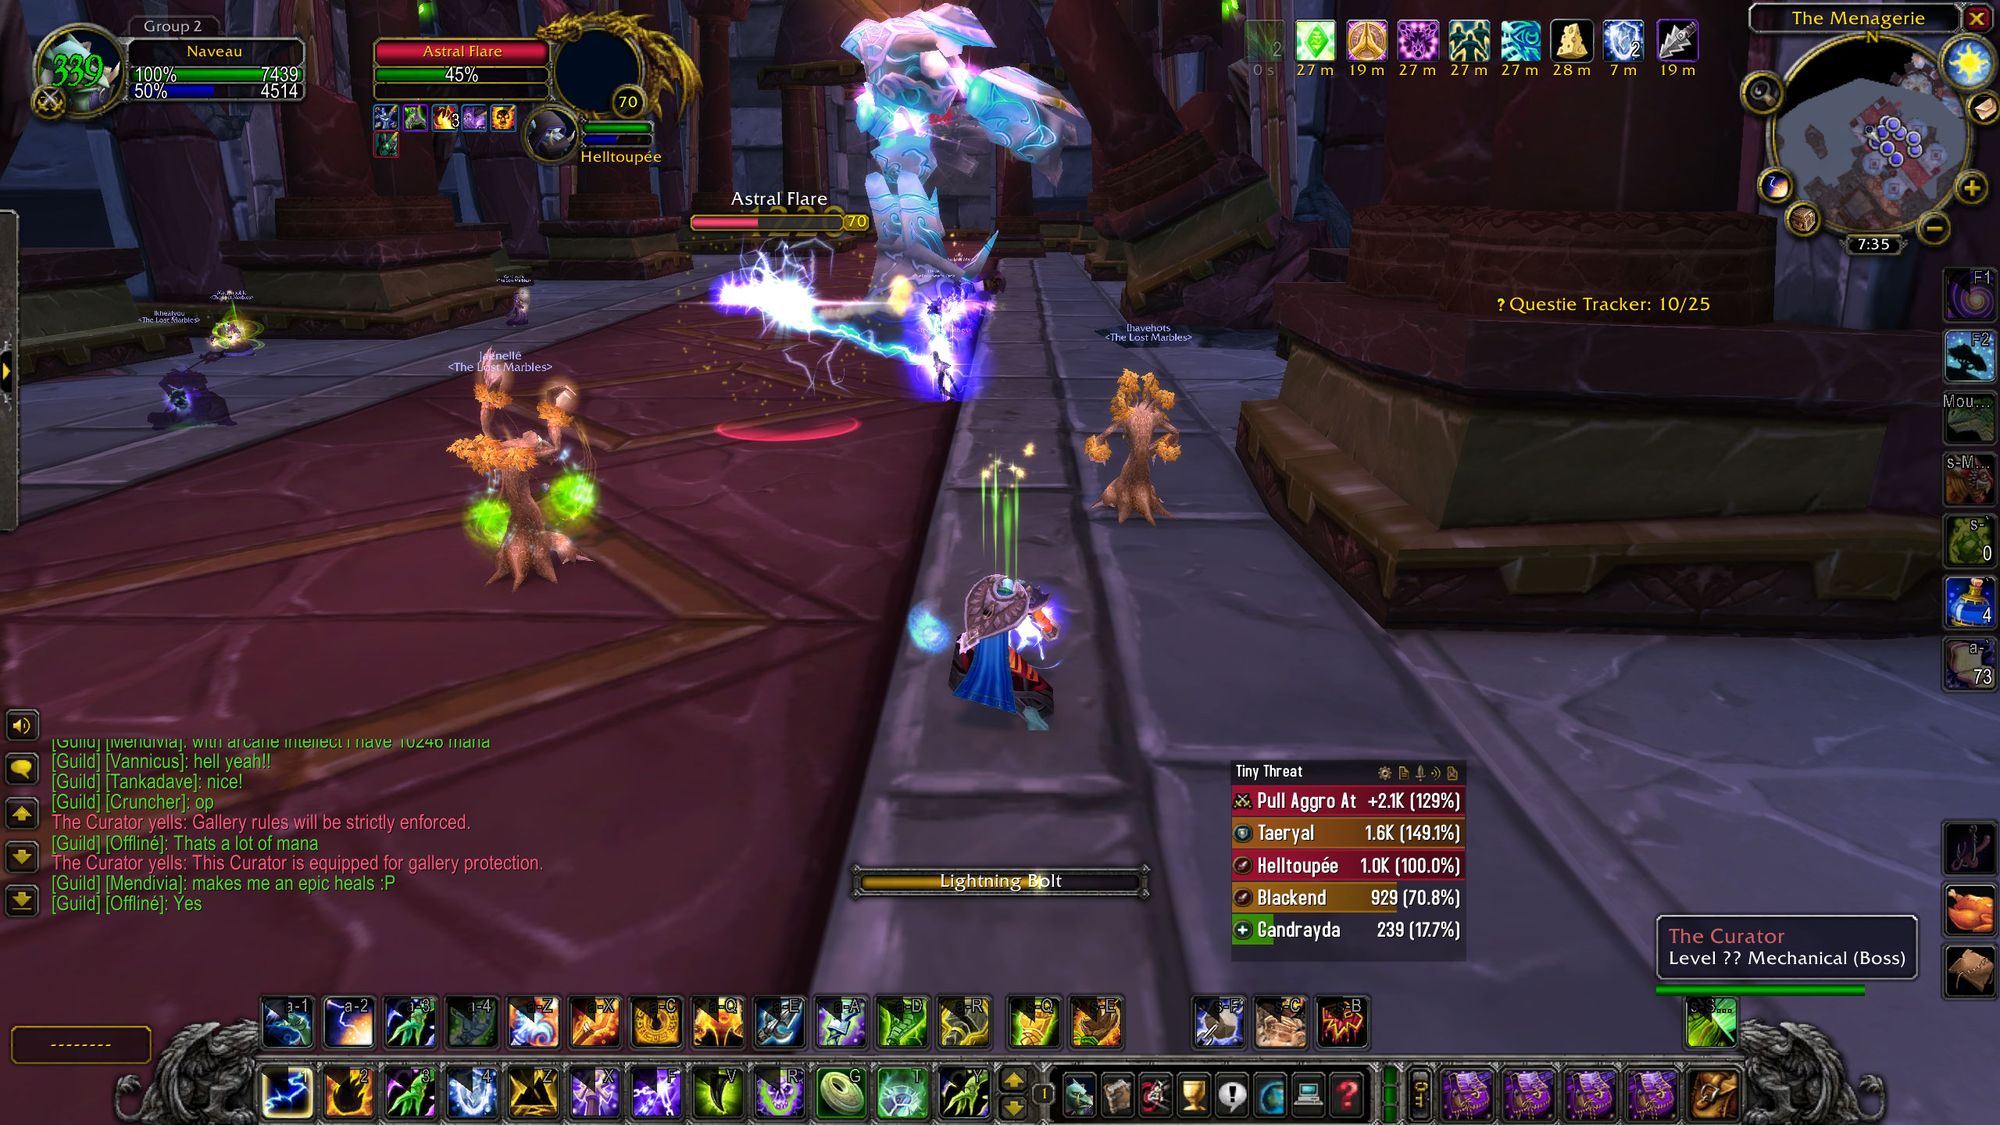
Spawning the Astral Flares uses up the Curator's mana - when the Curator hits zero mana, he will evocate - the mage ability. Whilst he's evocating, he takes 200% extra damage.
In case it isn't blatantly obvious, you DPS the boss, switching to flares when they spawn. When the the boss runs out of mana, you blast the boss. When the boss hits 15% he will no longer spawn flares and will enrage - you have to kill him through the 90% damage reduction.
We've never wiped on this boss and it isn't difficult, but you never know. Collect your loot and let's get going.

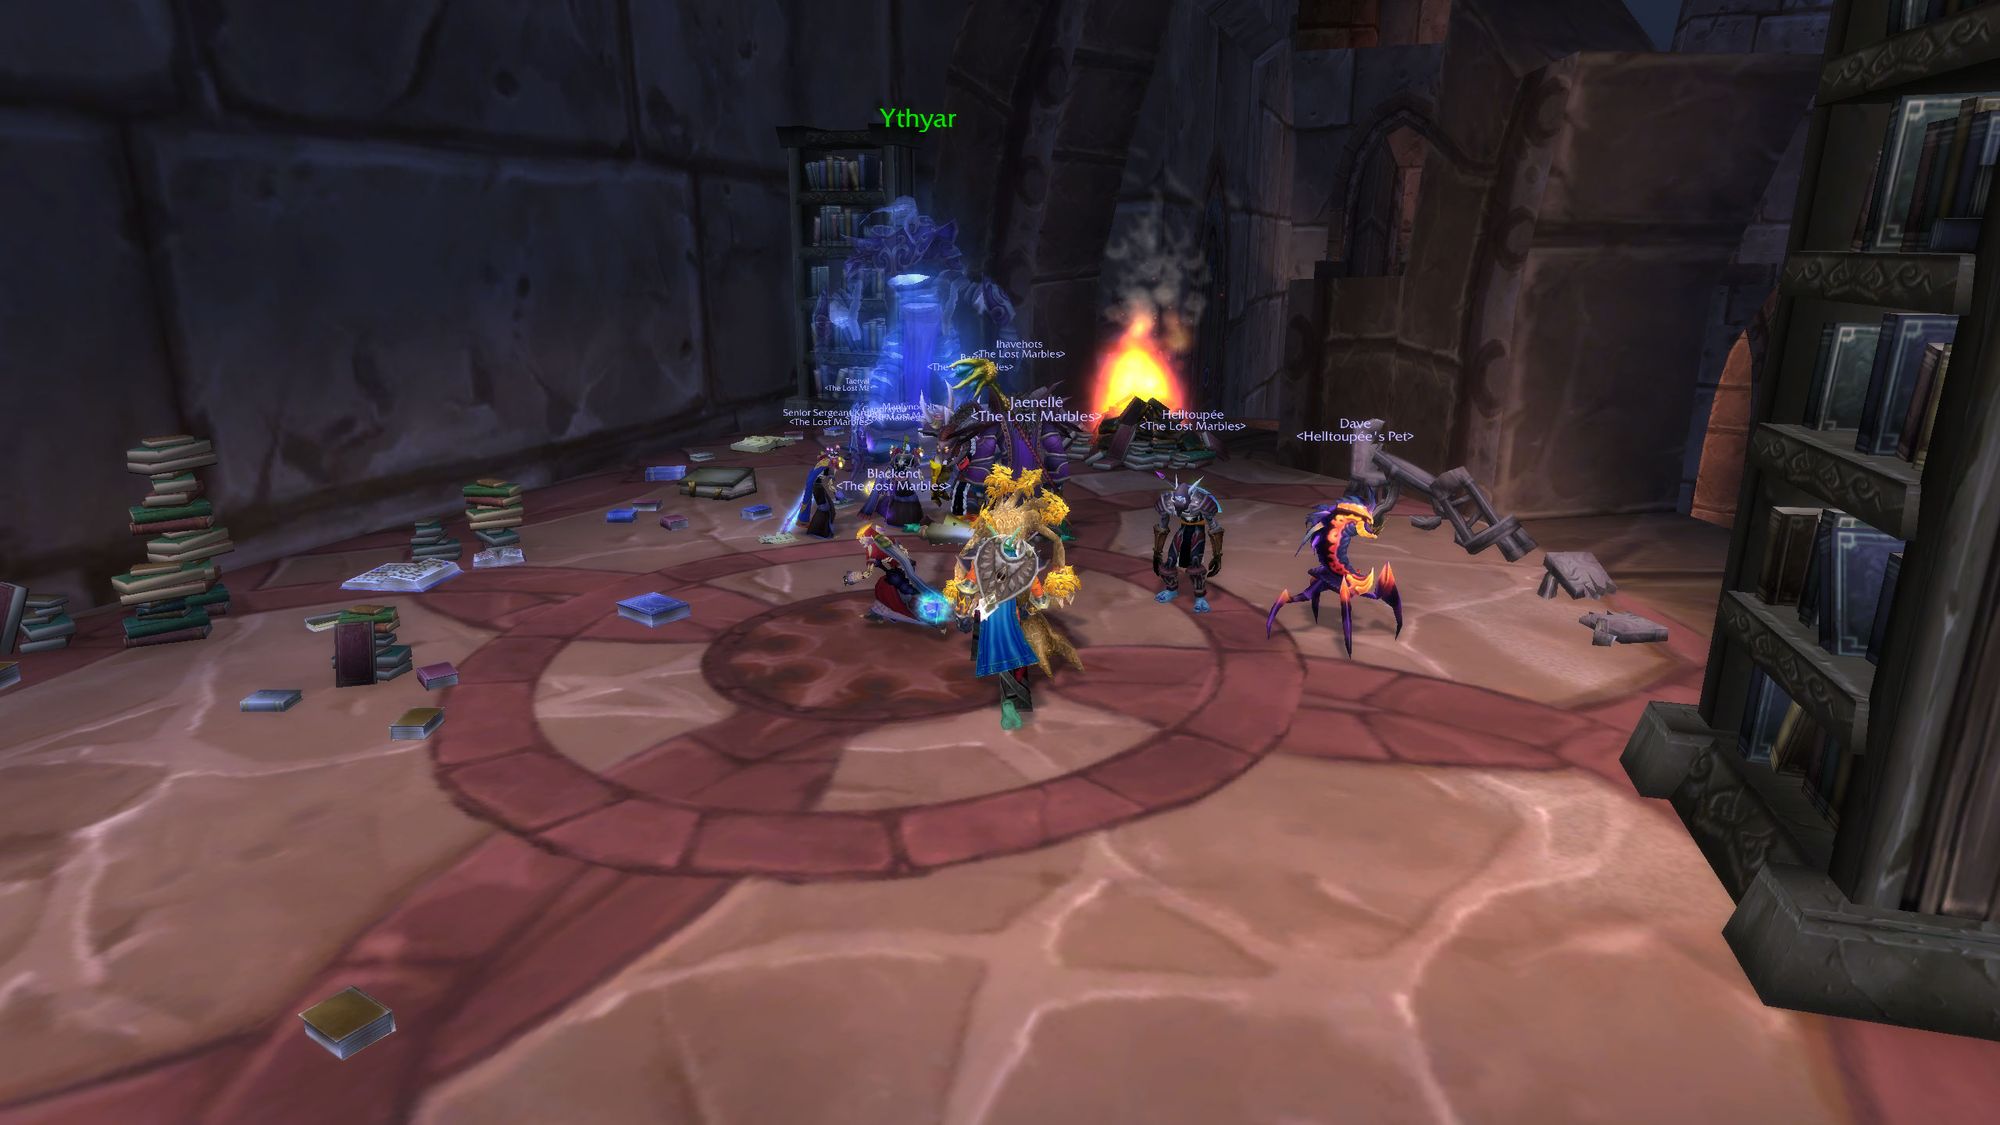
Now we come to the wild and wacky guardian's chambers. Don't look at the roof, or do. It's very clear that this place is not your average wizard's tower. Or maybe it is, I'm not a wizard.
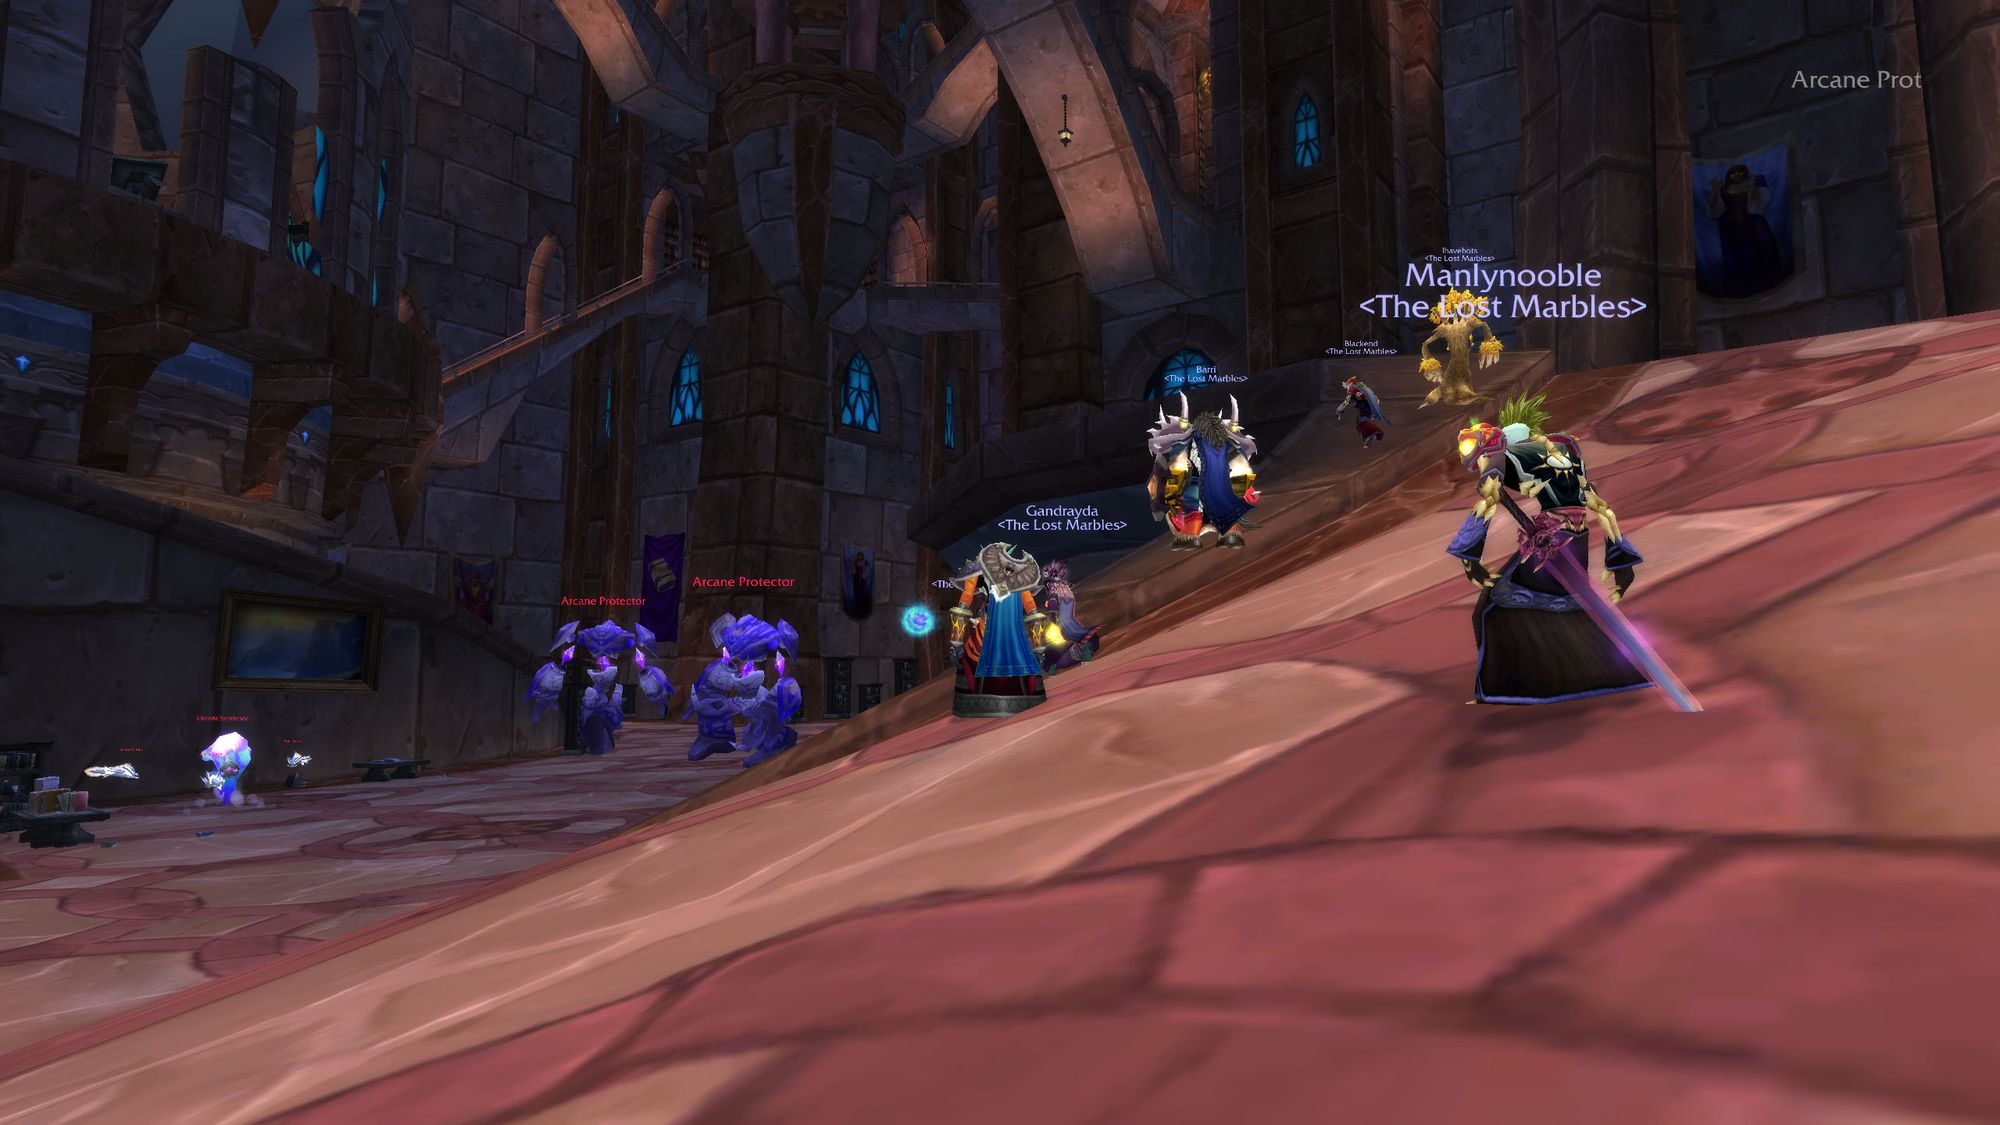
As you run down the ramp into the next area, hug the wall to avoid the Arcane Watchmen. Even the fattest Tauren arse is able to avoid them. Your main enemies in this area will be the Arcane Protectors, who you should try to pull singly and mana feeders.
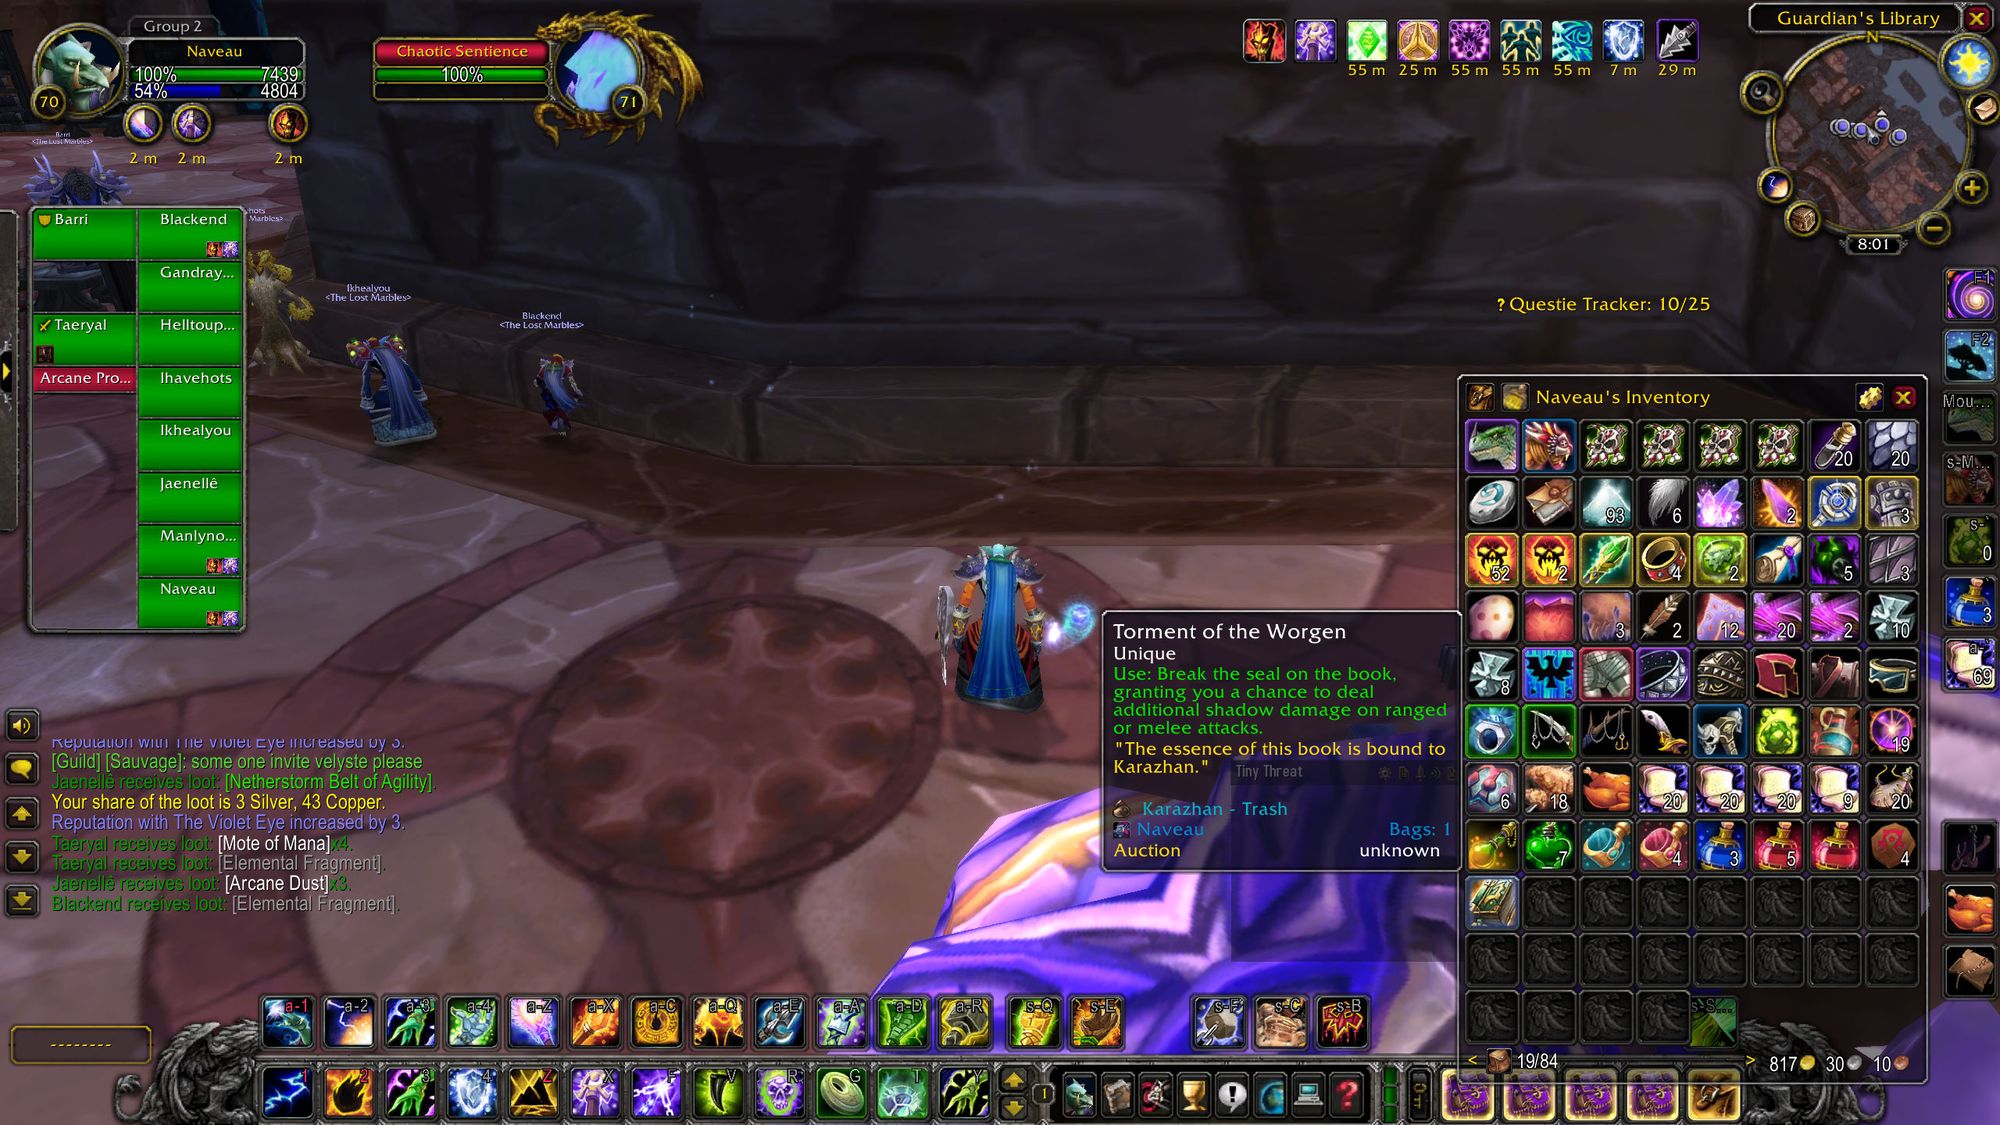
Through this entire section, be on the lookout for books. They'll be on the floor, you can interact with them and they'll give you a book with four different categories that gives you a buff - Legacy of the Mountain King for Tanks, Wrath of the Titans for Casters, Redemption of the Fallen for Healers and Torment of the Worgen for Physical DPS. They disappear when you die, so... try not to do that.
This is the longest part of the longest trash run in the Karazhan. Why? Because the only damage the mana feeders take is physical. Because the meta of TBC is very mature, most raid groups will be caster heavy. So I guess get used to hitting Mana Feeders with sticks. Also good luck to Paladin tanks trying to hold threat. Ain't happening.
You can normally do three mana feeder packs - if people aren't watching where they're going you'll sometimes end up doing four as there are two lots kind of close to each other at the bottom of the library. If people are really on point and you luck out with trash positioning, you can do as few as two.
Anyway, cross the bottom of the library, head up the ramp, kill the last arcane protector and you'll end up in a circular room with big and little arcane elementals. The trick to these is to kill the big one (thank you, infantryman's uplifting primer) and then kill the little ones individually, stunning them when they get too low, otherwise they'll blow up and chunk the raid for three quarters of everyone's health.
As you cross the room, Spell Shades will pop out of stealth. You can run these over no worries - they don't hit hard and their casts don't trouble you. The biggest risk you run is getting held up by a spell shade and then pulling the arcane elementals.
As with the library floor you can end up doing two of these, or as many as four.
Once you're out the other side, head up the ramp, taking care to let your tank go first so your head doesn't get blown off. You'll find four spell shades, so group them up and DPS them down one at a time. Again, not difficult, just try to interrupt to lessen the impact of the casts on the raid.

Take the ramp heading down to the right and you'll see some Orcs hanging around with some recolored Imp models. You can line of sight pull them up the ramp, you can charge in and AoE tank them, you can do whatever you feel. Despite being elite mobs they fall over quickly. Now at this point, there's a "hidden" bookcase which you can open, leading to the next boss.
Boss Six - Terestian Illhoof
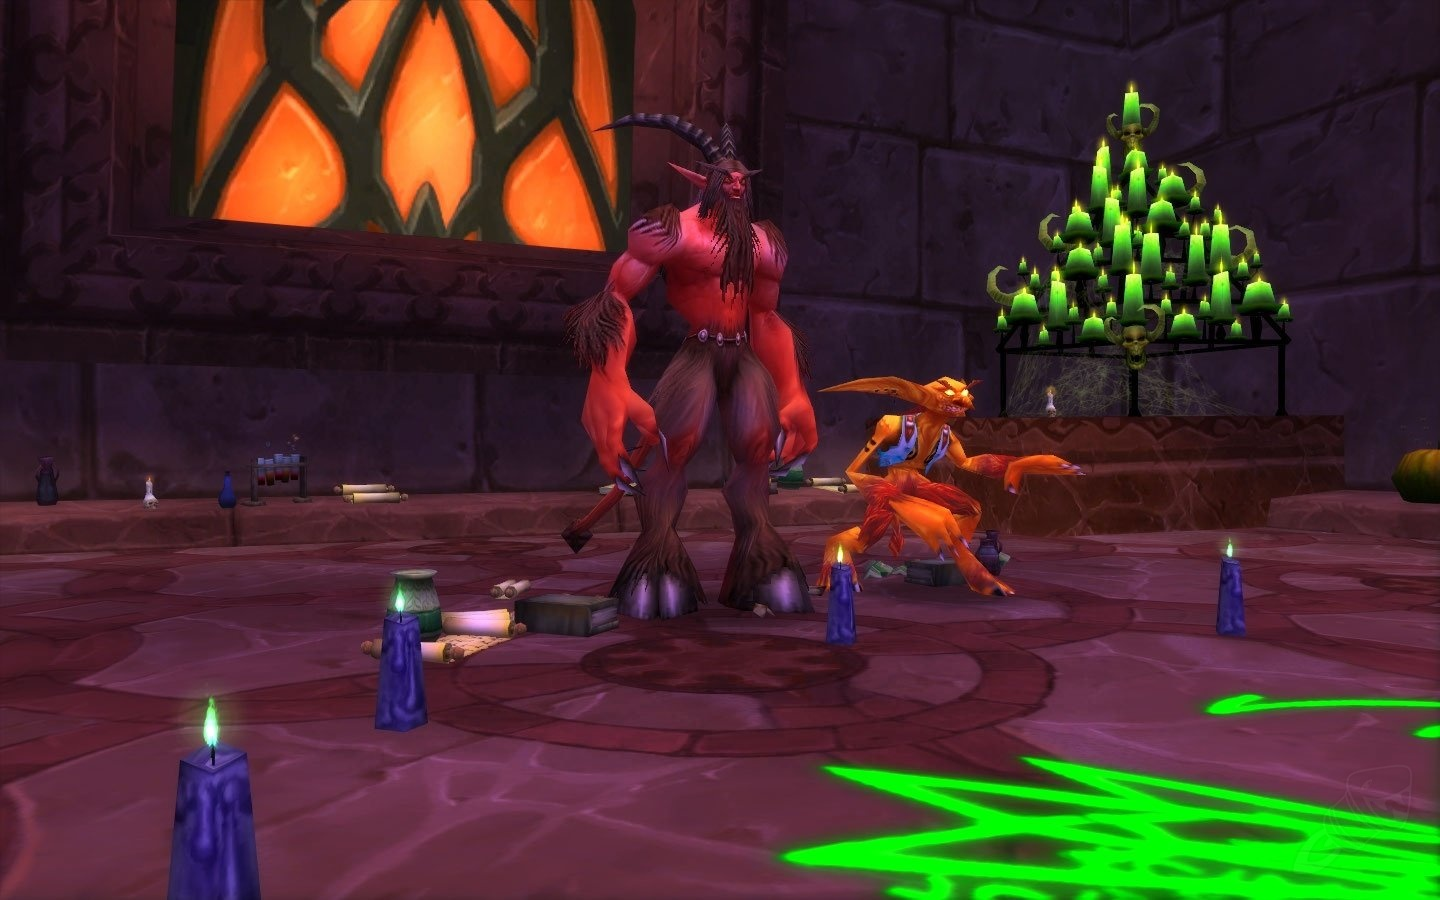
Before you fight the boss proper, you first have to do one more trash pull of re-skinned imps. Technically they're called something else, but they use the imp model and the only difference is their color - they're albino. Once that's all sorted, it's time to take on Illhoof.
Before you take him on, it's recommended you have a macro which switches to the demon chains which spawn during the fight. The room gets clogged up and it can be difficult to see and switch to them. If you're a caster, it's recommended you have a stopcasting switch on the macro too.
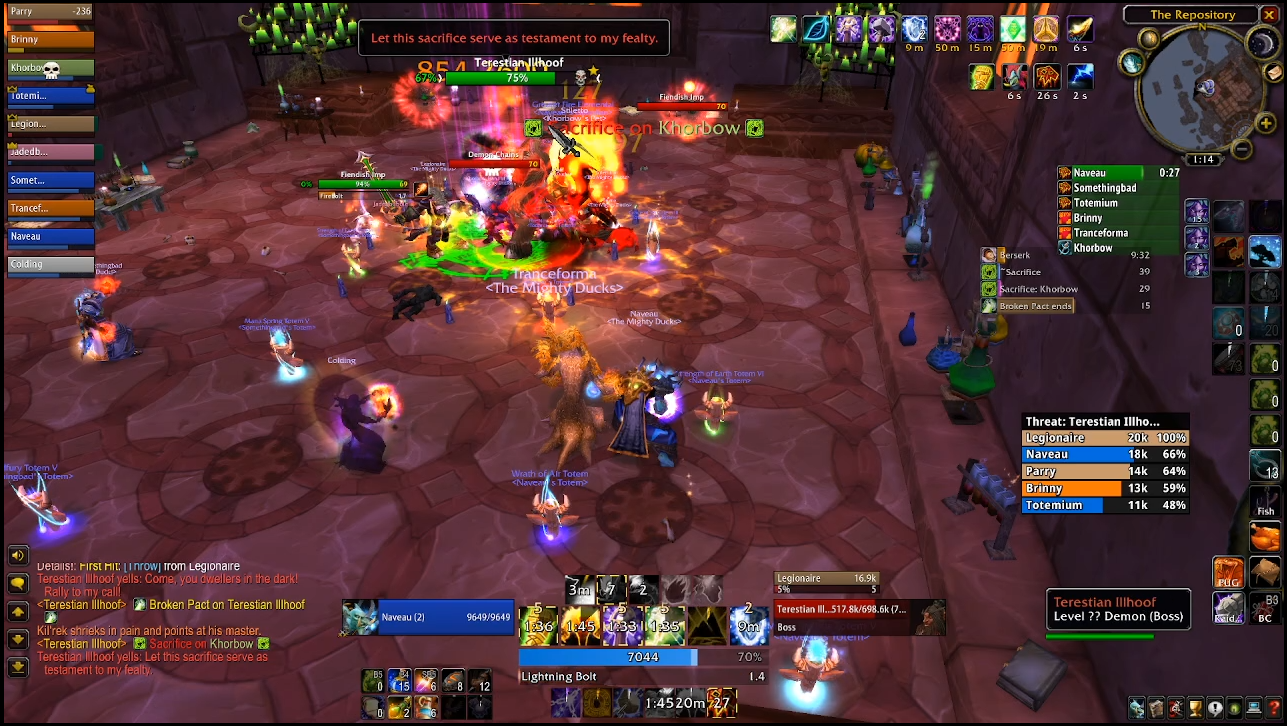
Tactics
Defeating Illhoof is about managing threats. There's a big add called Kil'Rek who respawns every forty-five seconds, players get trapped in demon chains and there are imps constantly pouring out of the portals.
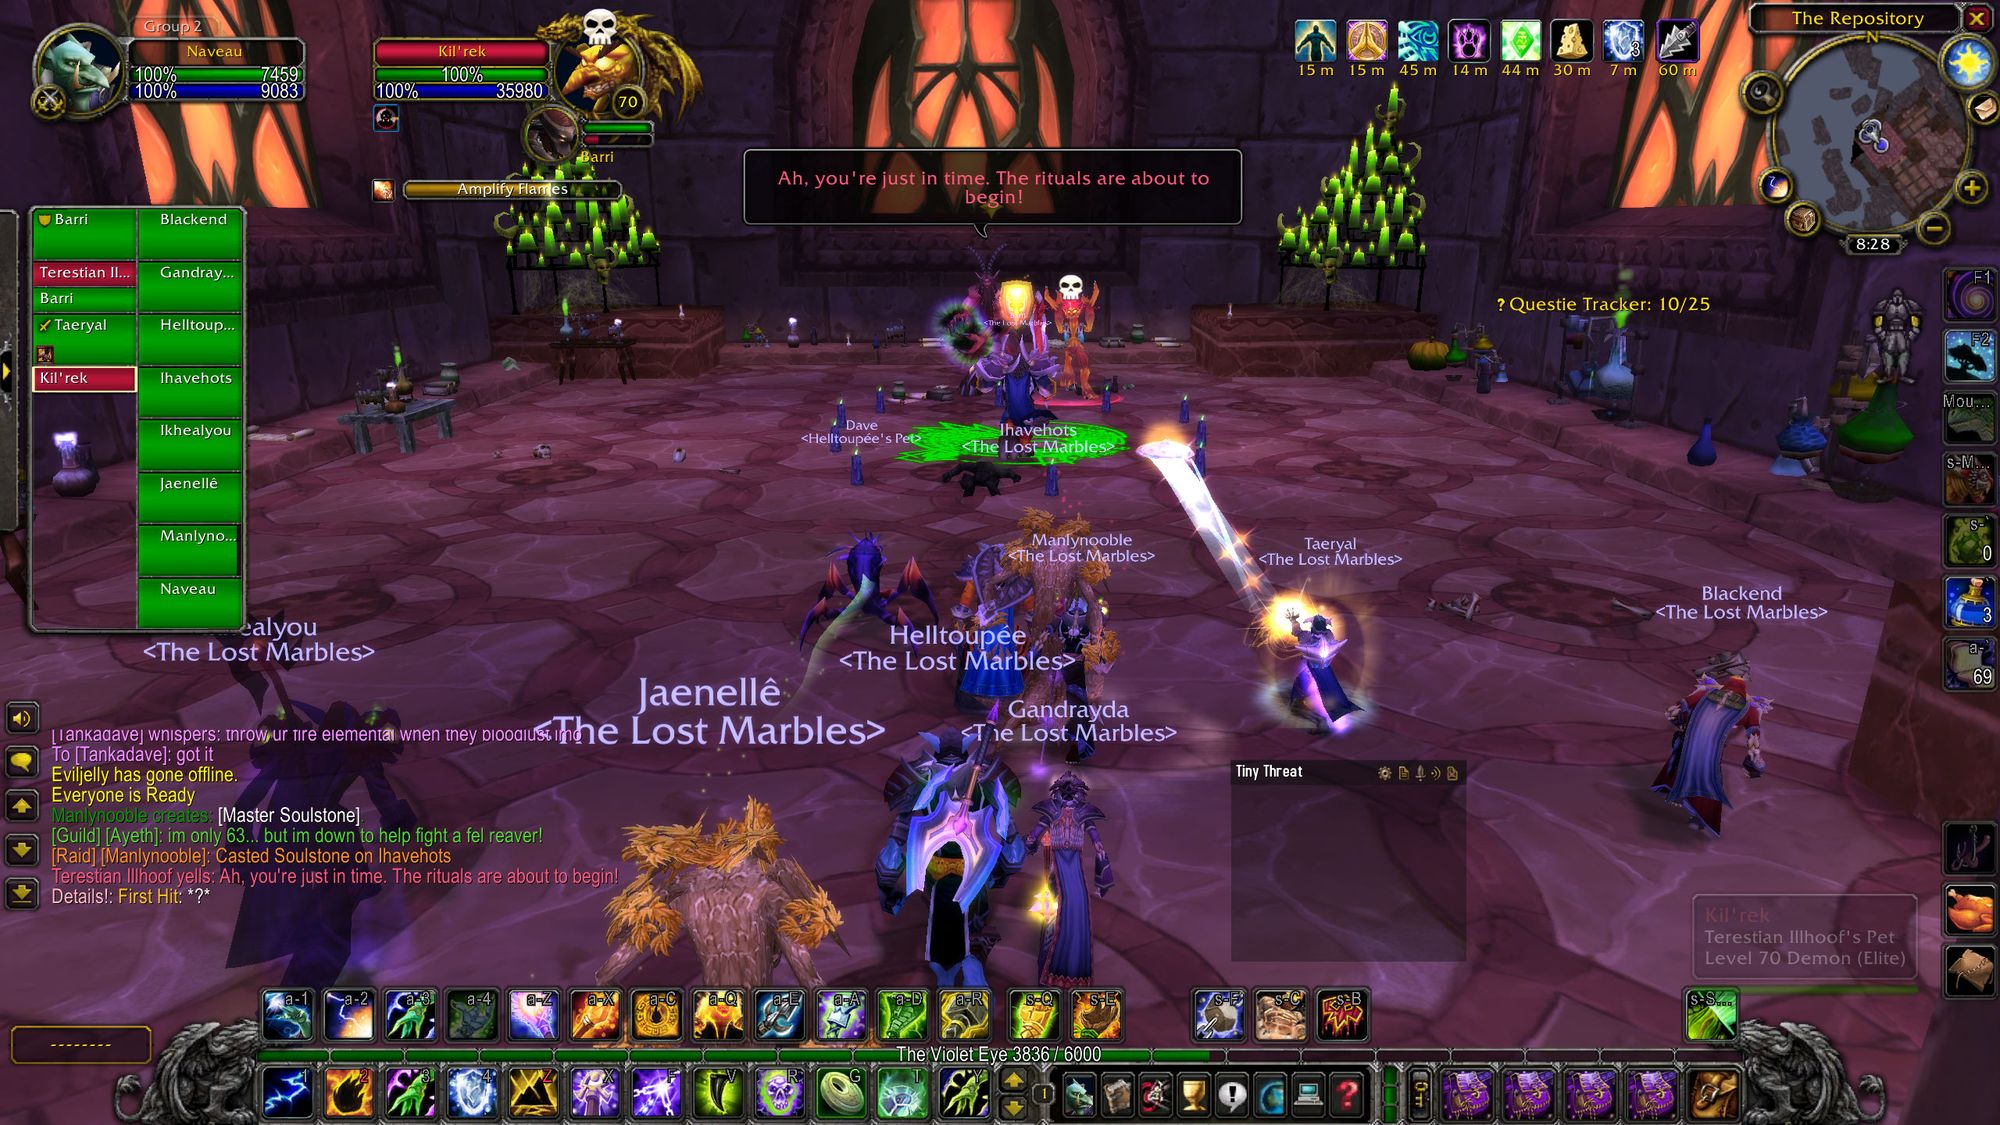
Your target priorities should be Demon Chains, then Kil'Rek, then Illhoof, then the Imps. If you have classes that can cleave the Imps (or Warlocks who can use seed of corruption to deal fat damage) it's recommended you do so.
Until Illhoof gets very low, you should kill Kil'Rek prior to DPS on Illhoof as when Kil'Rek dies he makes Illhoof take 25% more damage. Isn't that nice. So normally you want to put down Kil'Rek, then Bloodlust + Pop Cooldowns, which puts you in the driver's seat for a quick kill.
The key part here is switching to Demon Chains as the person under the chains takes a lot of damage - normally enough to kill them in three ticks. You can heal the person under the chains, but that also heals the boss - so you have to be on point with switching targets and know how to do just enough to buy time to break them.
Once the Imps get to a critical mass you will want to dedicate some AoE spells to clear them all up. Seed of corrutpion, blizzard, magma totems, all that good stuff. Unlike the previous bosses, a Paladin tank helps immensely here.
Once Illhoof gets low enough and you get tired of switching targets all the time you can eventually just blow Illhoof up. On some nights we've even let someone die under chains to keep uptime on Illhoof. That's my little secret, though.

With Illhoof down, the trash is really starting to thin out now. Head out, up the ramp and kill some more spell shades and then we're at the next boss.
Boss Seven - Shade of Aran
Shade, historically, is known as one of the harder fights in the instance. Or, at least, it was when the Raid first came out. I'll avoid going on a tangent, but, whilst it can be difficult, it's nowhere near the boogieman it was when TBC was first released.
Before you start, make sure everyone is past the door. If you don't the door will lock and those outside will be unable to join in the fun.
Shade can be a stressful fight, but it doesn't have to be. The amount of stuff going everywhere does mean you need people to both work together and be aware of their surroundings, which can be tough if they're new to raiding.
Because Shade has no threat table, anyone can run in and pull the boss. Normally I like to run straight at him.
Tactics
Shade does a lot of random things - the amount of things he does can fry your brain.
Firstly, he has an AoE counterspell effect - so casters (and interrupting casters like Shamans) should keep their distance.
Secondly, he does an arcane explosion - when this happens, you should move to the far edges of the room (otherwise known as 'to the bookcases', or 'betwen the pillars').
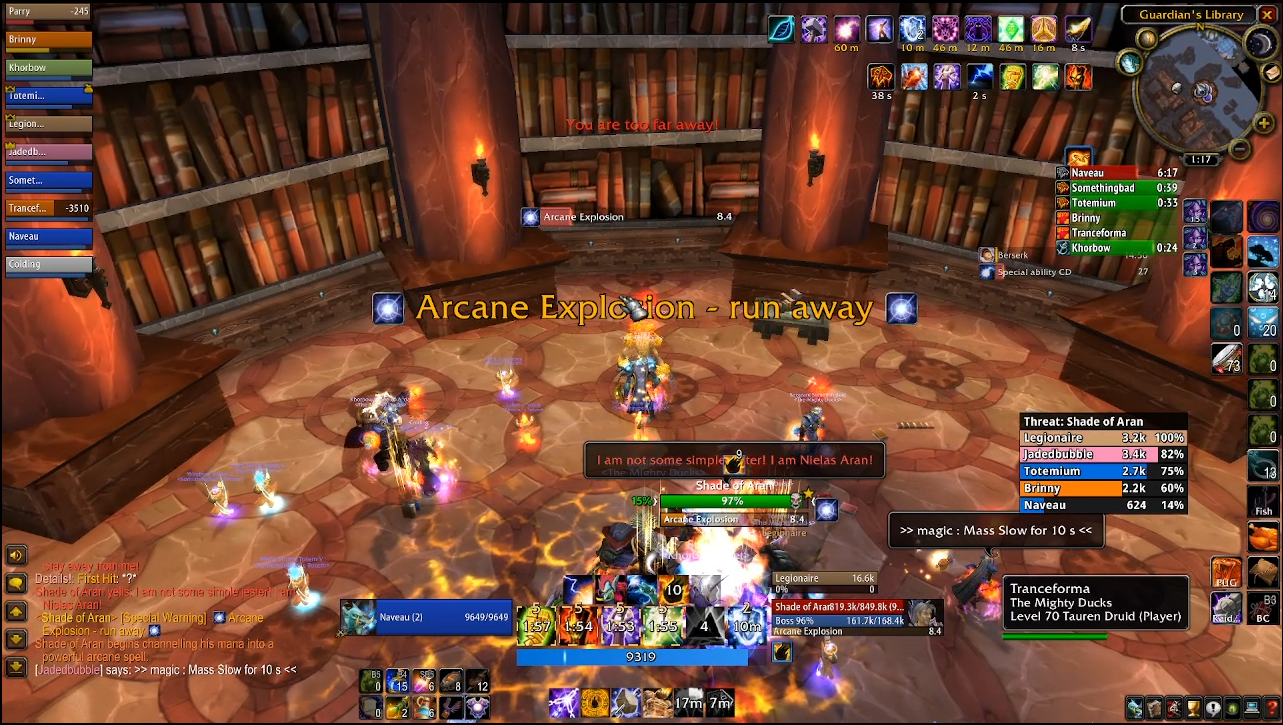
Thirdly, he does a Blizzard which covers half the room and moves around the room. The front of it is marked by a little blue tornado. He also curses players with 'Chains of Ice', which needs to be removed.
Finally (in terms of one-off mechanics) he casts flame wreath on players. This creates a... wait for it... wreath of flames around three players in the raid. If you move when you get it, you'll explode. This has given rise to the following meme:
In terms of the actual fight, the aim of the game is to DPS Shade whilst he periodically blasts your raid. You should aim to interrupt Fireballs, Frostbolts, but leave Arcane Missiles. If Shade ever does run out of mana, he will drink, then Pyroblast your raid, likely wiping it.
(Interesting historical footnote. Some guilds back in the day used to survive the Pyroblast by having two druids use Tranquility. How far we've come.)
Once Shade gets to 40%, he'll summon four water elementals. These should be CC'd if possible. A Warlock (or two if you went really greedy) can banish one and fear another, but the other two are added damage you just have to deal with. They despawn after ninety seconds or when Shade dies.
If Shade's health tracks well against his mana, you'll be fine. If it doesn't, you'll probably still be fine.
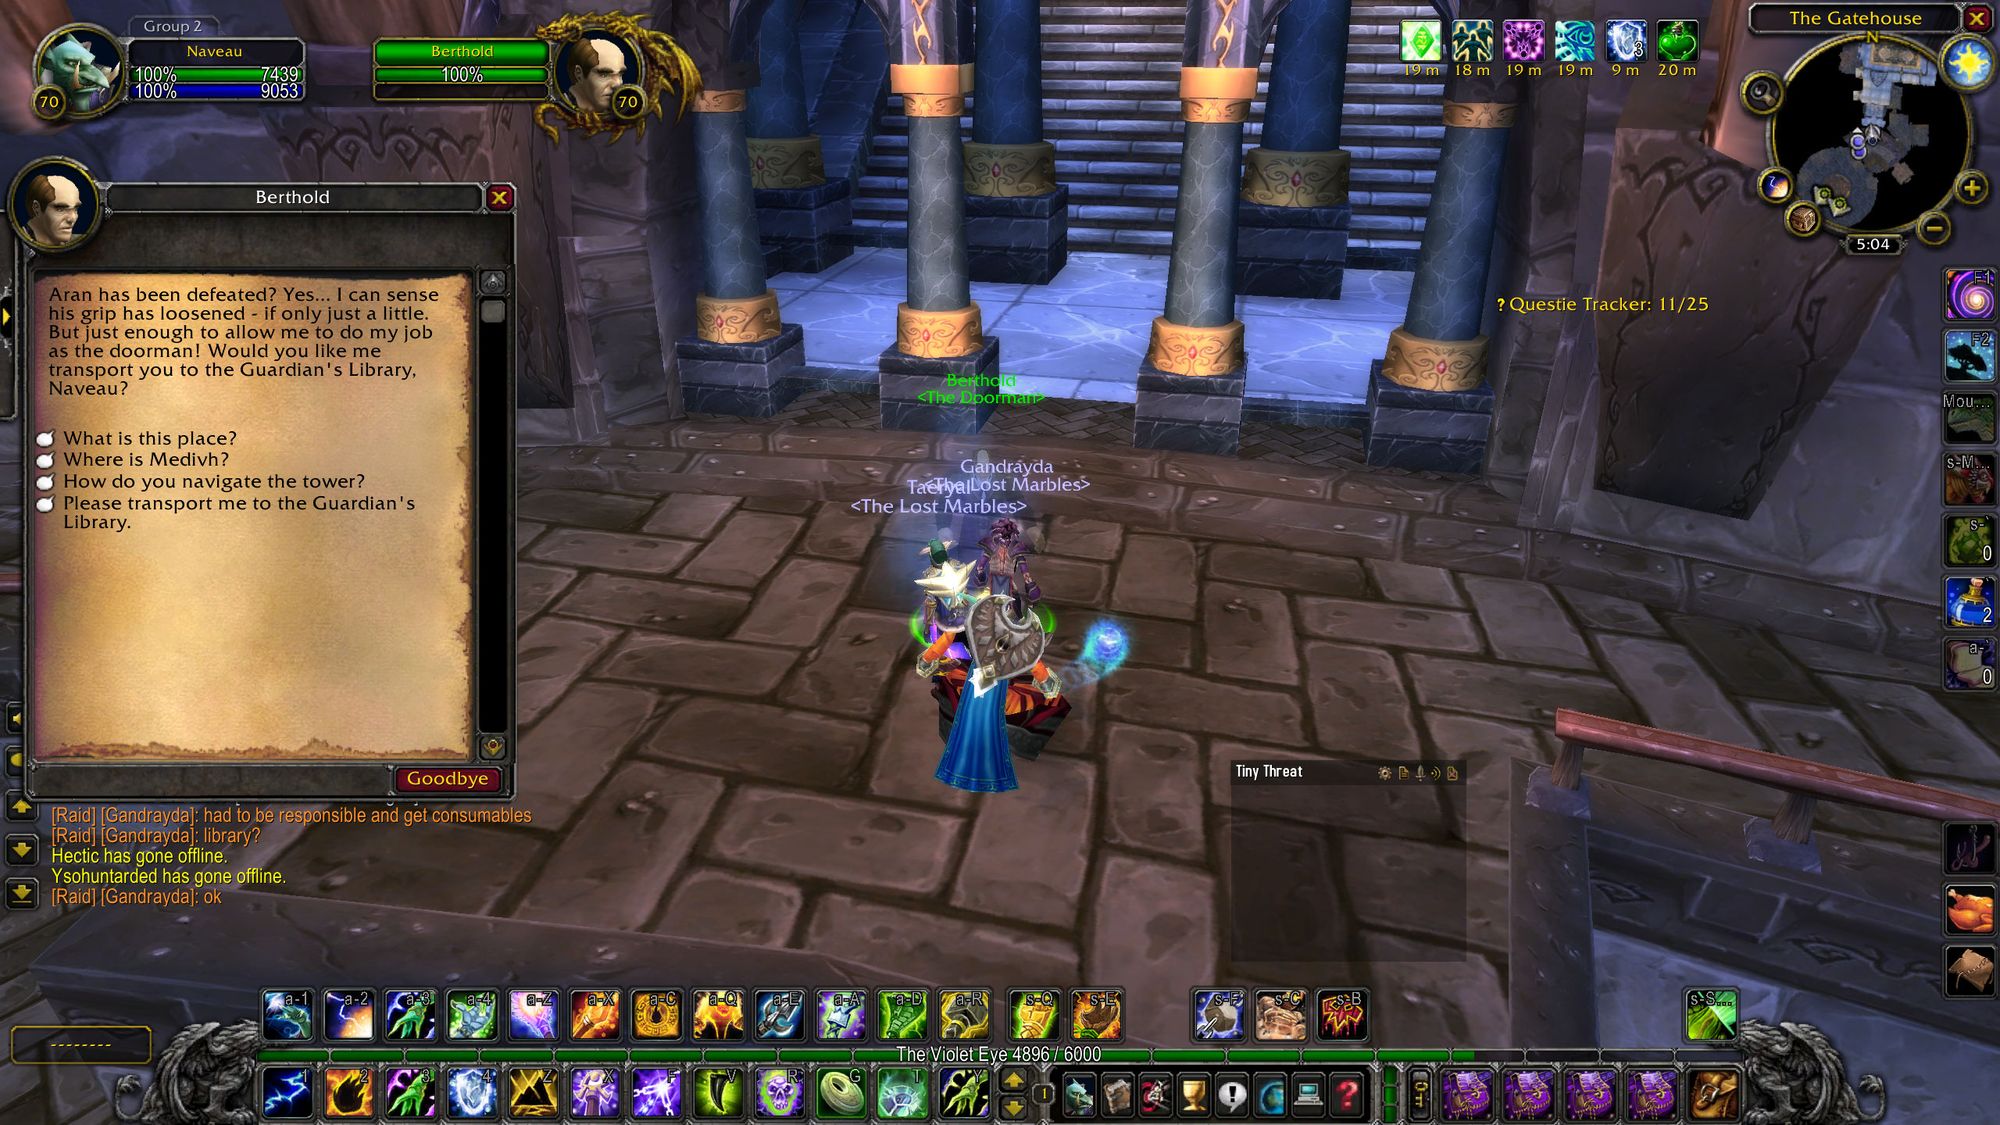
After popping Shade, it's time for the last long trash haul of Karazhan. In addition, if you wipe, now you can teleport directly to the guardian's library by walking through the front door and talking to Berthold, the doorman. We are still a ways from our first really threatening boss, though.
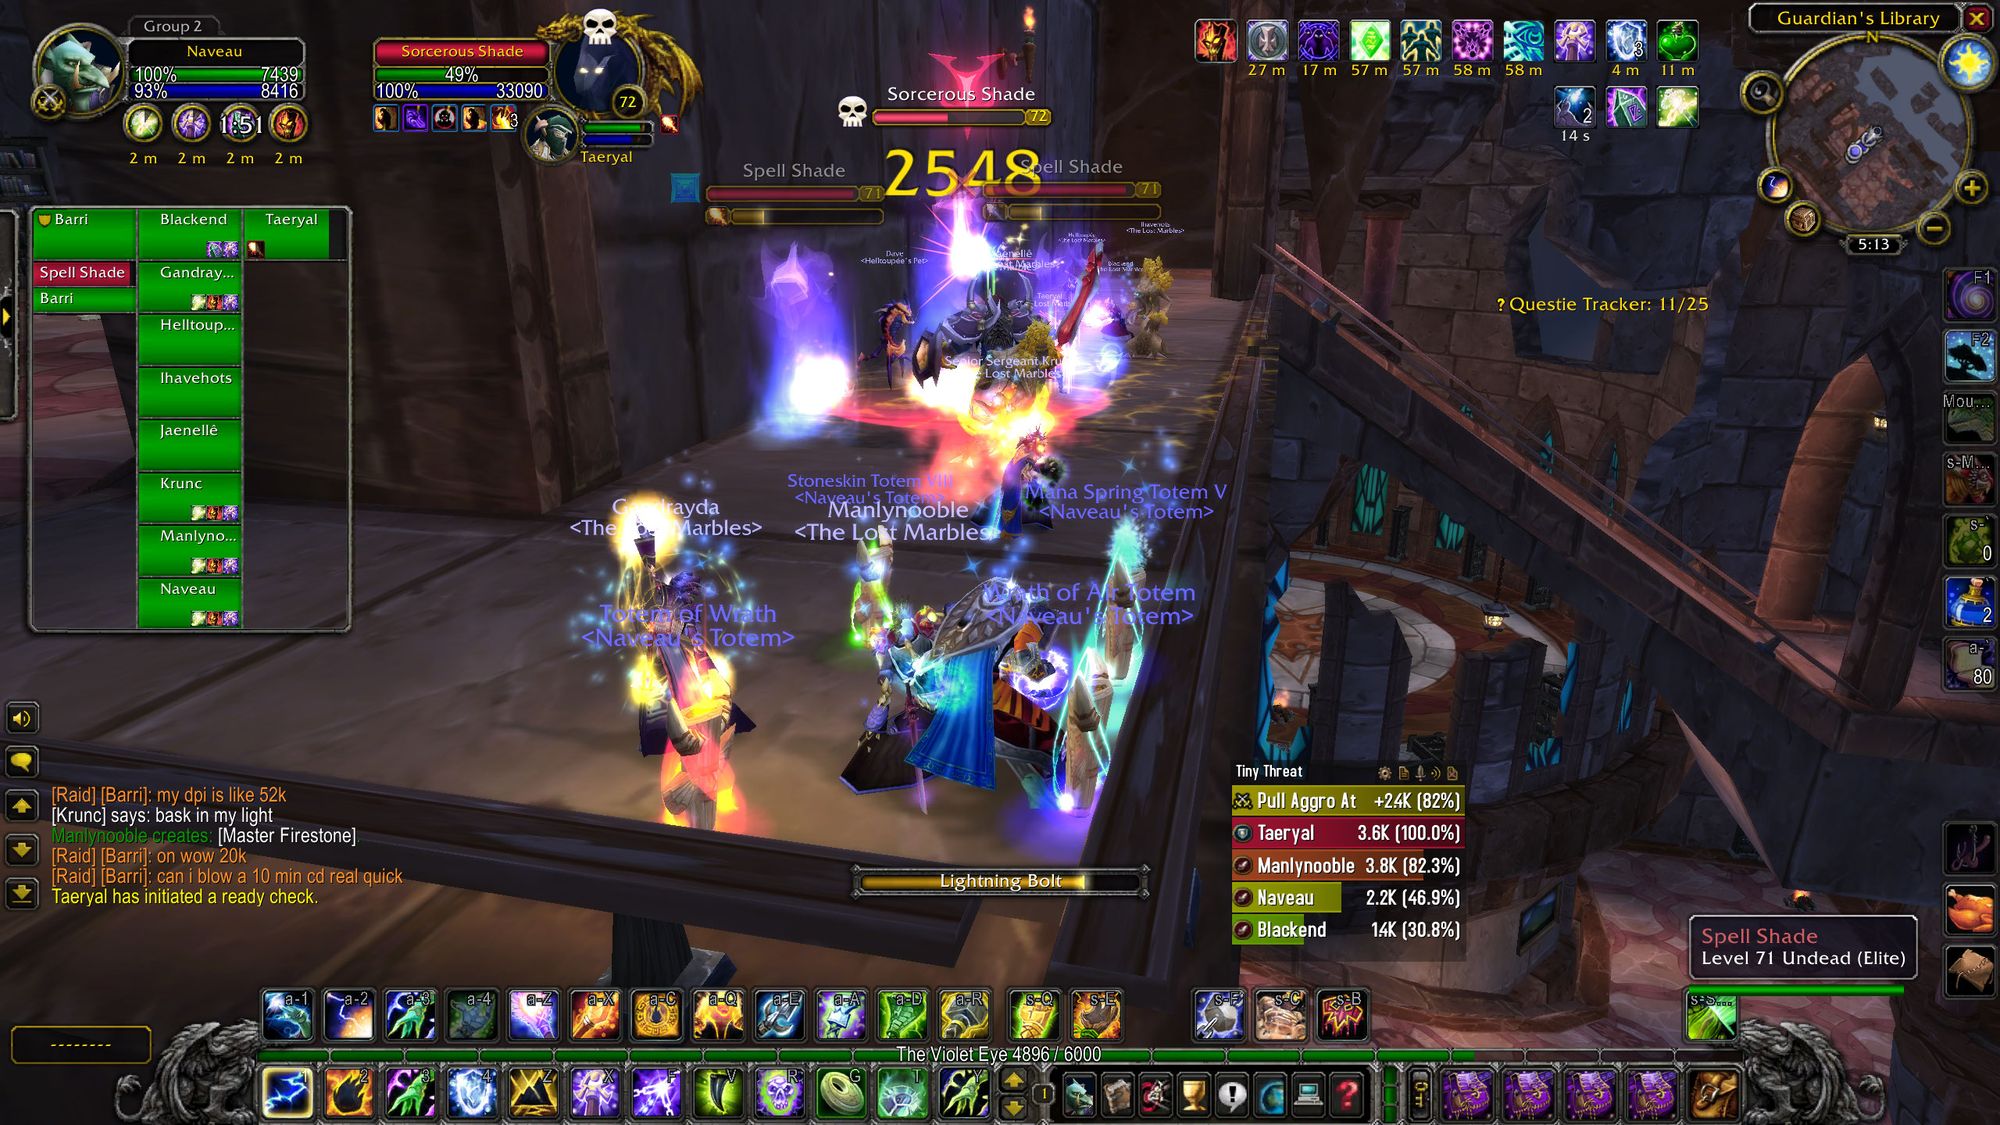
Head back down from the Library and make a left turn. You'll then reach some of the more dangerous trash - a pack of Spell Shades supported by a Sorcerous Shade. The Spell Shades aren't much, but the Sorcerous Shade does an uninterruptable spell volley. Two or three casts of this is enough to wipe a raid, so you have to put it down quick.
There are two rooms of shades. Then you go up again, to a room full of Ethereal thieves. These folks leech strength and stamina, meaning damage classes should kill them slowly. Either that or risk getting put on their arse. Like me, most times we run Karazhan.
Once the room is clear, there are two ramps. One heading up to face Netherspite, another heading down to go through to Chess and Prince Malchezaar. We're going to go down for now.
We've got a few more Ethereals to go through before we get to the Chess Event, these ones steal Intellect and Mana, so aren't threatening to your tanks, but if the raid was to take an extra twenty hours, these folks might also pose a threat to your casters. As it stands, they pose a threat to no-one, and mages can spellsteal a buff which gives them additional spell damage. Nice.
Before you get to the Gamesman's hall there's a friendly Ethereal who will repair your gear and sell you reagents - which is good for everyone.
Then it's time to head in and play some chess.
Boss Eight - Chess Event
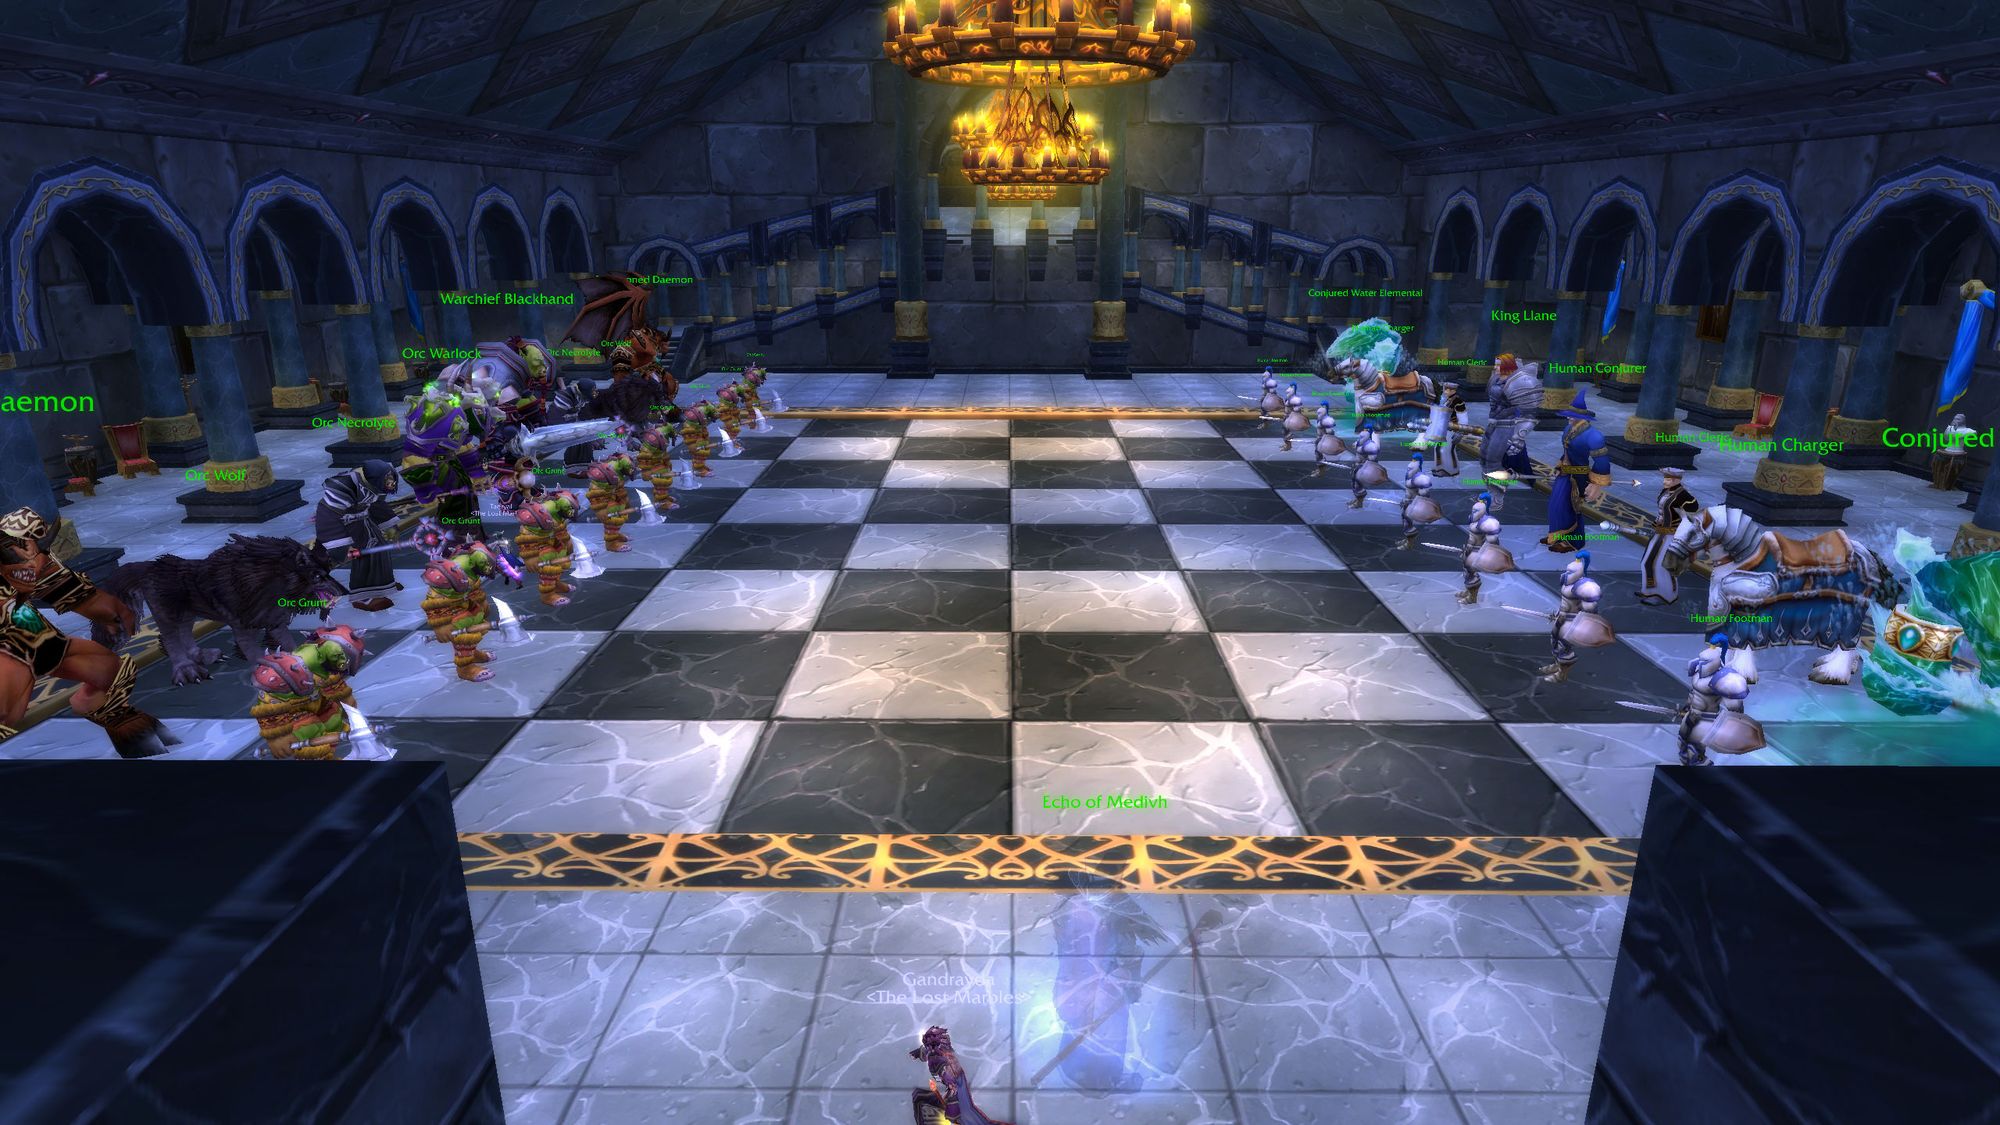
The chess event is really just a bit of fun. It's not meant to be a serious boss encounter. There's no risk if you wipe - it's just a palette cleanser.
You control the pieces by speaking to them and you have a pet menu to control them. The aim is to kill King Lane (or if you're alliance trash, kill Warchief Blackhand) in a really reduced down version of the summary events of the first war. It's a big bite of flavor in an already delicious raid.
Play it, lose a couple of times, have fun, good game, that's it, farewell.
We're on the home stretch now - after cracking open the chest and getting your loot it's time to ascend toward Netherspace. It's recommended you pull the two fleshbeasts in the next room down first as things can sometimes get a bit crowded up there.
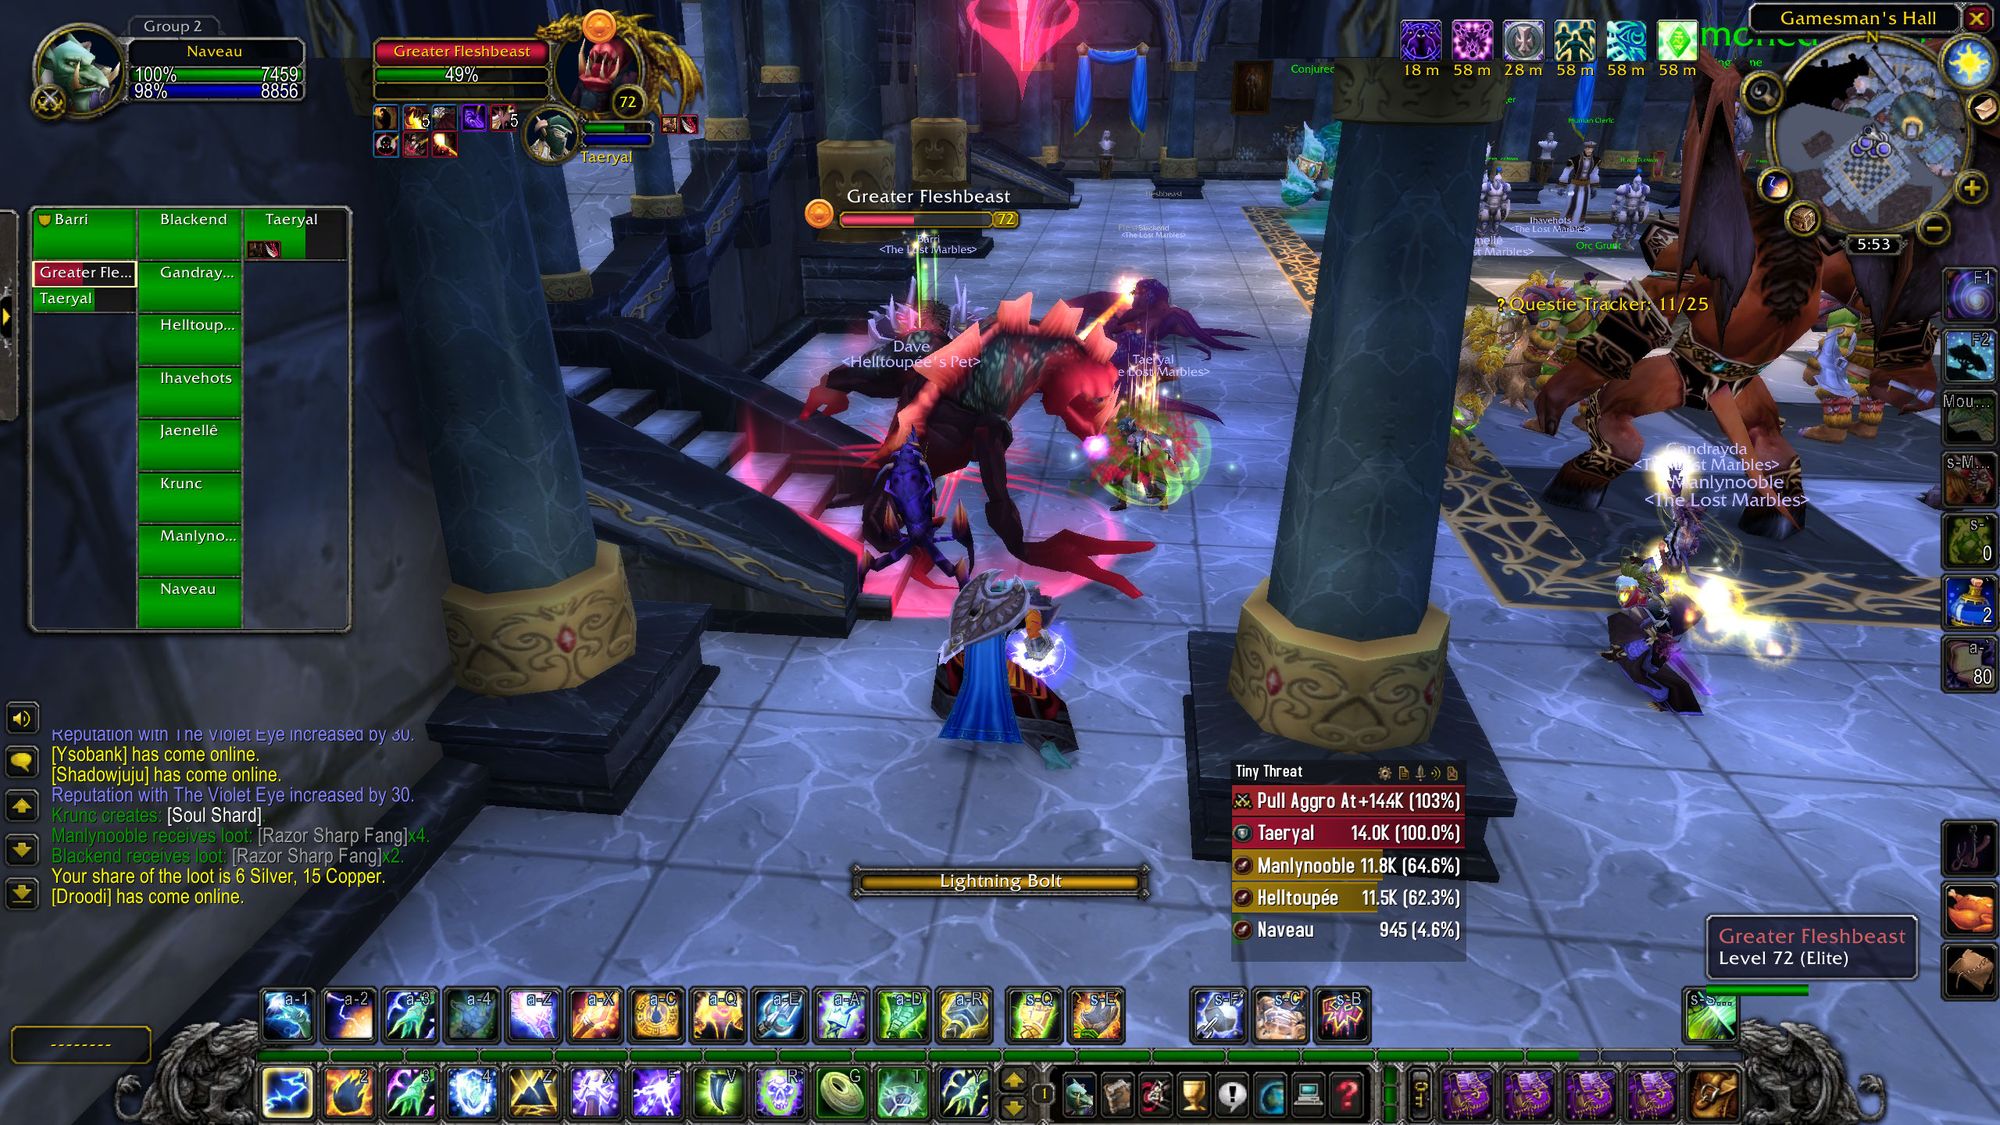
The fleshbeasts do sick damage, so your raid has to be on point and watch threat, as these mobs love to resist taunts and will one-shot anyone who isn't a tank.
Head into the next room, kill more fleshbeasts, before climbing the staircase. There's a rite of passage in marbles raids where the tank has to get spooked by a fleshbeast hiding in one of the side rooms and panickingly shout at the entire raid.
But in reality it's because of opaque nameplates. There's one last fleshbeast to deal with in the middle of the tower and then it's on to technically the last boss of Karazhan...
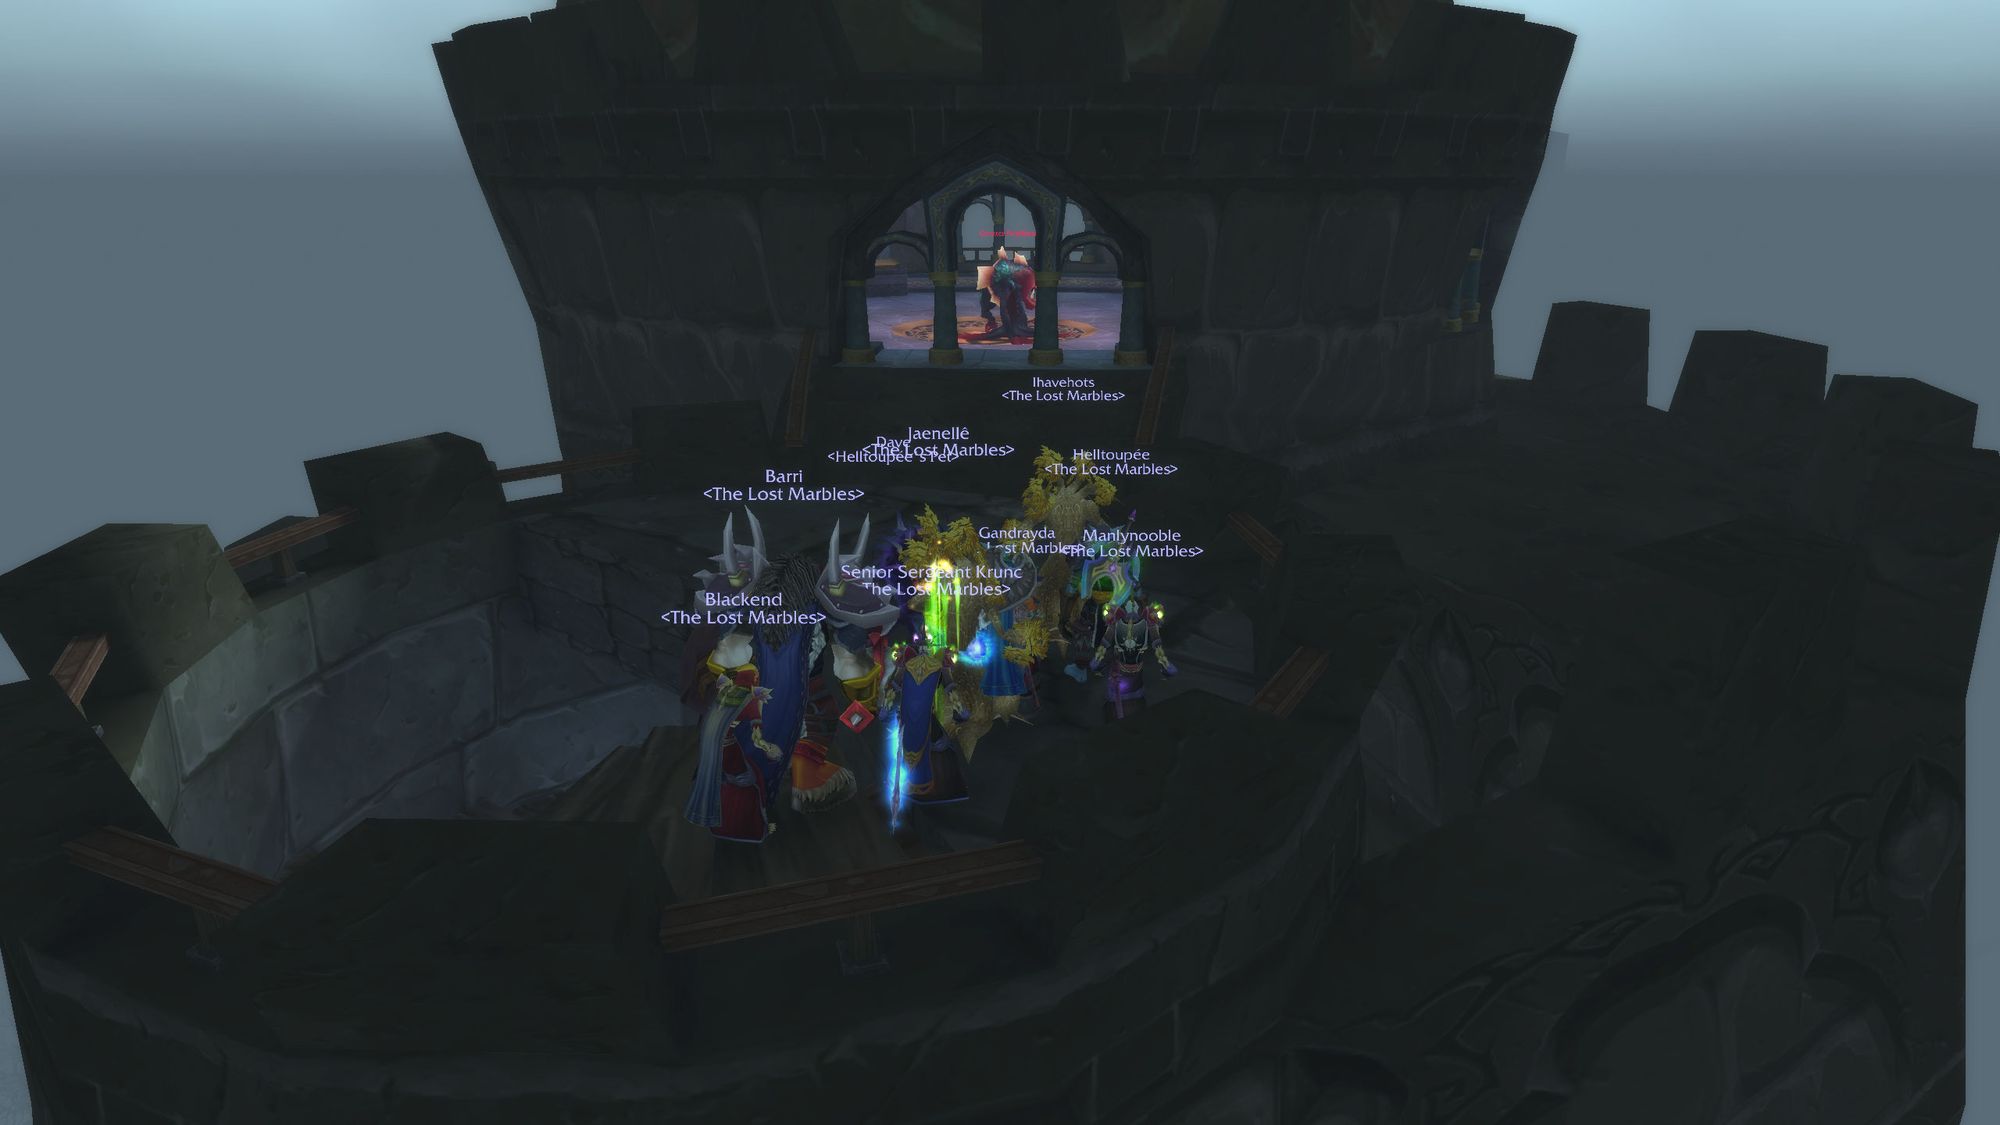
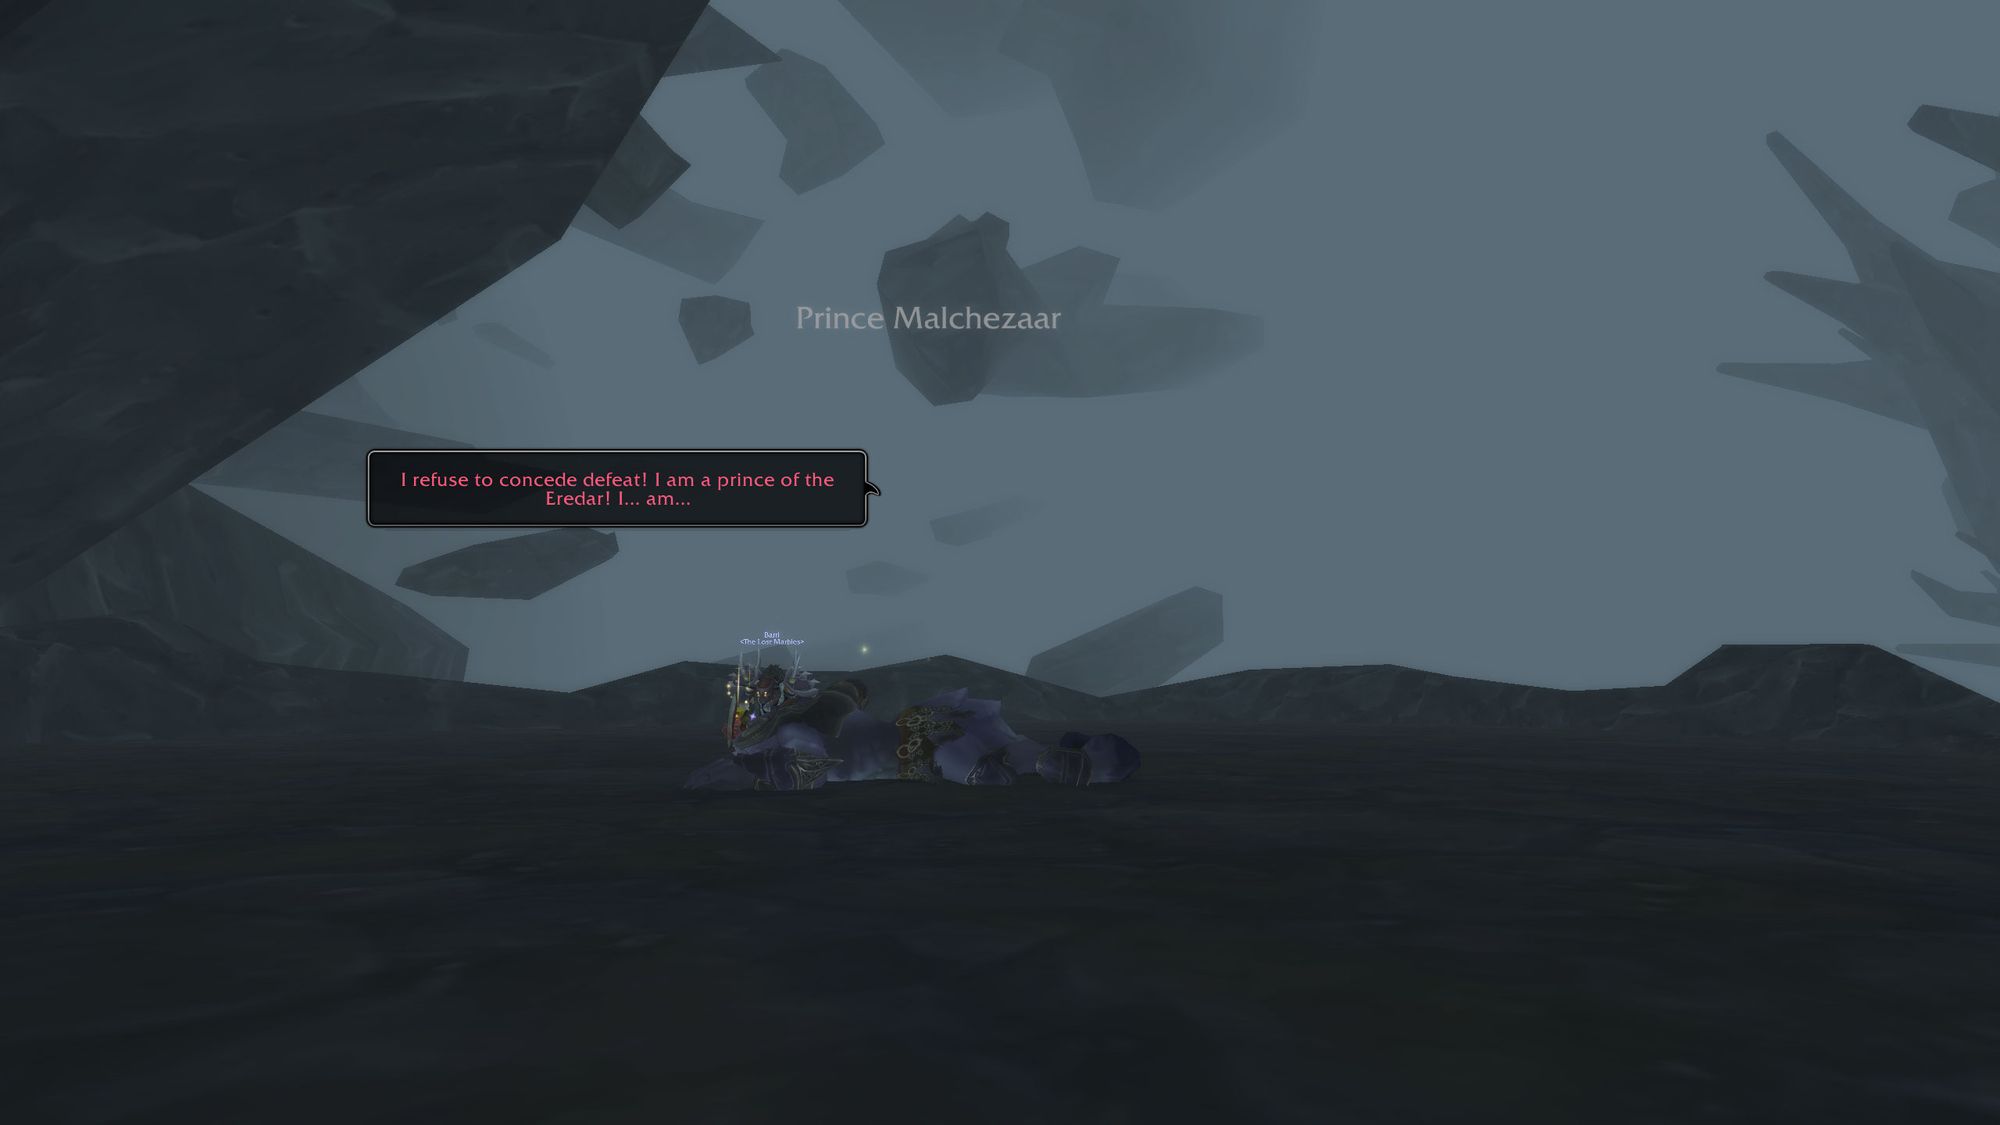
Boss Nine - Prince Malchezaar
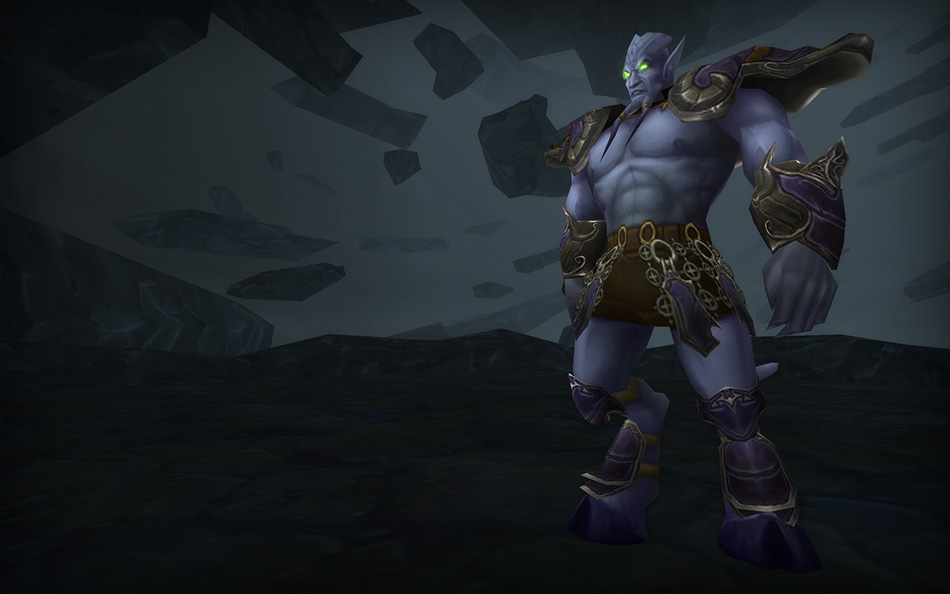
It's here that we see the oddity that is Karazhan. The confusing geometry, the mobs telling you to turn back and lastly, we're here in Netherspace. It is an unanswered question, an enigmatic mystery and a boss encounter all in one.
Prince is an imposing figure as he strides alone atop Karazhan. Why is he here? Who knows. It's so enigmatic and mysterious. I love it.
But enough philosophy. The time is now to pull the boss and put 'im down.
Tactics
For all the lead-up work, Prince is actually a very easy fight - at least currently. The risks are highest when your healers and tanks are undergeared.
This fight can be broken down into three phases. They're very similar to each other, but with some key differences.
To start with, everyone should be tucked into the corner of the room - there's a little different colored section which everyone should be standing on. The boss should then be tanked approximately thirty yards (bloody Americans) away from that location.
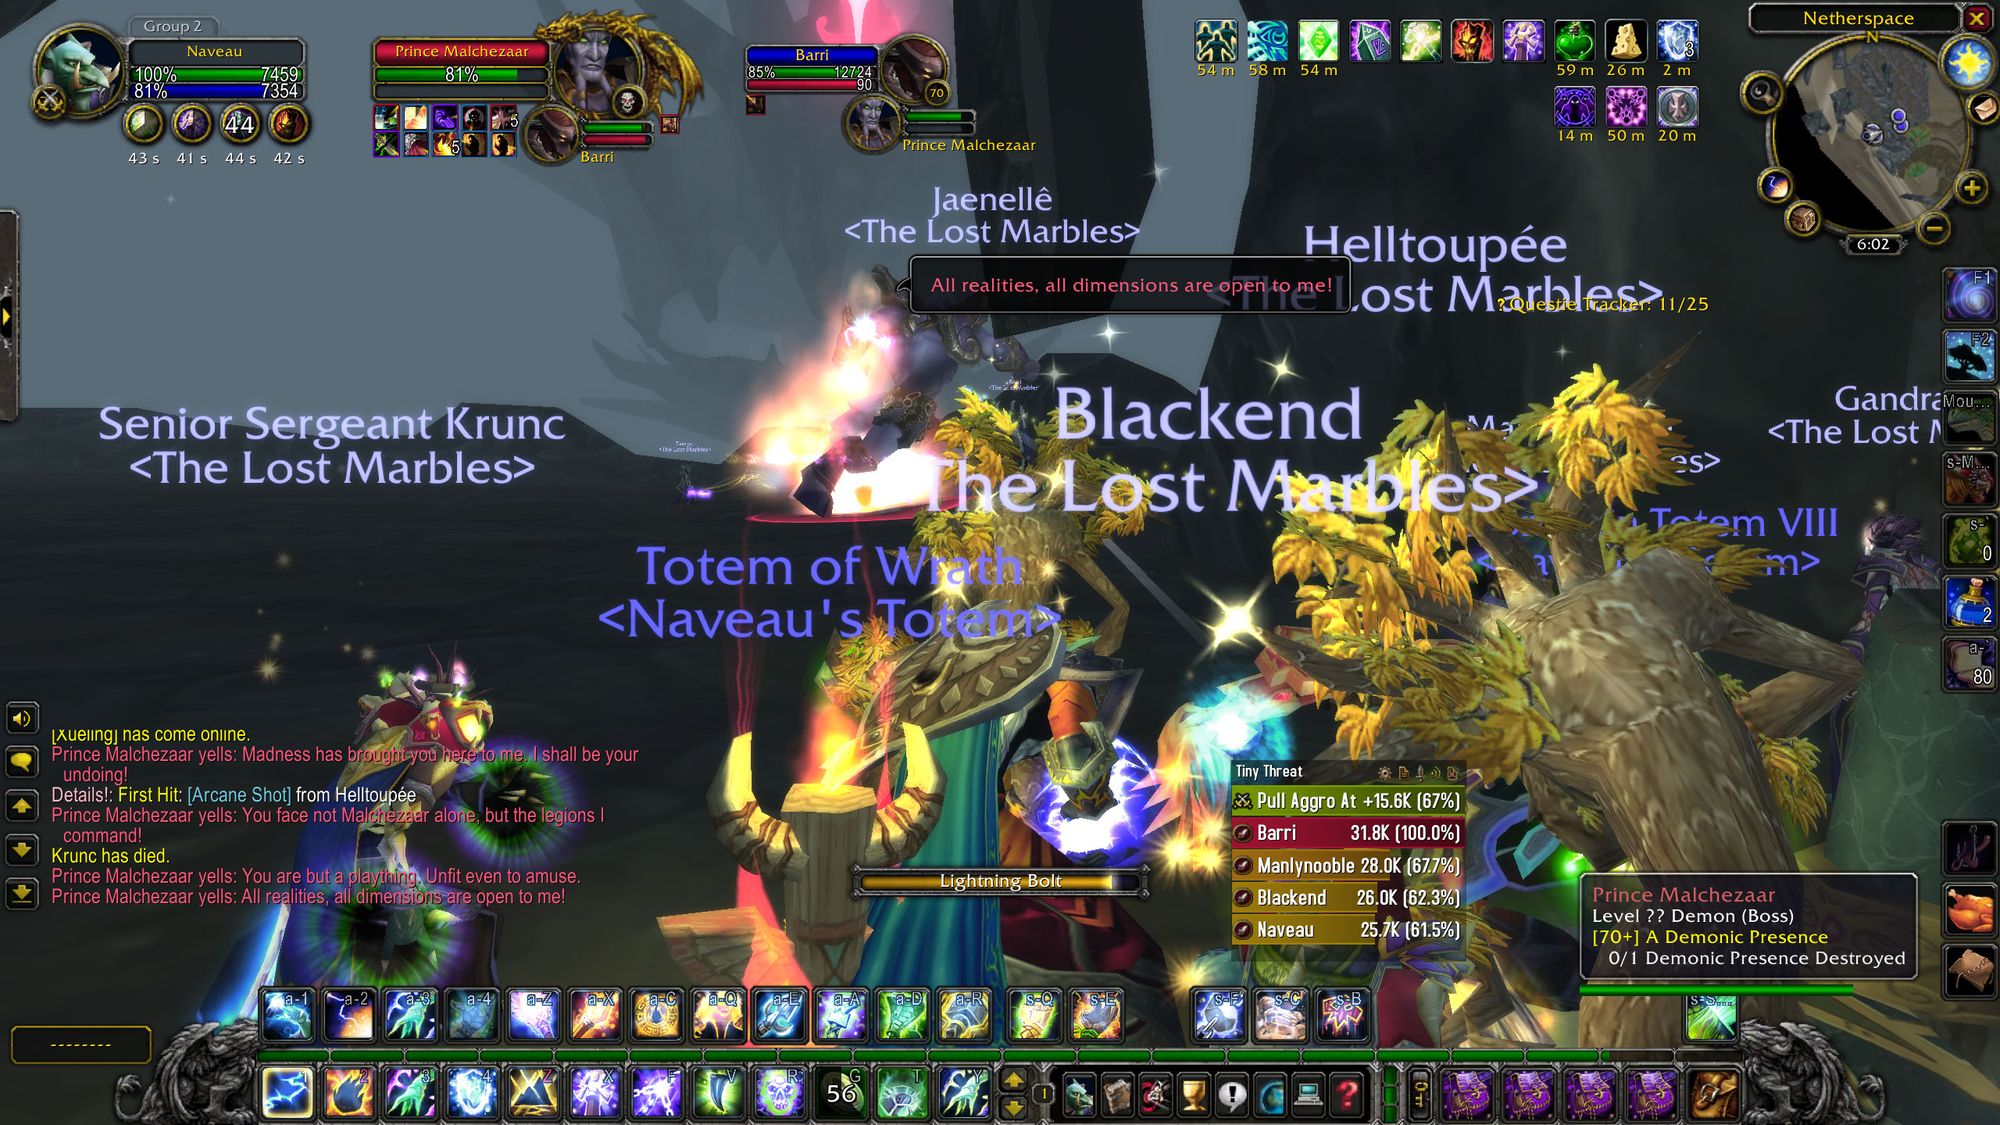
In phase one, the boss will spawn infernals all over the platform - however there's a catch - there's a large 'safe zone' near the entrance of the room where infernals are unlikely to spawn. Whilst that's going on, the boss will also enfeeble four random targets in the raid. This sets their health to one. This, coupled with the infernals, can equal a recipe for disaster. Lastly, Prince Malchezaar will cast a Shadow Nova which does a little bit of raid damage and a knockback.
The strategy here is fairly simple. Cross your fingers the safe zone does its job and doesn't spawn and infernal too close, ranged DPS should stay more than thirty yards away from Prince, and any enfeebled Melee DPS should use the little crack in the platform wall to break line of sight and thus not take any damage from Shadow Nova. At 60%, the boss transitions into Phase 2.
Phase 2 is where things get a little spicier. Prince Malchezaar will start beating the snot out of your tank. In essence, this is a healing and tank check. If your tank doesn't have enough health to survive the massive hits and your healers can't keep him up without running out of mana, you'll hit struggle street, the tank will die and that'll be the end of that. Otherwise, the rest of the mechanics stay the same. You've got to push Prince all the way down to 30%.
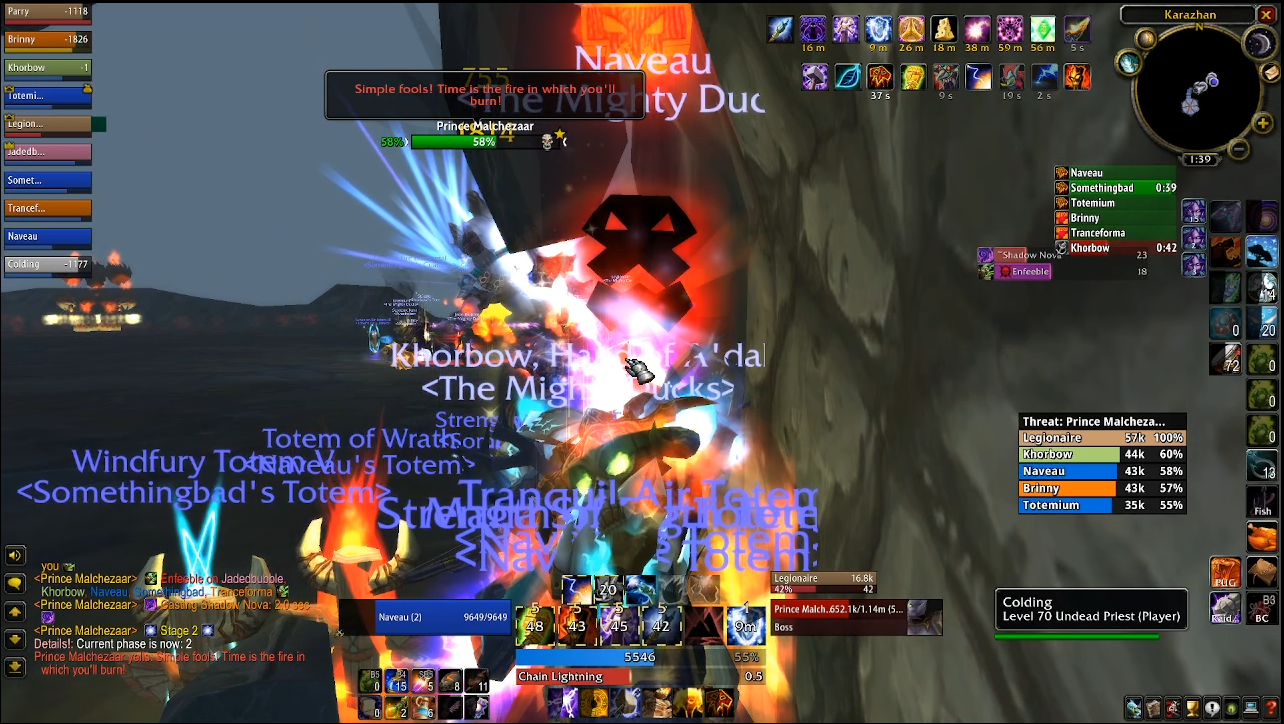
In Phase 3 Prince stops thumping your tank and goes back to hitting him lots normally. Instead, the interval for infernals increases and phantom axes start hitting people in the raid for lots of damage. It's possible to get a badly timed enfeeble and for the axes to kill an enfeebled person, so watch out for that. But at this point, you're through the worst of it - nothing left but to smoothly kill Prince.
And with that, that's Karazhan all sorted!
Kind of.
There are two more dangerous foes in store for you.
Boss Ten - Netherspite
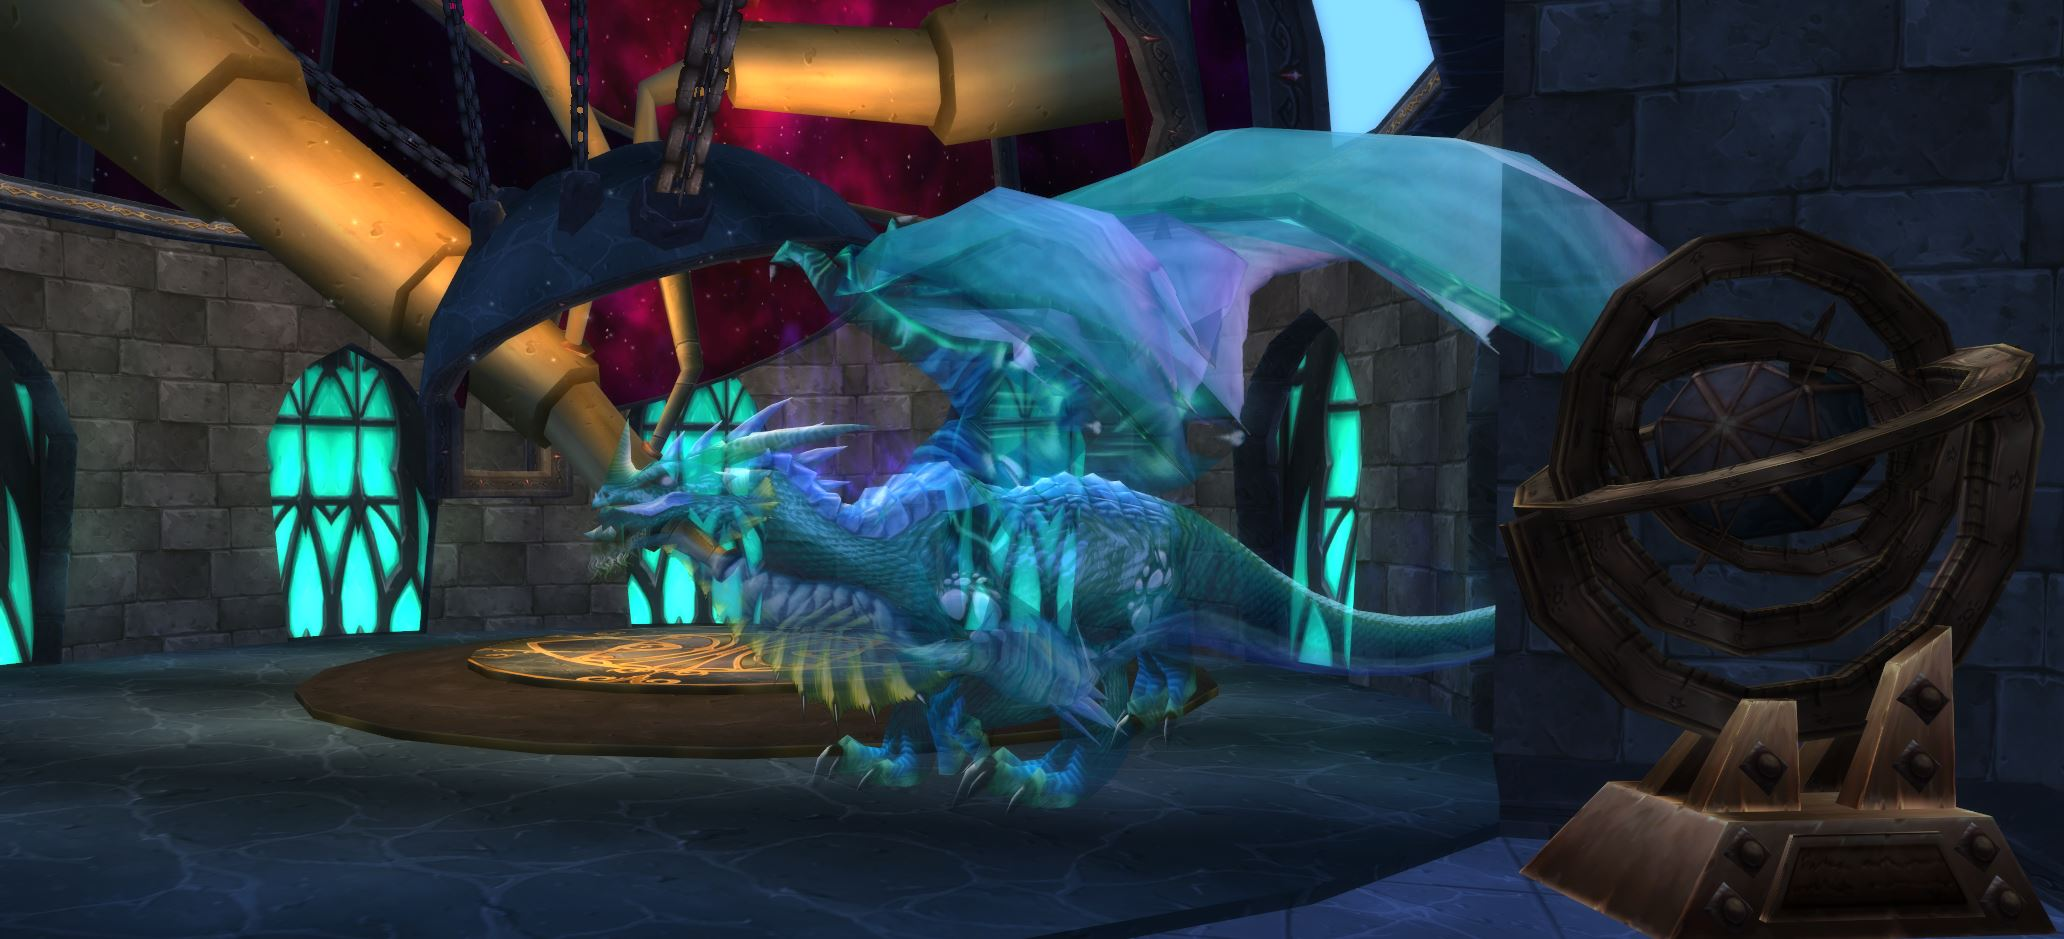
Netherspite is the first of the optional bosses that are a step up in difficulty from Prince.
To get to Netherspite, go up instead of down at the ethereal thieves' room. You'll kill two more Ethereal Spellfilchers, before heading down into the Celestial Watch to tackle Netherspite as he roams.
Brief your raid, eat your food and flask up. Netherspite is big on coordination and communication - and there's lots of things that can go wrong here. When you're ready, get your hunter to pull using misdirect, and it's fight time...
Tactics
Netherspite is a fight consisting of two phases.
The first is the portal phase. Three portals will spawn in preset locations (though their colours will change) and shoot beams into the boss. Players need to coordinate standing in front of them, which will give them both negative and positive effects.
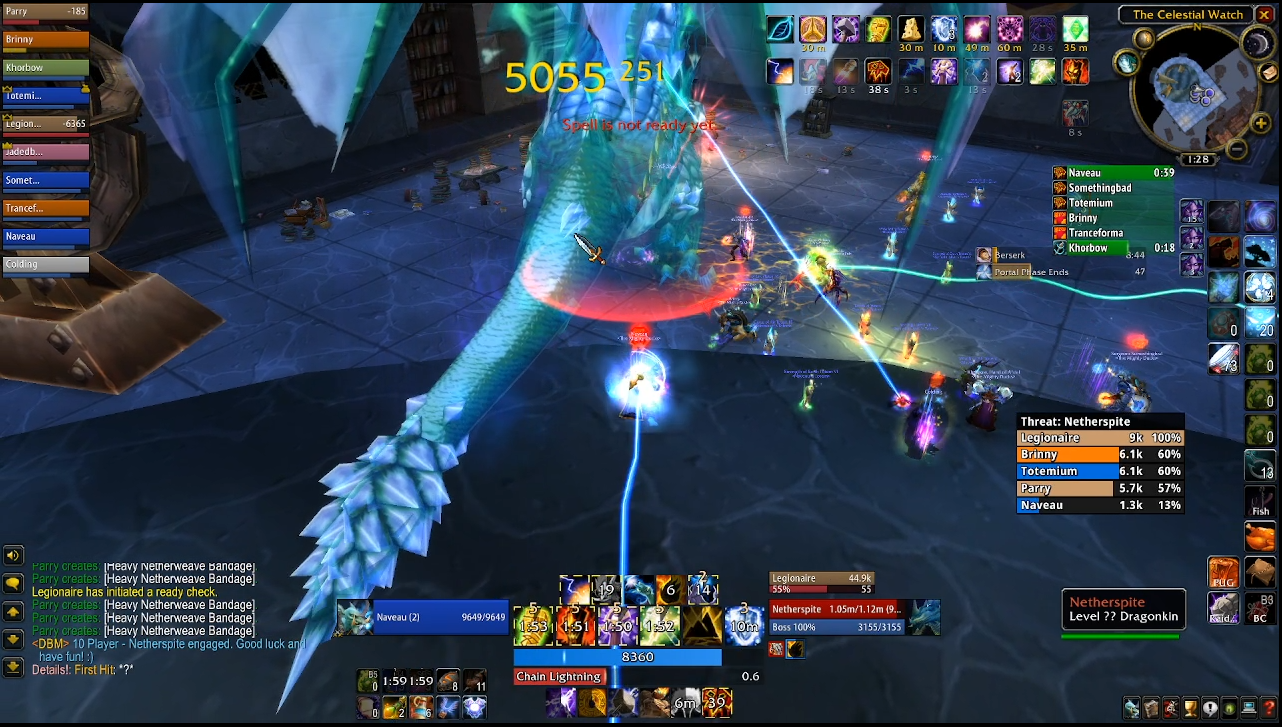
The first is the red beam - the red beam is for tanks. As long as you're in the red beam, you take less damage and have more health. It also has the added benefit of giving whoever is in the red beam aggro on the boss - when in the red beam, the boss has no threat table, so damage dealers and healers should go bananas. So the tank in each phase wants to dance in and out of the red beam to keep their health full and also to keep aggro on the boss.
The second is the green beam - it can be for healers and caster DPS but because of the coordination required, it can be more convenient to get a manaless class to block the green beam for the entire phase. Healers and Casters low on mana can duck into the beam to replenish mana to keep pumping - and it is strongly encouraged.
The third is the blue beam - this is for caster DPS. It increases spell damage dealt and recieved, so you need to manage this one in pairs to make sure the person under the blue beam doesn't get one-shot. As there's a low ticking aura from the boss which can quickly do lots of damage to someone with the beam on them.
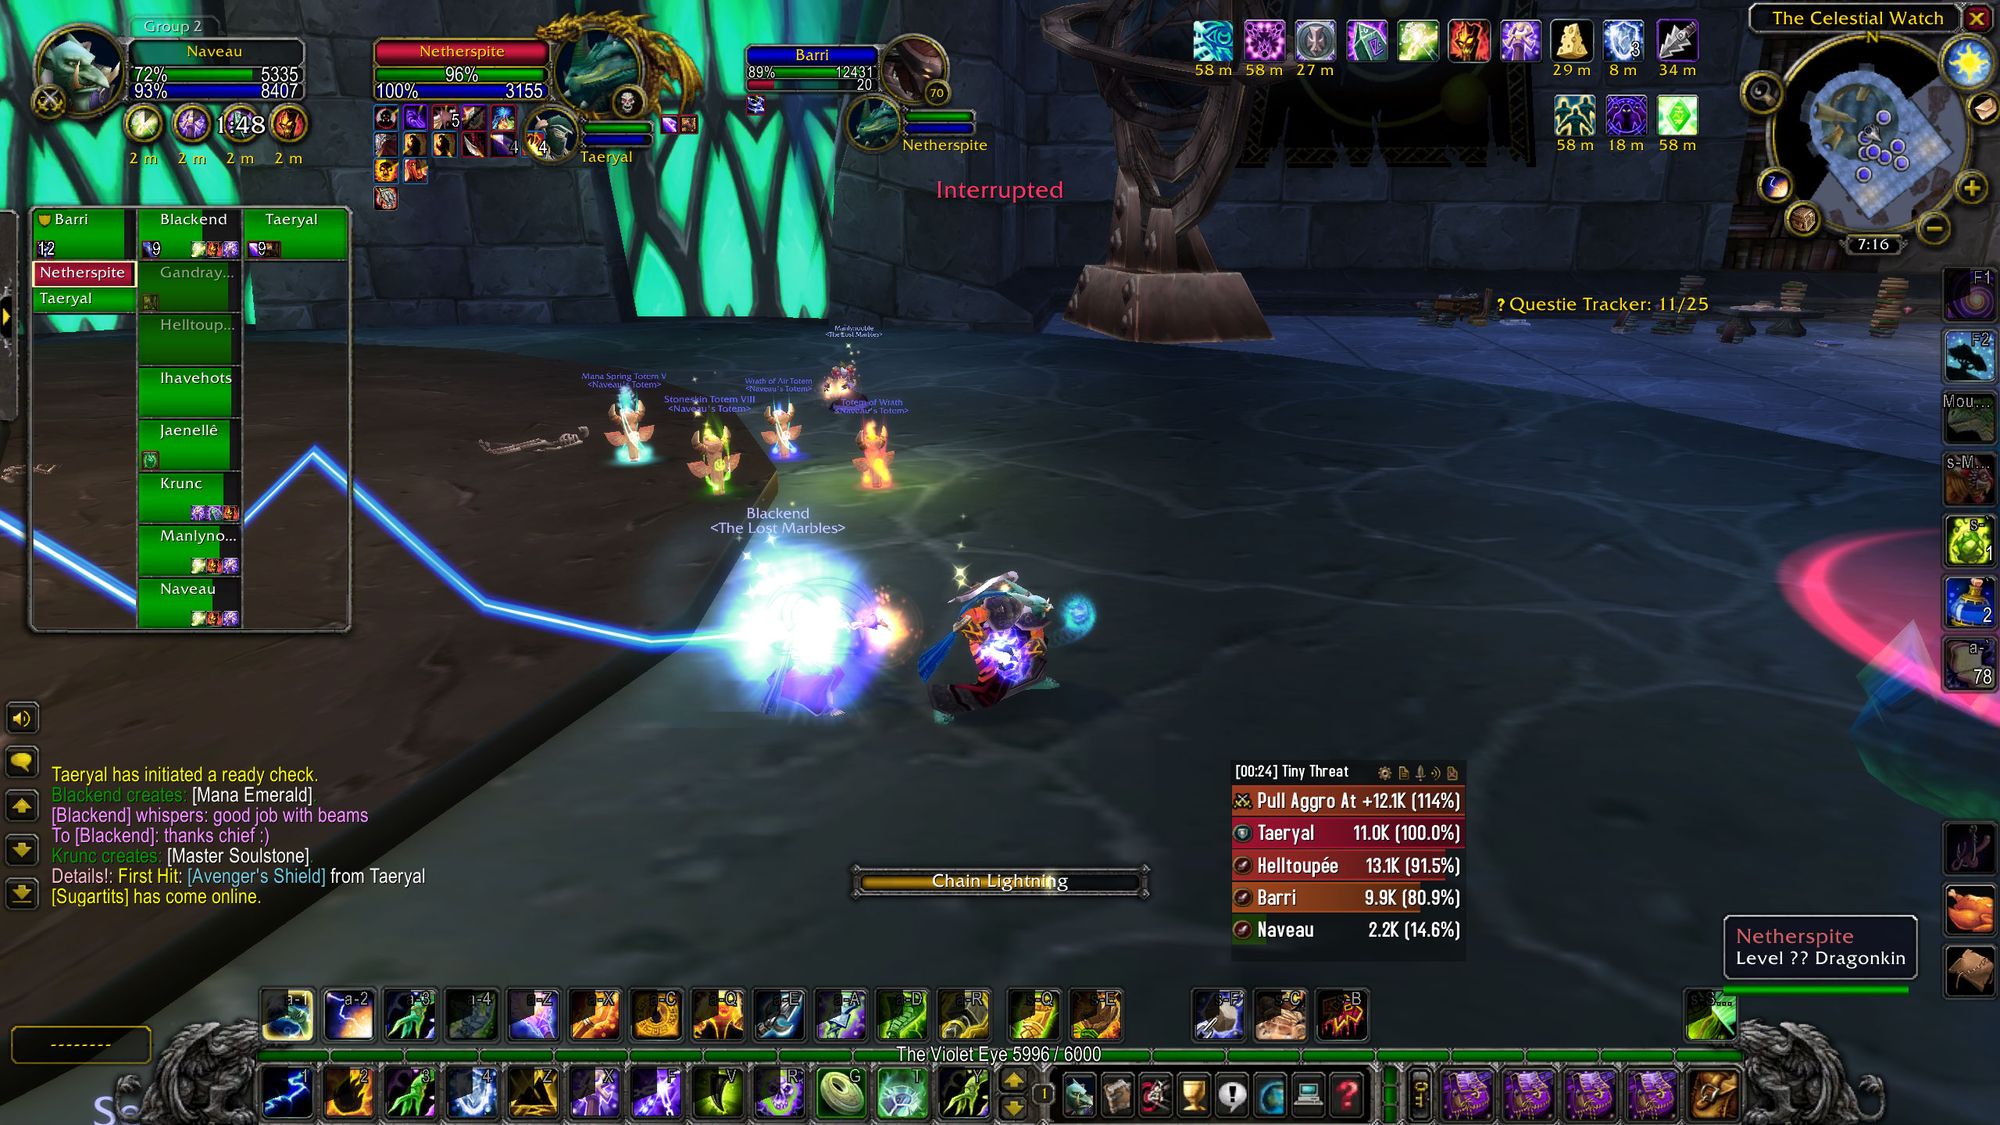
I actually have a Macro which I use during the raid which shows who is assigned where - and in the raw raid footage, you can see me post it as well. The only time this can get a little sweaty is when your perfectly planned rotation goes awry and you need to fix it quickly. Fortunately, that's where Phase 2 comes in.
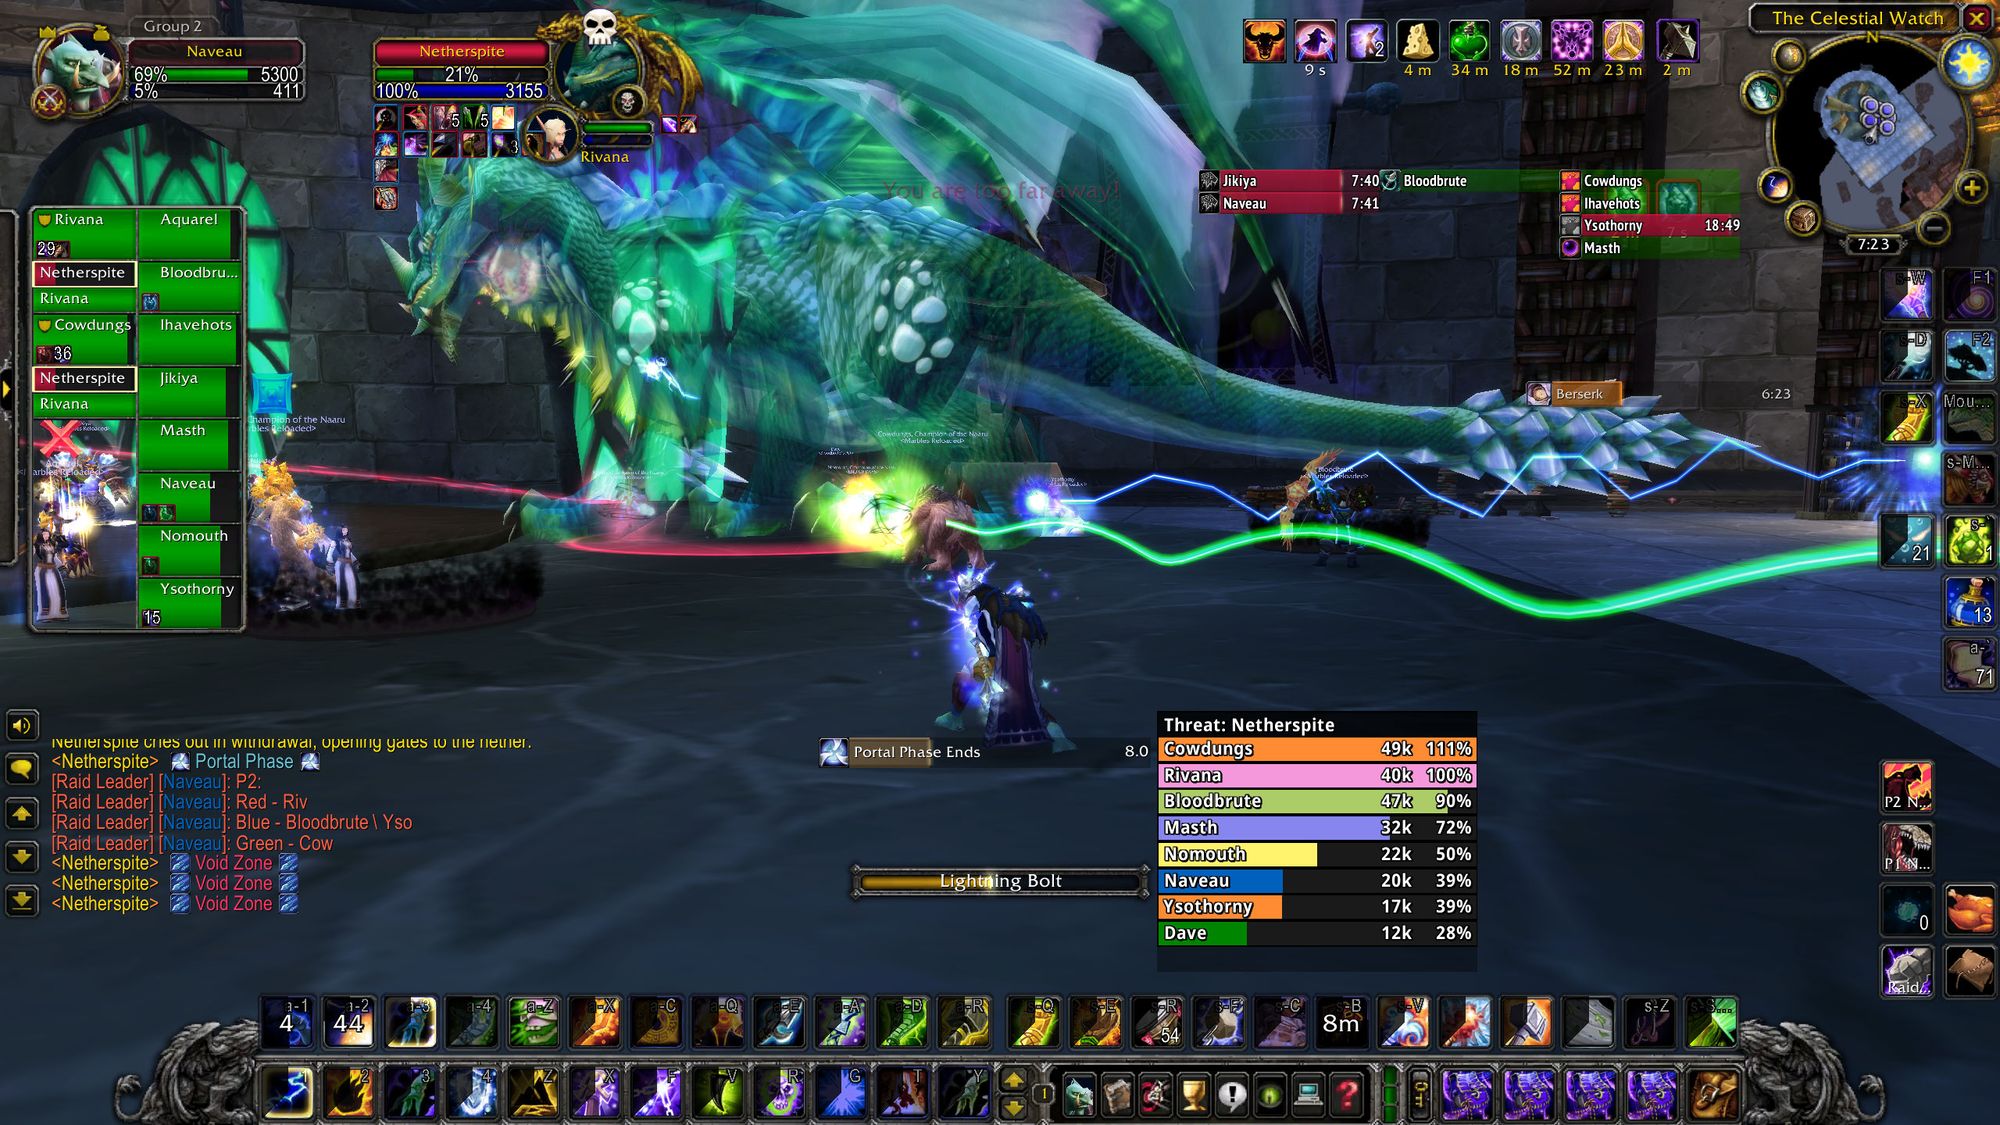
After a set period of time, the portals close and the boss "goes into a Nether-fed rage!"
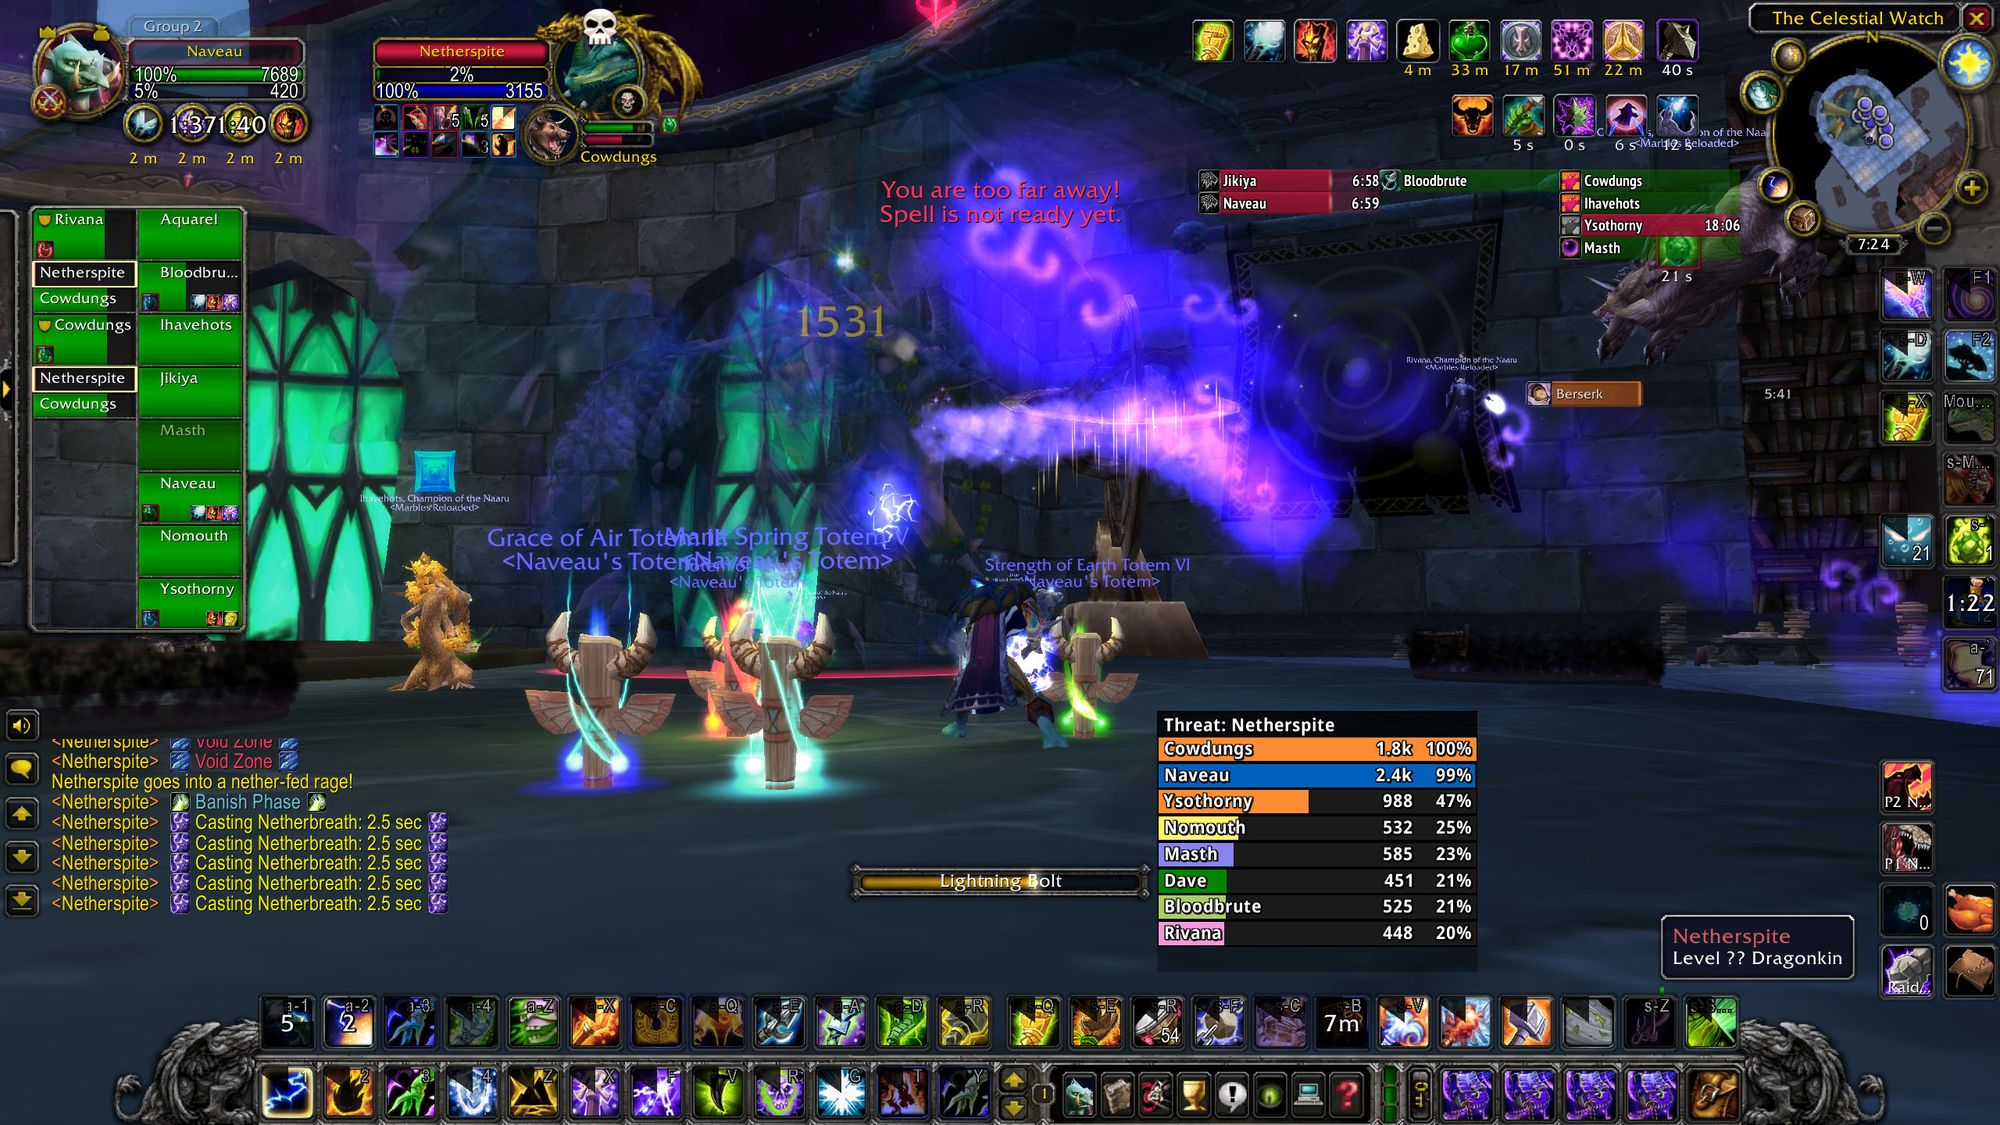
The boss can still be attacked and casts a Netherbreath at a random member of the raid. This (used) to deal massive damage and was tricky to heal through - so the answer was to have everyone get as much distance as they could between themselves and the boss, which prevented the Netherbreath cast. Eventually there were two spots that I liked for this - close to the door near the wall, and the center-left window on the observatory side.
So it was simple - kind of - do the portal phase, figure out where the furthest point is, and then get ready to run when the boss banishes. Then you just need to heal the raid damage from the ticking AoE, post the portal macro, away you go. Bunching up helps with this as it allows cooldowns, etc.
(Author's note. Post nerf, there's no ticking dot and you can DPS through the Netherbreath. But, I promise, this fight was difficult before the nerf. See attached footage.)
If you can coordinate the portal phase(s), then you've done 90% of this fight as with three healers (and sometimes even two) you're unlikely to see a death in the banish phase unless folks can't clear the decks in time.
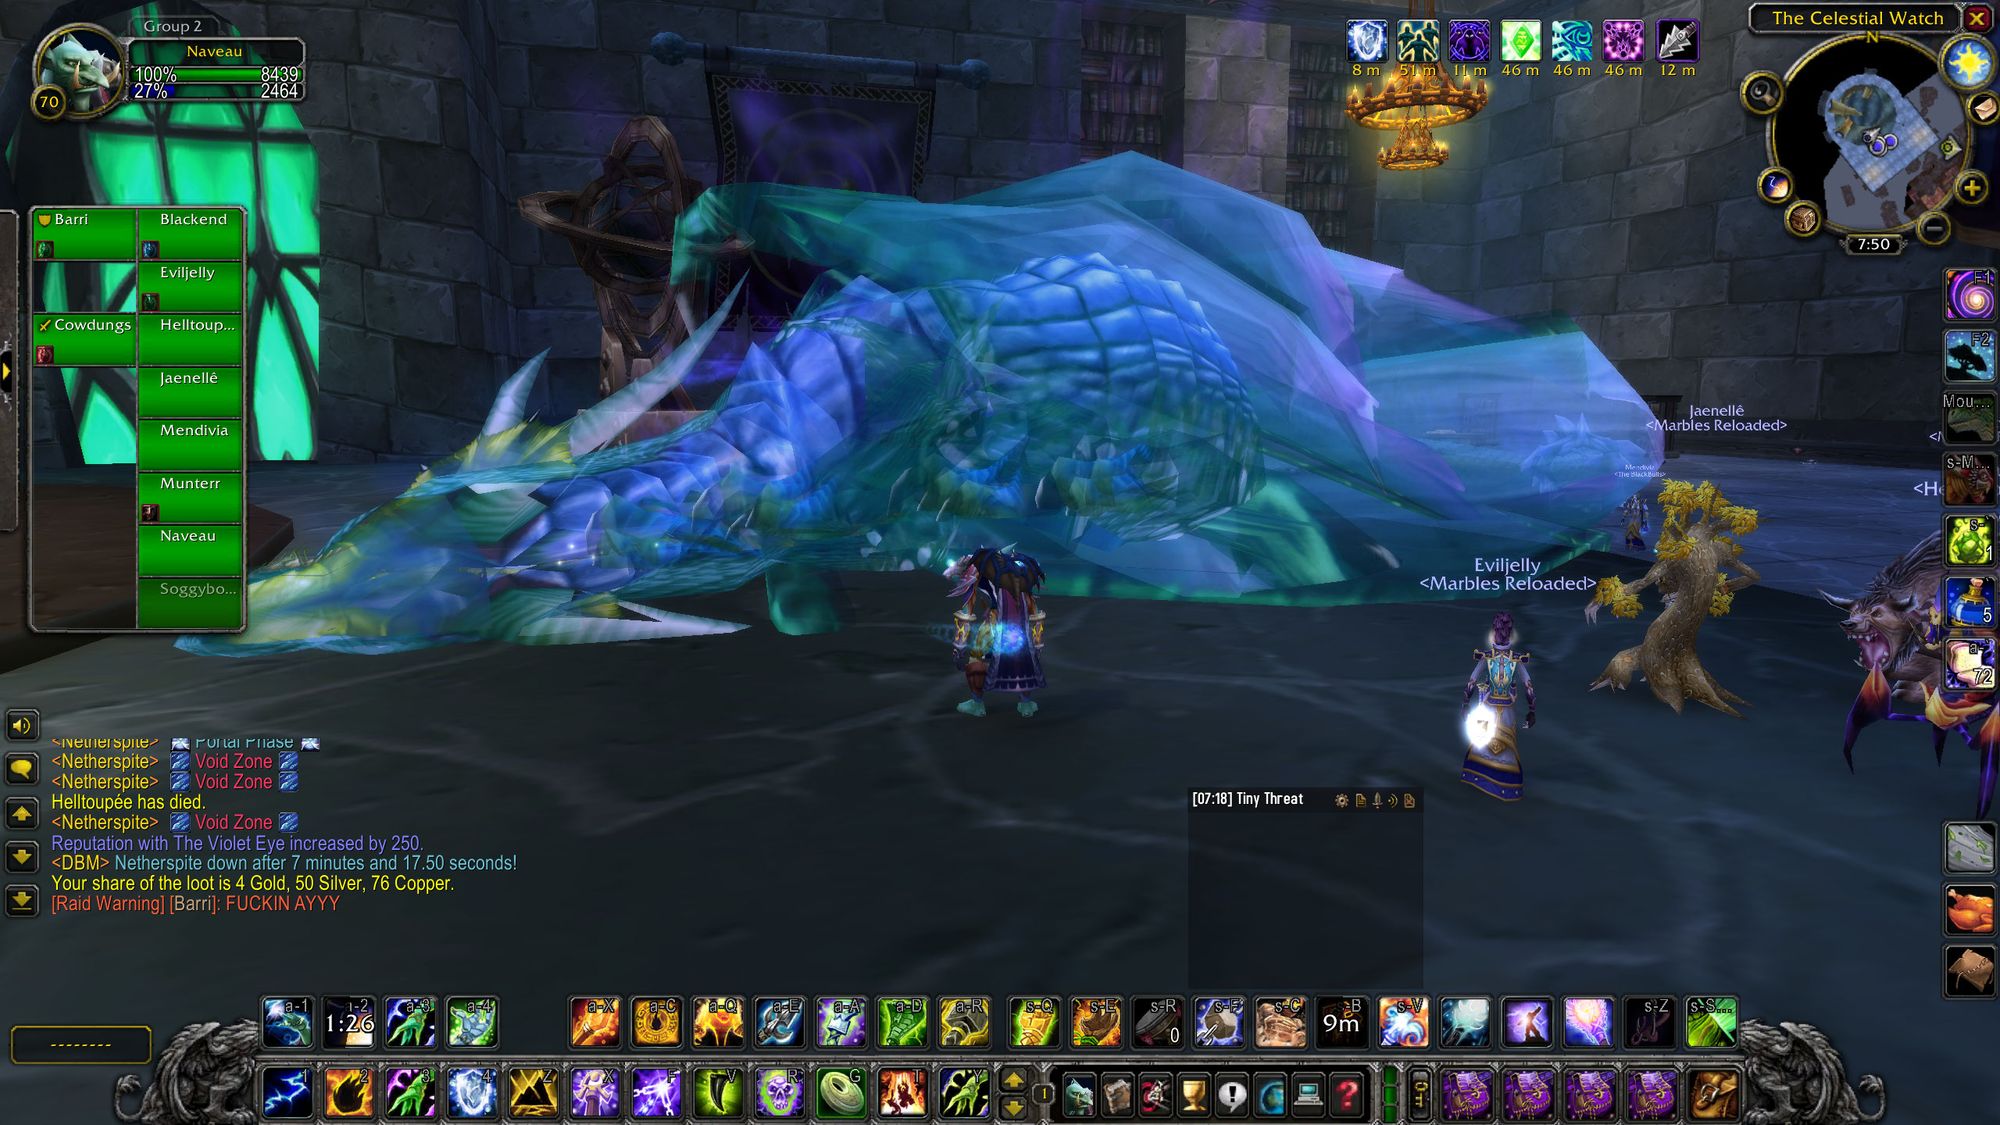
So you've put down Netherspite. Now there's just one boss standing between you and an 11/11 clear of Karazhan (no-one cares about the servant's quarters)
Boss Eleven - Nightbane
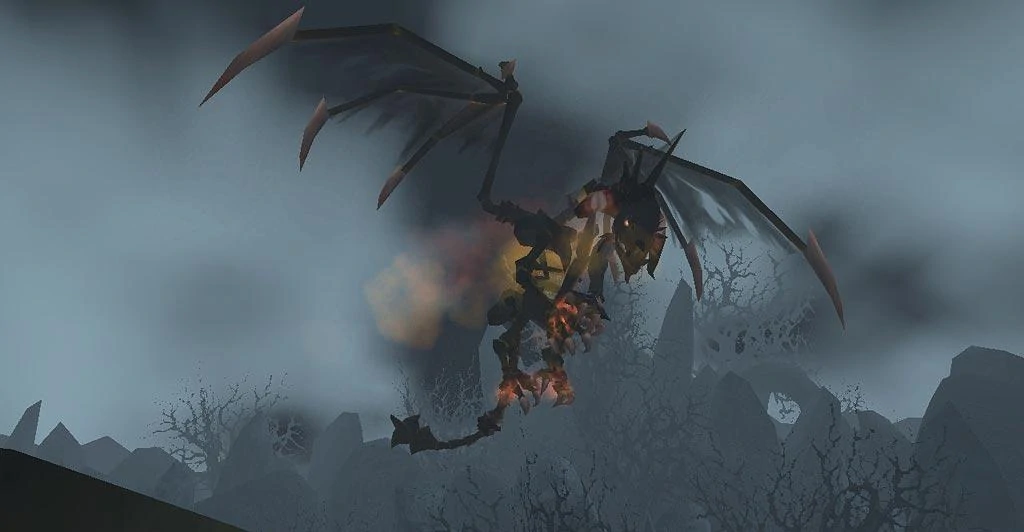
Unlike the previous ten bosses (at least post-nerf), Nightbane is proper hard. We had ten 10/11 clears before we attempted him. Your healers have to be on point, you have to have a rock-solid group composition and folks need to be on the ball.
But before all that, let's talk about... attunement. As Nightbane is an optional boss requiring an item to summon.
Attunement Process
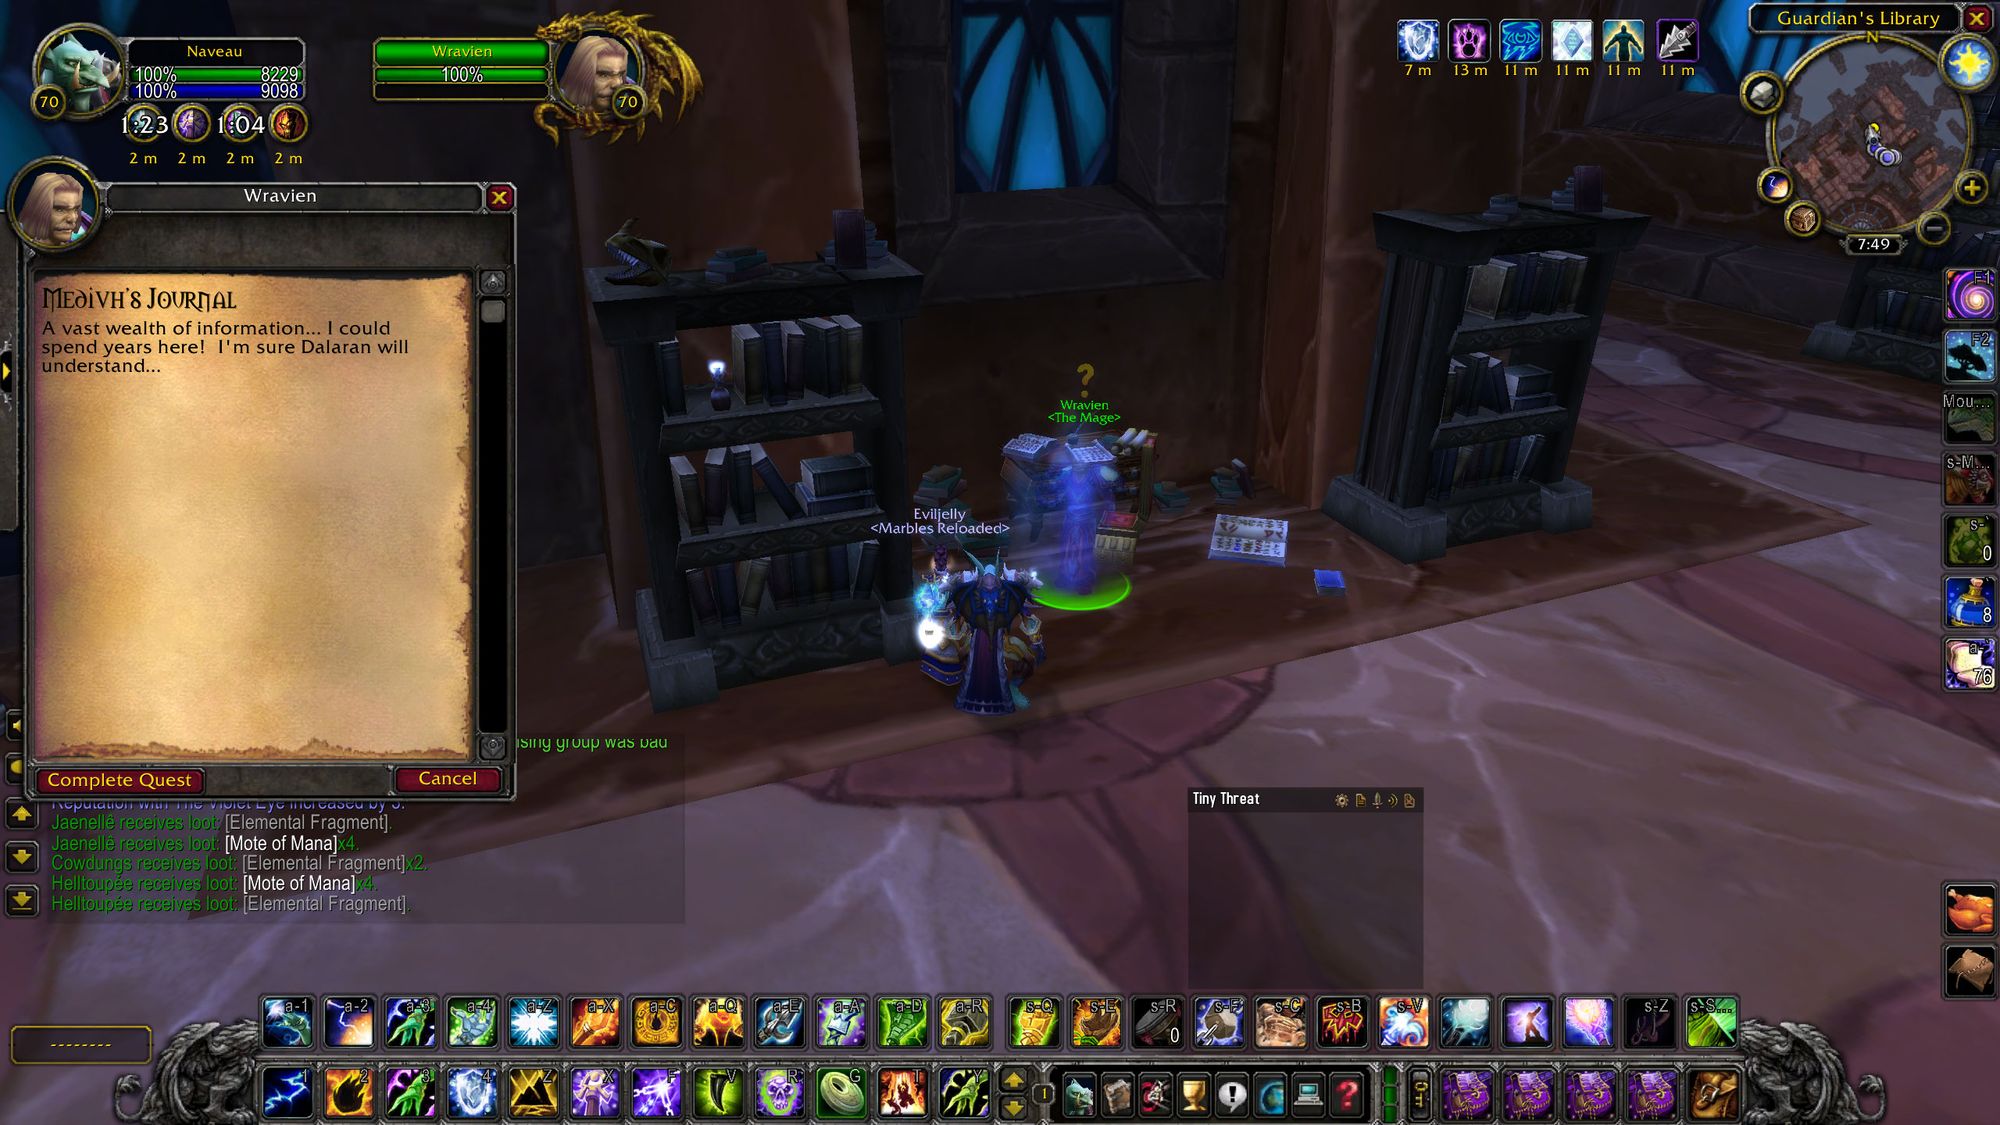
Firstly, you need to hit honored with the Violet Eye - which you'll do in a run. Then you'll be offered a quest from Archmage Altrus to go and obtain Medivh's Journal.
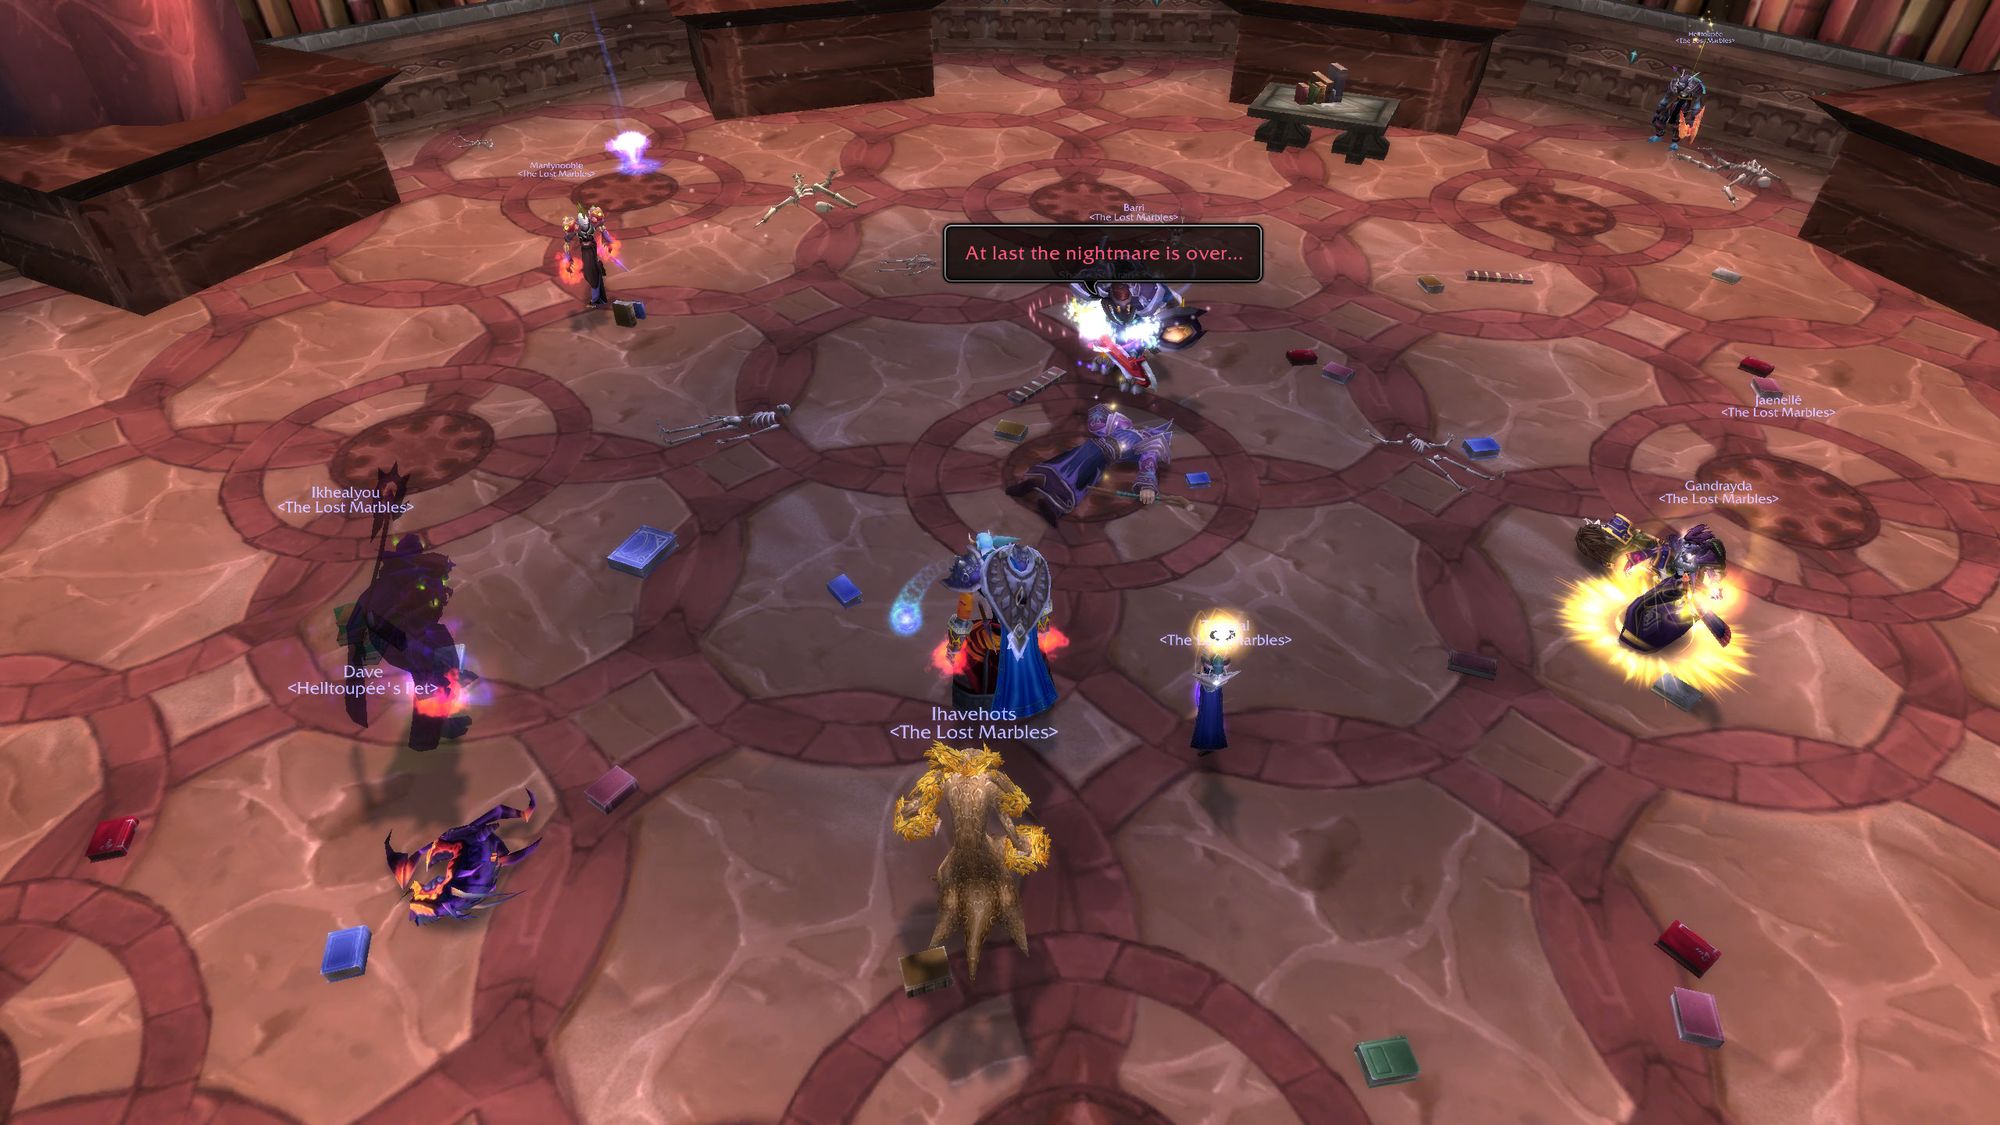
You'll then be sent on a long, kind of rubbish quest around the Guardian's Library. So best practice is to kill the Shade of Aran so all the trash despawns, then go in half an hour later and run around the Guardian's Library.
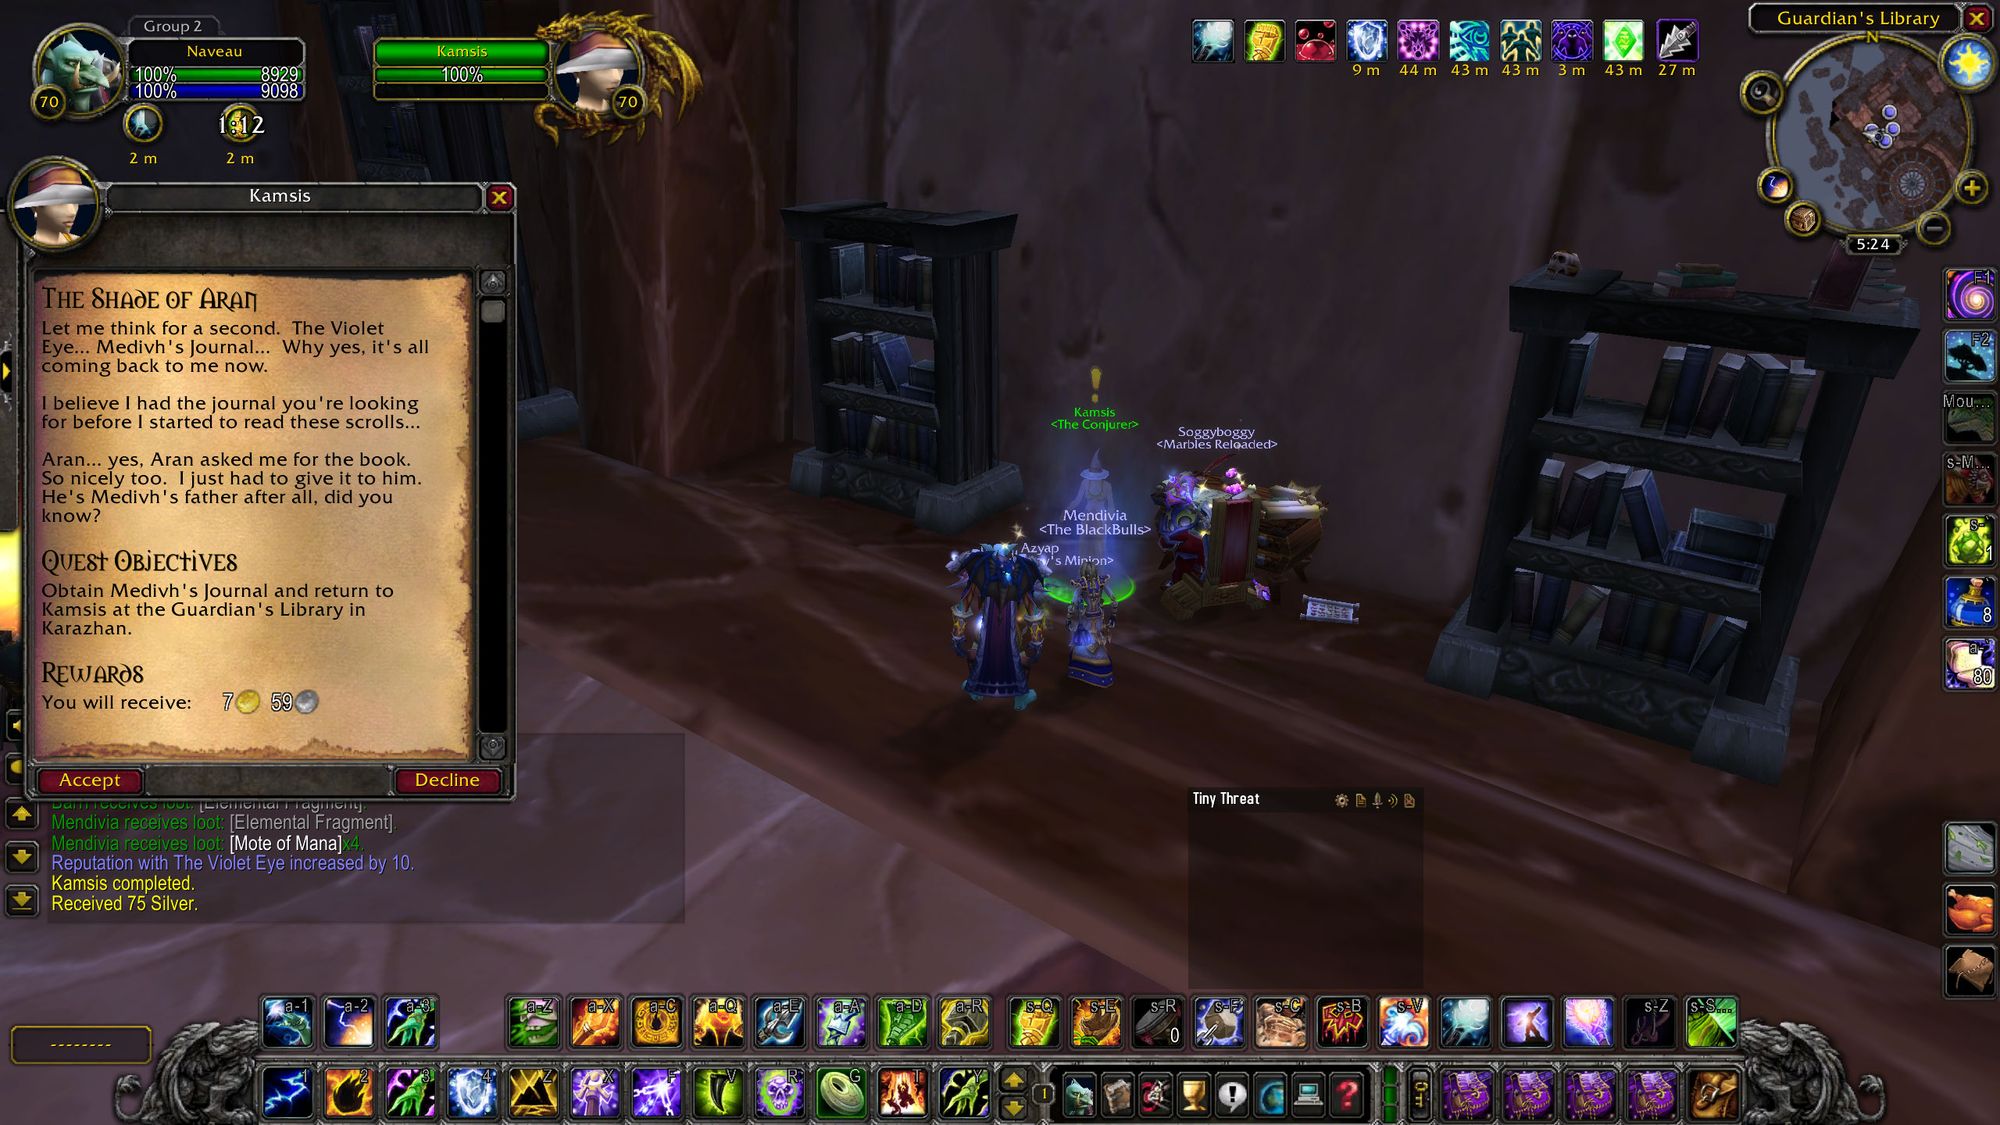
You find out that none of the ghosts have it and in fact you need to get it from (dun dun dun...) the Shade of Aran! So next week go and pop Shade, get Medivh's Journal, then head back down to Kamsis, the last ghost you speak to in the library.
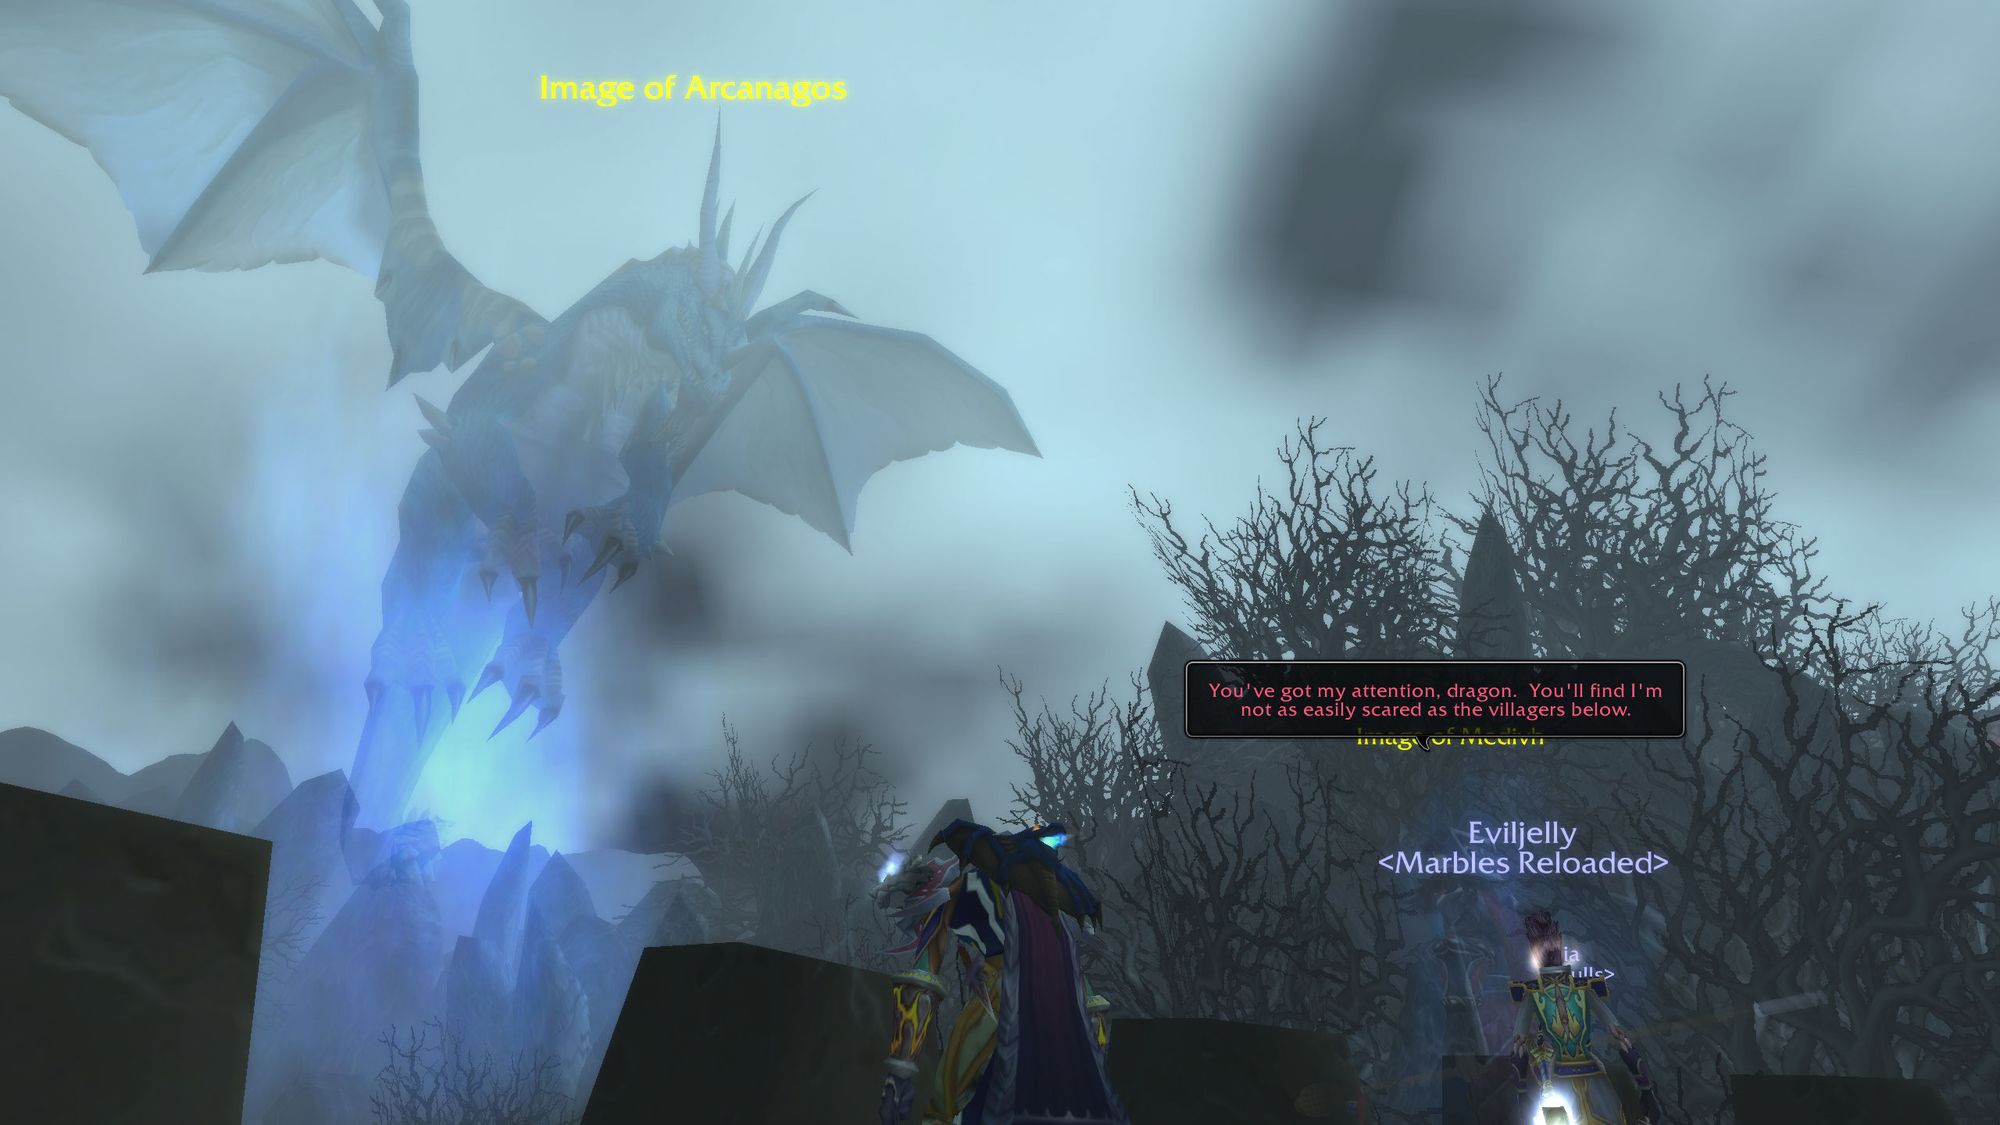
Kamsis then tells you to go and read the book at the Master's Terrace - which is where Nightbane is summoned. You get a cutscene explaining how Nightbane came to be. The cliff's notes is that Arcanagos came to demand Medivh stop being unspeakably evil, that didn't work and so he became Nightbane.
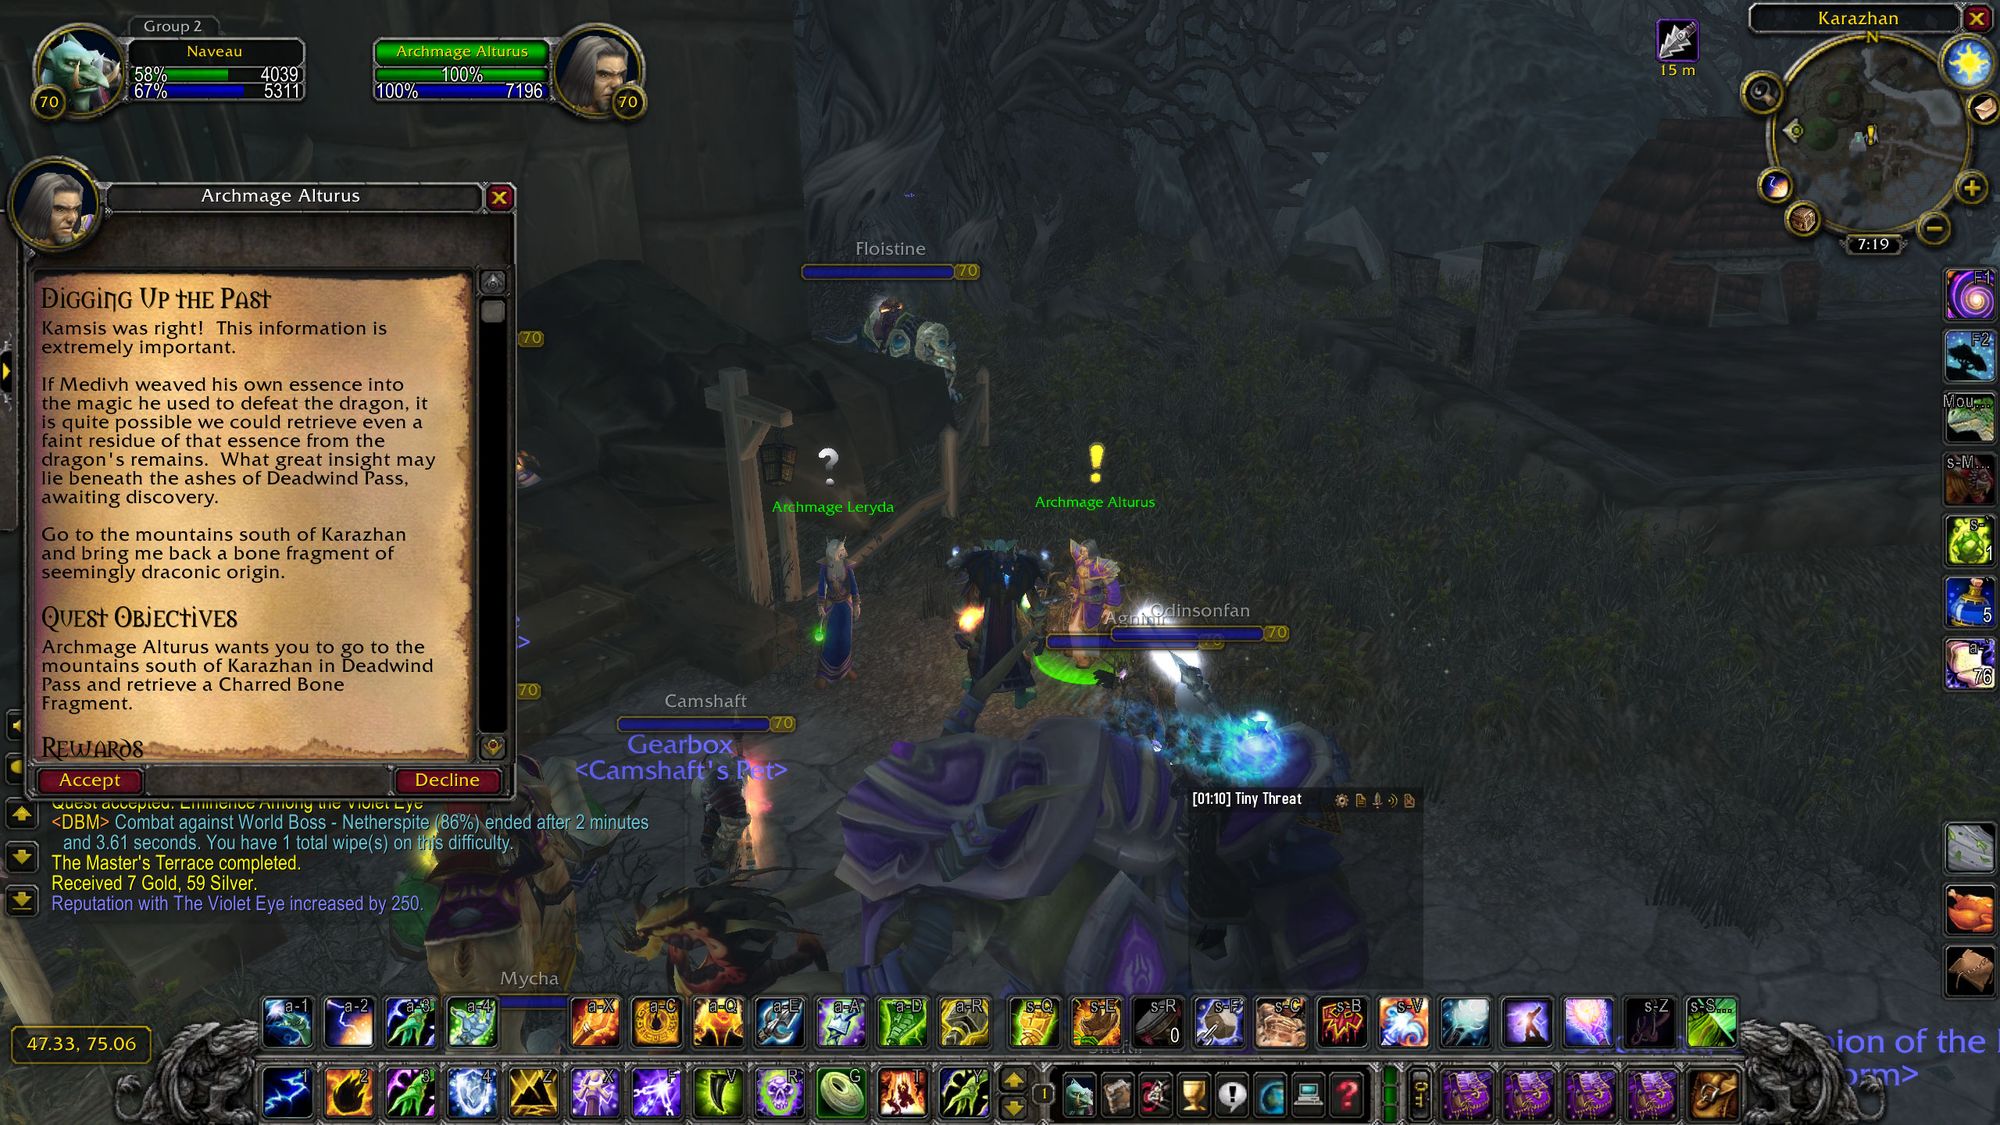
Having found that potentially disturbing information, you bring it back to the good Archmage, who advises you to go near Karazhan to get a fragment of Nightbane. But you're not done yet, bud.
Alturus then sends you to Netherstorm in Area 52 to meet Kalynna, formerly of the Violet Eye (same dudes who have infiltrated Karazhan), who needs two items from Heroic dungeons in Karazhan - one from Heroic Shattered Halls (oh, lovely.) and another from Heroic Sethekk Halls.
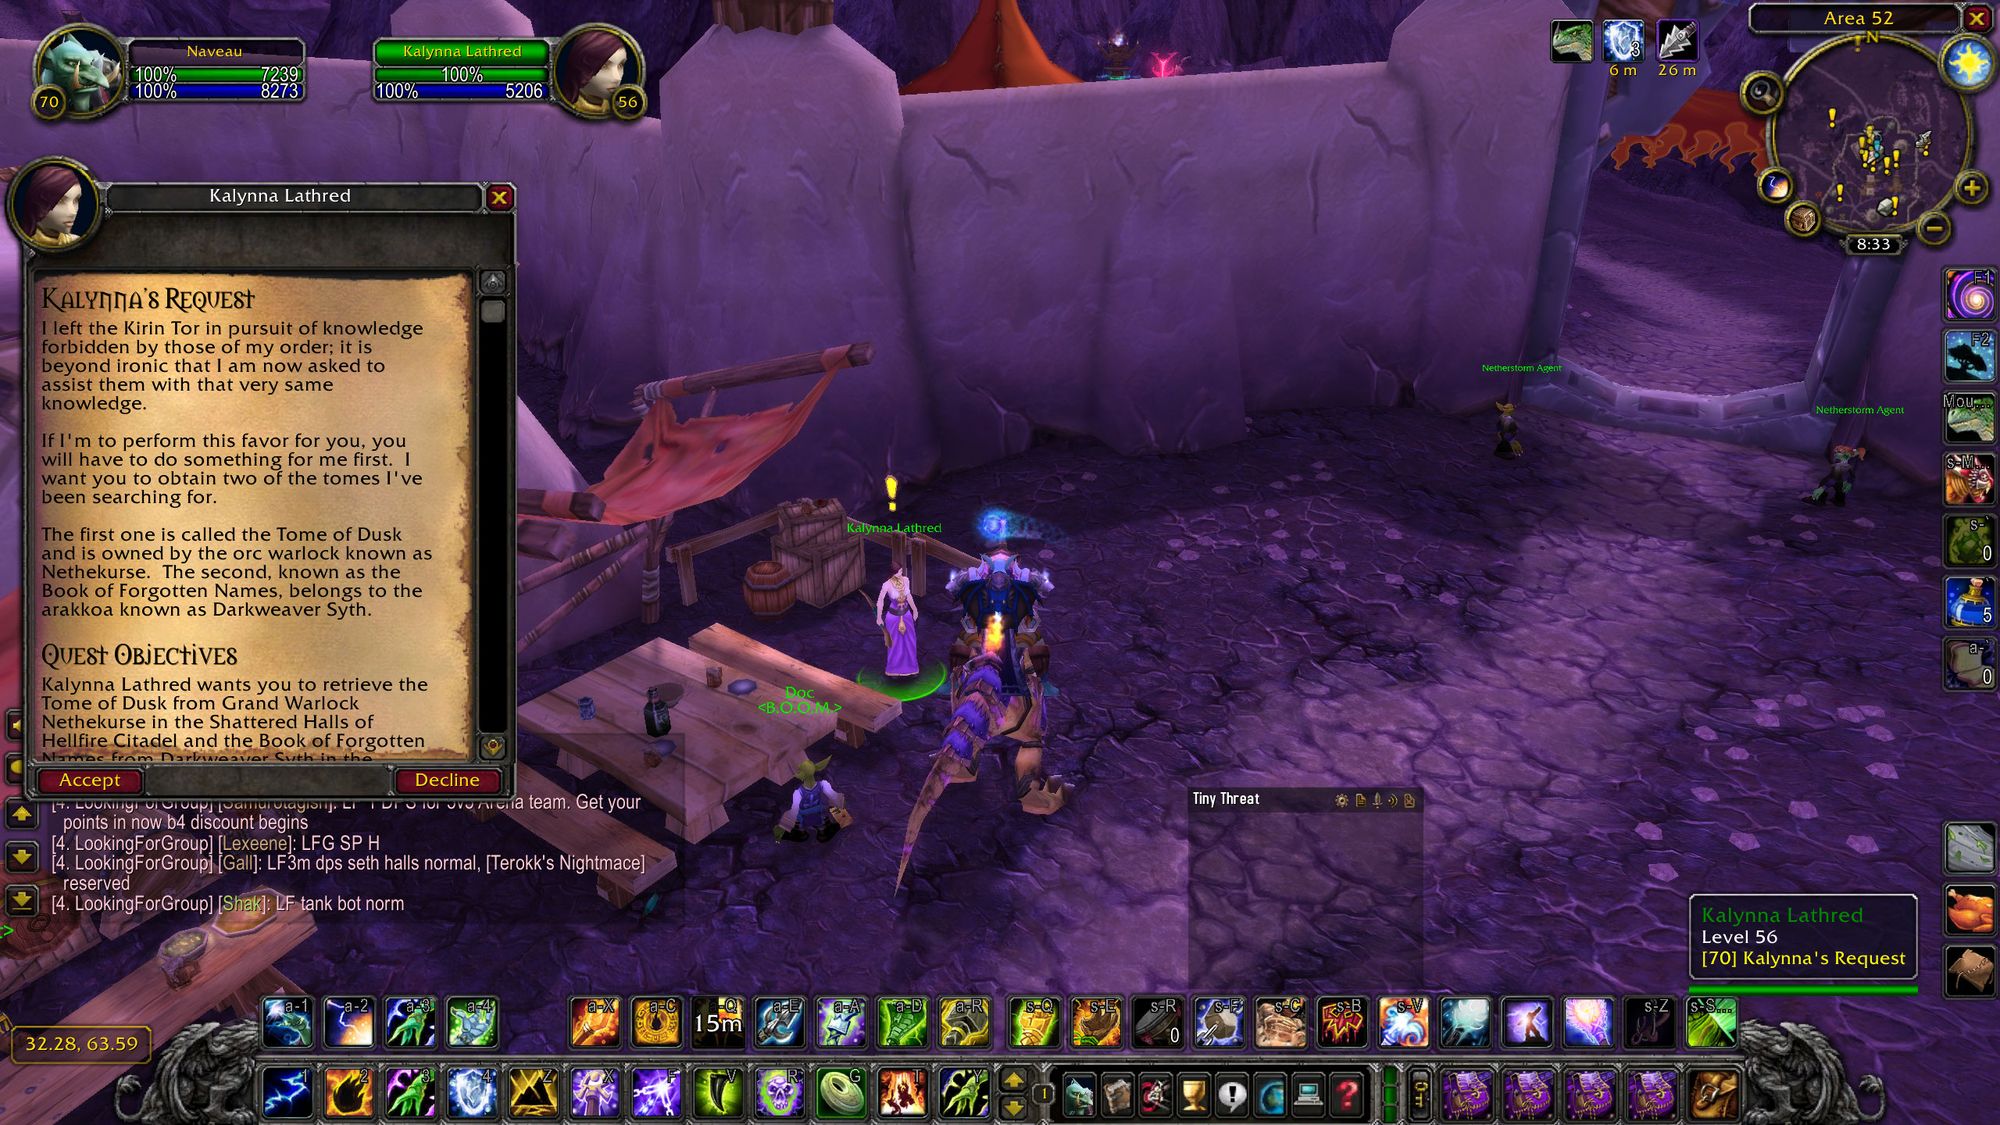
Once you have those items, Kalynna gives you an urn to keep, which allows you to summon Nightbane and gives you the quest "Nightbane!" to emphasise that this is scary indeed and that Nightbane is not one to be trifled with.
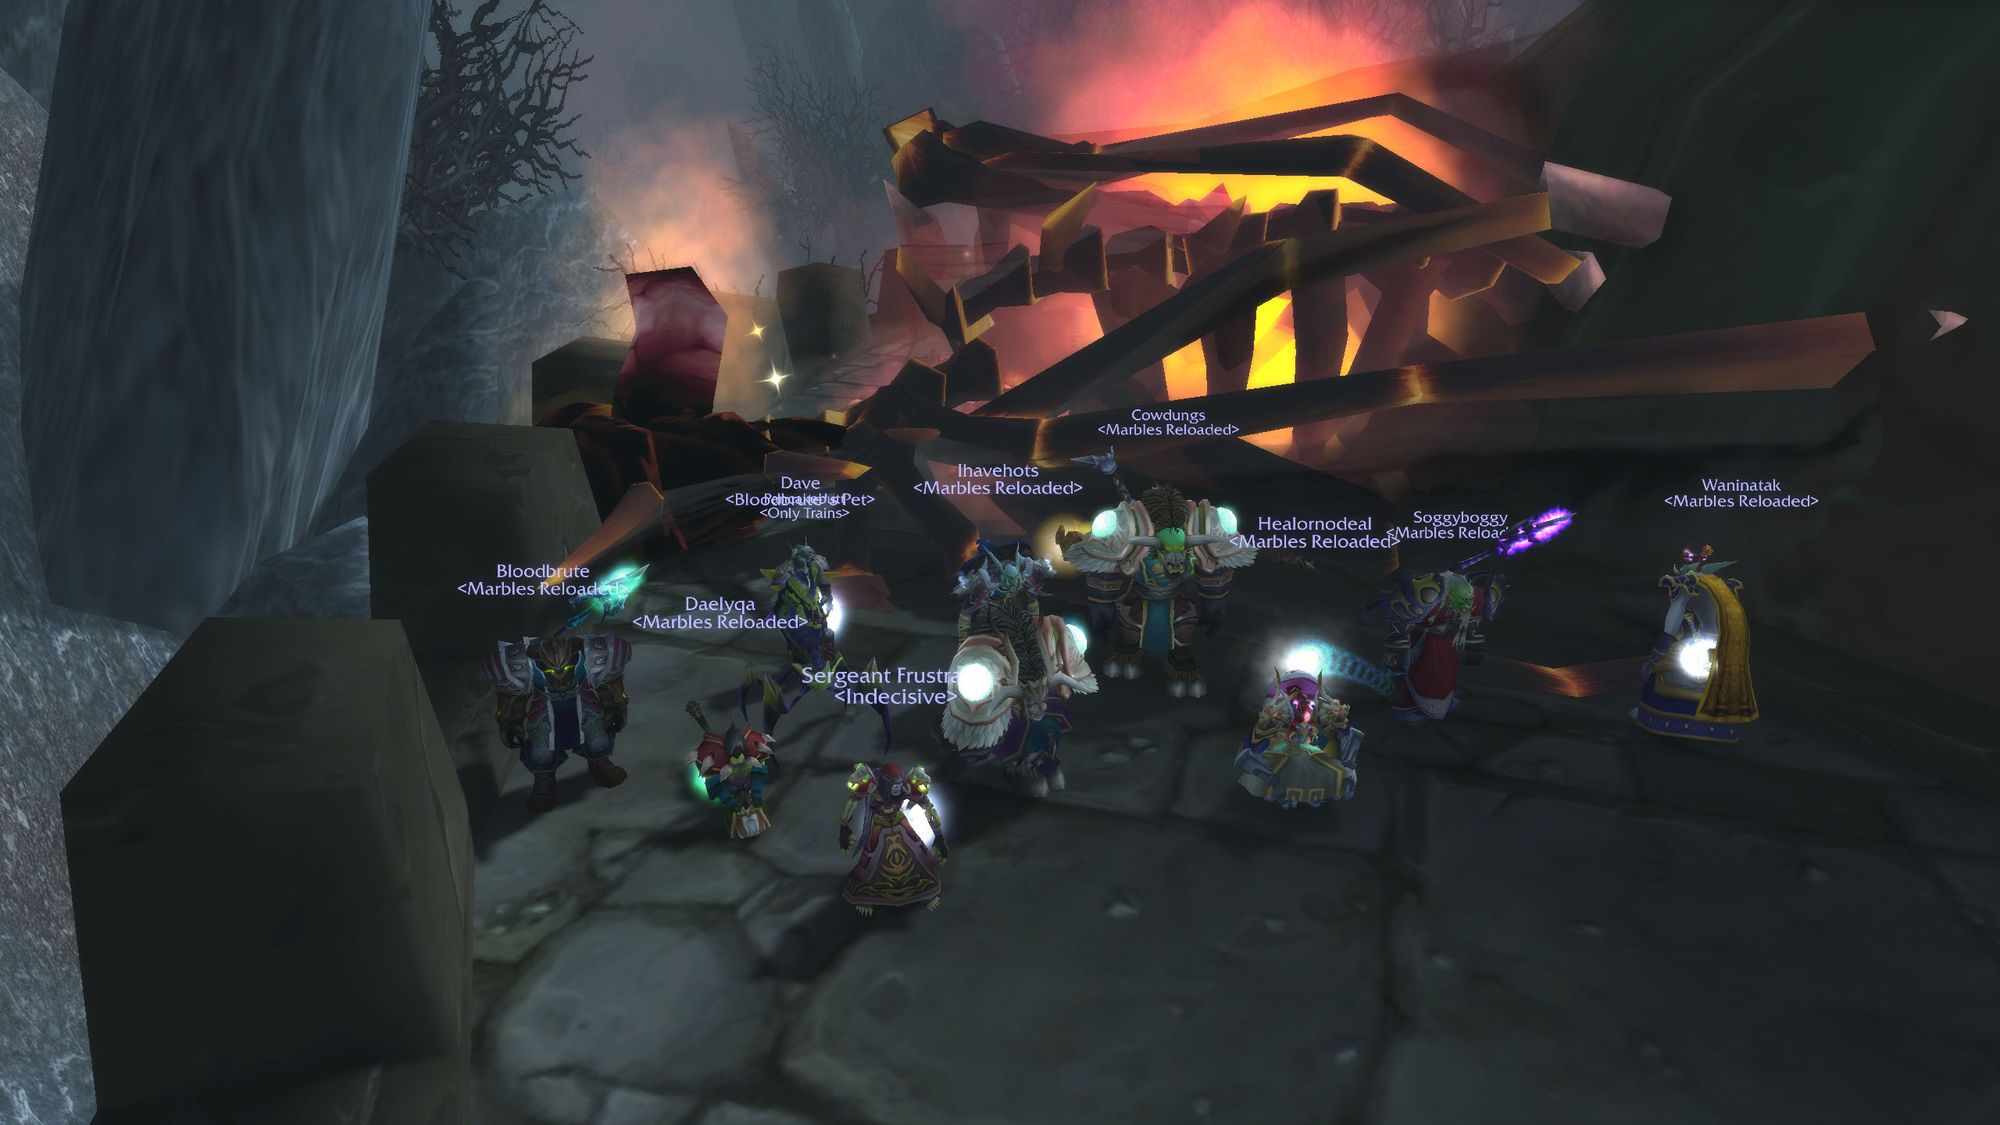
So you've done all that. You've got your Urn. You've assembled your elite team of big pumpers. Now, it's time to put that chump down.
Head back out onto the Master's Terrace, and gather up all your ranged DPS and healers. Melee DPS and the tank will stand where Nightbane lands. Then, activate the Urn, and cross your fingers...
Tactics
Nightbane is a battle of two phases that loop. The first phase is the ground phase, which is the easier of the two.
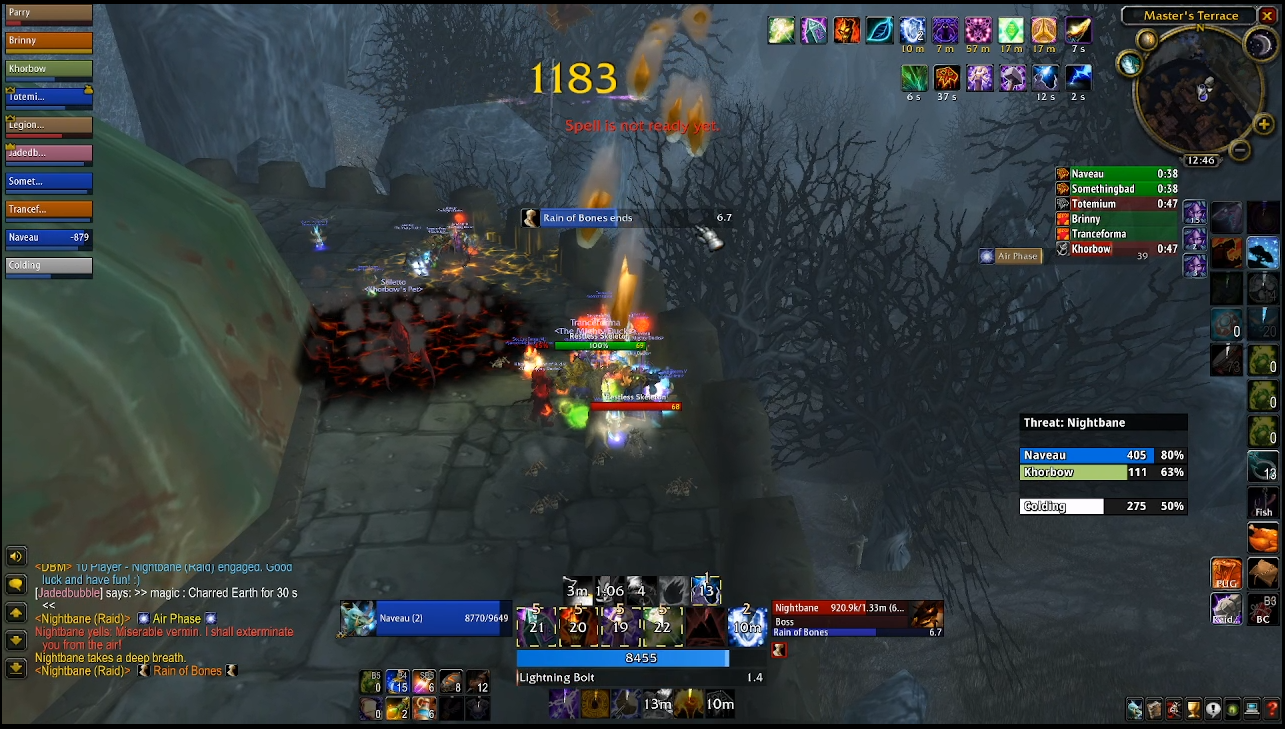
Nightbane should be tanked with the tank against the outside wall and the ranged DPS and healers should be between 30 and 40 yards away. This is because Nightbane does a fear. Periodically, Nightbane will also debuff a random raid member which reduces accuracy and needs to be dispelled. Nightbane will also turn the ground to charred earth - when that happens, the ranged group should 'drift' over to the other side of the wall to avoid the damage. Because standing in fire, does not make your DPS higher.
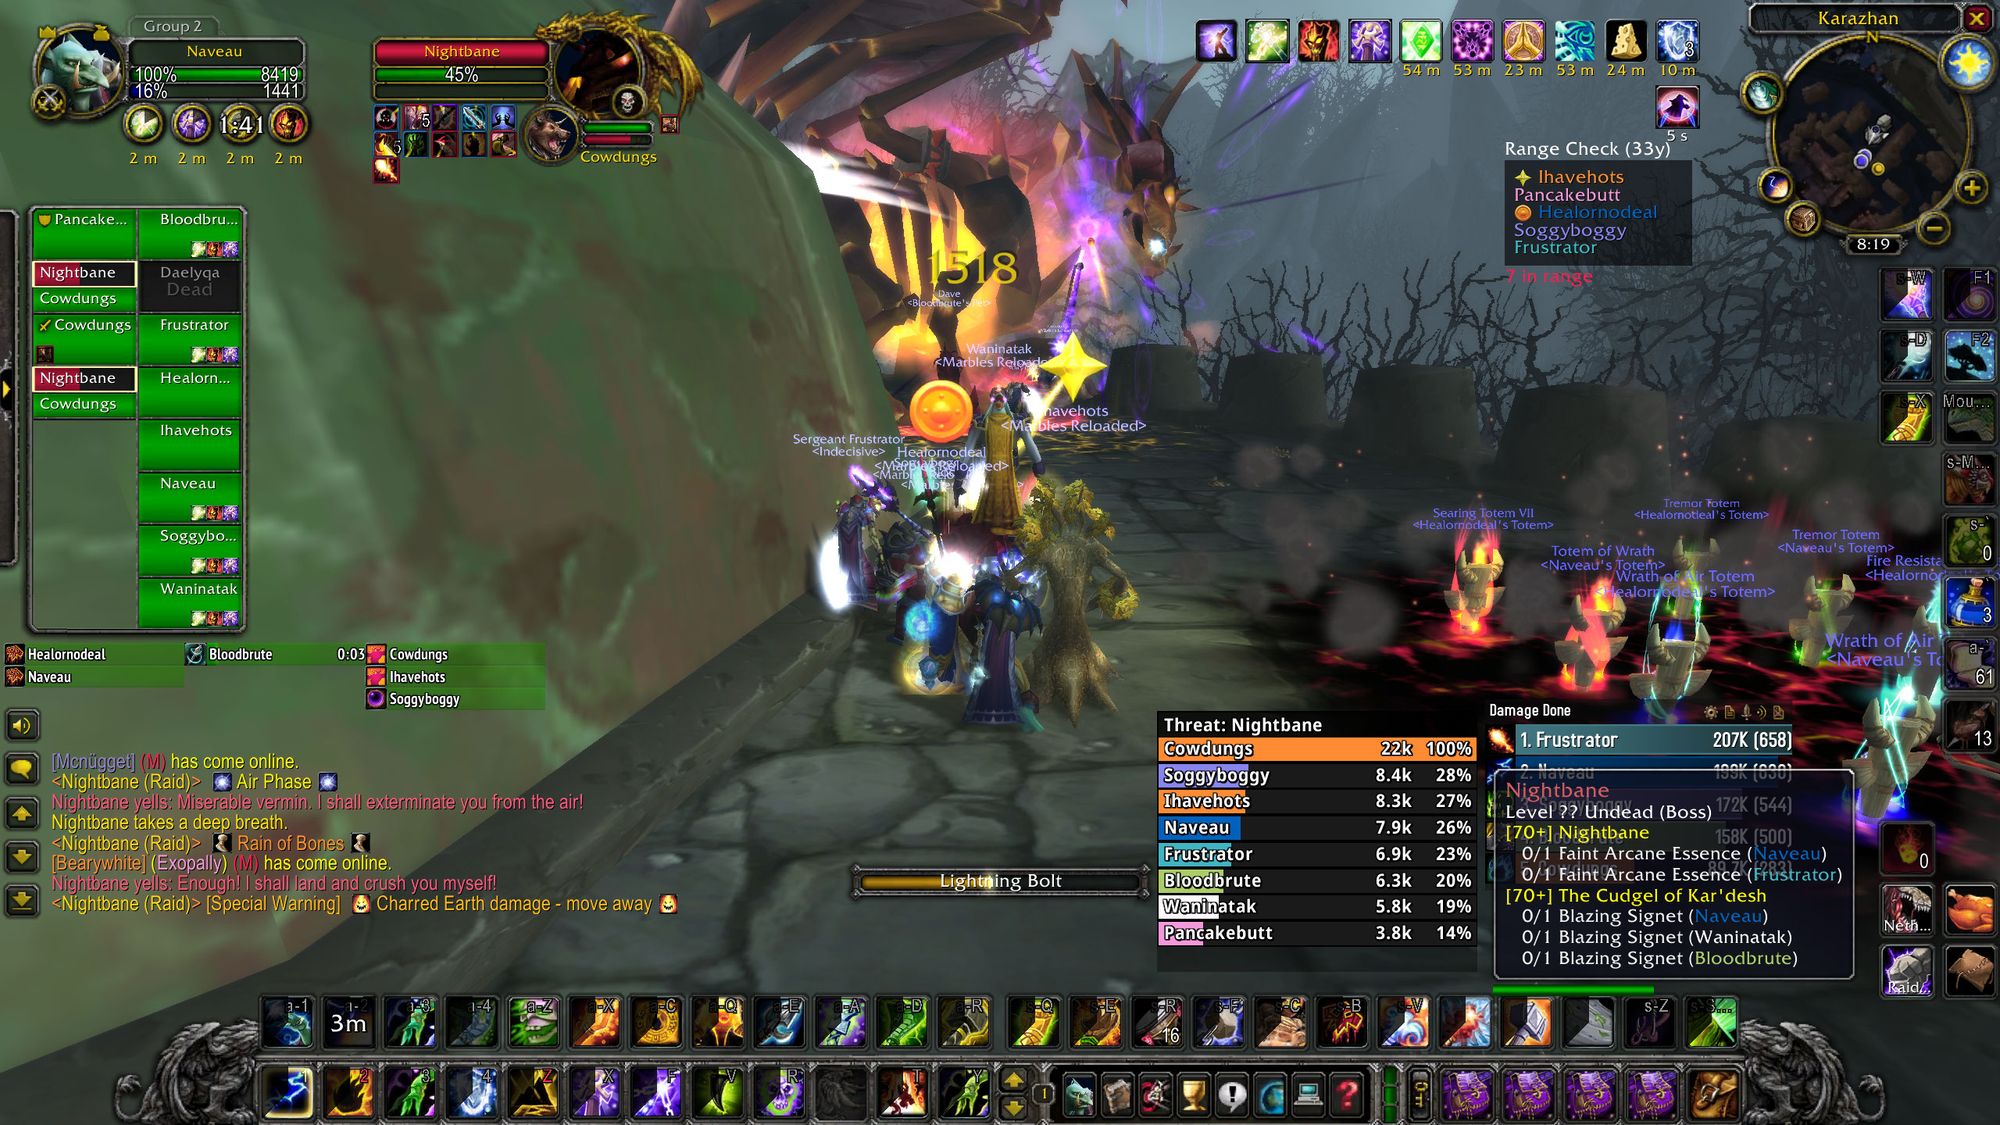
At 75, 50 and 25 percent, Nightbane will take to the sky - this is the raid killer.
Everyone should run to the tank and wait for rain of bones to be cast. Then, slowing spells should be deployed. Freezing traps, Earthbind totems, Frost novas. This gives the tanks time to pick up the skeletons and tank them far away from the raid as they have an immolation aura which does a ton of damage.
Meanwhile, your chief healer on threat will also be getting obliterated by smoking blast - so your healers will be stretched to the limit trying to manage tank healing and healing the smoking blast target. DPS should turn once they've gone about 20-30 yards and DPS the skeletons as quickly as possible. The longer they're up, the more damage they're doing to the tanks.
Once the skeletons have gone down (or a certain amount of time has passed) Nightbane lands and the first phase begins again. It's handy to have a hunter misdirect onto the main tank, as they will have trouble pulling threat off of a healer who has been racking up threat for the whole air phase and Nightbane is a bad enough dude to be able to one-shot any healer.
The ranged group should also adjust and prepare to move back, as if they're too close to Nightbane, they may cop a tail swipe, which is an almost guaranteed raid wipe as it does a chunk of damage and a damage-over-time effect.
The ground phases are your opportunity to take a breath. Once your tank has threat and everyone's in their places again, you can smoothly push the boss to the next air phase. It's not hard to get used to, but it does take practice and good judgement. Once you've got through the third air phase, you've done all the hard yards and can remove Nightbane from its tortured existence.
And with that, it's done. Congratulations, king (or queen), you have cleared Karazhan.
Give yourself a pat on the back and then probably go and take a break, because you've probably been going at it for three and a half, four hours.
Conclusion
In conclusion, I loved having the opportunity to go back and experience Karazhan. Thanks to TBCC, I have gone back and done it properly, recorded it, and allowed it to live on forever on my blog.
If you're wondering why this conclusion isn't longer, it might be because this is 9,000 words and it's a miracle you've read this far down already.
But I look forward to sharing more raid reports as we progress through TBCC.
Additional Resources
So, there's a few more things you might be interested in taking a look at. The first is pre-nerf footage of Netherspite and Nightbane.
The second is a full run in phase one gear, which featured a mount drop from Attumen. It also features me pogging out over a weapon drop. Note that was streamed from the perspective of Rivana, our Indonesian Paladin tank.
The final video is a full run in close-to phase three best in slot gear.
Catch you next time,
Vulkan
Did you like this article? Did you hate it? Go over and keep the discussion going on the official Vulkan's Corner facebook page! - whilst you're at it, leave a like!
