I'm on a mission. With the release of phase 5 of Burning Crusade Classic, which contains the mythical, rarely seen Sunwell Plateau. I'm finally trying write up all the previous raid content. Because I know I will regret not recording all of this data, as late as it is.
So all I need to do is record Kara (done) Gruul (you're reading it) Mag, SSC, TK, MH, BT and Zul'aman. Easy done, right? And I have five days to do it?
Alright, mayhaps a tall order. But I can at least knock out some of the easy phase one content in time. The rest will come later.
Gruul's lair, (or, Gruul's, as it's more commonly known) has been nerfed extensively and is nowhere near the savage challenge it was in phase one. This raid report is intended to capture the difficulty and complexities of the original phase one encounter.
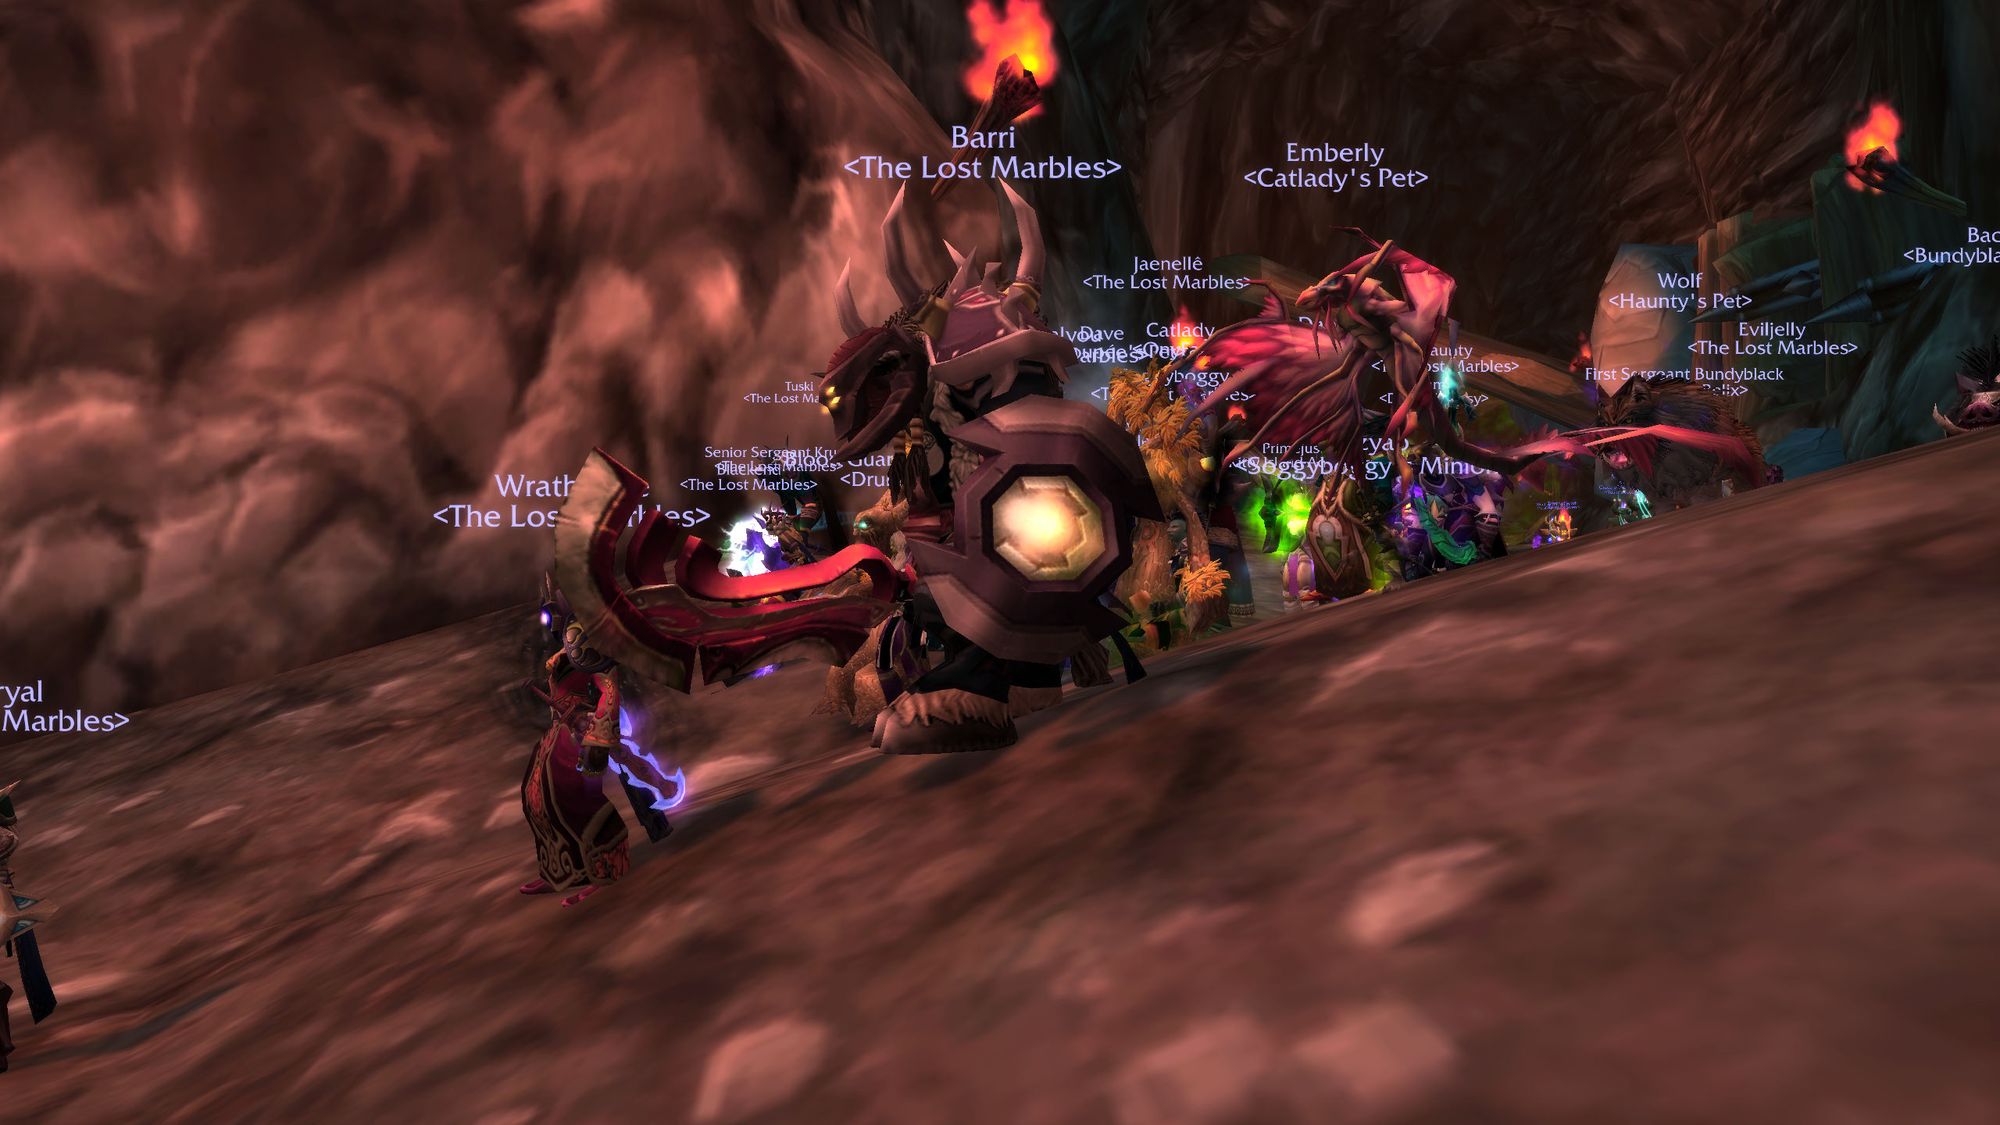
Unlike Karazhan, Gruul has no attunement. It's a rock-up and go raid, but at the time, you would've wanted to have some purple pixels from Karazhan - particularly your main tank(s) as they're going to take a belting. When I did this with Marbles in phase one, our standard tank lineup was Barri, our raid leader and protection warrior, Cowdungs, our feral druid and Primejustice, our protection paladin.
Gruul is also unique in that it requires a mage wearing high stamina gear for the first boss - more on that later.
As I was the guild leader at the time, it was a mistake to let me build the raid rosters, as I had way too many healers and not enough DPS. And no idea what I was doing. Most guilds were running 5-6 healers at maximum, for our initial attempt we had 8 and normally used 7. Crazy stuff.
Anyway, before we face off against our first boss we have to head into the lair. Gruul (and Mag) are short raids, able to be completed inside half an hour in the day, sometimes as little as fifteen to twenty minutes now.
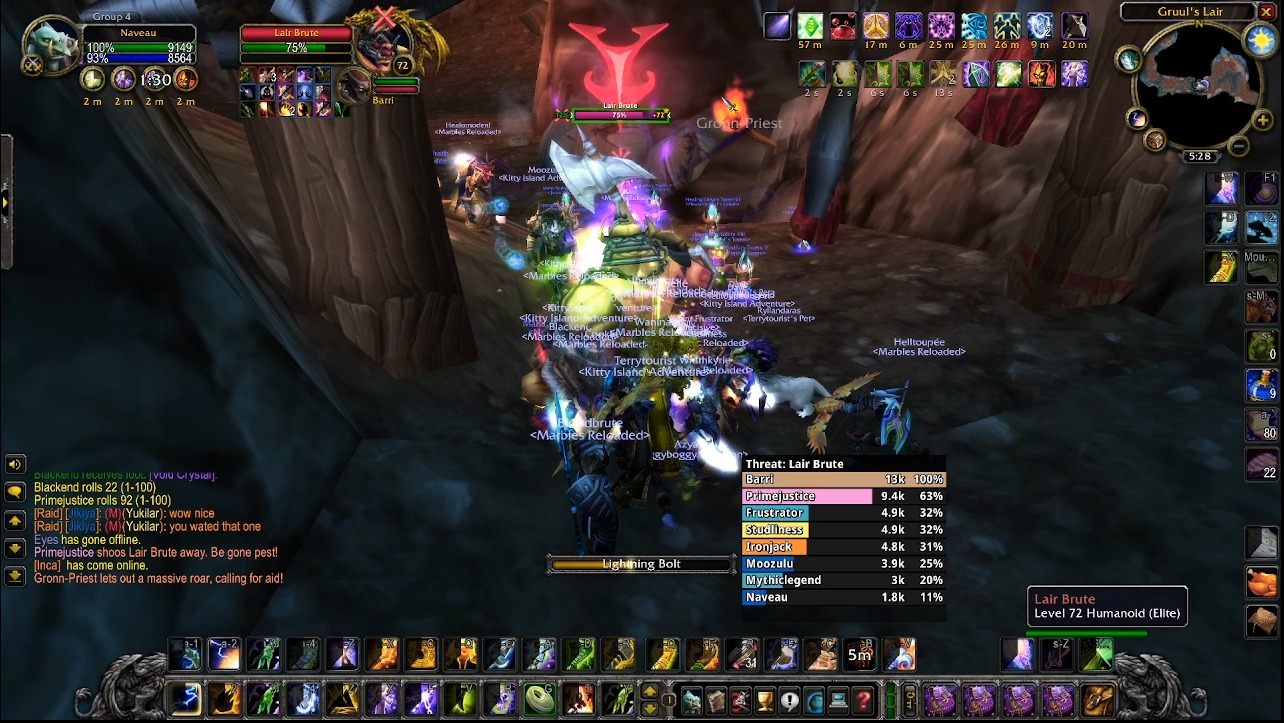
Your first two (or one if you're greedy) pulls are of a Lair Brute, who has a cleave and a charge. This is followed up by two Gronn-priests. The raid needs to stack behind the Lair Brute to avoid the cleave and charge. If you fight the Gronn-priests at the same time, have anti-fear countermeasures in play (tremor totems, fear wards) and be ready to interrupt heals.
Now it's time for our first boss.
Boss One - High King Maulgar
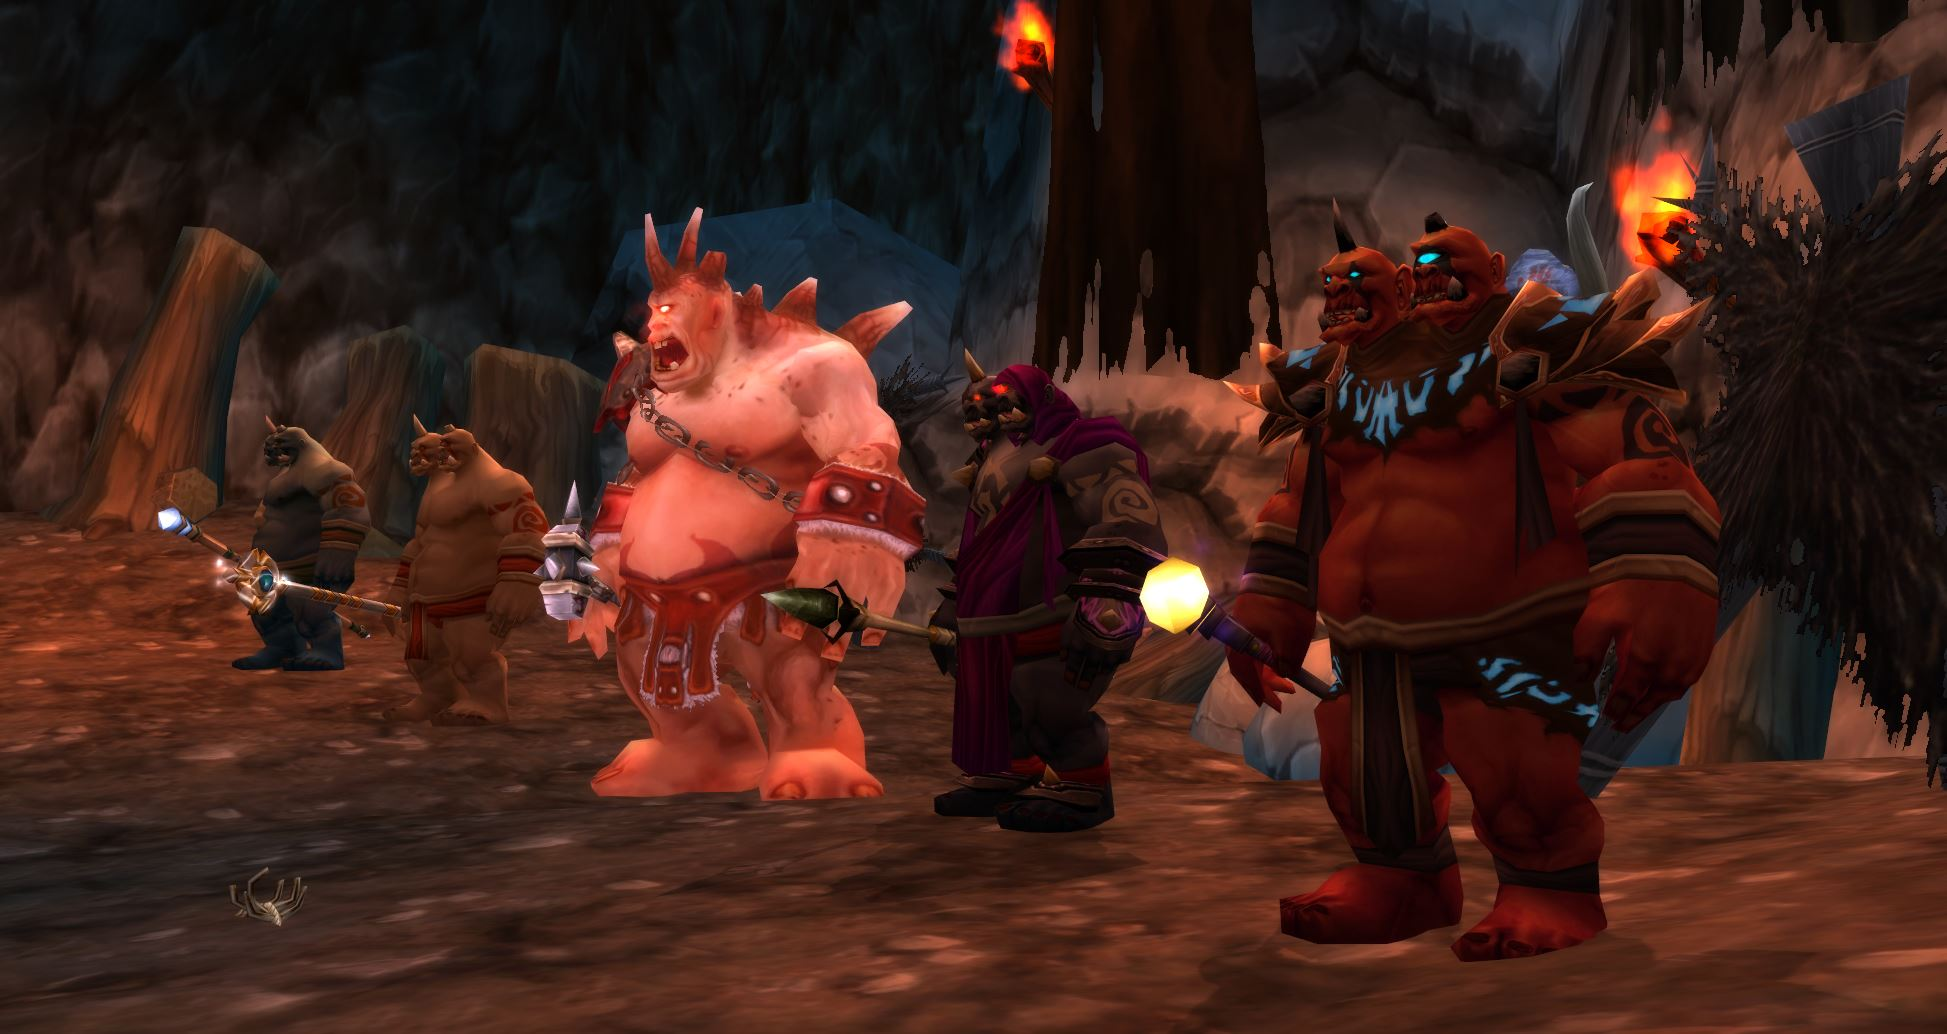
Maulgar, or High King, or HKM, or Council, is a council-style boss. That means it's a test of keeping multiple plates spinning and coordination. Gear is less of a factor here, except for whoever's tanking Maulgar himself, as he hits like a runaway ice-cream van.
On phase one defensive gear, anyway.
Tactics
There are five adds in total. Let's start with your first kill target, Blindeye the Seer. Blindeye is straightforward. He gets tanked by an off-tank, has two interruptible heals (no prizes for what you should do with those) and a very low-health shield which needs to be broken to enable interrupts. If he's left alone he can use Bloodlust on the rest of the ogres, which is wipe-time.

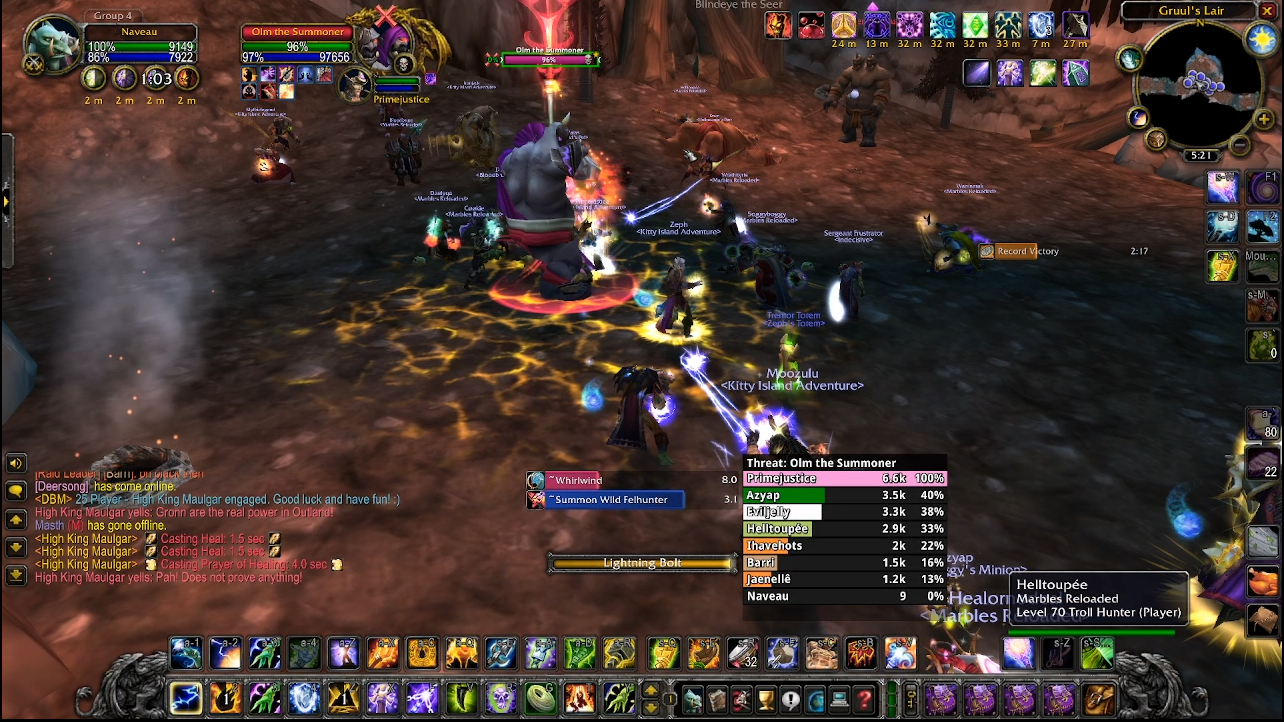
Your second kill target is Olm the Summoner, who should be initially tanked by your second off-tank. Olm puts a stacking damage over time (DoT) effect on your tank which cannot be dispelled and spawns demon adds. Warlocks can use enslave demon on these and use them to taunt Olm, to avoid your tank getting overwhelmed and eaten.
Your third and fourth kill targets are Kiggler the Crazed and Krosh Firehand. Ranged classes should deal with these two, whilst your melee peel off and target High King Maulgar. There's a good reason for this, which mostly revolves around TBC hating melee classes.
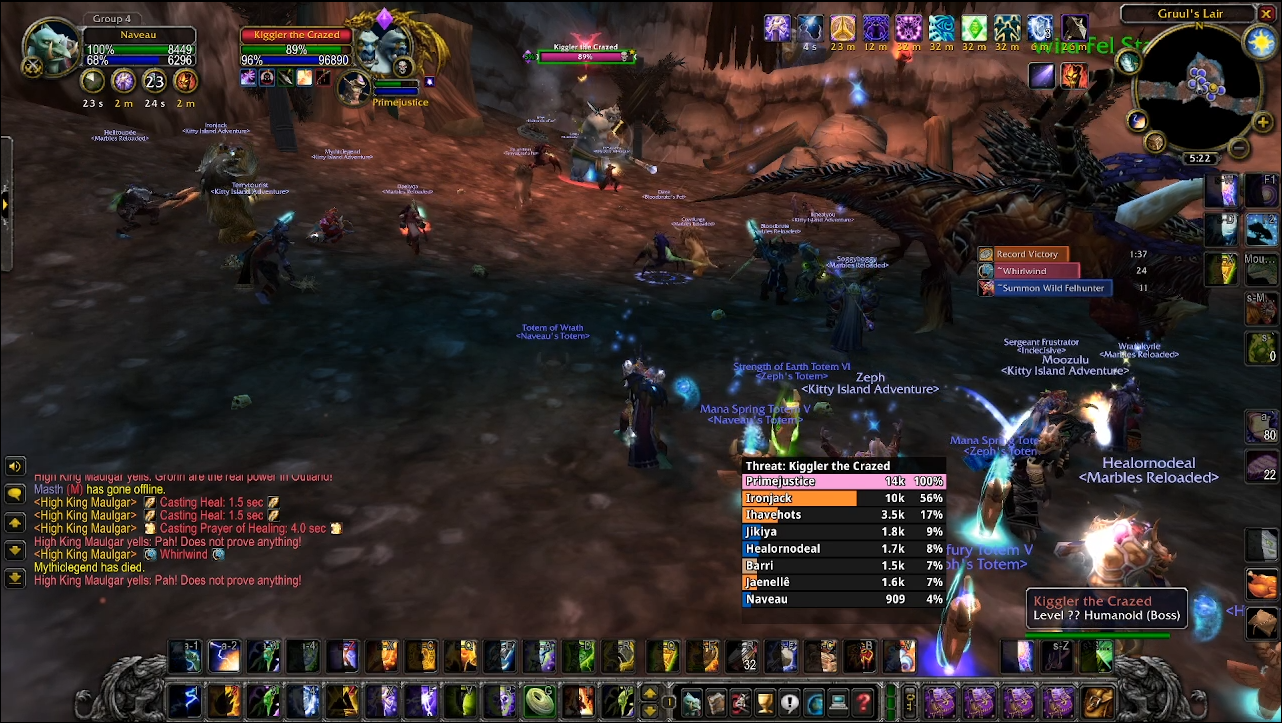
Kiggler the Crazed should have aggro racked up on him by a balance druid (or, Boomkin, as I will refer to it). This is because Kiggler periodically tries to polymorph his primary target, something the boomkin is immune to. Melee cannot close because he does an AoE knockback. However if you're desperate you can ask your melee to help.
If you're especially unlucky as a melee, you can be punted into the fourth kill target, Krosh.

Krosh Firehand is the most demanding because at the time (no longer), Krosh was required to be tanked by a mage with more than 10,000 health. It was previously thought fire resistance was required, however this has since been disproved.
Krosh will hammer your mage with fireballs which deal high damage, and will also put a spell shield on himself which needs to be spell-stolen by the mage. If a DPS isn't paying attention and dispels Krosh (such as with an errant arcane shot), this can wipe the raid. As without the spell shield, your Mage can't handle back to back fireballs.
If Krosh gets loose, he'll wipe your raid with blast waves, which chunk raiders inside twenty yards with fire damage. Krosh is the primary cause of wipes, because tanking him requires the highest skill and has the greatest chance of something going wrong. I've seen some raids prioritize Krosh because of the risk he poses to the mage and the raid.
Now if you're a melee, the main tank or the ranged DPS (eventually), you'll now be introduced to the main boss of the council, High King Maulgar.
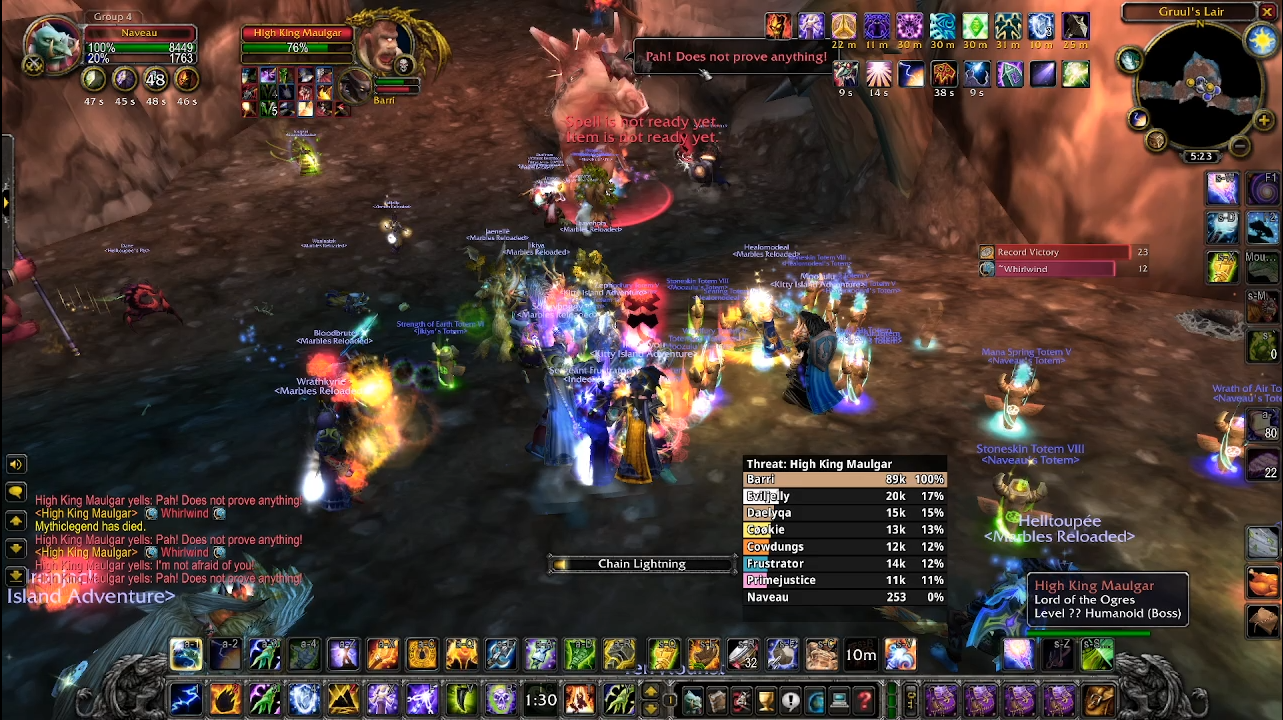
Maulgar hits hard, has a whirlwind, and a frontal cleave, and if your healers aren't on point, he will eat your tank for breakfast. There's no nuance here - either your healers and tank can suffer the pressure, or they can't, won't and your raid will wipe. Melee need to be careful they don't get cleaned up by whirlwind, as there is no margin for error normally two or three ticks will kill you. Did I mention this expansion hates melee DPS?
If you've managed to kill the four smaller ogres without having your tank smushed, then having your raid polish off High King is normally the sign that everything is going well and the fight will be over soon.
In phase one for a rookie raid team, this was was a hard obstacle to overcome. I can remember spending several hours our first time in Gruul's Lair wiping to High King. However in phase four with chad gear it's possible to nuke down HKM and then clean up the rest of the council at your leisure.
Either way, dust yourselves off, scrape up your dead and collect your loot. Well done.
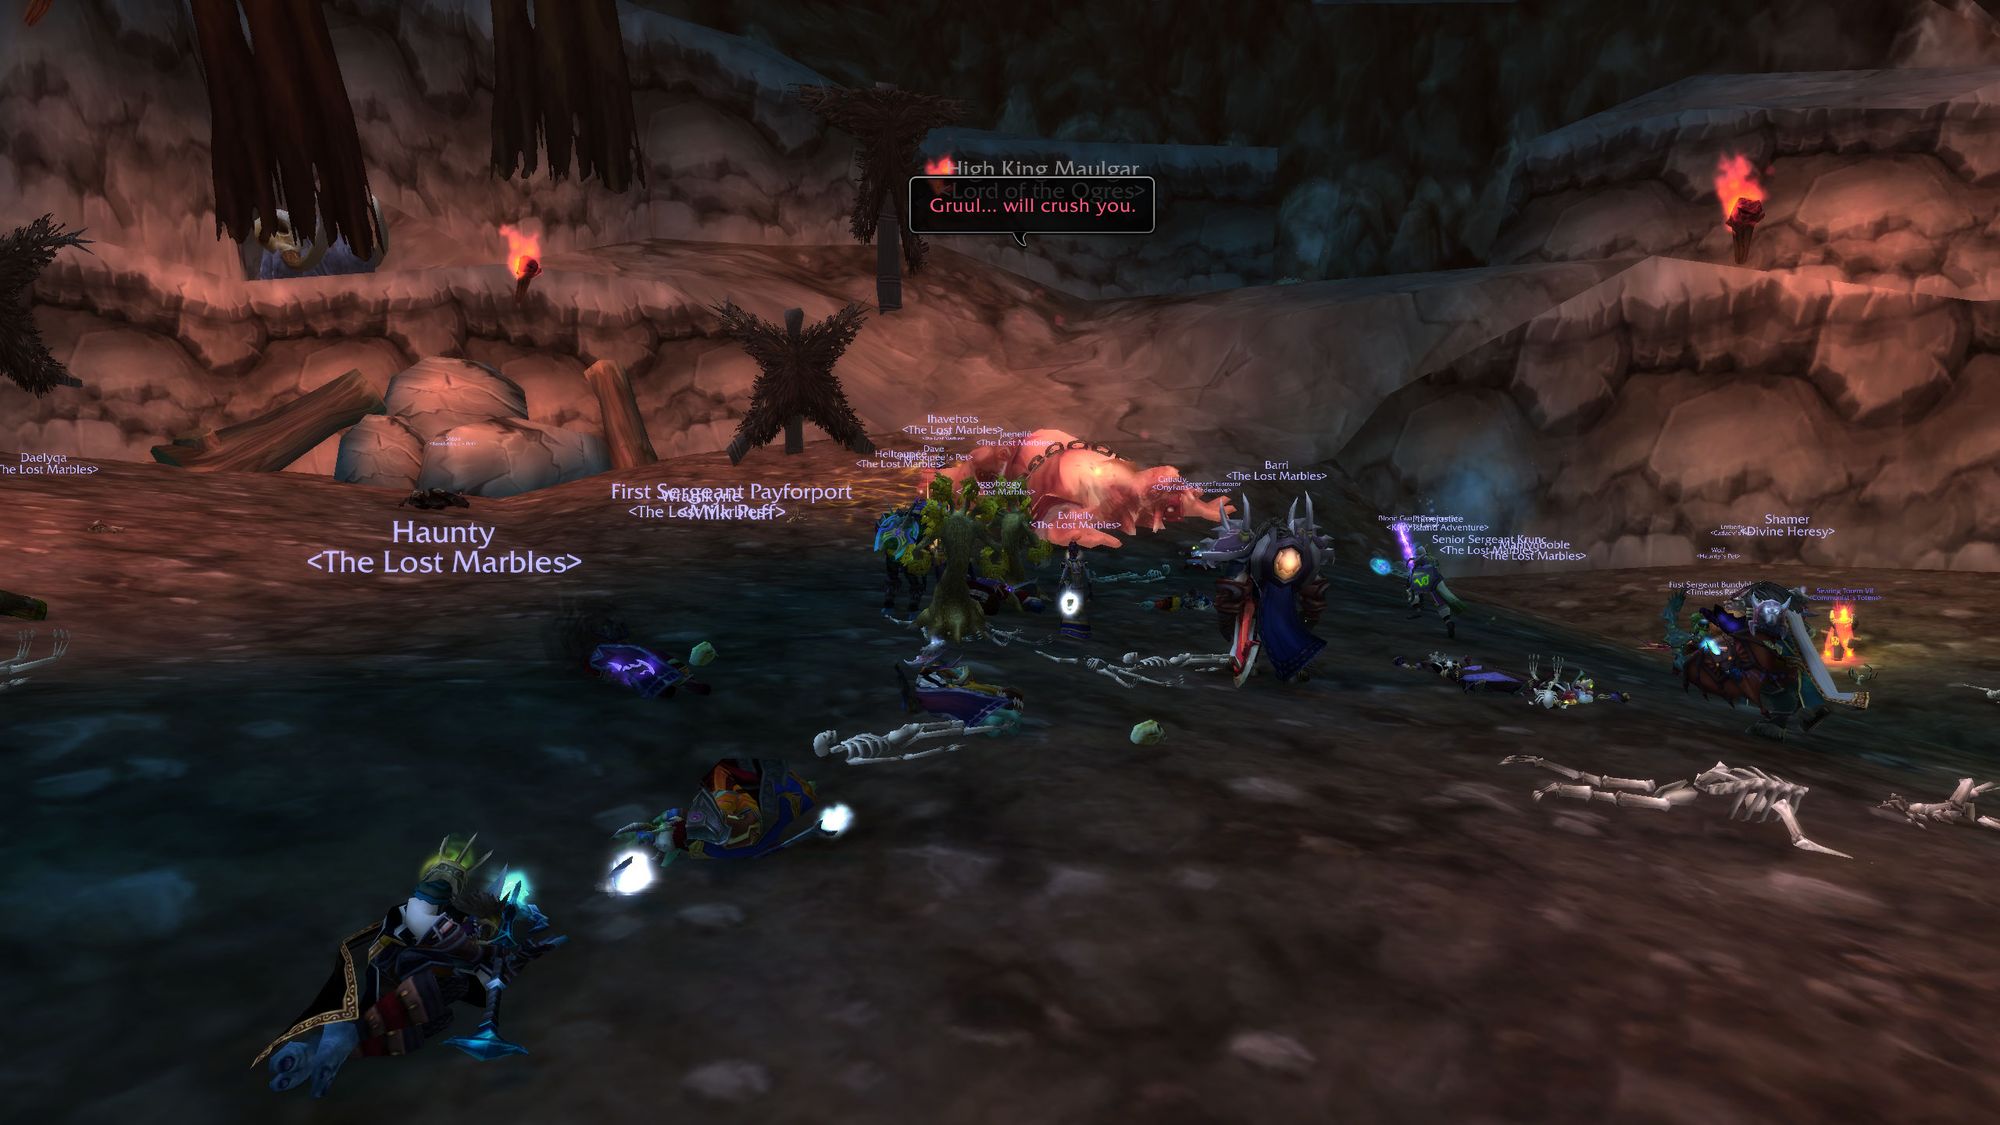
There's a bit more trash on the way to the big boss of the lair.
The first pack consists of two Gronn-priests, so use the same tactics as before. There's also two patrolling Lair Brutes, which can be engaged individually. If you're in a hurry, you can lump the patrols in with the first or second group of Ogres, just make sure to stack on the back.
If you end up engaging more than one Lair Brute, the trick is to get your tanks to create a safe zone where all the Lair Brutes are facing outward and your raid can be behind. Normally up against a wall works well.
The second pack is in the middle of the tunnel and is random based on the raid ID. Sometimes it's two Lair Brutes, sometimes two Gronn-priests, sometimes one of each. Either way have each tank pick up one, if you have more than one Lair Brute, see above. Be mindful of the patrolling Lair Brute as he can sometimes show up if you're already three Ogres deep and finish the job.
Or, he could, if you were in phase one gear with phase one healers. In phase four the entire tunnel is only going to be a threat to whoever gets the job of hosing down ogre viscera from the sides of the lair.
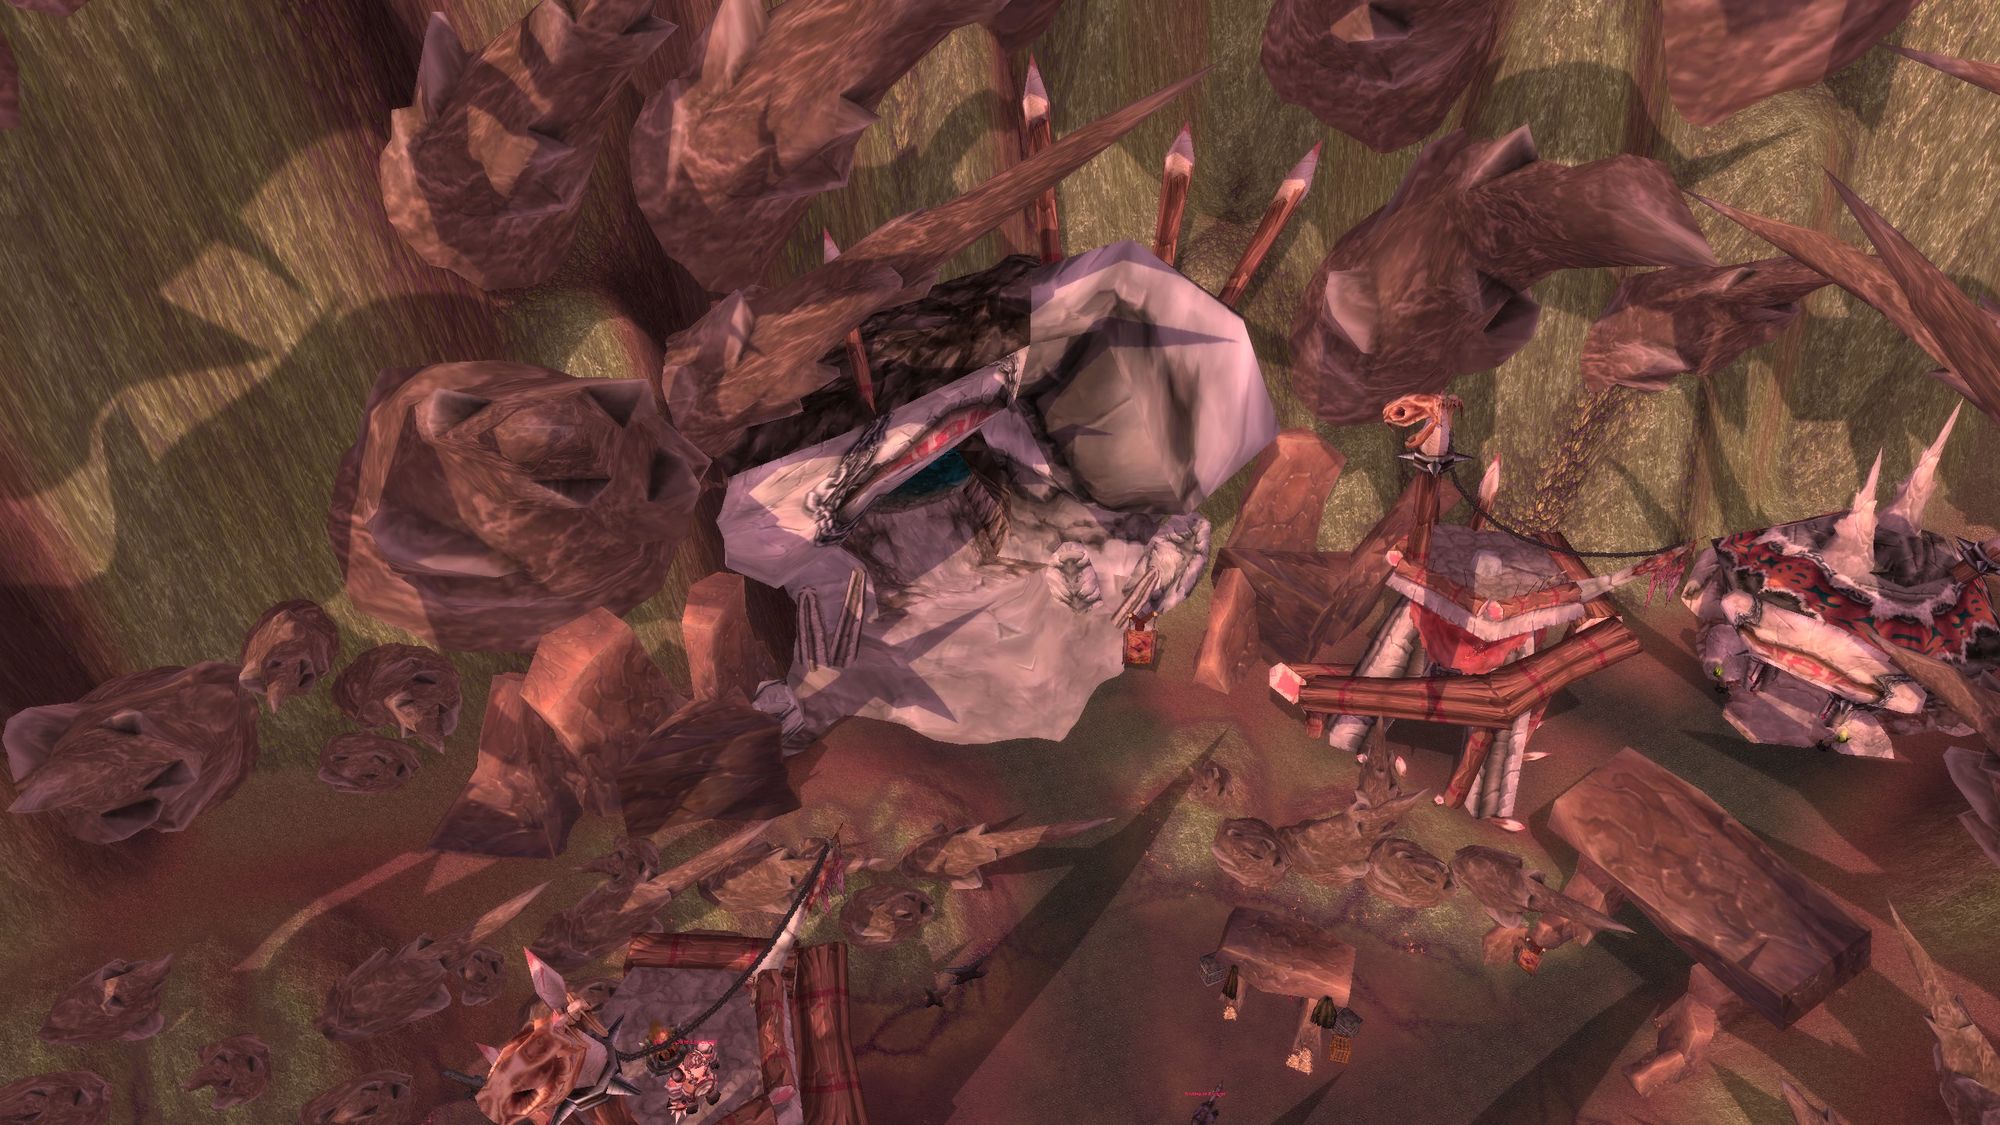
You'll know you're in the right place when you see a gate, then a wide open room with a big, red, super ogre inside:
Boss Two - Gruul the Dragonkiller
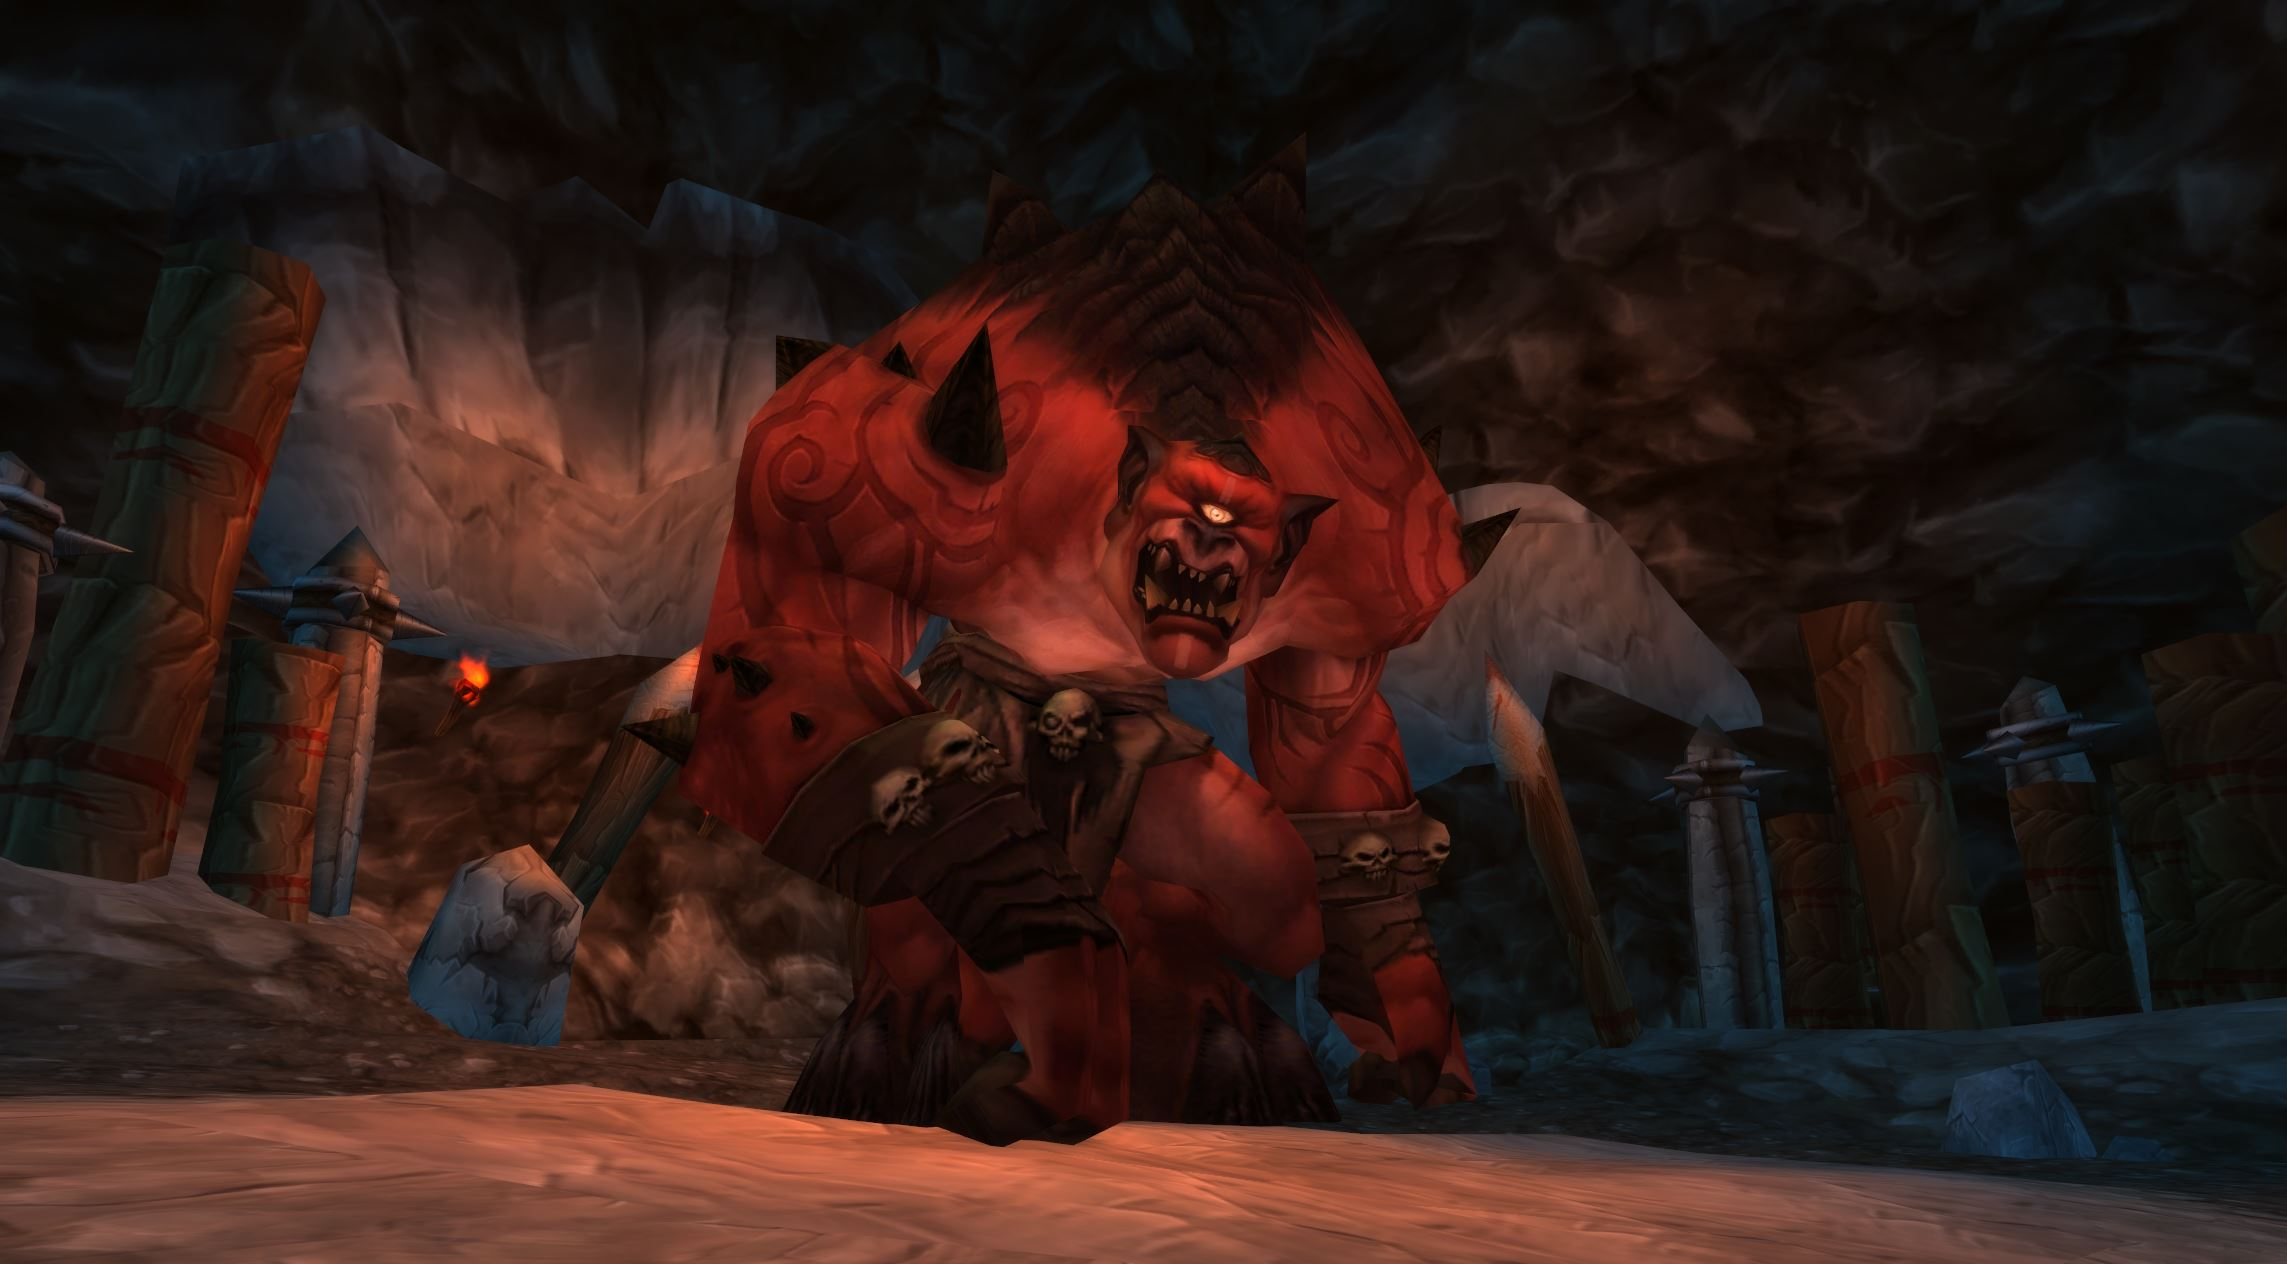
As a fun bit of trivia, Gruul is still regularly cleared because of a single piece of loot. The 'infamous' Dragonspine Trophy, or DST, is best in slot for all melee DPS for the entire expansion.

And it's been placed in the hands of a giant surly Gronn.
Tactics
Where HKM is a test of mechanics and coordination, Gruul is a gear check. Every forty-five seconds, Gruul's damage increases (he gains a stack of 'grow', which increases his damage) and he will eventually one-shot your tank.
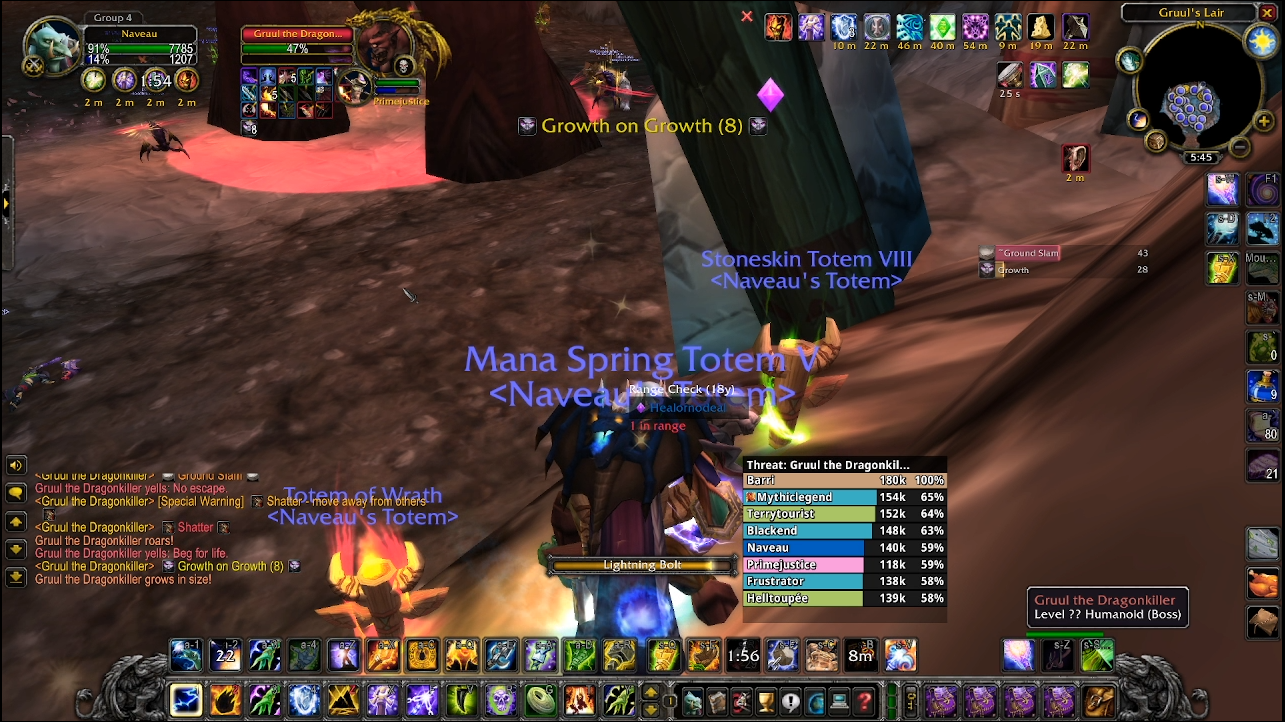
He also periodically silences the entire raid for four seconds, which is a perfect window in which your tank can get murdered.
Gruul also creates patches of "don't stand in this" called "cave-in". Don't stand in it.
The next mechanic is hurtful strike, which is a big chunk of damage inflicted on a melee range target with the second-highest threat. What this translates to is your chad pumping fury warrior needs to stay behind your main tank(s), or risk having Gruul send him to the shadow-realm. Beyond grow five, this little number will instantly kill any melee class.
The last, but certainly not least of the mechanics, is ground slam. Now this has been very much nerfed into the ground but originally this mechanic was wide ranging, hard hitting and was the leading cause of death and wipes.
The way it works is that Gruul will throw everyone up into the air, then gives players a five second window with a stacking movement speed debuff to spread out, before shattering all players in the raid. The closer players are to each other, the more damage they'll take from shatter.
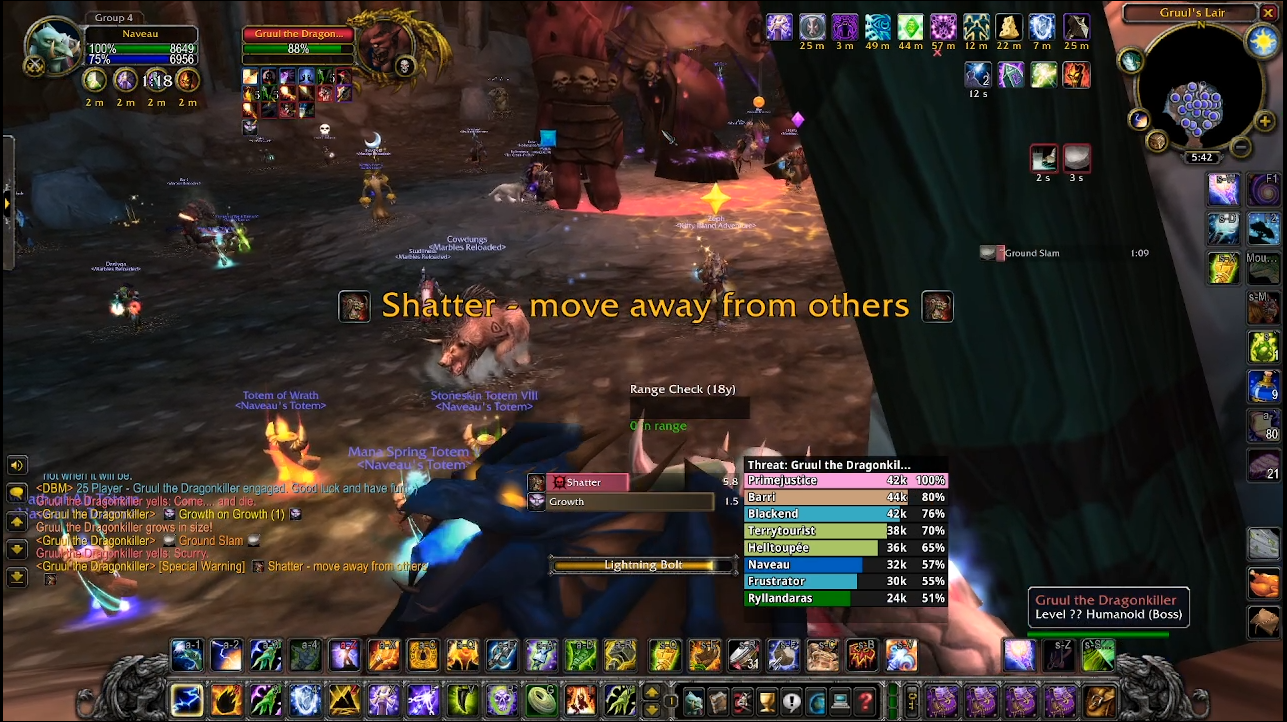
In phase one it had a range of eighteen yards and generally speaking, two players in the eighteen to twelve bracket was enough to kill someone. It was a brutal mechanic.
If you take a time machine back to phase one you want your raid spreading out around the room, you want to have someone looking after your main tanks and you want rolling misdirects on whichever tank needs a boost at the time. It can also help having your third tank also chasing in case one tank slips too far behind.
Past that point, it's a simple race to the finish. Kill him before he outgrows the capacity of your tank to soak damage, or before he silences your healers to buy himself enough time to finish the job. You maximise your chances by not standing in cave-ins and spreading for shatter so it doesn't kill everyone.
One strategy the Marbles and Kitty Island Adventure joint raids used was marking all the healers to make sure they spread evenly. This ensured that all parts of the room were covered.
Assuming you did all that correctly, step up and recieve your prize for clearing Gruul. Maybe a DST, or perhaps an Aldori Legacy Defender.

Either way, that's Gruul for another week.
Conclusion
In case I haven't mentioned it enough at this point, Gruul is no longer difficult. It was nerfed not once, but twice. I'm surprised he has any health left. In his day, both council and Gruul were a proper obstacles to raiders and rookie raid teams who only had loot from Karazhan and Council to get him down.
These days it's a fifteen minute dyno session farmed for a single item which now gives you five badges. How far we've come.
But there's one more boss in Phase One who was a proper ball-buster. We'll talk about him next time...
Additional Resources:
Here's a phase one Gruul clear:
Here's a phase four Gruul clear:
Catch you next time,
Vulkan
Did you like this article? Did you hate it? Go over and keep the discussion going on the official Vulkan's Corner facebook page! - whilst you're at it, leave a like!
