If you're an avid reader of this blog, you will recognise this raid instance as the one I never cleared. Magtheridon, in his prime, was a genuine rock-breaker that had a high gear requirement, needed a proper raid composition and strong healers, DPS and tanks. It was overtuned to make it a challenge and to a middling guild like the Marbles, it certainly was.
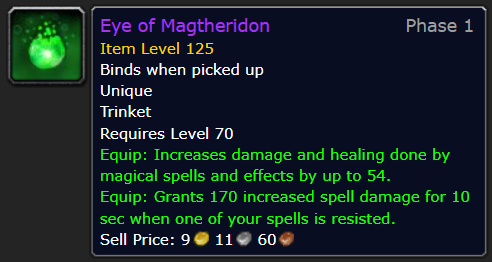
Eventually, phase two rolled around and he got nerfed into the ground. He was never nerfed twice like Gruul was, but where Gruul drops dragonspine trophy, Mags (as he was affectionately known) only has one item of worth at this late stage, that being the Eye of Magtheridon, a useful piece for shadow priests and protection paladins. Or, was - it has since been overtaken by other, more useful items.
Another fun piece of continuity is that Magtheridon constantly threatens you in the Blood Furnace, a level 60 - 62 dungeon in Hellfire Peninsula. It adds to the anticipation and the danger. When you go down there, you know you're not dealing with a boyscout troop. You're handling a threat so massive he needs five dudes holding him in place at all times.
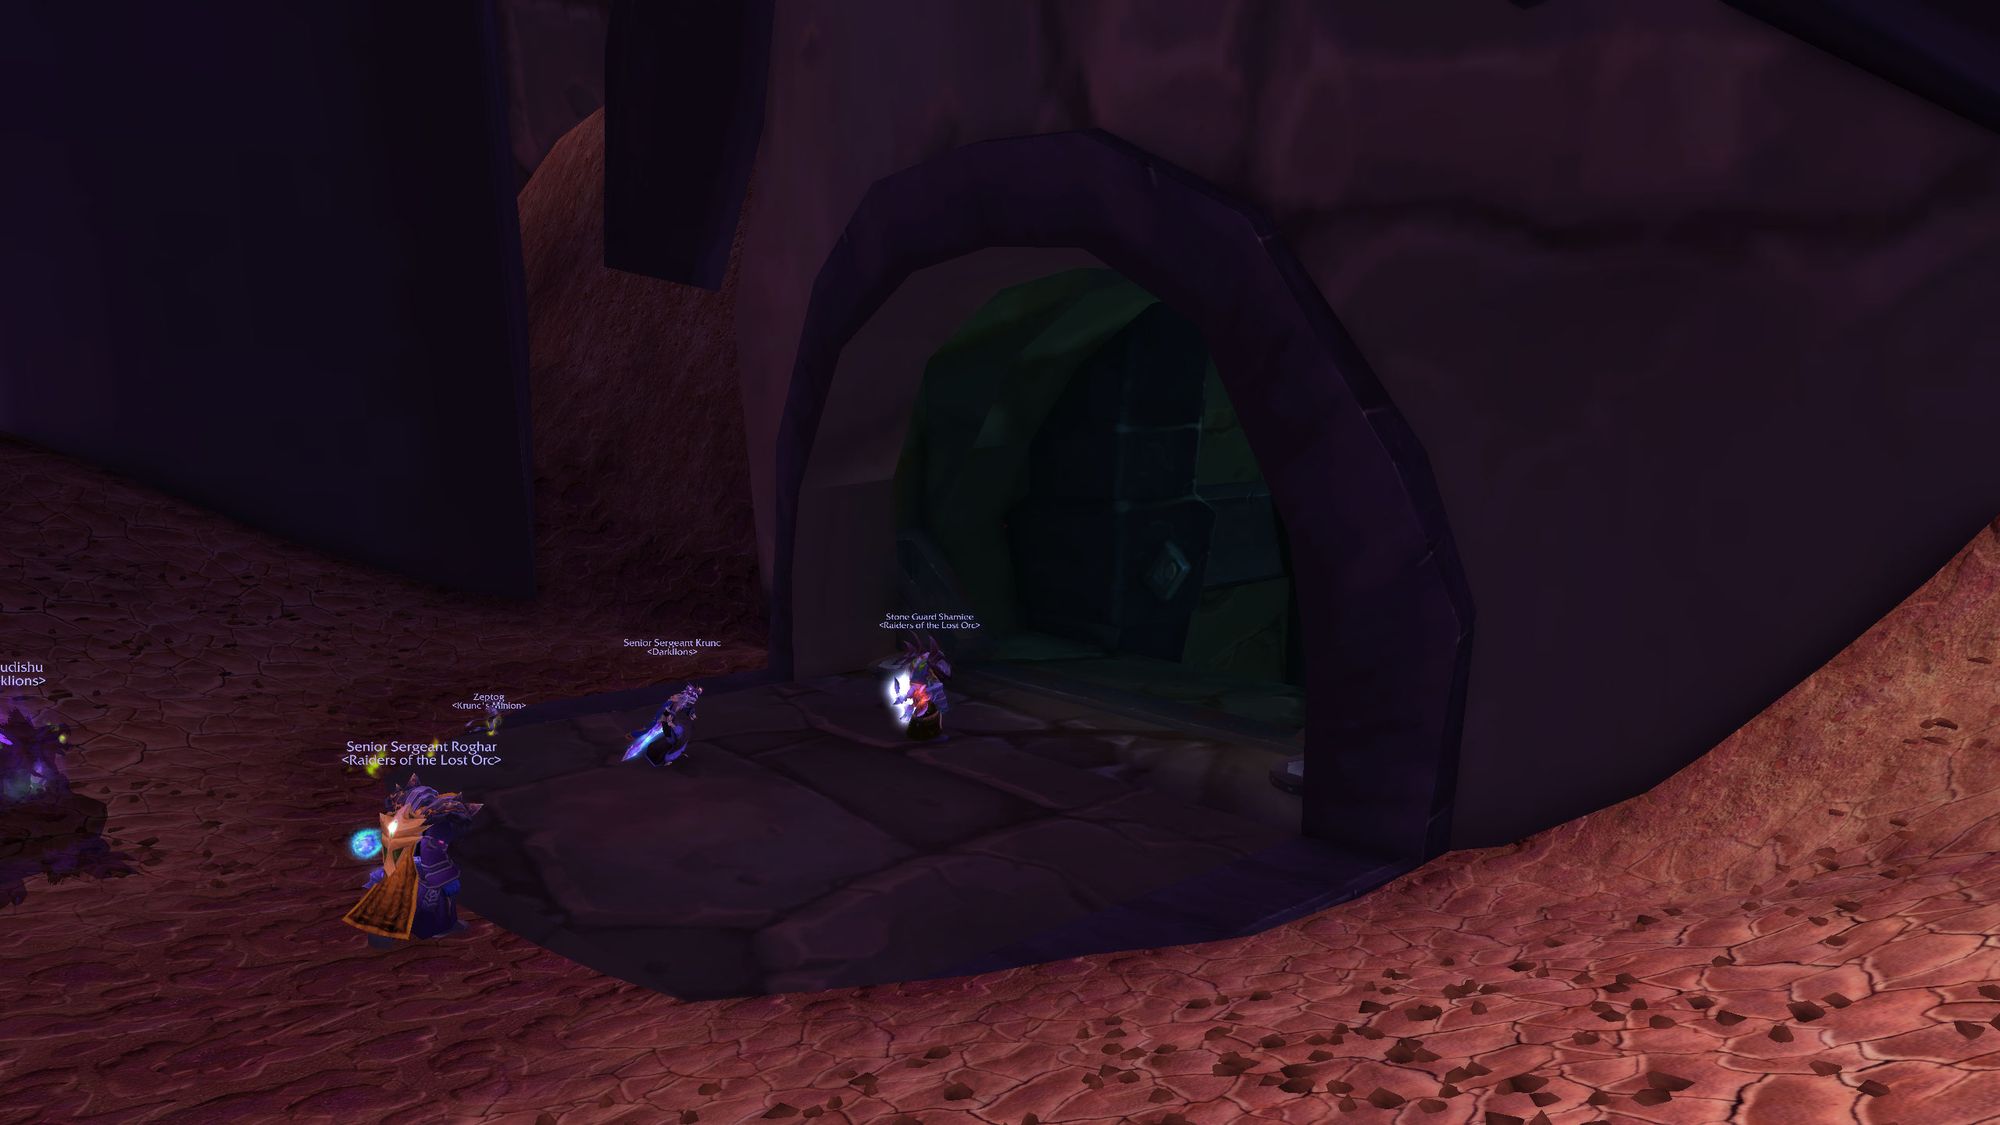
When you first enter the dingy, green-y black underpart of Hellfire Citadel, you know you're not here for a haircut. There's skeletons, viscera and gore everywhere. To quote Mark Larkham, "this ain't kids play."
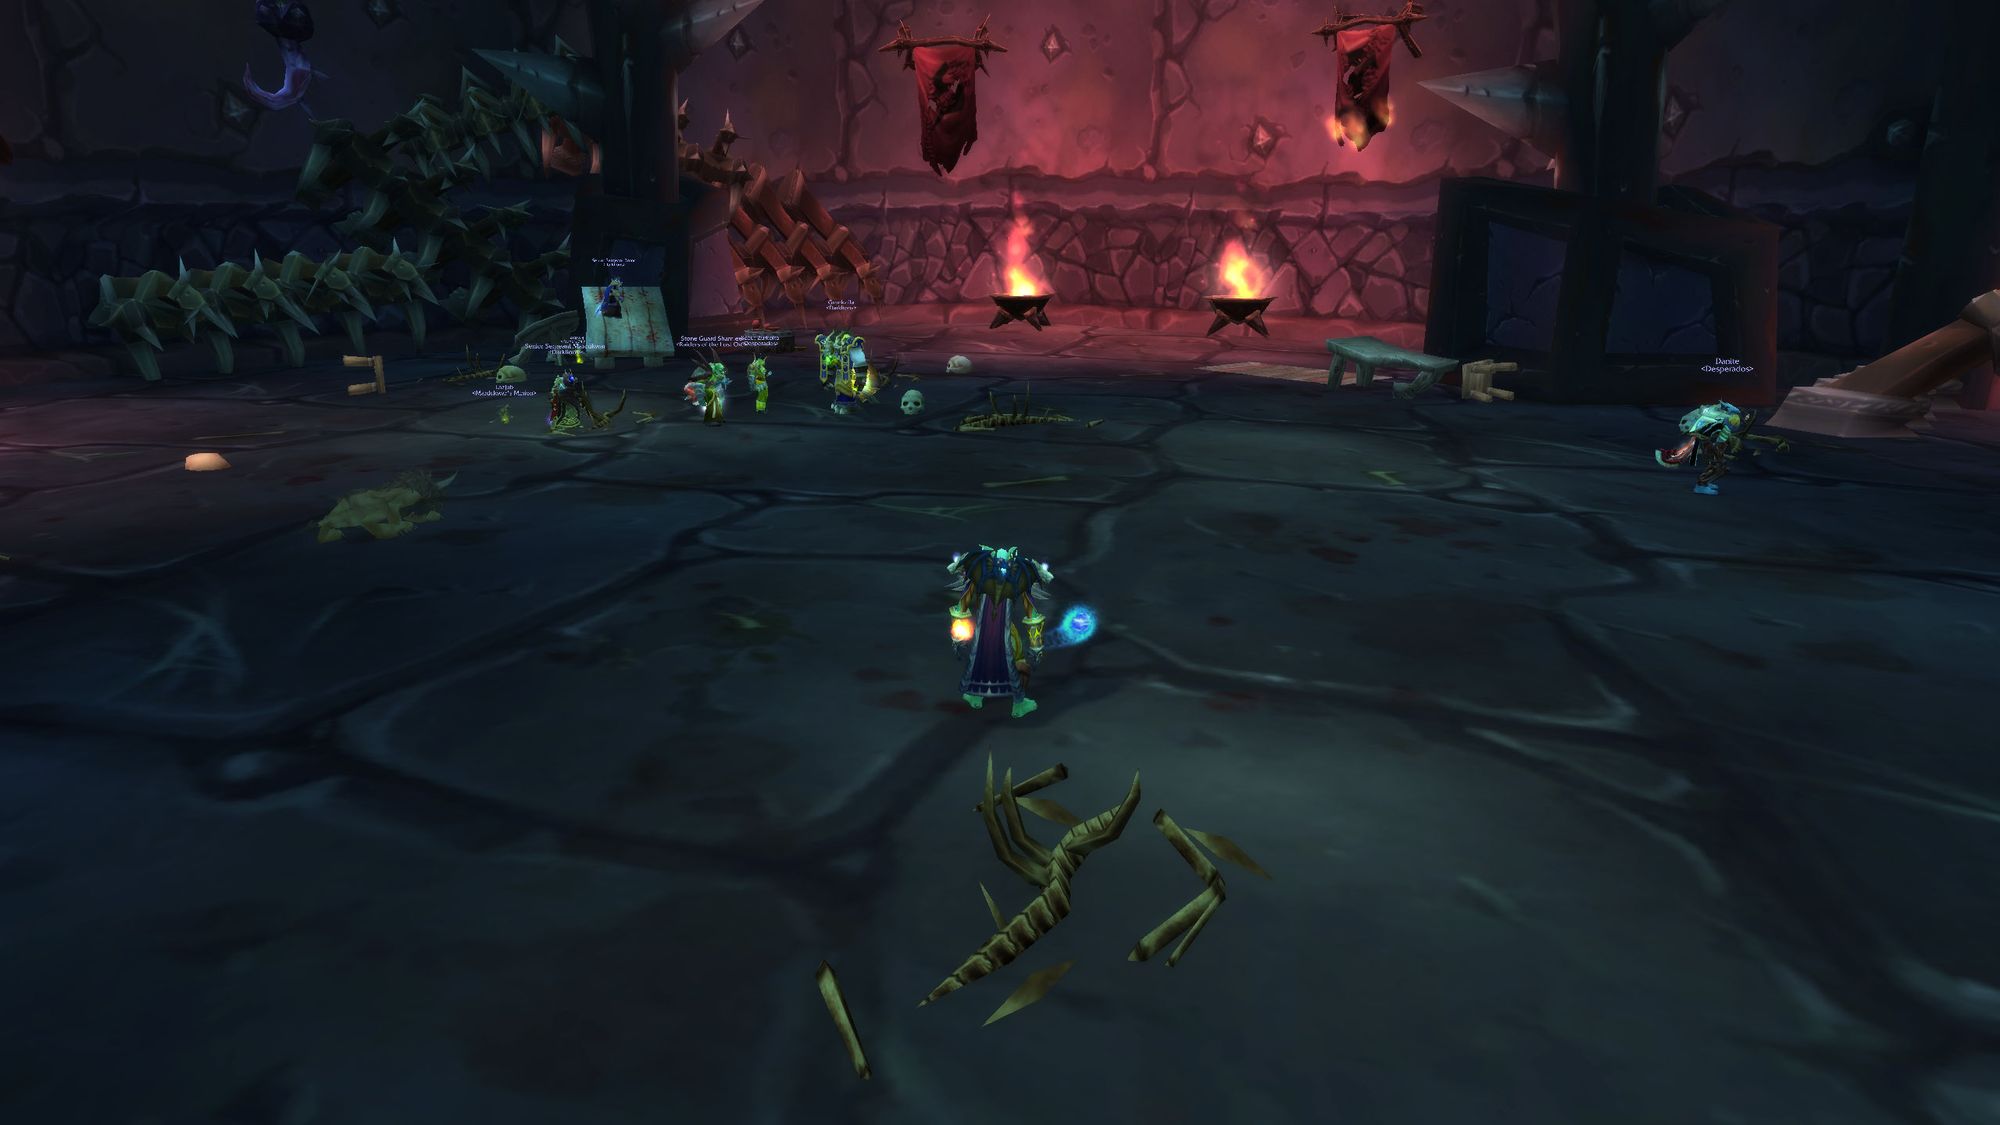
(or at least, it wasn't.)
Before you even get to the boss, you've got to get past the trash. There are four packs of three in all. Each mob individually hits hard enough to truck a moderately well-geared tank. There's also a shadow bolt volley which needs to be interrupted as much as possible and a rain of fire mechanic. The shadow bolt volley is a taster for the real deal Mag'Theridon fight.
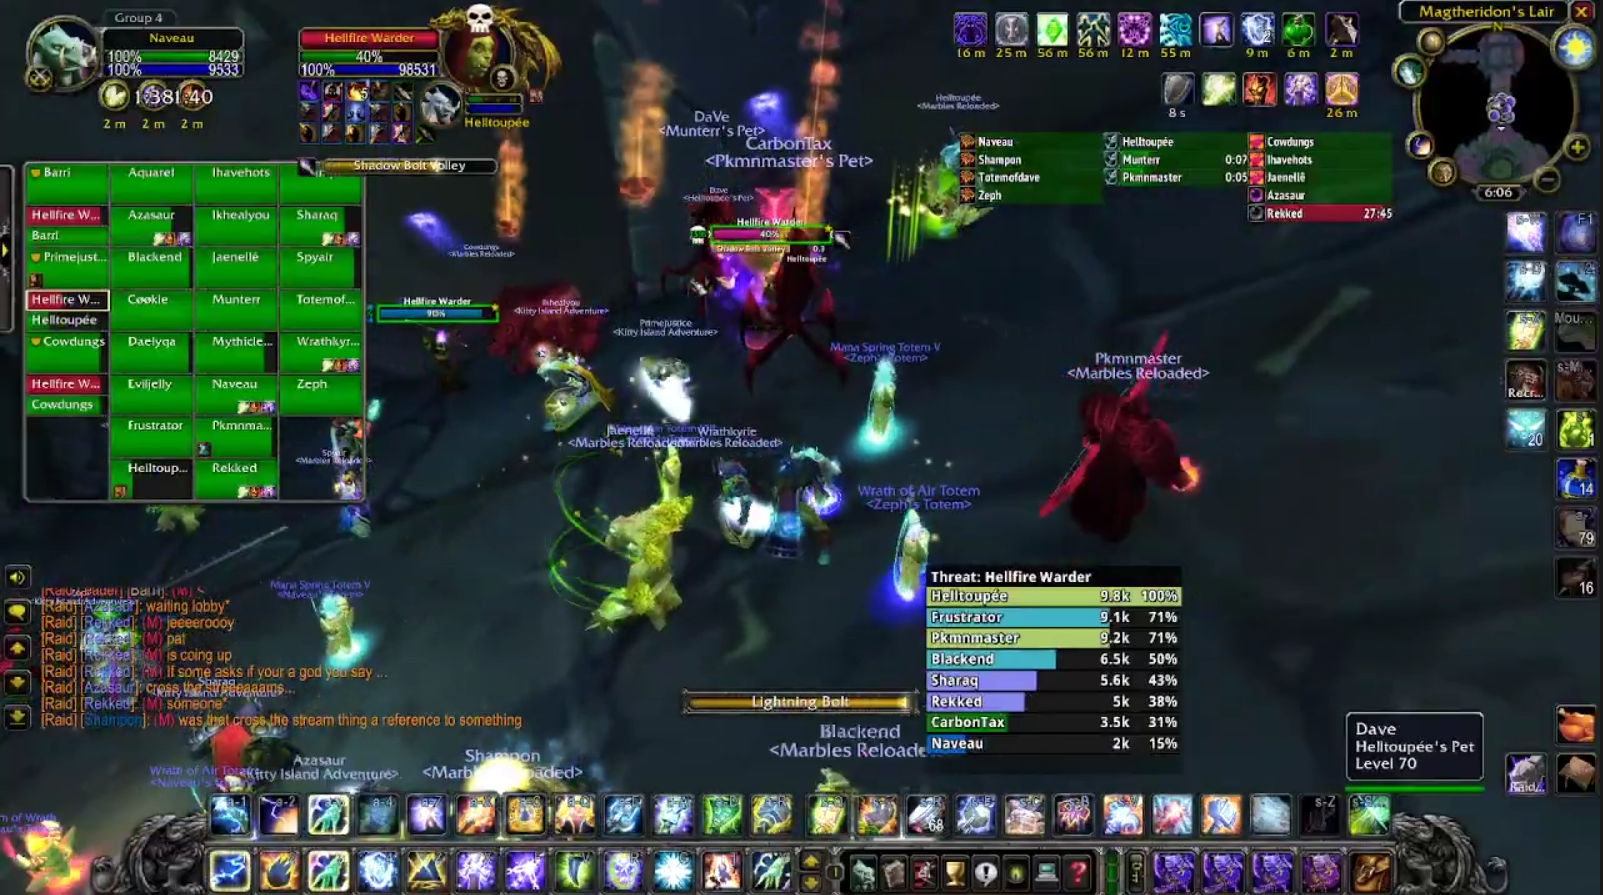
Each pack is strong enough to wipe the raid by itself if players aren't smart and stand in fire. Pulling more than one pack is generally also a wipe as the combined tank damage, interrupt requirements and rain of fire casts will quickly overwhelm the raid.
Fortunately it's generally not possible to pull more than one pack at a time, except for a patrolling pack of three. So smart raid groups will normally pull and deal with the first pack, wait for the patrol and then deal with the remaining two groups. If you're not quick about it, you can get bushwacked by the patrol and then you're on the road to wipe town.
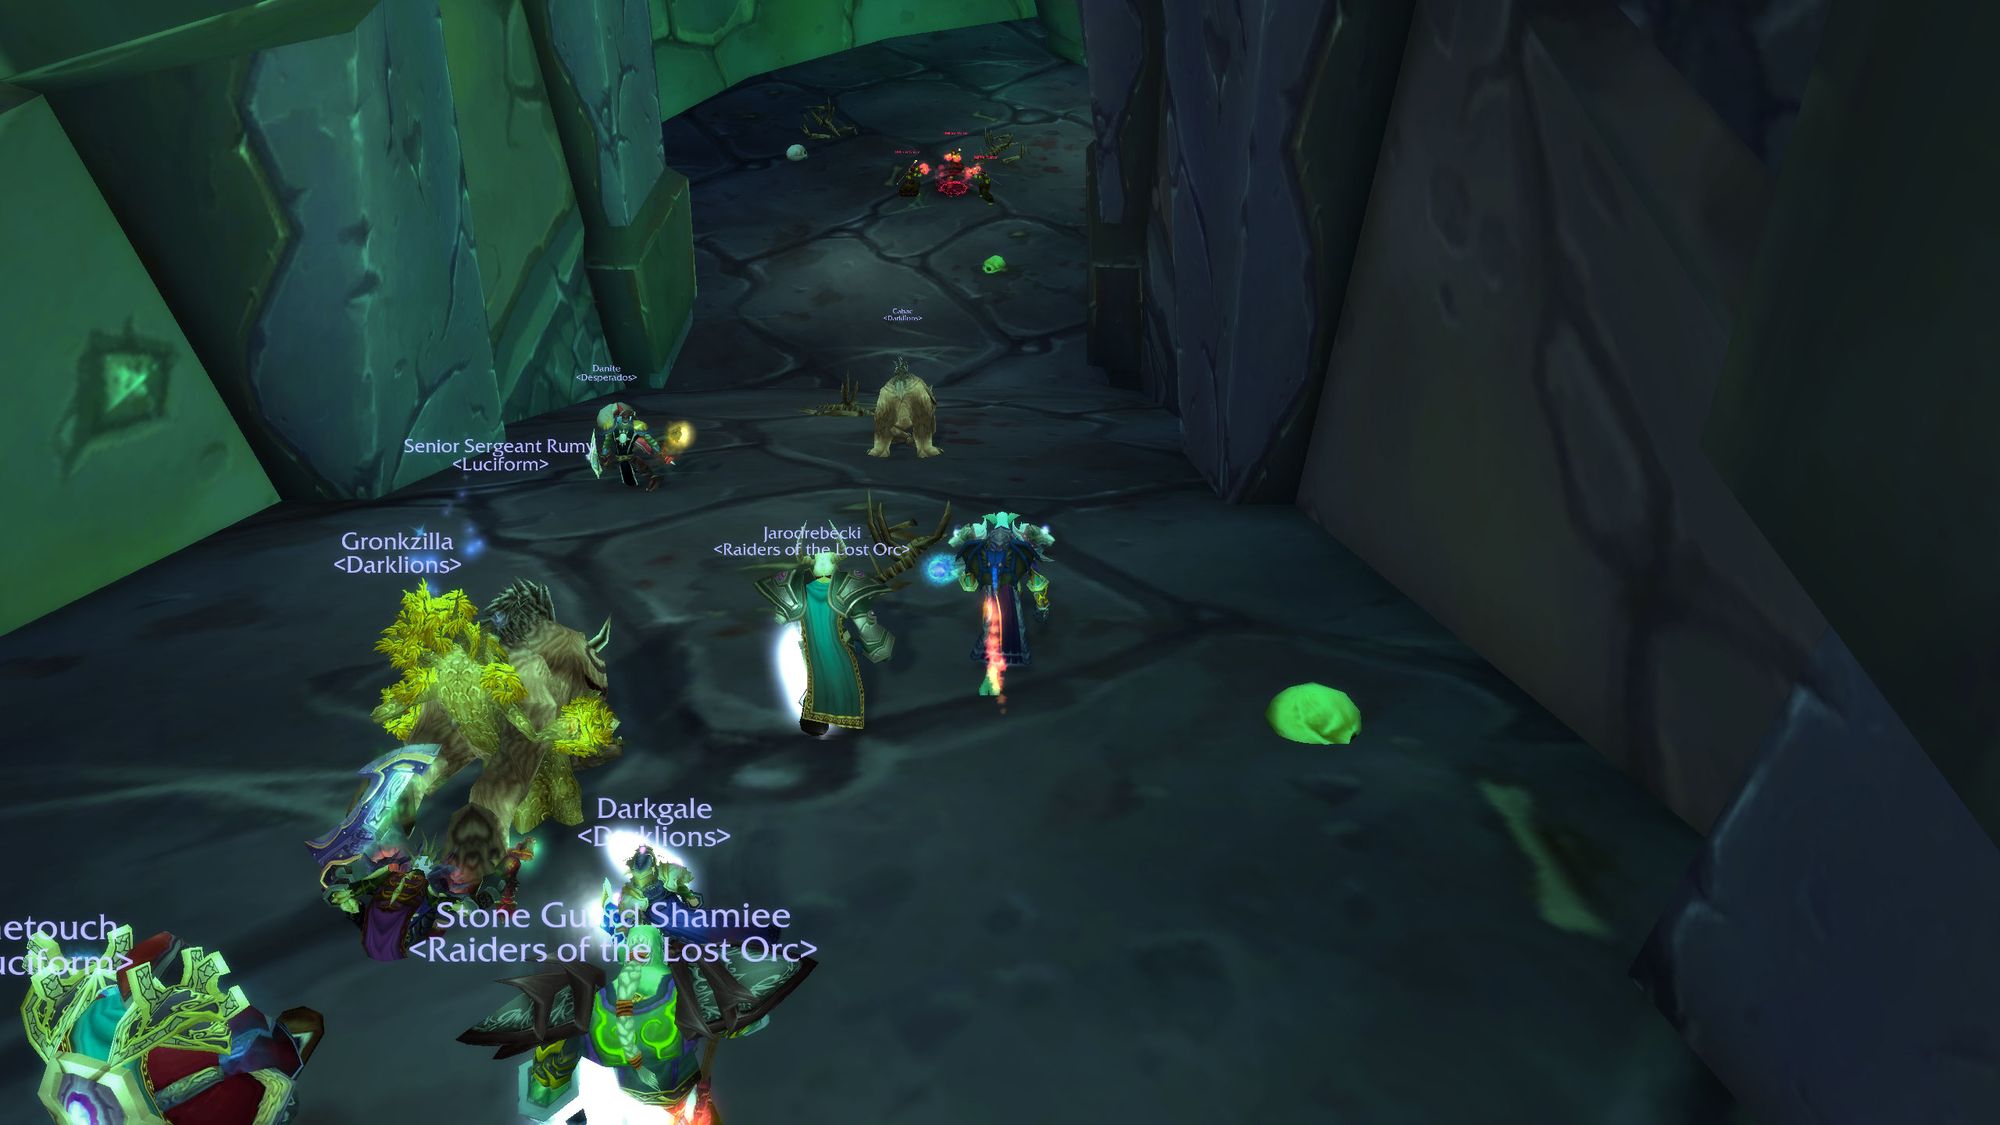
After you've cleared both side corridors, you can center into the main chamber with Magtheridon. Don't say you weren't warned...
Boss One - Magtheridon
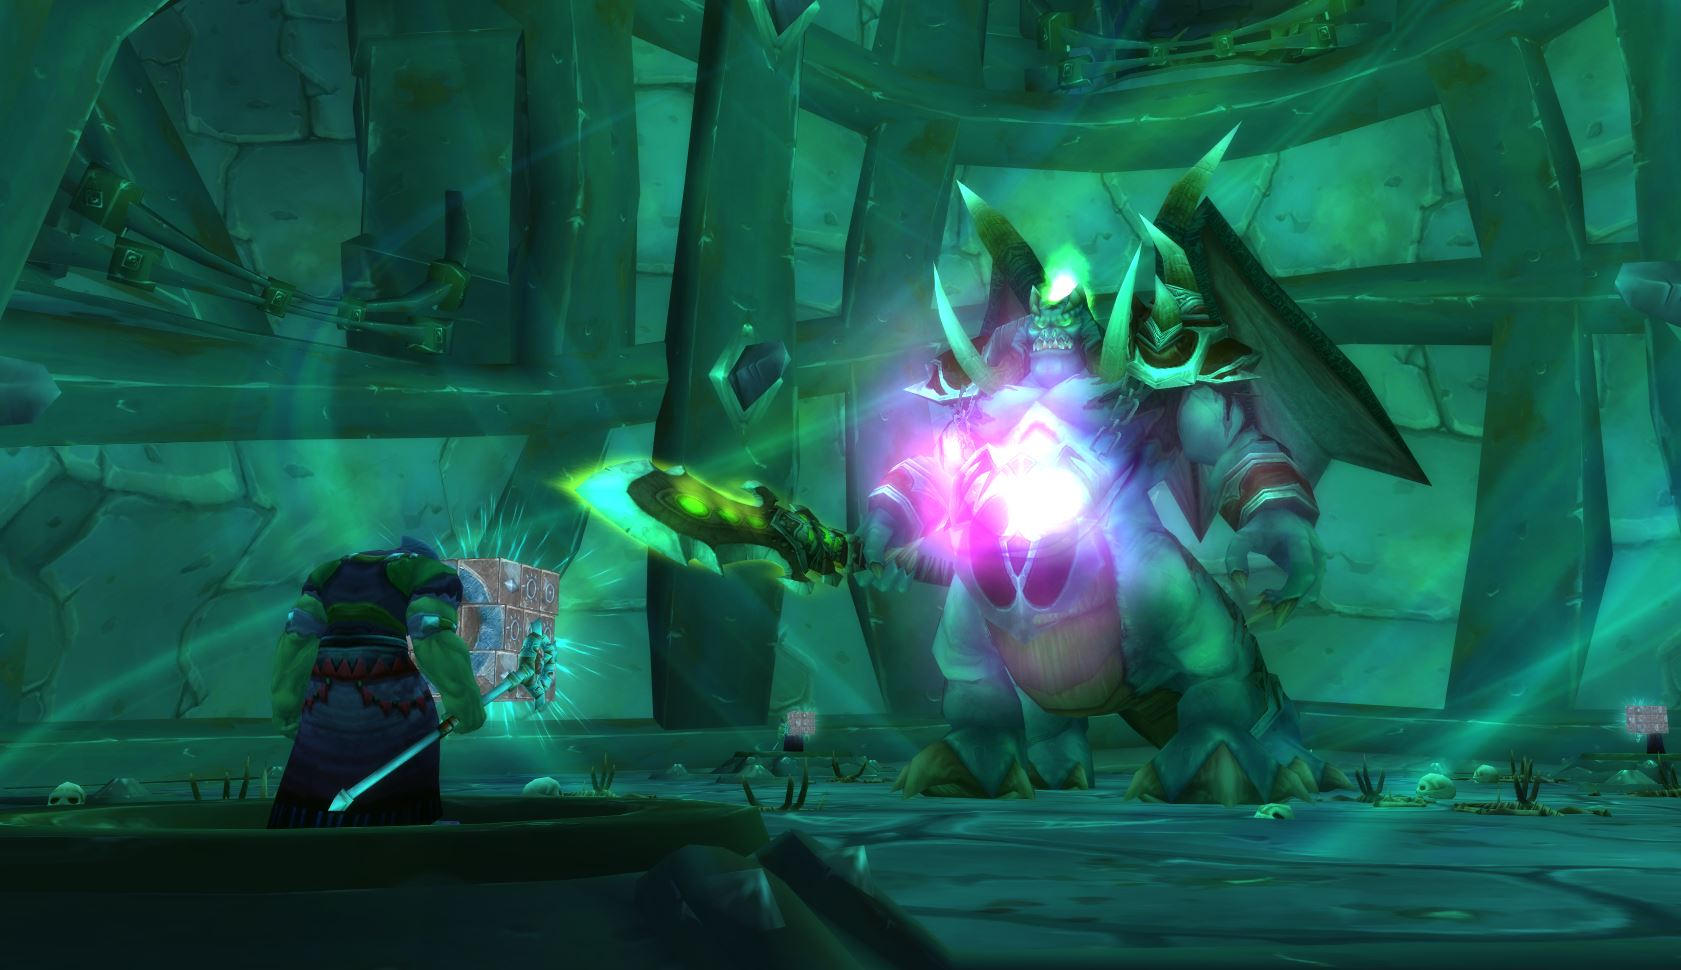
Magtheridon is, far and away, the toughest encounter in Phase 1. He hits like a truck, deals high raid damage and has at least one mechanic that can instantly wipe the raid without proper coordination.
Magtheridon is the first big indication that despite the game's age and comparative lack of finesse, TBC still has plenty of teeth.
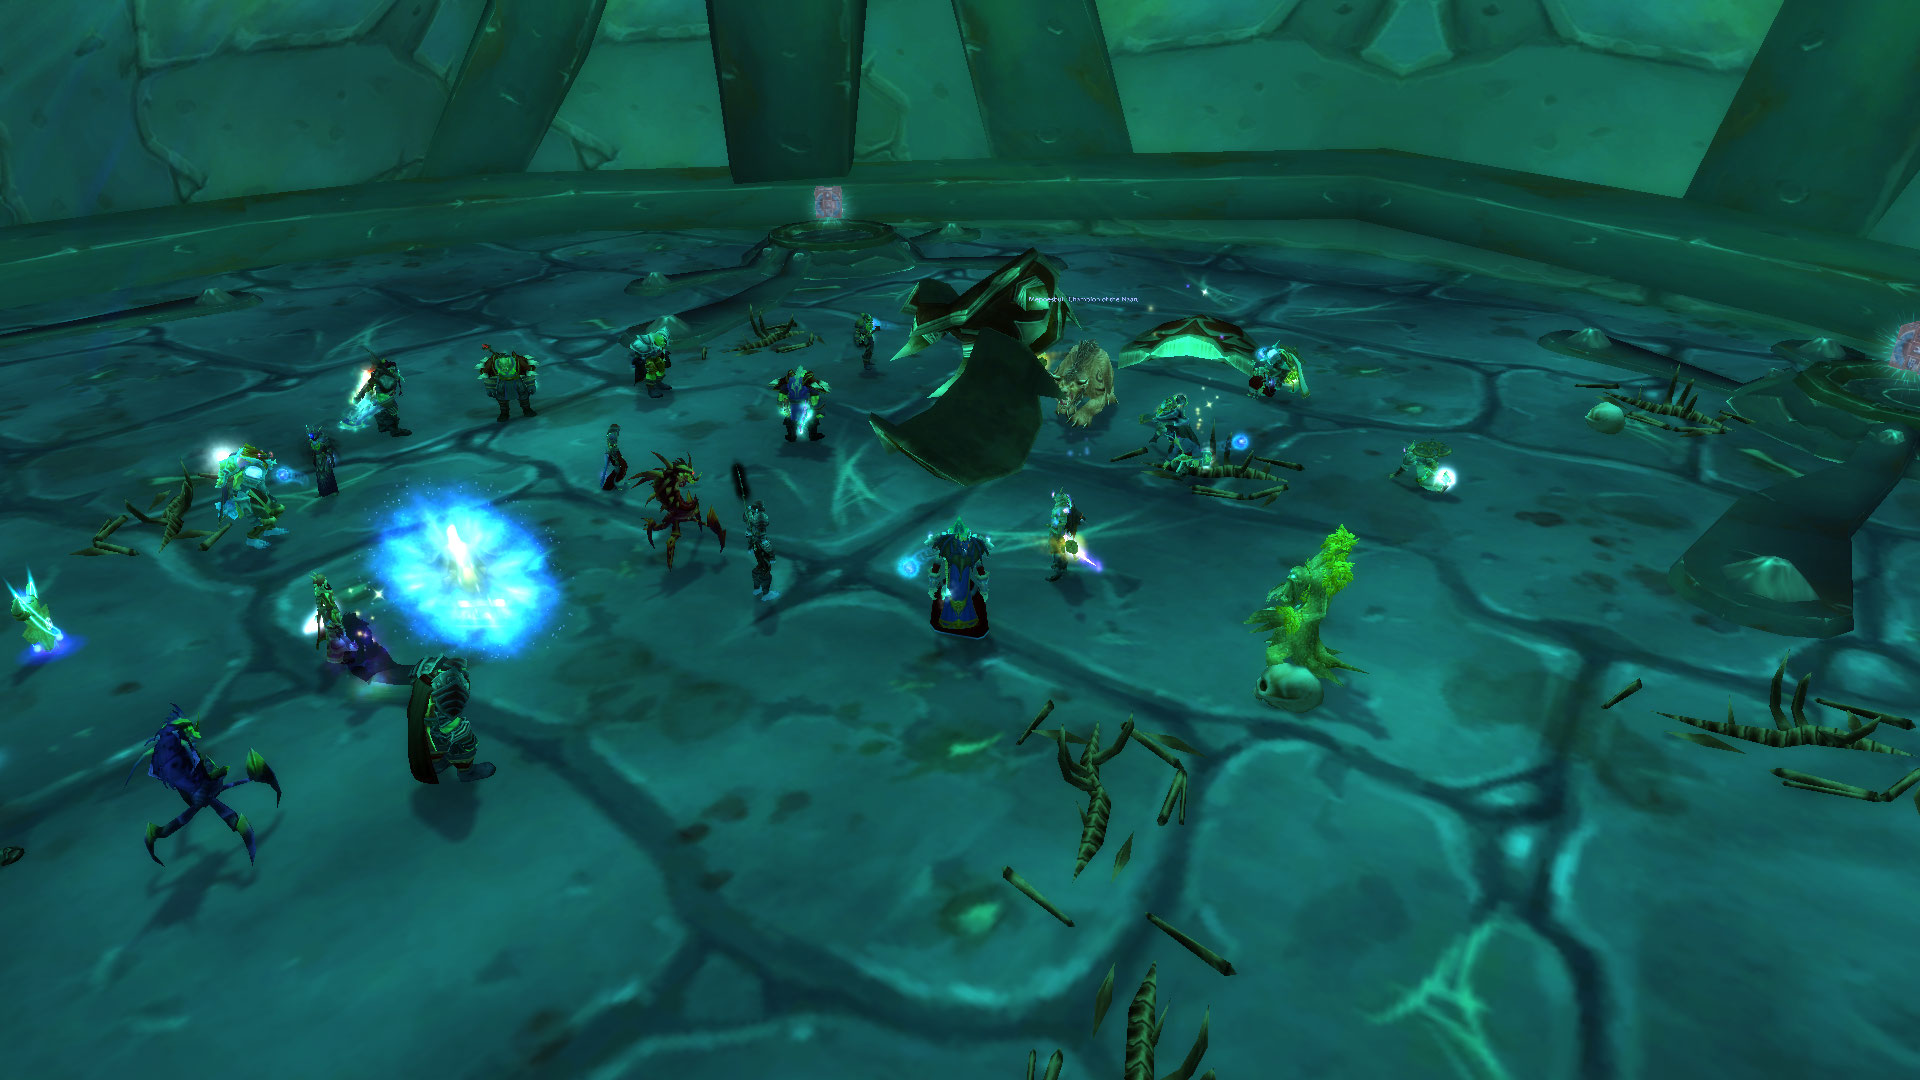
When you first enter the room, you'll see Mag is presently banished. He is held that way by five Shadowmoon Channelers, each interacting with a Manticron Cube. They don't attack unless you attack them first, giving the raid time to position in the boss room.
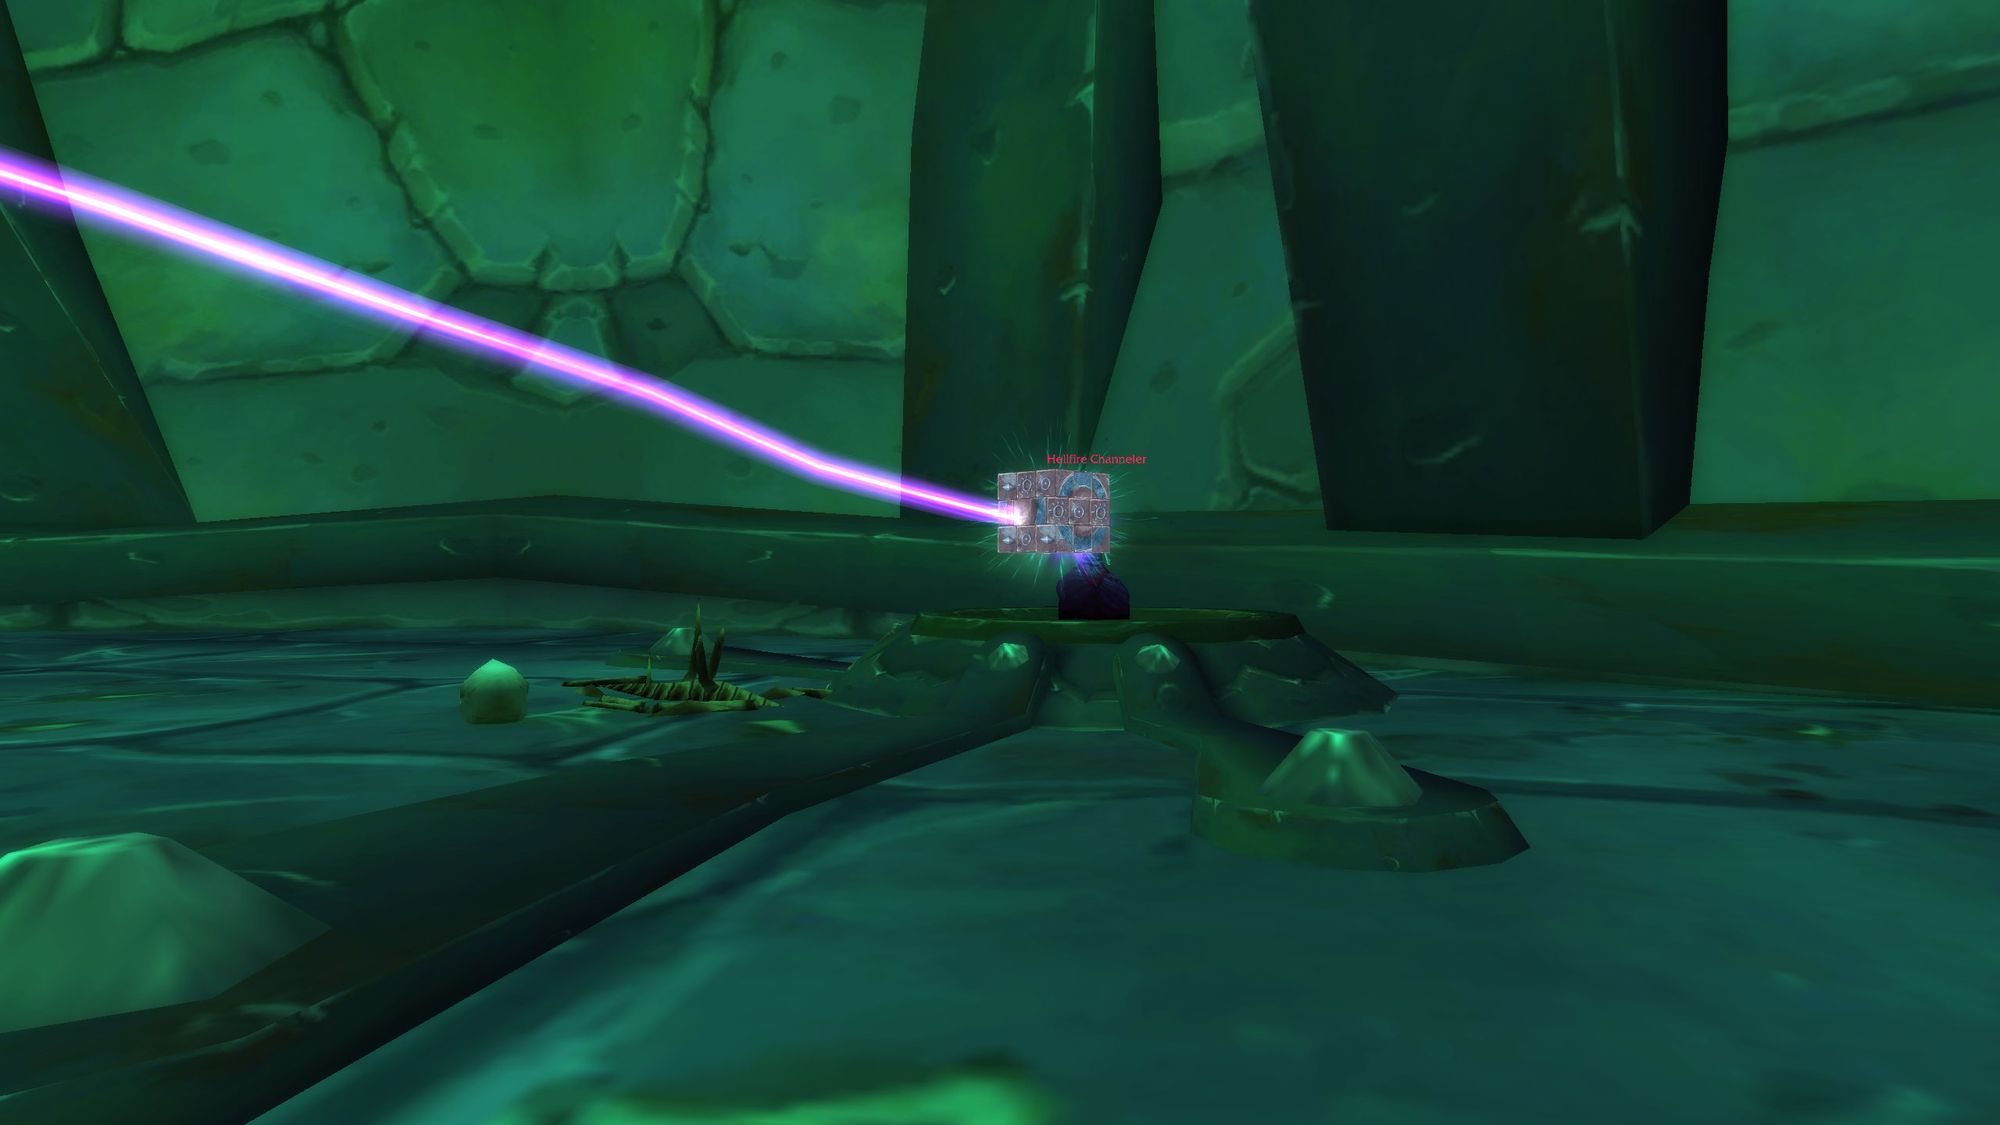
In terms of pre-raid preparation, the raid should assign themselves into five teams of four (i.e, twenty players). These teams should each be assigned to one of the five manticron cubes around the room and will be responsible for clicking on them when Magtheridon casts "blast wave".
If you don't interrupt this ability, it's a wipe. This is what tests a raid's skill. Good raiders will have situational awareness and make sure to learn which group they're in, and bad raiders will not and let their raid die because they missed a click.
(Editor's note: In phase four, when this article was written, the cooldown on the Manticron Cubes was thirty seconds as opposed to two minutes. This means you can have a team of your lowest DPS clicking instead of twenty people.)
You also want to make sure interrupt orders are assigned where possible, and you want to make heavy use of Warlock banishes, fears and Hunter misdirects to position the Shadowmoon Channelers.
Now that everyone is in position, let's spin up that pull timer and get going.
Tactics - Phase One
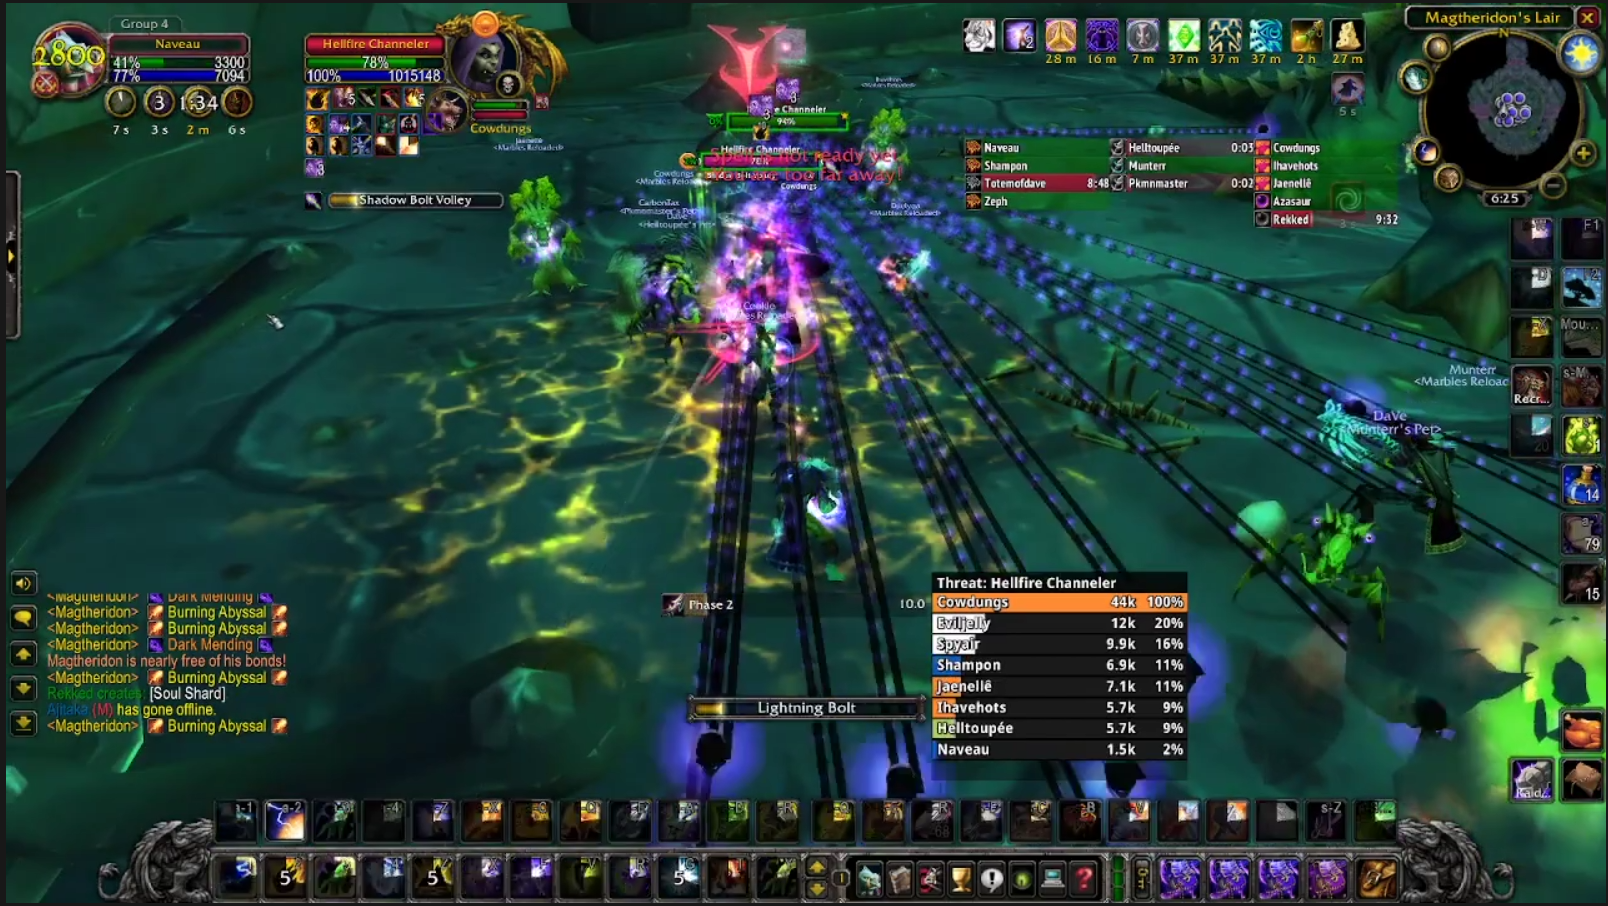
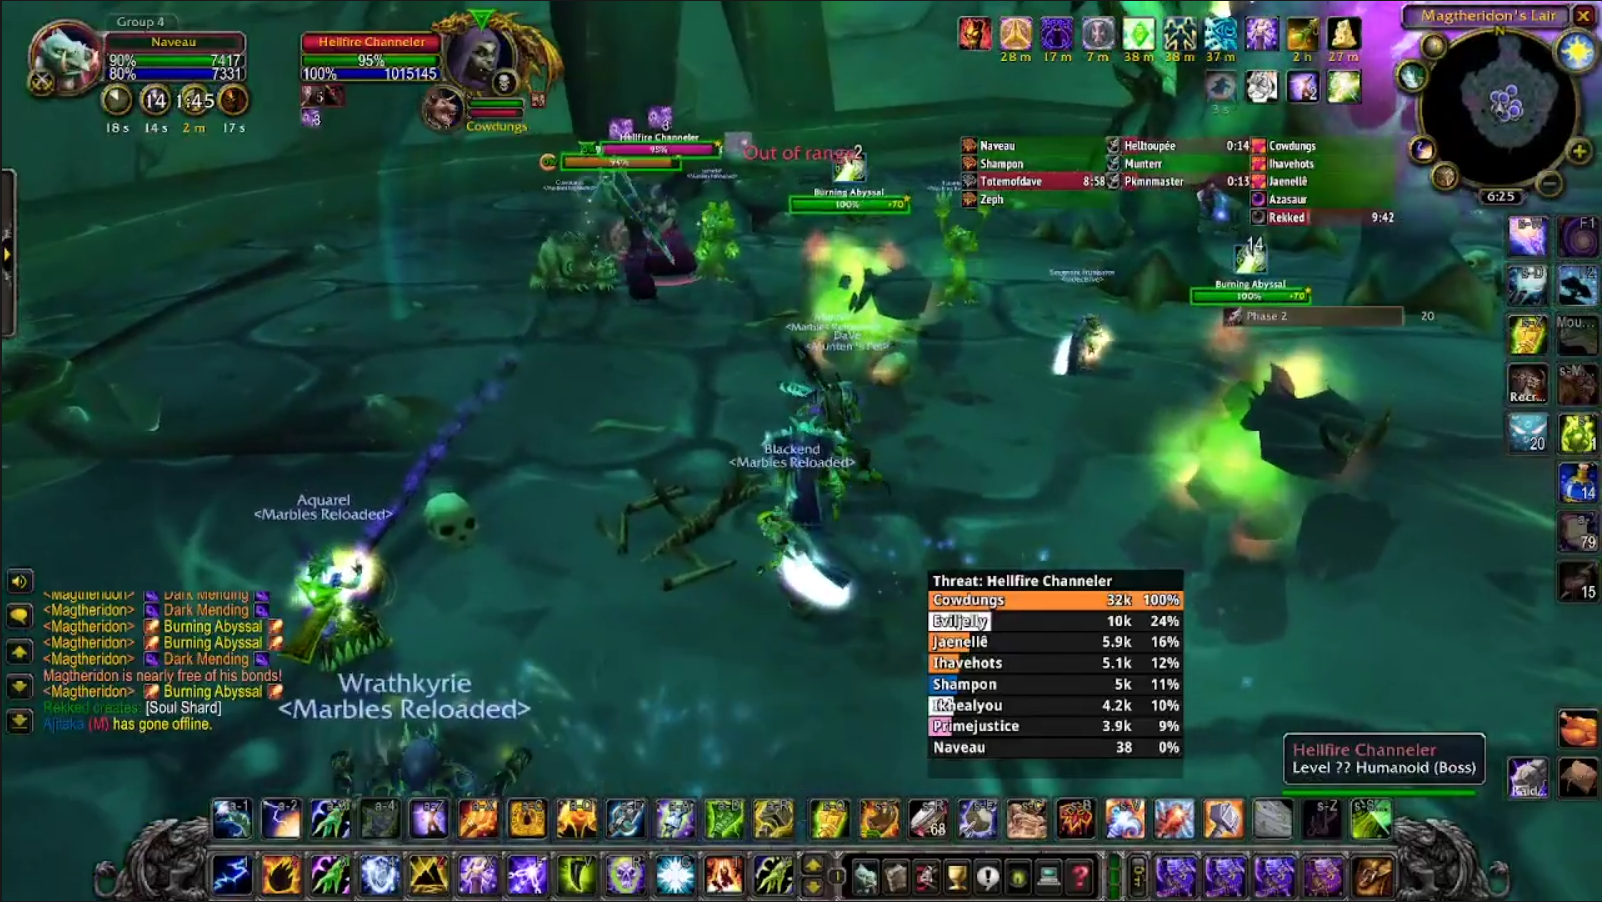
In phase one as outlined above, you fight Magtheridon's captors, the Shadowmoon channelers. This is a DPS race as you want to make sure you have them cleared away or almost dead by the time Magtheridon pops out. You have a minute and a half to do it, so it's not strenuous, but if enough Dark Mendings go off, you'll be in strife.
Shadowmoon Channelers hit hard, summon infernals that need to be feared or banished otherwise they'll kill healers, and cast two spells - Dark Mending and Shadowbolt Volley.
Shadowbolt volley does significant raidwide damage - you can heal through one, but it doesn't take long for two or more going off to start to overwhelm the healers, then it's wipe street.
Dark mending is the killer - it heals a channeller for around a third of their health, which prolongs the first phase and increases the likelihood that you'll still have to deal with channellers once Magtheridon comes out of the banish.
In addition to these spells, when a channeler dies, they provide a 20% casting speed and damage buff to the other channellers. So as each channeler dies, the more damage goes out and the quicker the interrupts have to be.
This means that once four channelers are dead, spells will be cast instantly. You can counteract this by having a rogue with mind-numbing poison, or warlocks using curse of tongues to slow casting speed.
The way to deal with this hot mess of mechanics is to split the channelers into two groups - one of three and one of two. Have an off tank and a healer (preferably a resto shaman) take two channelers to the opposite side of the room, out of range of the other pack of three, and have your main tank (a warrior or bear) pick one up which should be killed first and your paladin tank should pick up the rest (which, if you've been counting, should be two.)
Keep interrupts up on volleys and mendings, prioritising mendings. As mentioned above, an interrupt order helps a lot here. Just make sure those who are able to interrupt stay flexible and move to interrupt other channelers once their target dies.
As the third channeler starts to get low, the raid should move to the other side of the room and engage the other two channelers. Provided no-one's been killed by shadow bolts or infernals, the raid should have no difficulty interrupting two additional targets. It is important the cast speeds be slowed, as they will be 60% faster and deal 60% more damage.
If there's one channeler that's low once Magtheridon pops out, don't panic, just pick it off, keep fears and banishes on infernals and have players in interrupt teams get into position.
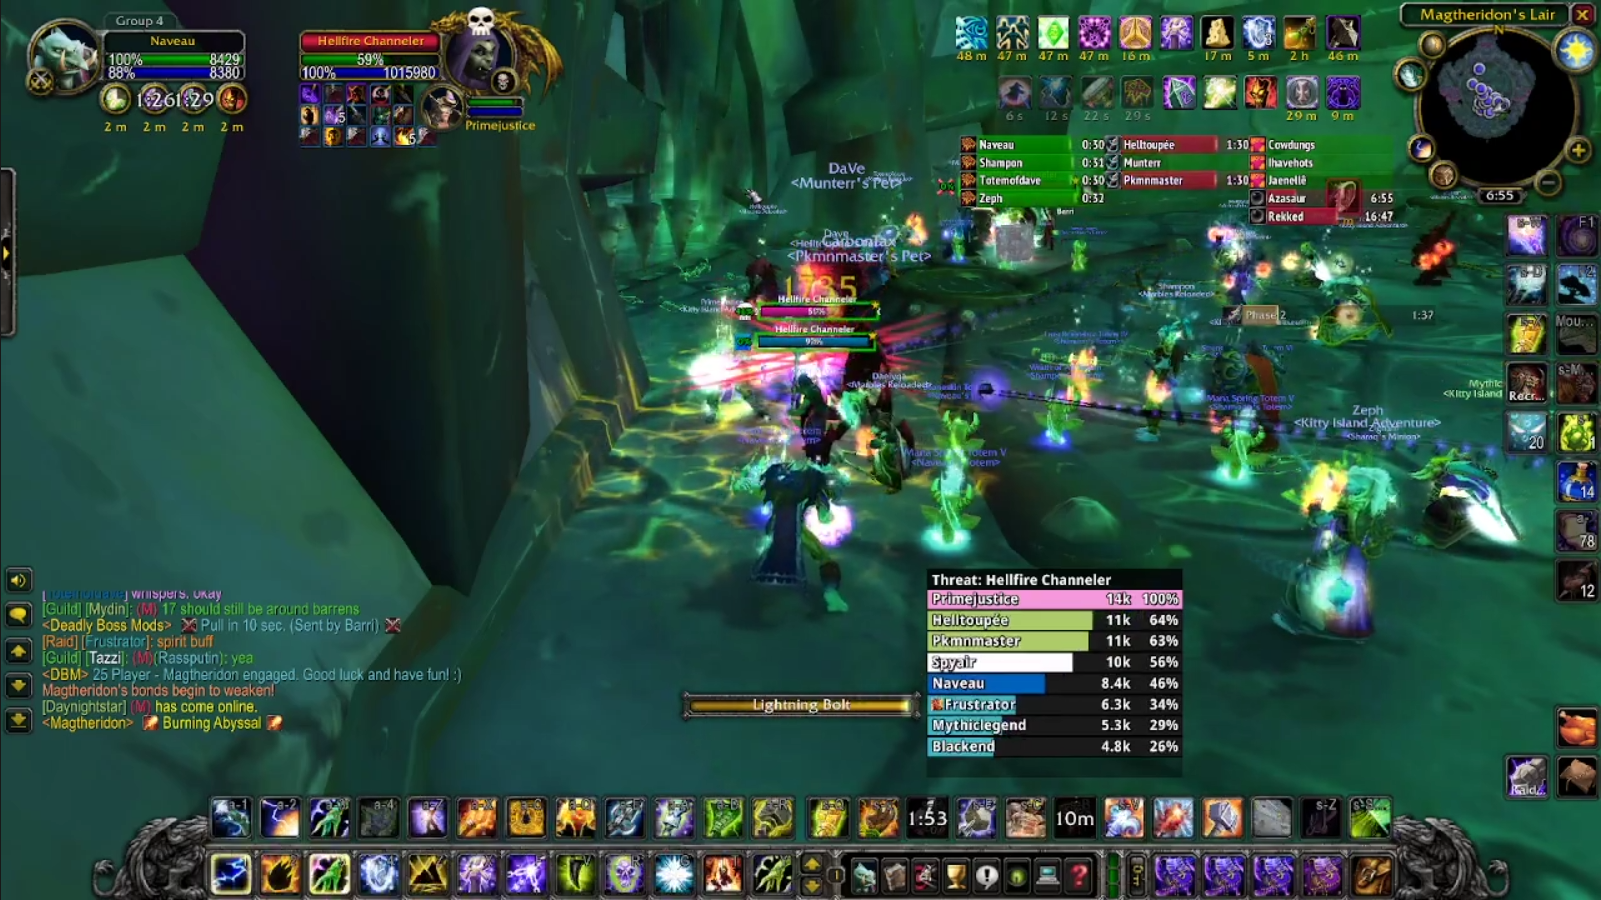
Whilst all this is going on, your main tank should get ready to pickup Magtheridon, either standing in front of, or behind him. Ready or not, when that 1:30 bell rings (or when you kill the last channeler), Magtheridon will pop out.
Phase Two - Tactics
Phase two is a mix between a DPS race and a battle for survival. You've got to push Mag to 30%, but the longer you take, the more stress you will put on your healers.
To start with, Magtheridon should be tanked at the back of the room. This is because Mag casts an ability called quake, which knocks everyone in the air, but also cleaves. This can result in a wombo combo where a player is bounced into the cleave radius and gets murdered. To mitigate this as much as possible, players should stack behind Mag, whose model is huge enough to eliminate the wombo as a risk factor.
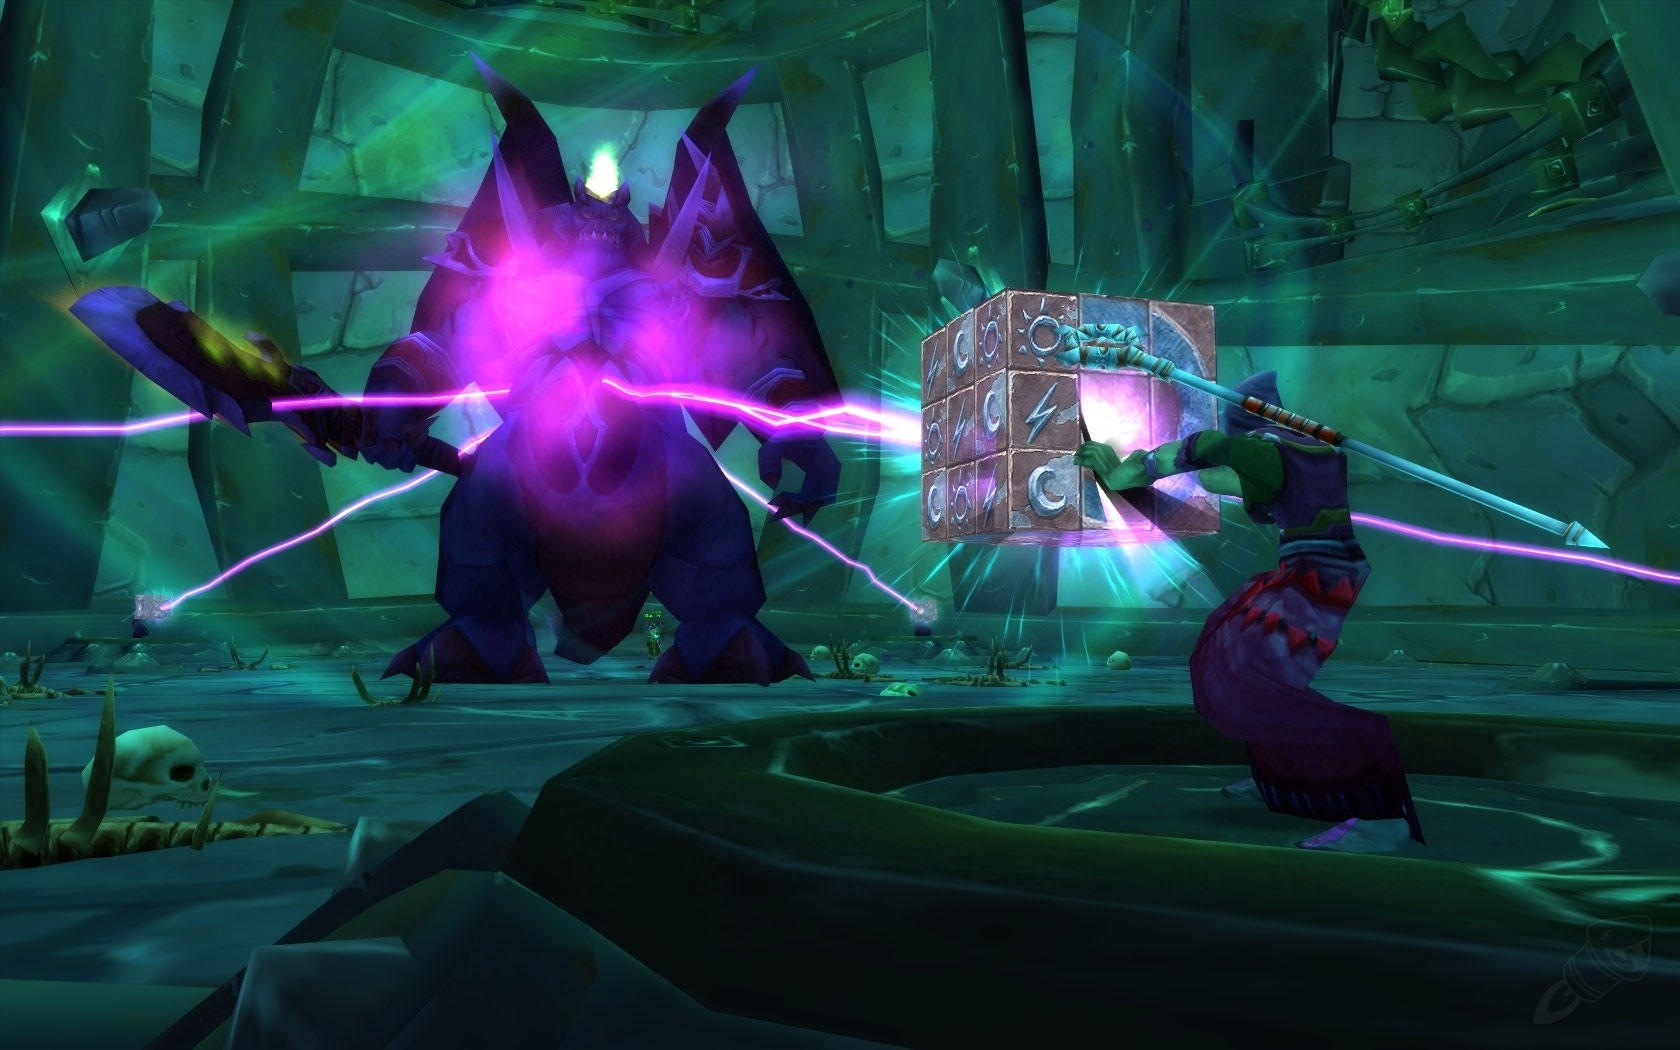
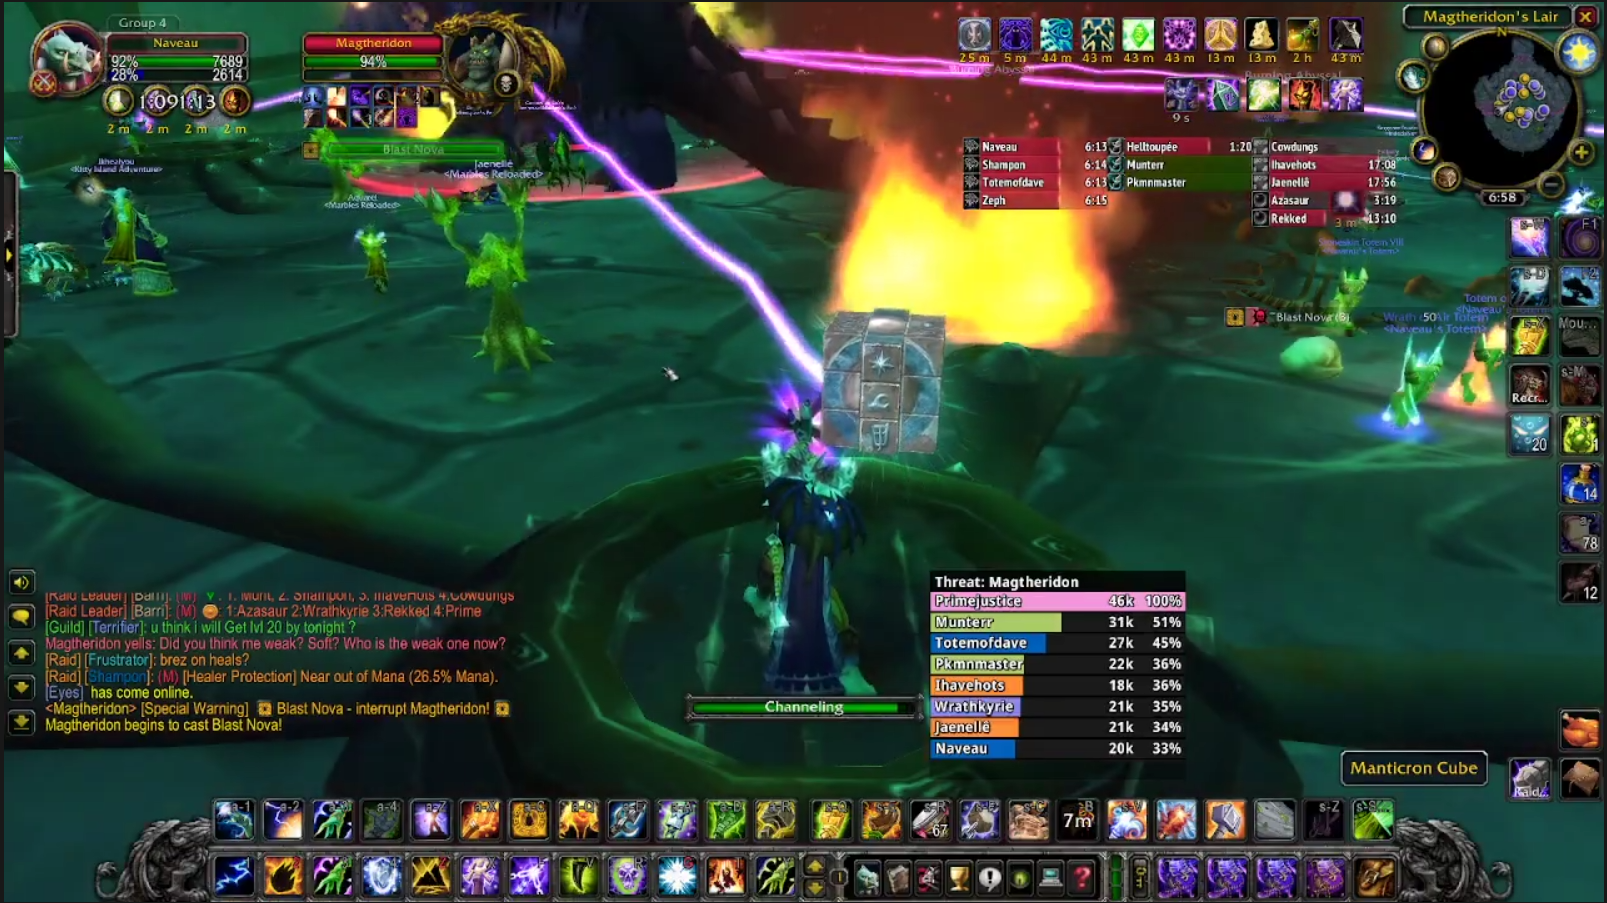
The big deal here is blast wave. I've mentioned it a couple of times now, but it's a channeled cast that deals fire damage to the raid. If he gets a full channel off on the spell, it will wipe the raid. If he gets a partial channel off of the spell, it'll demolish the healer mana. So players in cube teams have to be quick, but accurate.
How it works is that when Magtheridon begins to cast blast wave, five players need to channel manticron cubes at once. When all five work at the same time, Magtheridon will be temporarily banished, interrupting his cast and increasing the damage taken by the boss. However, there's a catch - the cubes deal heavy feedback damage, which must be healed.
As a general rule of thumb, healers should not be assigned to cubes (for obvious reasons) but offtanks should channel as much as they can as their defensive gear and high hitpoints make them much better suited to handle the feedback damage.
Be warned, though, the cubes are pretty temperamental. There's a long list of things that interrupt a cube channel. Auto attacks, auto shots, casting any spell of any kind (duh) - all of them will stop the channel. Early advice was for a channeling player to cancel all casts and auto attacks, then take their hands off of the keyboard.
It also bears mentioning that the banish effect only works when all five players channel at once. If a player dies, or clicks too early, or someone doesn't channel a manticron cube, the effect doesn't work and you'll either get a raid wipe or Magtheridon will come out of banish early. It's important that cube teams communicate and only initiate the channel when they're told to by the raid leader (or designated shotcaller).
Clickers, as they're known, should also be prepared to drop the channel if something happens to one of the other clickers, as at that point they're taking damage for no reason.
One last thing - Magtheridon will periodically spawn fire at a player's location, which deals damage (duh). Don't stand in the fire, your DPS will not be higher. But it ties into the previous ability because if you take damage whilst channeling, it'll get cancelled.
If players camp on the cube platforms, there's a risk and then channeling the cubes will become impossible - so players should stand some distance away to prevent this, running in to start the channel as late as possible. But not too late, or the raid will be dead and it's another runback for you.
At 30%, the boss moves to phase three - and boy howdy, he's going to make you work for your purple pixels.
Tactics - Phase Three
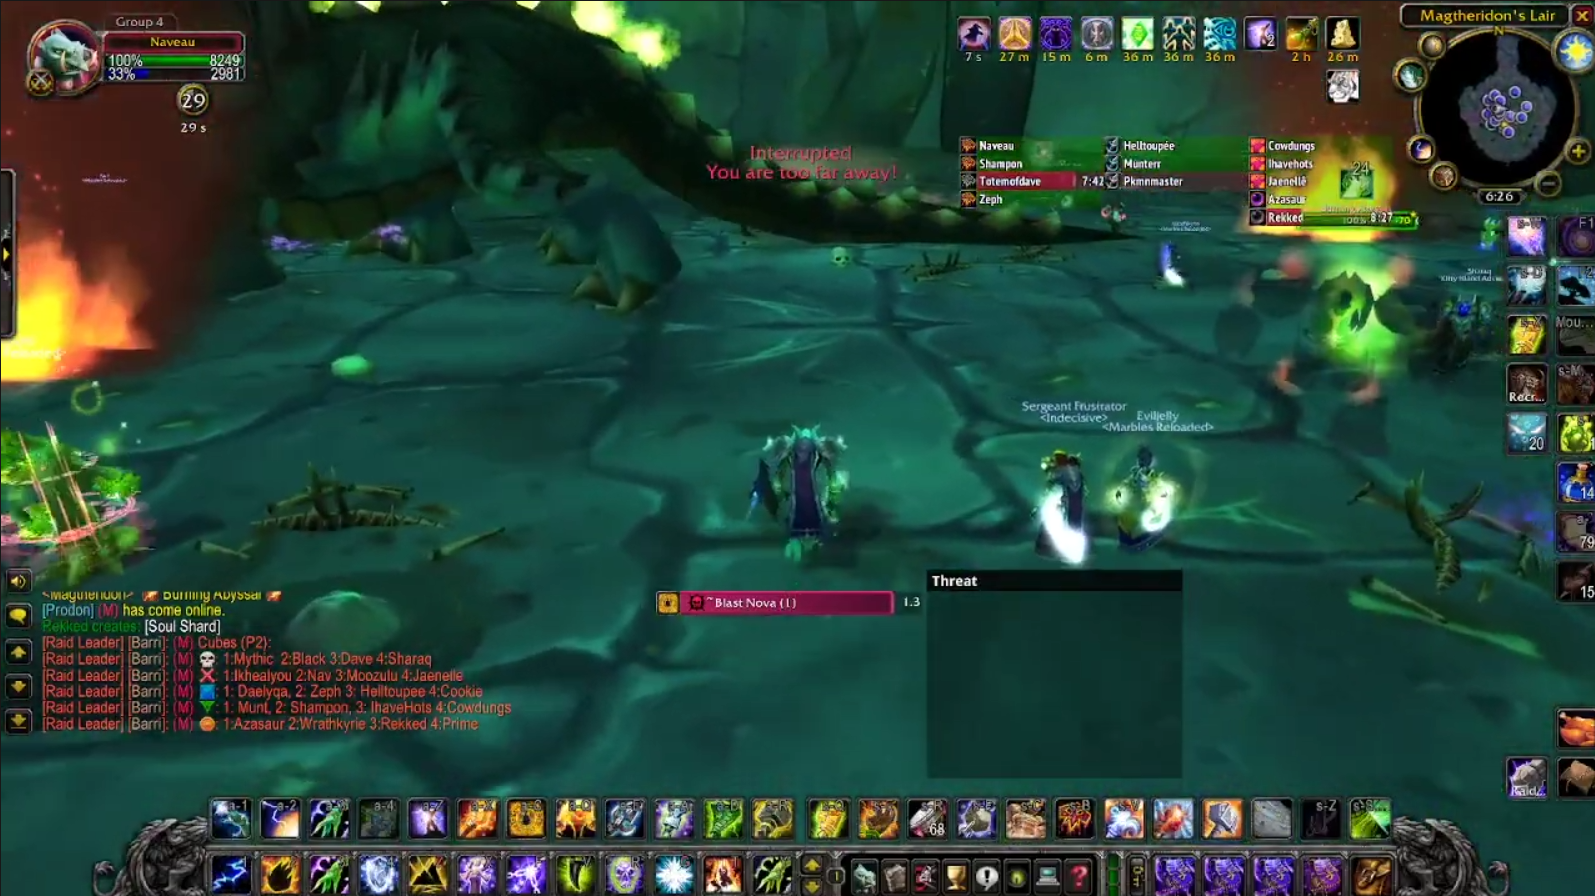
At 30%, Magtheridon has a massive dummy spit and smashes up Hellfire Citadel. He stuns all players in the room (everyone has to be in the room, so that means everyone) and then deals a monstrous amount of raid damage. It is also possible to be standing in what I can only describe as a "super death zone" which isn't well advertised, which will instantly kill a player. Fun fun fun!

The cool story here is that immediately after stunning the raid and obliterating them with raid damage, Mag then immediately goes back to smashing your tank AND casting blast nova. It is possible to roll snake eyes on the RNG table and have Magtheridon immediately cast blast nova after stunning and smashing the raid for damage, which is a guaranteed wipe.
To counteract this, best practice is to stop damage at 35%, let Mag cast blast nova, push him into the phase 3 transition and then try and survive the huge raid damage. This is a big early opportunity to players to learn about the value of healthstones. Swallowing an evil baseball immediately after the damage will add half your health bar or more, which can be massive if you have to click a cube or you're a tank about to get smashed by Mag.
Once all that excitement ends, assuming your tank didn't get obliterated by Mag whilst your healers were stunned, and you can stabilise the rest of your raid and your click team, it should be a fairly straightforward run to the finish. Stay out of fire, click the cubes for blast nova, do a lot of damage, be a chad.
Once Mag'theridon falls, your reward will be the most powerful purple pixels in all the land - including the coveted Pit Lord's satchel, a 20-slot bag.
Conclusion
As I've mentioned a number of times, Magtheridon isn't hard anymore. He was a challenge when people were doing heroic dungeons in greens, blues and unenchanted Kara epics. He even had a few teeth in early phase two, when Serpentshrine Cavern and Tempest Keep were truly monstrous by comparison.
But it is the challenge that makes the reward valuable. The harder the shell, the sweeter the meat - and I do regret not killing Mag at the height of his powers. When I killed him, it was a far easier fight and everyone had moved onto the new hotness of SSC and TK. But those are stories for another time.

Additional Resources
Here's some prenerf wipes of Magtheridon after a Gruul kill in Phase One - timestamp of approximately 1:21:00
And here's a Gruul and Mag done in Phase 4 with a mixture of undergeared and overgeared raiders. The paladin tank in particular was so geared, he had issues with mana and so had to stand in fire.
Catch you next time,
Vulkan
Did you like this article? Did you hate it? Go over and keep the discussion going on the official Vulkan's Corner facebook page! - whilst you're at it, leave a like!
