I had a lot of goals coming back to TBC classic. Raid properly. See all the content at its most relevant. Record it all so I didn't have to play it again.
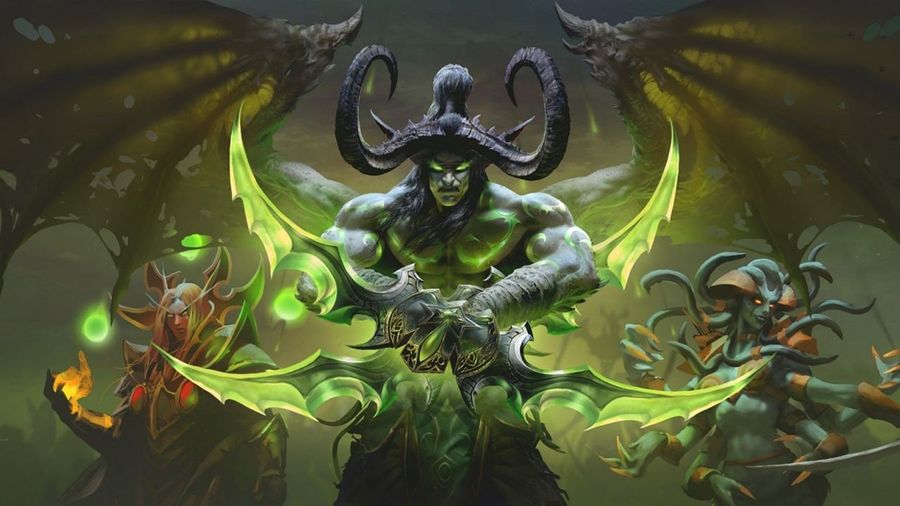
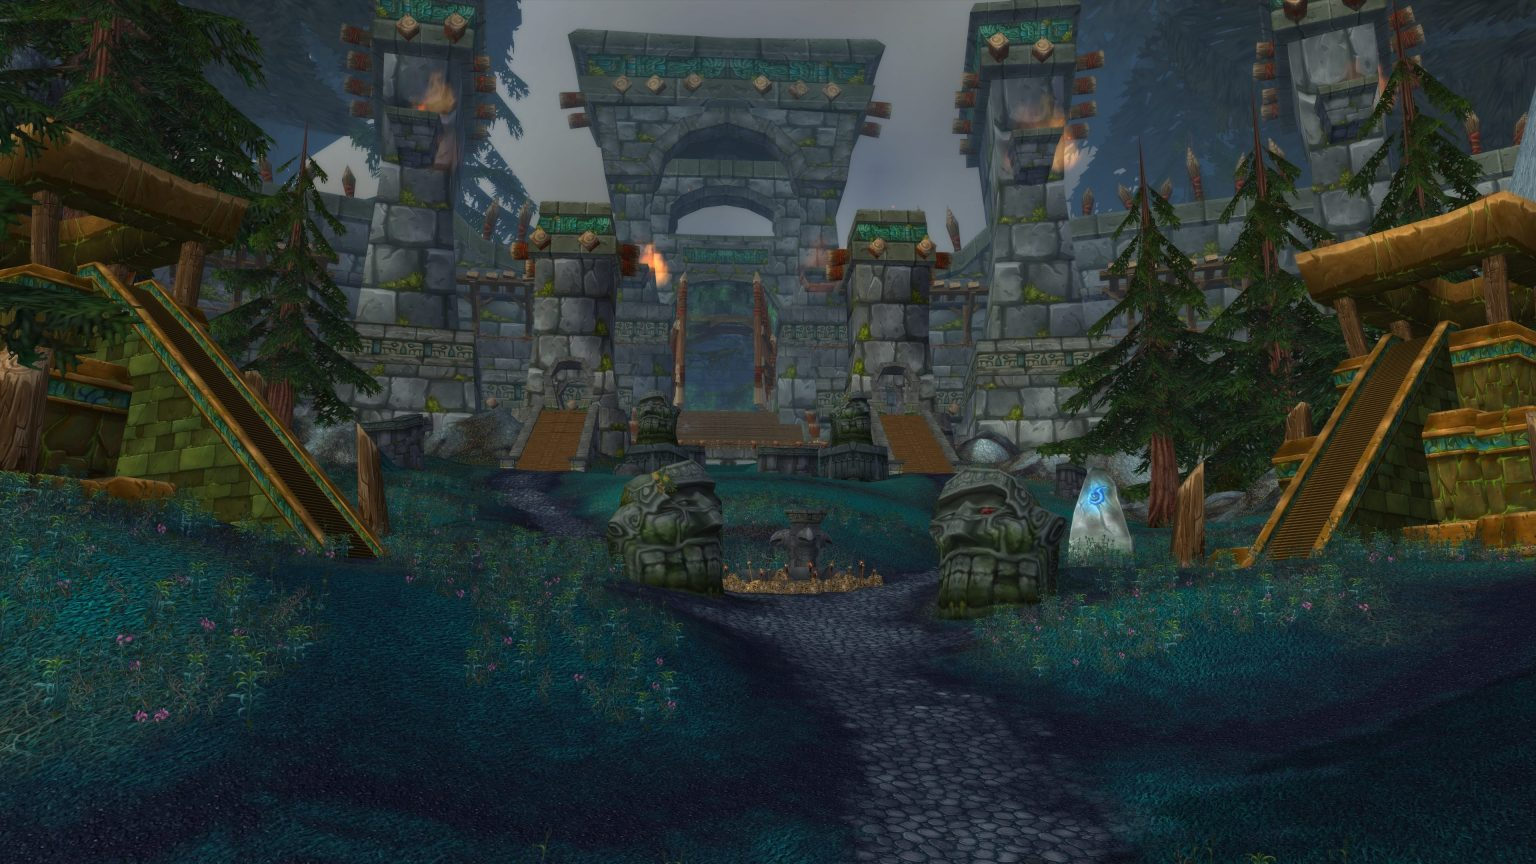
But the instance and part of the expansion I was most looking forward to, was Zul'aman. Again, one watch of the trailer and you'll want to march into ZA and punch trolls in the face.
The music, the design, the voice acting - the everything! All amazing. Completed with the tag line, dripping with malice, delivered by Zul'jin:
"This is our land! You wanna stay, you stay here forever. We gonna bury you here..."
Zul'aman was released in phase four. Apart from this raid, there's comparatively little here. It is almost a mini-phase. There's additional gear available for badges of justice, which is comparable to gear from phase 2, intended to catch players up who missed earlier phases, or gear up alts. (Although there are some best in slot items for classes, such as a wand for mages, and a tanking neck for warriors.)
Black Temple and Mount Hyjal, the crown jewel raids from phase three, also now drop badges of justice. Although at this point, unless someone in your raid desperately needs items from Mount Hyjal, its sheer annoyance factor caused most guilds to stop running it.
Phase four is a deep breath of sorts before the big shake-up of phase five. Lots of guilds and raid groups took the opportunity to scale back their operations in anticipation of a big final push. Ducks certainly did.
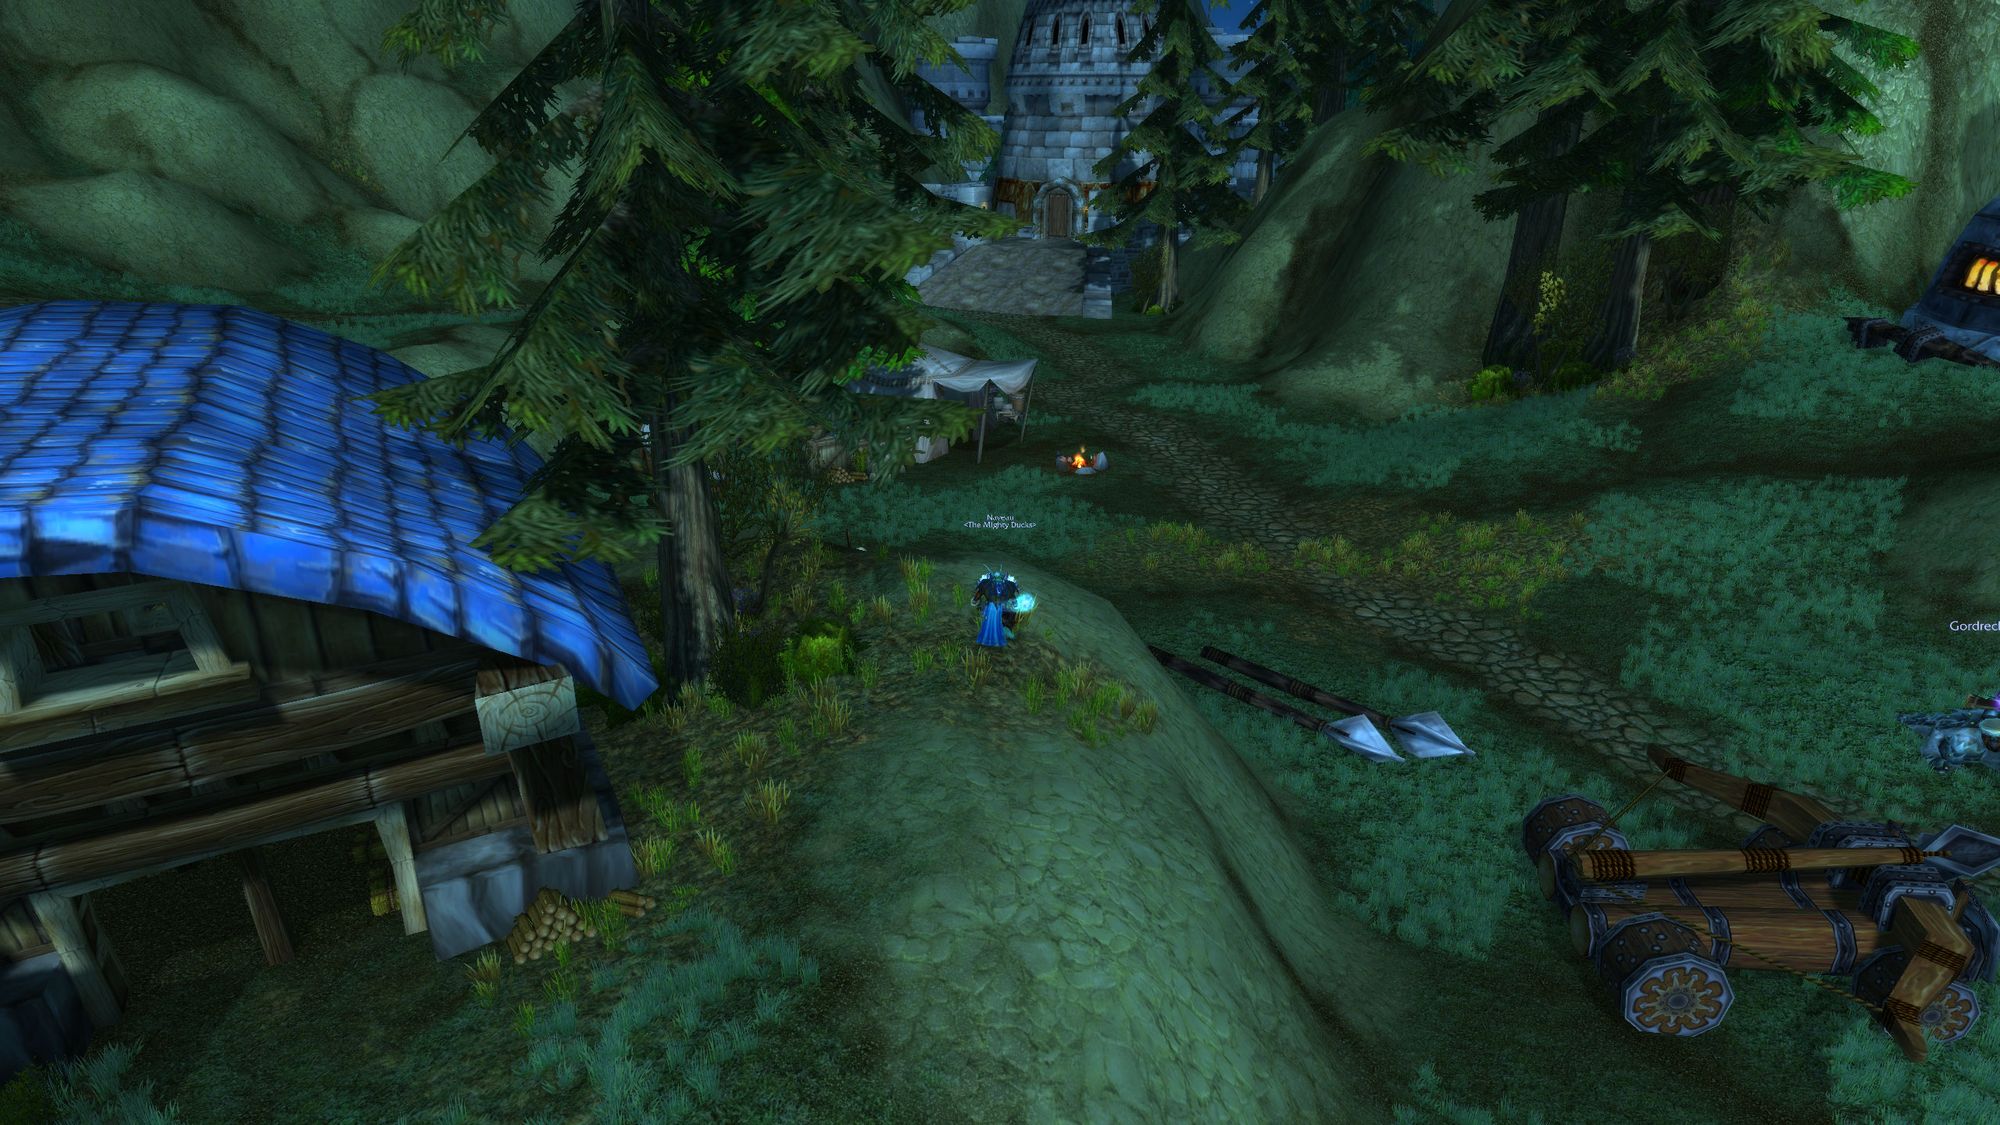
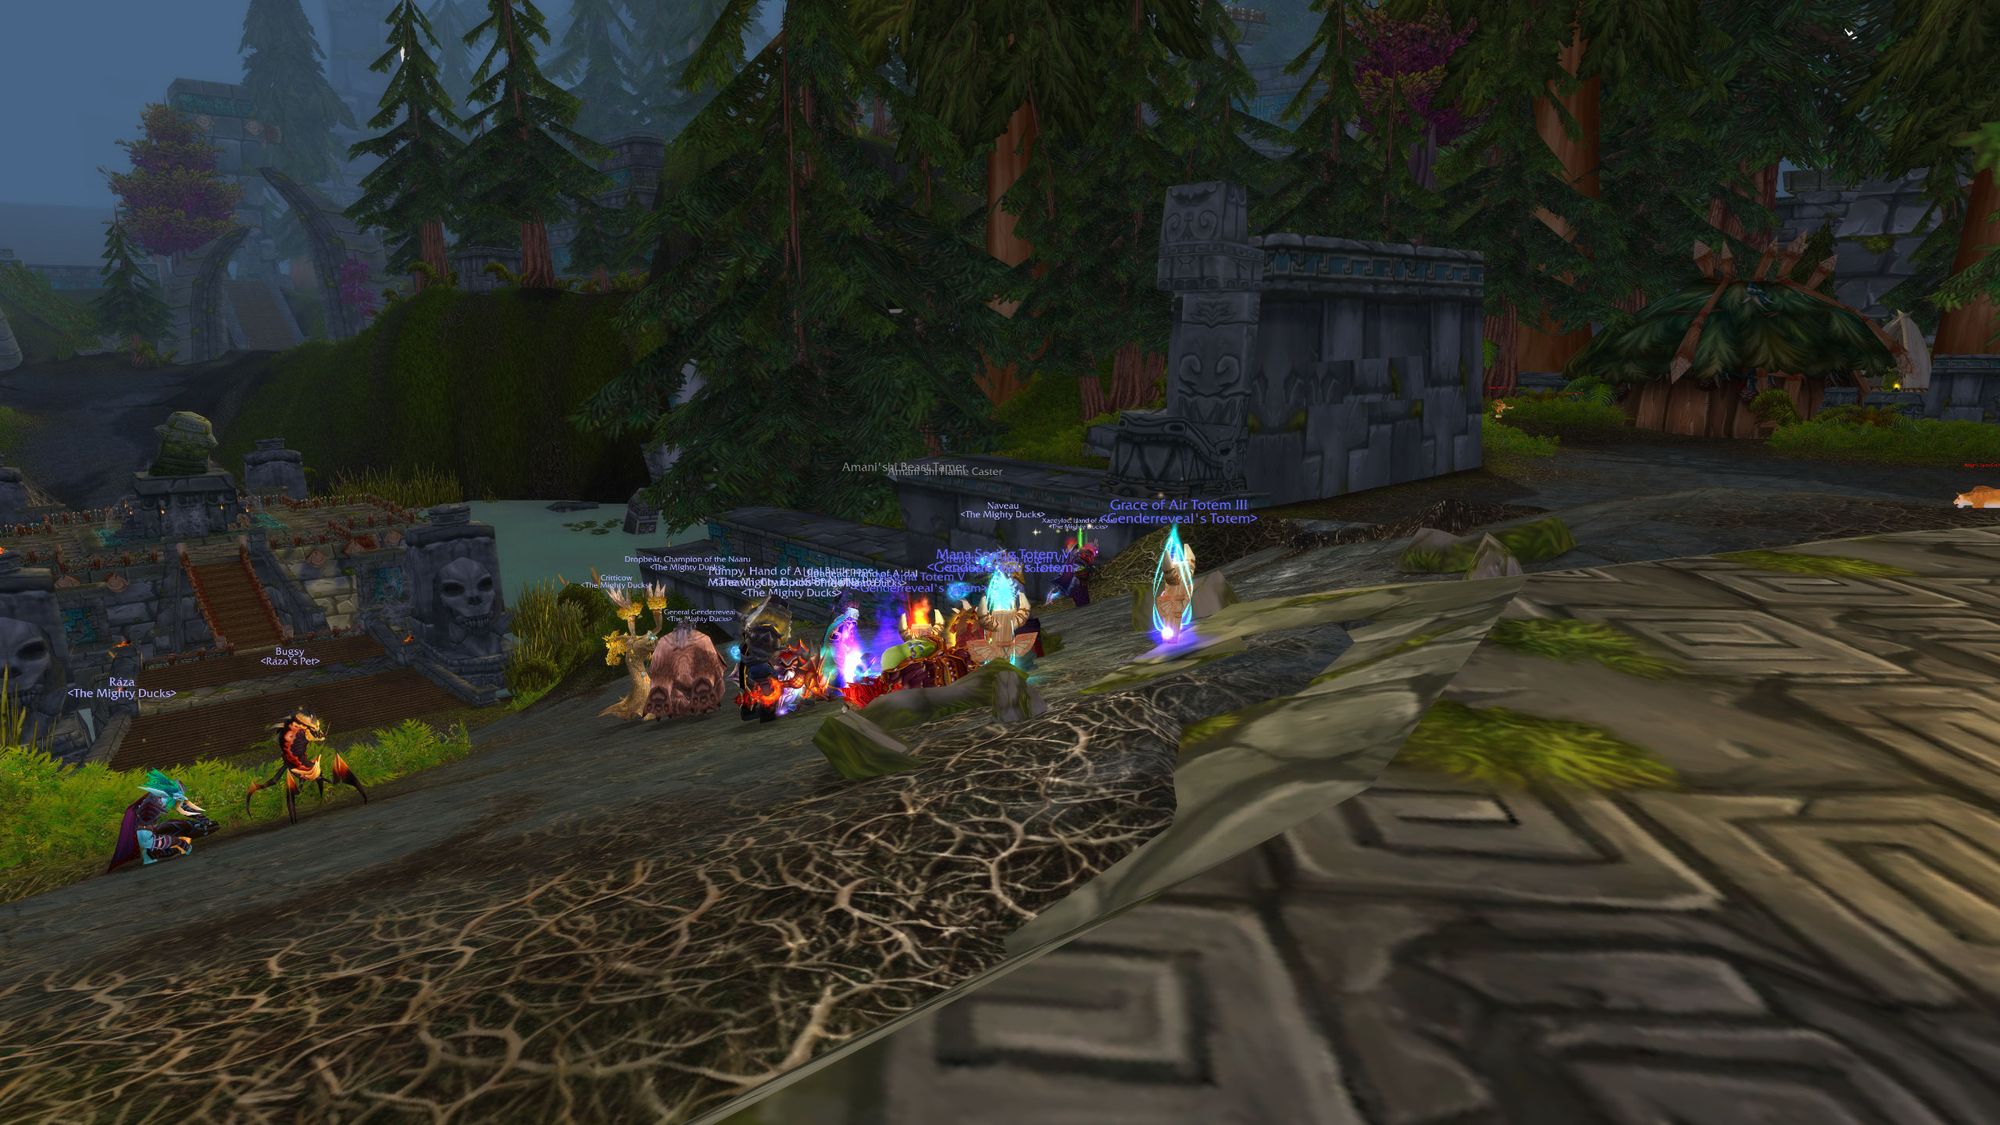
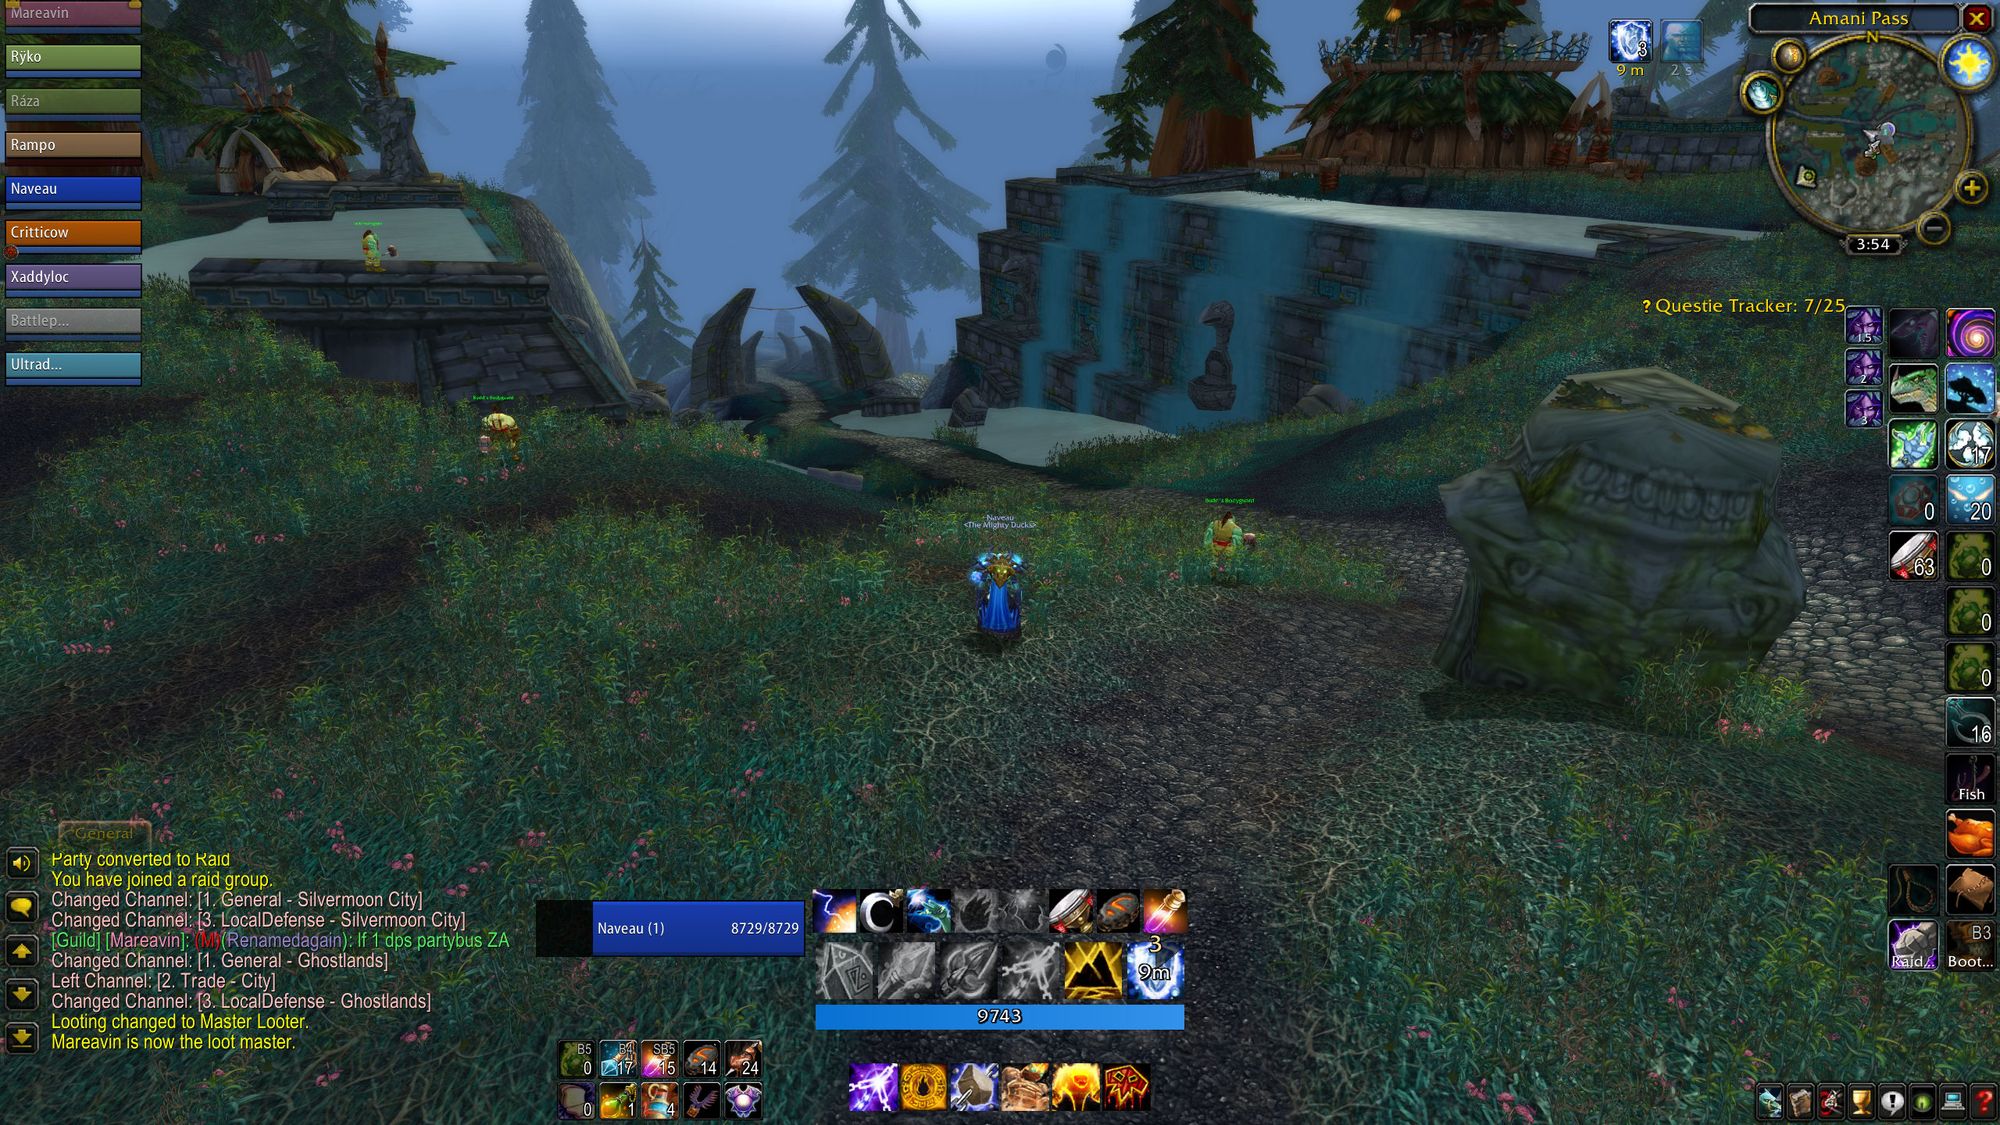
As I mentioned last week, attunements were done away with after Black Temple, so the only thing to do before heading in to murder trolls is rock up to Amani Pass. There's a flight master, and it's a short ride from Silvermoon City.
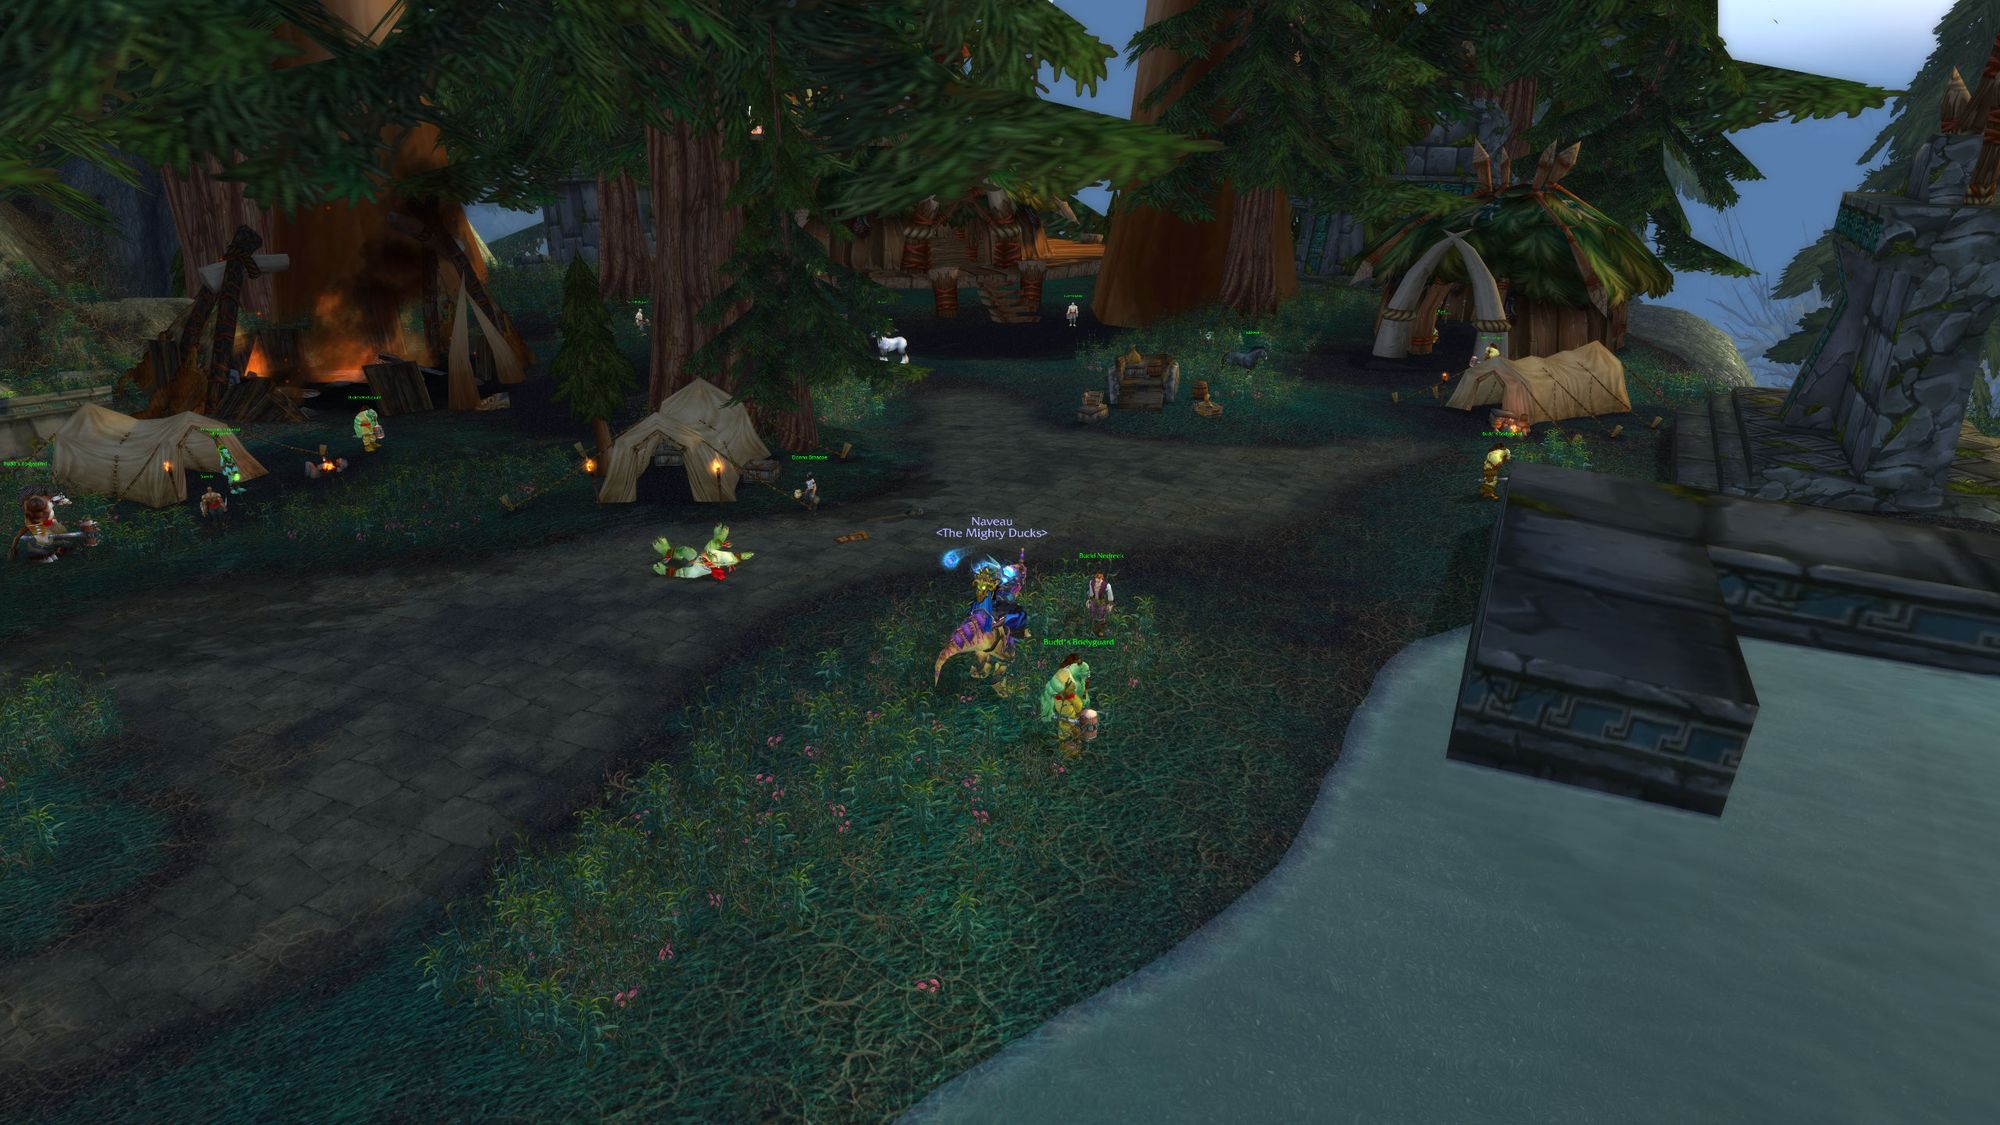
(Editor's Note: Just like Ogri'la and Netherwing Ledge before it, if you went to Zul'aman prior to phase four, you'd find a bizarrely unpopulated area. Interesting little tidbit there.)
Overview
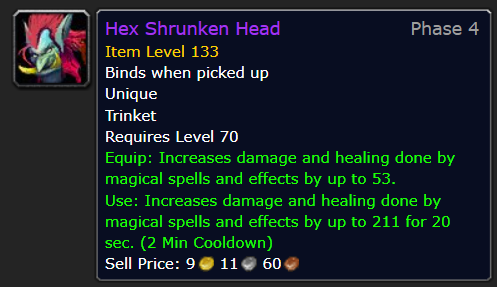
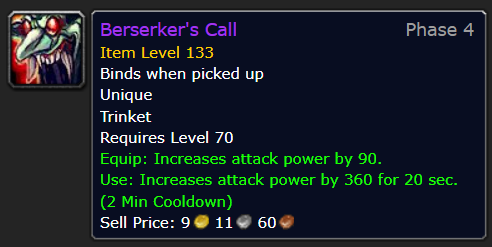
Zul'aman, much like its sister troll raid, Zul'Gurub in classic (and later when both raids were reimagined as dungeons in Cataclysm), this raid is intended fresh characters to get ready for the big leagues. ZA drops items on par with phase 2 loot. There are some desirable items that are best in slot, including the Hex Shrunken Head for casters, and Berserker's Call for physical DPS. Until you get a Blackened Naaru Sliver from M'uru, which is unlikely, you'll use DST/Call for the rest of the expansion.
Zul'aman also runs on a strange three day lockout. You can easily rack up tons of badges and (admittedly middling) gear by running ZA back-to-back-to-back, depending on what week it is.
Apart from a very slim number of items, there's also an incentive for players who are phase three geared - the timed chest.
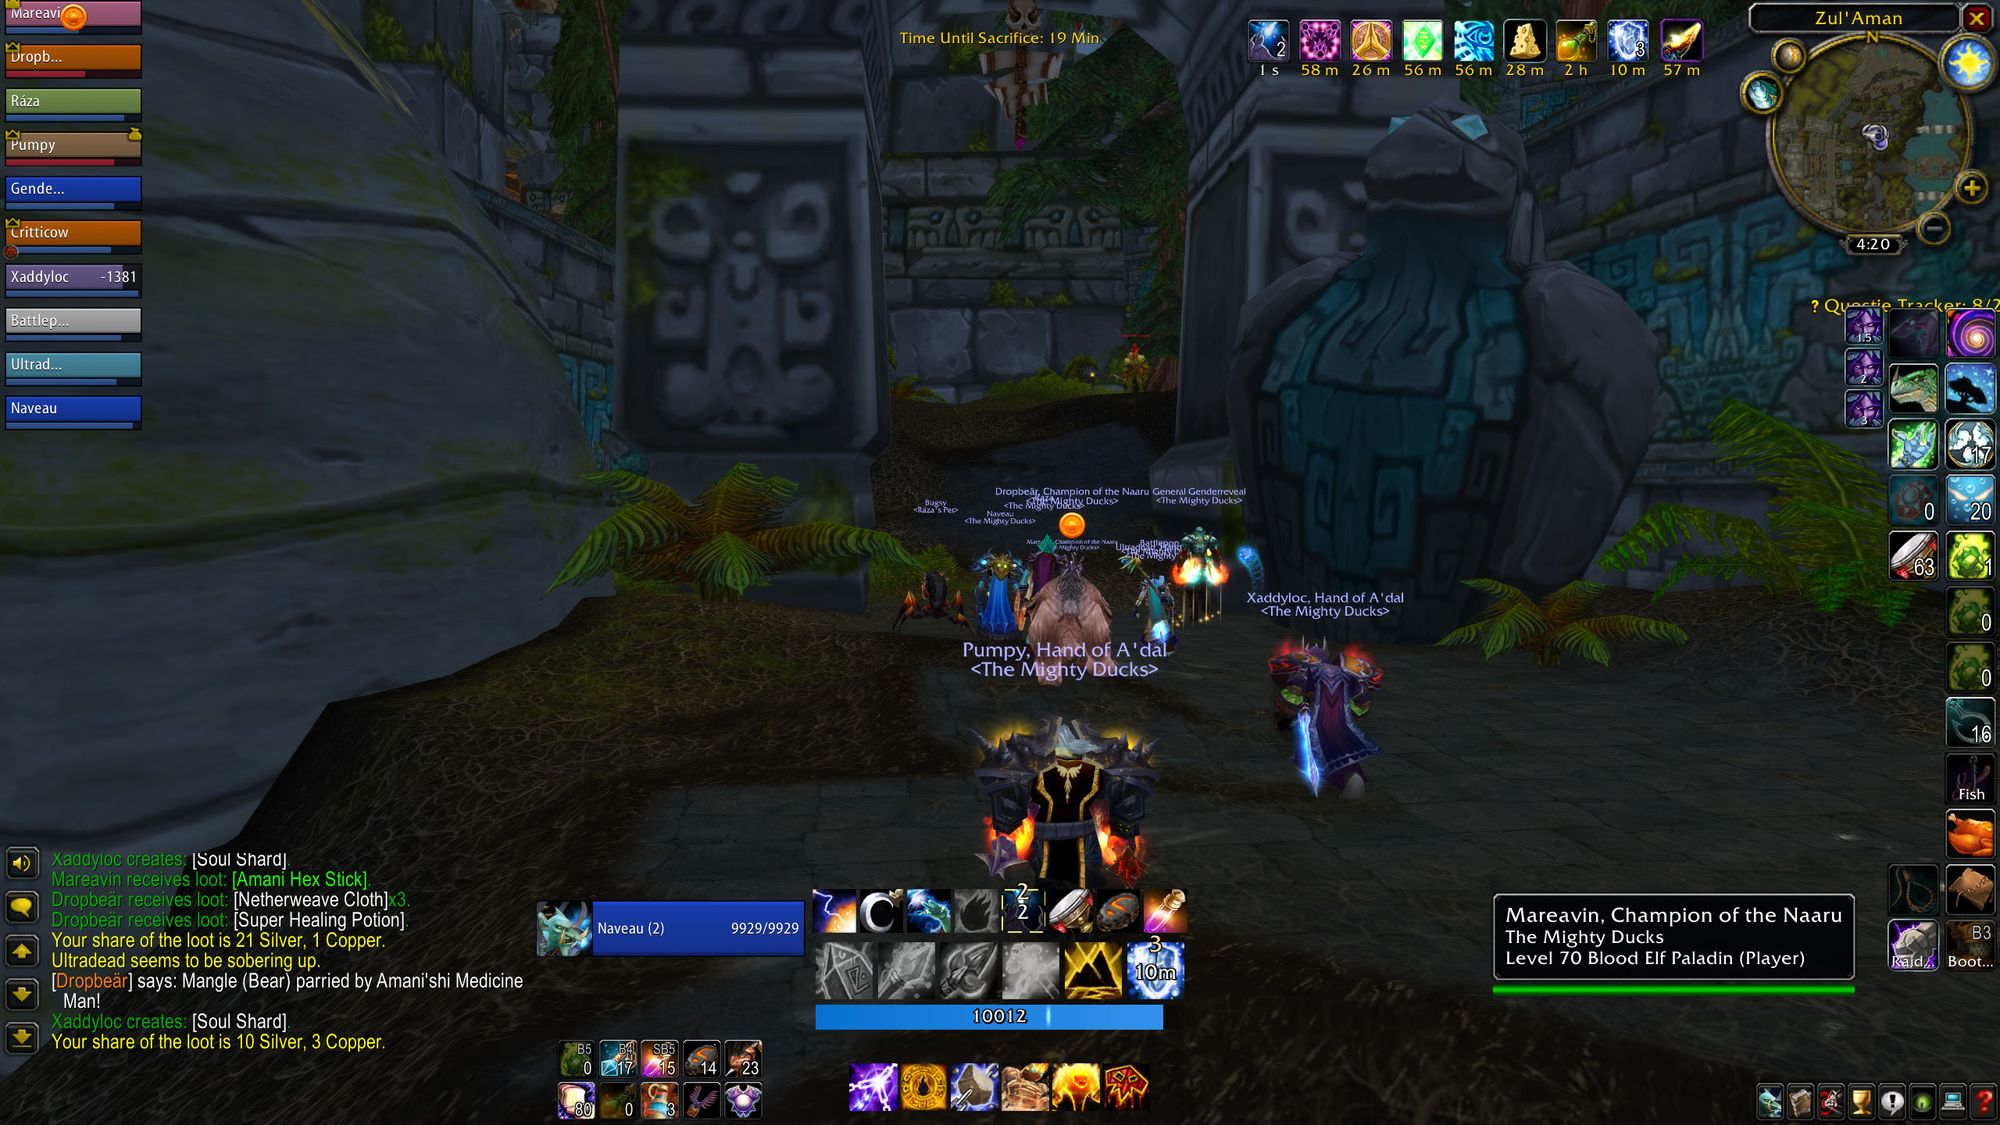
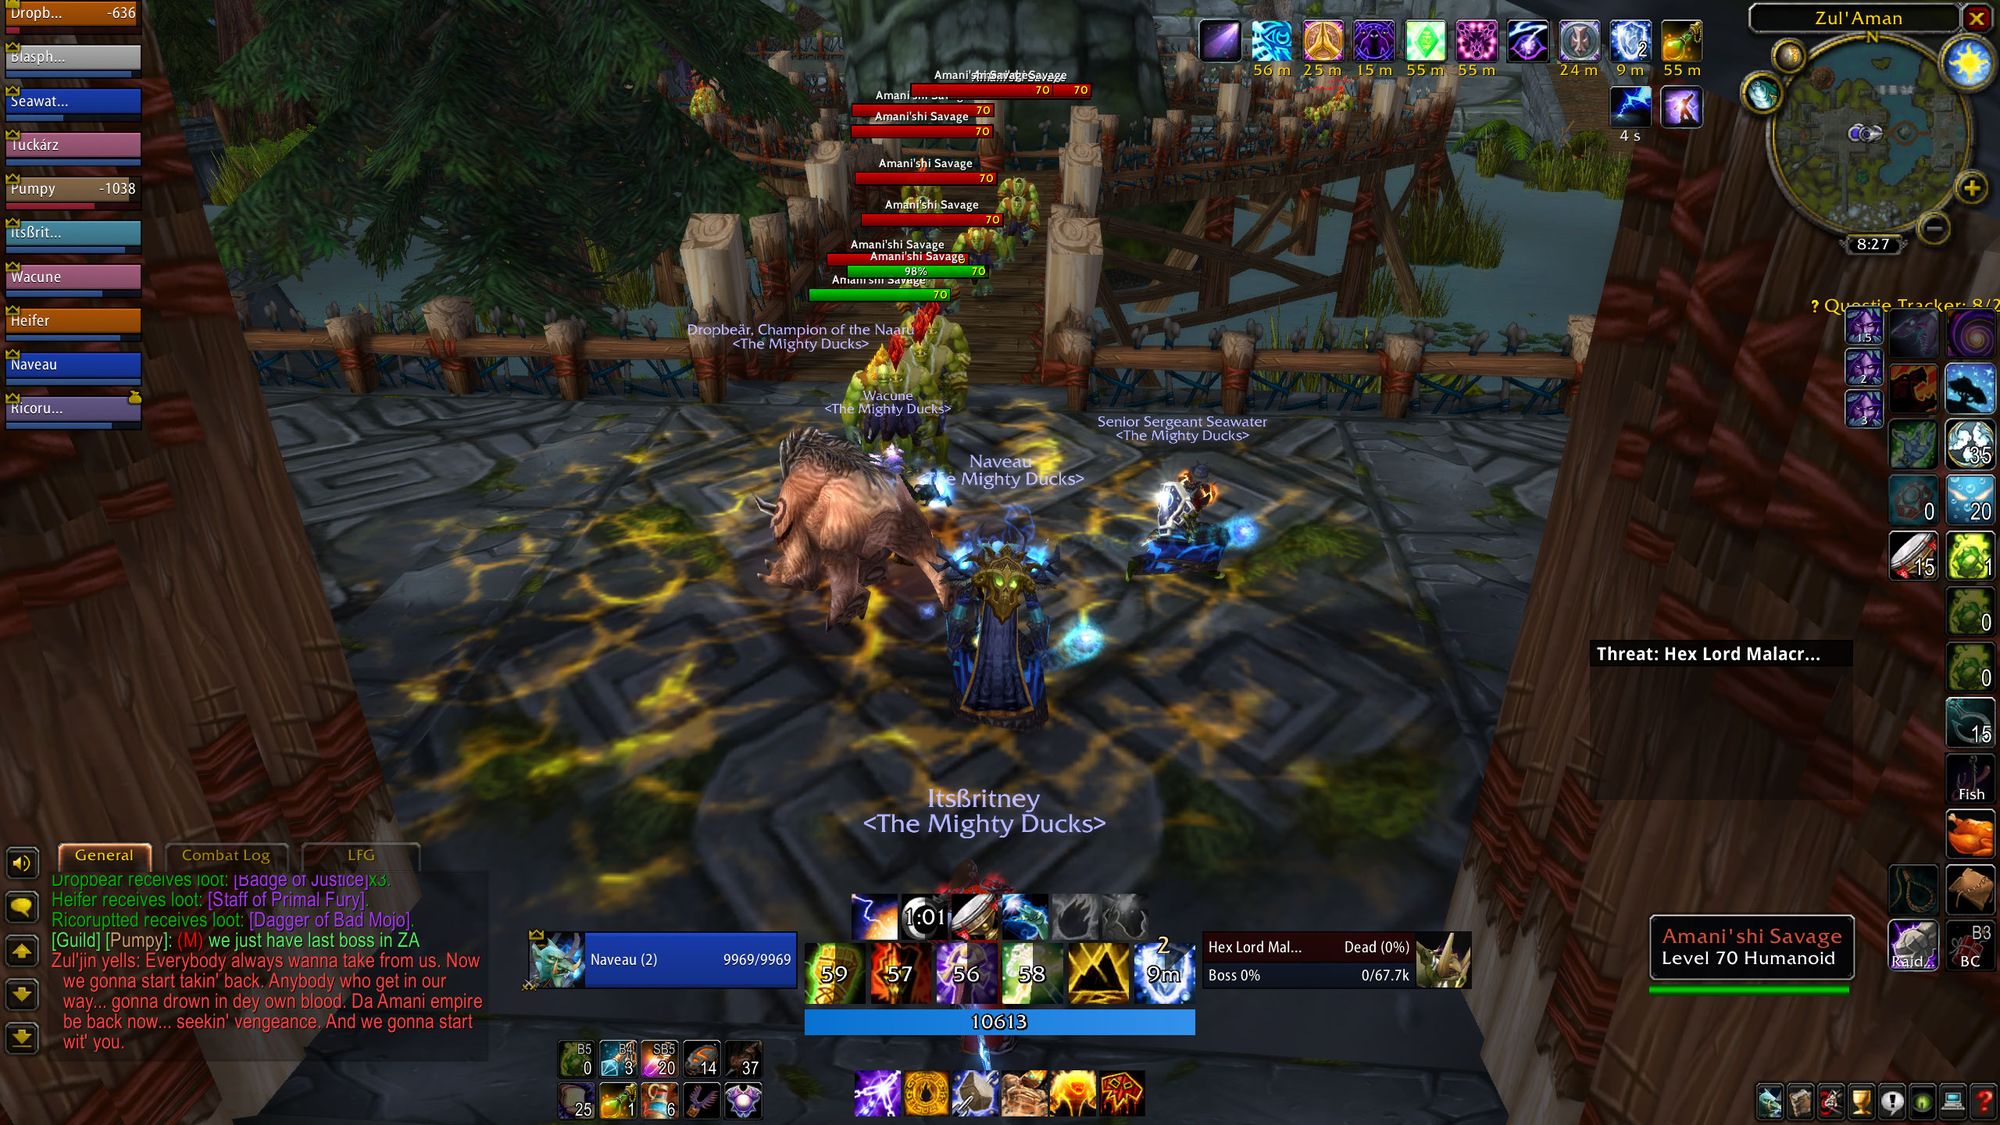
How it works, is that as you enter the raid, boss five, Hex Lord Malacrass, taunts you about four prisoners being held by each of the first four bosses. You're given 55 minutes in total (20 initially, 20 for killing boss one, 15 for killing boss two) to save as many prisoners as you can.
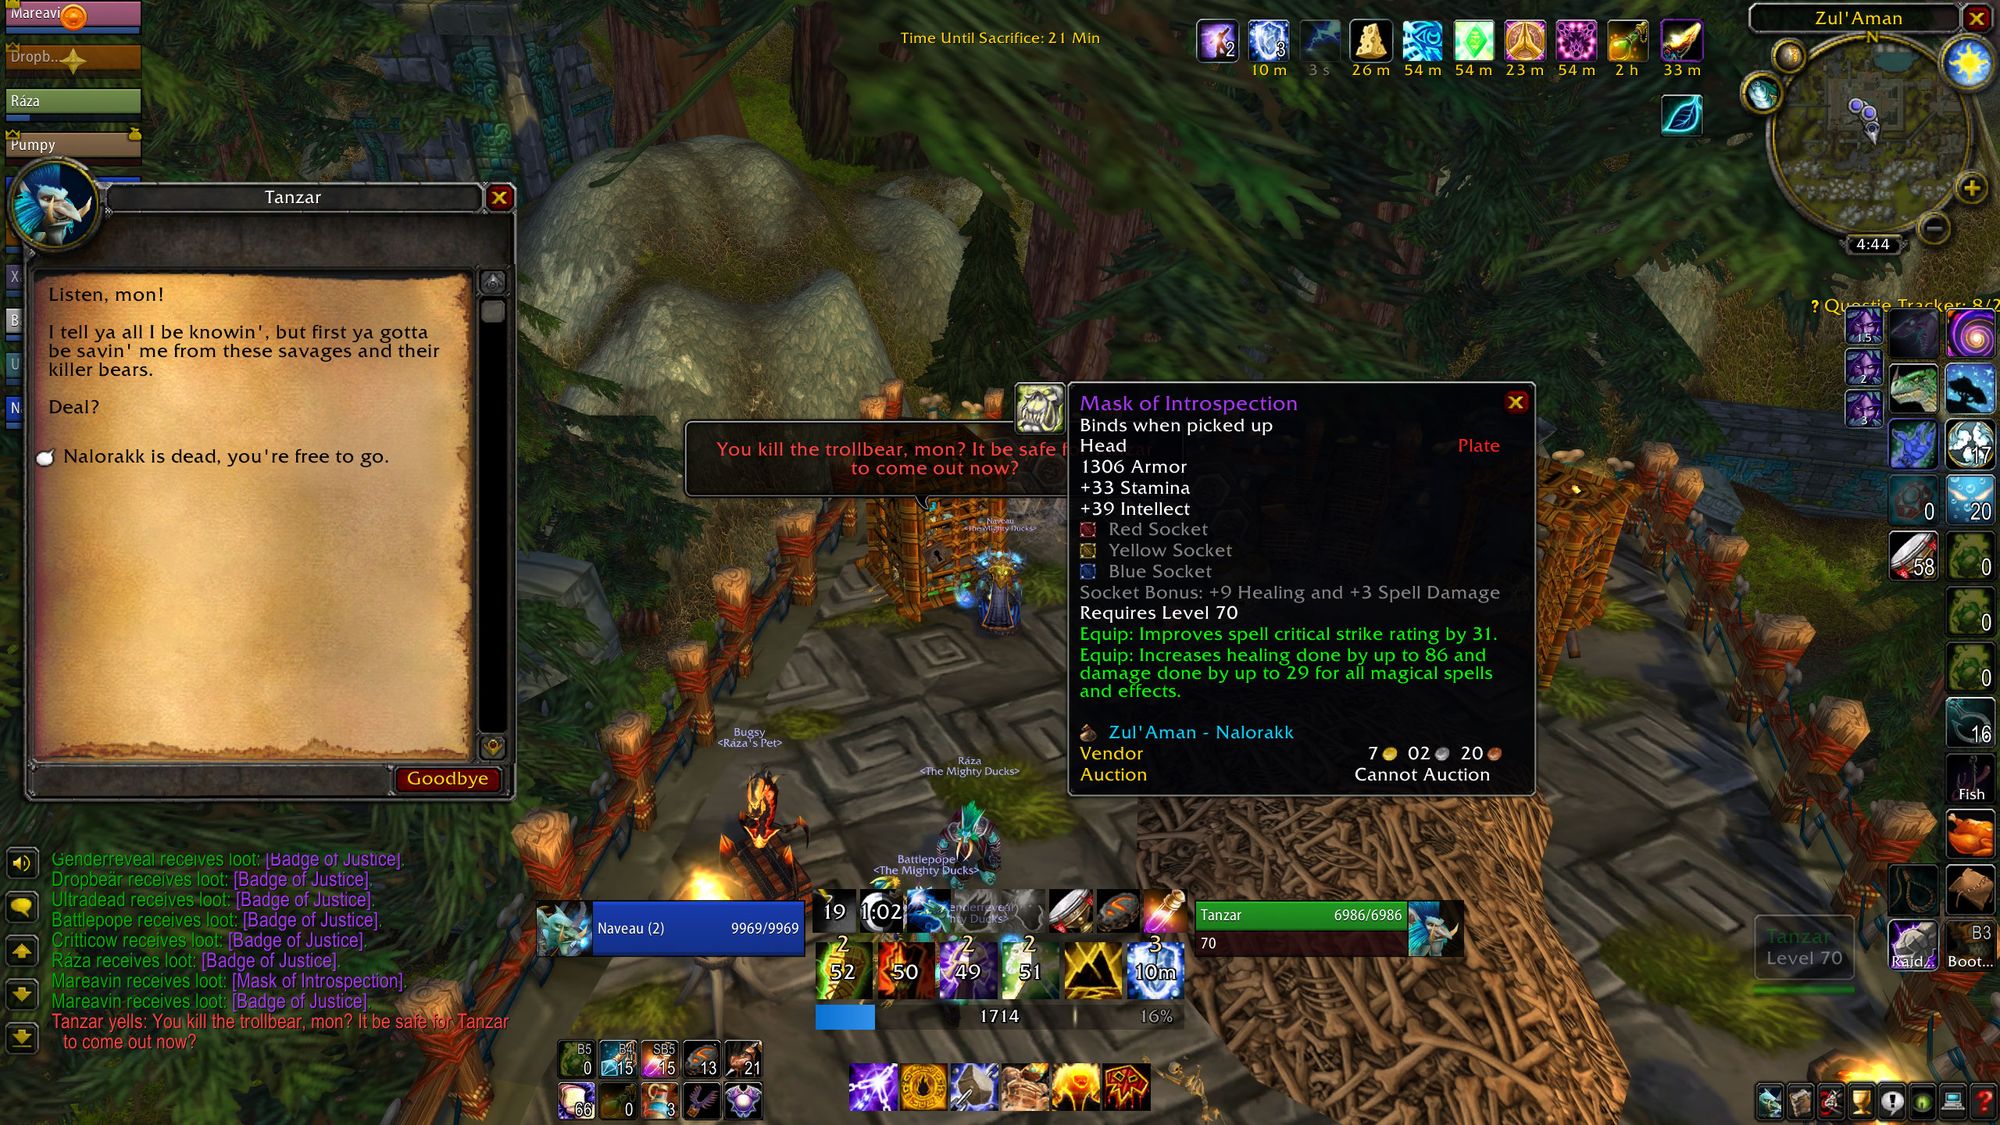
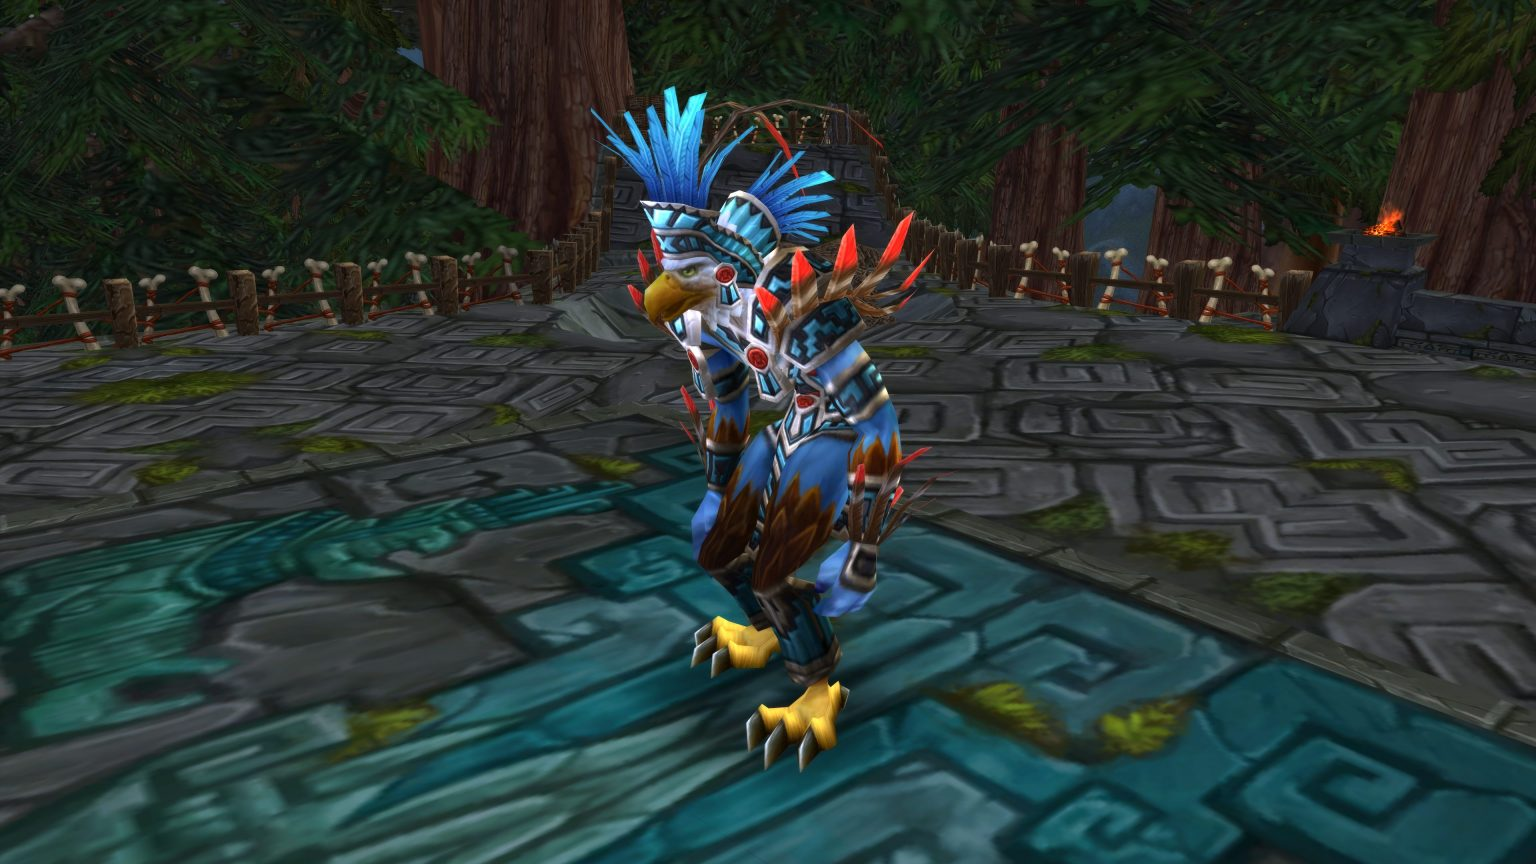
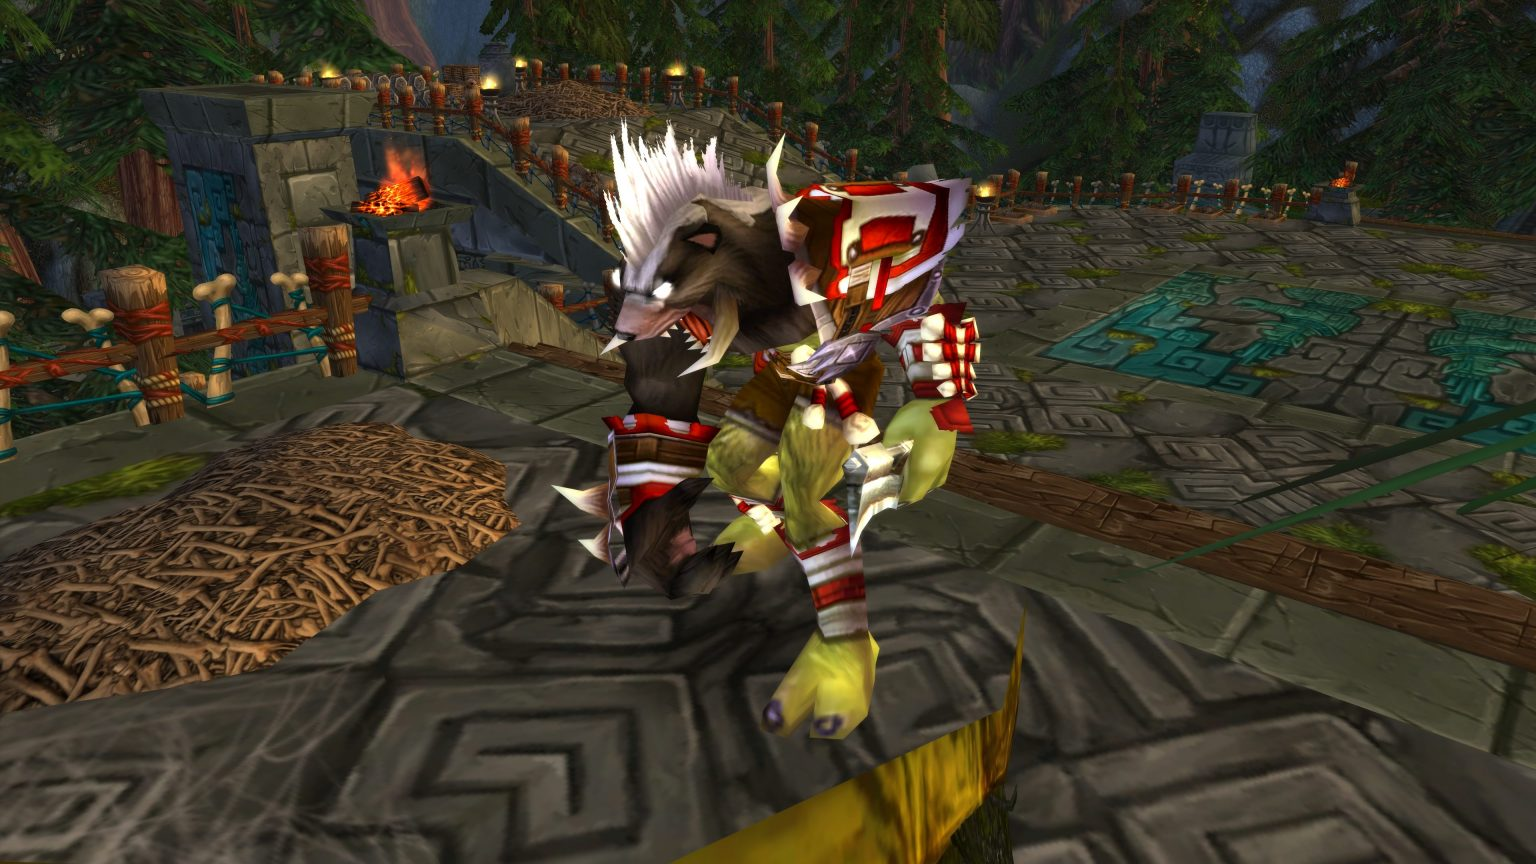
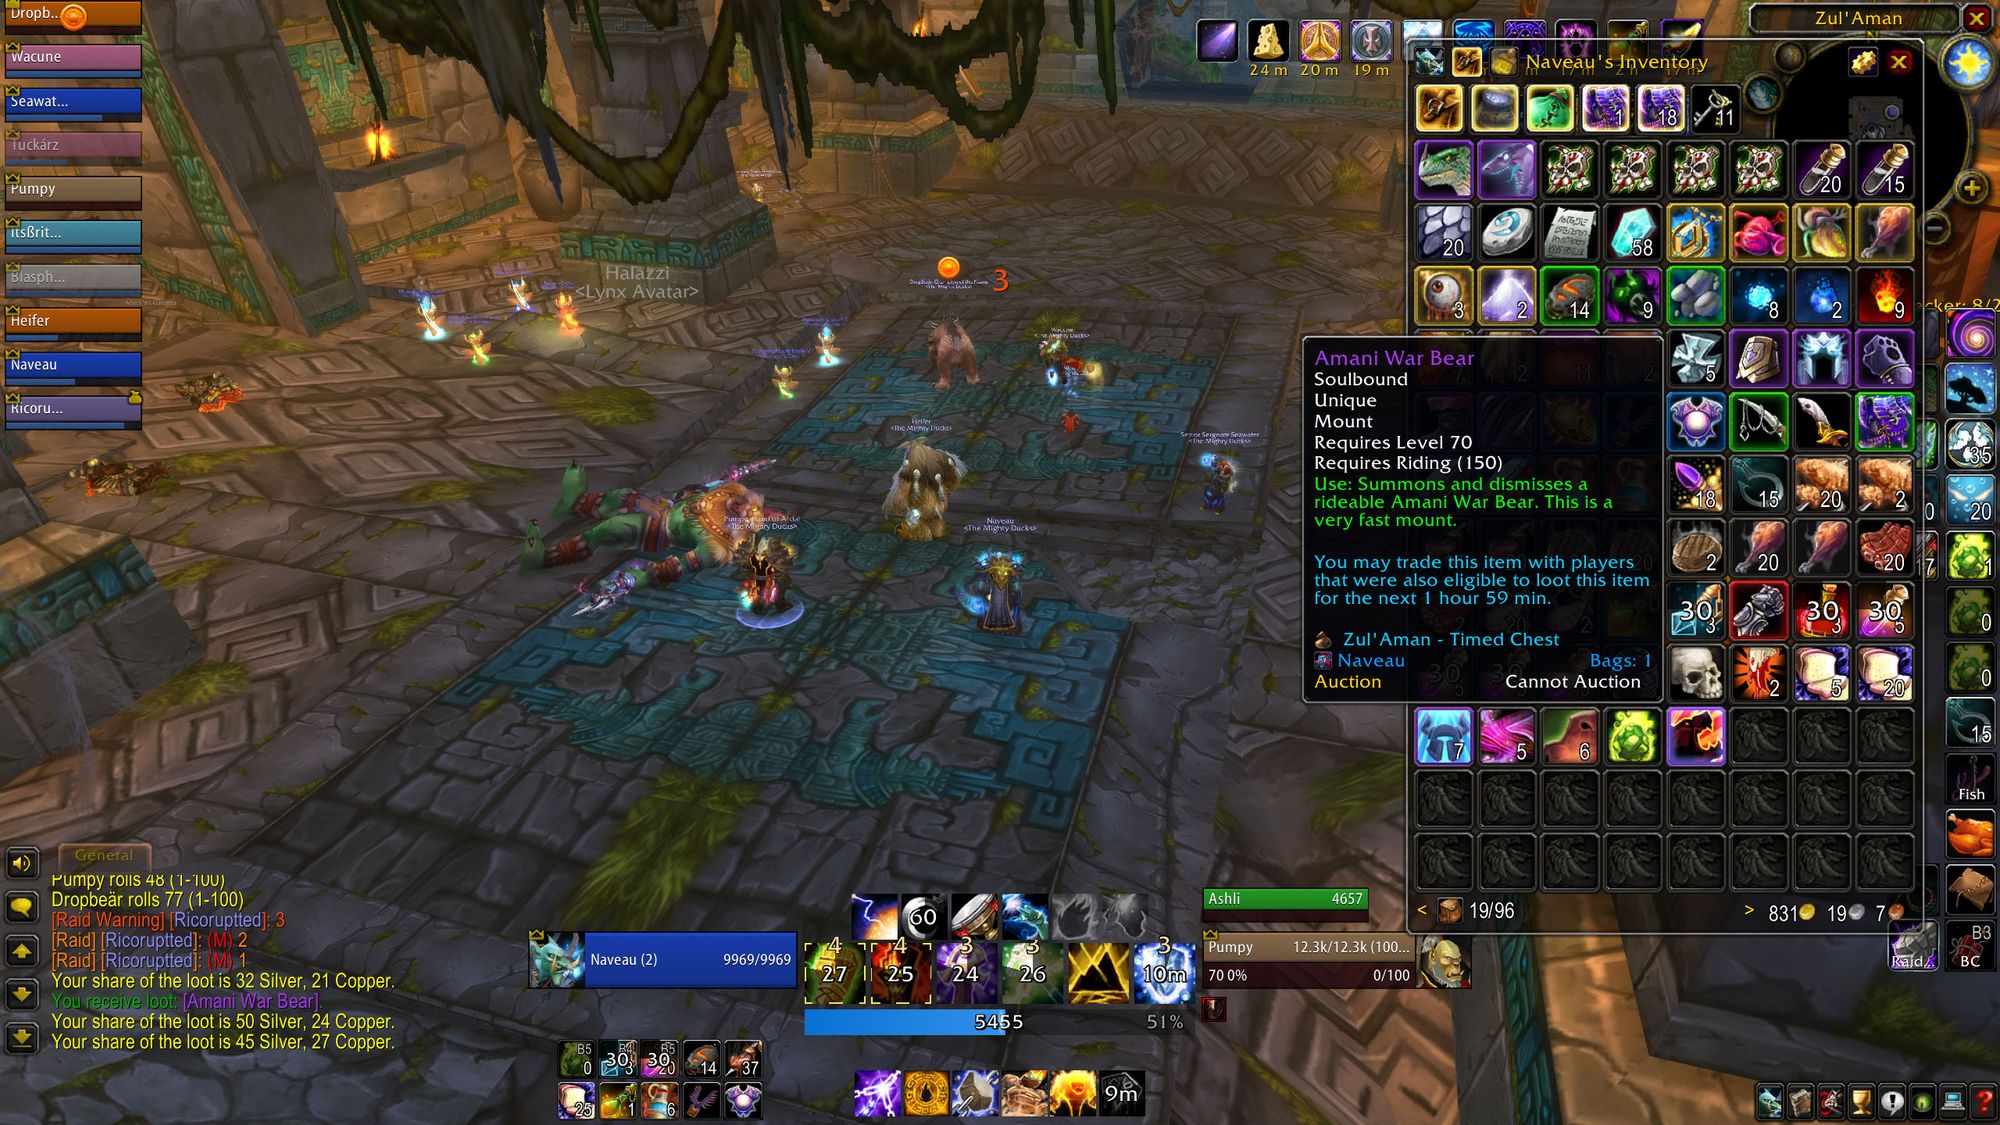
The first three prisoners give you an additional item, but the fourth prisoner gives you a special TBC-only mount - the Amani War Bear.
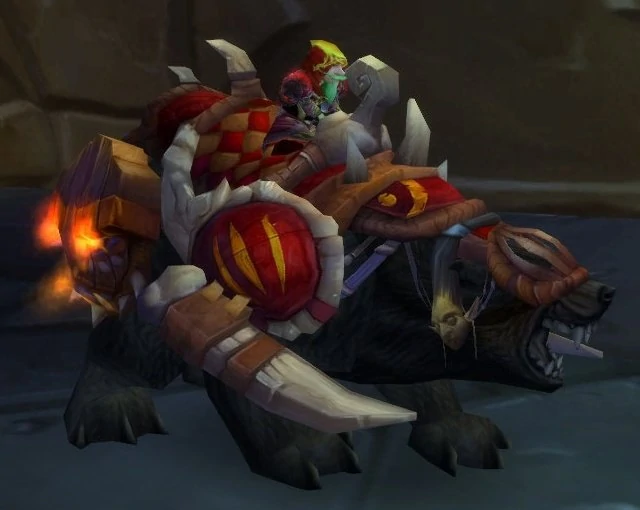
This mount was removed at the end of TBC - in a post from 2007, Blizzard staff confirmed they wanted the mount to feel special and exclusive.
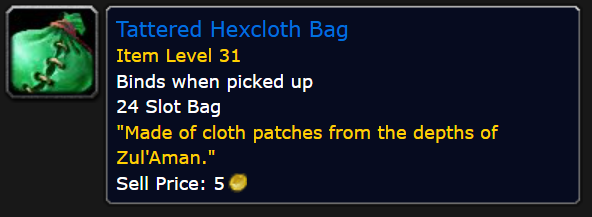
There's also a series of quests that give you a special 20-slot bag (which is two more slots than the most common bag of the expansion, the Imbued Netherweave Bag) a reasonable amount of gold, and some Badges of Justice. All very valuable things for a fresh level 70 character.
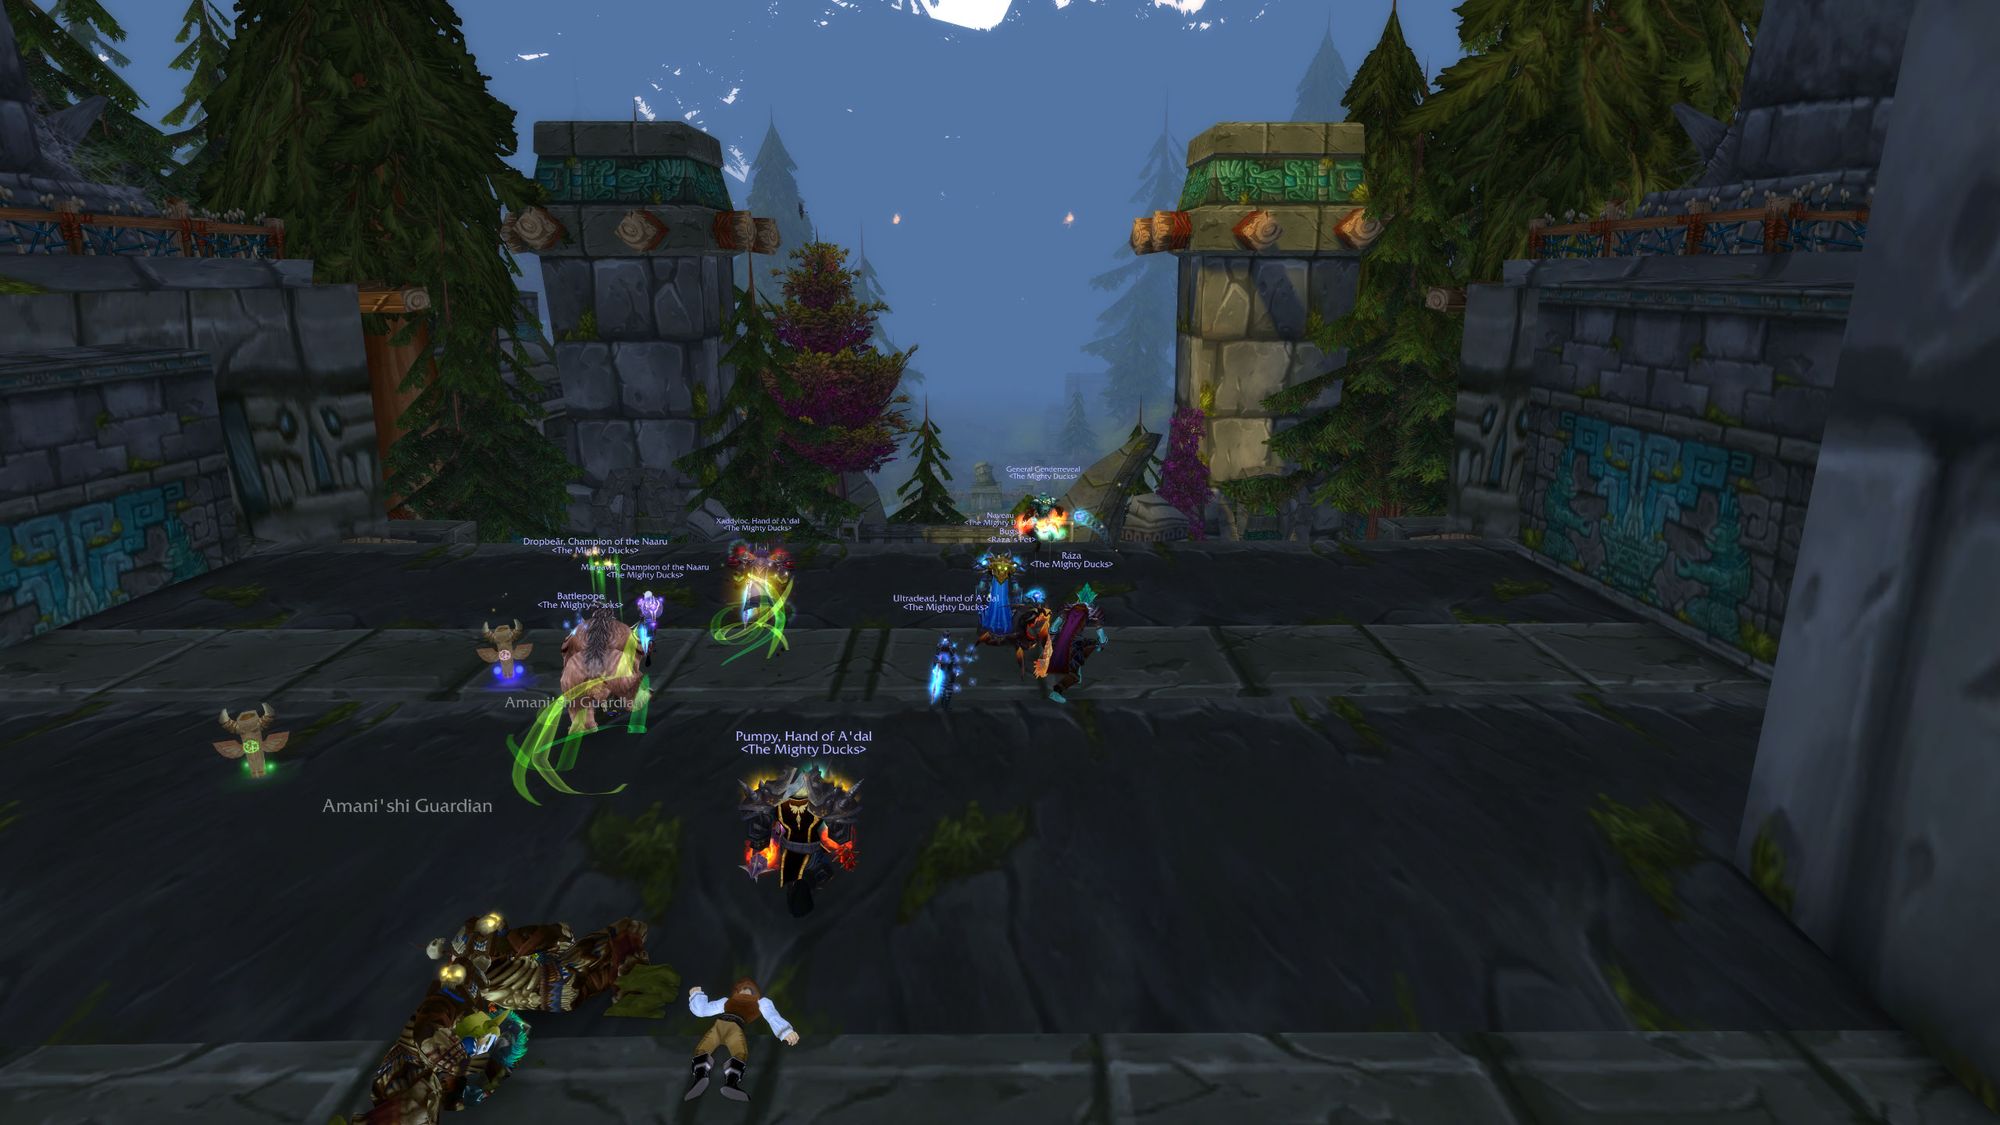
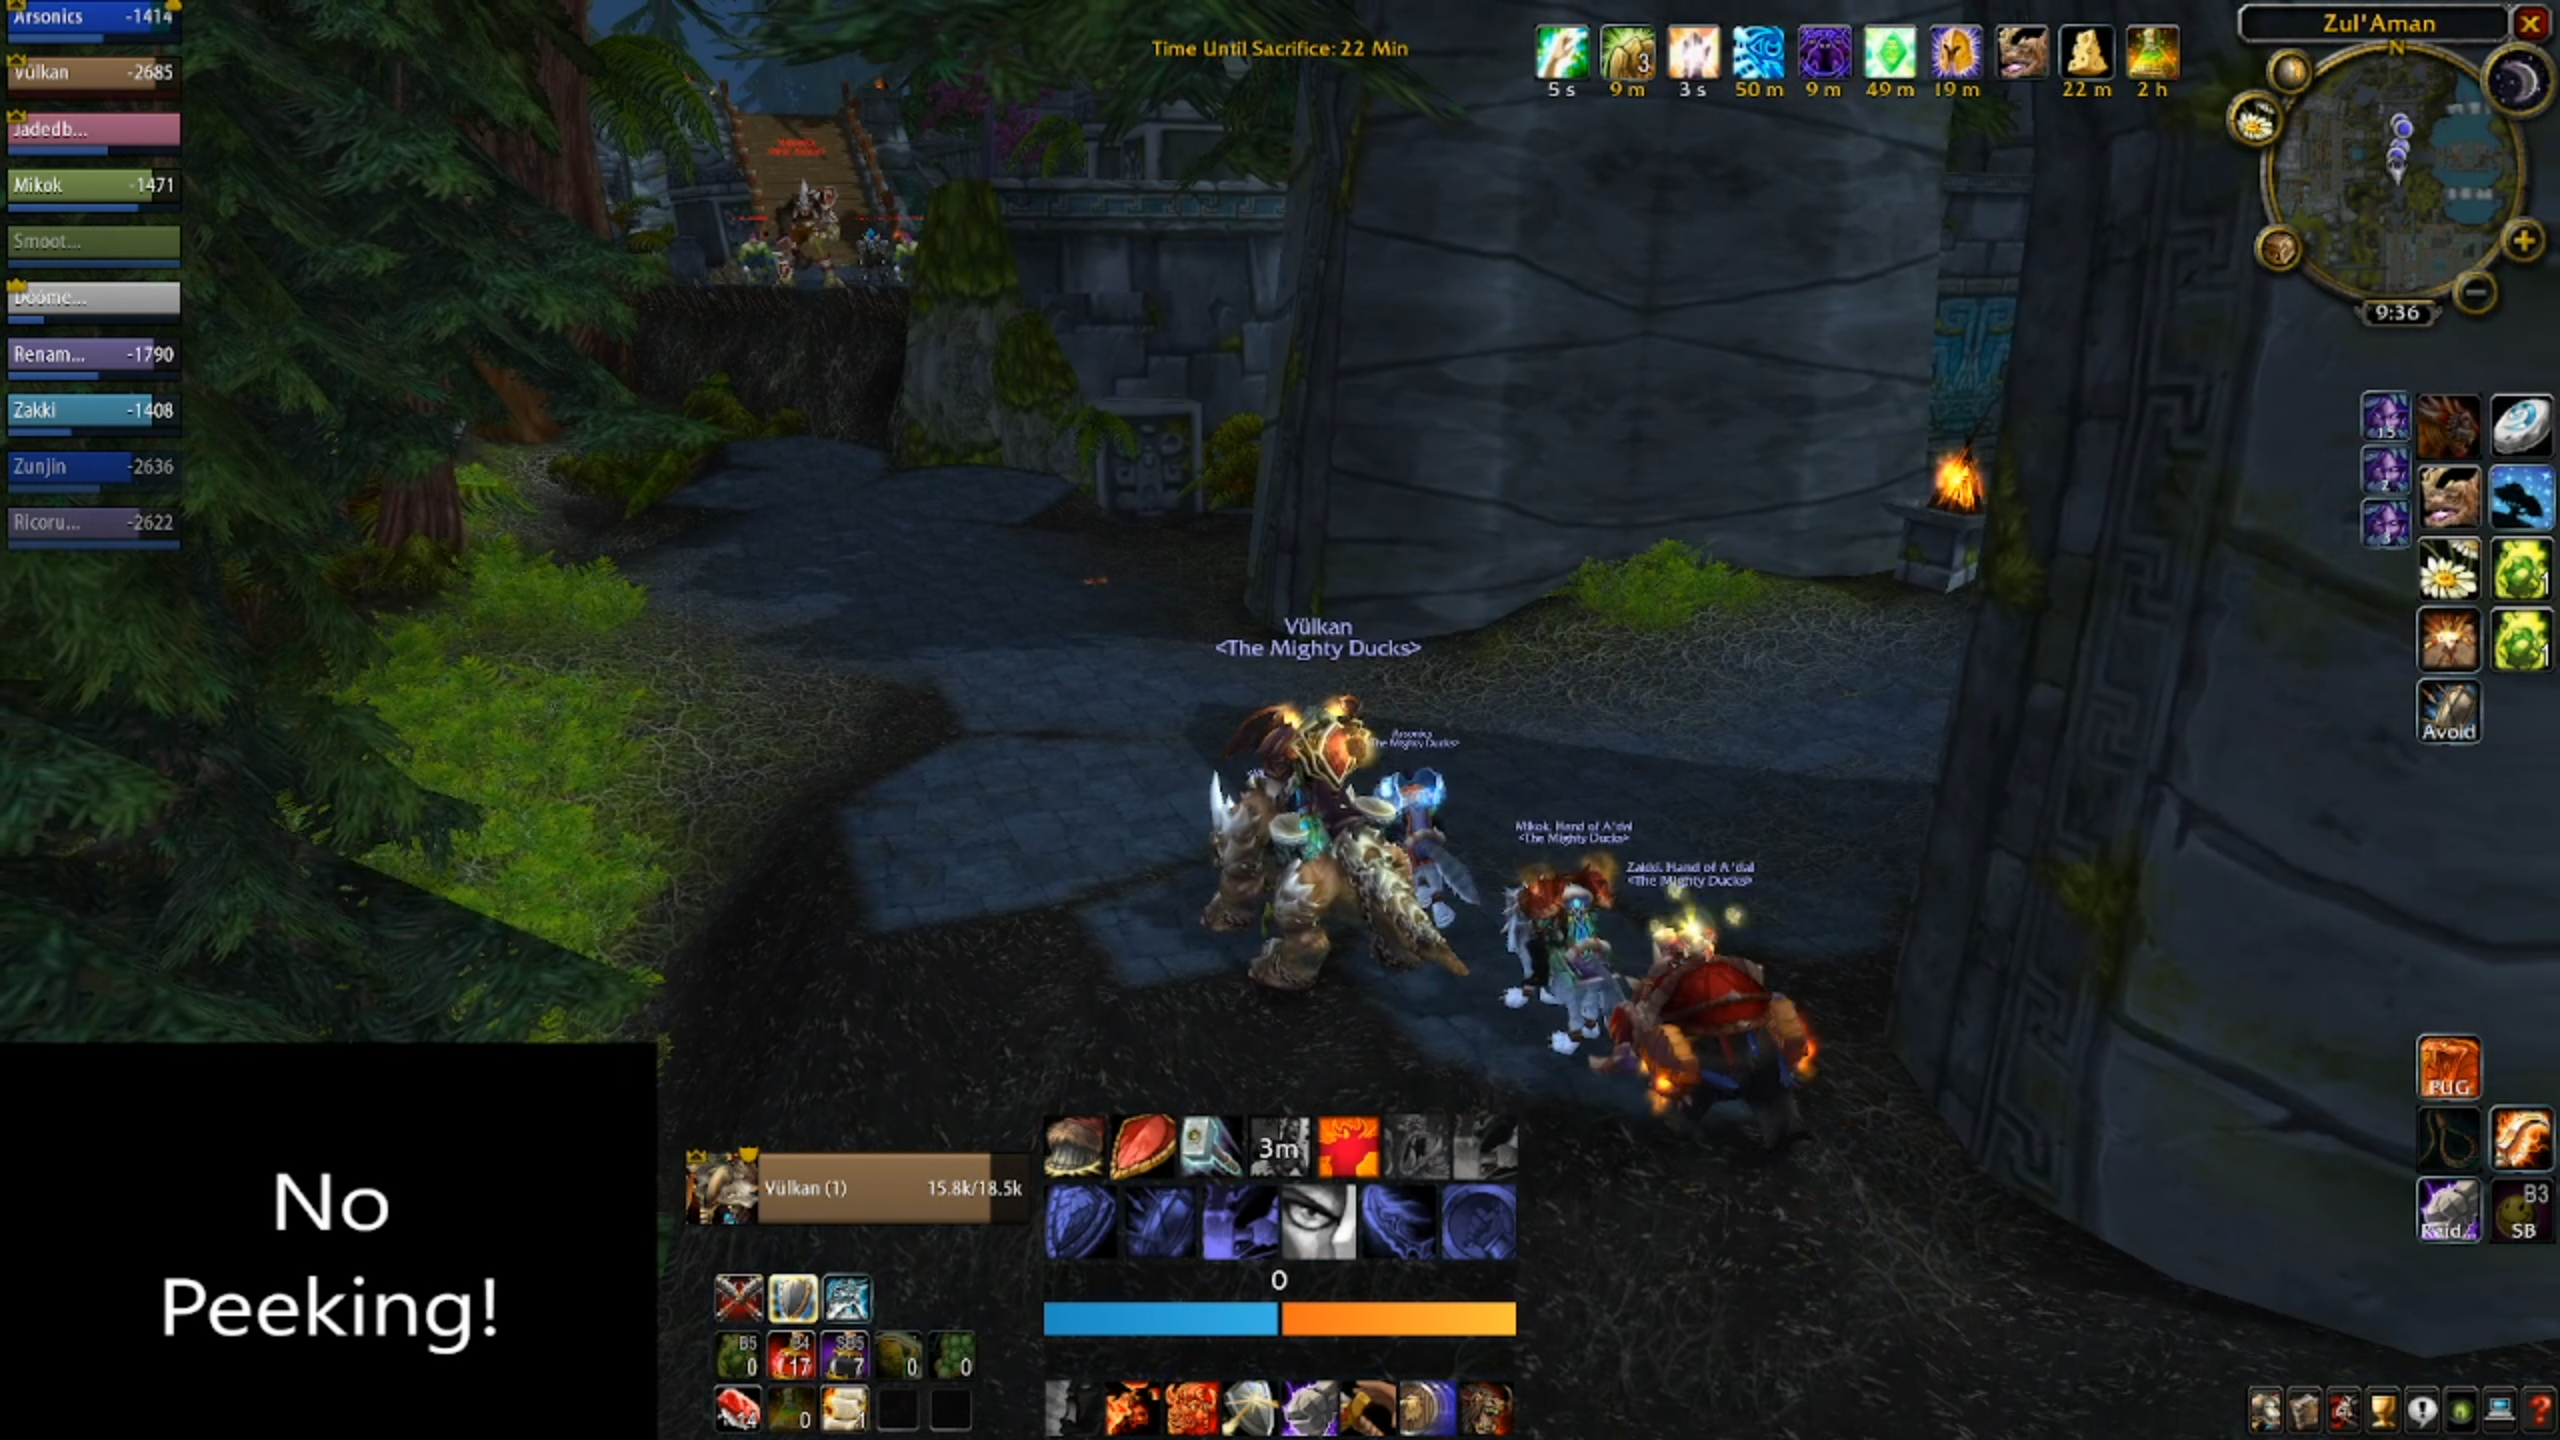
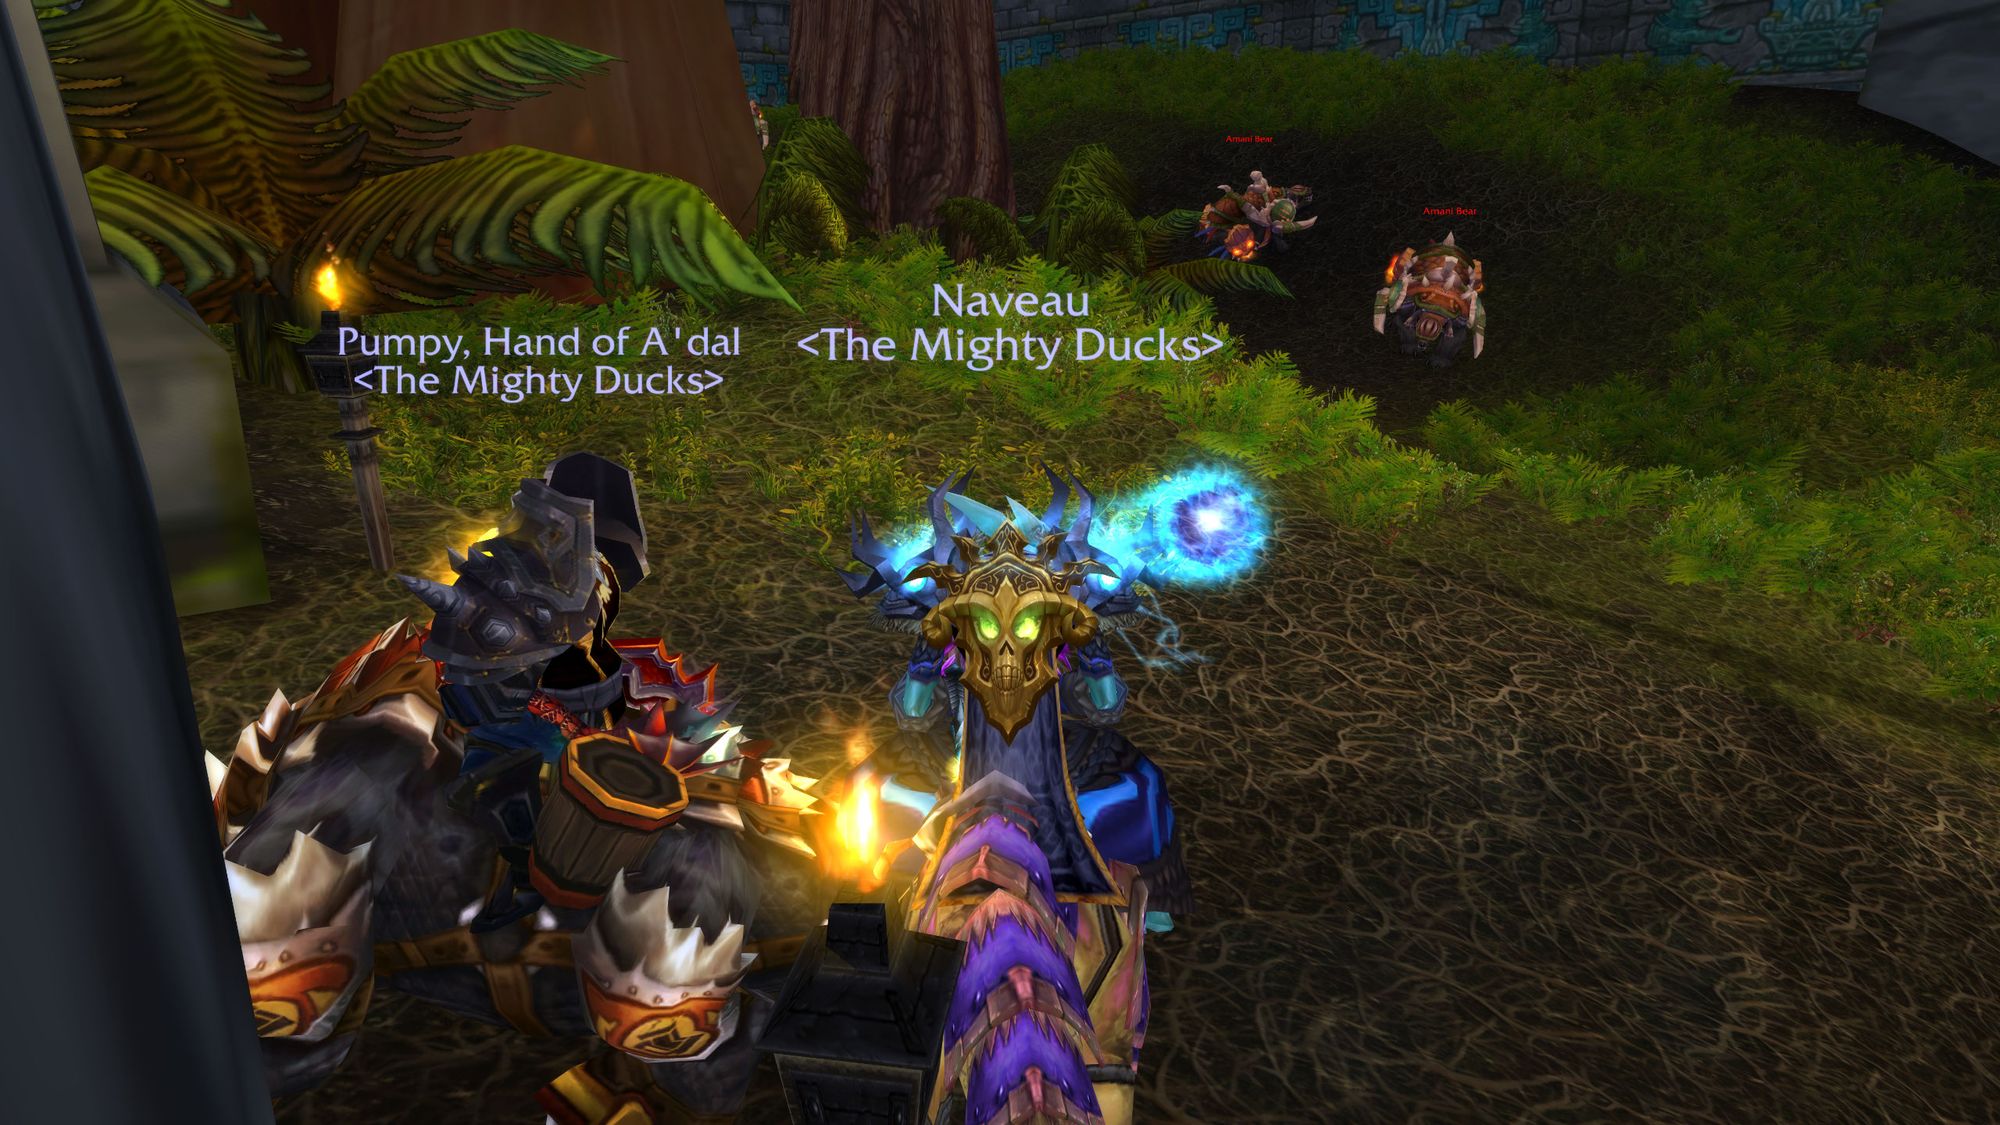
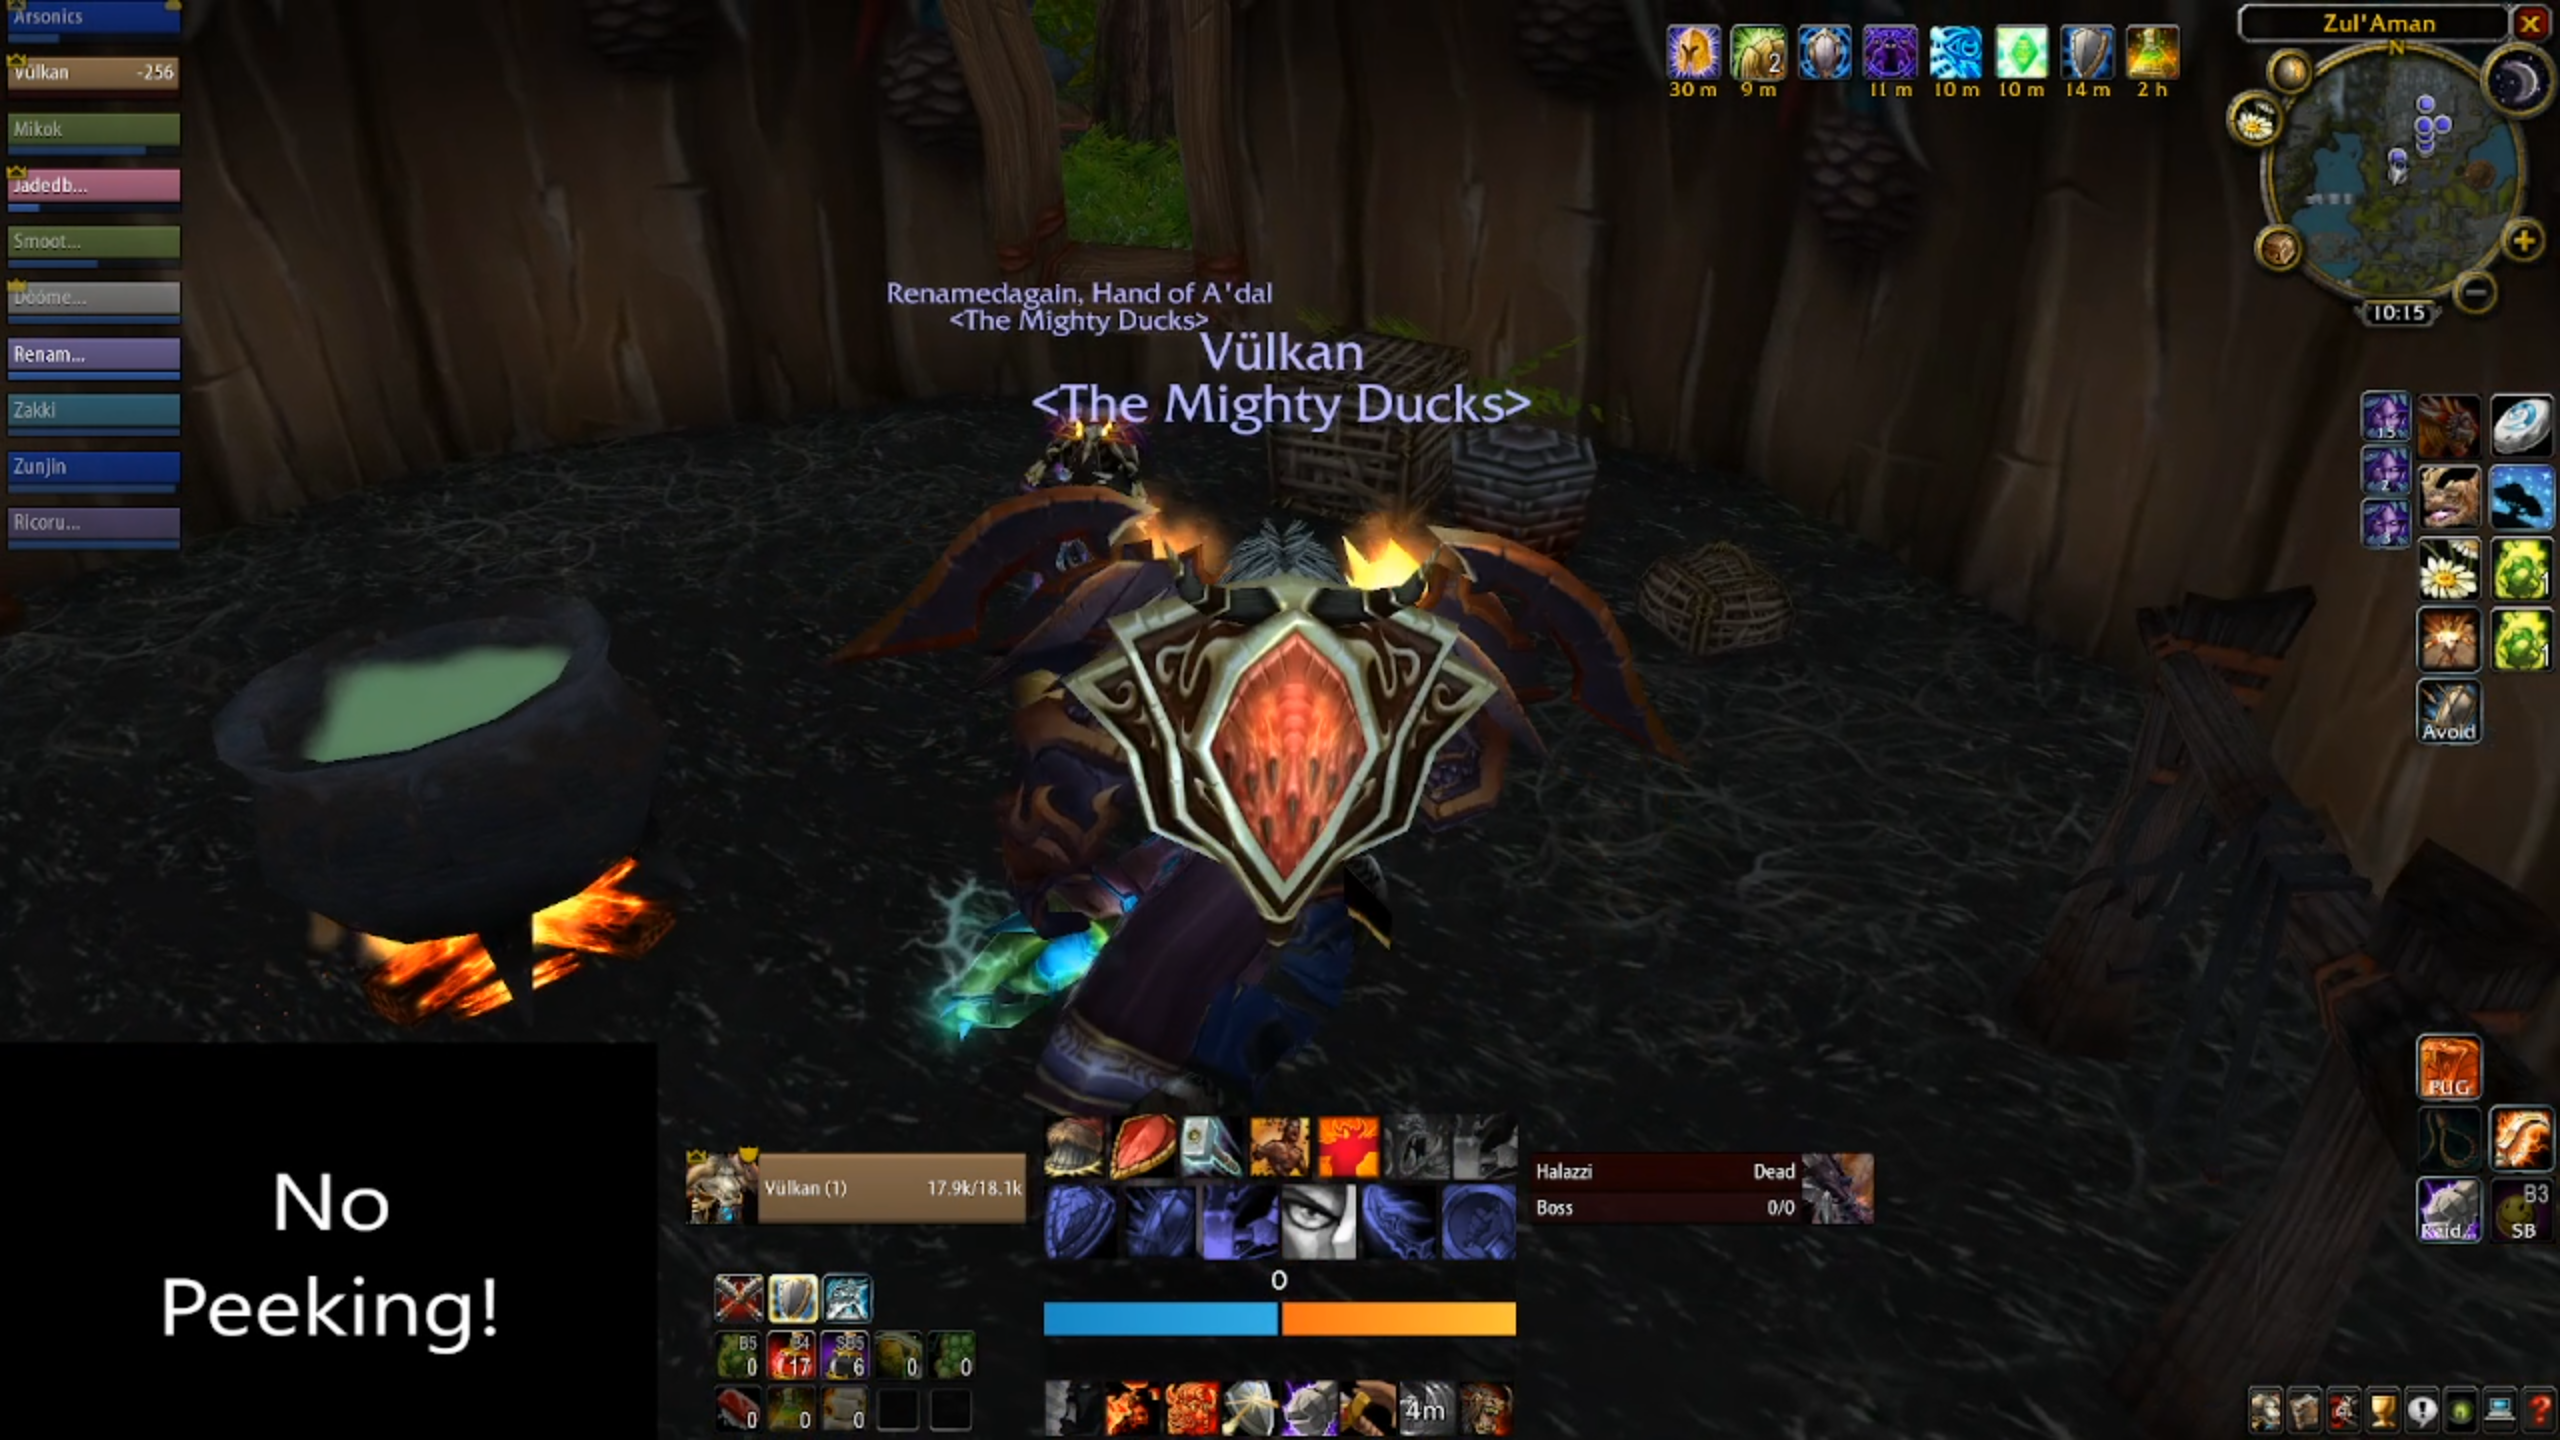
When you and your alts are ready to go, it's time to enter the gates of Zul'aman and experience Zul'jin's surprise. I recommend switching on sound effects and music.
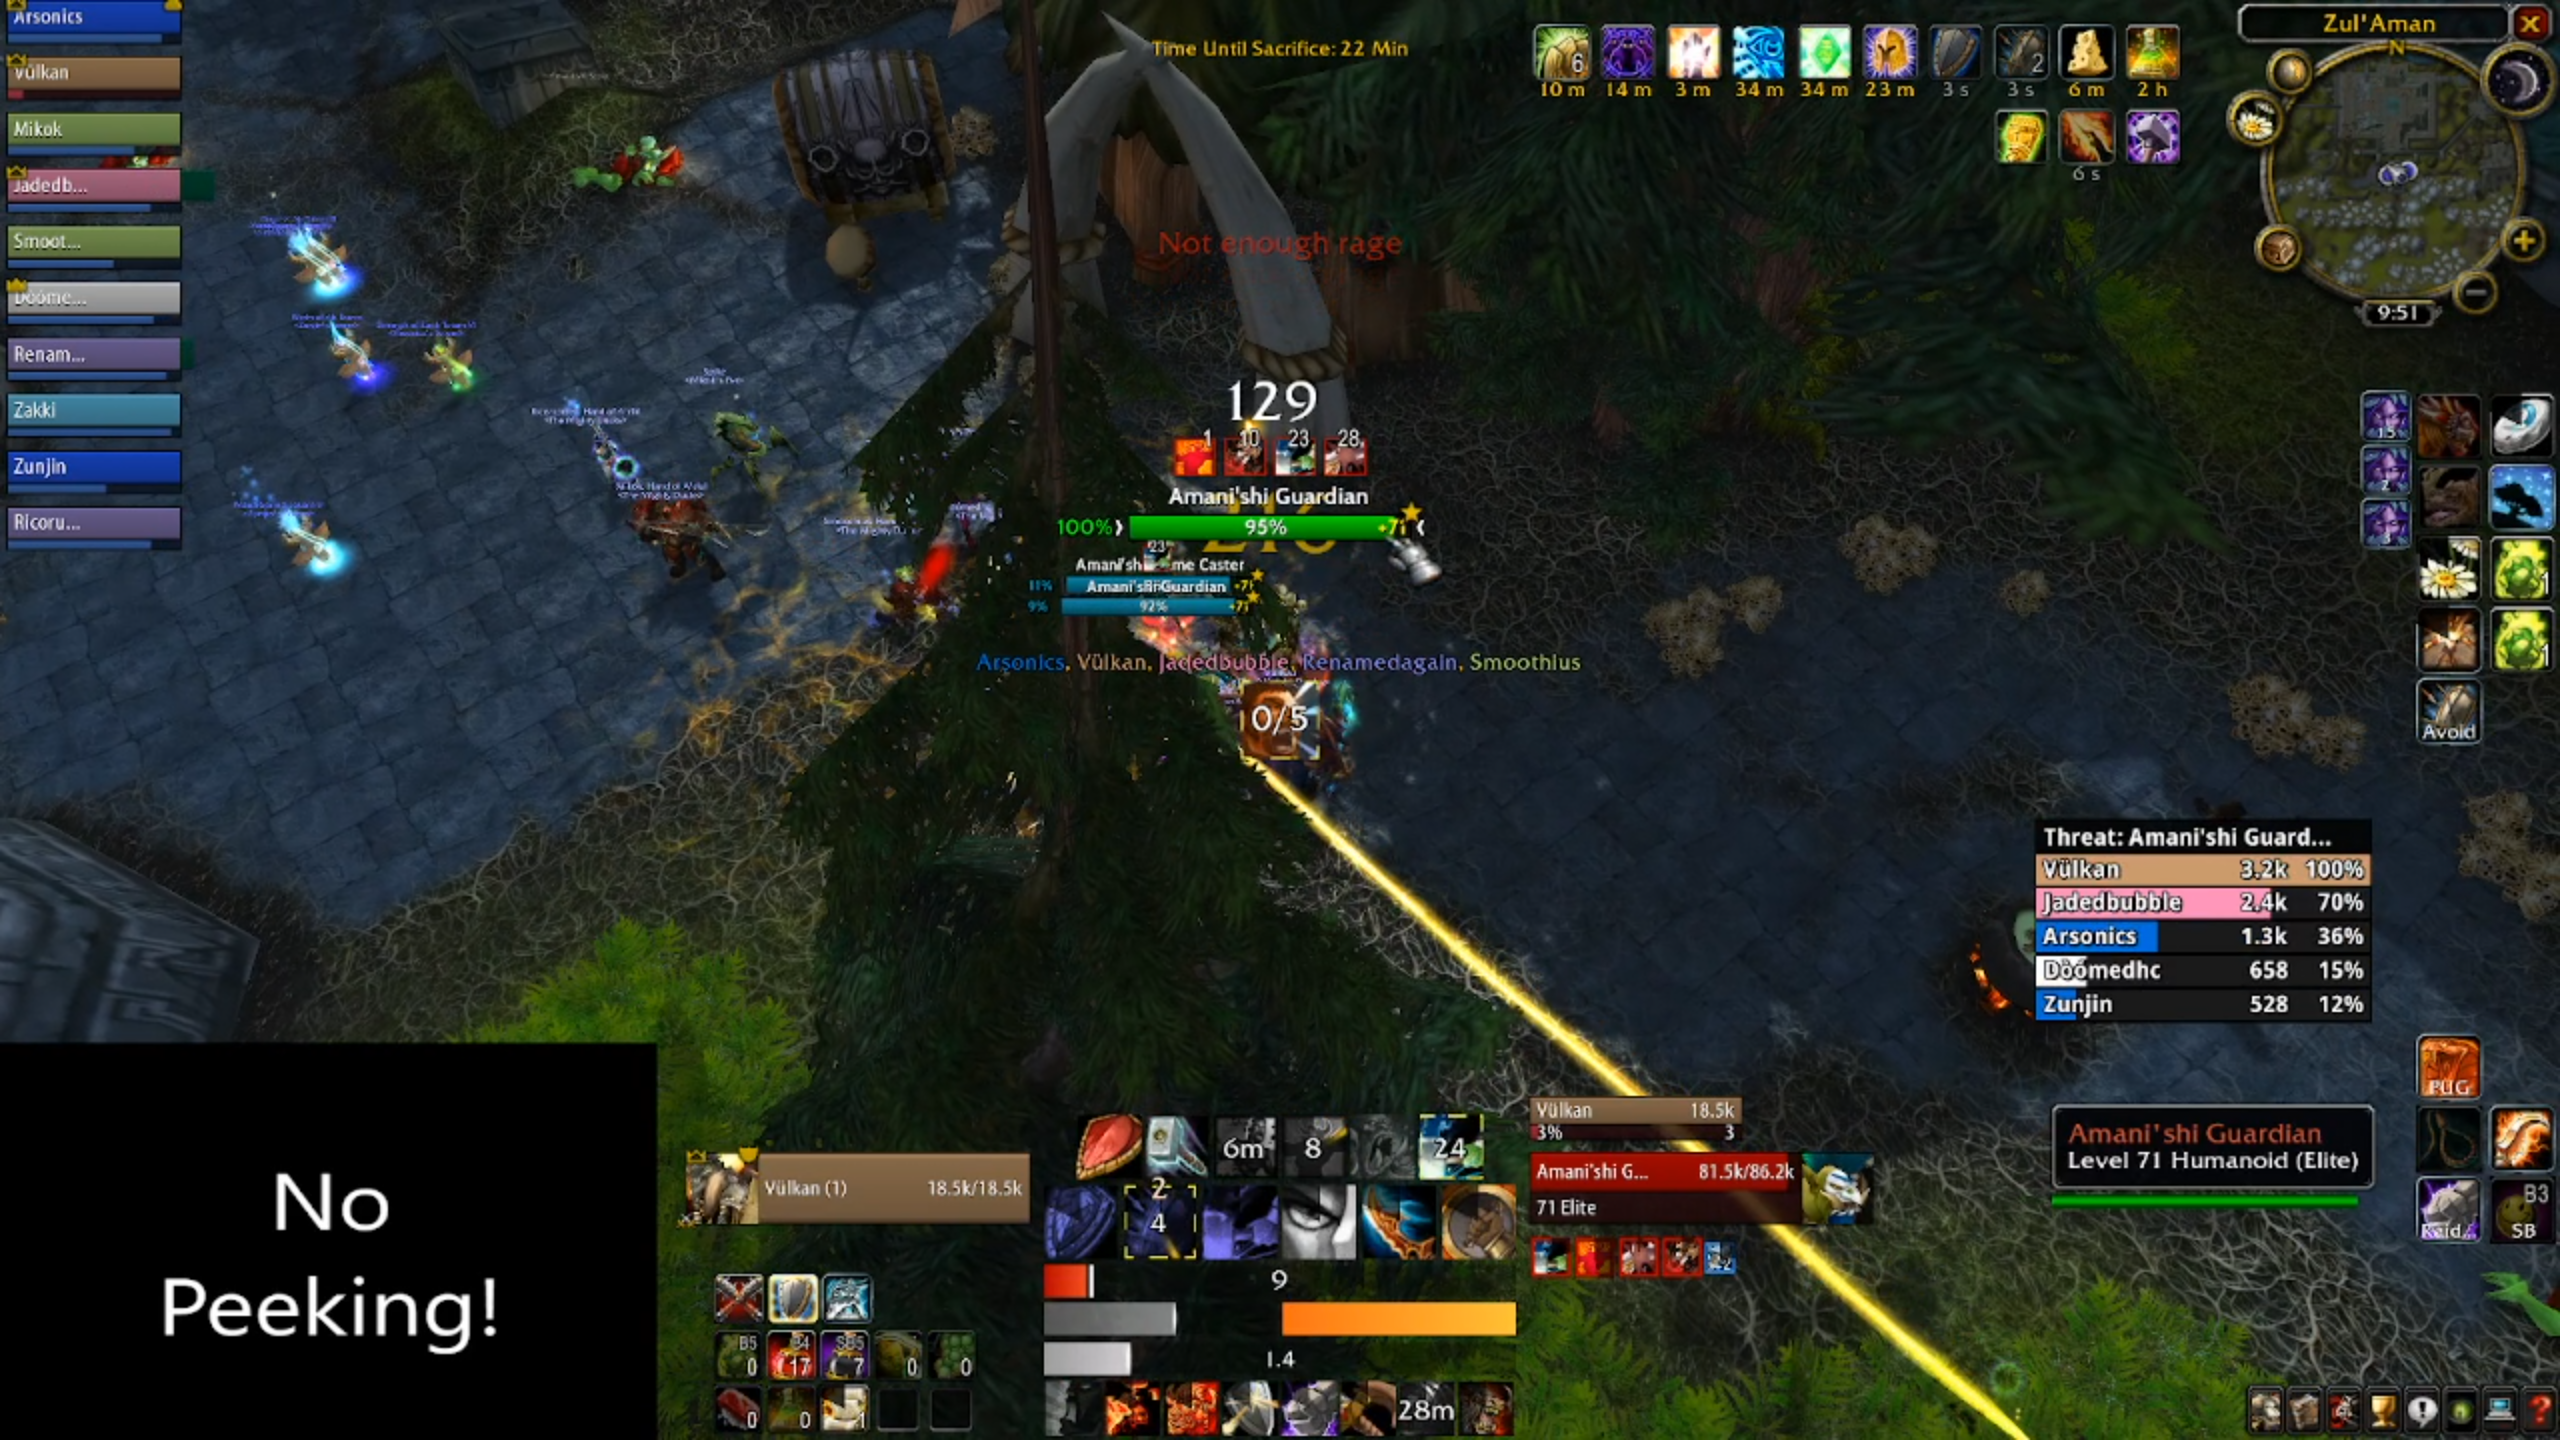
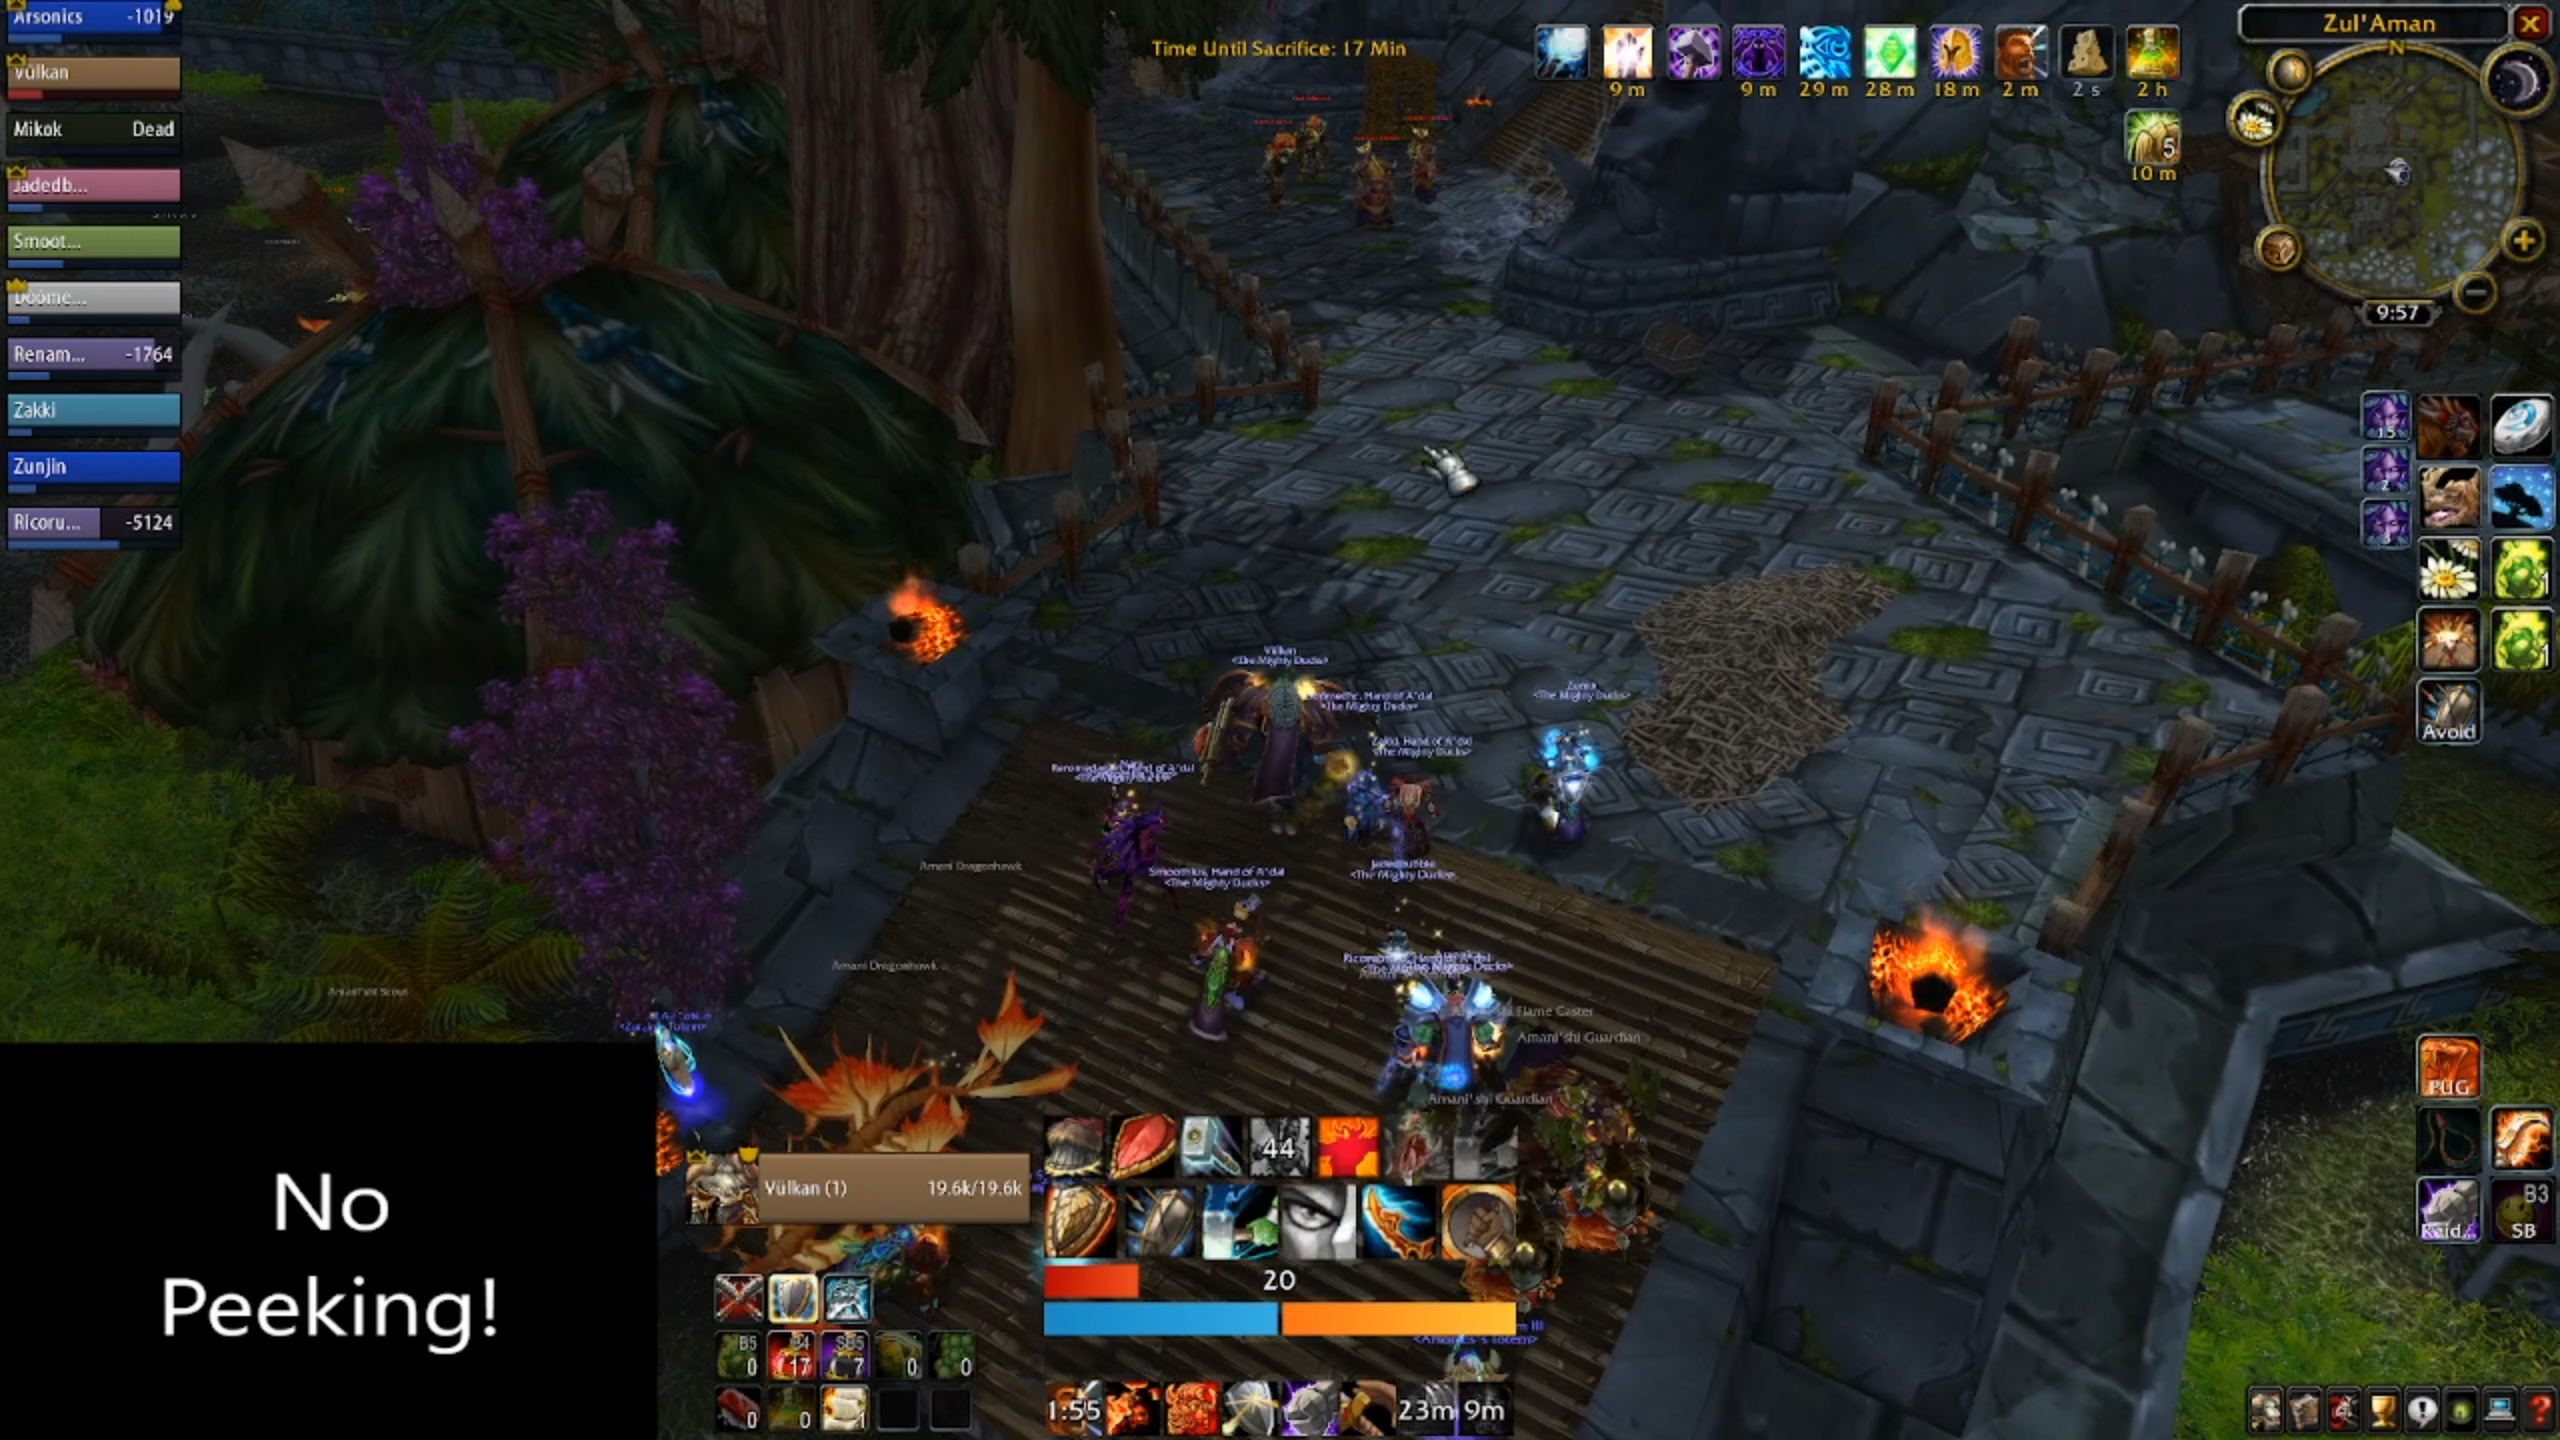
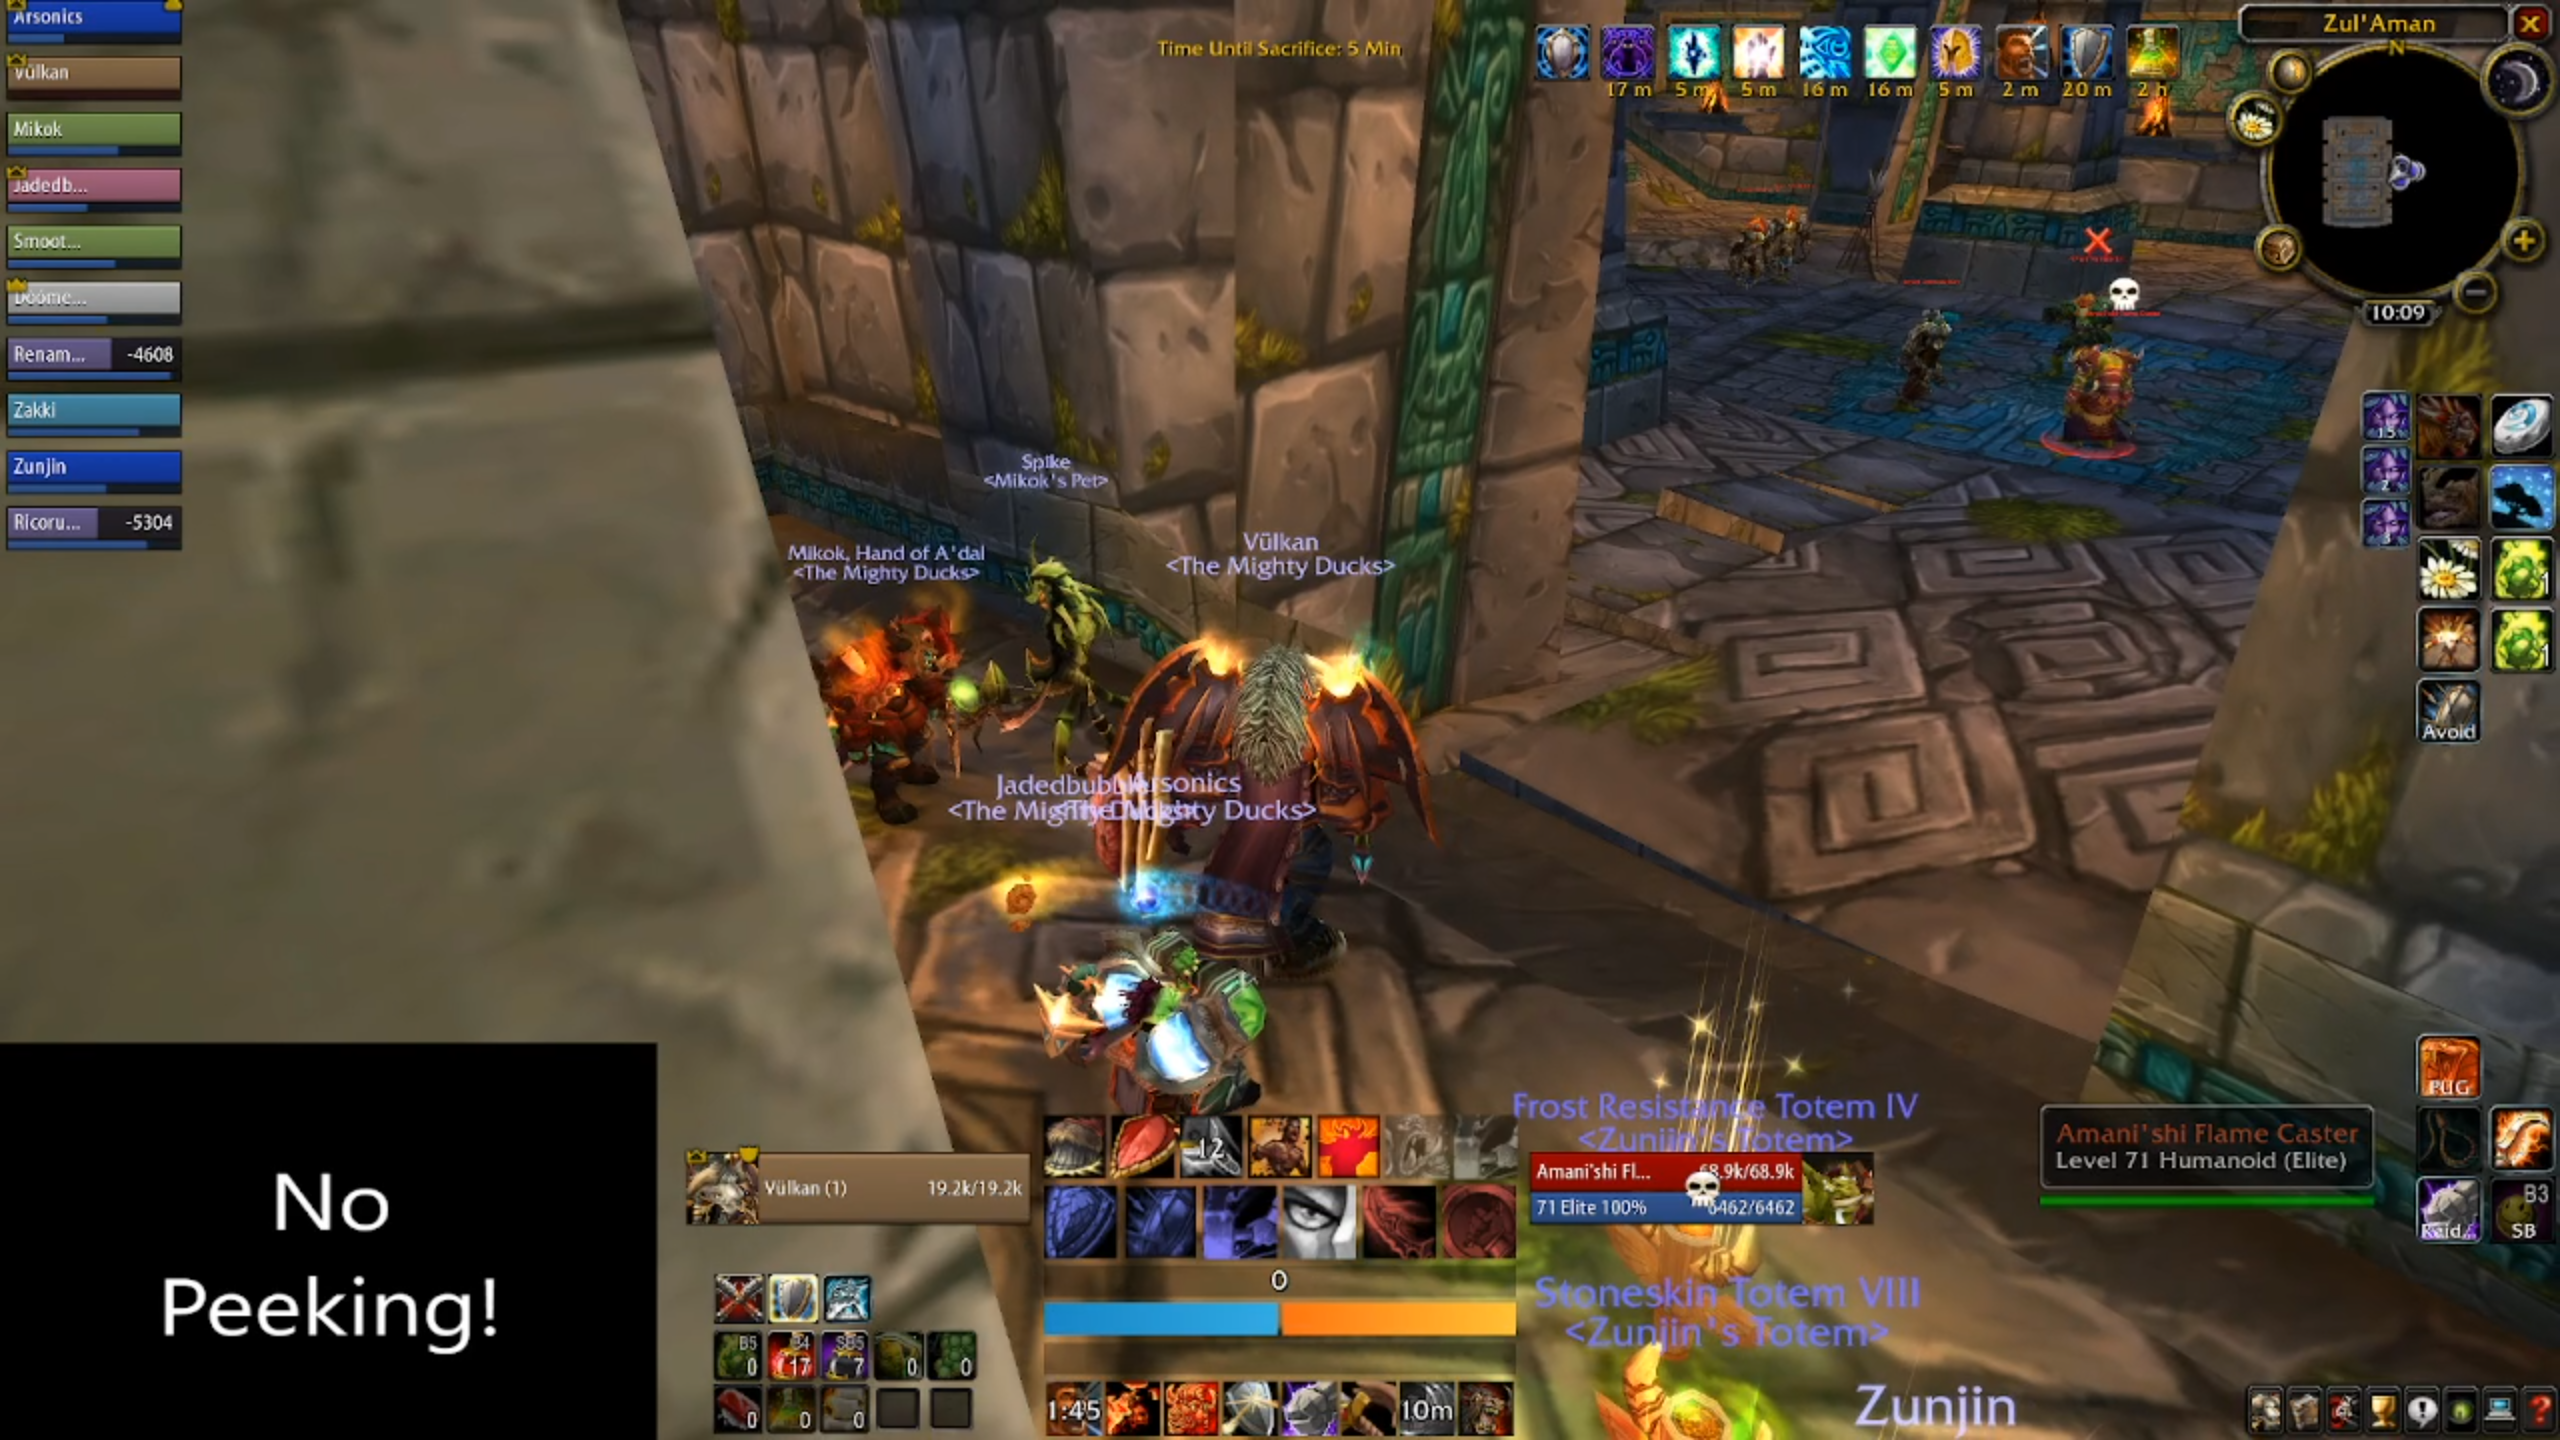
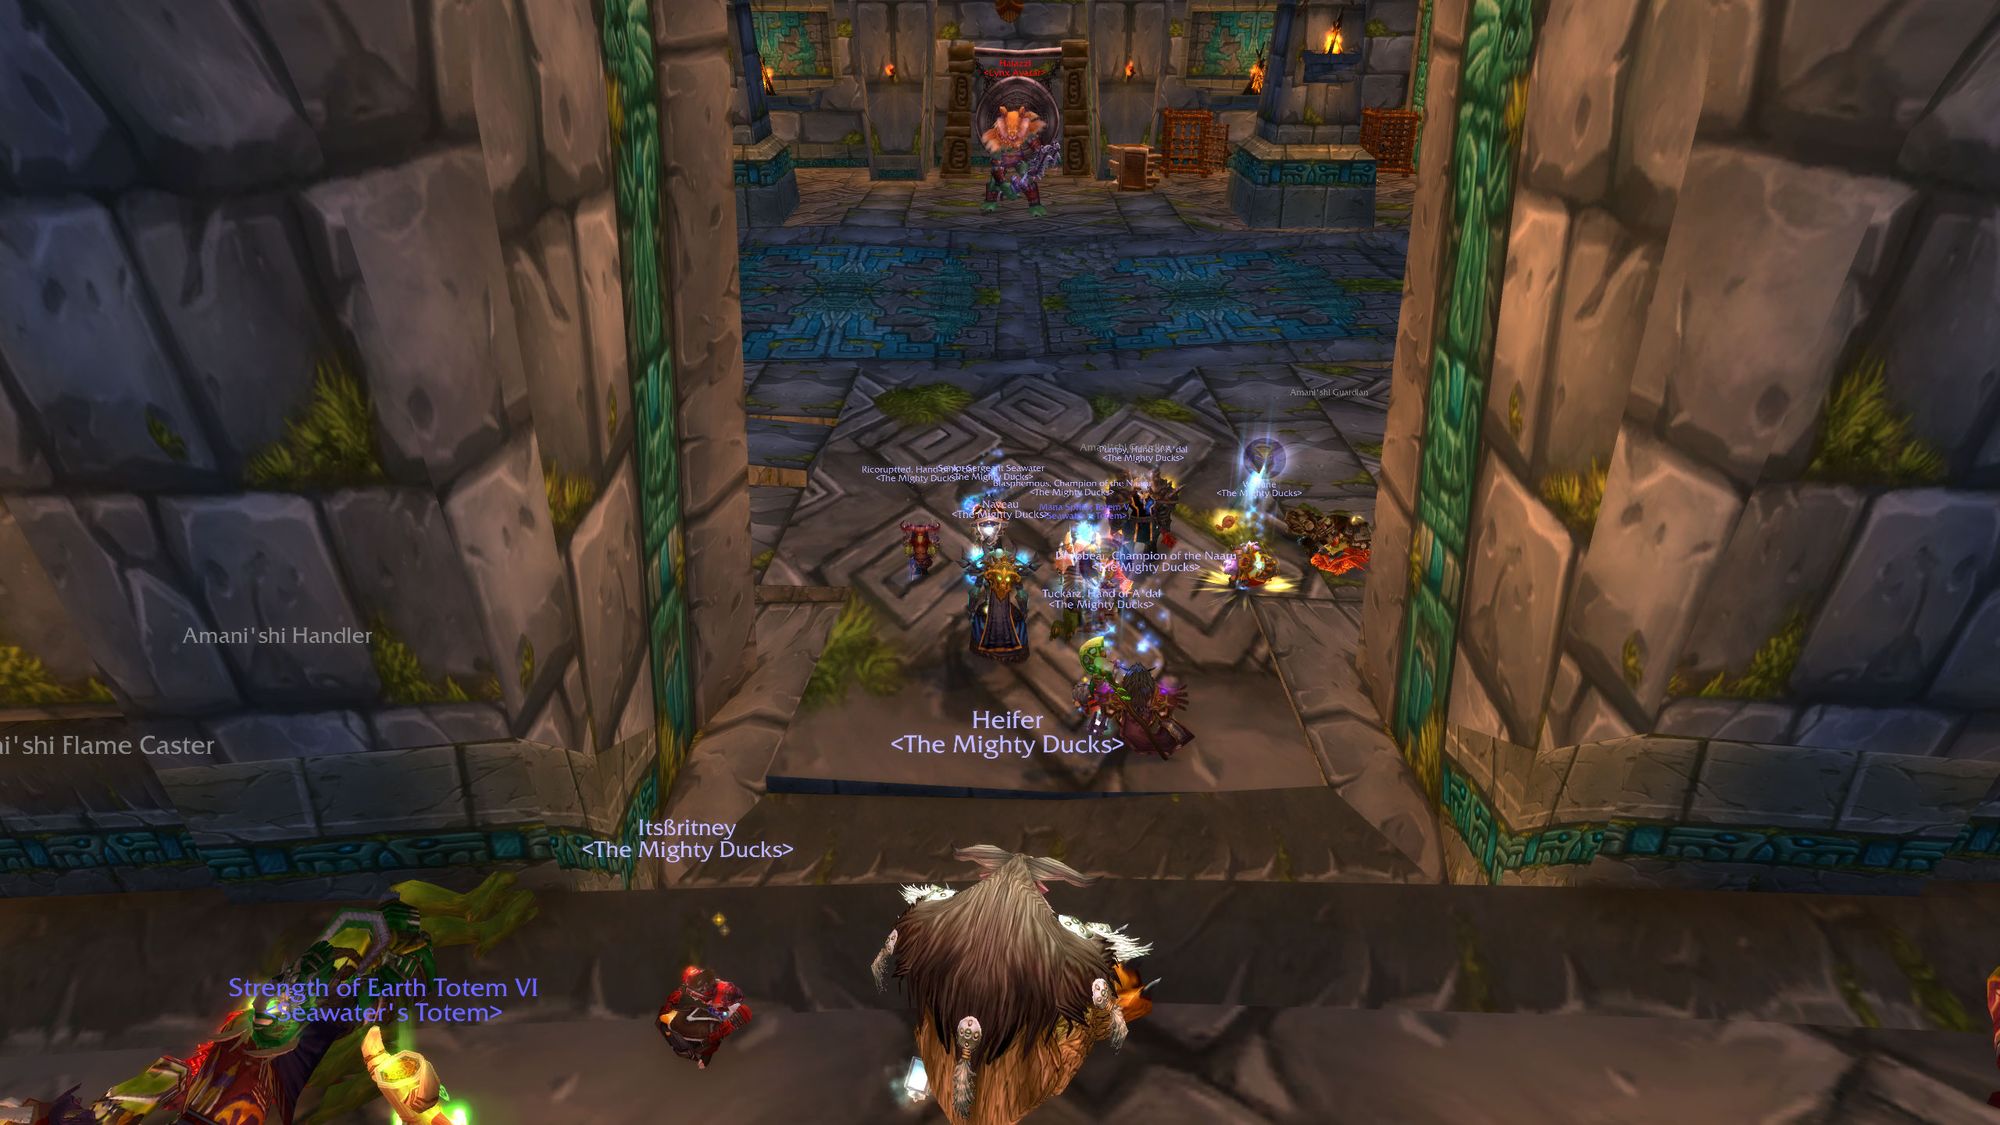
The first area you enter is a lobby to apply raid buffs, use consumables, and mentally prepared yourself (yes, definitely that.) When everyone's ready to go, you need to speak to Harrison Jones, who will instruct you to use the gong.

You'll need at least five people to hit the gong at the same time, which will then trigger budget Harrison Ford opening the gates to Zul'aman properly.
He'll then be ambushed by two trolls "hiding" behind the doors, who stick Harrison with a spear, before becoming active and able to be tanked. An additional set of troll adds will run up the staircase, so be ready to pick them up.
The clock's running now, so from here until you kill boss four, Halazzi, you'd best be hustling. Avoid taking long drink breaks, make use of DPS cooldowns on trash, and use health and mana potions to avoid death and keep resources high. The aim of this game is speed, efficiency, and a bear.
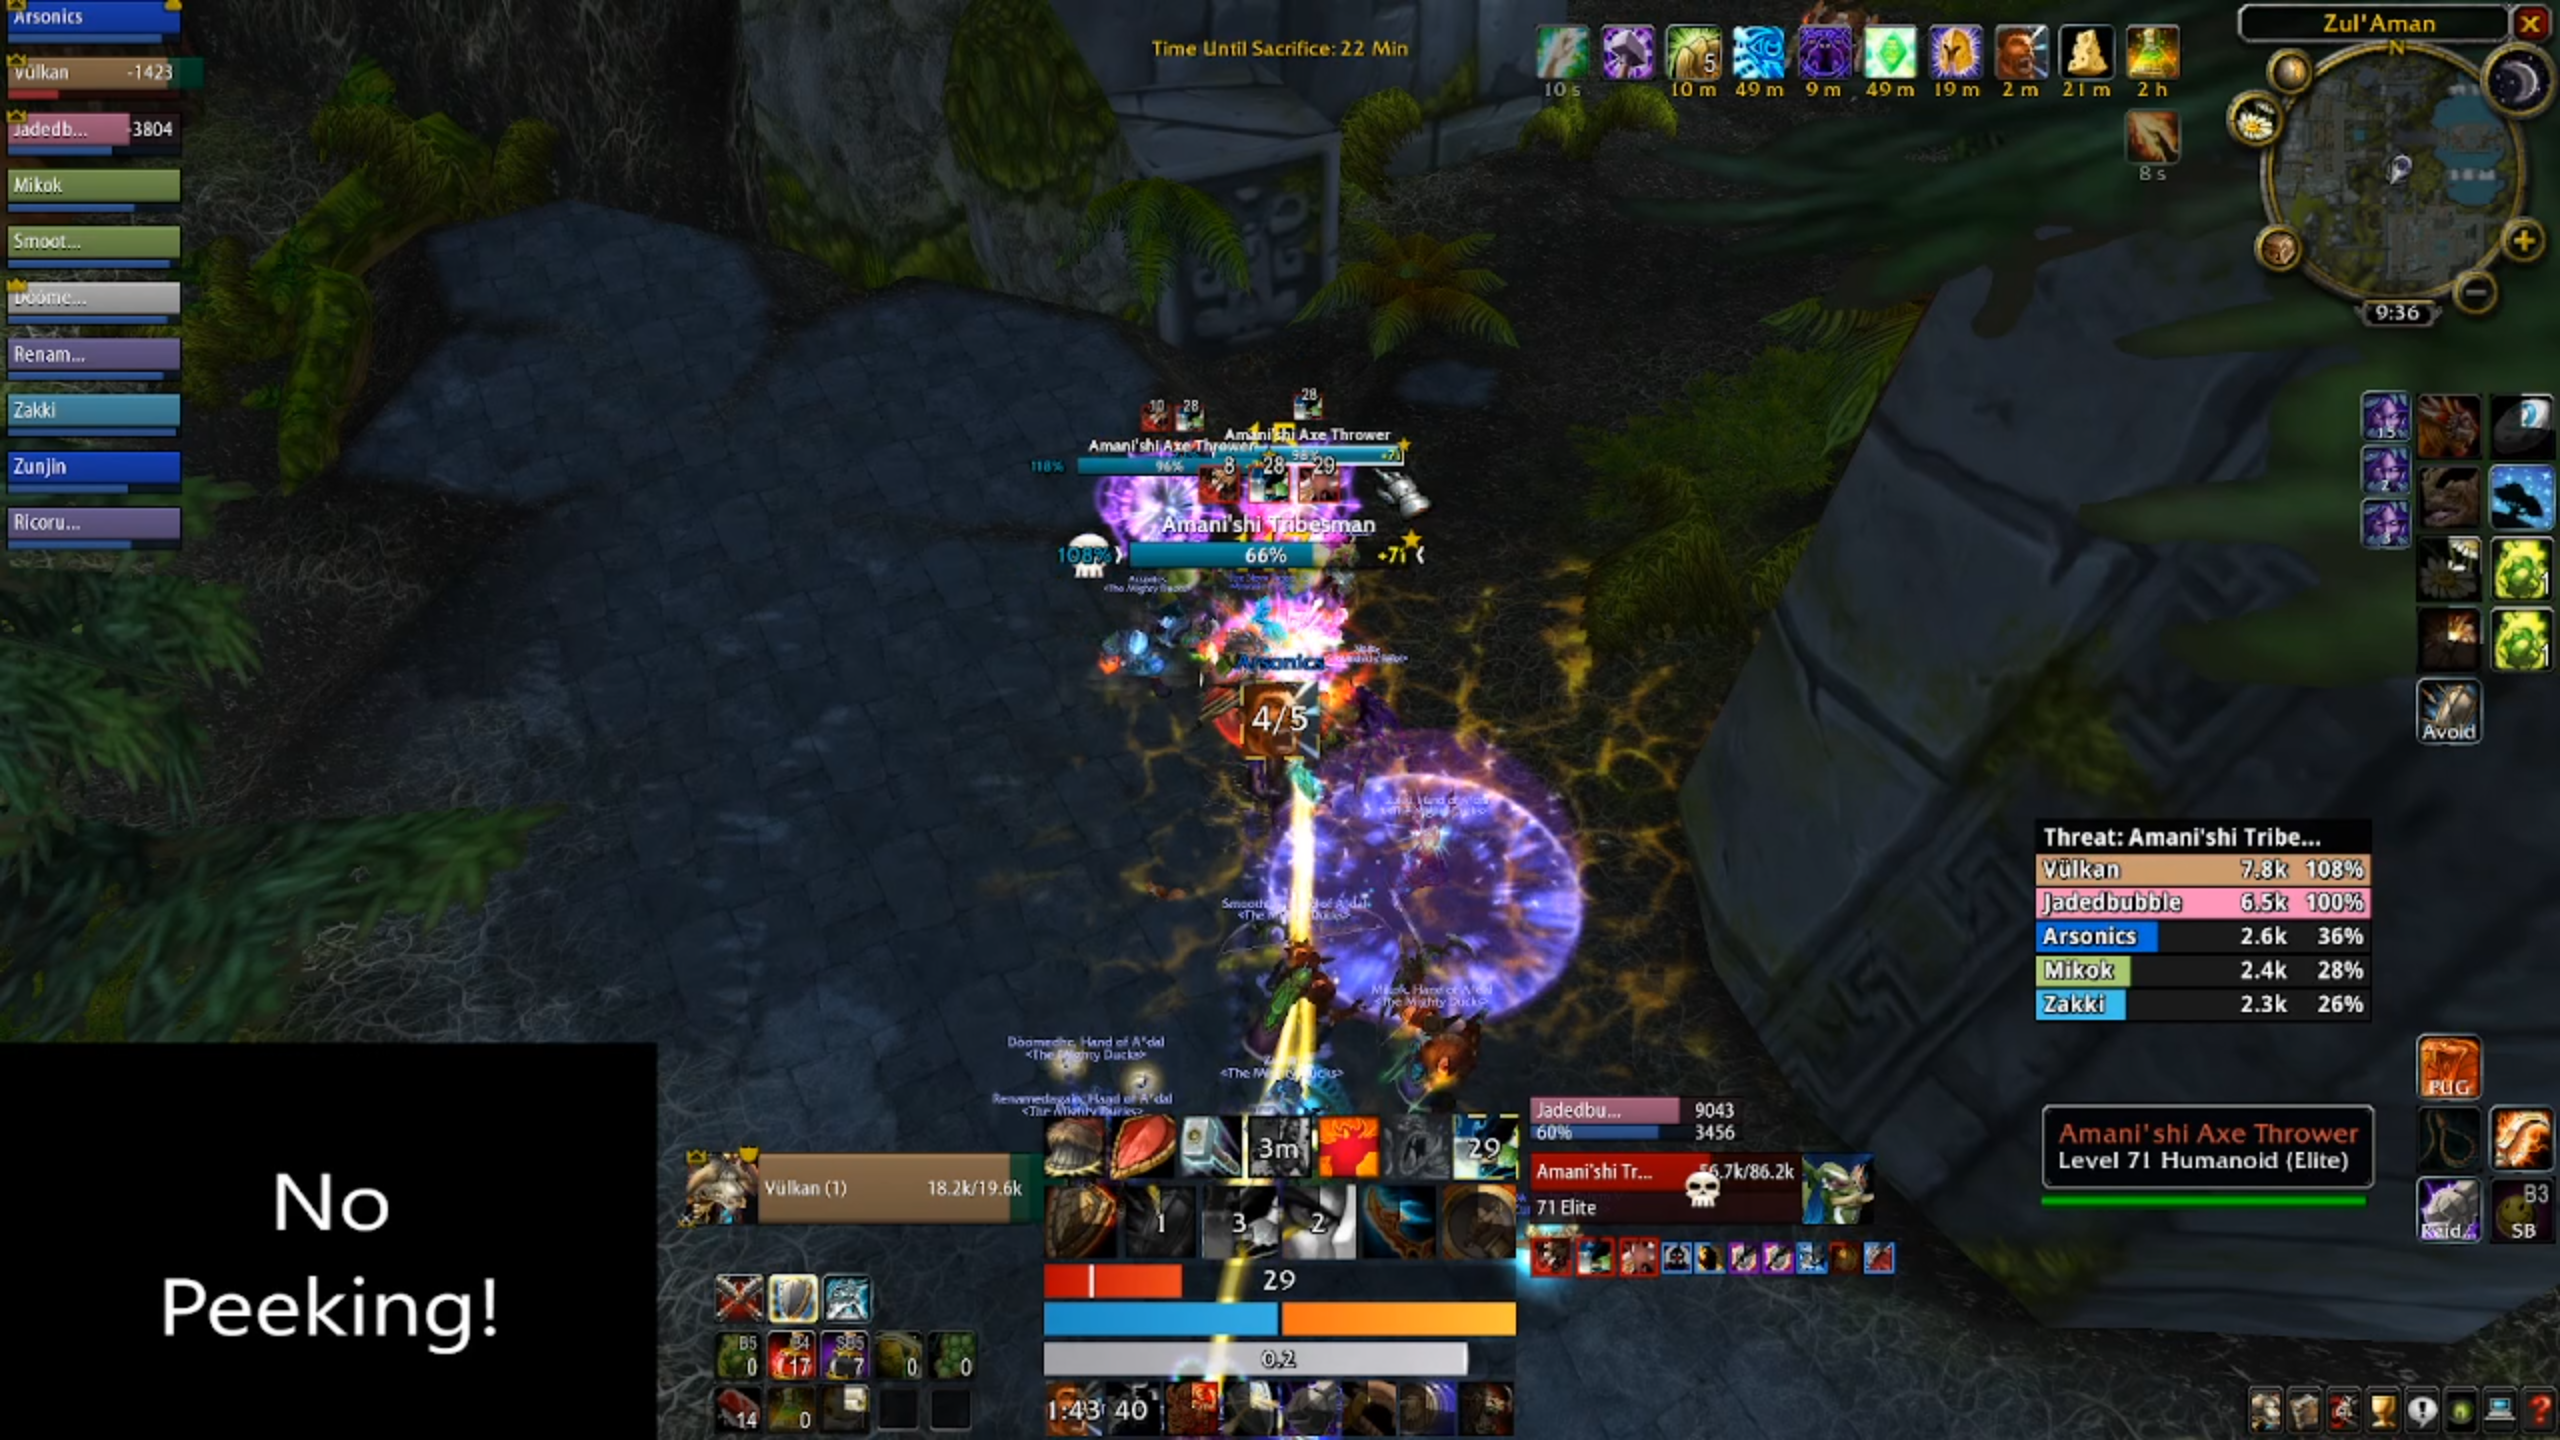
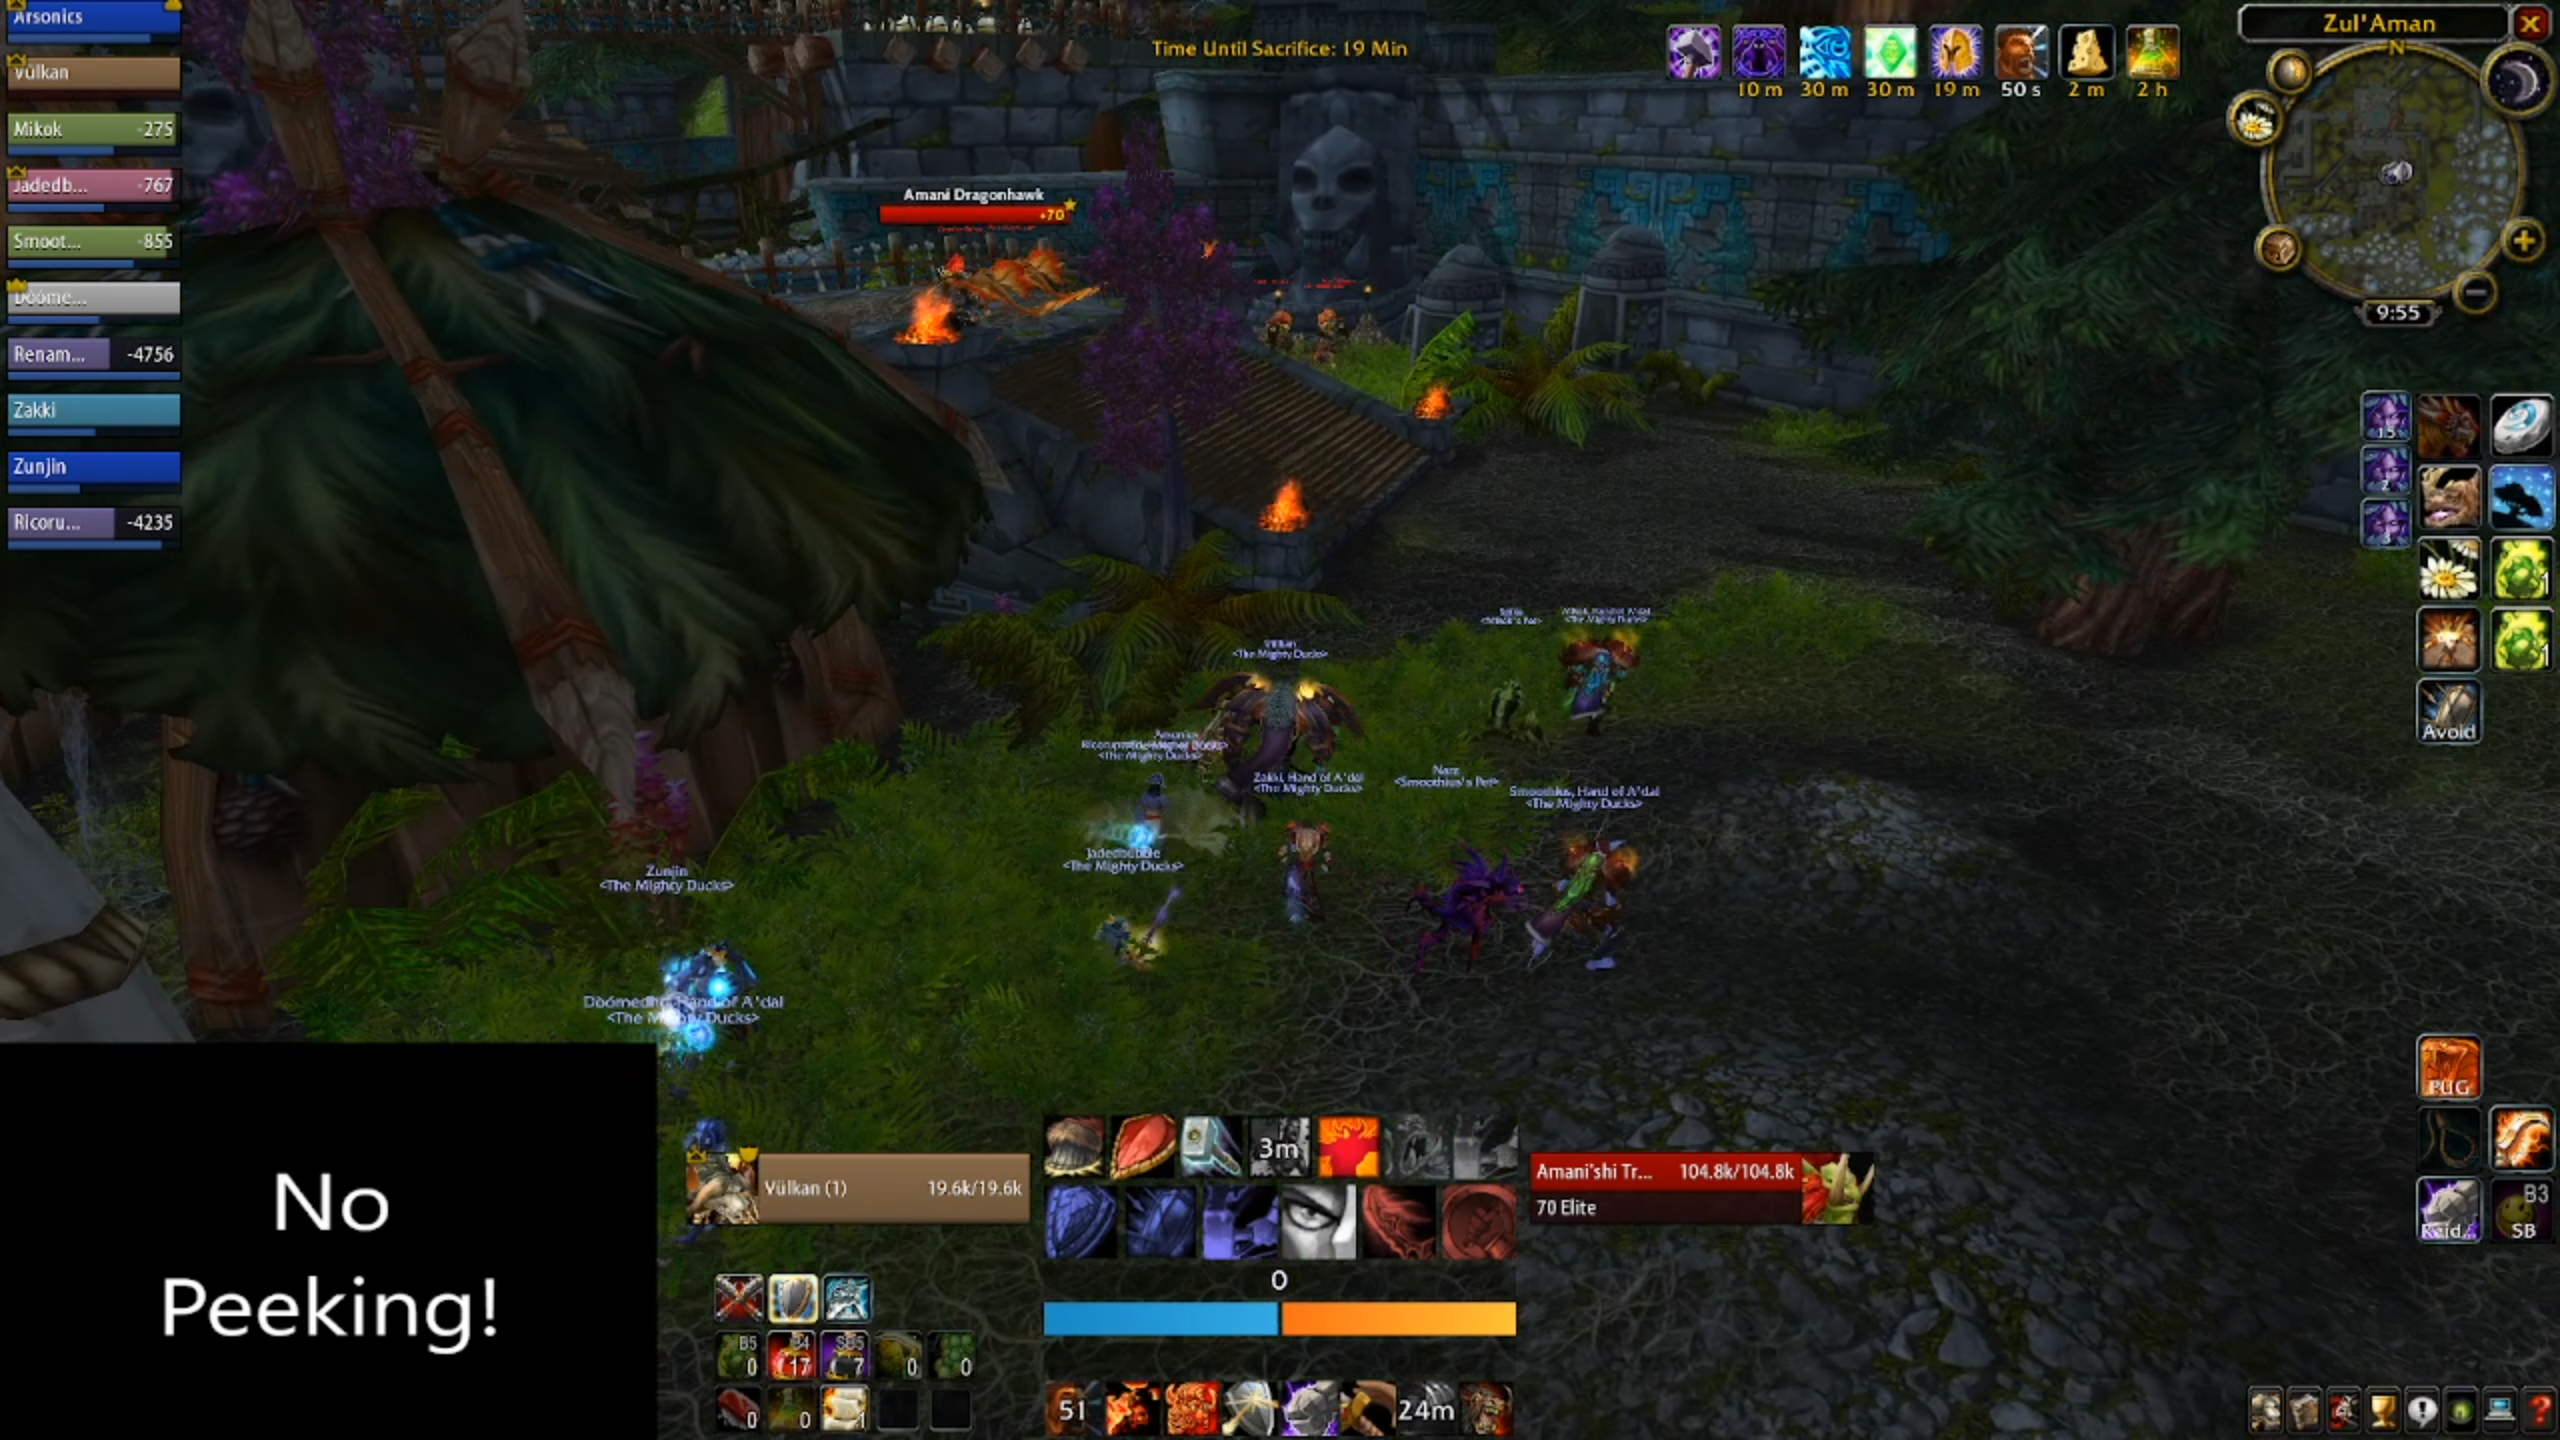
From the entrance, you want to head down the stairs and to the left. There's a patrolling pack consisting of an Amani Medicine Man and a wind walker, which can be safely avoided for now. Take another left turn and move up the ramp, stopping just before the archway. Moving through this archway triggers a trash gauntlet leading up to the first boss.
When everyone's ready (which shouldn't take too long unless you pulled the pack of two), run through the archway. You'll be spotted by an Amani Lookout, who is immune to damage, so don't bother. Follow him, which will lead you to the first part of the gauntlet, a ramp with three identical packs of two trolls, an Amani Warrior and an Amani Wind Walker.
Depending on your group's gear level, you can take one pack at a time (making sure to interrupt the Wind Walker's Chain Heals and Lightning Bolts) or you can go deep and pull all three sets. Though it might take longer to get through all the trash, a wipe will take more time off the clock, so a slow and steady pace is absolutely fine.
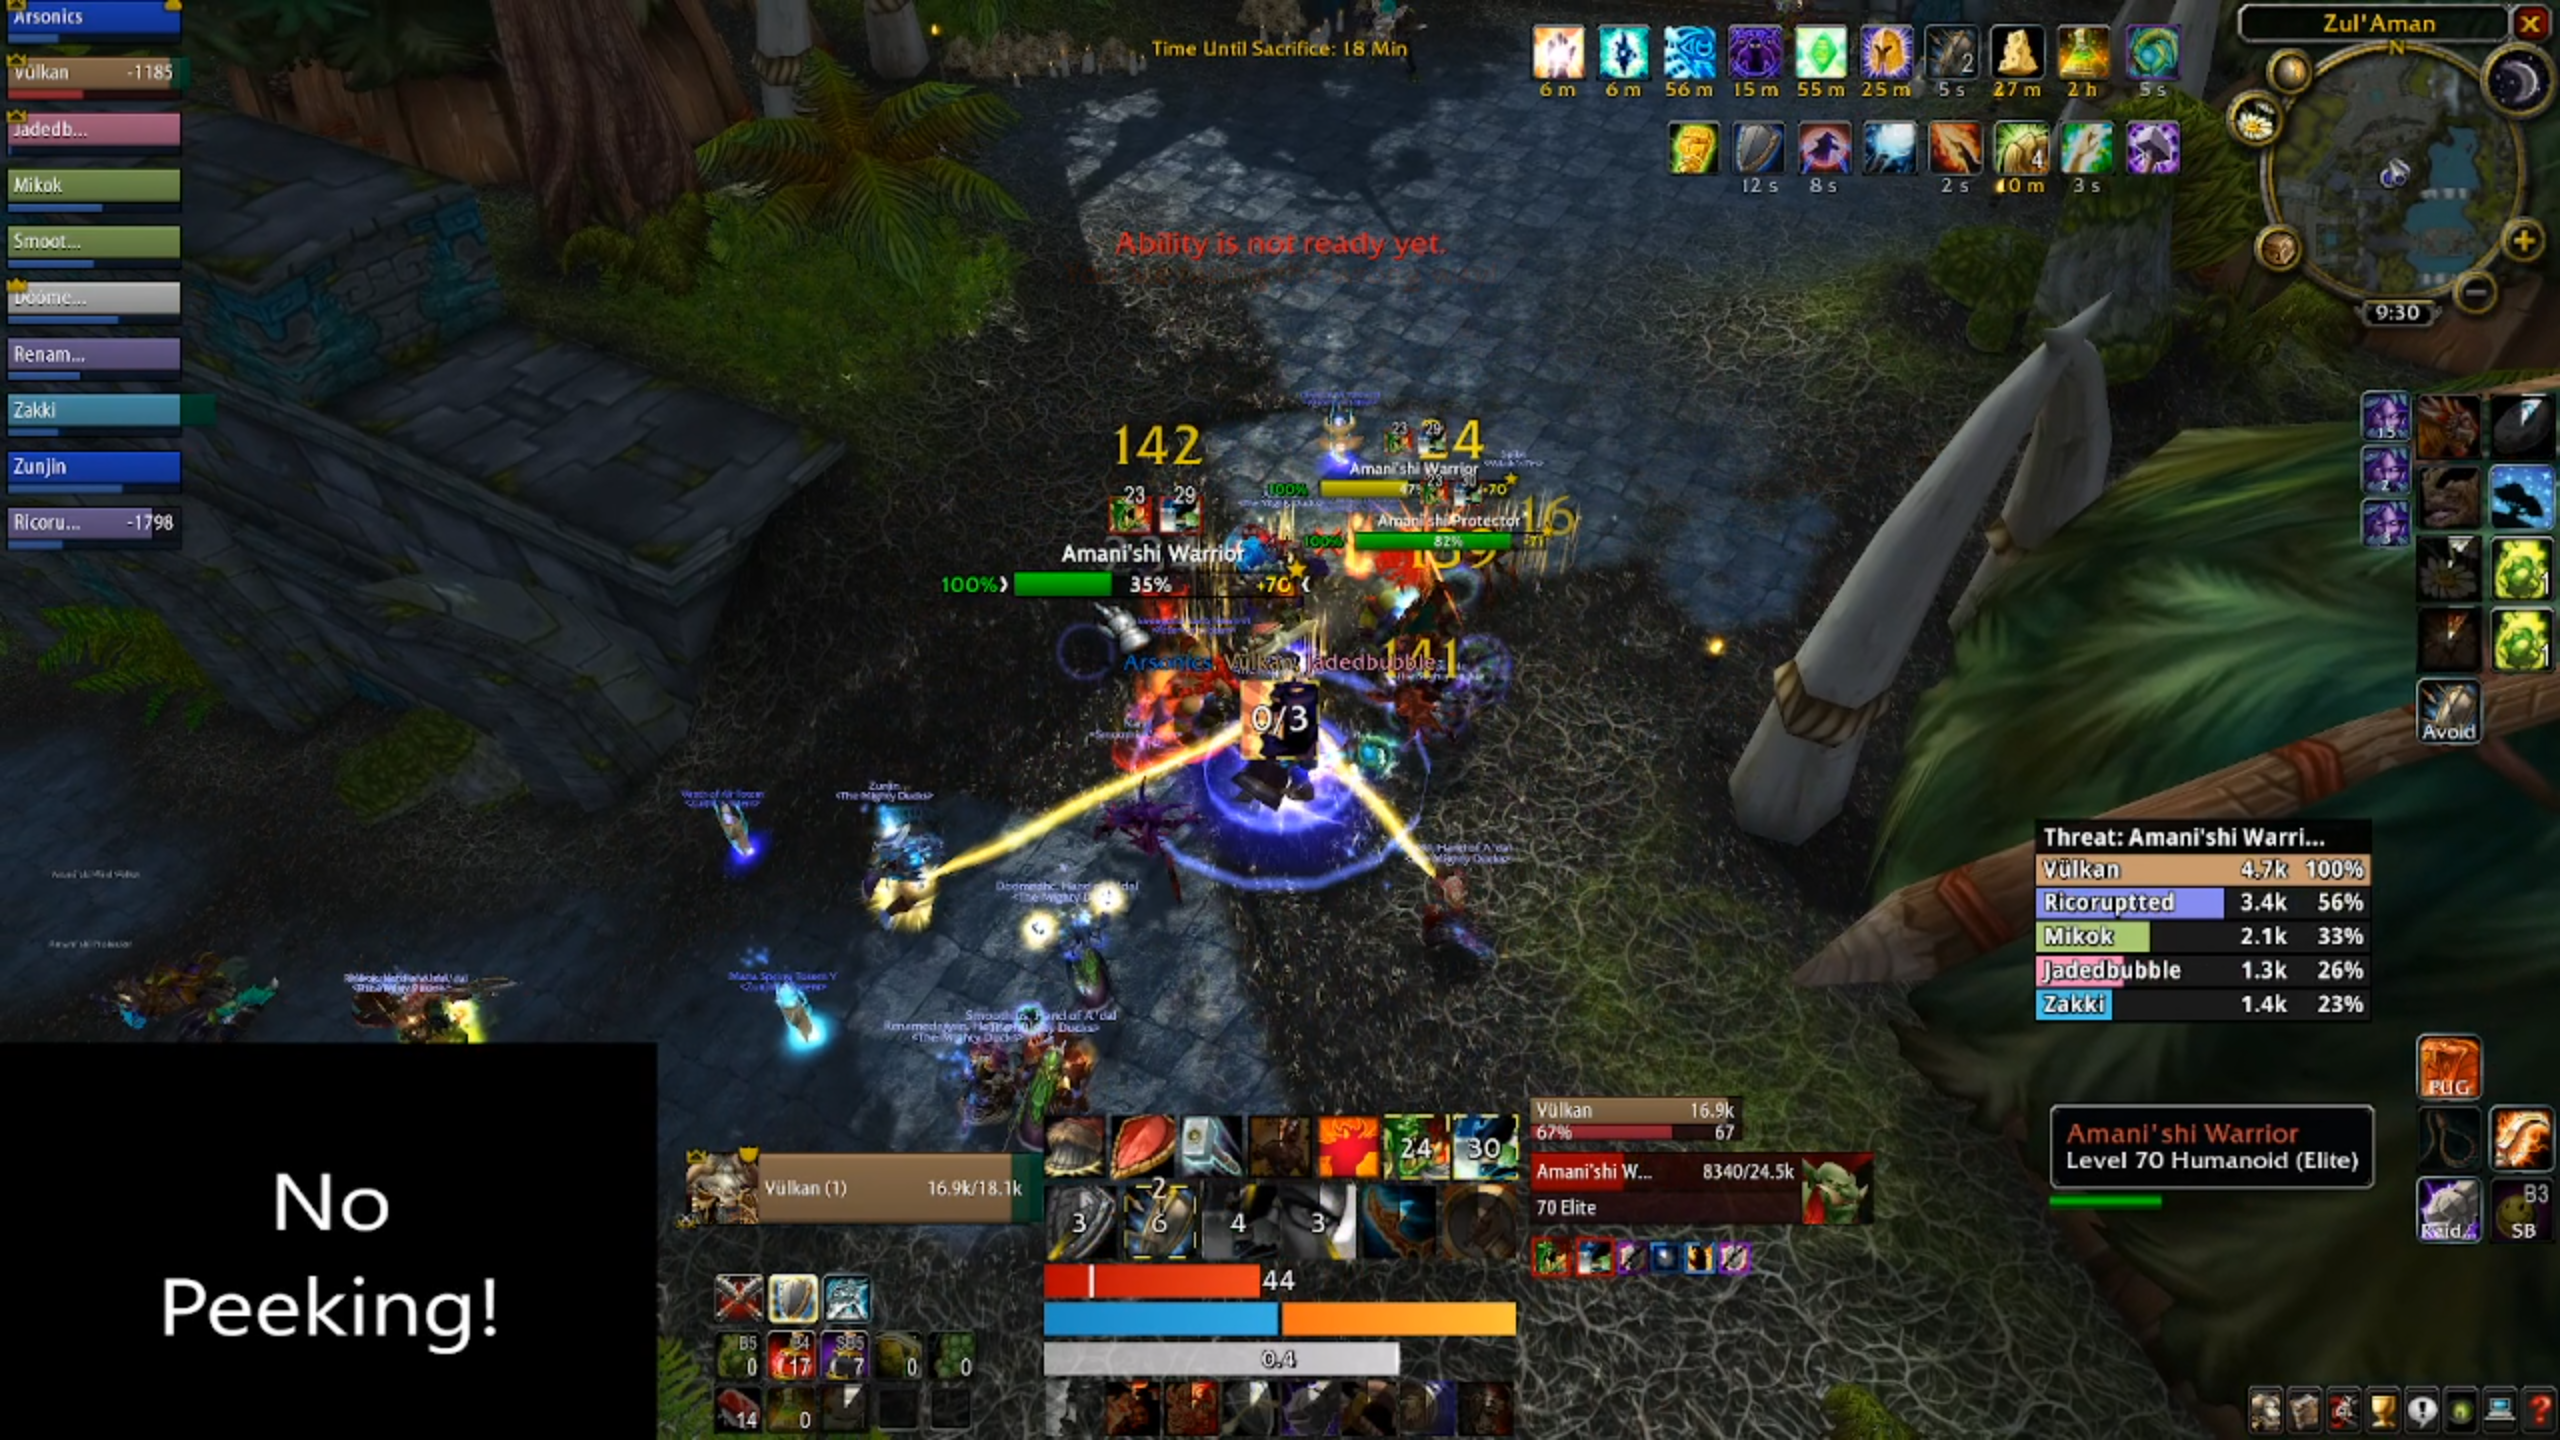
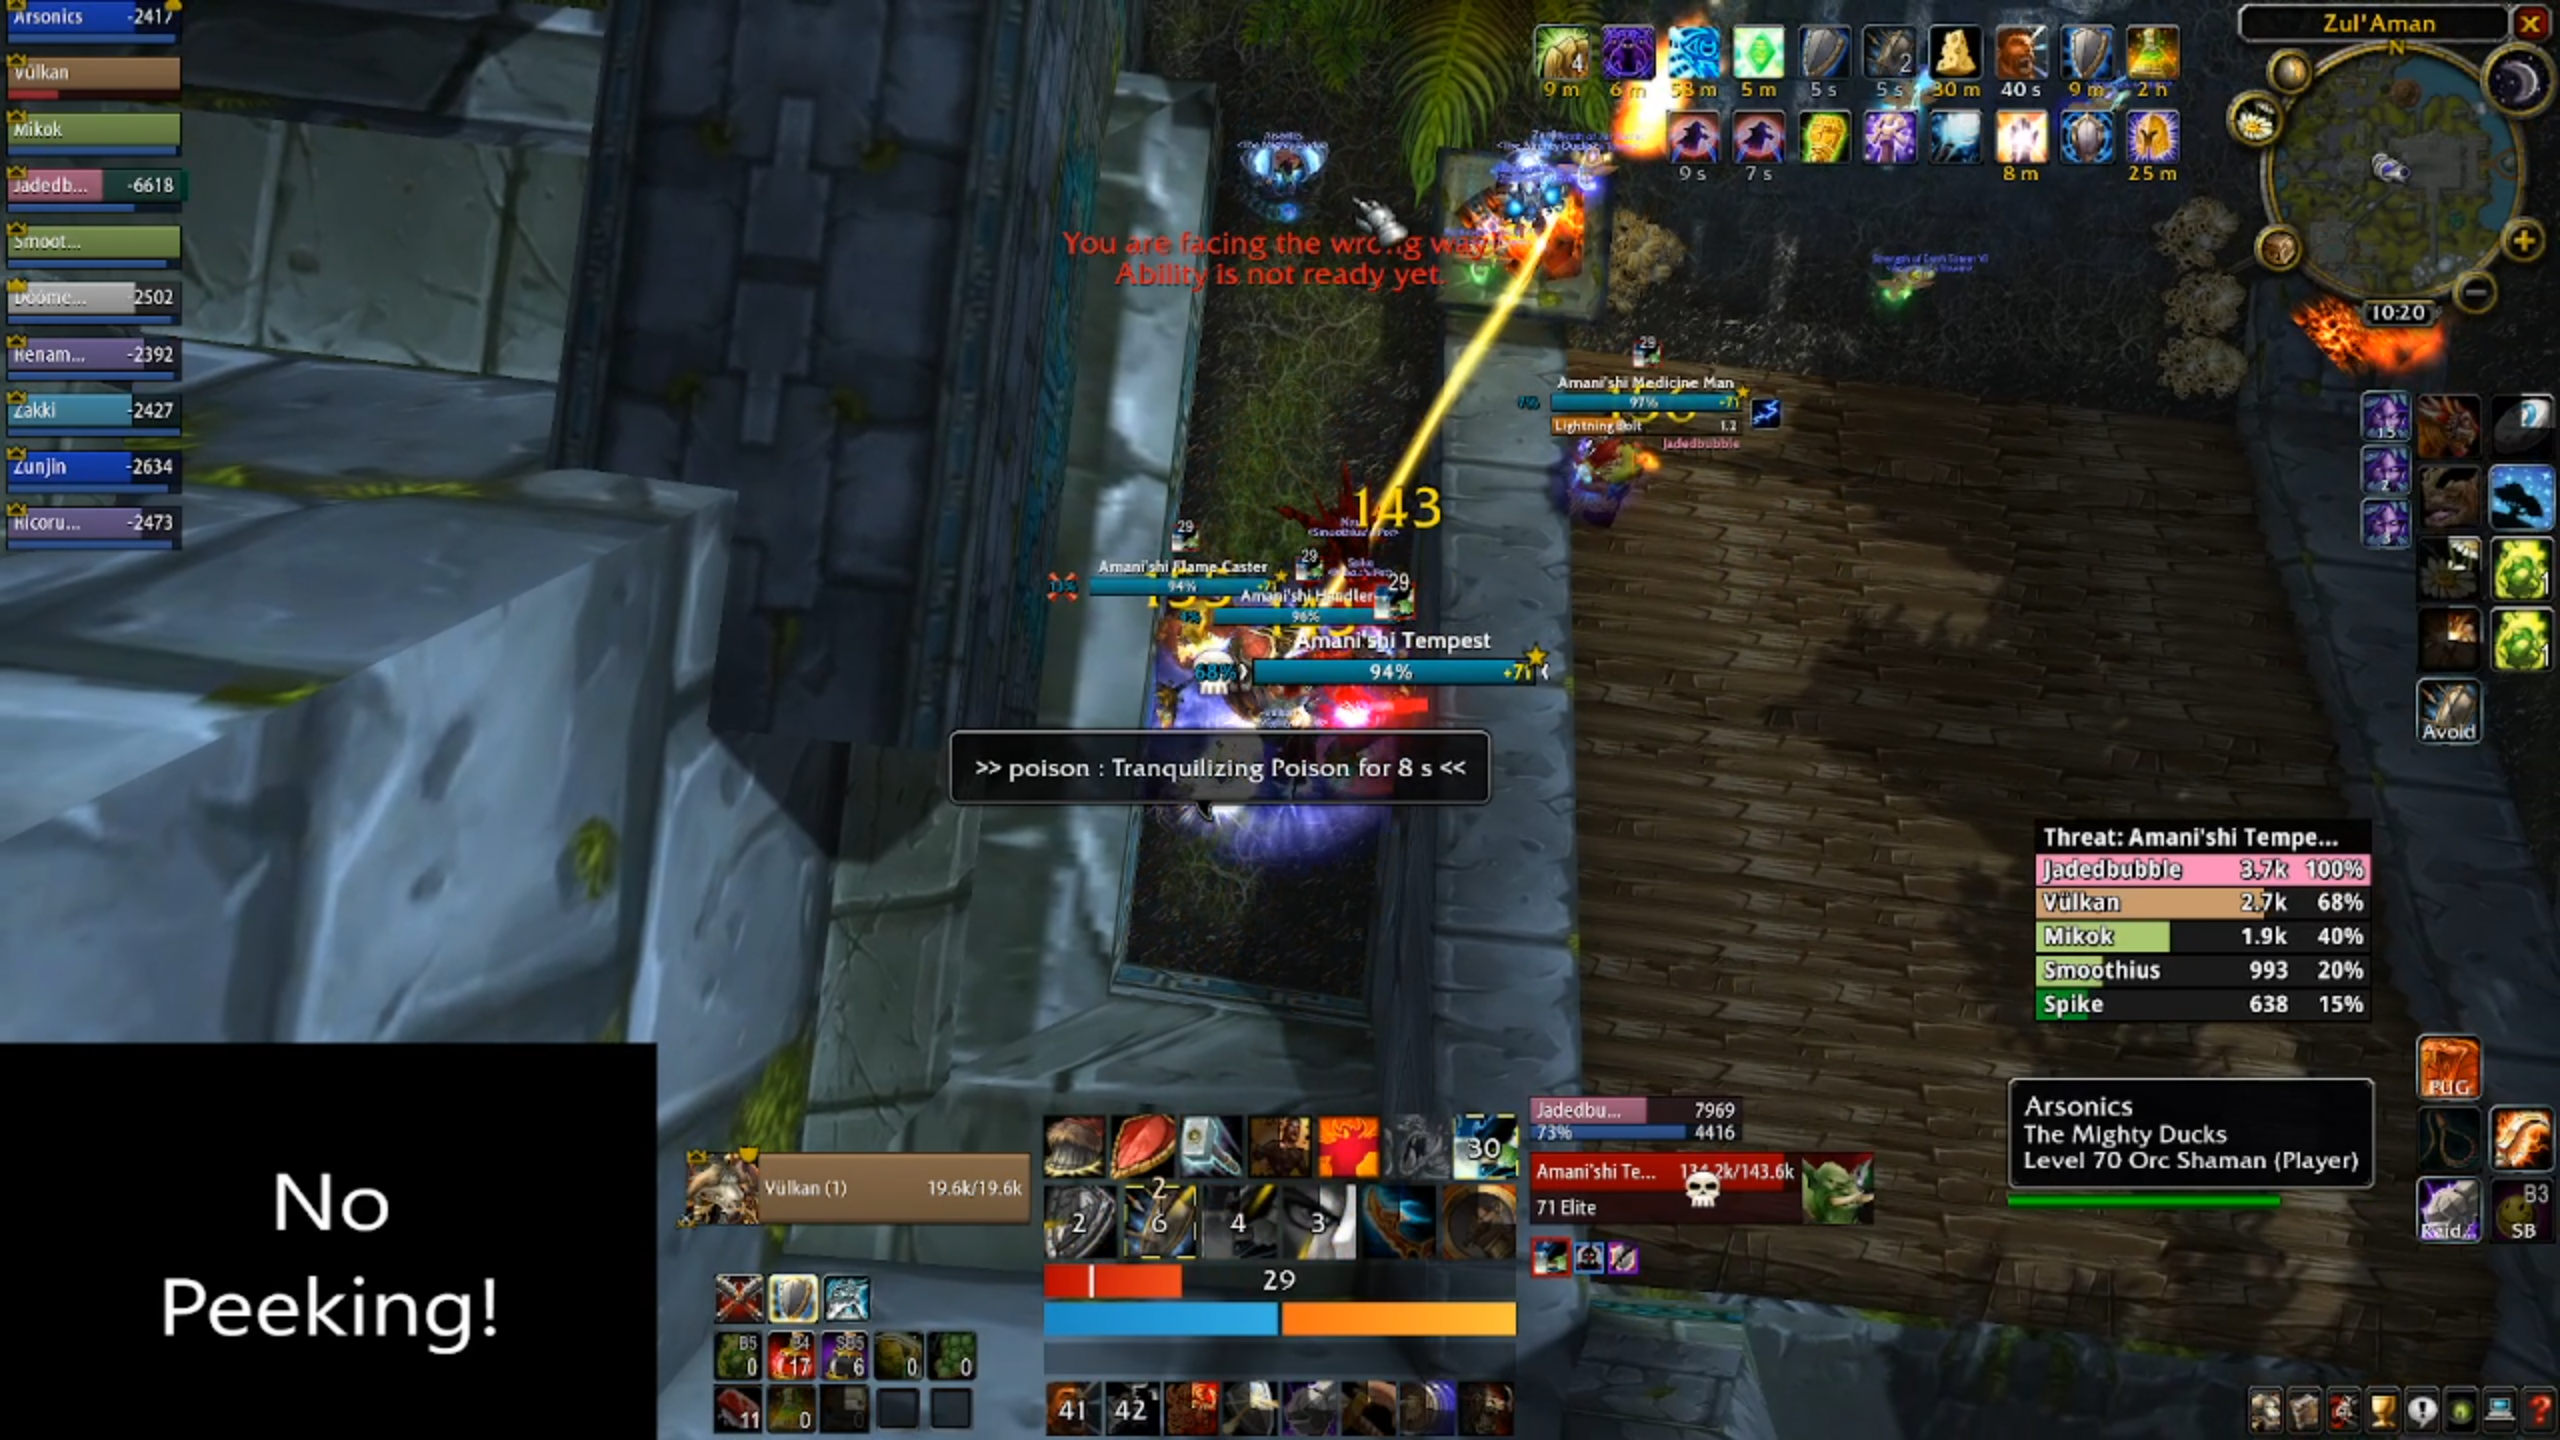
Whilst you're on the gauntlet, the Aman'shi Tempest (the last mob at the end of the gauntlet) will continue to spawn waves of eight non-elite birds to keep you busy. In addition, two sets of two Amani Warriors will spawn behind you, running up the ramp to flank you, and pick off your healers and caster DPS.
You'll get to a landing with some space between the next pack. It has the Aman'shi Tempest, an Amani Warrior and Amani Wind Walker. When you pull this pack, the birds will stop. The Tempest hits the hardest so if you have a non-paladin tank, have them deal with it.
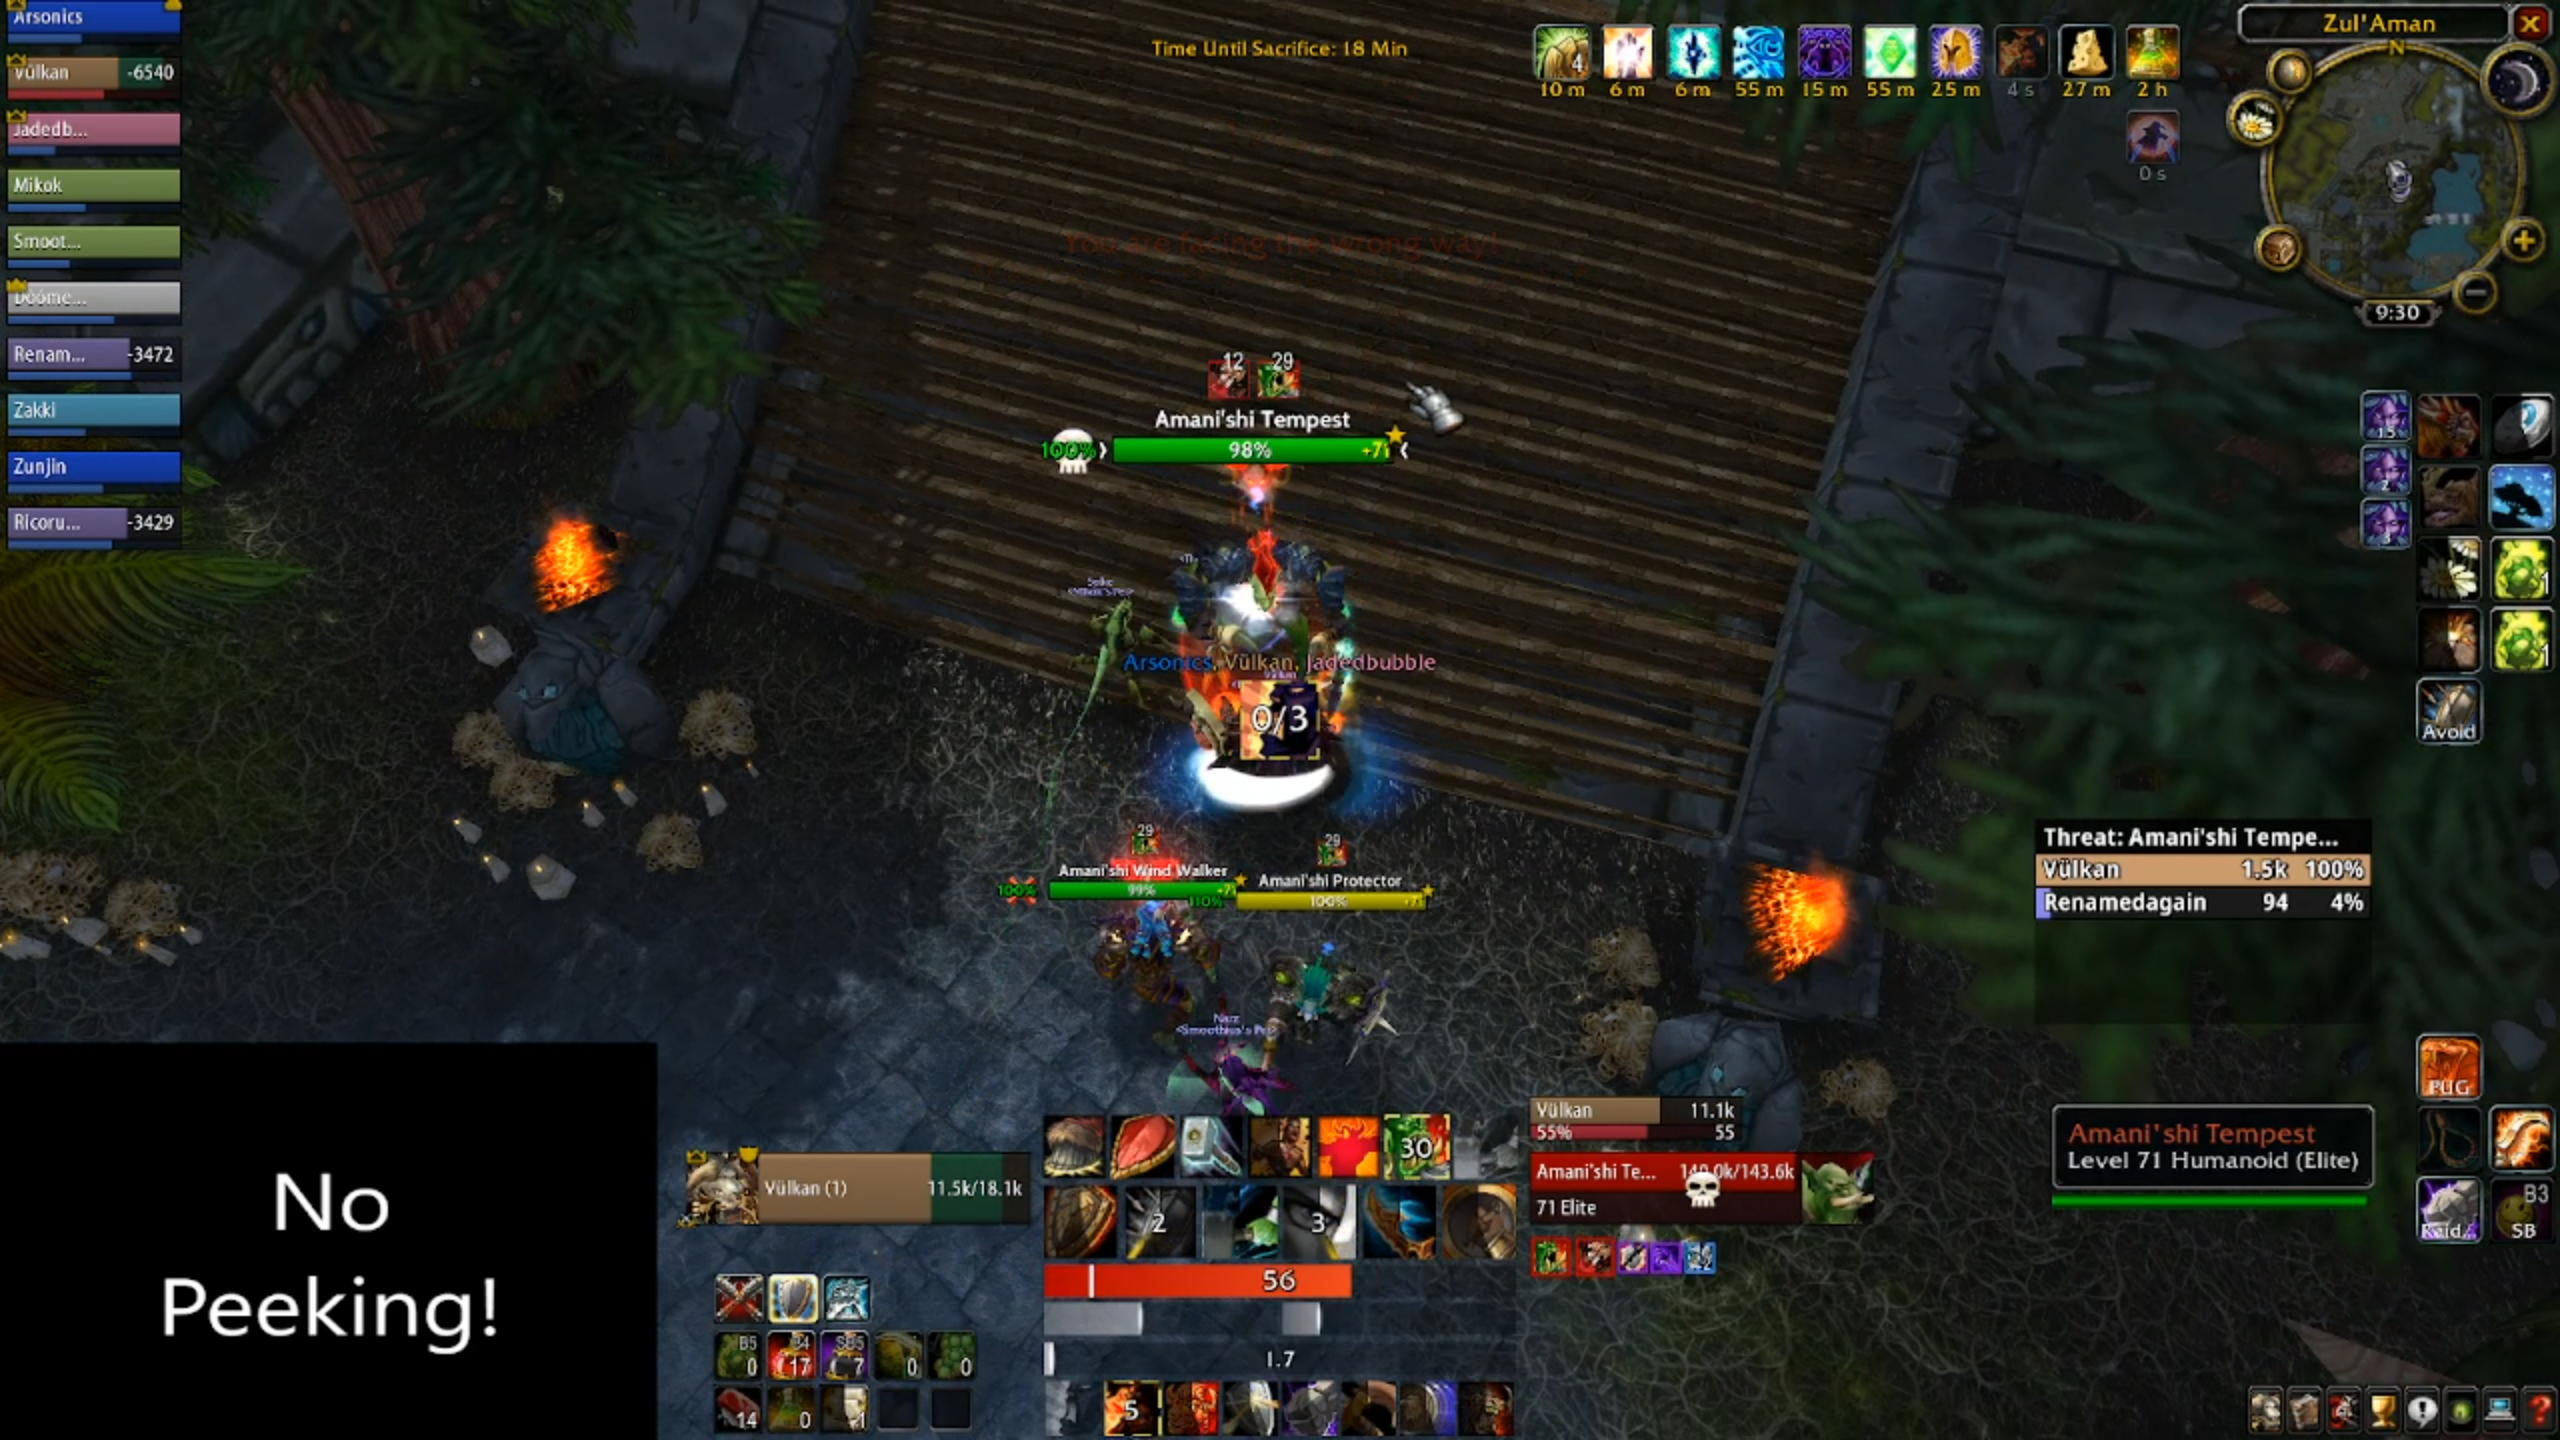
Once you deal with this pack, climb the stairs and you're at the first boss.
Boss One - Akil'zon
Akil'zon is a phase and a half fight that puts a lot of pressure on your healers and tests the situational awareness of your raid. When doing a timed run, you can normally survive one wipe across the run, but if it happens here, it can kneecap you before you get started.
You want your raid to be spread toward the entrance of the platform. Don't go too far, it's important you not be too far from any one member of the raid for the boss' main ability, Electrical Storm.
So no Sam Fisher lone wolves in the corner trying to be edgy and aloof. Stick together.
The boss has a relatively short aggro range, so everyone should be packed into the platform before the pull starts, or they'll be locked out. When everyone's fueled up and ready to go, you can pull the boss.
Tactics
Akil'zon is not difficult, nor is it a particularly mechanically hard fight. It's just highly tuned for alts in fresh 70 gear. You just want to do damage until he keels over and make sure if you're a little skinny, that you're using healthstones and potions.
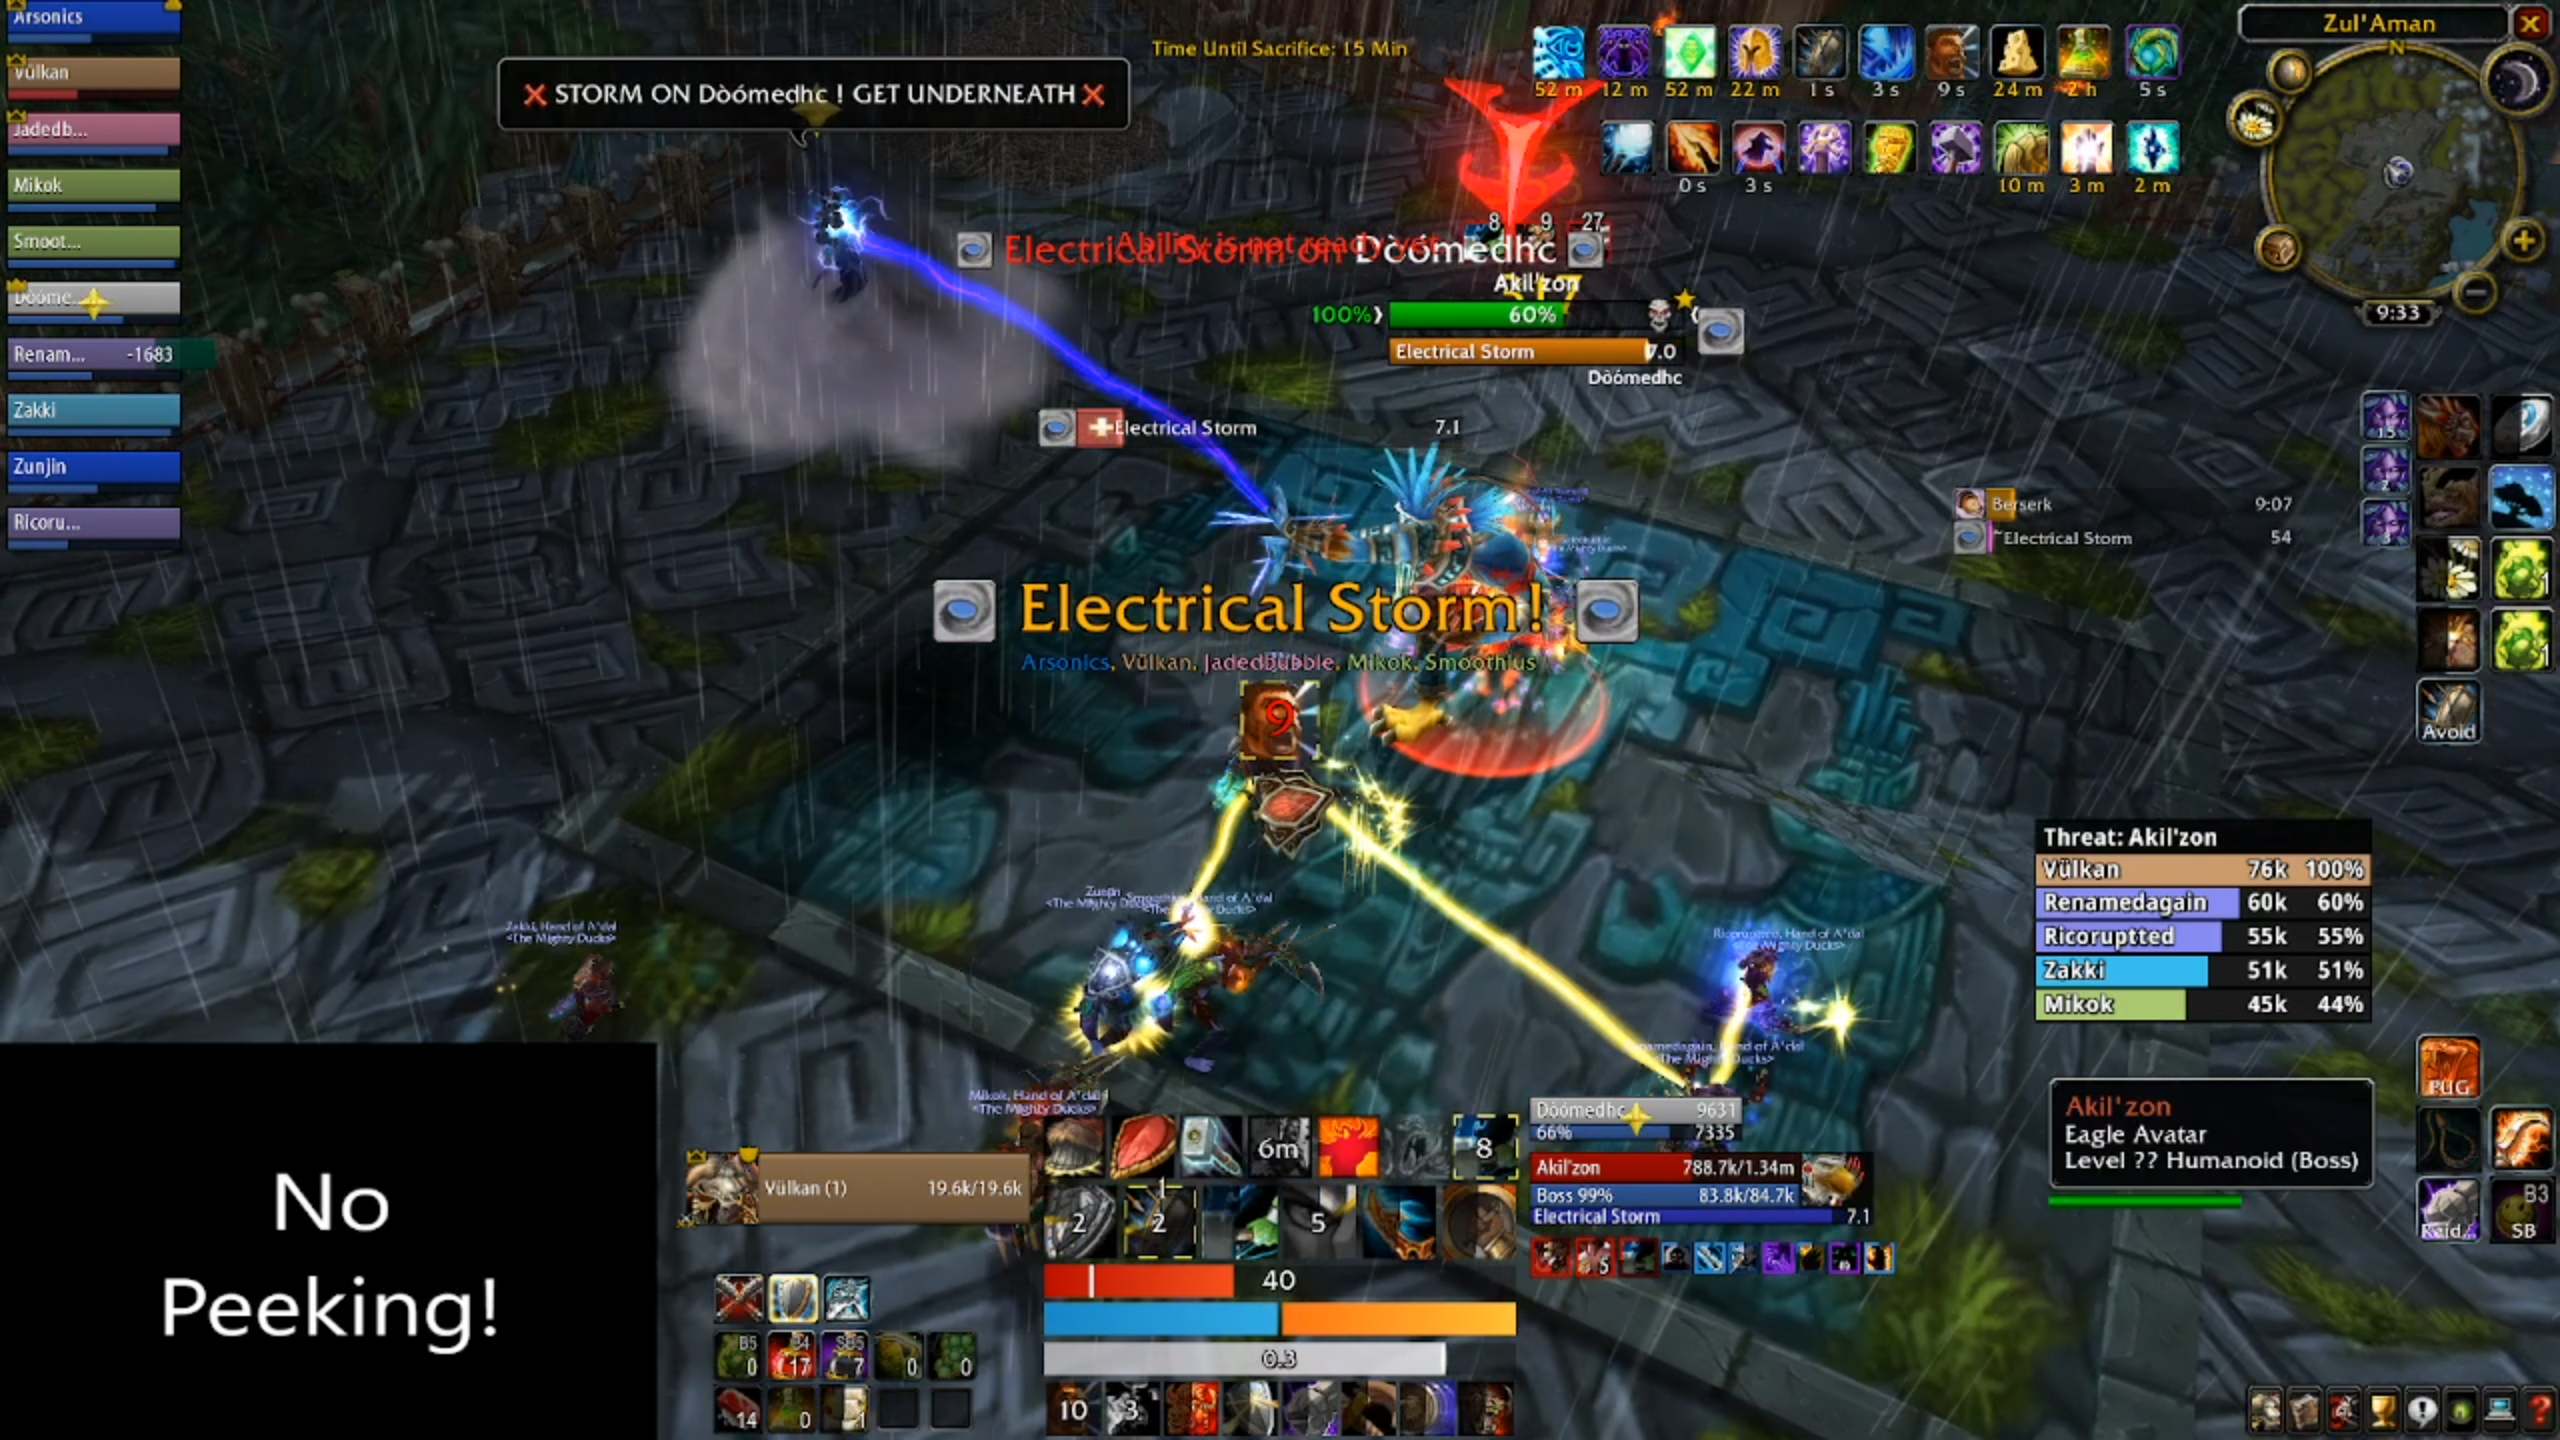
Akil'zon's first ability requires you to be spread - Static Disruption chunks a player and anyone within 12 yards for nature damage. Where this can get tricky is when combined with the next ability.
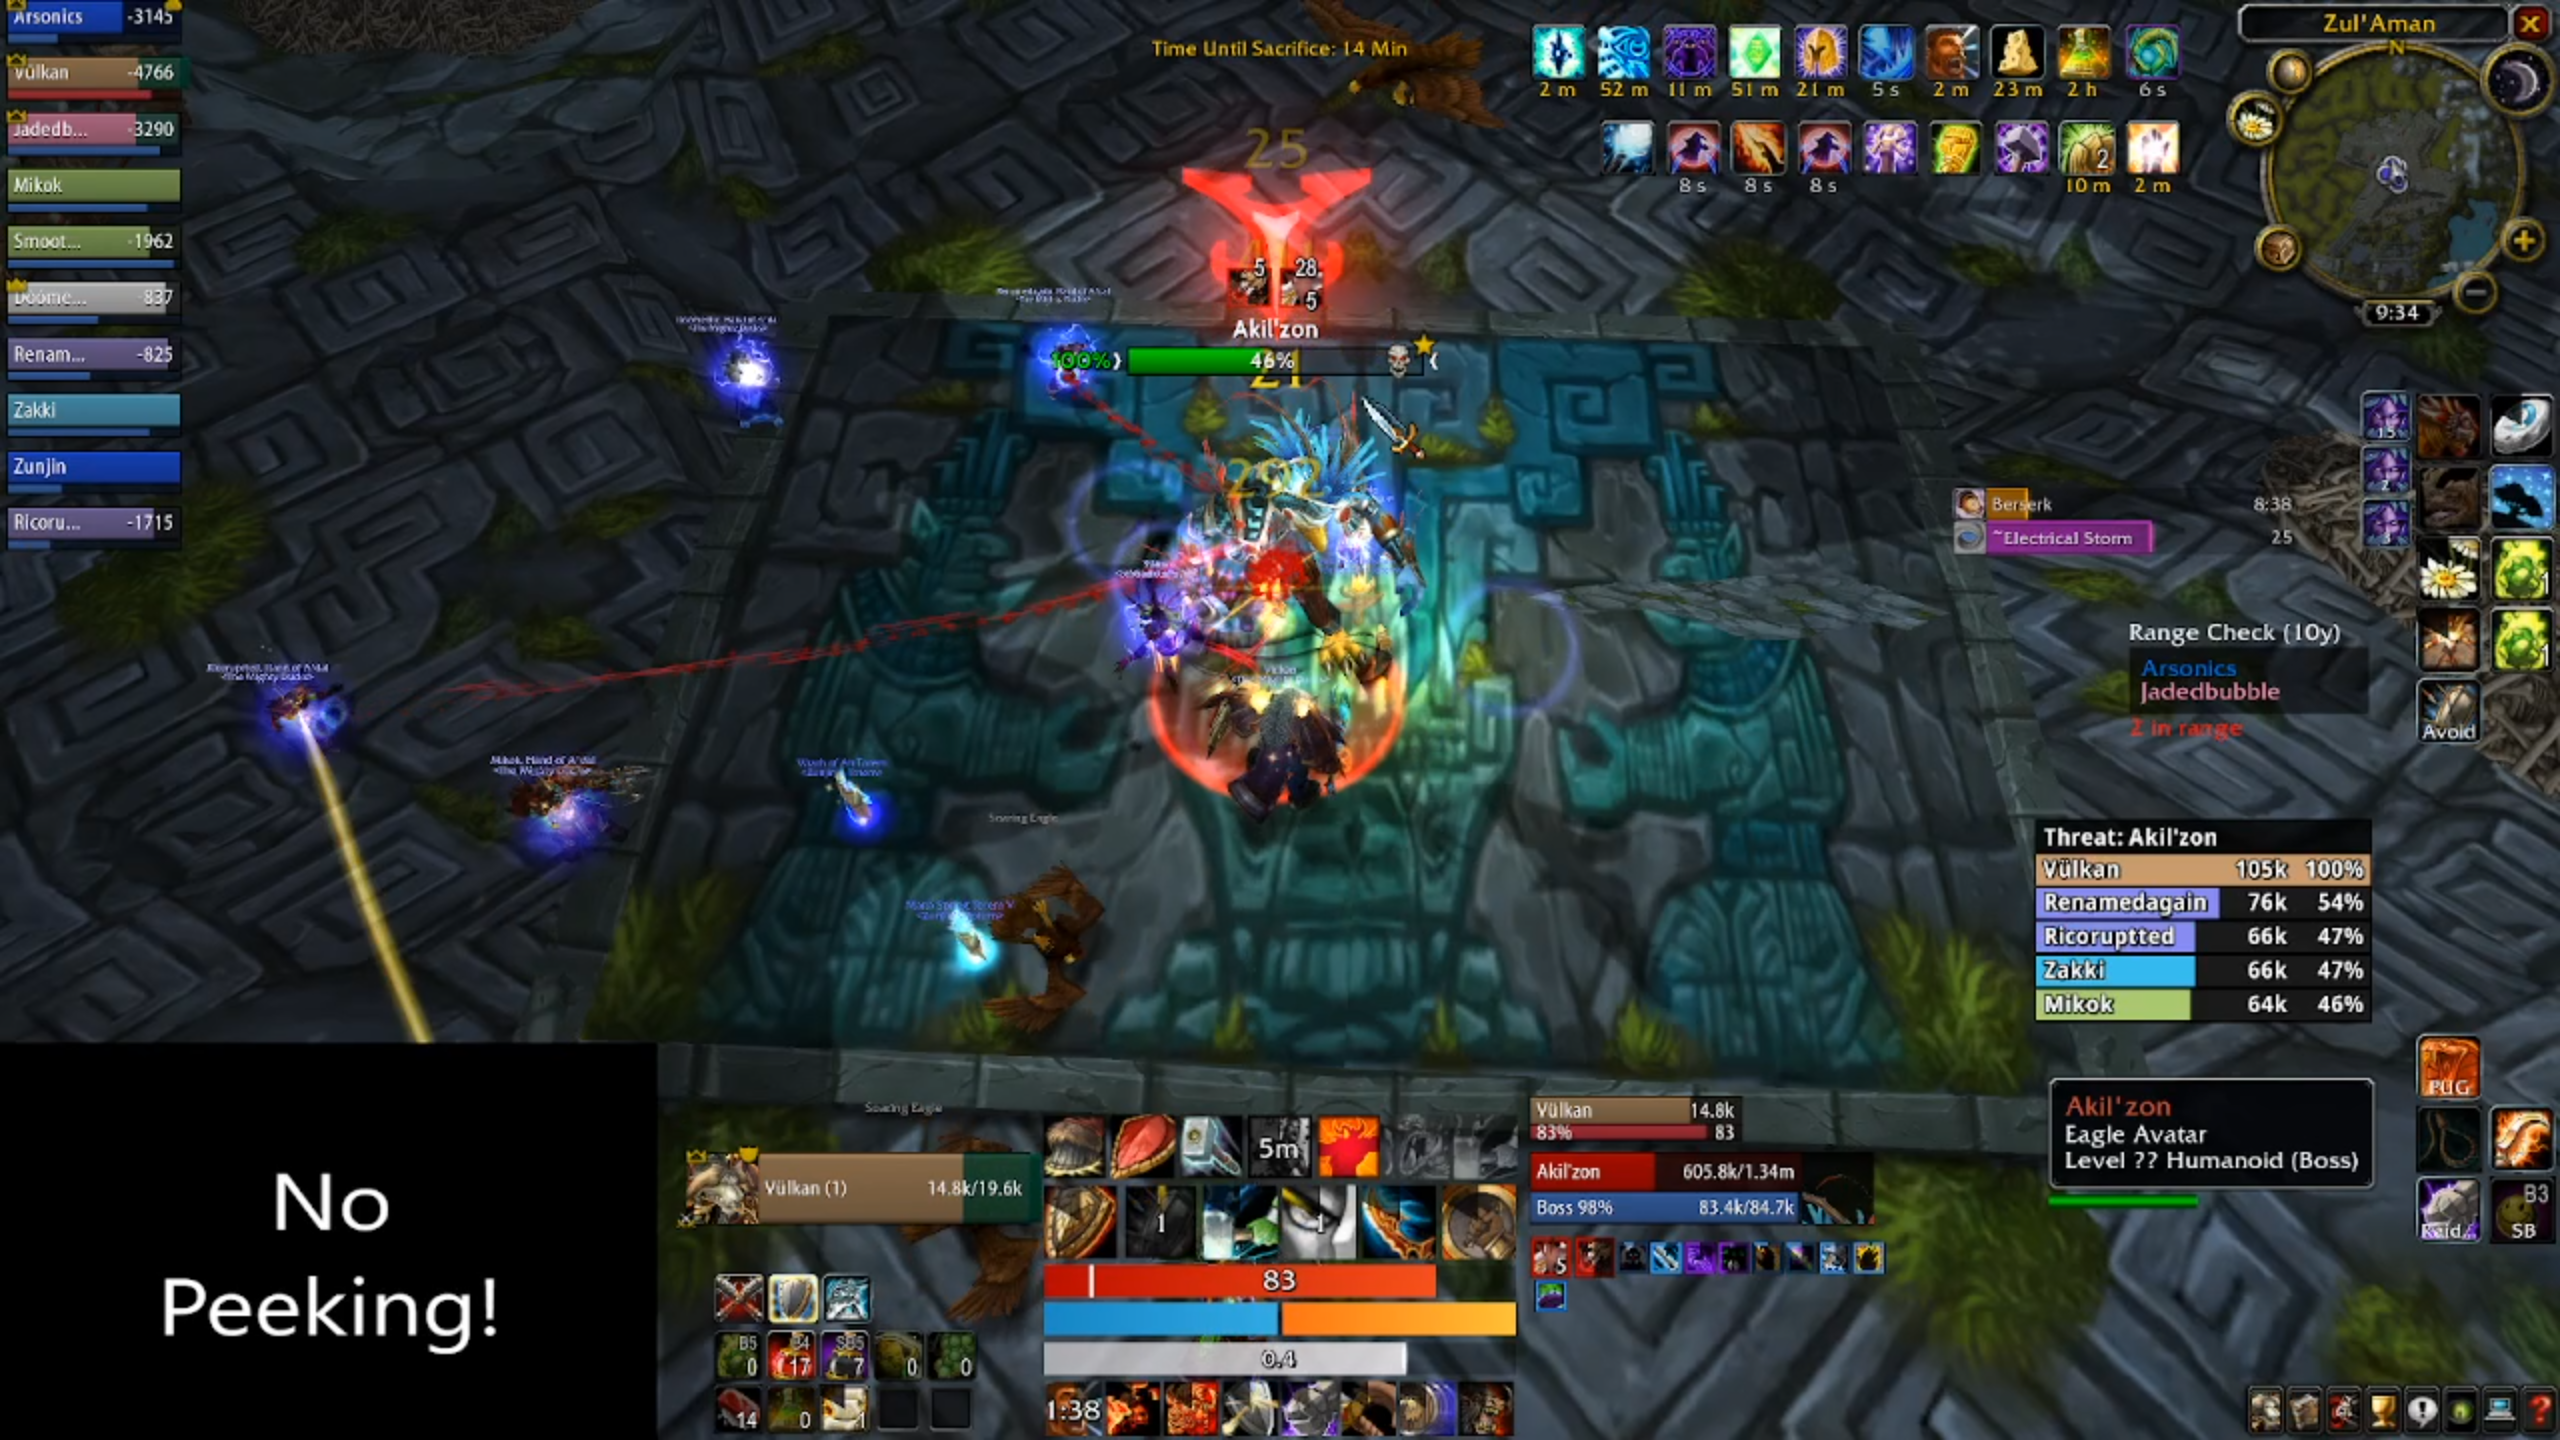
Electrical Storm targets a player and creates a safe zone underneath them - everyone who isn't underneath that player will take damage until they reach the safe zone. This is why it's important to spread for Static Disruption, whilst remaining close to the raid, or players will die making their way to you.
Of course, requiring players to stack and then spread means that Akil'zon can wombo the raid and immediately cast Static Disruption after an Electrical Storm, hitting the raid for huge damage. It's unlikely to cause a wipe, unless your healers aren't up to the task, but then again, this is why it's a healer check.
Additionally, every time Akil'zon casts Electrical Storm, eight eagles will spawn, which will swoop members of the raid for minor damage. Every electrical storm will spawn more eagles, forming a soft enrage where the chip damage will overwhelm your healers. You can kill the eagles if they really want, but it's impossible to cleave them down, and the amount of uptime you lose on the boss makes it counterproductive.
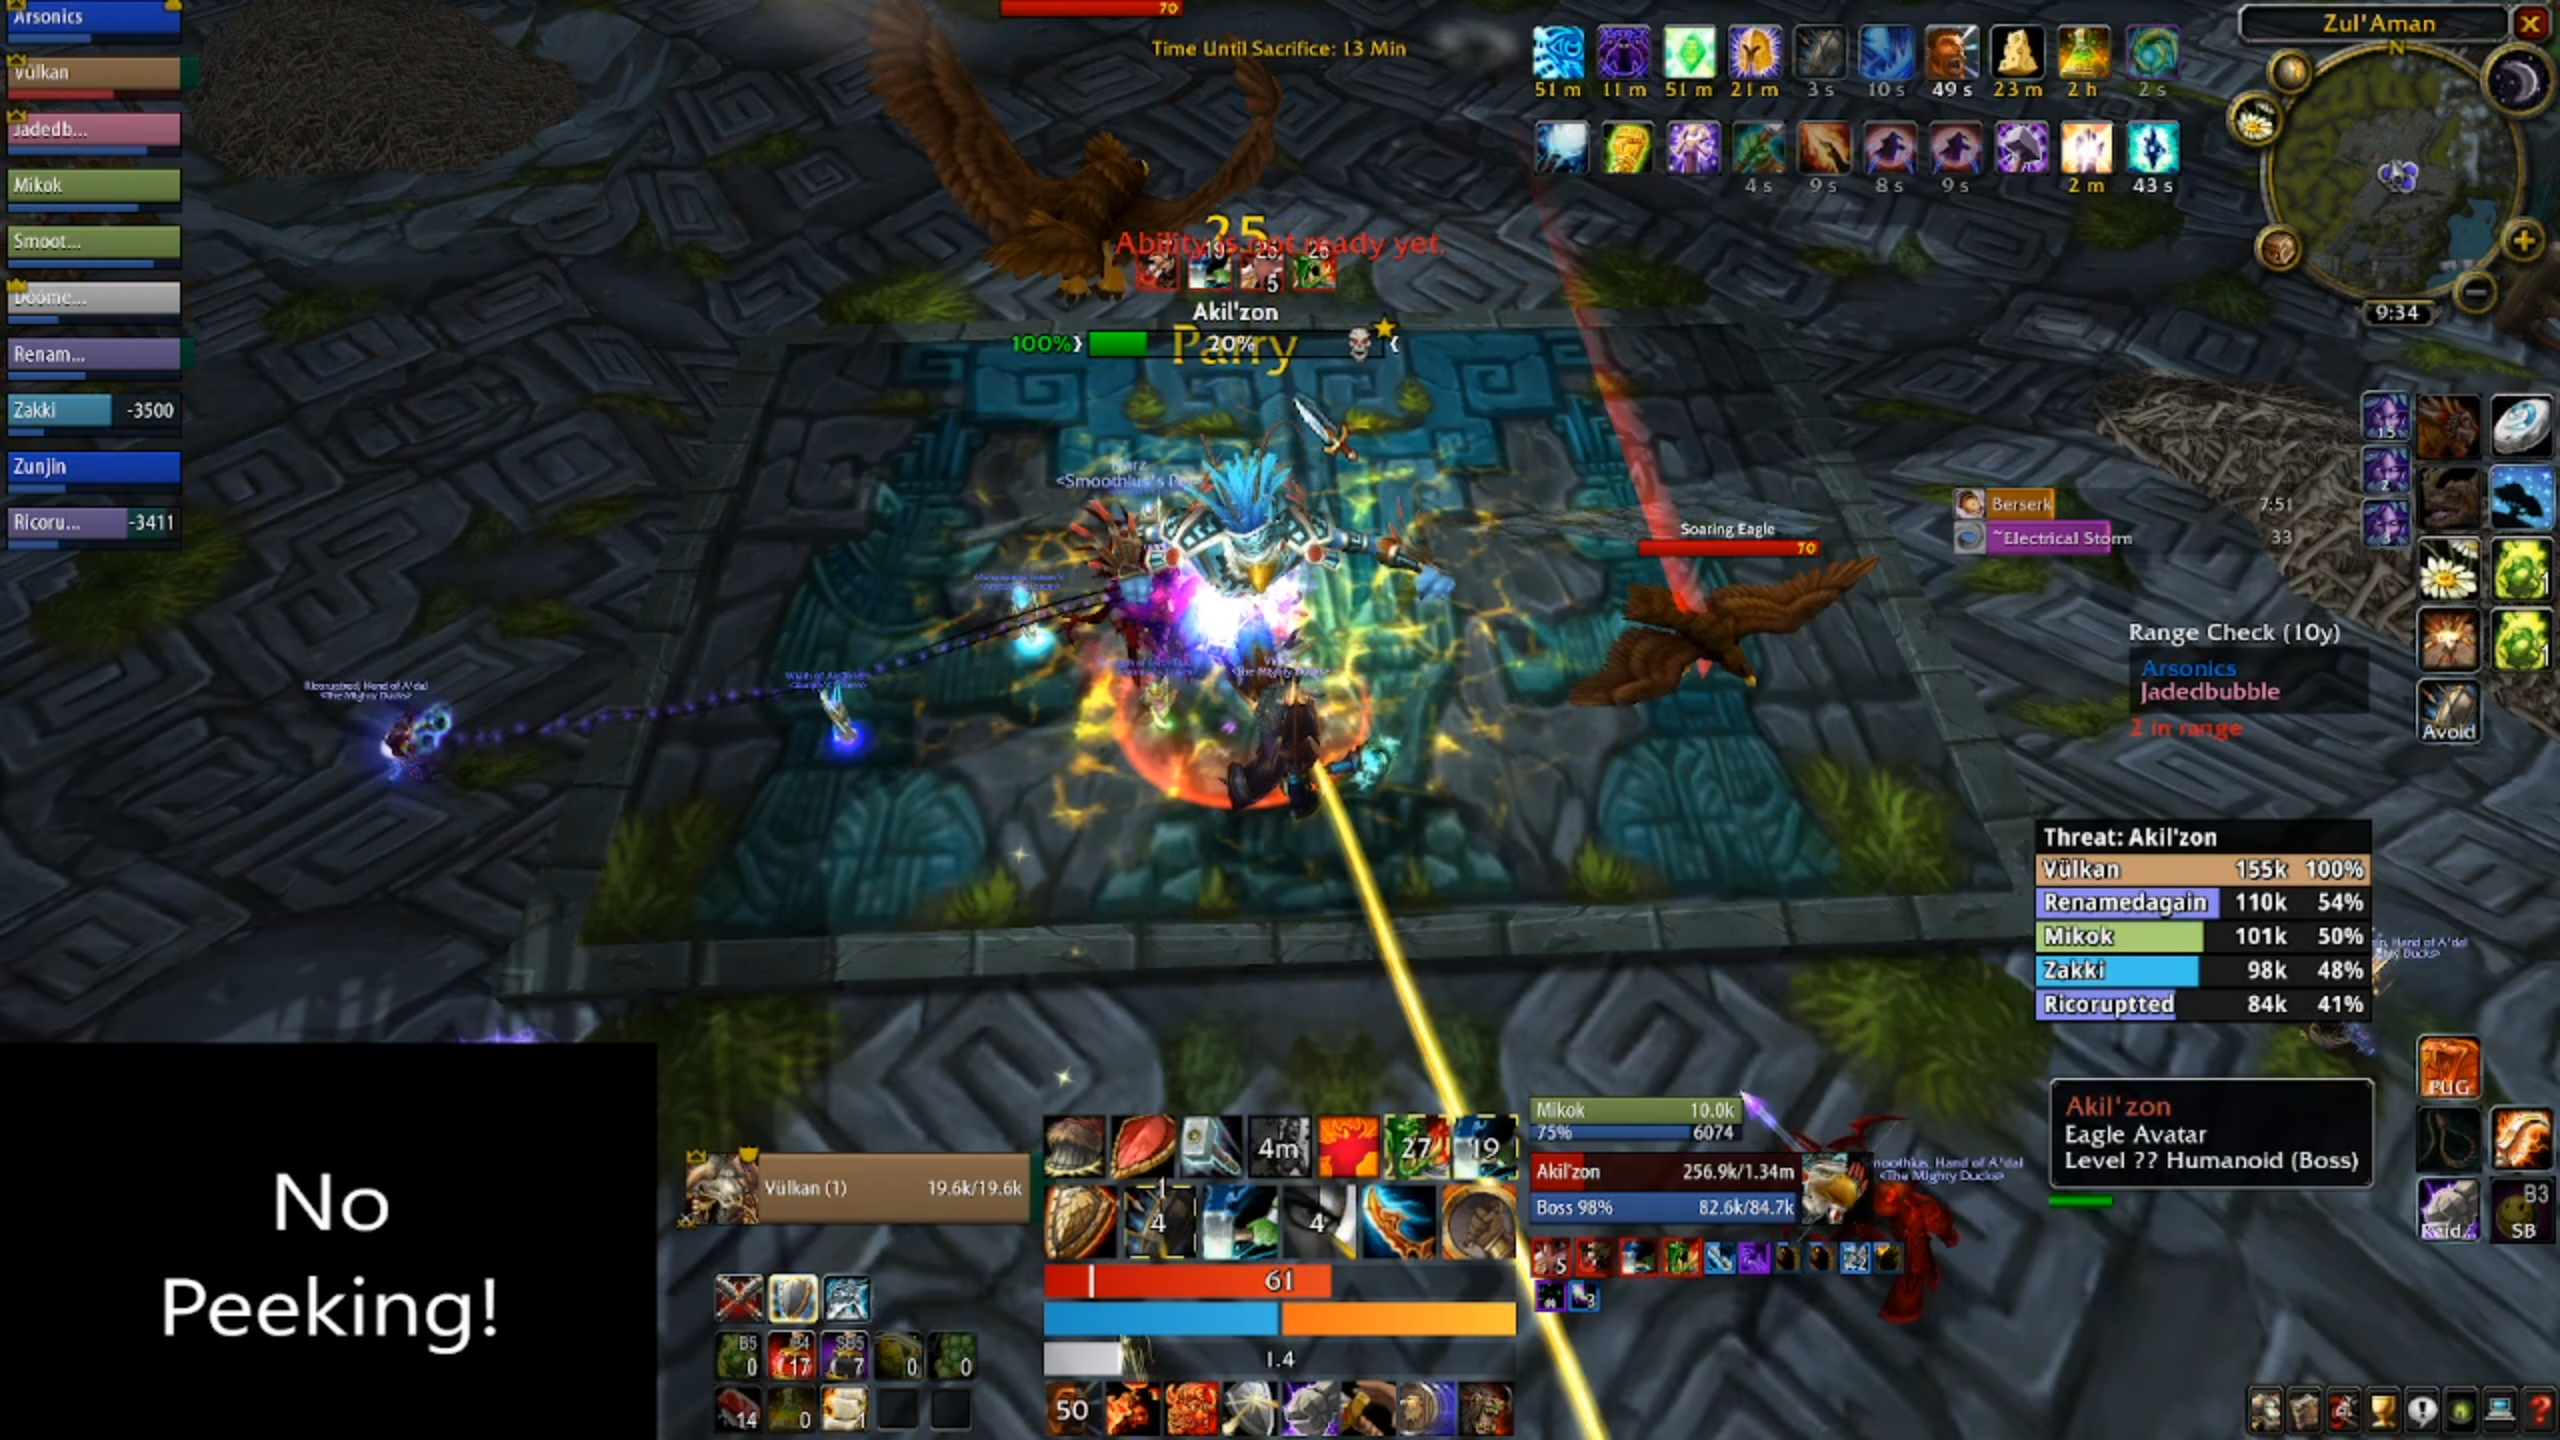
So lust on the pull, maximum attack, and unless your raid is in all greens, you should make it past this boss in reasonable time.
From Akil'zon, you want to turn around, mount up and head back down - you can jump the wall over the first ramp to save a bit of time at the cost of health. Head directly across, where you'll find Nalorakk, boss two, standing on a platform taunting you.
You may encounter the patrolling pack here if you didn't kill it. Again, depending on where it is in relation to Nalorakk's area, you may just want to kill them to save time, as they walk very slowly.
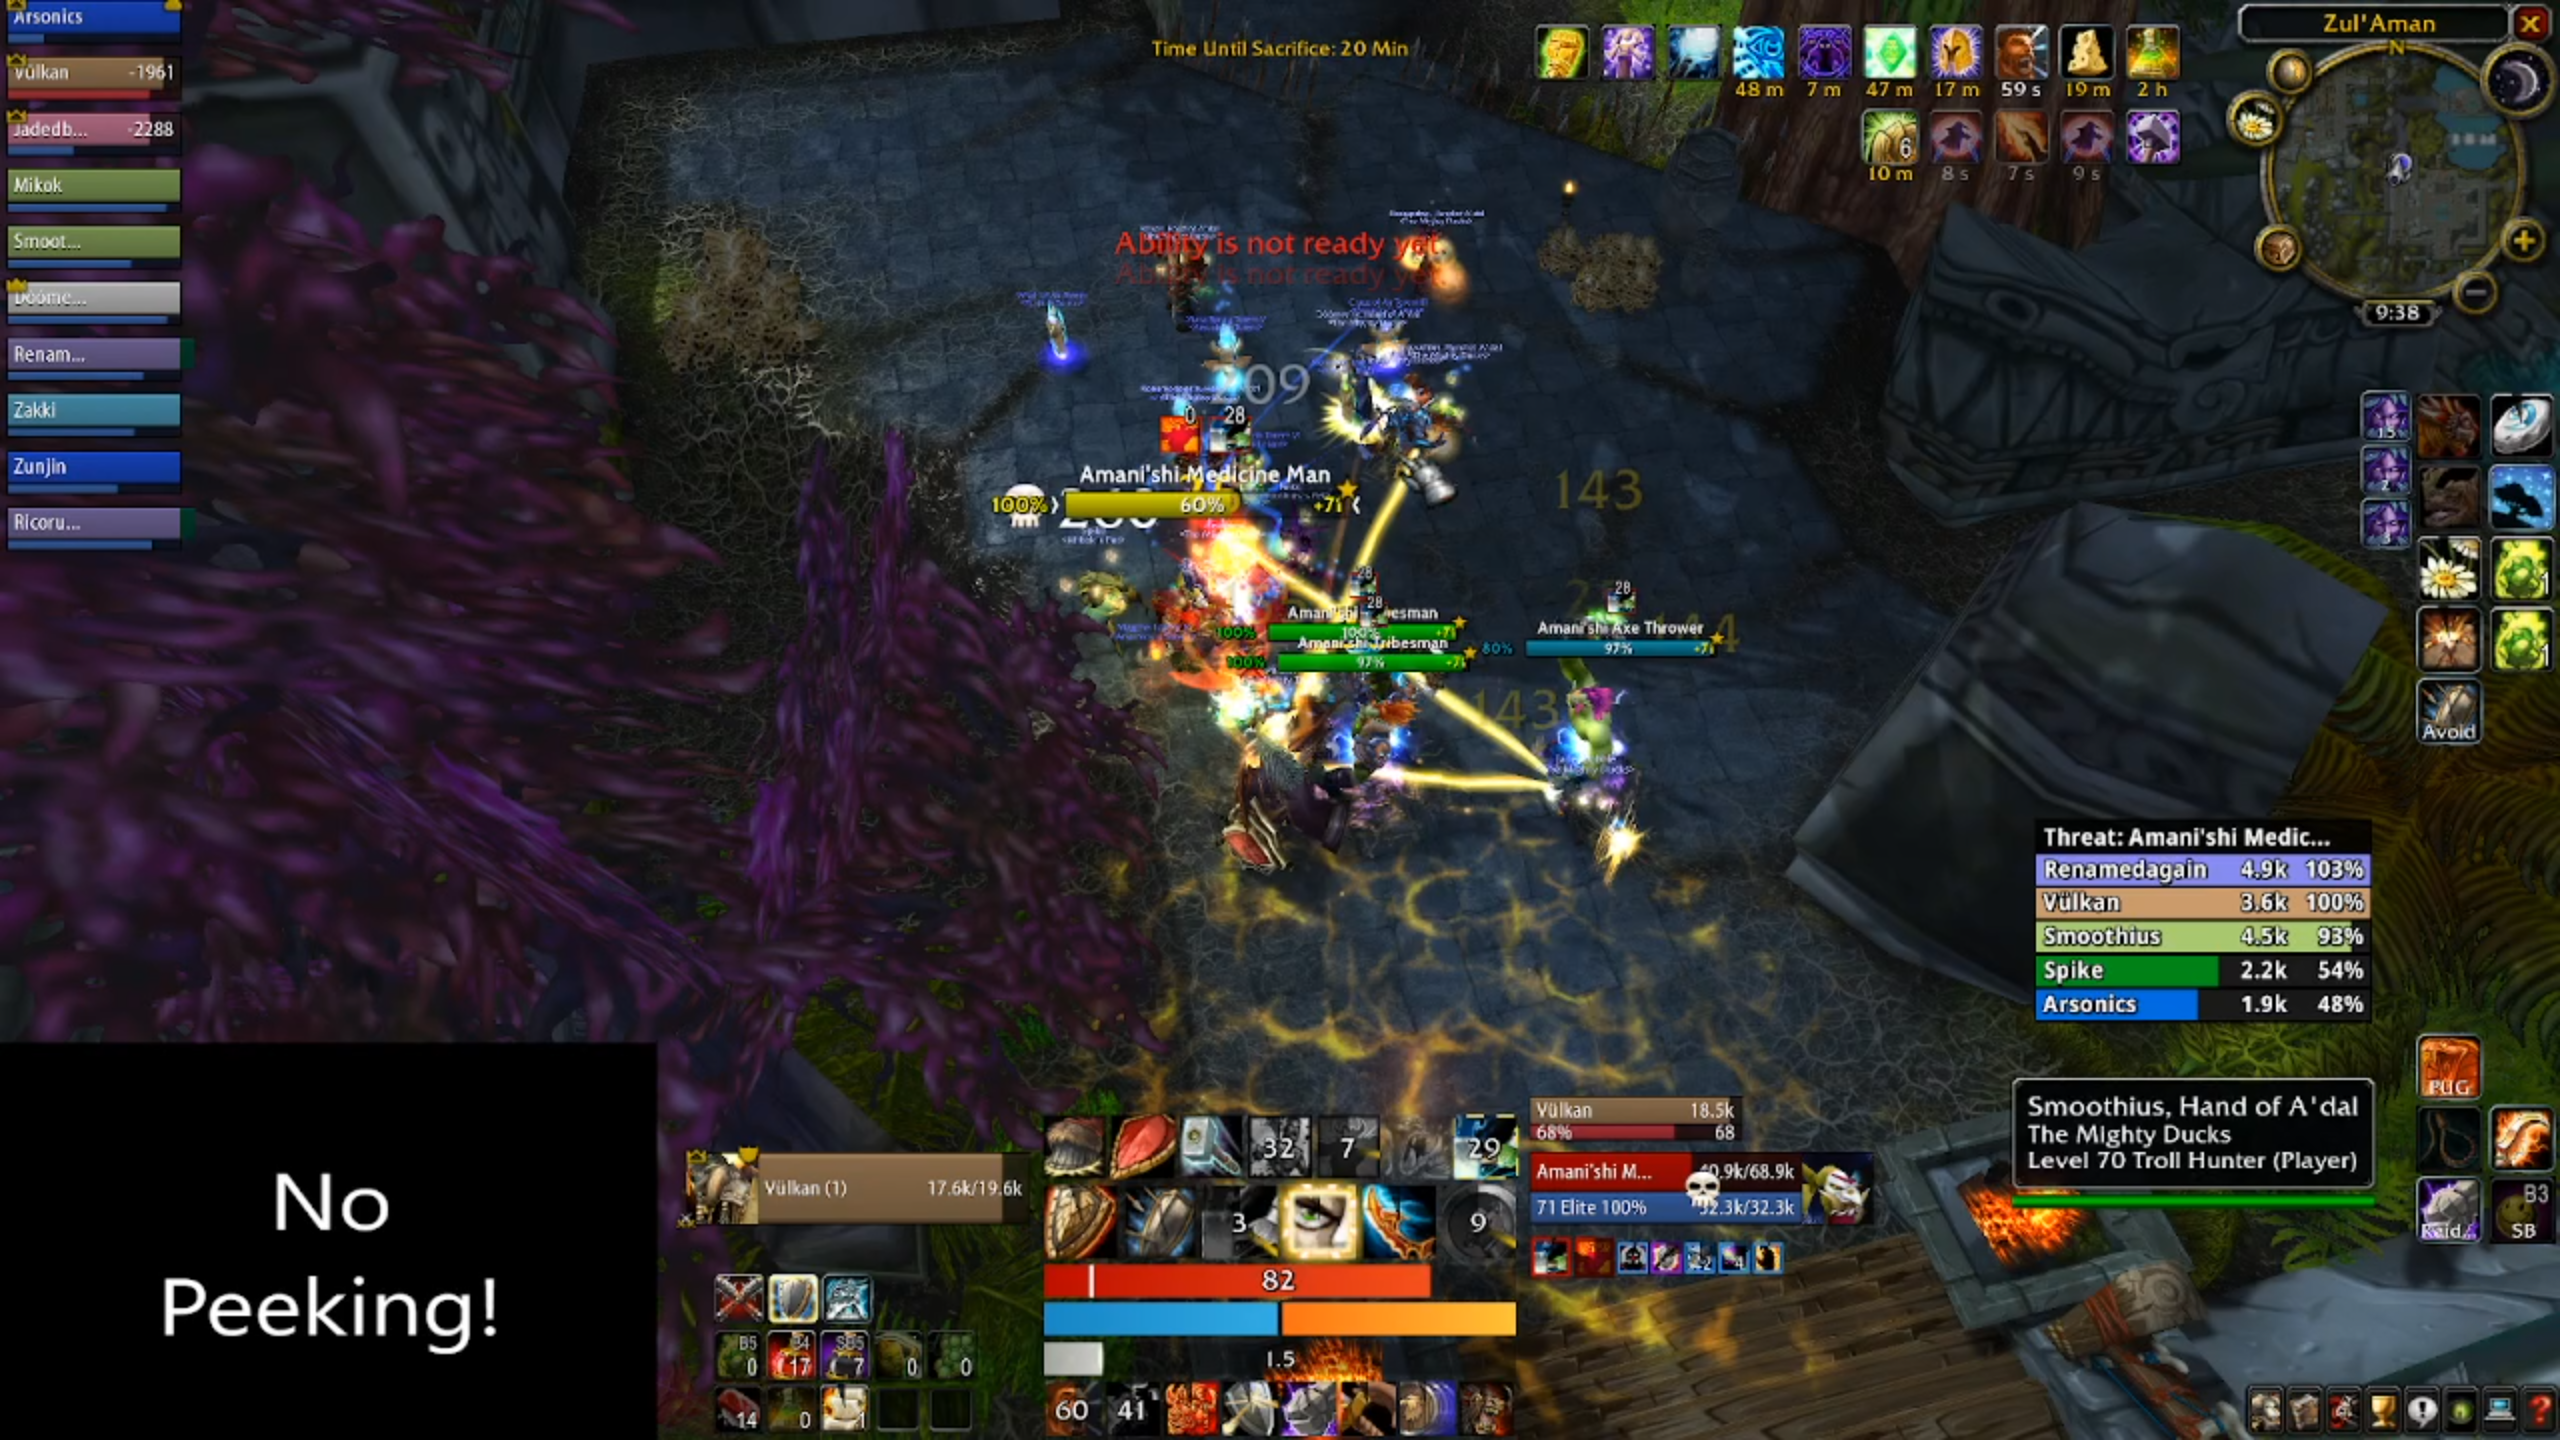
You'll want to gather up before going too far into the next area, as Nalorakk sends his troll goons (toons?) after you in waves, triggered by your position in his area.
The first wave consists of a medicine man, an axe thrower and a tribesman. They're not particularly threatening, except for the axe-throwers which have a knockback and a frontal cleave, so it's important for your melee to be behind them.
Between waves, there'll be a paddock of bears - you can sneak by if they're far enough away from the left-hand wall. If you have a priest in your raid, you can also use mind soothe to reduce the aggro radius. It's not super important you skip this trash, but it can help if you got bogged down at Akil'zon.
Turn left from the bears and you'll reach another open area with stairs leading up. There's another squad of trolls made up of axe throwers, medicine men and tribesmen, which you'll want to deal with in the same way as the first pack. Just be ready to deal with the medicine man wanting to stand on the stairs and cast spells, so your raid may need to cram onto the stairs to engage - mind the axe throwers' frontal cleave and knockback.
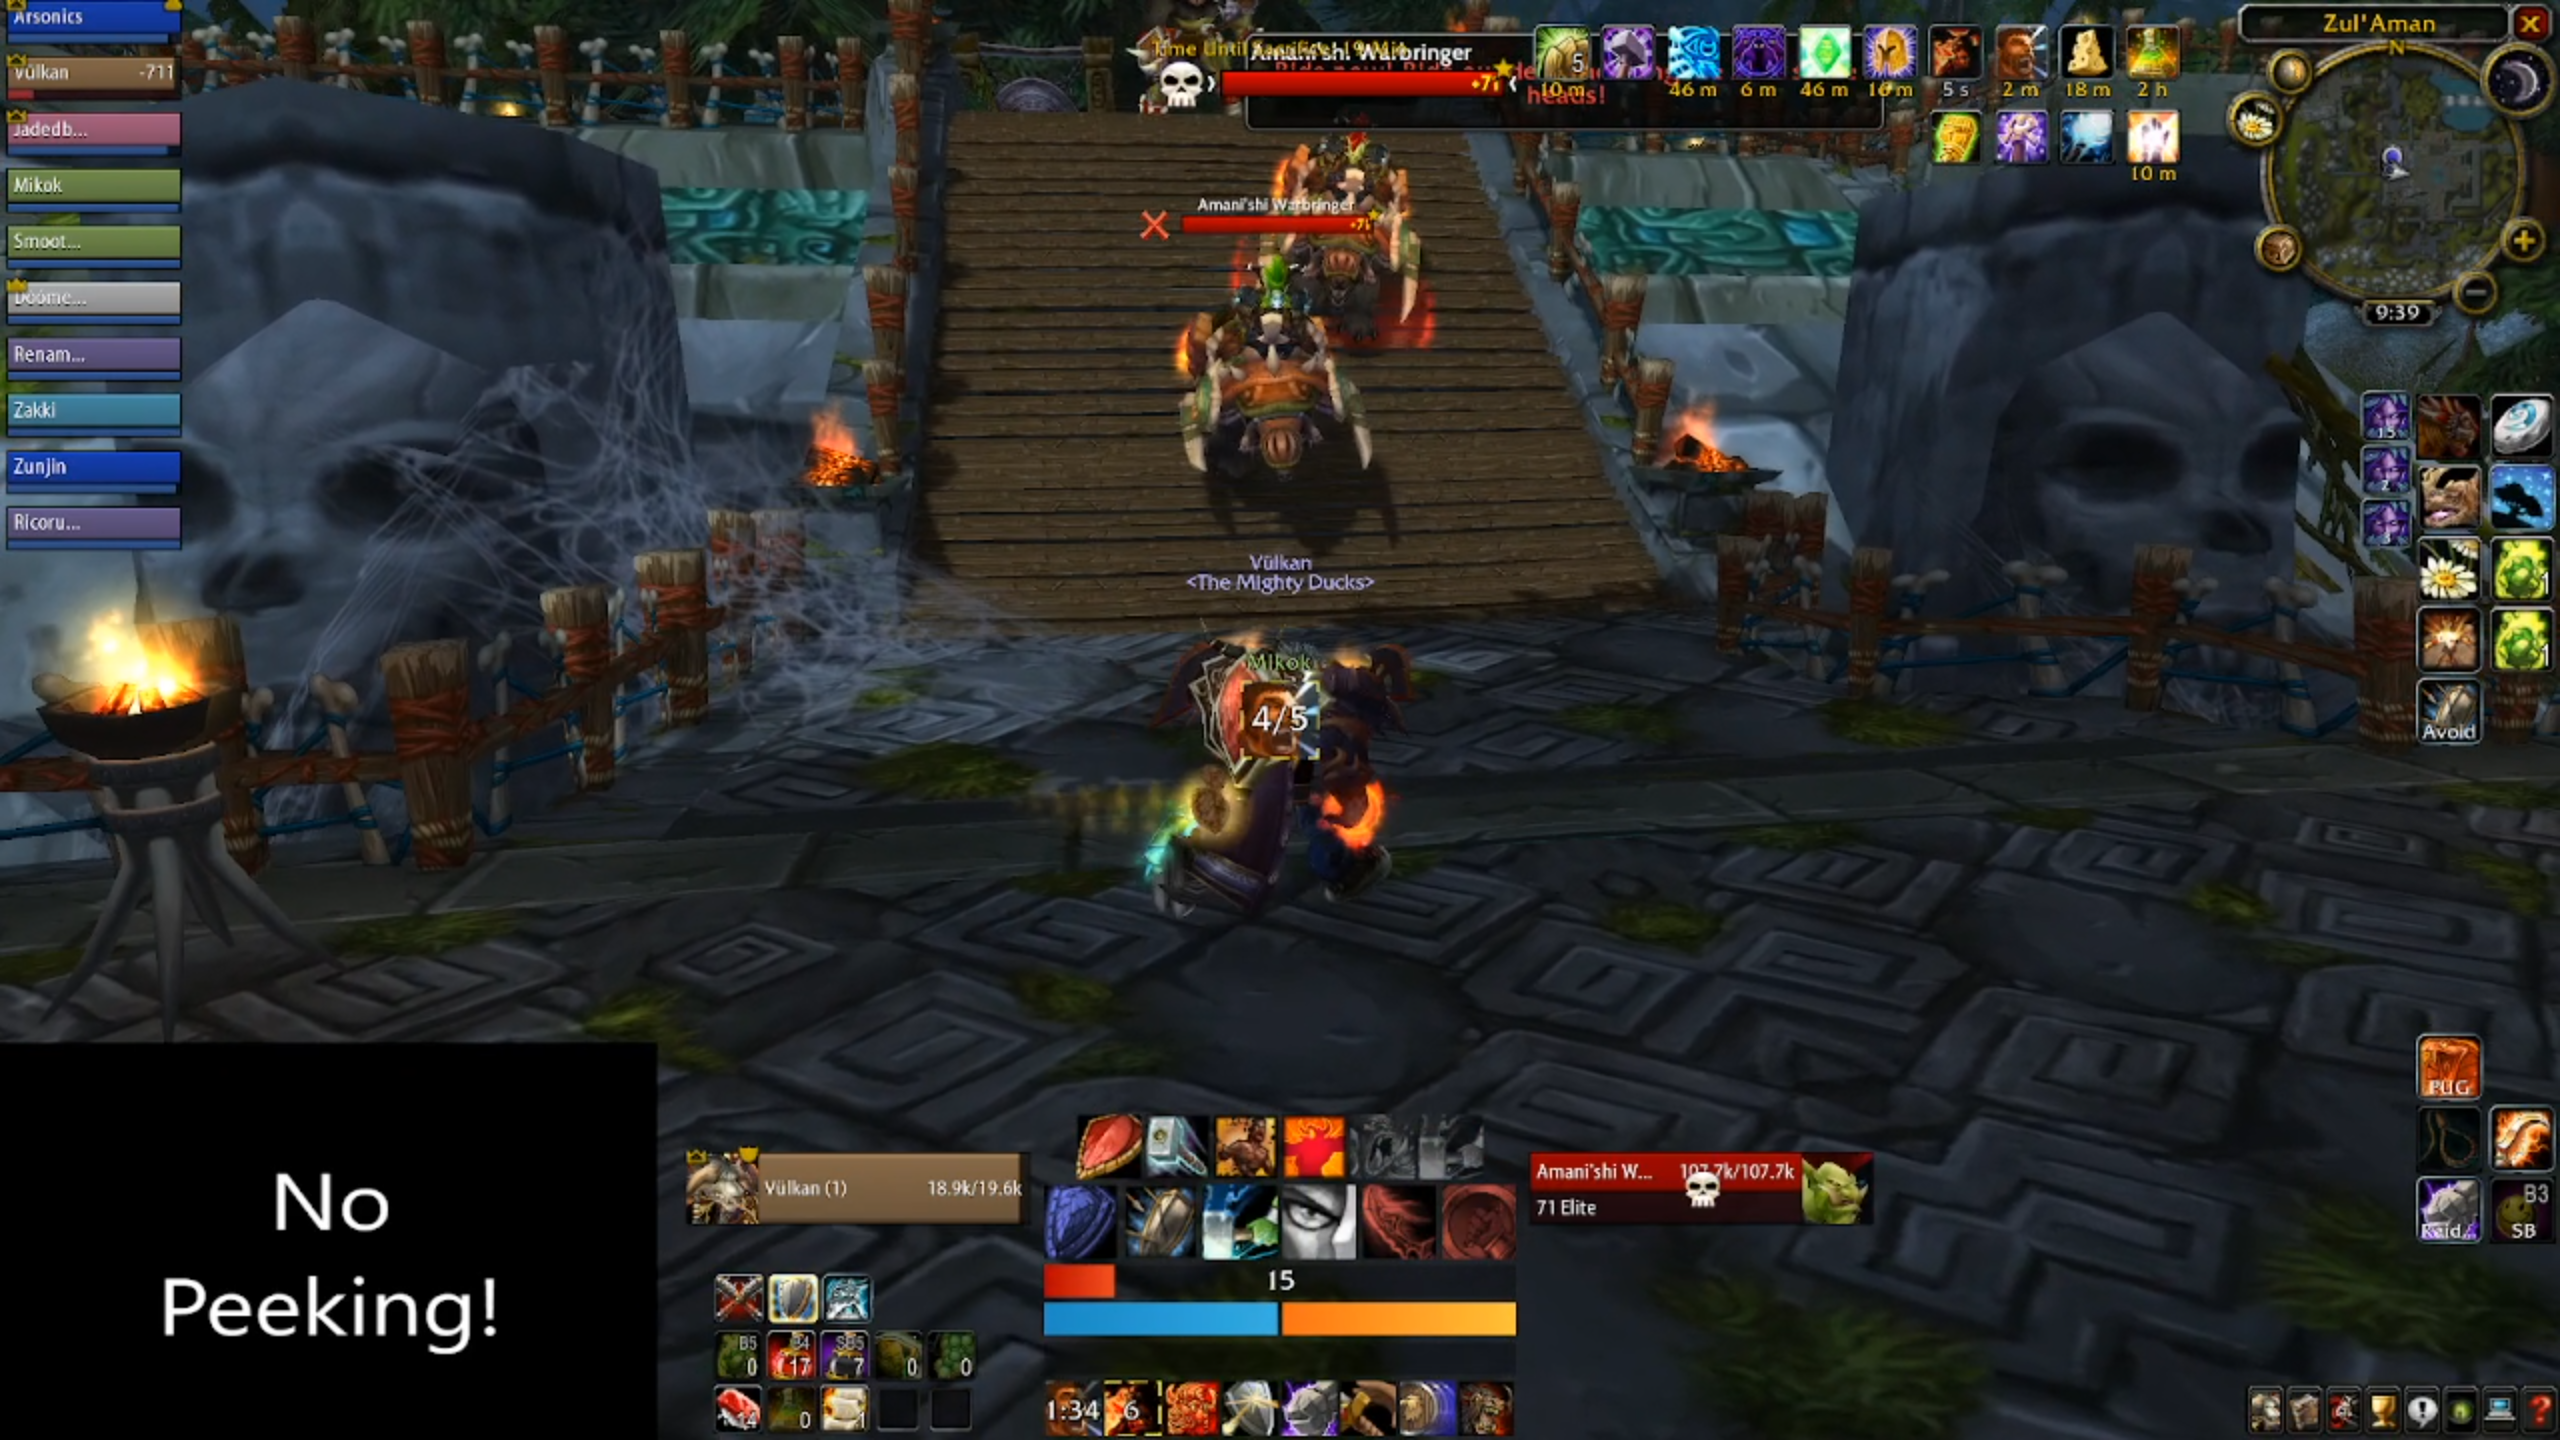
The next pack is a danger pack - if your group's tanks or healers are too thin, there's a reasonable risk of a wipe.
The Amani Warbringers have a frontal cleave and when they die, they dismount and leave behind their bear mount, which has an armor crush AND a frontal cleave. It's impossible for one tank to deal with both, so make sure your tanks are vocal on which Bear Rider they're picking up, and face them away from each other.
The last pack represents extreme danger to your raid - two Warbringers, an axe thrower and a medicine man. You'll want to use crowd control if available. If you don't, you need your tanks to split the pack evenly, killing the axe thrower, medicine man and warbringers, in that order. Don't hassle each other if you wipe, if your group is thin or has the wrong classes, this is genuinely the hardest trash pack in the instance, and could be seen as harder than Akil'zon or Nalorakk.

Once you've dealt with them (and scraped everyone up who got mauled by a bear) it's time to take on the second boss.
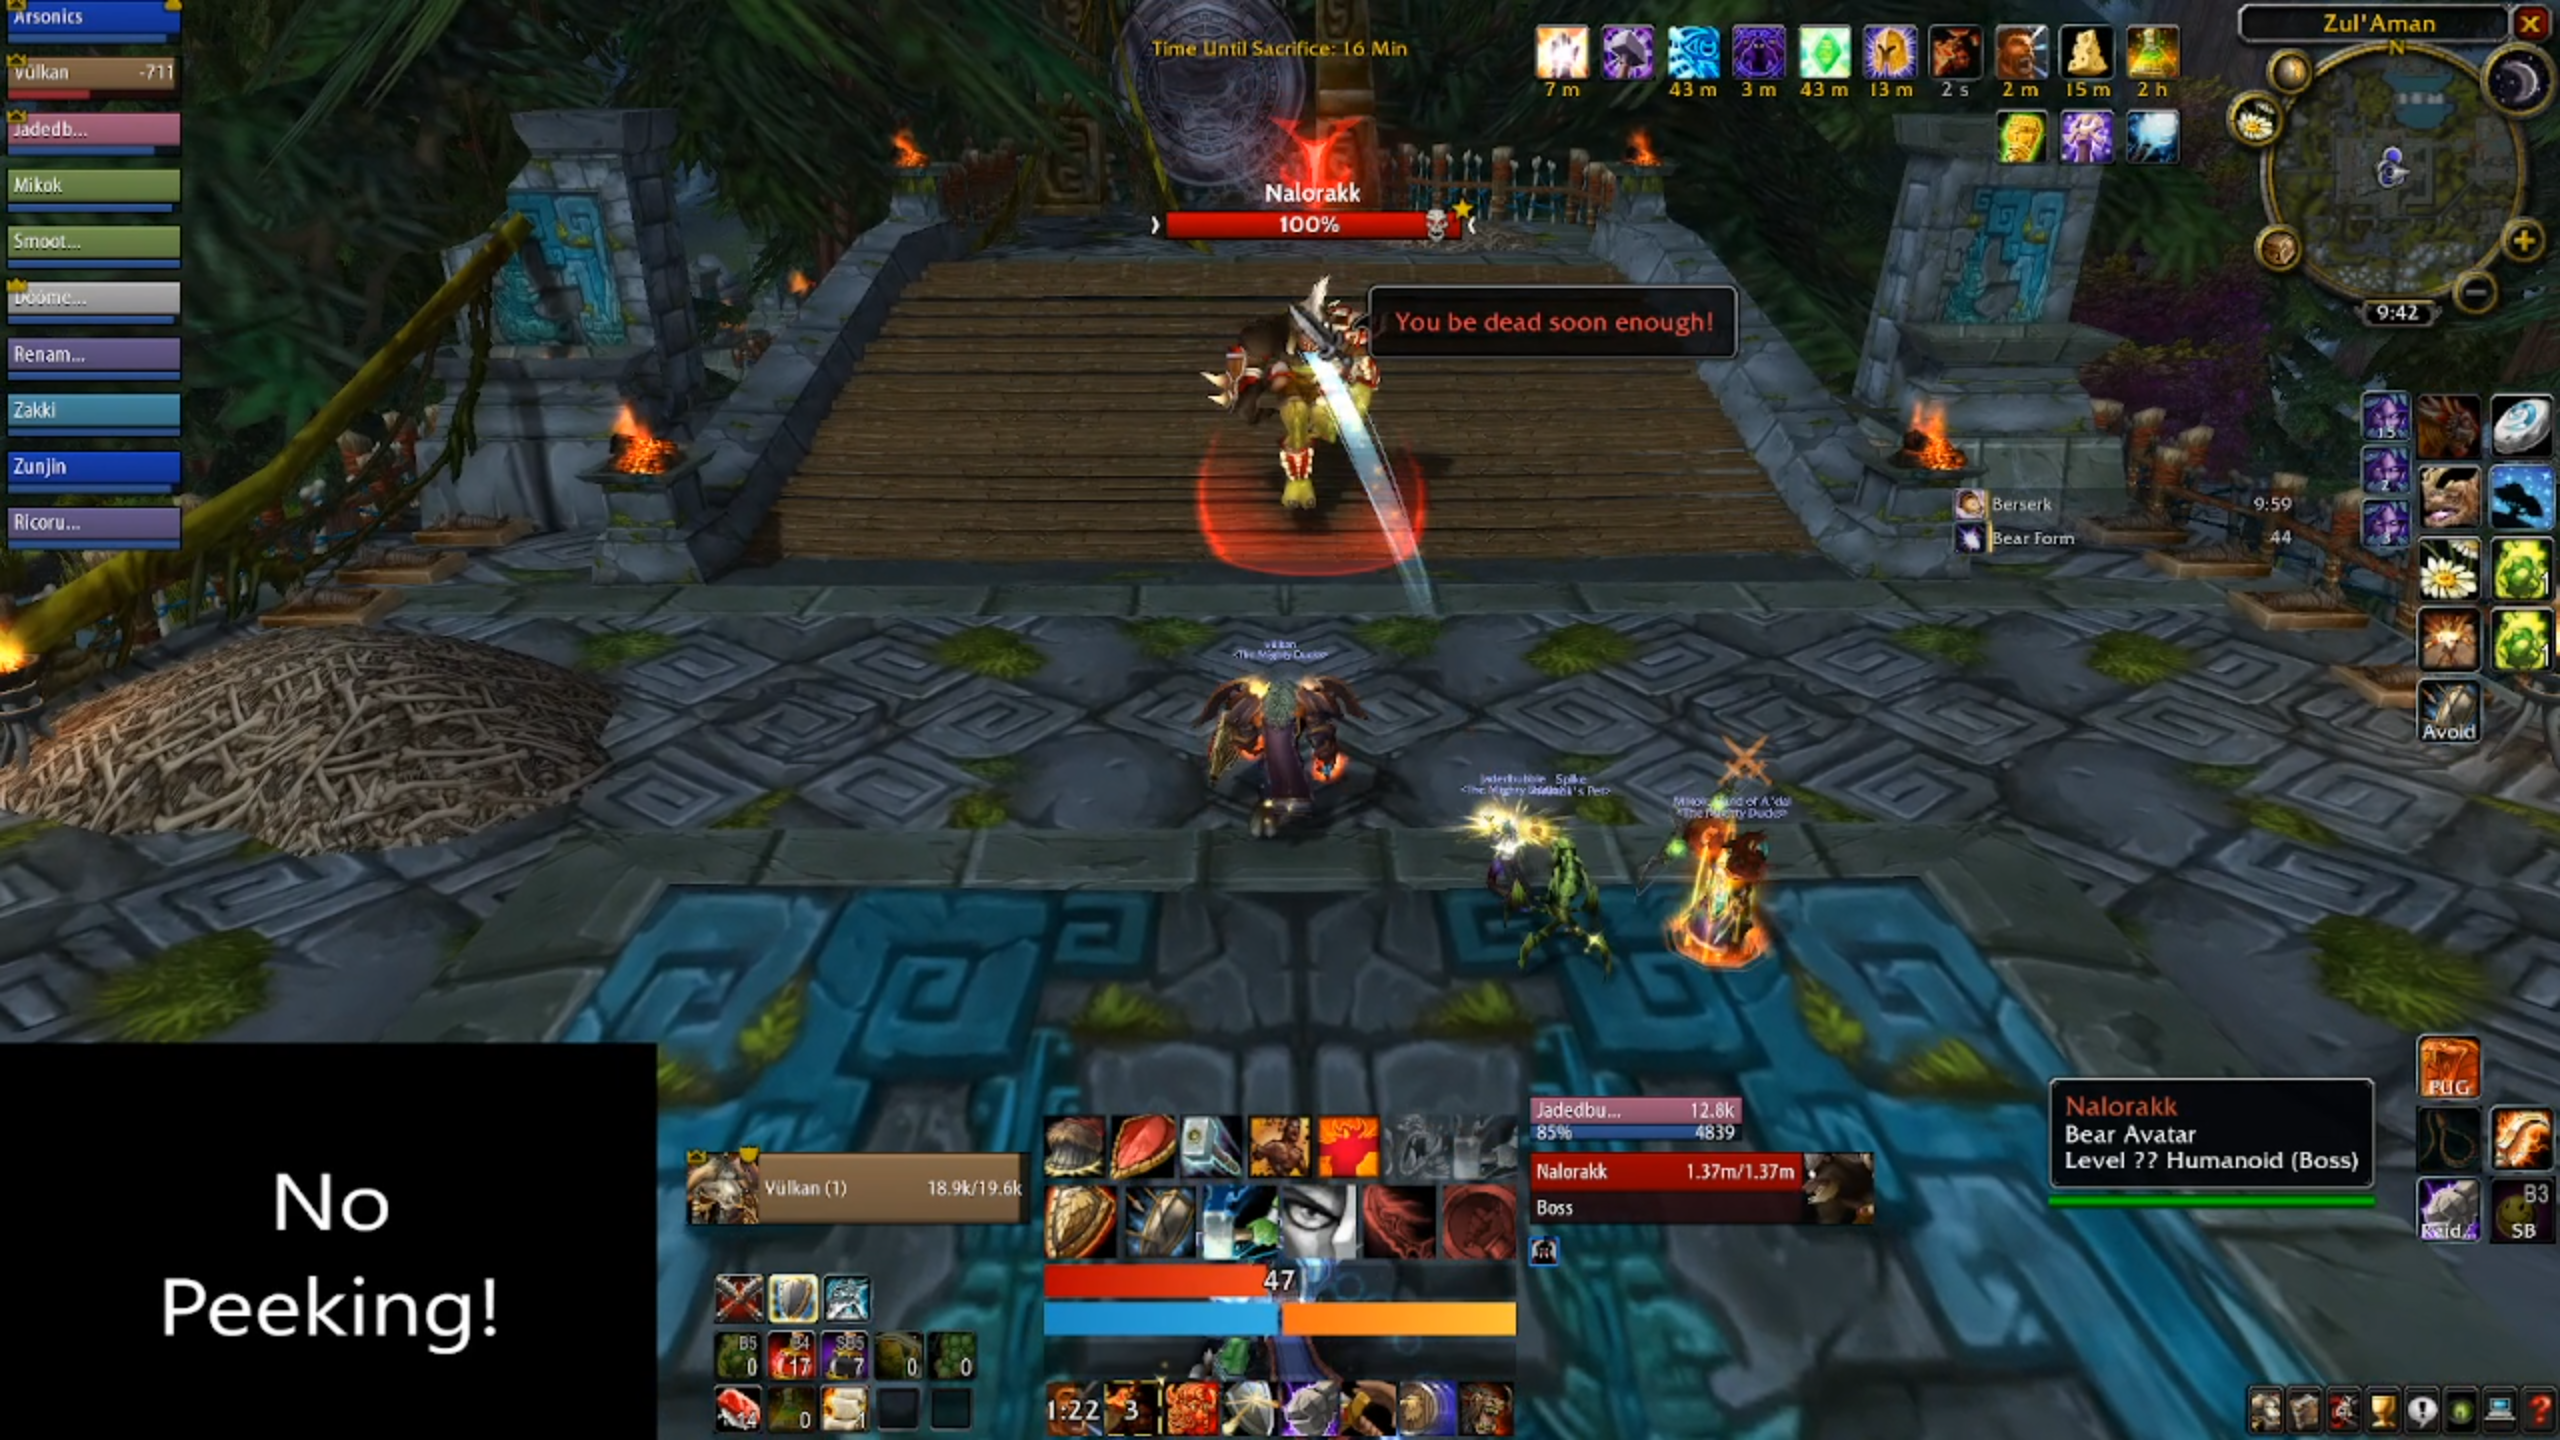
Boss Two - Nalorakk
Nalorakk, the bear avatar, is a (literal) beast of a boss who belts your tanks and talks a lot of trash about making way for him. Much like Akil'zon, he's not difficult to deal with, he just hurts. A lot.
When positioning, you need to understand that the person furthest away from Nalorakk will get charged. So make sure that's someone who isn't a clothie to minimise damage. Hunters and shamans are great picks for this.
When you're ready to bear the brunt of the ursine avatar, go ahead and have a tank body pull him.
Tactics
Nalorakk is a two-phase fight which requires a tank swap. The good news is, unlike every other boss (so far) that requires a tank swap, Nalorakk can be taunted, which makes threat a lot less of an issue.
In his first phase, Nalorakk is in his human form. He has a hefty cleave, which is split amongst the targets it hits. If your tank is geared, this won't touch the sides, but for a thinner tank like a paladin or undergeared warrior, it's best to have both tanks stand in the cleave.
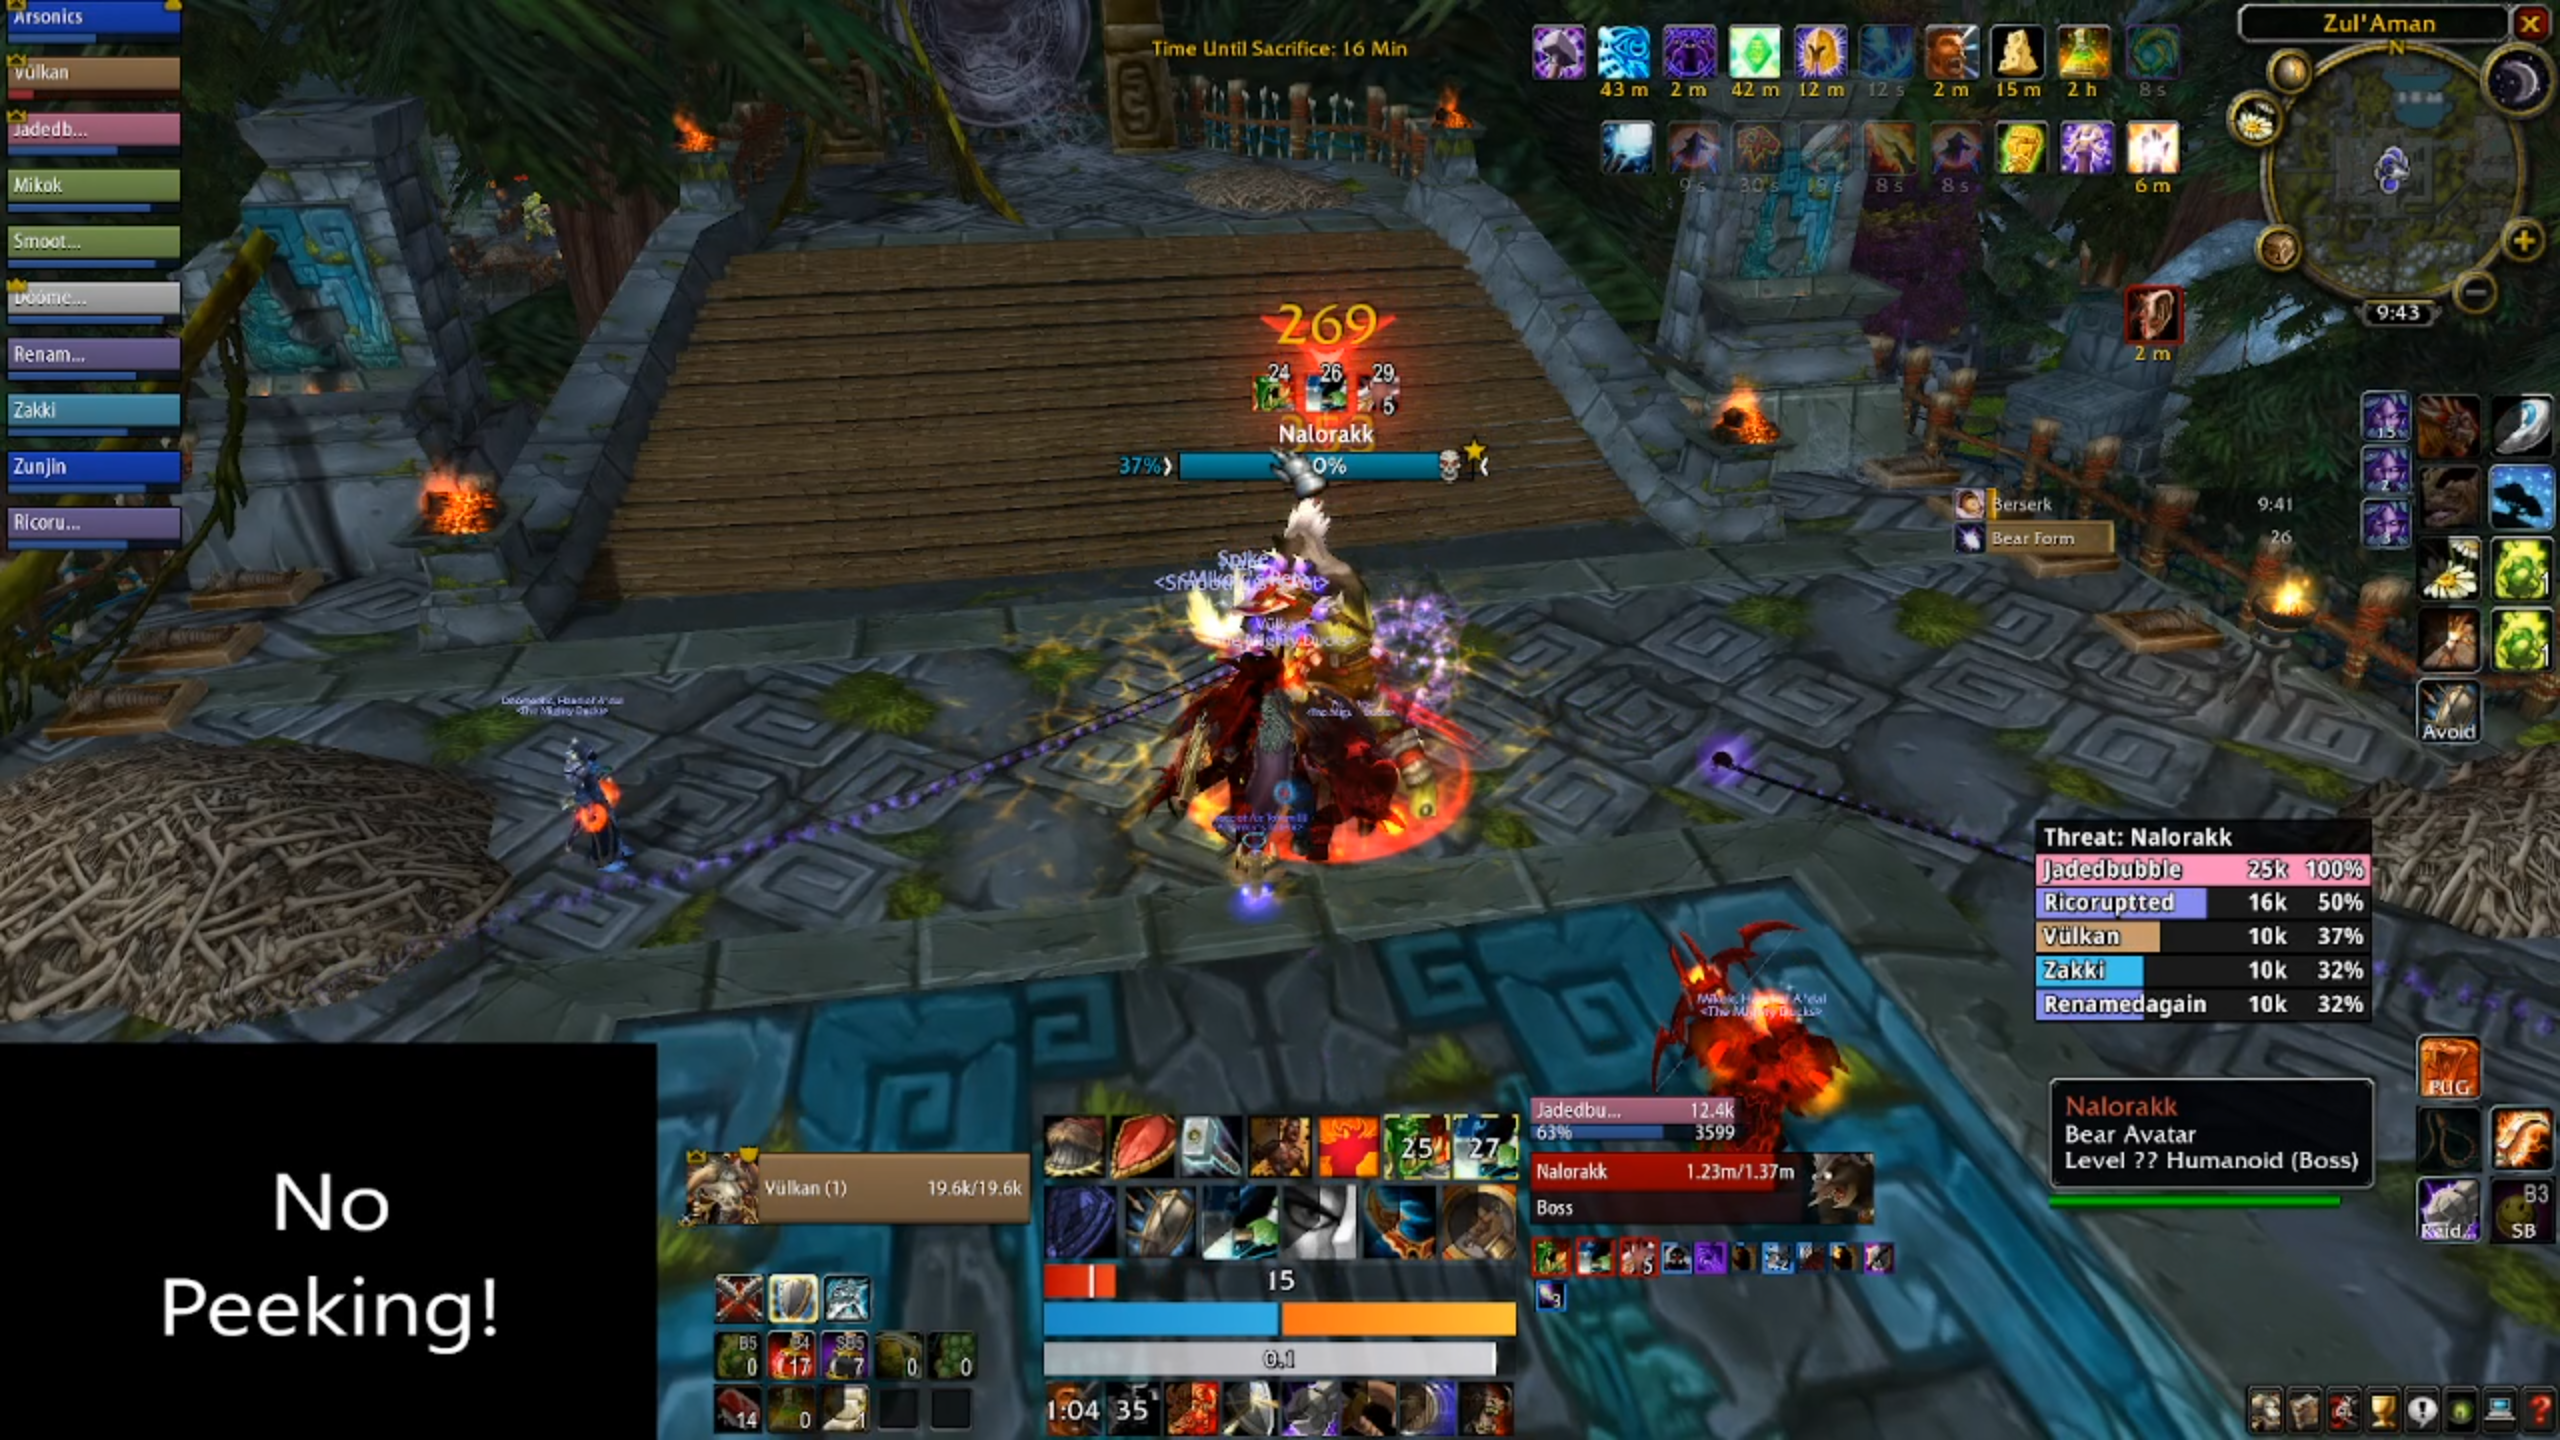
Nalorakk will also charge a target, see above.
Lastly, the boss will put Mangle on the current tank, which increases the damage of bleed effects by 60%. This mechanic requires a tank swap, as Nalorakk hands out two bleed effects in his bear form, which are boosted to deadly levels by Mangle.
Every thirty seconds, Nalorakk will shift gear into his bear form. Your beefier tank will need to taunt, keeping the boss in the same position as before.

Apart from the bleeds and the rends, the boss will also silence the raid for two seconds - this is cast an average of every 15 seconds, meaning it's cast twice each phase.
When thirty seconds is up, Nalorakk will return to his troll form. Have your off-tank taunt, and the game begins again. Barring one of your tanks getting squished during the bear form silence, or getting one-shot by the troll form cleave, this is a fairly straightforward encounter.
After Nalorakk falls, head back down to the T-Intersection where you engaged the first set of Warbringers and take a left. You're going down to Jan'alai's area.
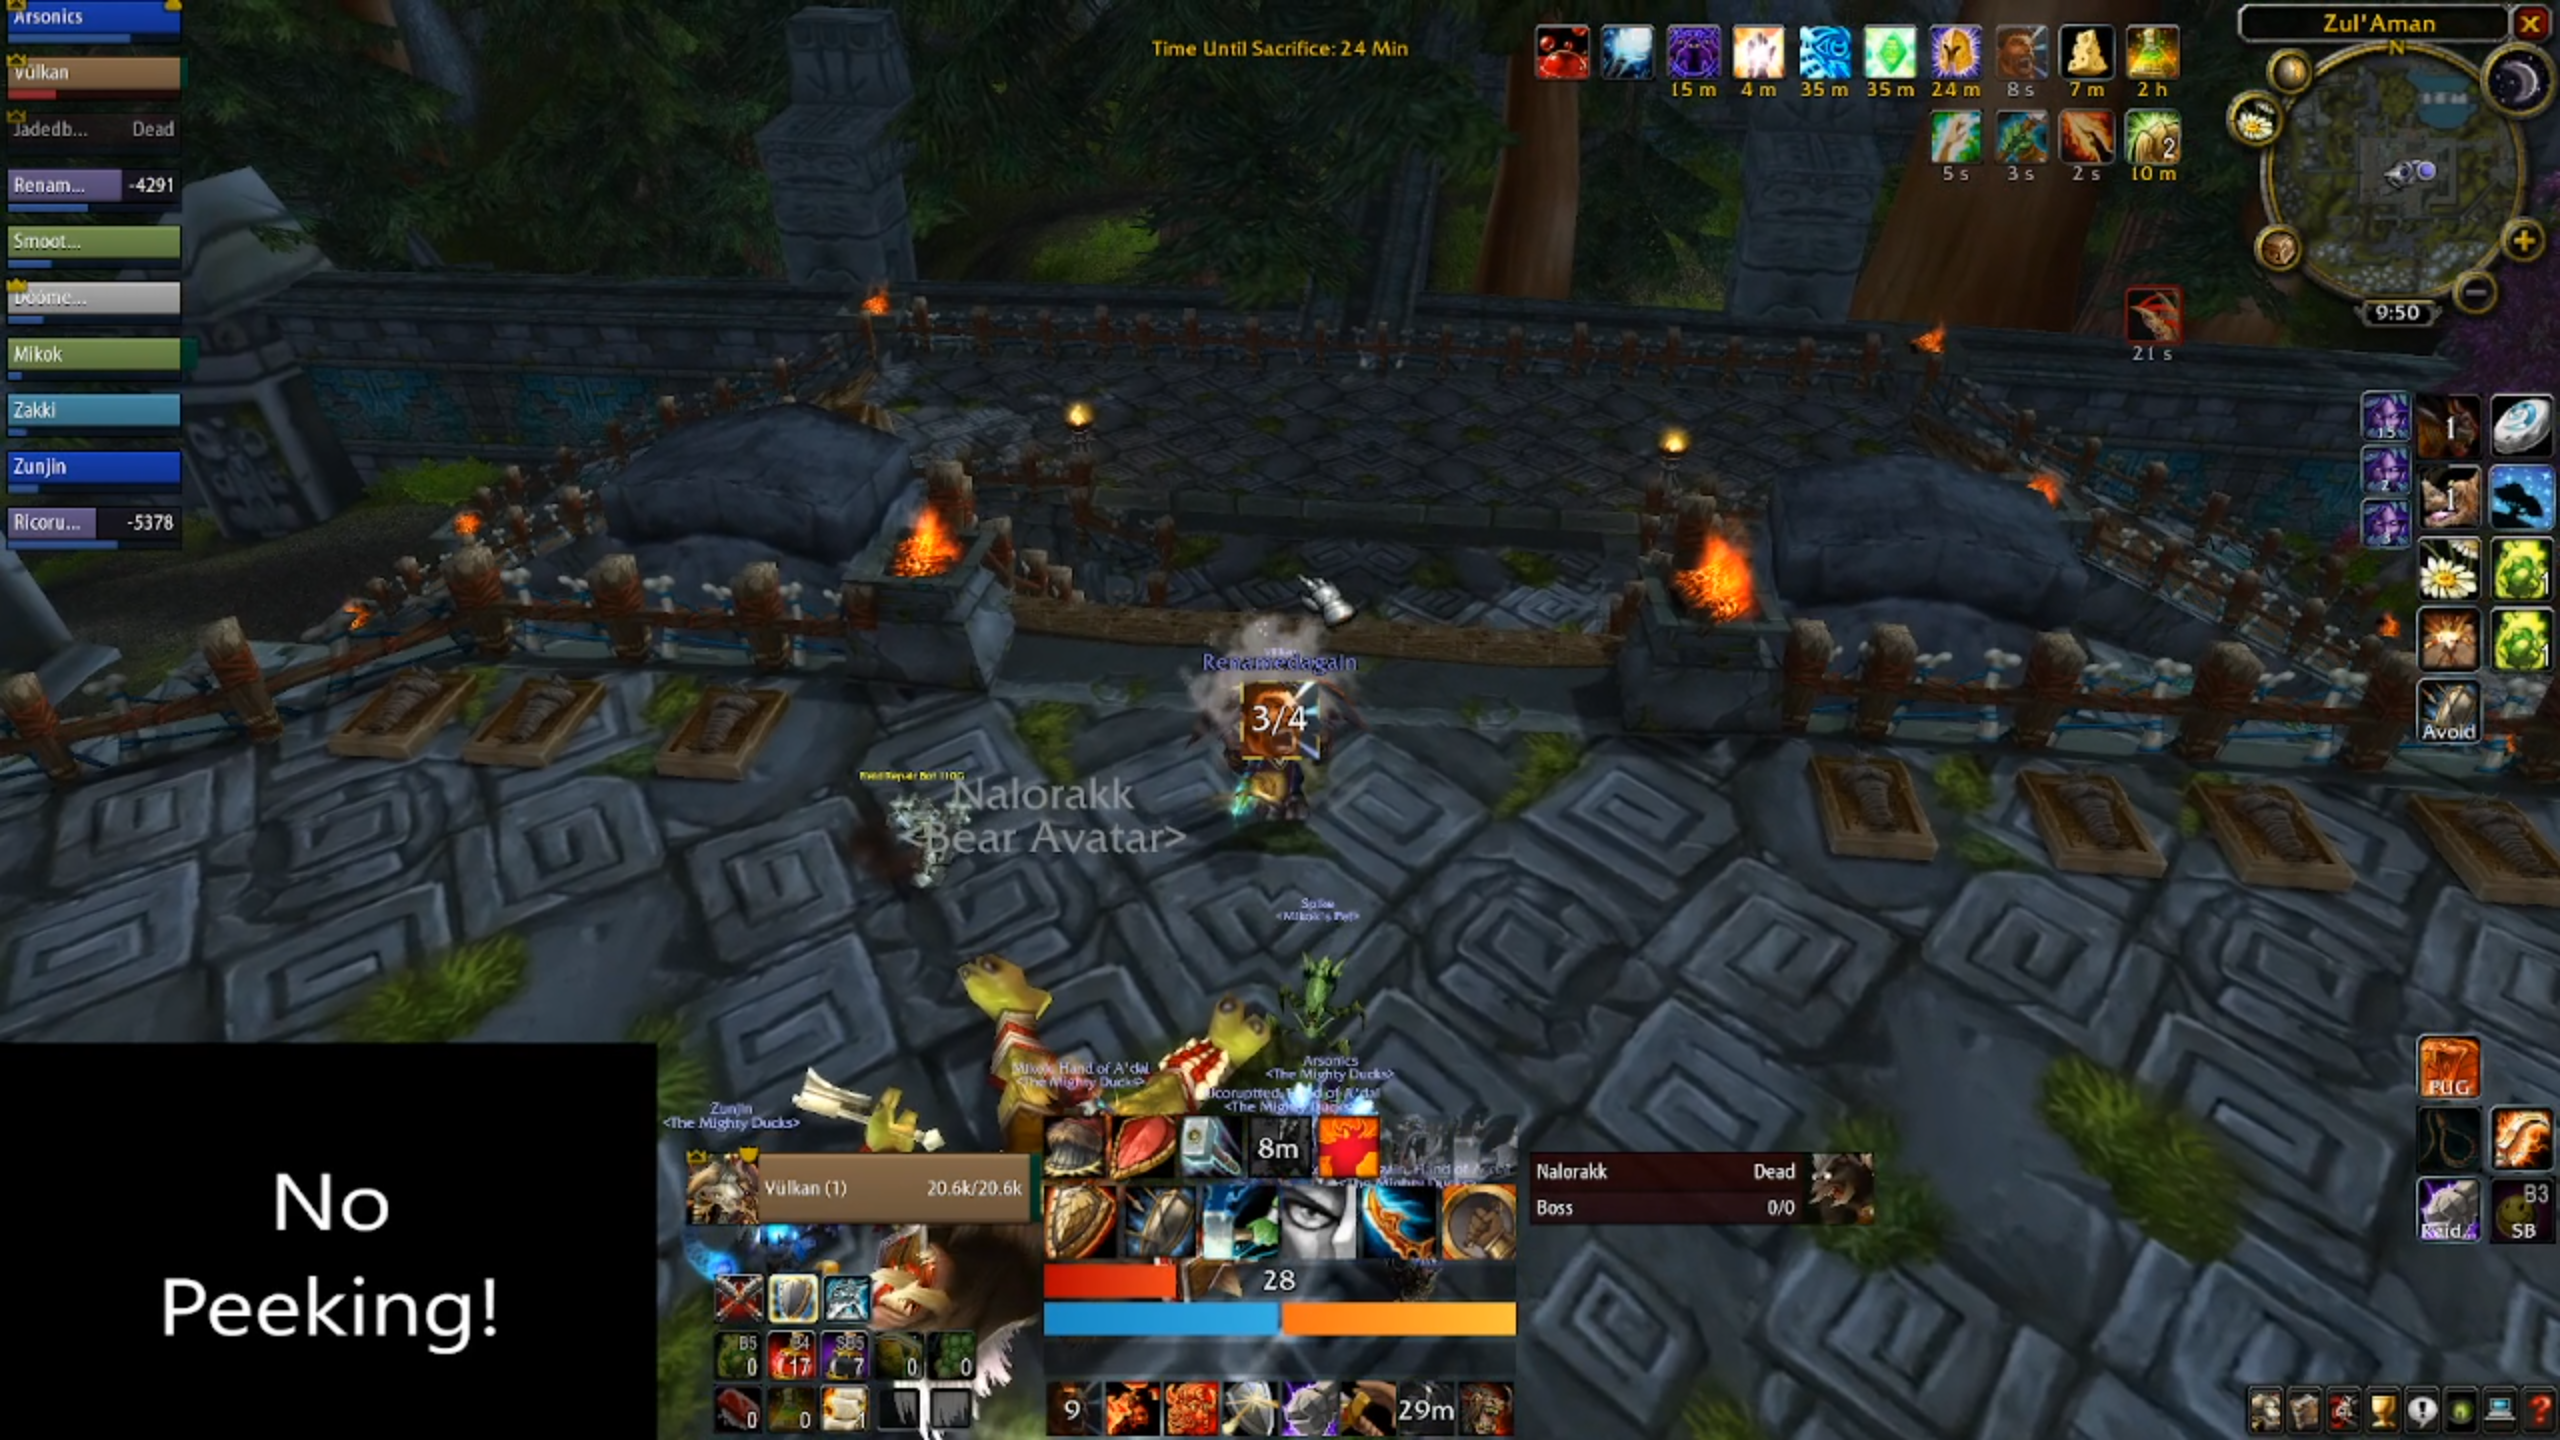
The big mechanic of this area are Aman'shi Scouts - when they "spot" your raid (i.e, get body pulled) they'll head toward the nearest drum and summon two Aman'shi Reinforcements, bog standard elite troll melee mobs with a high health pool. Normally, scouts are floating near packs of trolls, or just before a pack of trolls, so the key is to lock them down with stuns, roots, and polymorphs before they have a chance to sound the alarm. They have low health, but they move fast and your window to react to them is short.
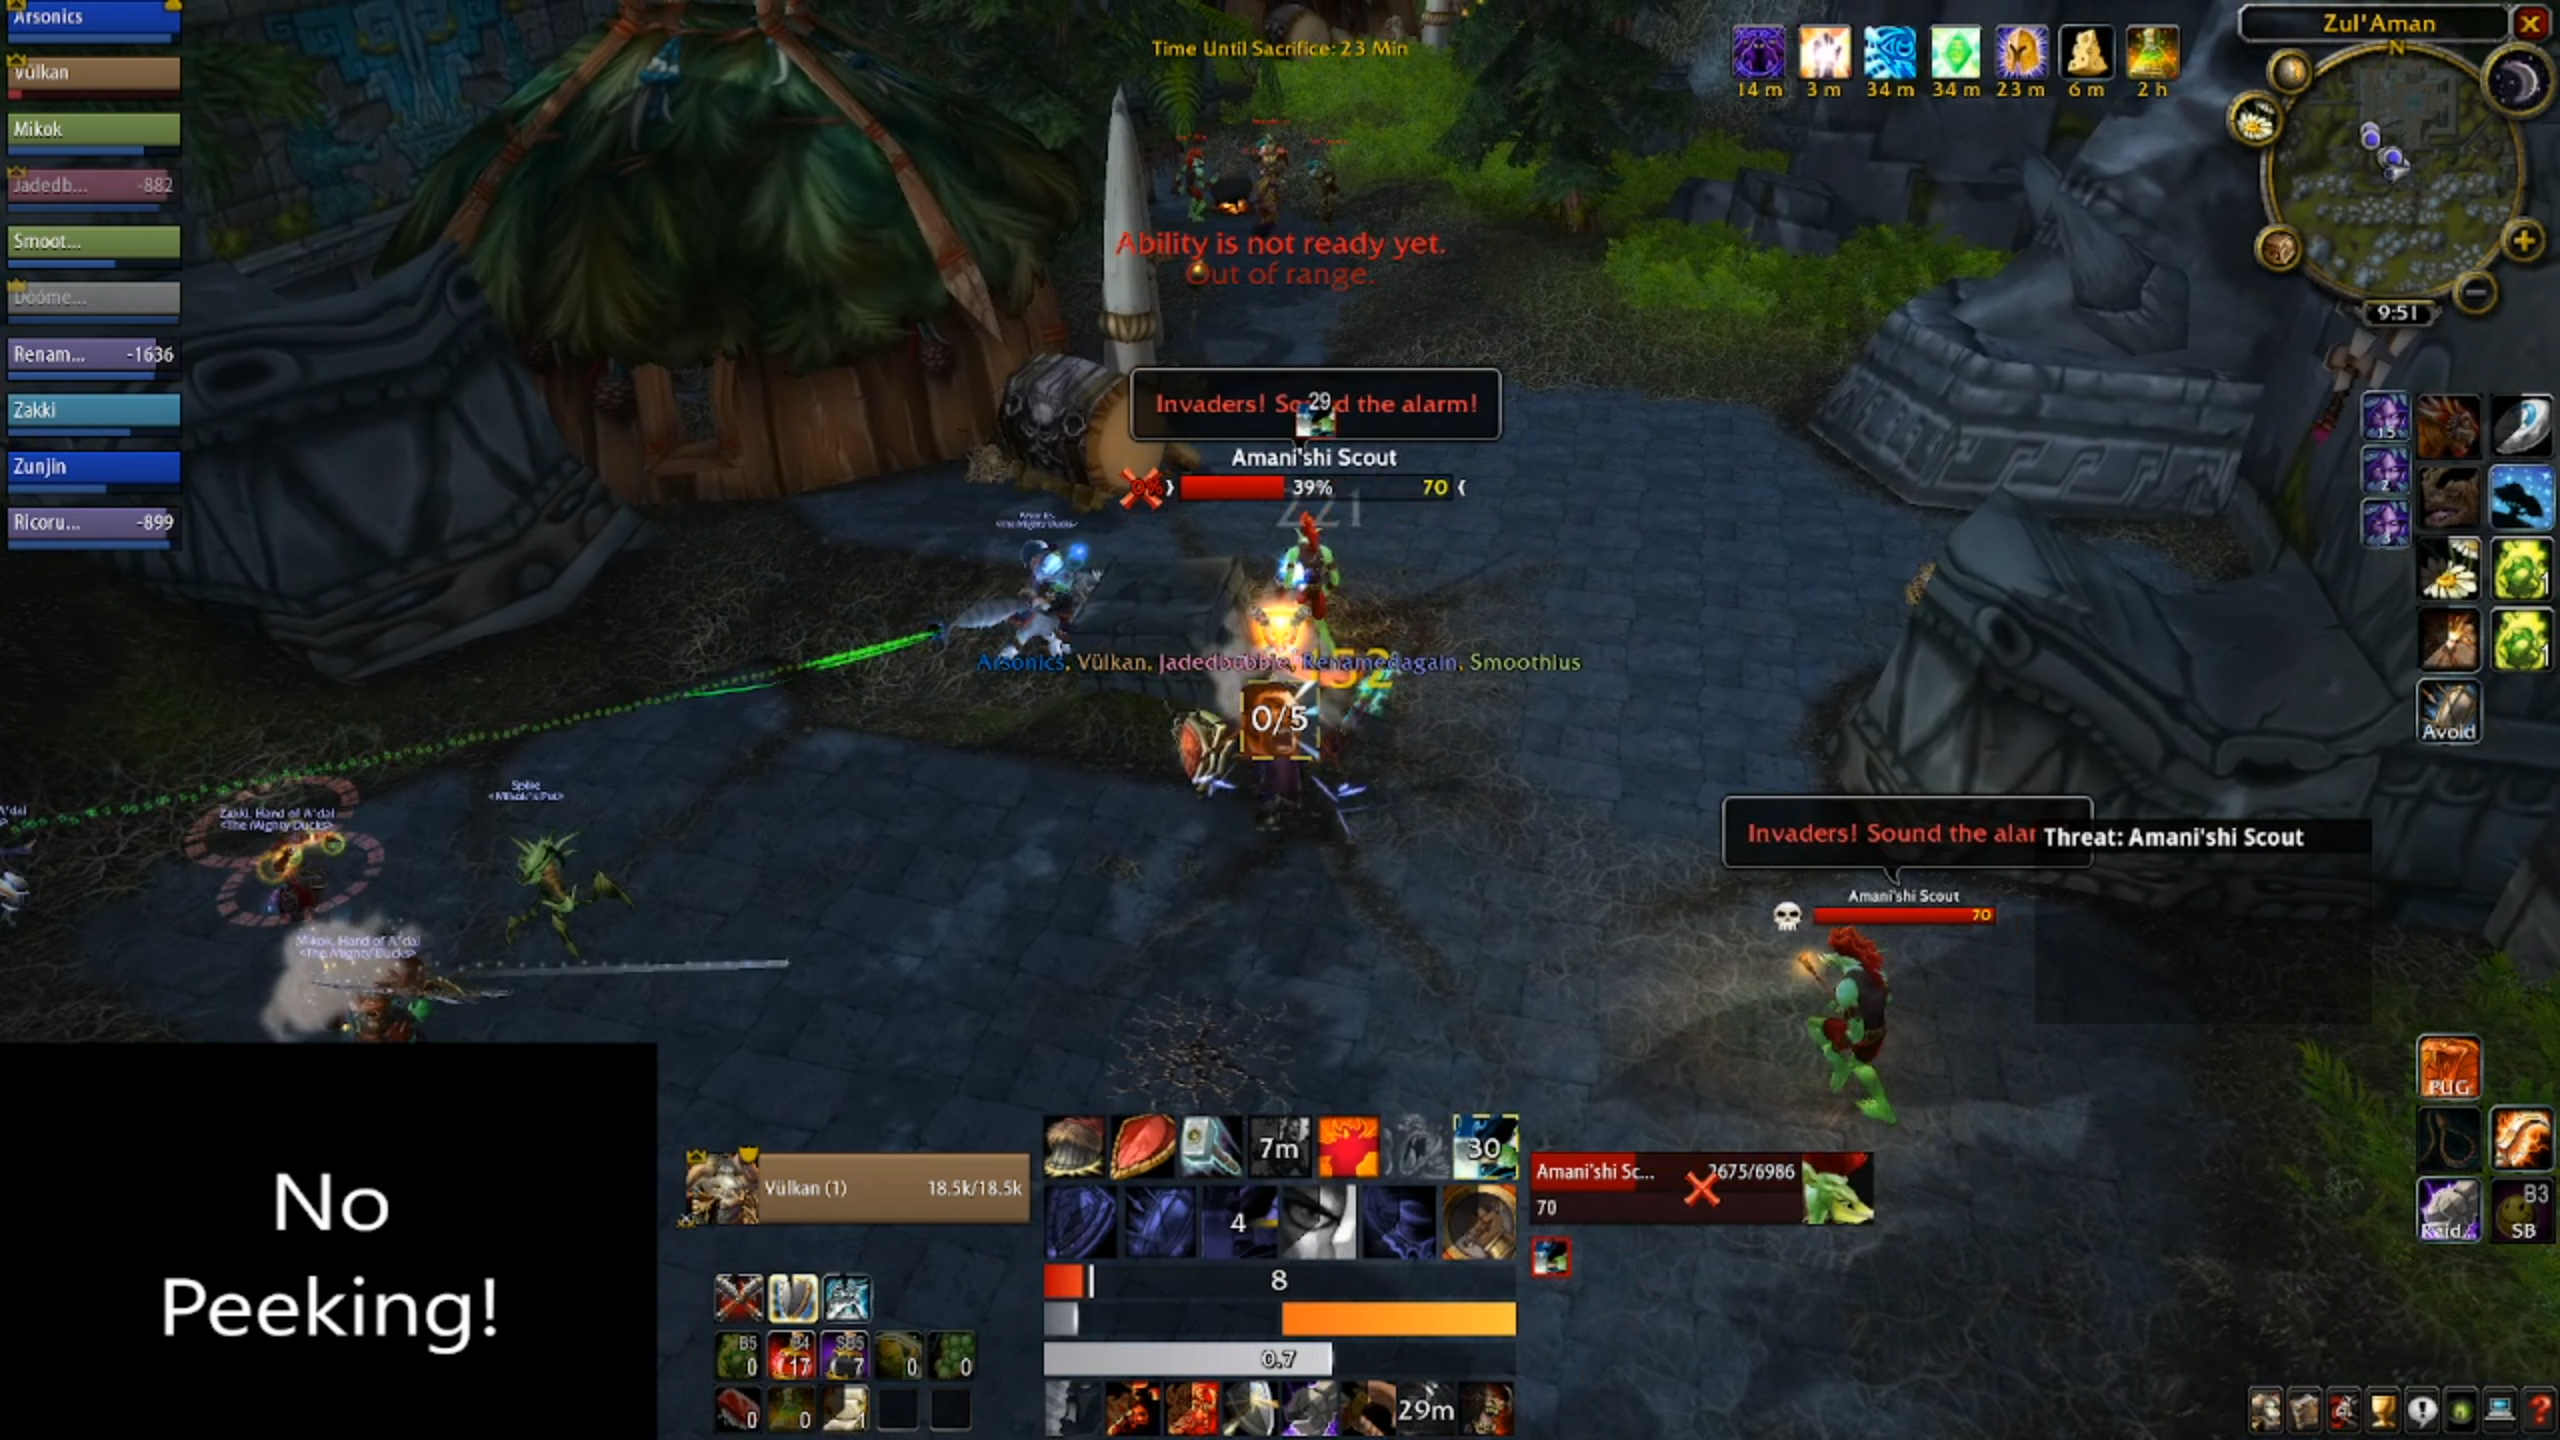
The first scout you will encounter alone as an introduction to the mechanic. If you have a druid or a warrior, it can help to have them charge the target or cast entangling roots, then have the rest of your raid precast spells to load up damage. Overkill is better than "still alive and summoning friends." It can also help to use a pull timer to coordinate spellcasts.
The next scout is floating around a pack of three trolls - two guardians and a flame caster. The flame casters give themselves a casting speed and movespeed debuff, which can be spellstolen by mages, and needs to purged or dispelled otherwise. They also cast a fireball volley, which can (and should) be interrupted.
There's another pack to the right of this, which doesn't have to be engaged, provided the raid uses the left-hand side of the village area and doesn't space out too much.
Head to the left - you'll deal with two scouts in quick succession, and a pack of dragonhawks accompanied by a tamer. Eventually, a third scout (which you won't be able to see yet) will spawn behind you and start to patrol around. Everyone needs to keep their eyes open and be ready to engage. Reinforcements are not likely to cause a wipe, even mid-pack, but the more time you spend engaging reinforcements is time you may need elsewhere.
The second scout is on a hill, and you risk pulling the pack behind it if you engage it in melee. It's recommended that you have your ranged precast and try to instagib the scout before it runs down into the next pack.
Assuming you did it right, you can then run down into the next pack, which is identical to the first. There are two flame casters and two guardians, which should be dealt with in the same way.
There will now be a set of stairs leading up and towards Jan'alai's platform. There's a patrolling Aman'shi Trainer and his pet dragonhawks. You can avoid this patrol if it's convenient, but if it's in a bad spot, you may just want to kill it. Just be mindful of scouts sneaking up from behind to ruin your day by calling more friends. Shamans should be pulling totems, too.
Either way, on your way to Jan'alai's platform, there'll be one final pack of four trolls - again, two guardians and two flame casters. If you didn't kill the Aman'shi Trainer and the Dragonhawks, you'll want to make sure the entire raid bunches up right on the stairs leading up to the boss to avoid pulling the patrol.
When that pack is removed, it's time to deal with the next boss.
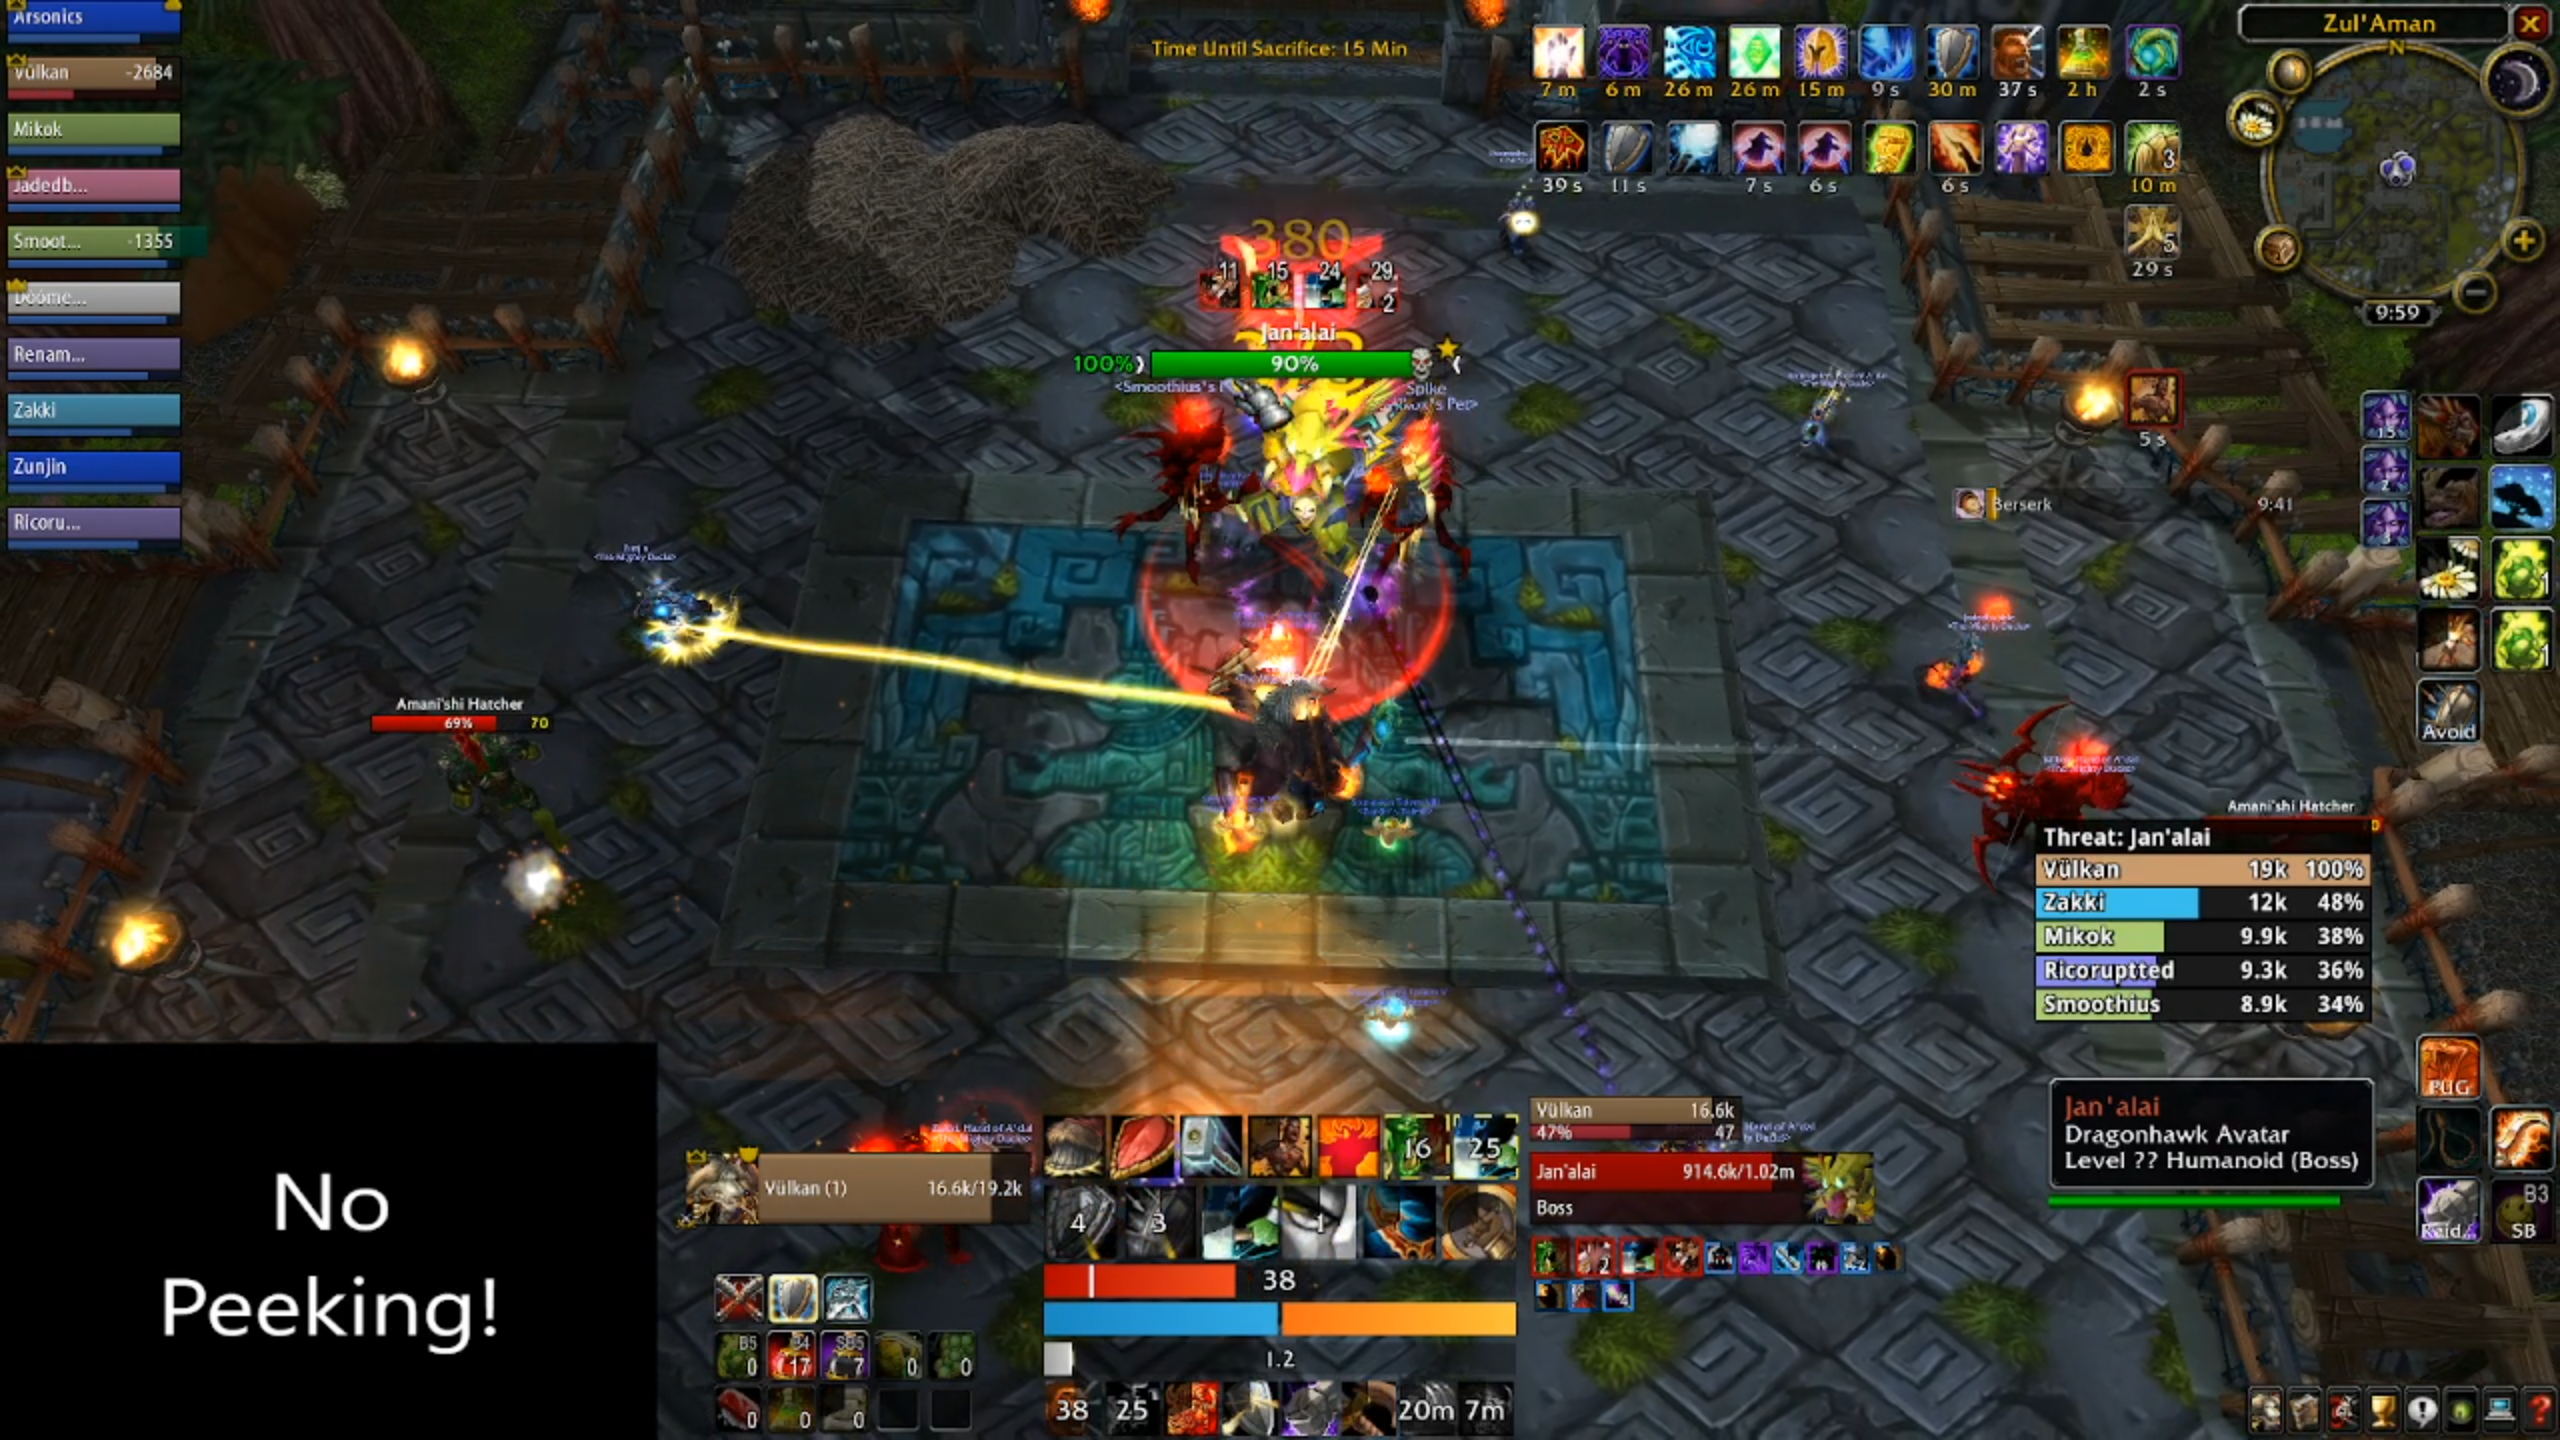
Boss Three - Jan'Alai

Jan'alai, the Dragonhawk Avatar, is a big test of your raid's skills. Your raid needs coordination, individual responsibility, and situational awareness.
As with the previous two bosses, you'll need to make sure everyone is inside the arena. If a player stands on the edge, they'll get killed by the boss' fire wall ability, which puts a non-removable debuff on the player which deals huge damage.
You'll also have to have someone assign raid markings in order to mark up the Aman'shi Hatchers which appear and run to either side of the arena. If the boss gets to 35%, he'll hatch all the Dragonhawk eggs at once and destroy the raid, so you need to let one live to start hatching the eggs on one side only.
You'll also need a hunter, or shaman, who will need to use slowing countermeasures from the Dragonhawk spawn point - Frost Trap, Earthbind Totem, etc. This is to give your Paladin tank (you DO have a Paladin tank, right...) as much time as possible to gather threat on the incoming adds.
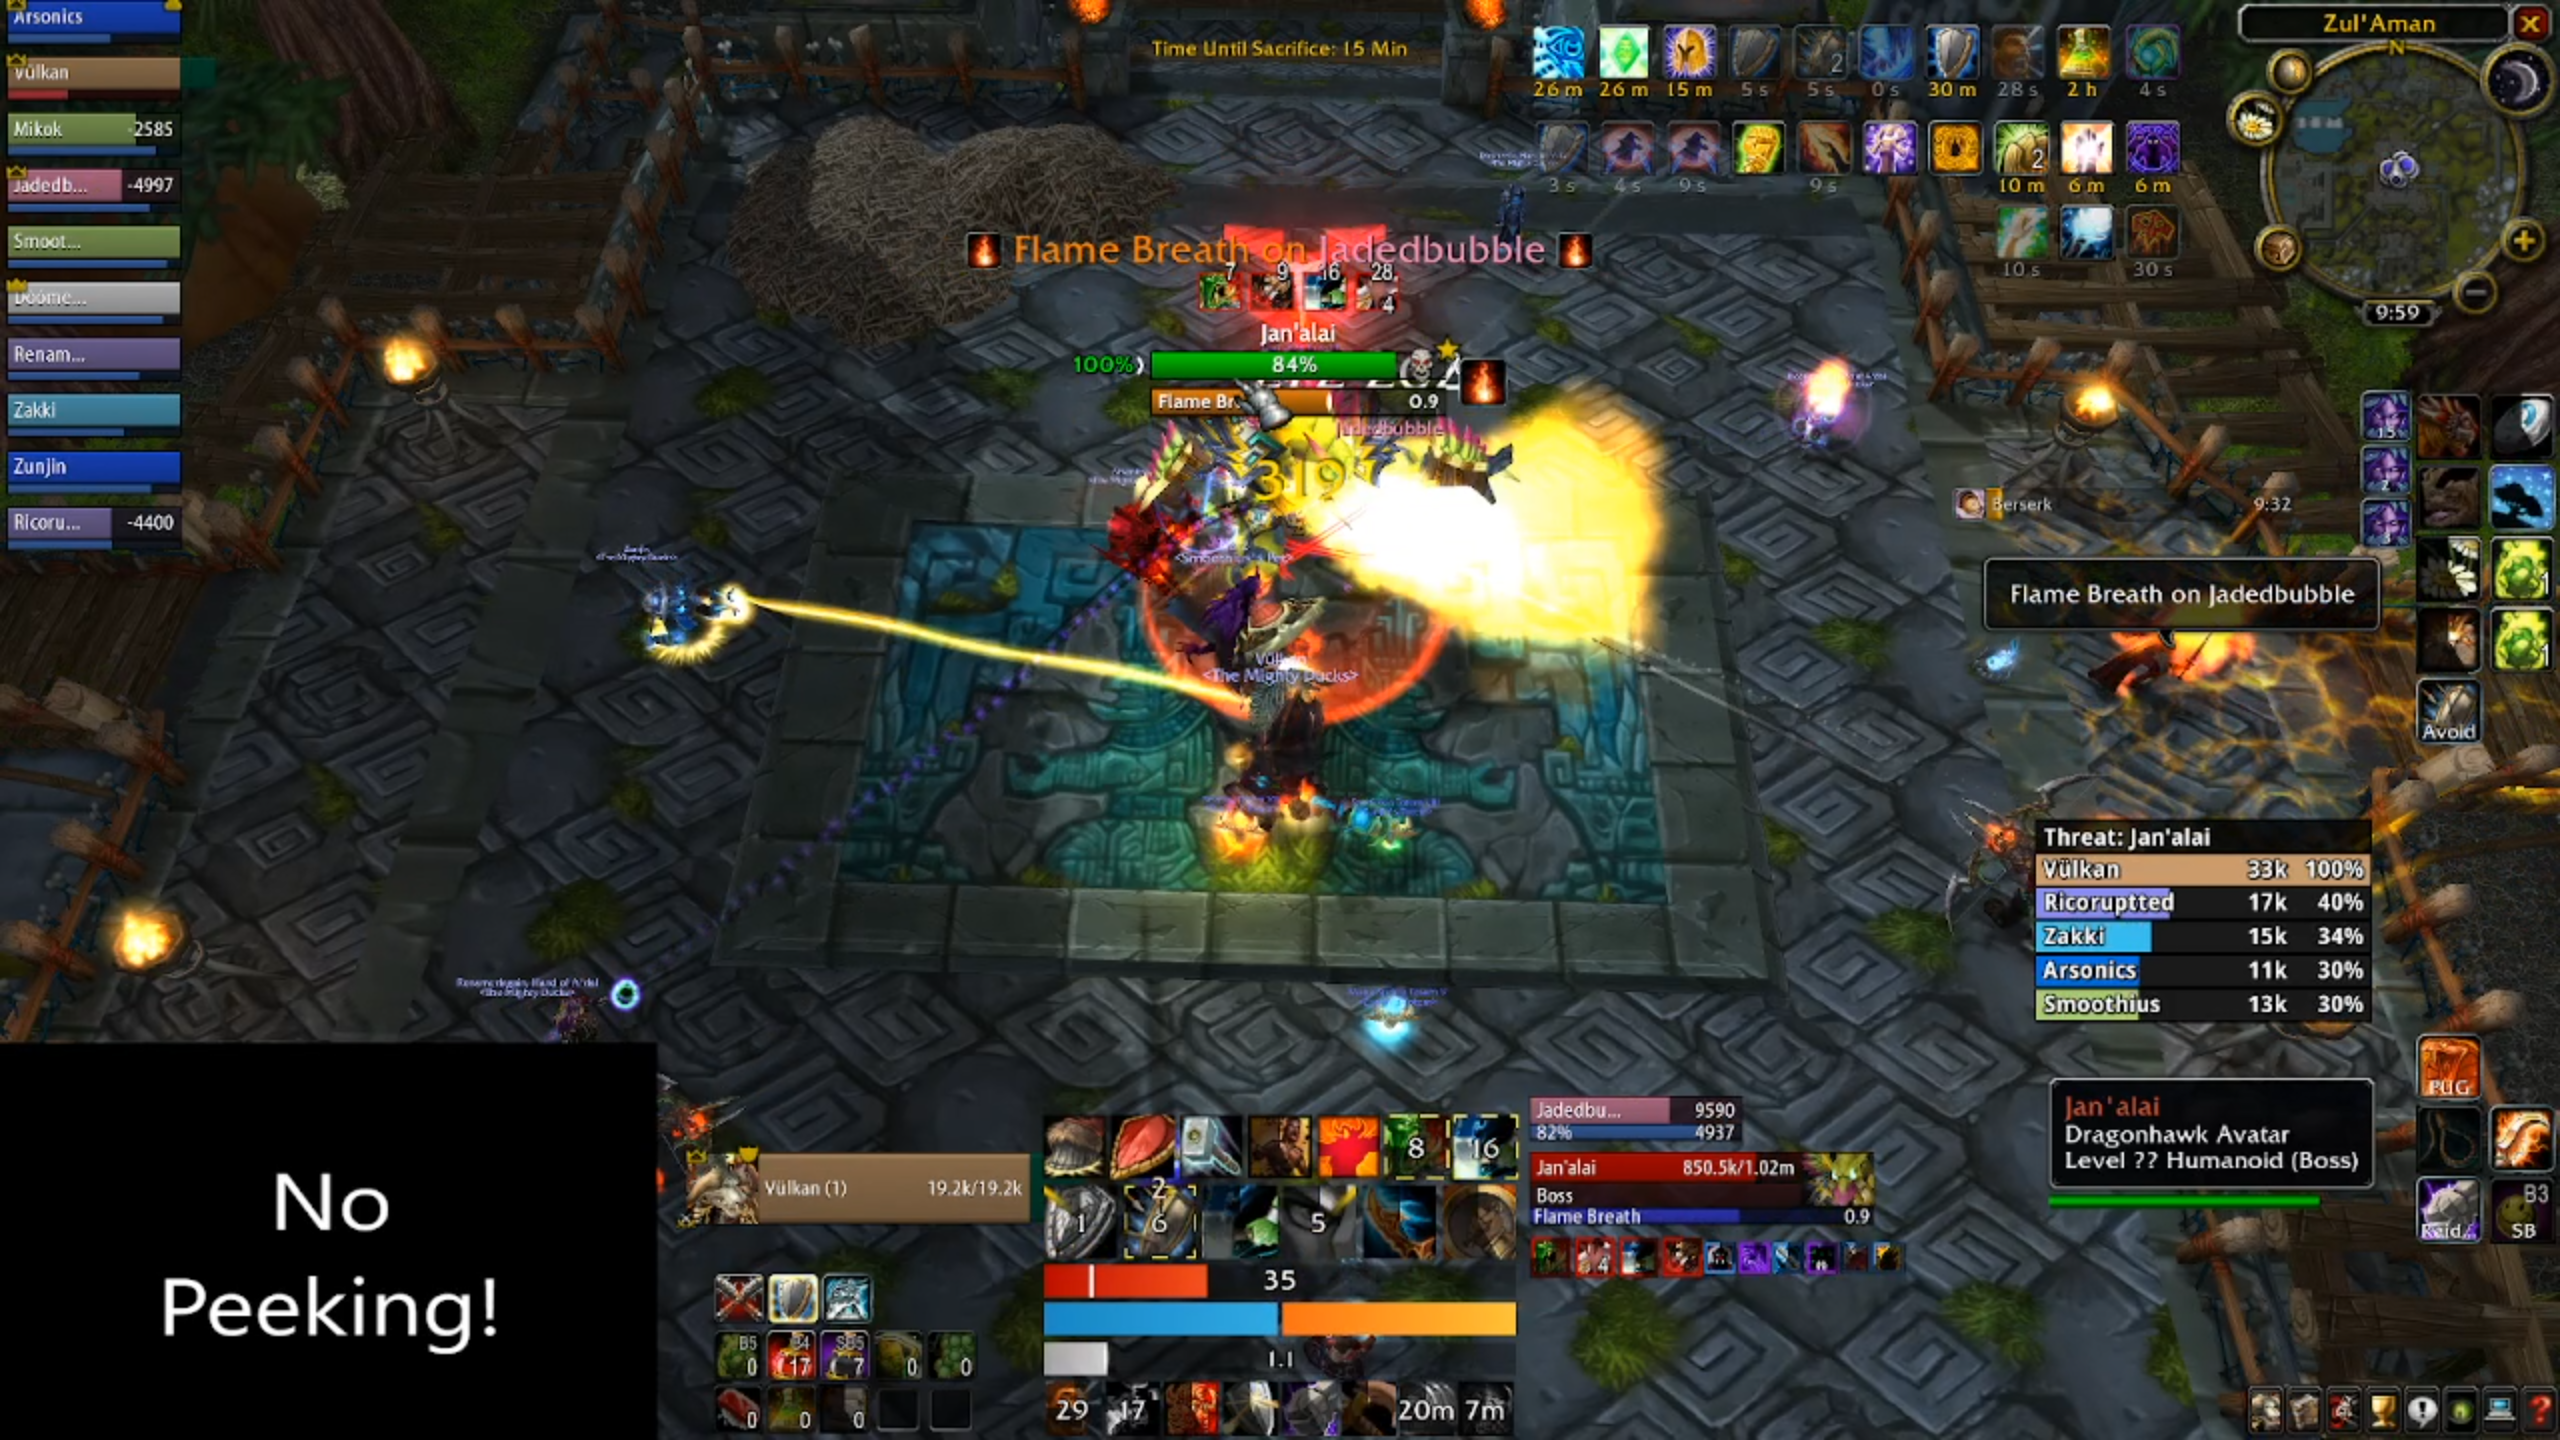
You'll also want the raid to spread out around the entire arena, to deal with Jan'alai's frontal cone fire breath. One person getting hit is unavoidable, two people is bad, and three will normally be a wipe, thanks to the sheer volume of damage those players will take.
Knowing all that, you can now pull the boss.
Tactics
Things can get a bit cramped, so make sure you're being proactive with your movement. Make sure you're not standing behind or in front of people, as the consequences will be firey.
You'll want to save your cooldowns until you've dealt with the Hatchers and Dragonhawks. 15 seconds into the fight, the boss will summon the first wave of hatchers. One will run to the right and one will run to the left. The raid, as a unit, needs to pick one and kill it. Having someone in the area to mark the kill target is highly recommended, as if you kill both, you're probably heading for a slow wipe.
The hatchers will start hatching eggs (duh.) Initially there will be a trickle of low-health dragonhawks, but eventually they'll come out in a big wave. When the hatcher has cleared out all the eggs on one side of the arena, they'll run to the other side. At this point they're all warmed up and will release the dragonhawks in one big wave, so you need to kill the hatcher. Again, marking for visibility is pretty important here.
As mentioned above you'll want to use your paladin tank for maximum AoE threat and it's recommended that you use control countermeasures. This does hinge on you having a paladin, hunter and/or shaman in your raid. At a pinch (again, dependent on raid composition) you can have your raid immediately switch off to try and single-target, then cleave and then use AoE on the dragonhawks as they spawn.
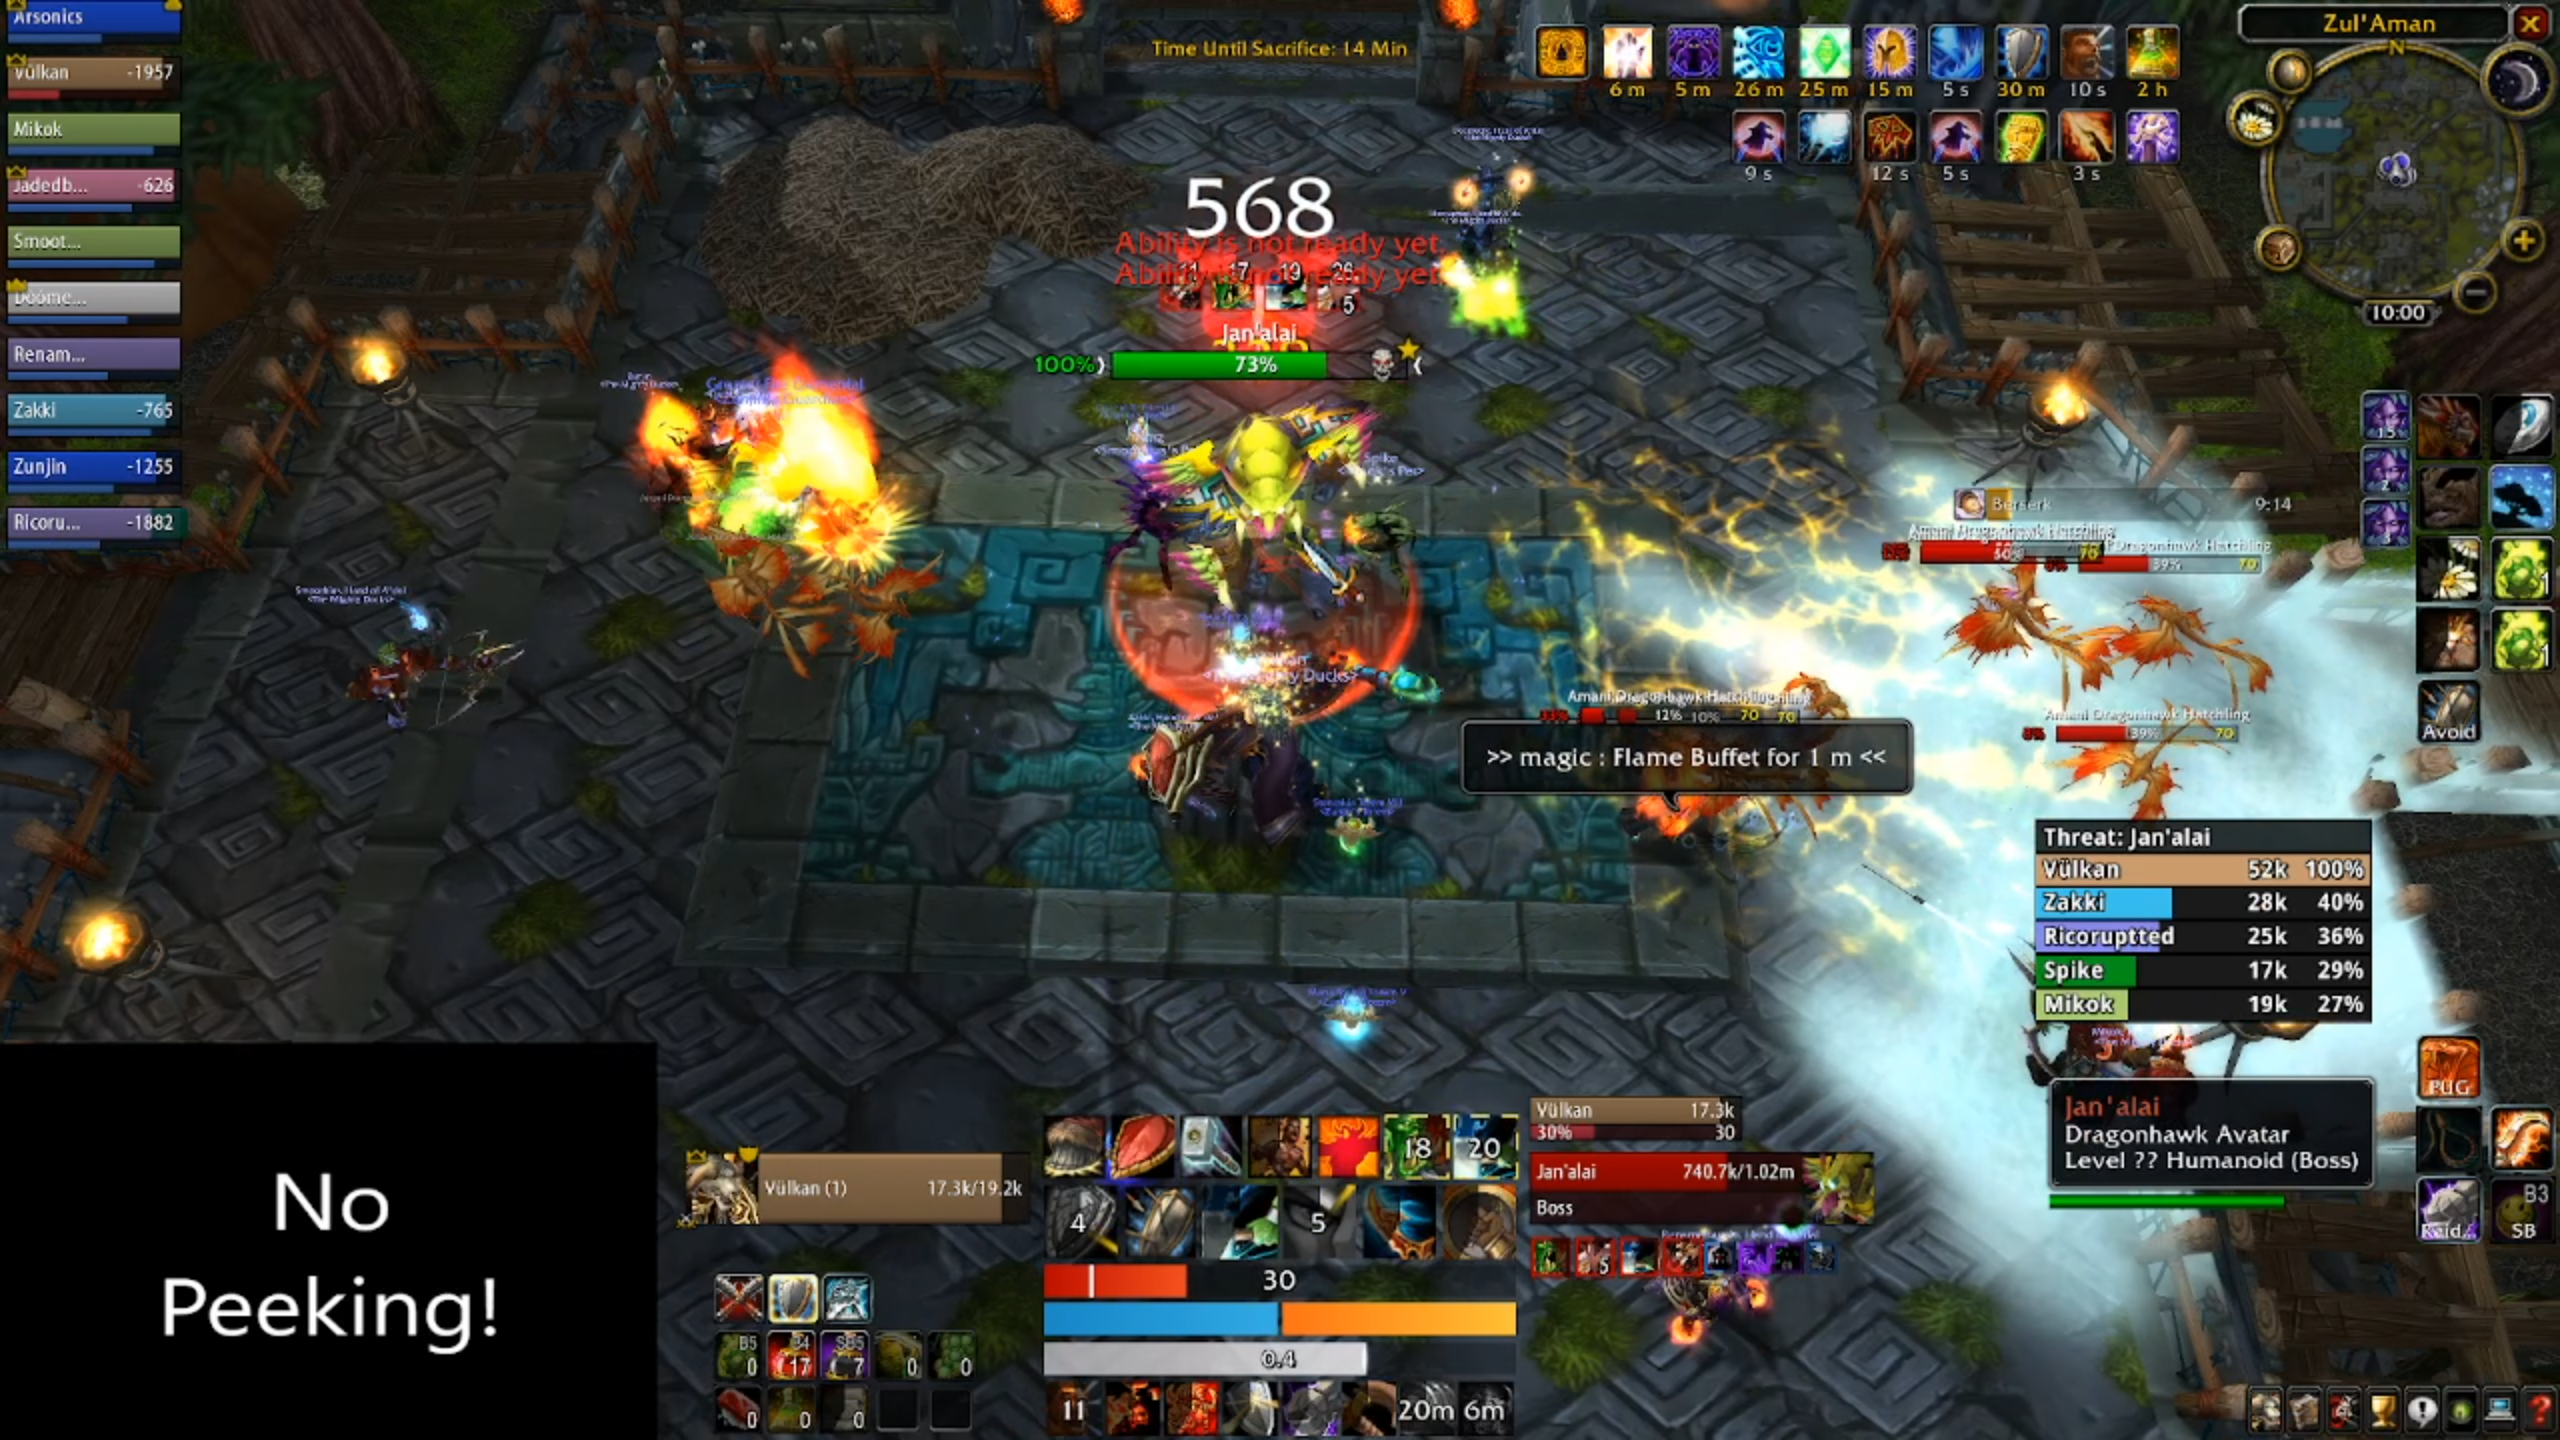
Assuming you don't have the DPS to push Jan'alai, he will eventually spawn a second group of hatchers. Repeat the process, just be aware that both hatchers will now head toward the same side - so try to avoid using spells and abilities which cleave, as the hatchers are very fragile. From there the dragonhawks will trickle, then stream, and finally flood into the raid in the same manner as before.
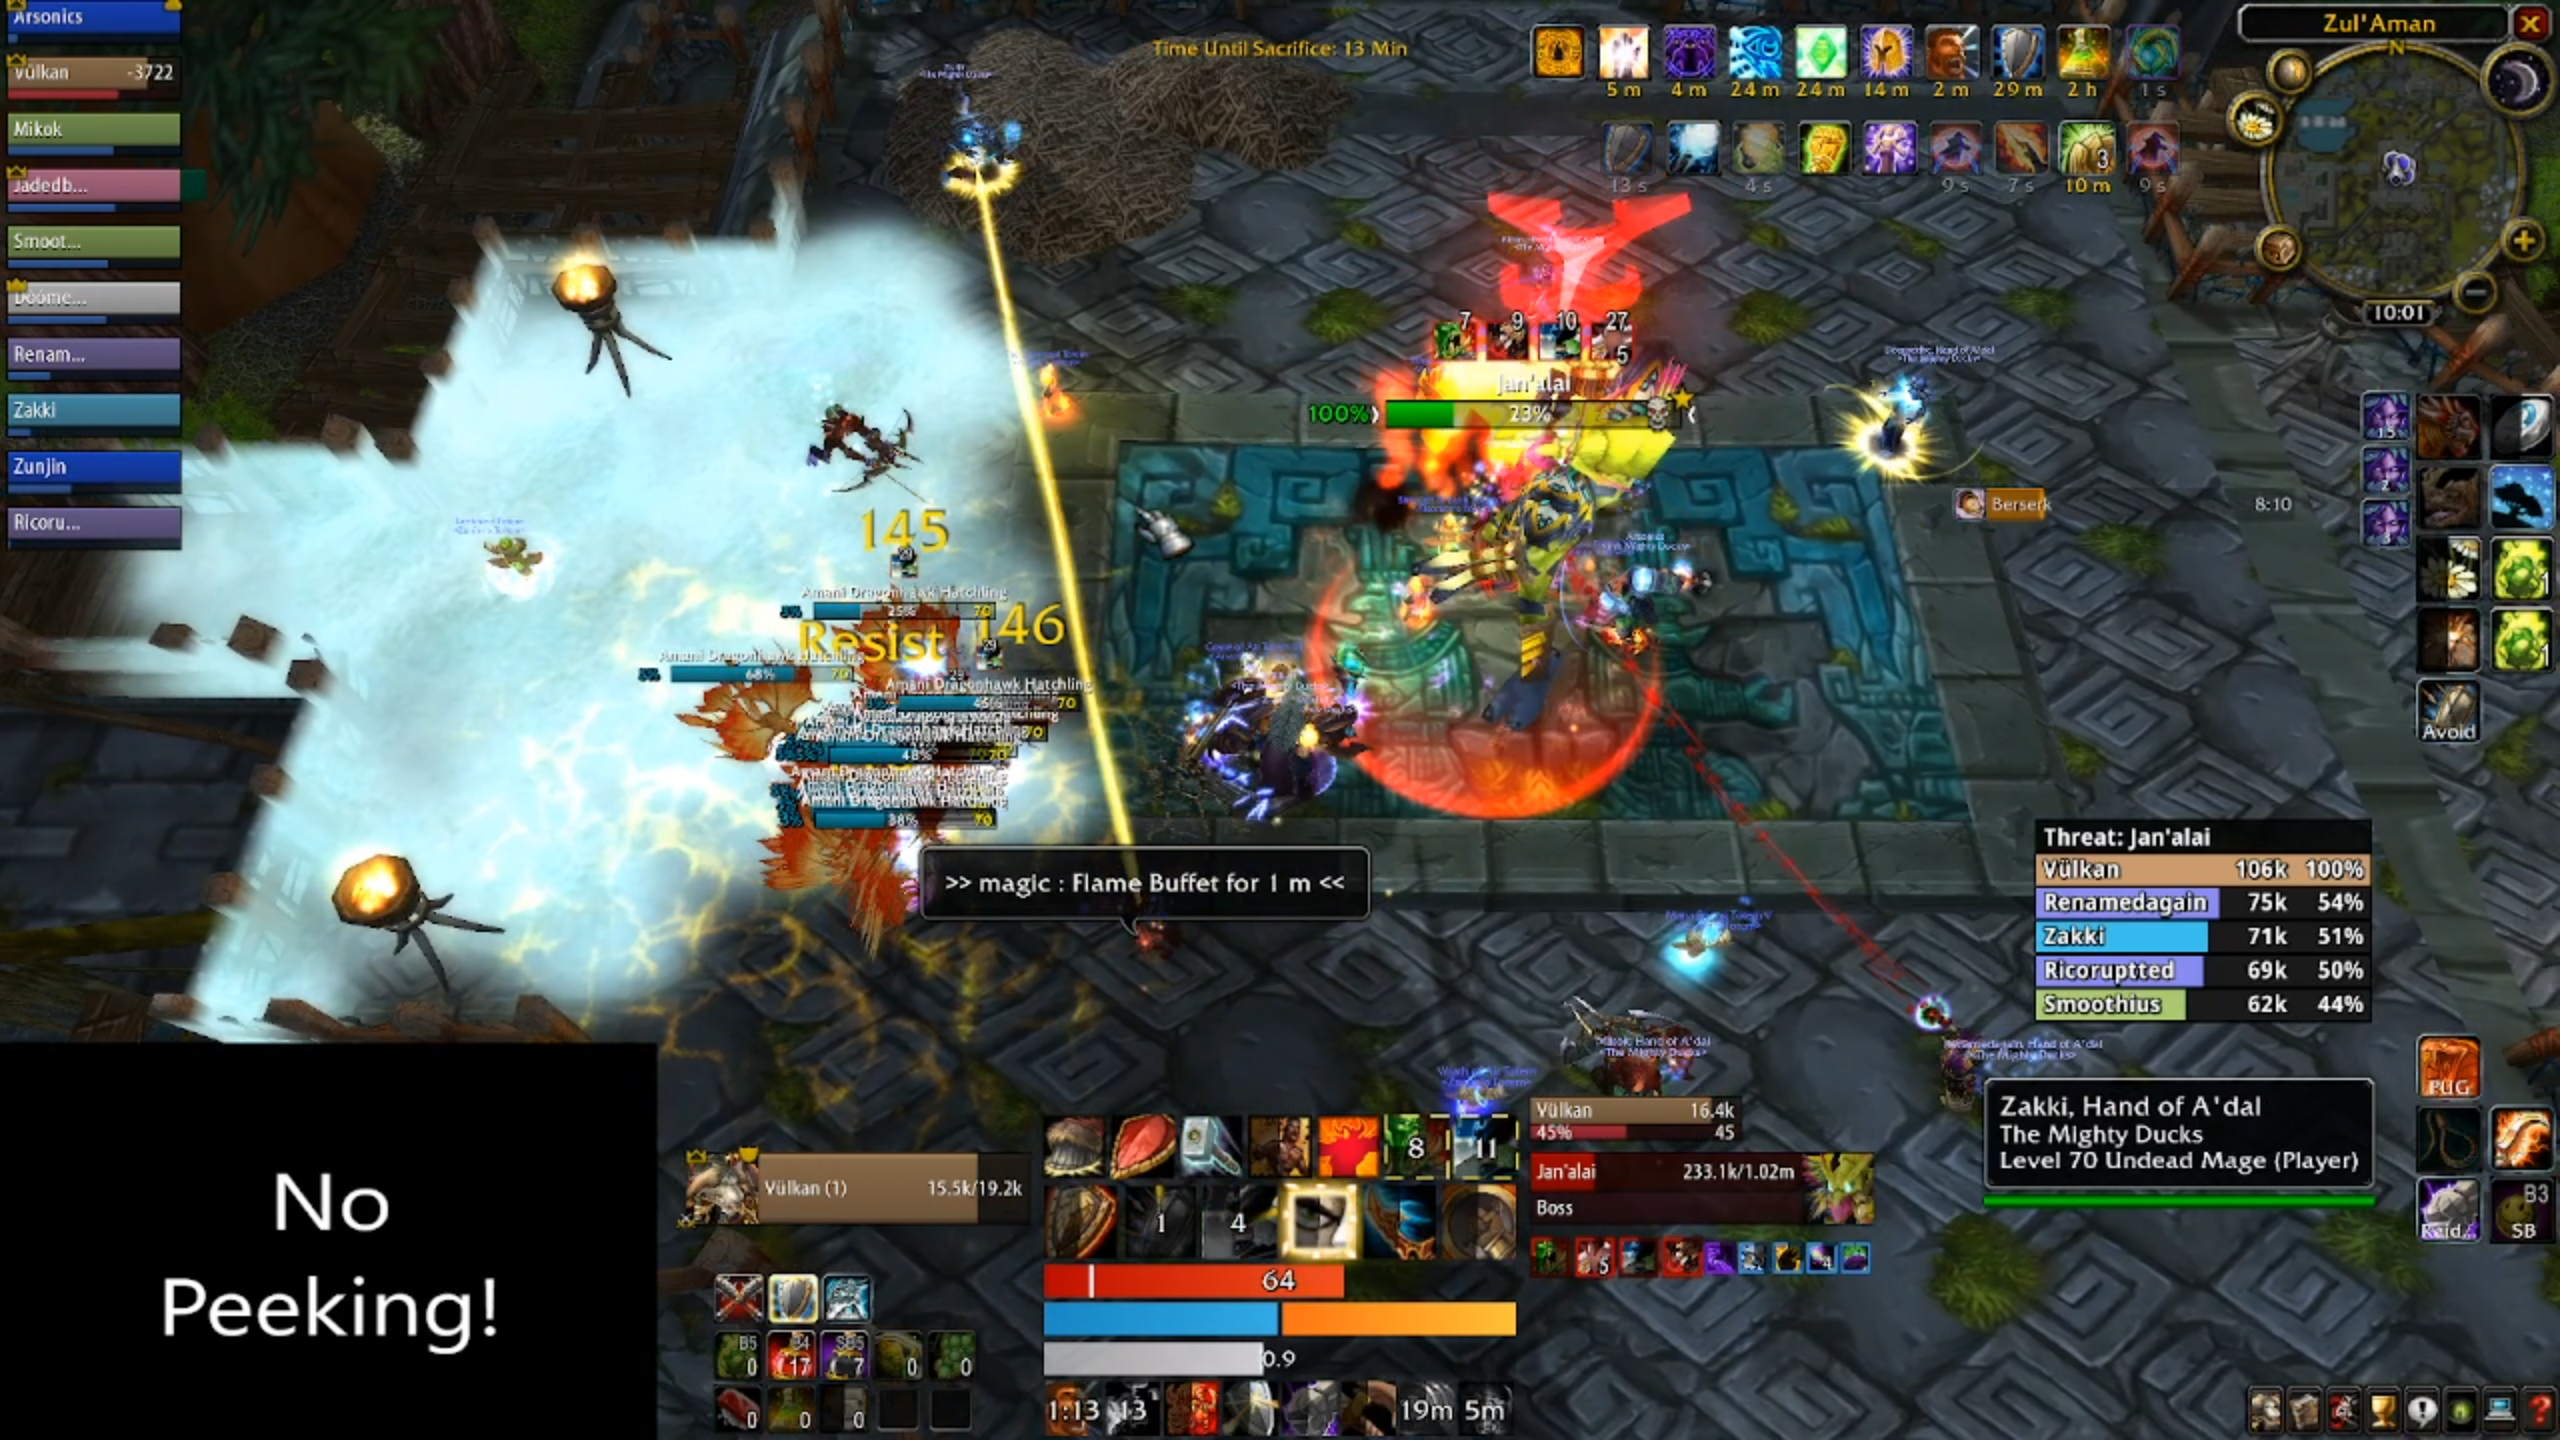
Whilst all that's going on, you'll also need to dodge Fire Bomb, the boss' third signature ability. How this one works is that he will spawn red fire orbs all over the platform. After a certain period of time, these will detonate. Getting hit by one will hurt and two will kill you, so it's important to keep your eyes peeled for safe spots, and be prepared to move early, and often, as more fire orbs spawn.
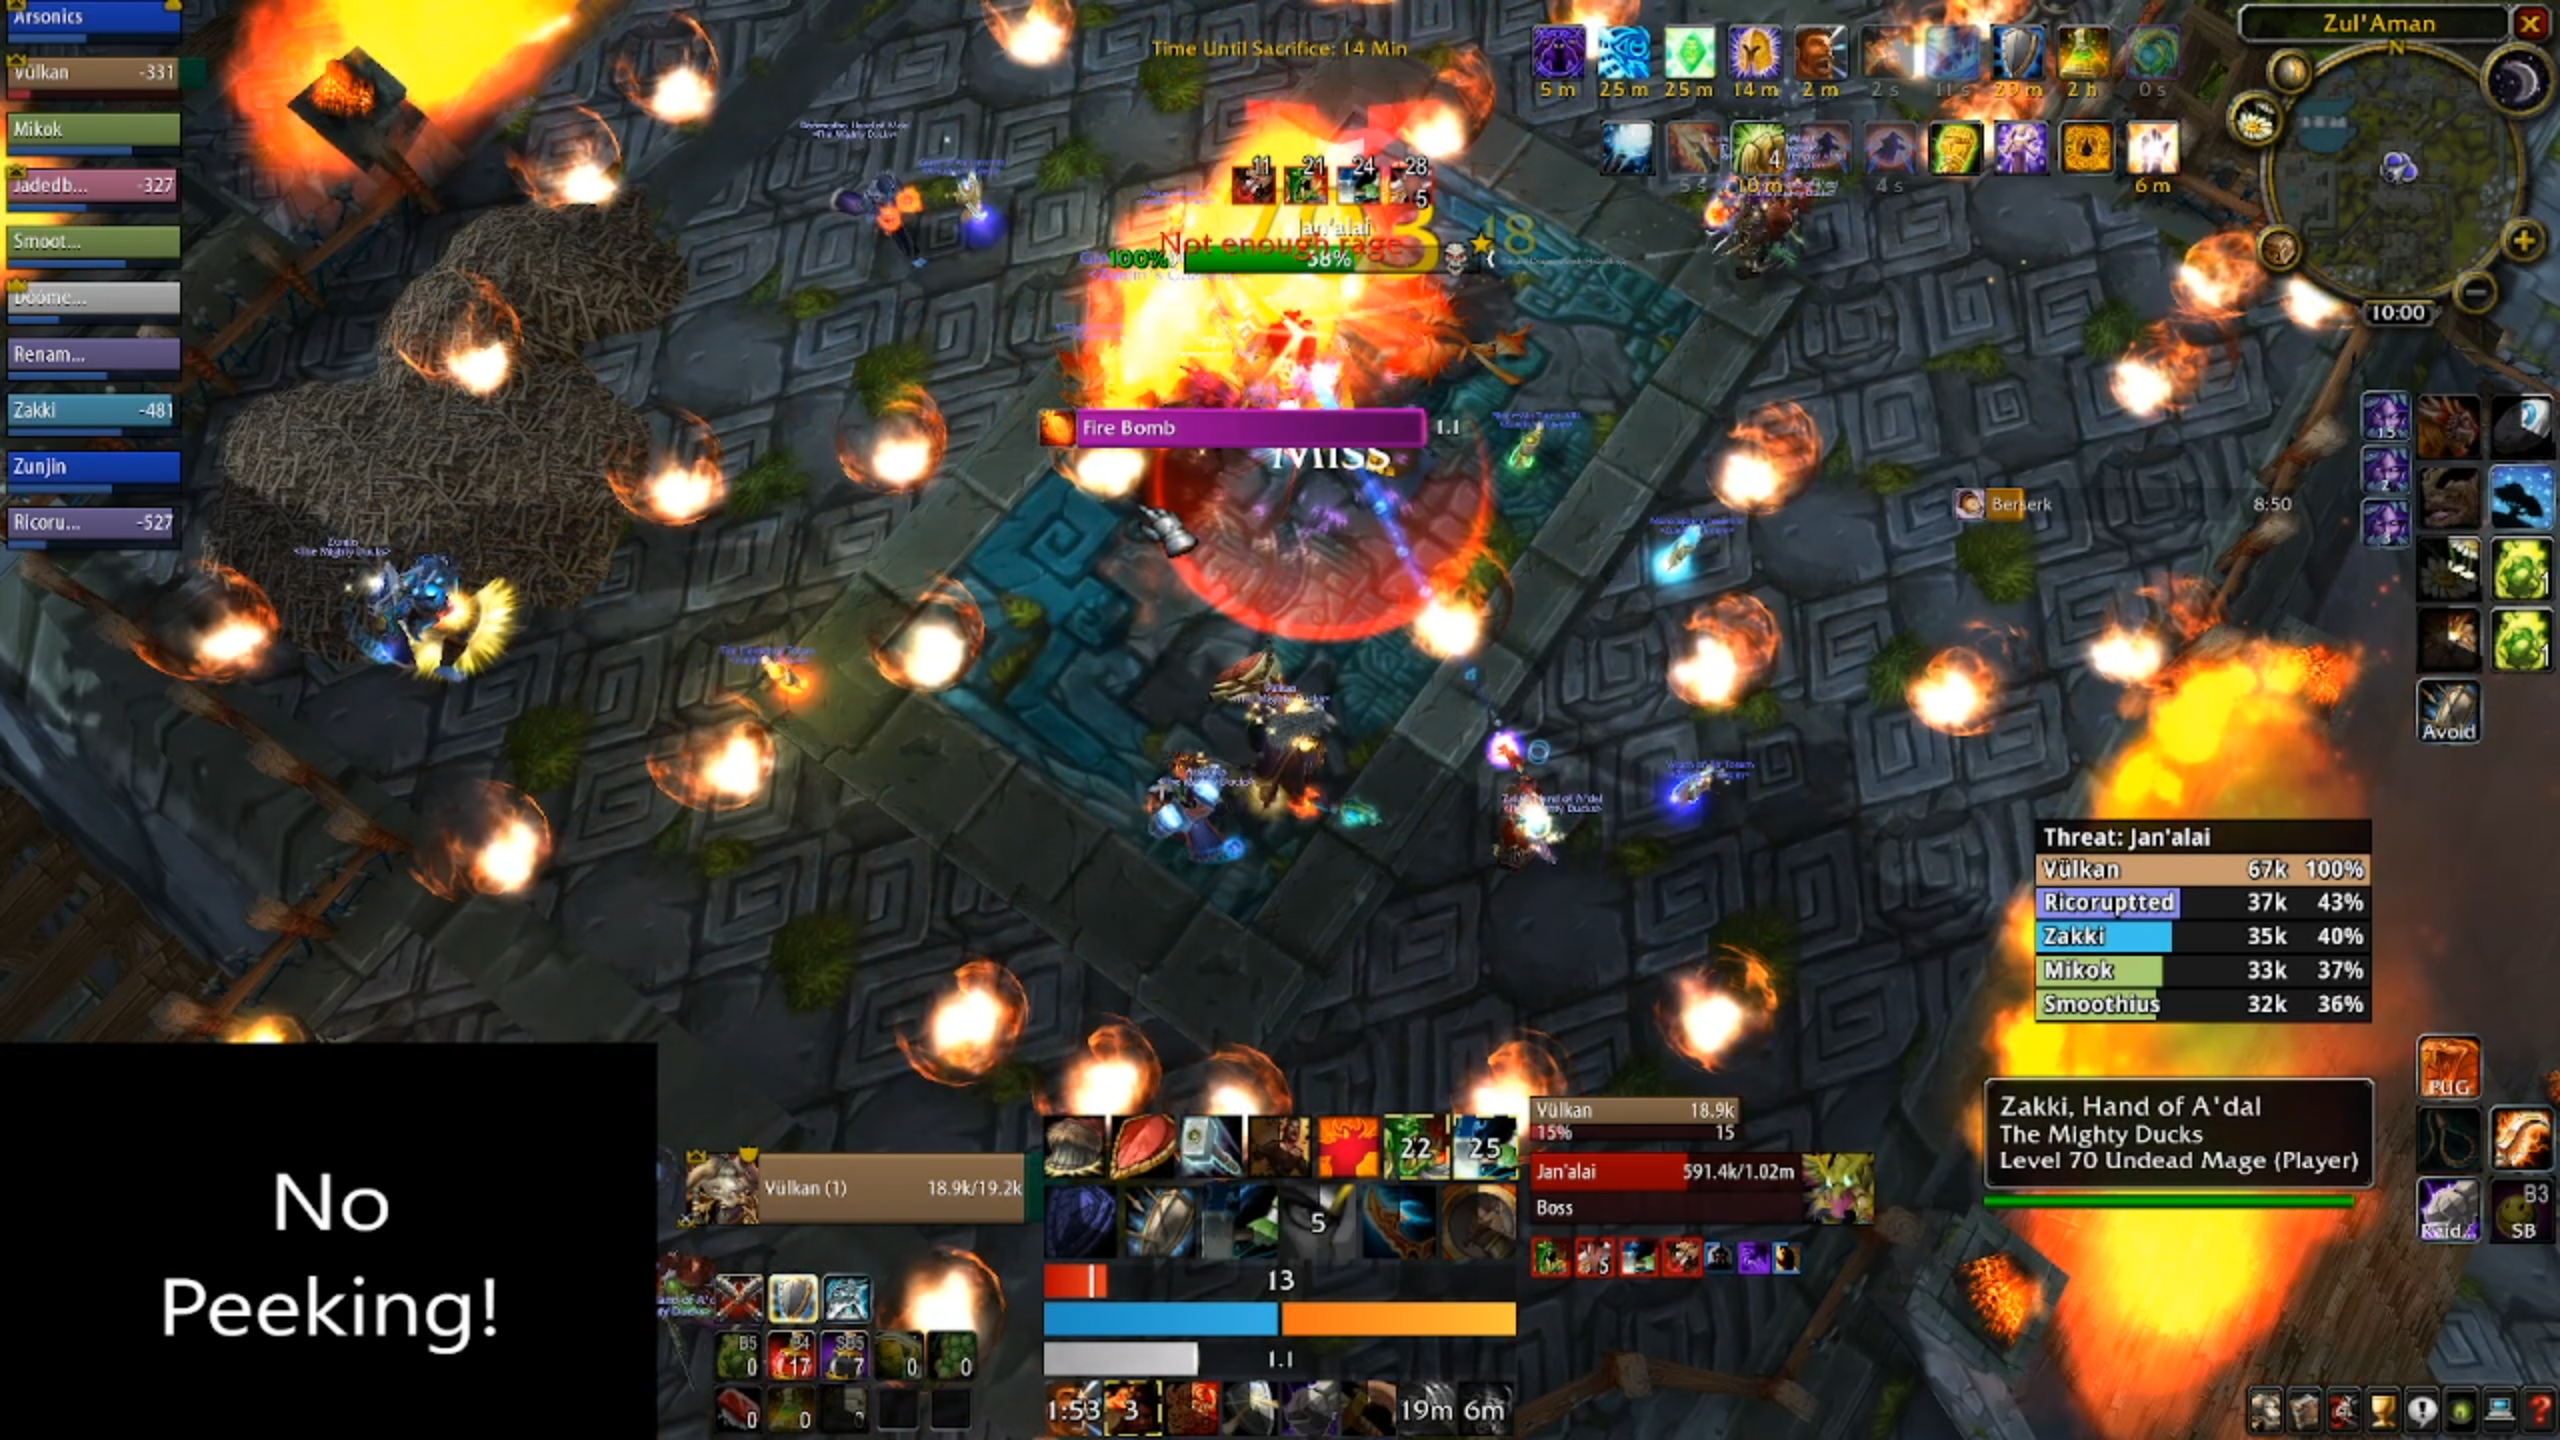
Be aware that the explosion radius is a bit further than the orb itself, which can catch out some people as the range of the explosion is not well demonstrated. This mechanic alone will normally wipe a group that hasn't done this boss fight once or twice, as it's very punishing. Unless your group has done its homework, expect Jan'alai to kill your first run.
Lastly, once Jan'alai hits 20%, he'll get cranky and start belting your tank. If you've done your due dilligence (provided you have a warrior tank) or you've come prepared with a bear, this shouldn't be much of an obstacle. Once both waves of dragonhawks have been dealt with, there's very little raid-wide damage going out.
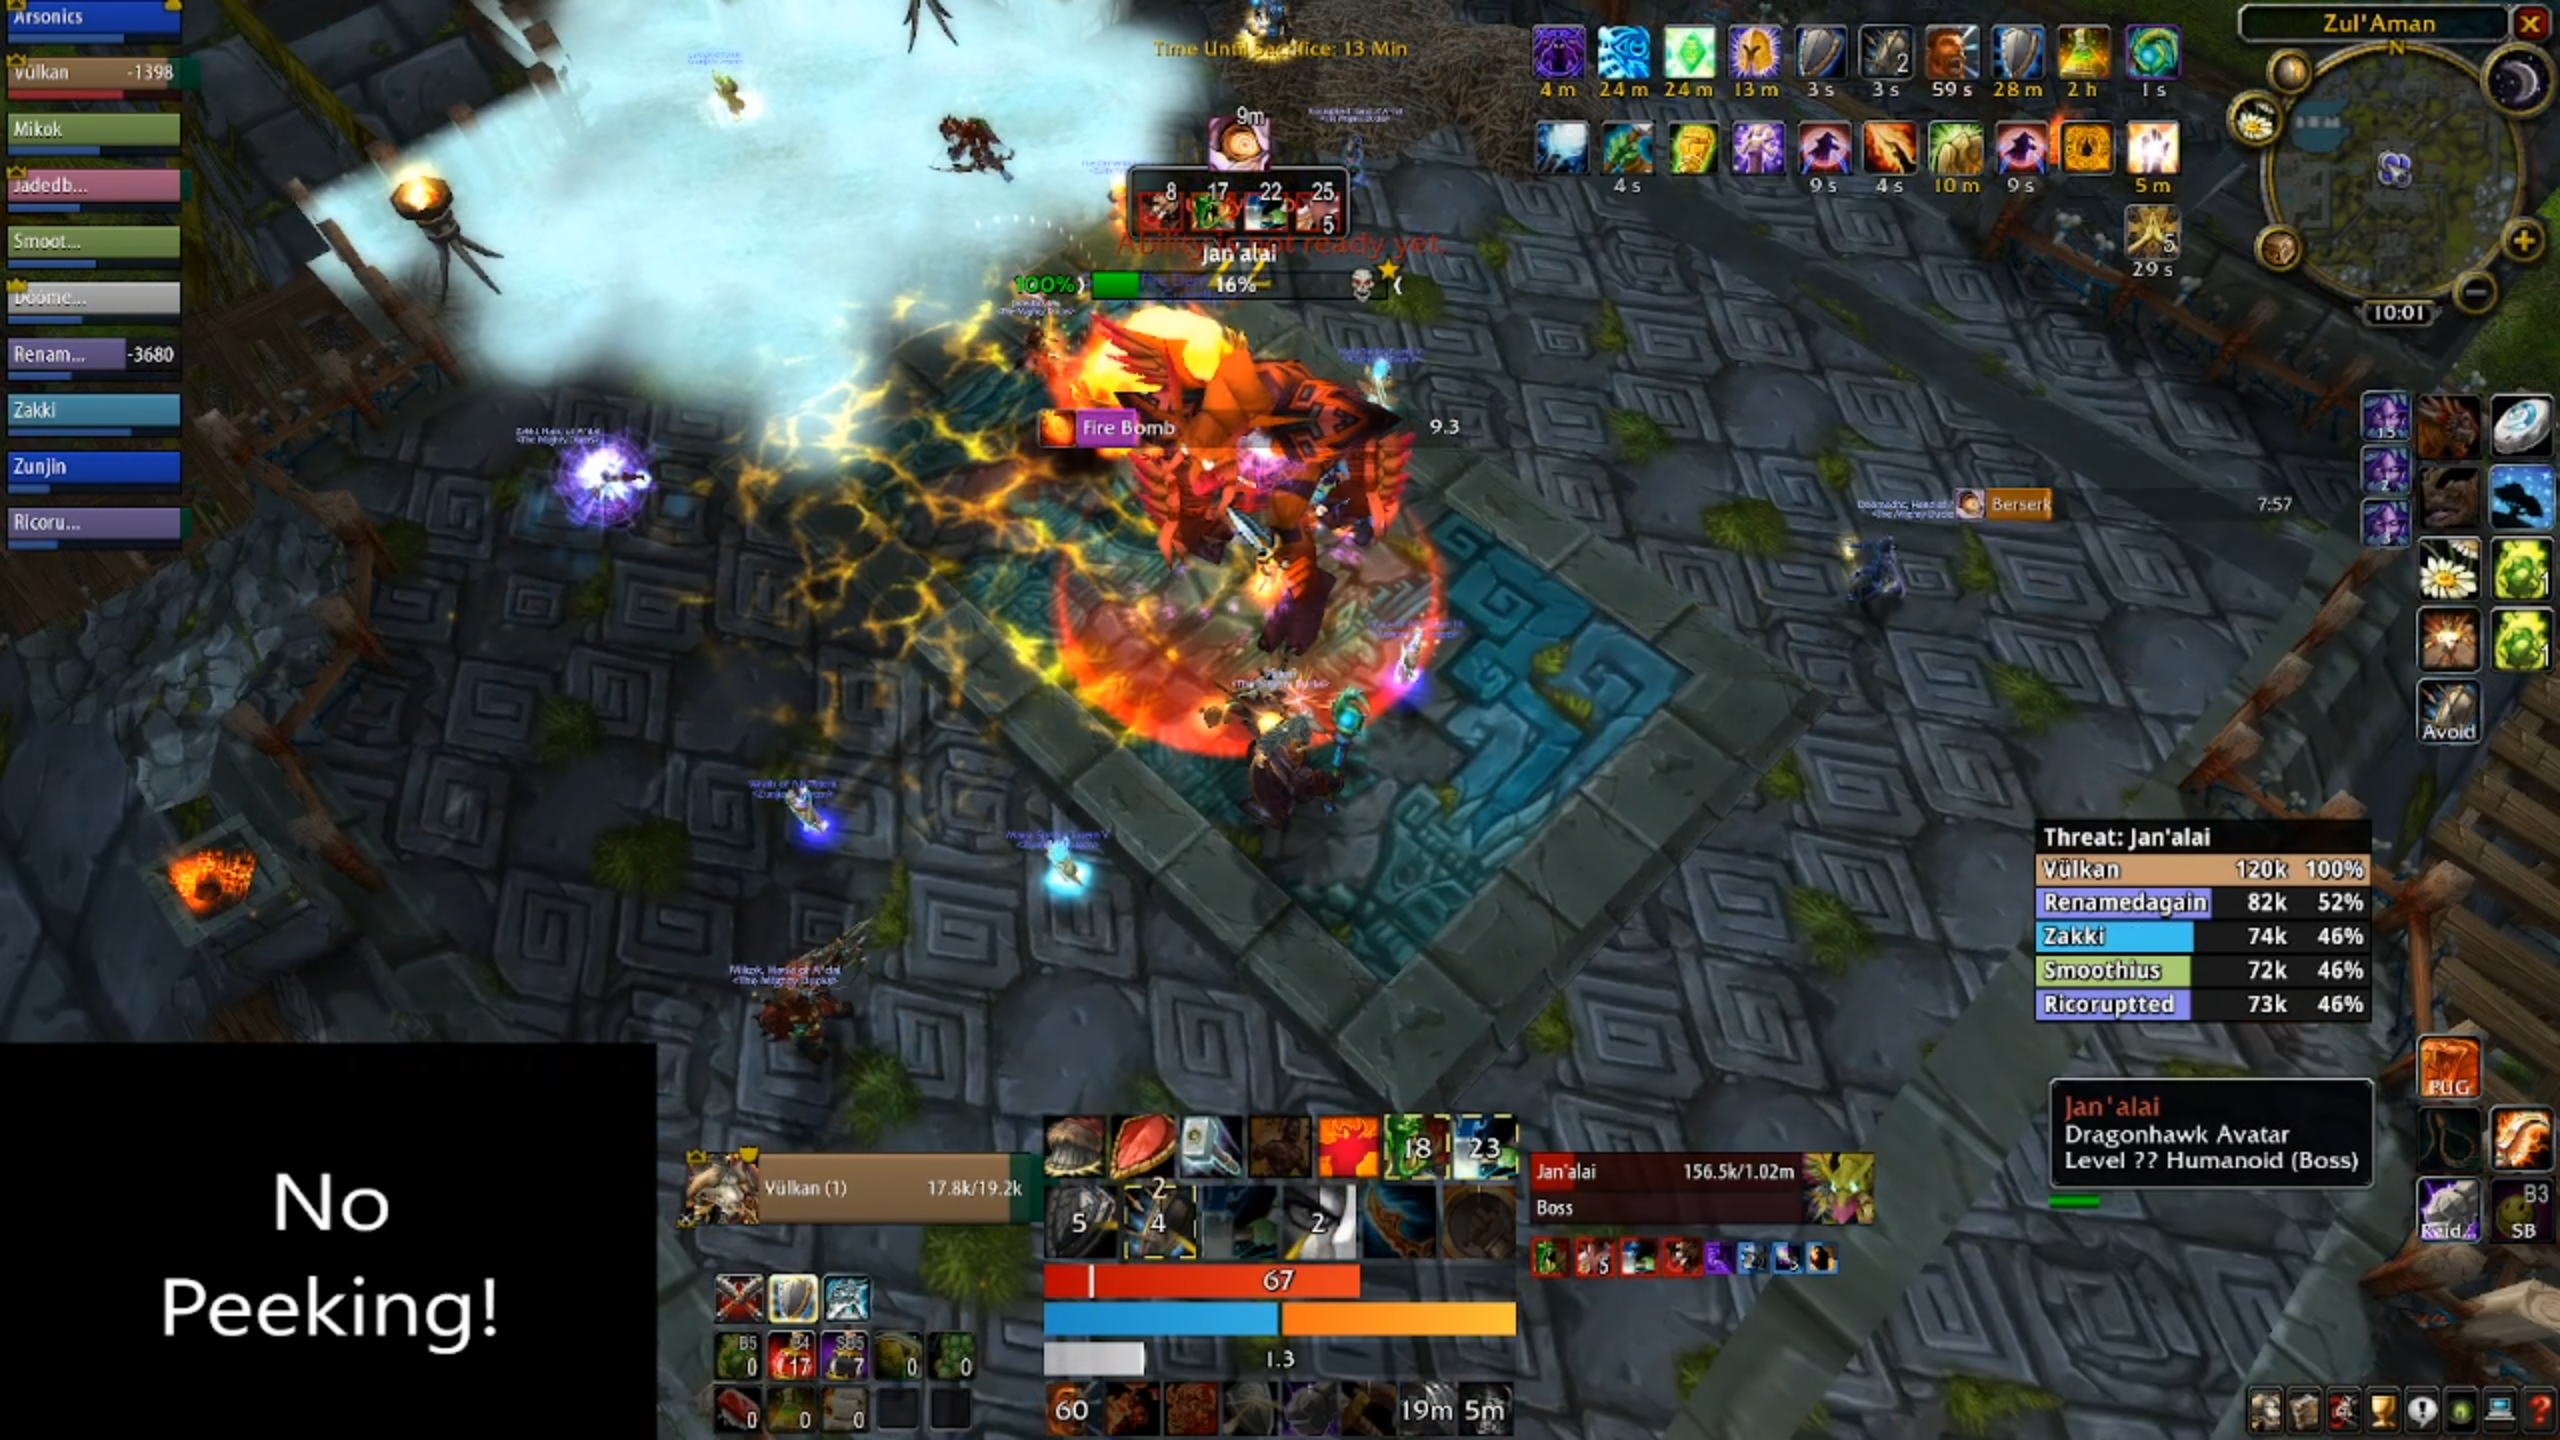
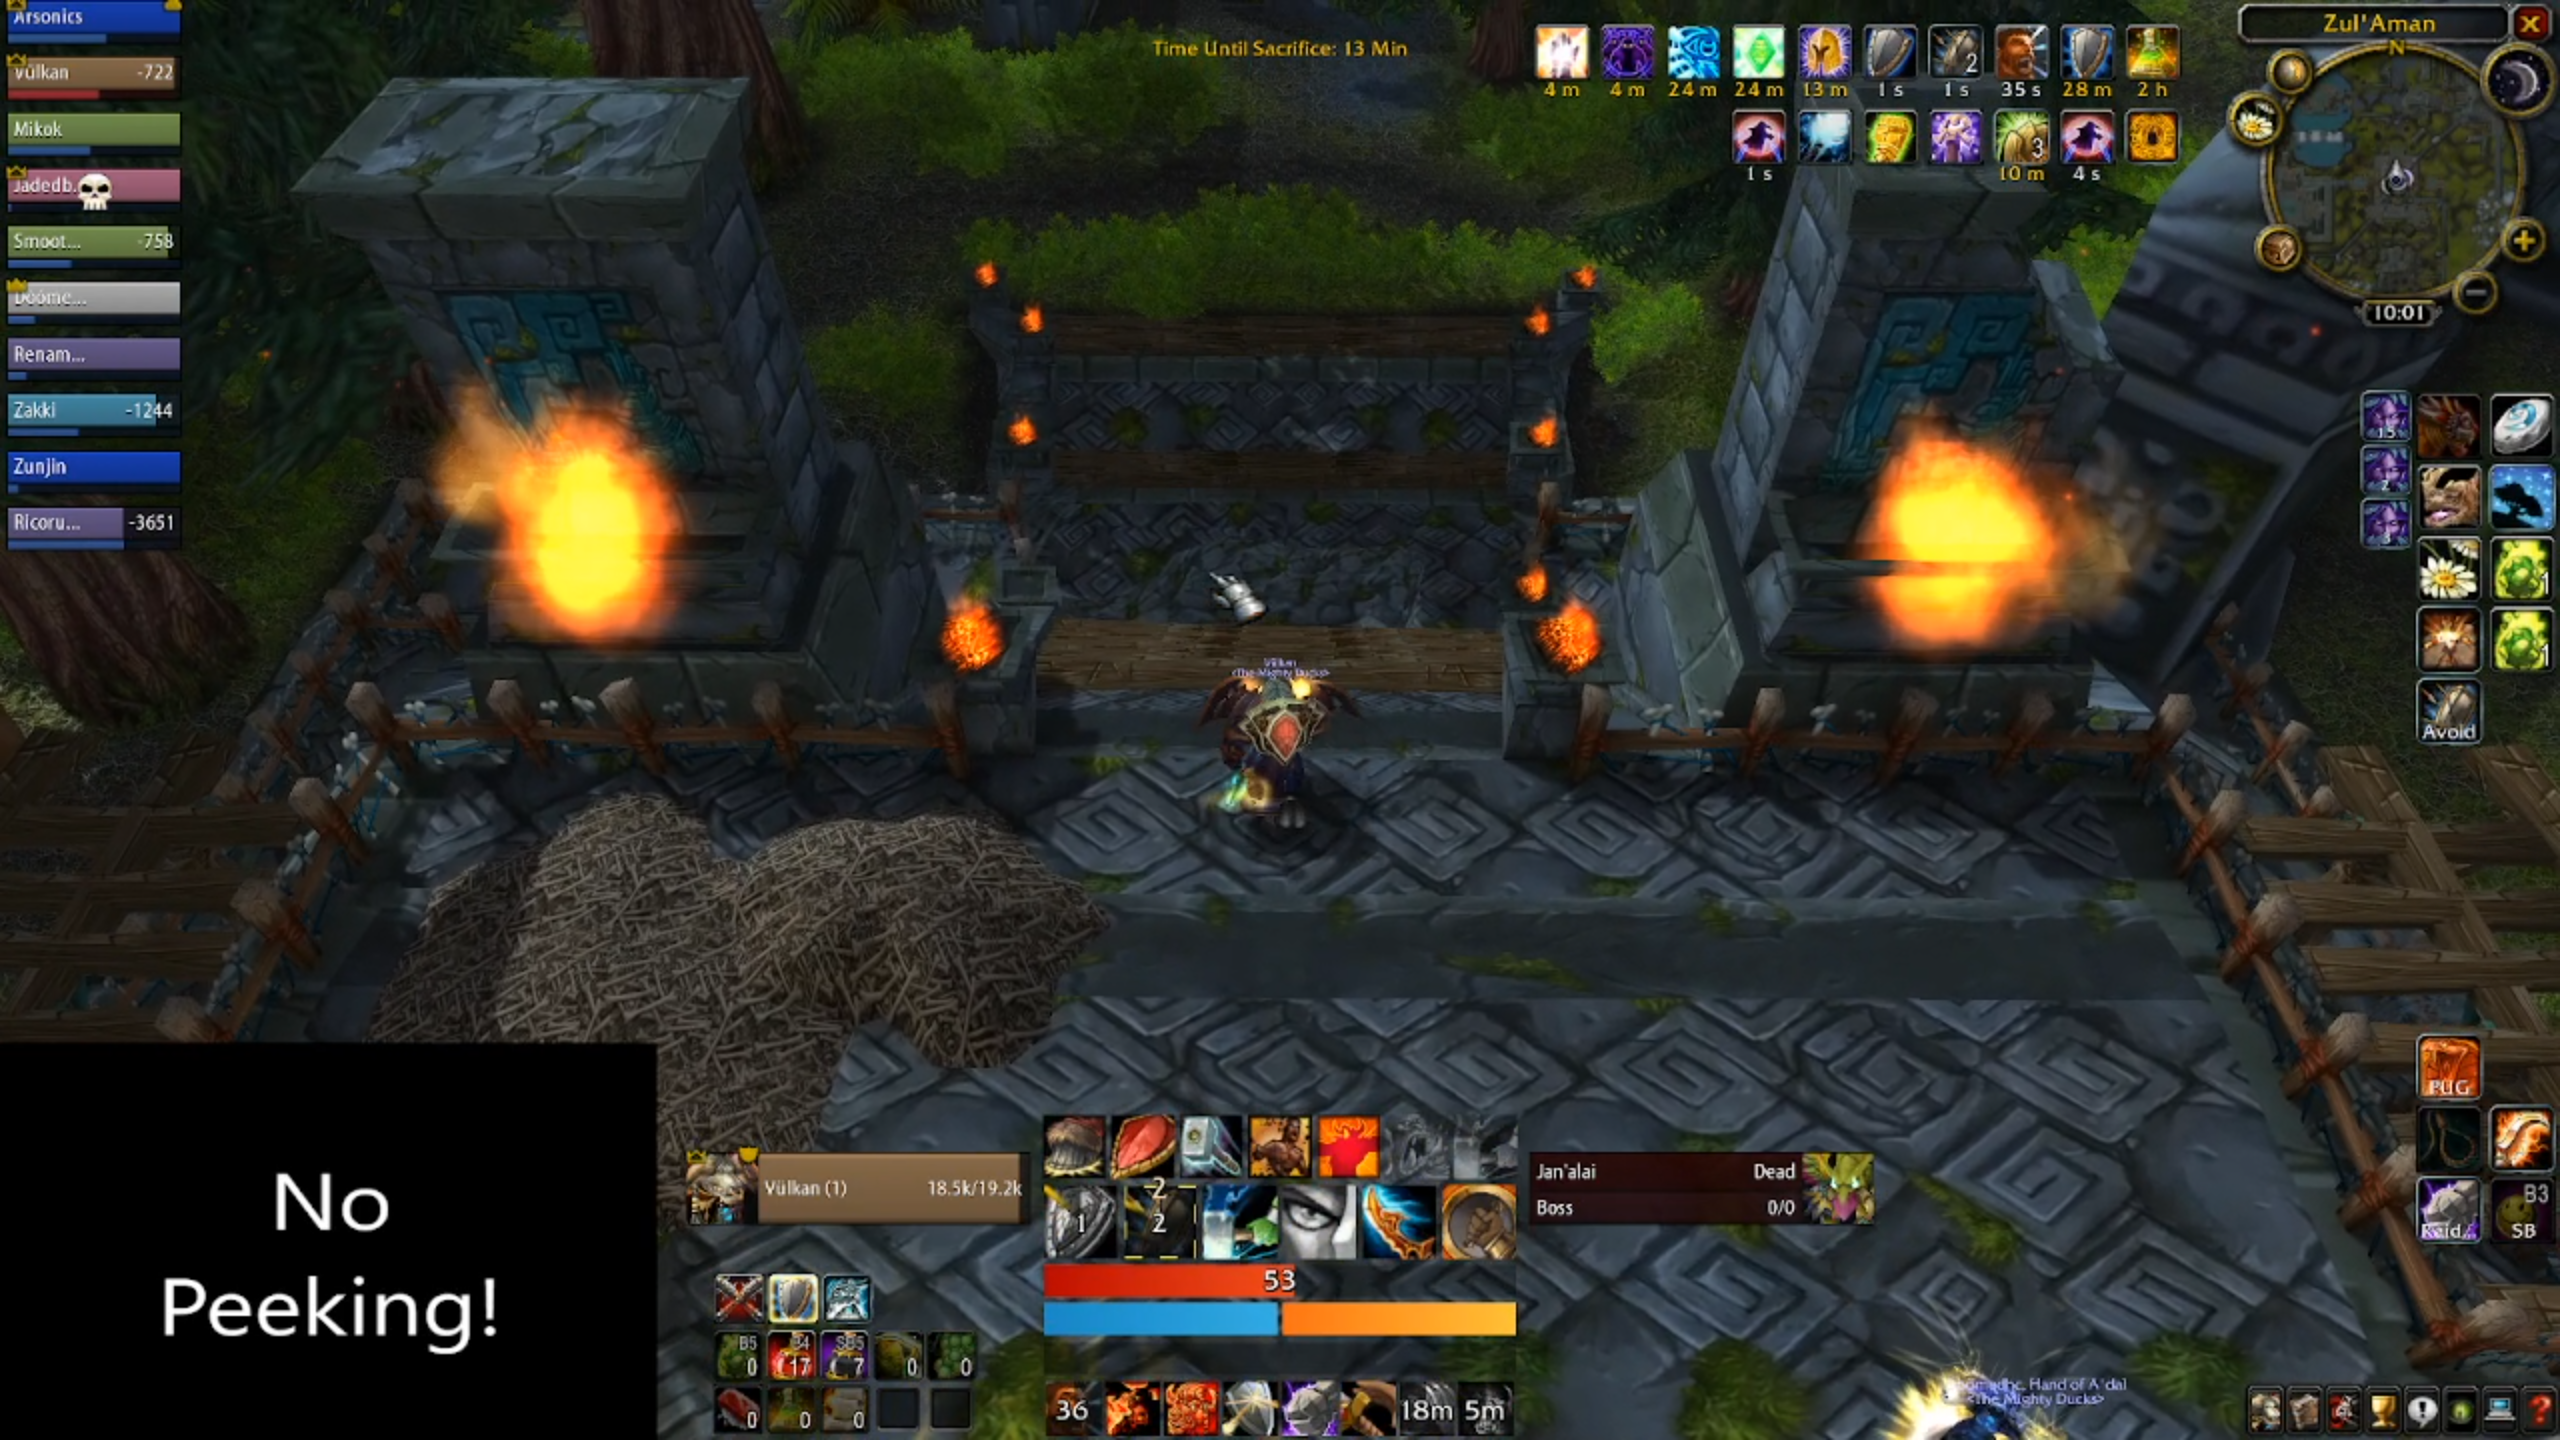
Assuming your players watch their feet, the adds don't overwhelm you, and your tanks and healers can stand up to the enrage, Jan'alai should be sent to the dragonhawk in the sky. Good riddance.
This marks the last of the timed chests that have items in them. The push to the last boss of the gauntlet, Halazzi, is all about that bear. It also has the most trash, and it takes between three and five minutes (assuming you don't wipe) to kill the next boss, so if you've been a little slow at any point on the first three bosses, it's time to really hit the jets.
The ramp down from Jan'alai's platform is a point of no return, so make sure everyone has been resurrected and is ready to go before you jump off.
There's a pack of two trolls in the the ramp area leading toward the next boss. You can avoid them or kill them, then you need to head down the slope and jump over the wall on the right - we're going to move past a bit of trash here.
Head back up the hill and turn left. You'll need to deal with a pack of lynxes here, but you'll see them first. Moving forward, there are two huts with open windows you'll need to jump through. You may have some difficulty if you're a Tauren, but everyone else should be fine. Hunters will need to dismiss their pets.
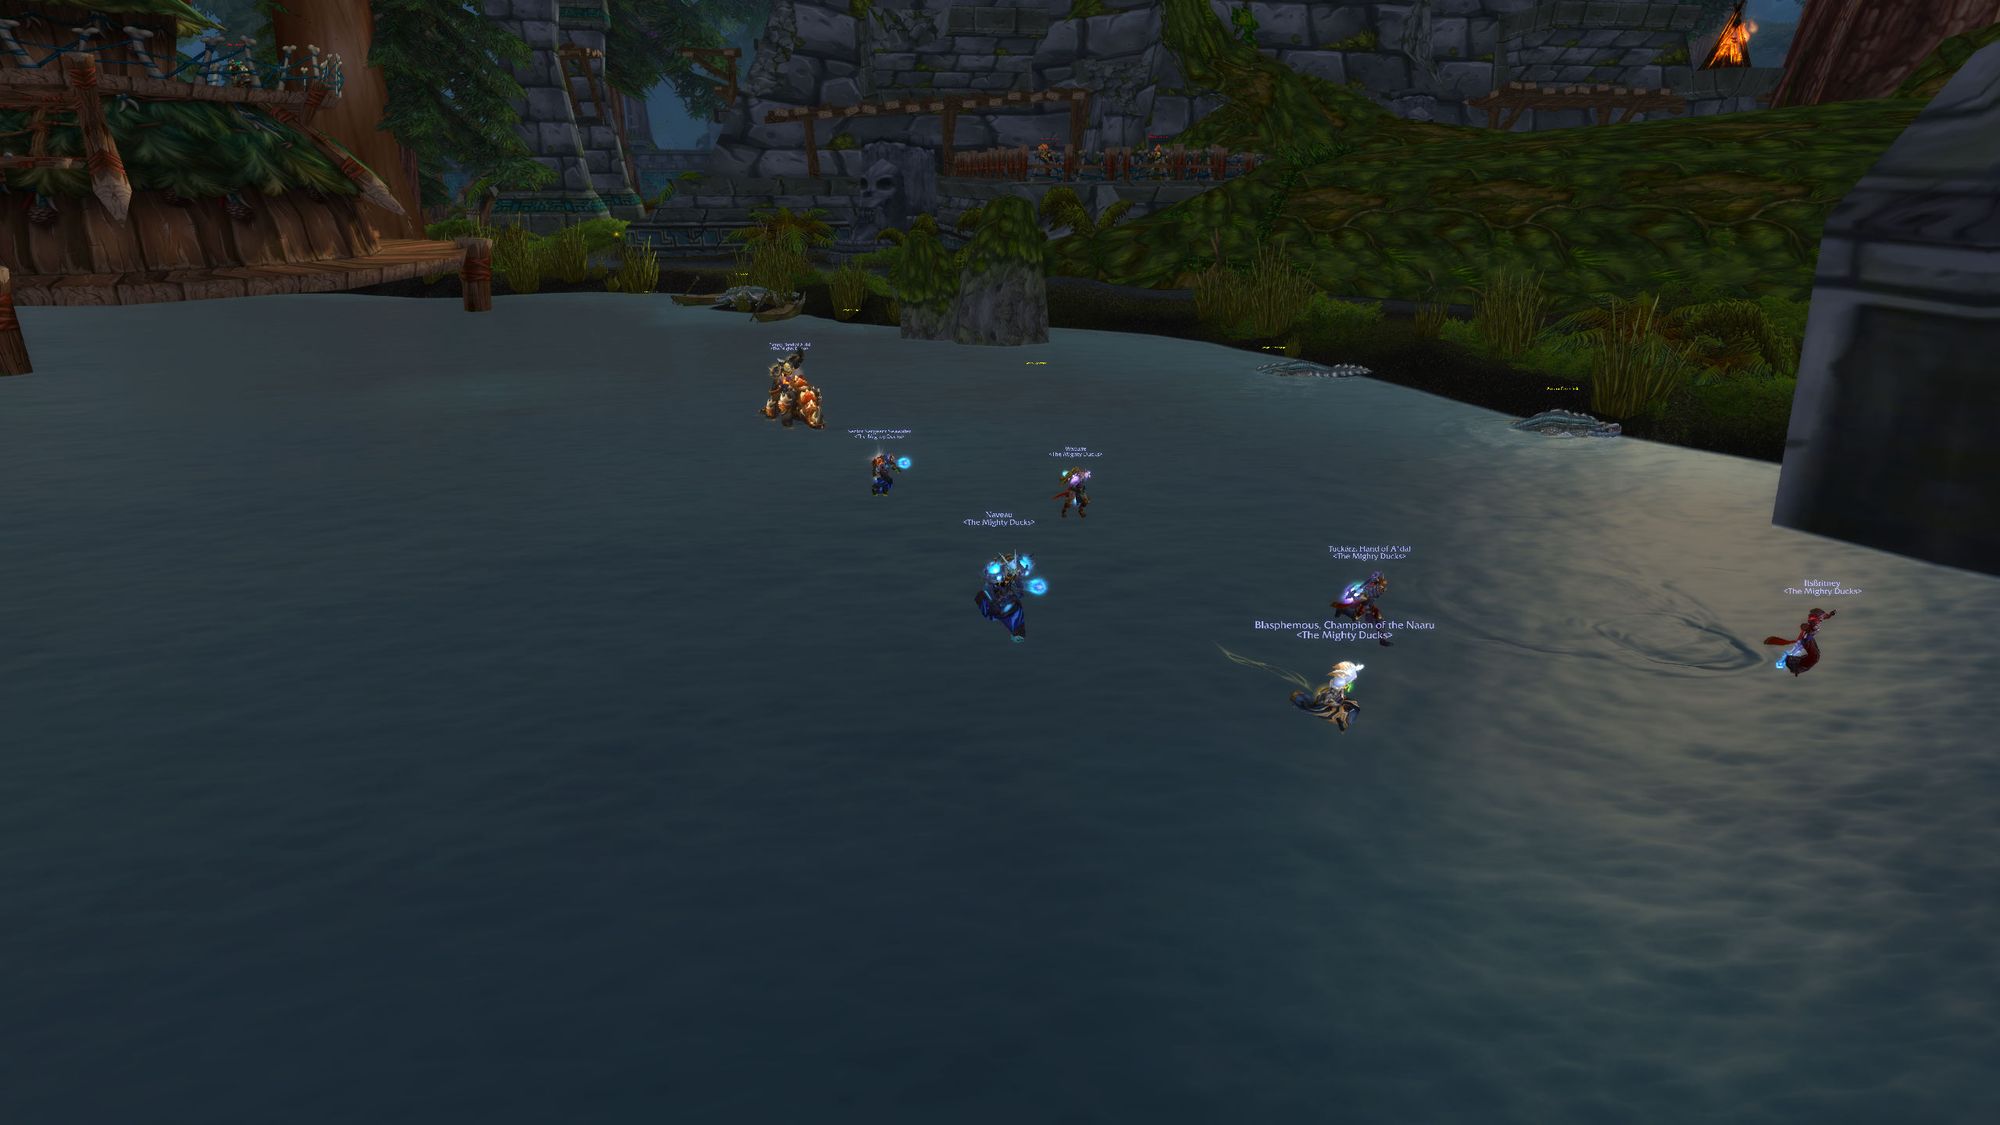
After jumping out of the second hut window, turn right and hug the wall on your left. There will be a patrolling pack of Aman'shi Tamers and their pet crocolisks, so you'll want to wait until they're out of aggro range. From there, your raid should jump into the lake (or use water walking and levitate) and swim out and around, moving all the way up the shoreline, and beyond the aggro range of the pack you just avoided.
For the next two packs, be very careful with AoE as the crocolisks in the lake will attack you. The crocolisks have high health, deal hefty damage, and can wipe your raid by picking off vulnerable classes whilst the tanks are up front.
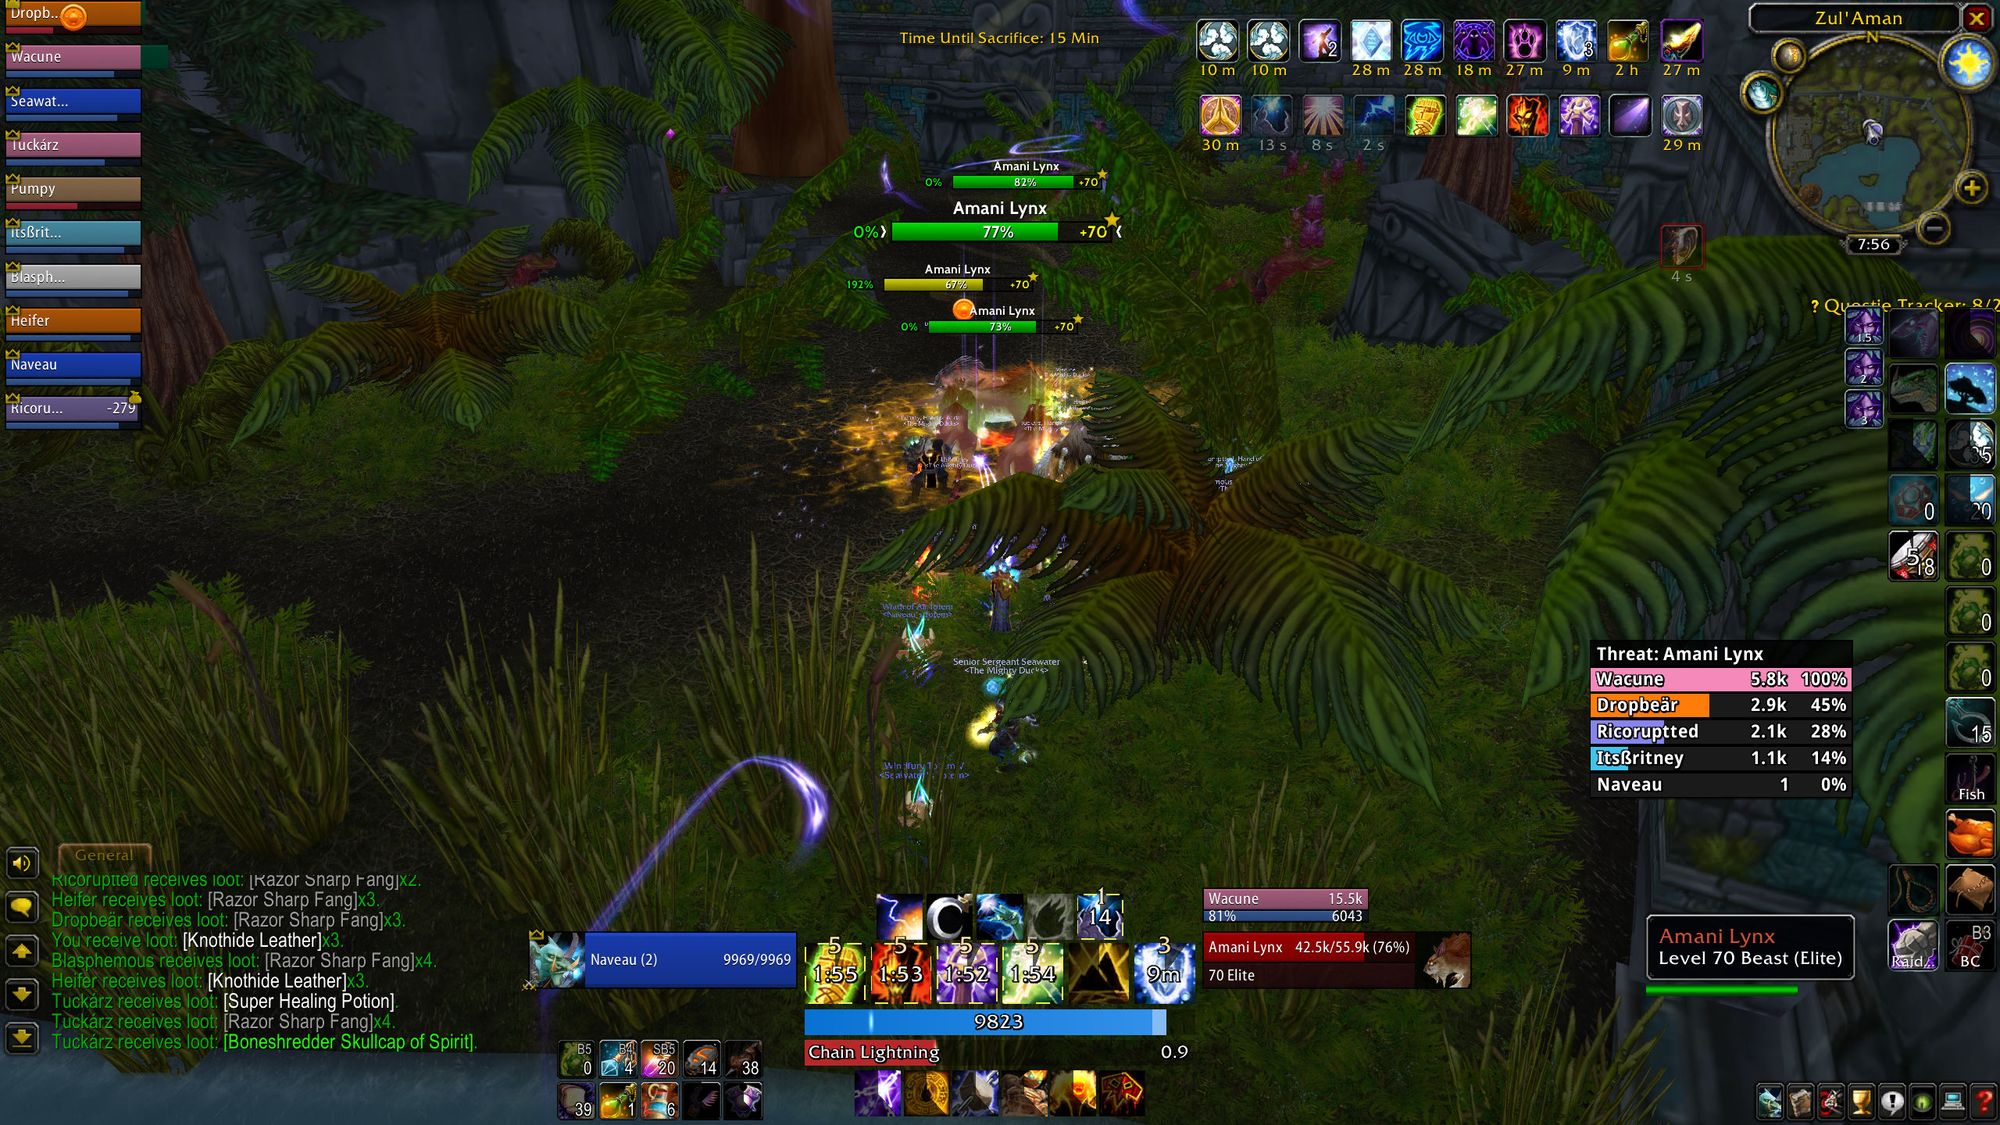
There are three hidden packs of Amani Lynx - as you walk into the middle of a given point, they'll spawn and surround the raid, so let your tanks go first. They don't deal high damage, but there's also two patrolling packs of Aman'shi Beast Tamers, which can mind-control members of your raid and stun others. It's better to make steady progress here, rather than rushing between ambush spots and getting overwhelmed.
Once you make your way through the jungle, you'll end up at the entrance to a temple. There's a pack of four here - a handler, a beast tamer and two elder lynx. The handler will use an electrified net, which stuns and does damage, but is a channelled ability which can be removed by crowd controlling the handler.
The boss is in the next room, along with three packs of trolls. Two groups have three consisting of a guardian, flame caster and handler, and there's a group of two guardians that moves around the room. If you time it well enough, you can eliminate both packs of three, then pull the pack of two (or, more likely, pull the pack of two as you're polishing off the second pack of three.)
It's definitely possible to overextend whilst trying to pull this trash as quickly. The next boss' aggro range is not very big, so you can take your time and pull the packs one by one if you need to. A wipe is worse than a small amount of extra time taken to engage trash safely.
Once the room is clear, it's time to either earn that bear (if you were quick enough) or get an extra piece of loot (if you weren't.)
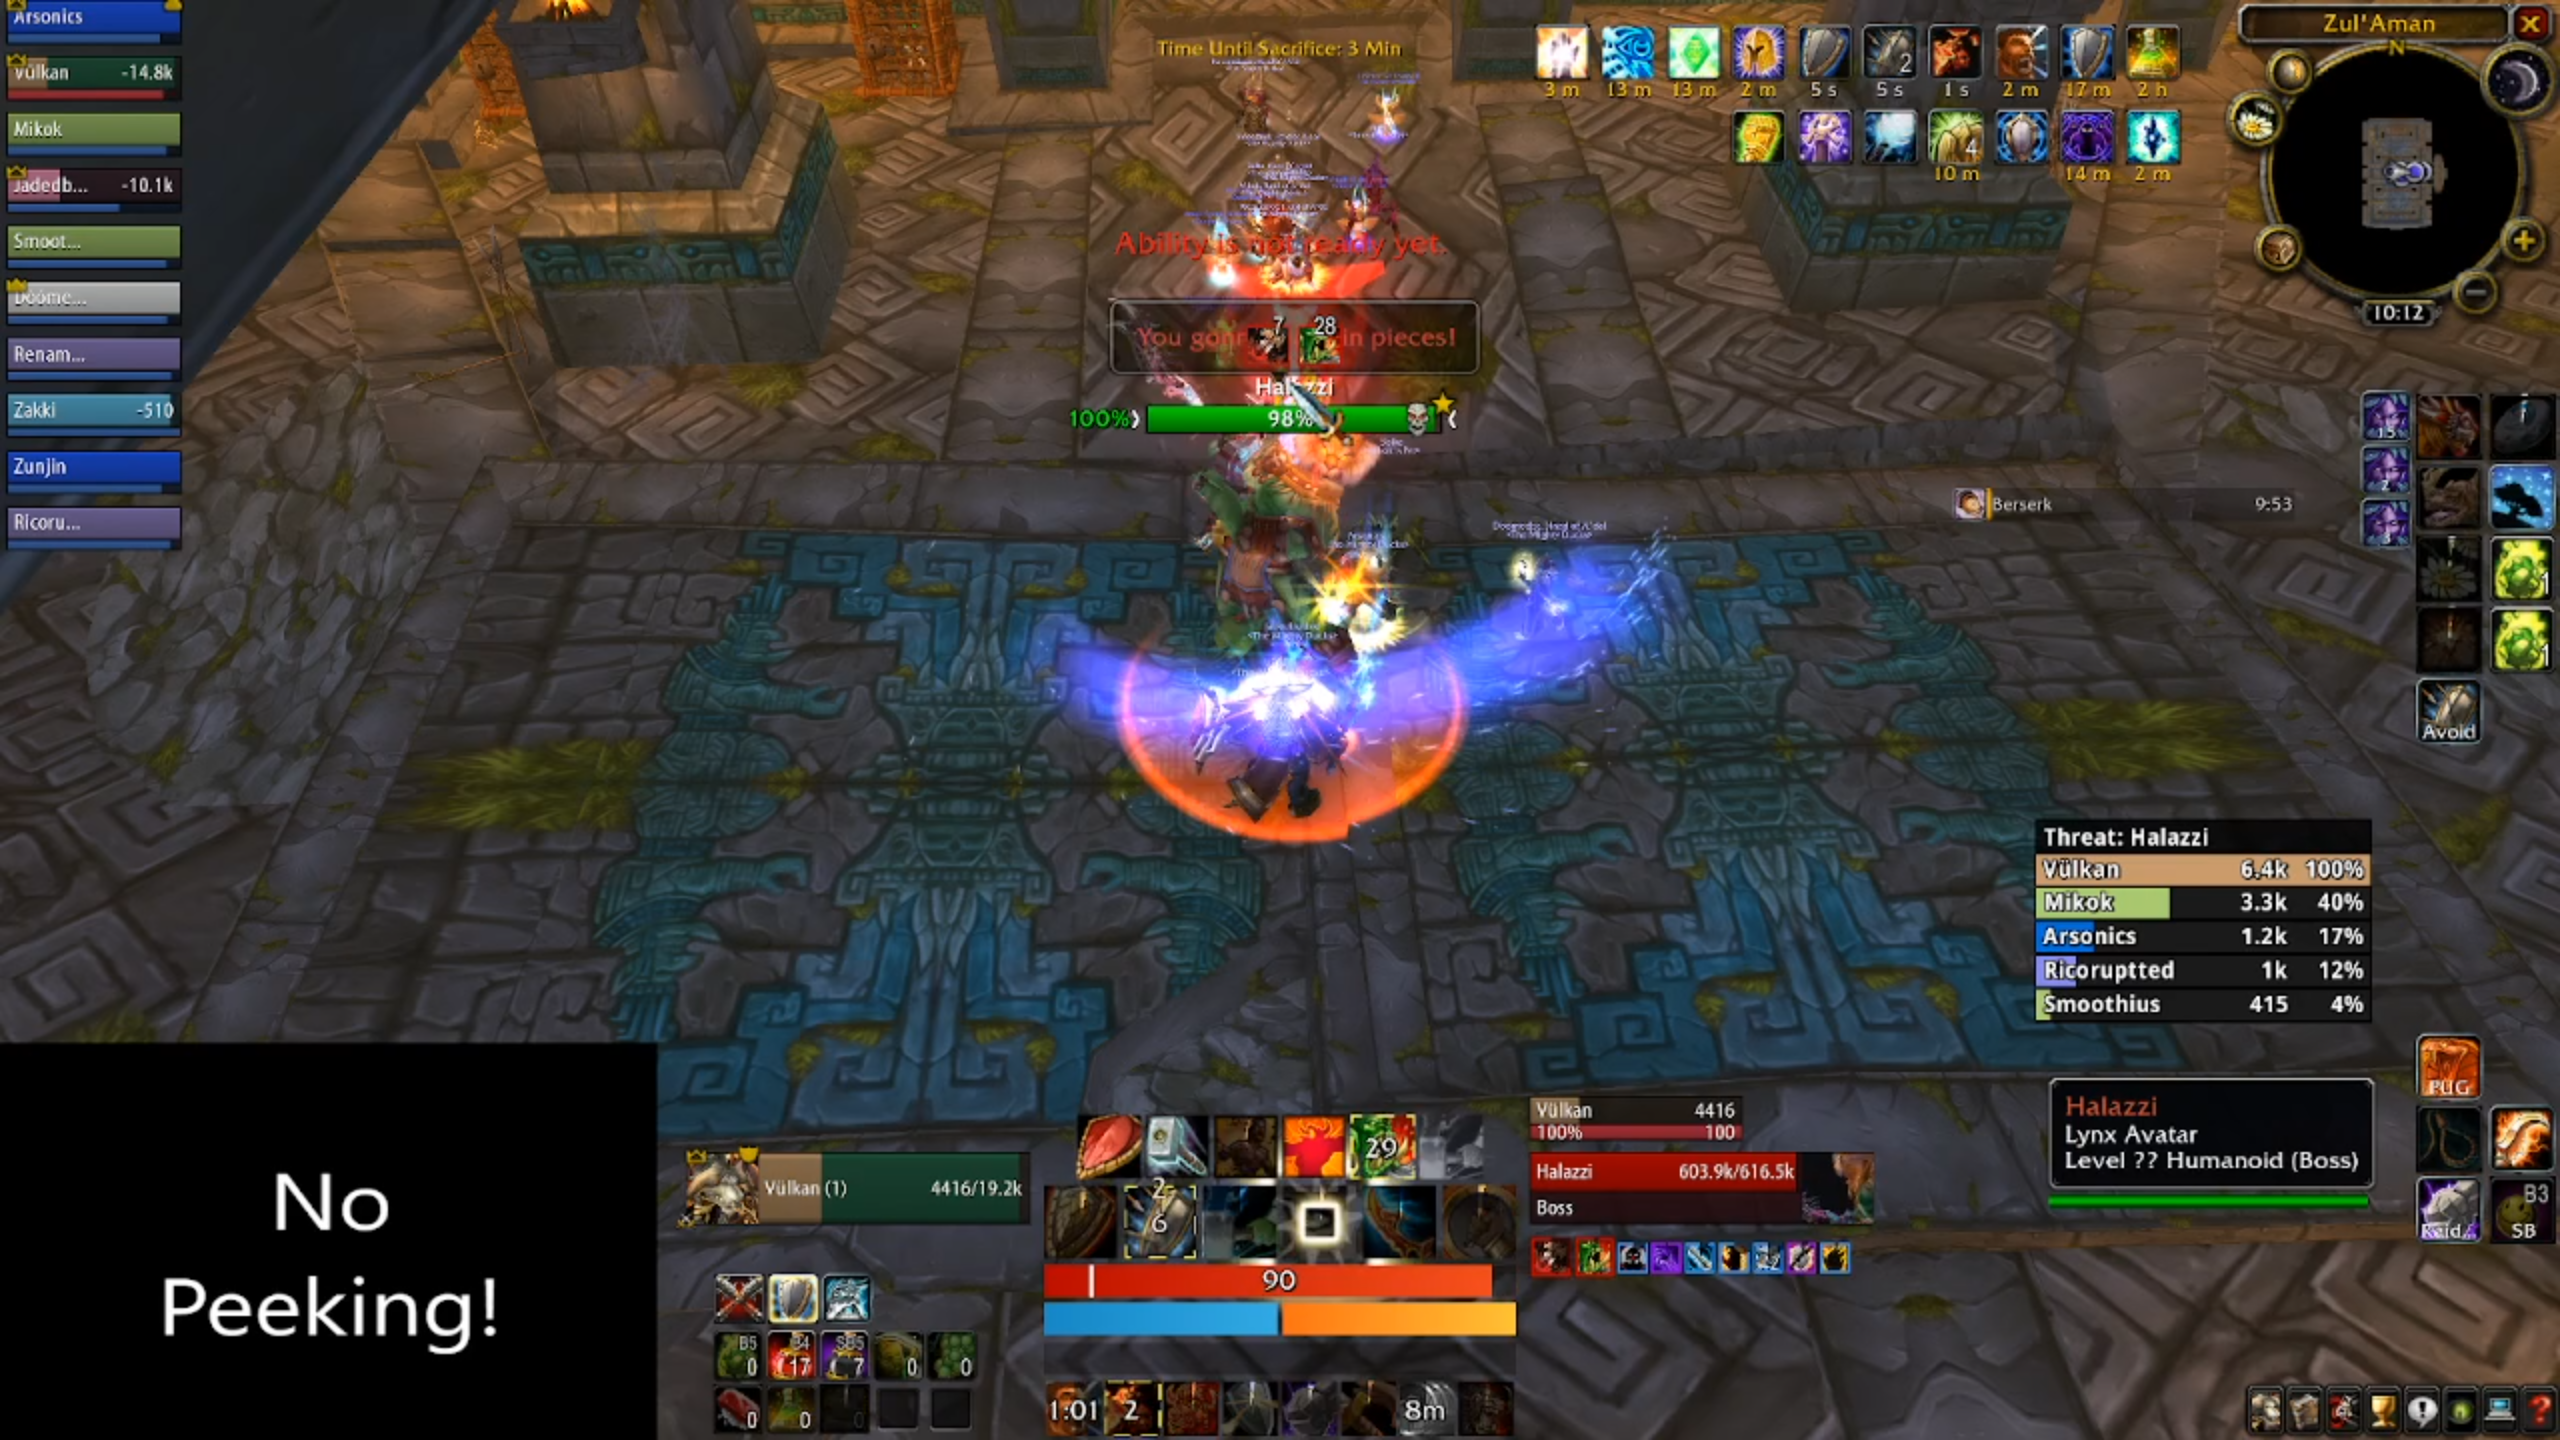
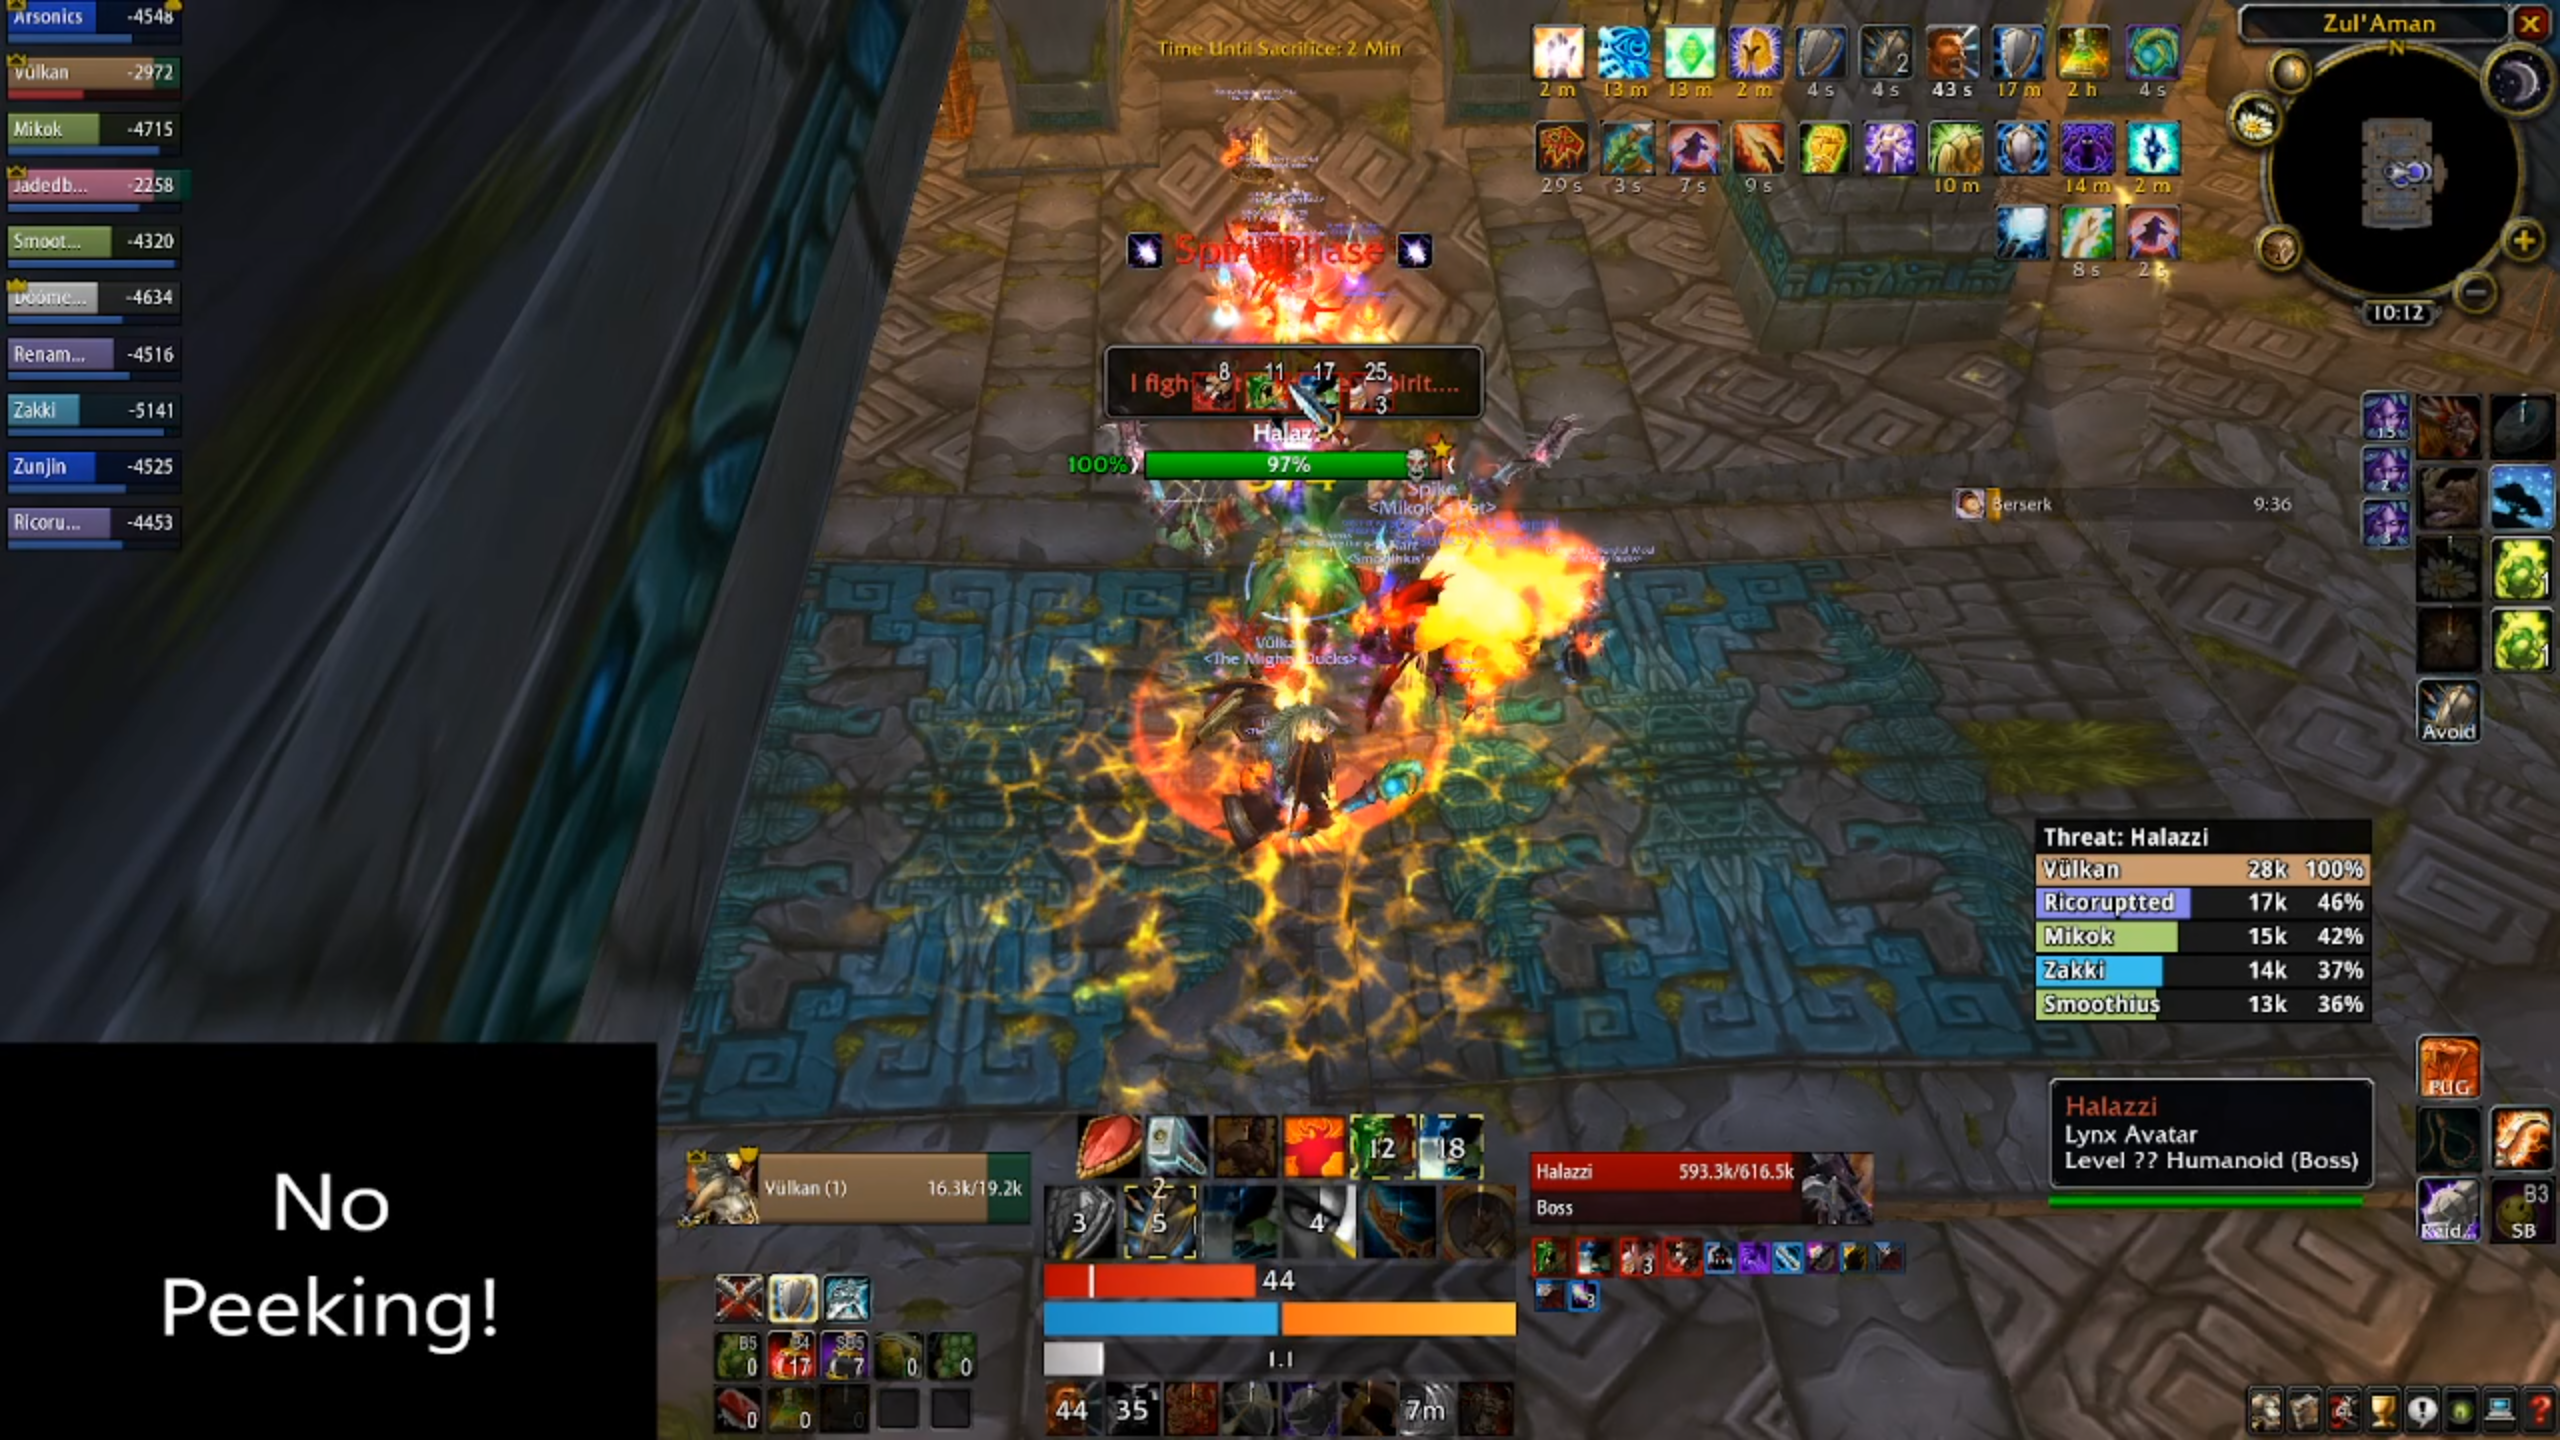
Boss Four - Halazzi
Halazzi is a tricky boss, that requires finesse from your tanks, strong healers and DPS that can effectively switch targets.
There are two ways to engage this boss. The traditional way engages Halazzi where he's standing and faces him away from the raid. The other involves all the ranged DPS and healers standing on the fountain at the north side of the room and pulling Halazzi into range.
However you choose to do it, it's recommended that your offtank has a ranged taunt or way to pull threat from range. This is because the boss will summon an add that needs to be tanked, but not killed. It's recommended you use a paladin for this, but a warrior with intercept can also work.
If you're engaging the boss in the conventional way, you'll want your ranged and healers to be more than 20 yards from the boss, as Halazzi is a shaman and will use Earth Shock on your casters, interrupting them and locking them out of their healing and damage spells. Do not recommend.
When you're ready and in position, it's bear time. (Maybe.)
Tactics
Halazzi is a two-phase encounter - the only problem is that the two phases are very similar. The boss' health moves up and down, so it can be difficult to determine how far into the fight you really are.
Much like Nalorakk, Halazzi has a frontal cleave which is reduced by mitigation and split amongst players. The difference is that under no circumstances should one player try and handle Halazzi's frontal cleave alone. Unless you're a properly geared (and I mean "access to phase three best in slot gear" geared) tank, you will die, and it won't be close.
Halazzi will also enrage and hit your tank a bit harder. If your raid has a hunter (and it probably should) they can use tranquilising shot to nullify this effect. Otherwise, provided your main tank is up to the task, it can be tanked and healed through.
At 75%, 50% and 25%, Halazzi will transition into phase 2. As part of this transition, he will "heal" himself to full. In actual fact, his total health changes to 75%, 50%, and 25% of his maximum health pool. This can sometimes make the encounter appear to take longer, or convince you that you're closer to the end of the fight than you really are.
When Halazzi transitions to his second form, he will deal a chunk of damage to the raid (approximately 4500 damage before resistances). He will then summon a spirit of the lynx which will need to be immediately picked up and tanked by the off-tank.
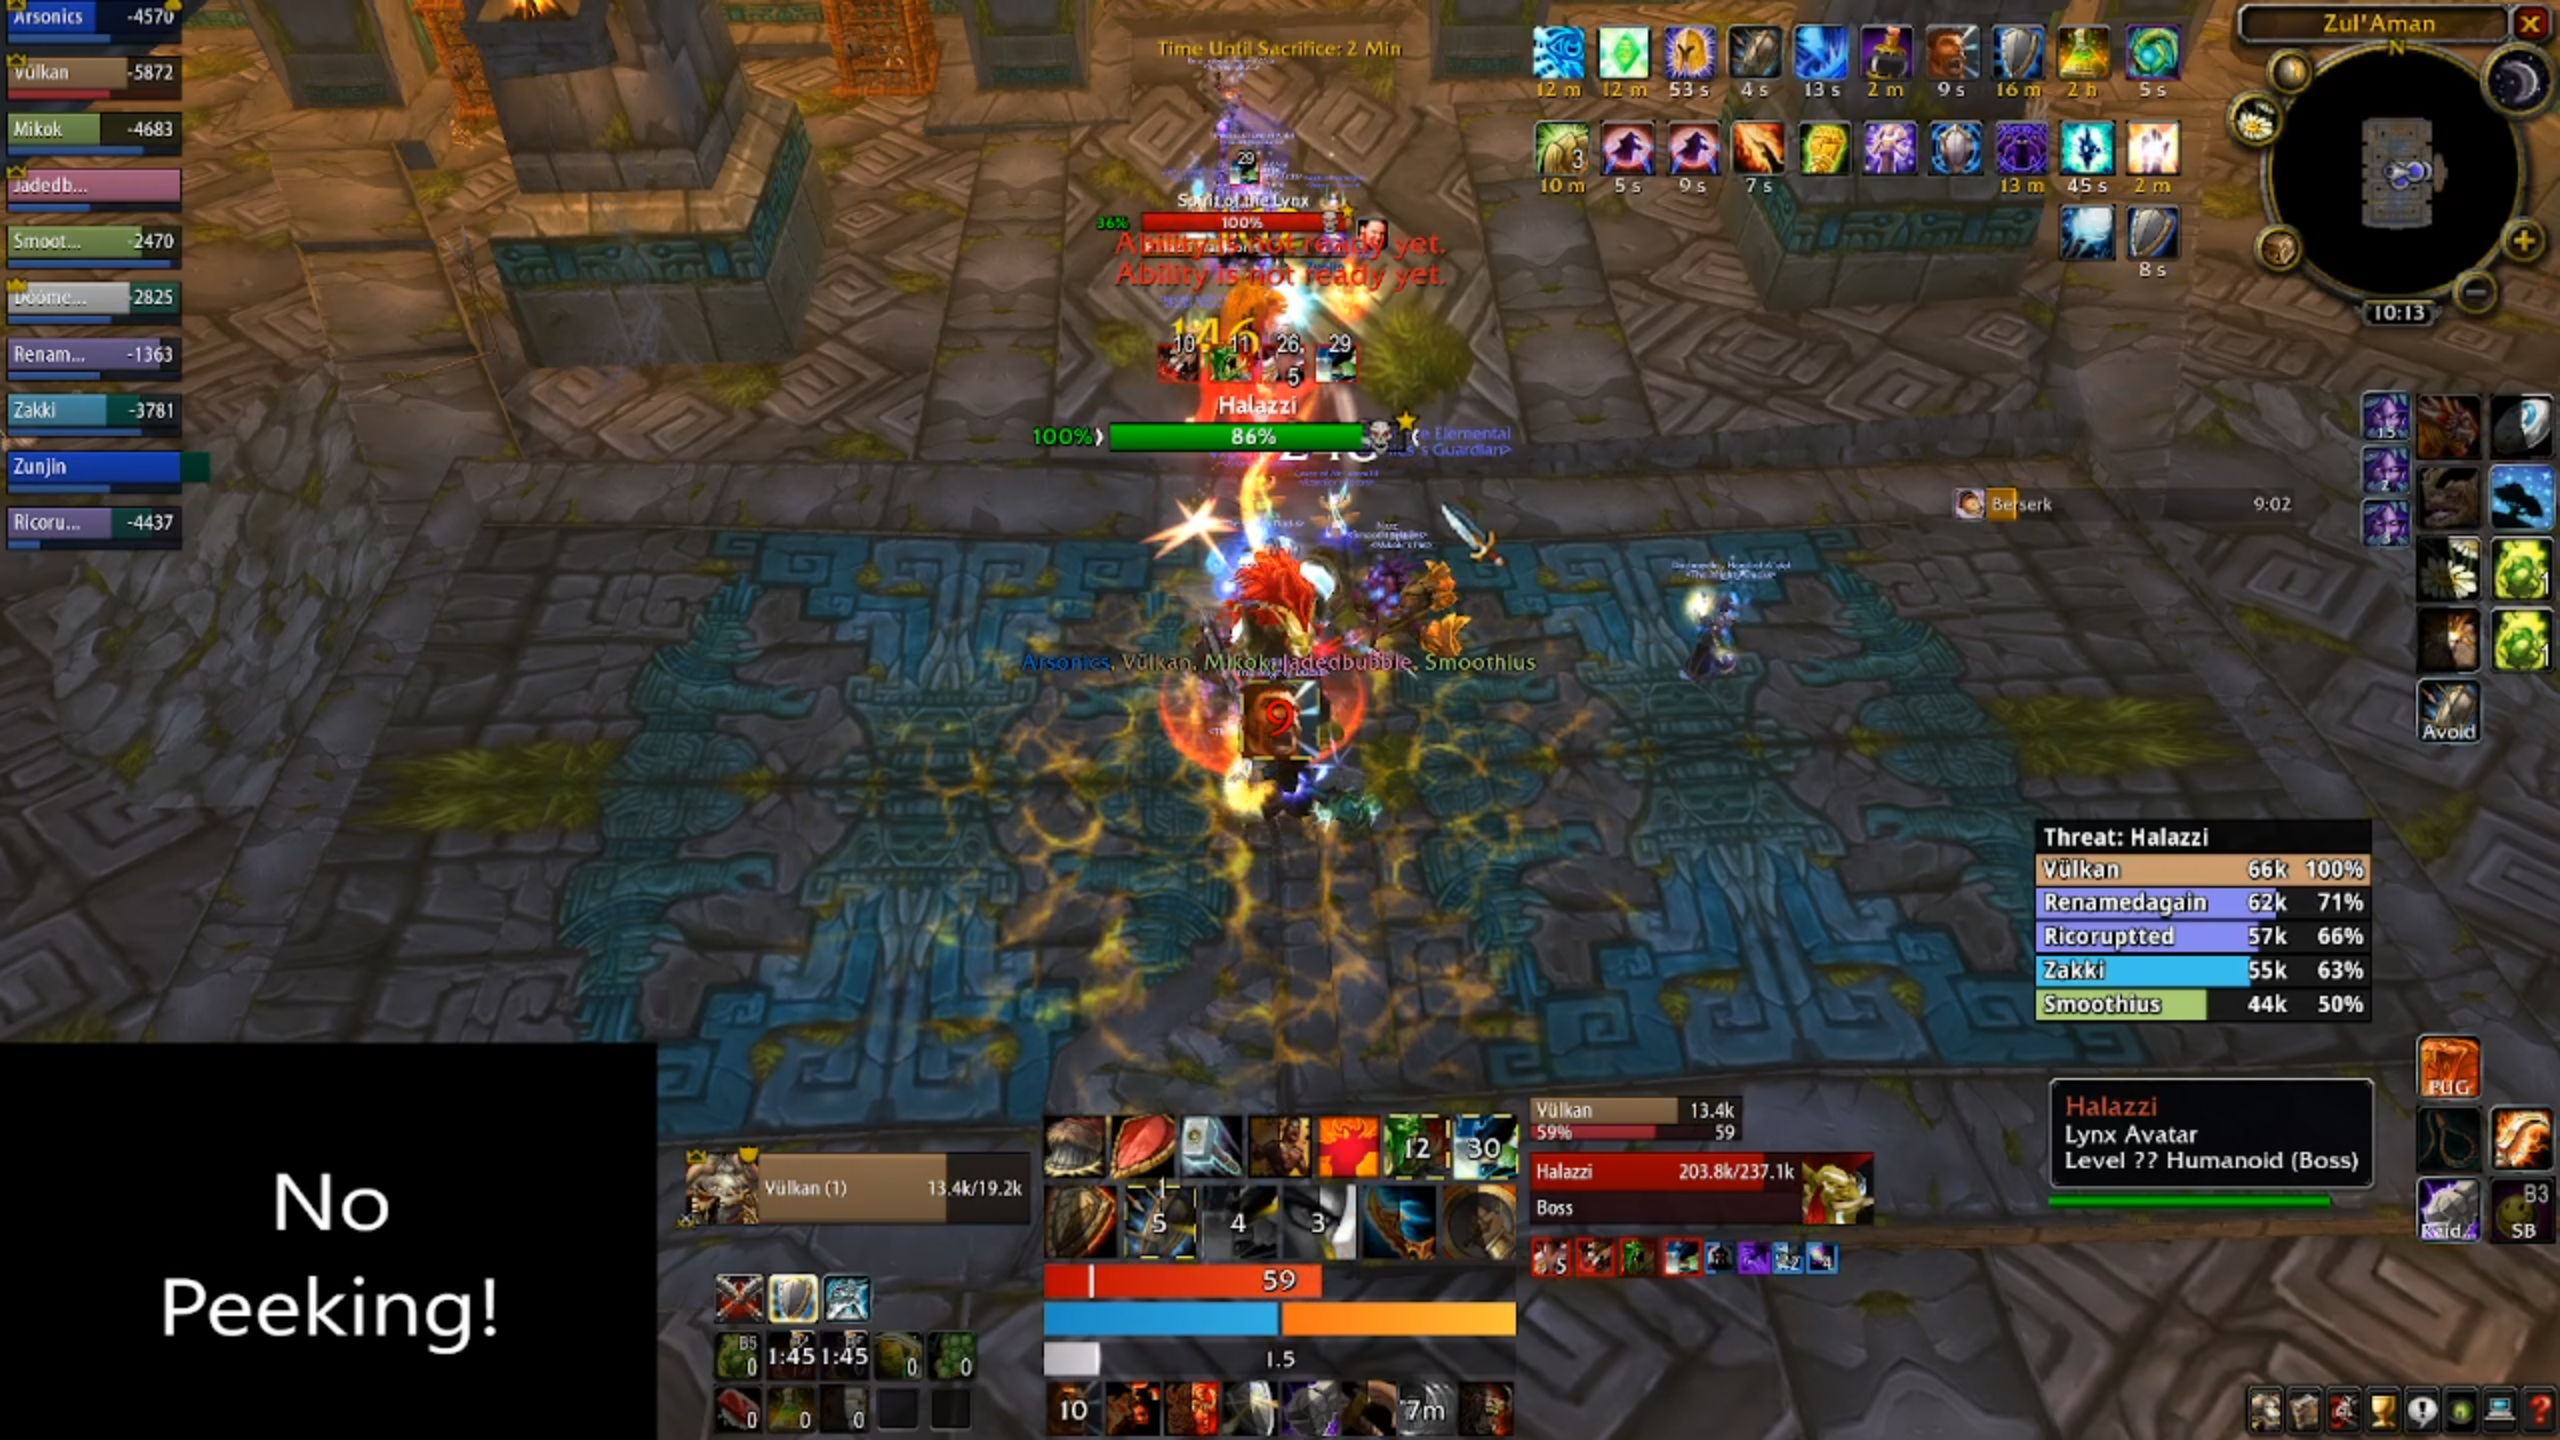
In this phase, Halazzi no longer has a frontal cleave, so your off-tank should feel free to chase the spirit down to pick it up. Don't take too long getting back, however, as you run the risk of Halazzi transitioning into phase 1 and then killing your main tank with another frontal cleave before you can get there.
The boss will also cast Flame Shock on players which will need to be dispelled, and will place a lightning totem near him. No prizes for guessing what you need to do with that. Kill it quickly, make sure it doesn't cast more than once.
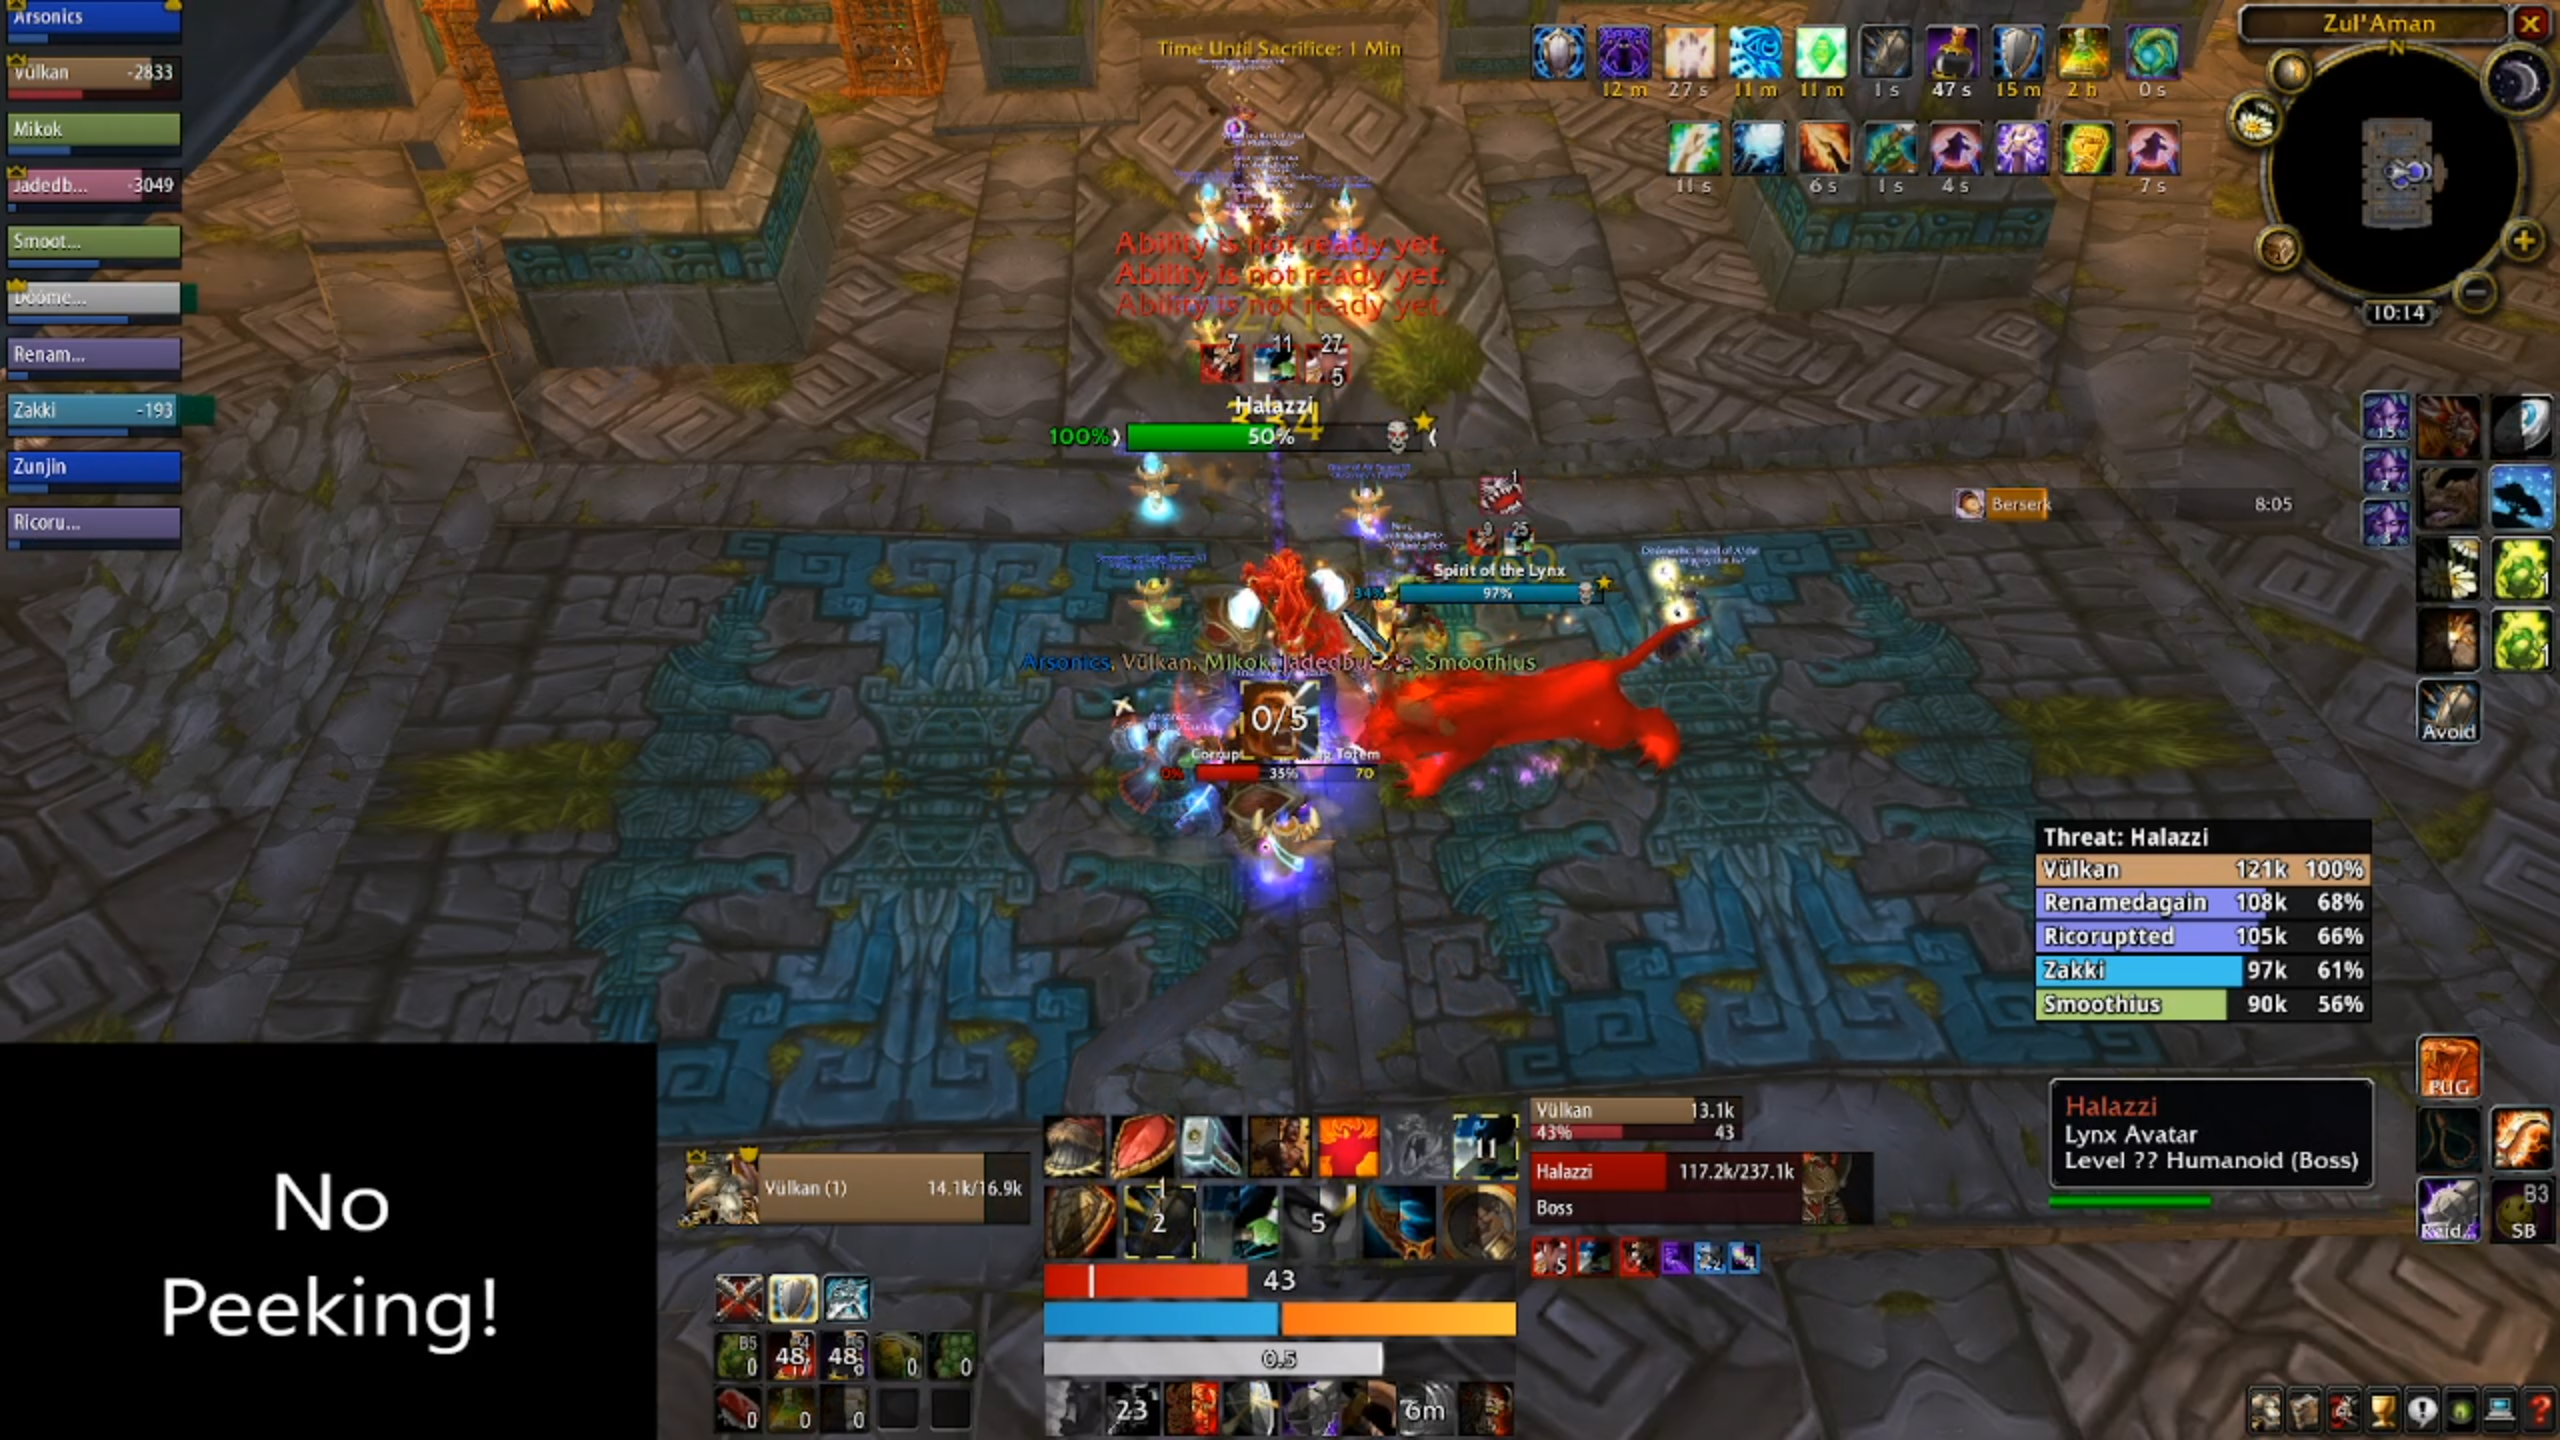
When Halazzi reaches 20% health whilst in phase 2, he will move back to phase 1, and his health will be set at the threshold you brought him to when you triggered phase 2. So if he was at 75% before the transition, he goes back to 75% when phase 1 starts again. Confused yet?
After another 25%, the boss' health then gets set to 50%, then phase 2 starts again. It is shorter this time, because Halazzi's max health is set to 50% of his original health pool. Then again at 25%.
In the final part of phase 1 (i.e, 25% to 0%), Halazzi will also place a lightning totem in addition to a frontal cleave and a frenzy. If you've gotten this far without having your tanks insta-gibbed and your healers haven't been eaten by the lynx spirit, this won't tip the balance in favor of the boss, and you'll have cleared the timed run.
Well done! If you were quick enough, you'll get an Amani War Bear. If you weren't, you'll get an idea of what you need to do differently or what mistakes to correct in order to get your bear next time. Zul'aman wasn't built in a day.
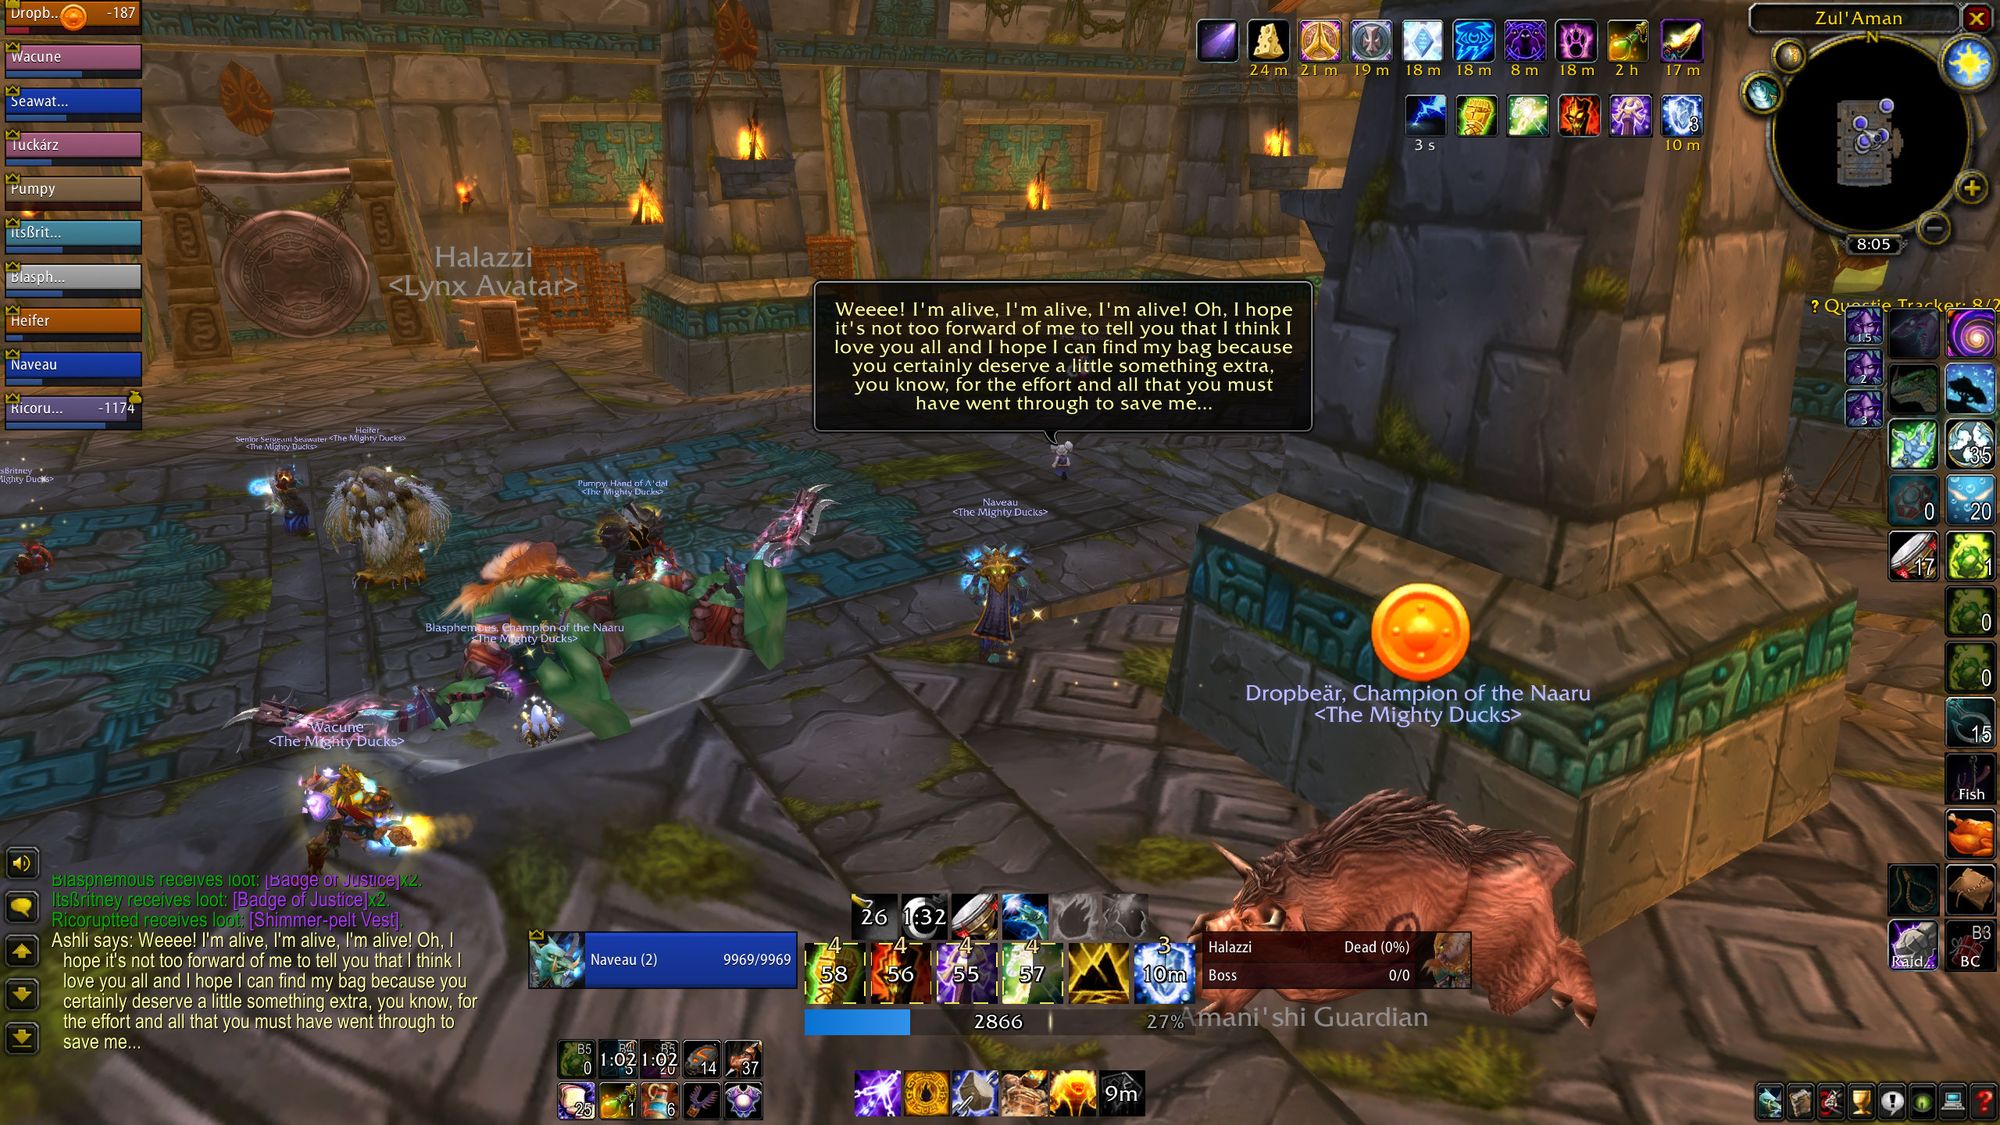
(It was cleared in an hour, though.)
With Halazzi dealt with, the door on the opposite side of the temple opens and gives you a shortcut back to the ramp area leading up to boss five. Make sure to use the huts to skip the trash, in the same way as when you were heading toward Halazzi. At this point you'll need to kill the patrol to open up the middle area.
Now that the time pressure is off, you should head down to the middle of the instance - there's a whole bunch of frog critters that are actually hexxed NPCs. Using an Amani Hex Stick on a frog will turn the frog into a person.
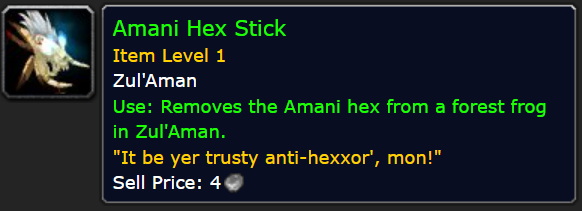
(Editor's Note: If you die, any Amani Hex Sticks in your possession are destroyed. So, try not to die.)
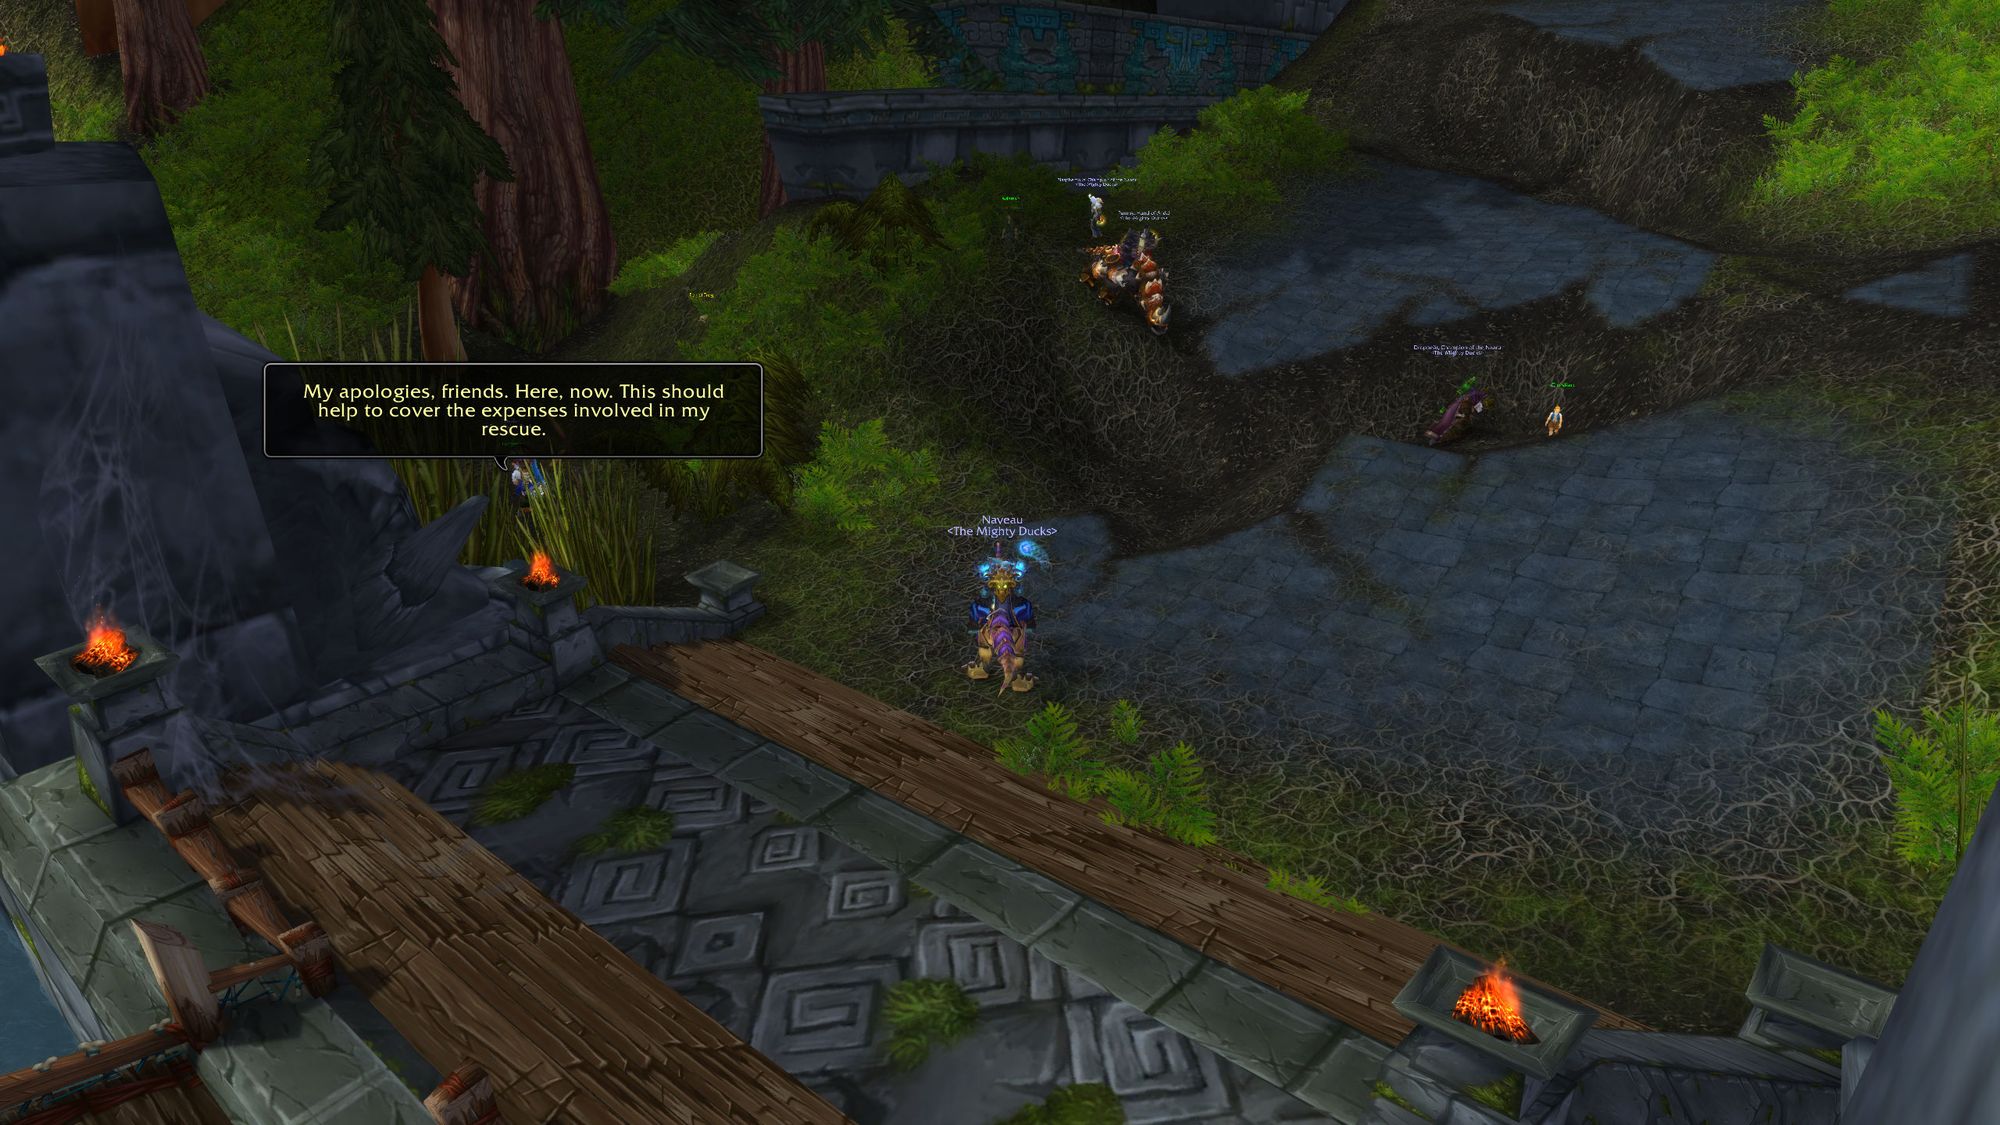
They'll give out gold, scrolls, buff food and in a rare case, Mojo the frog critter.
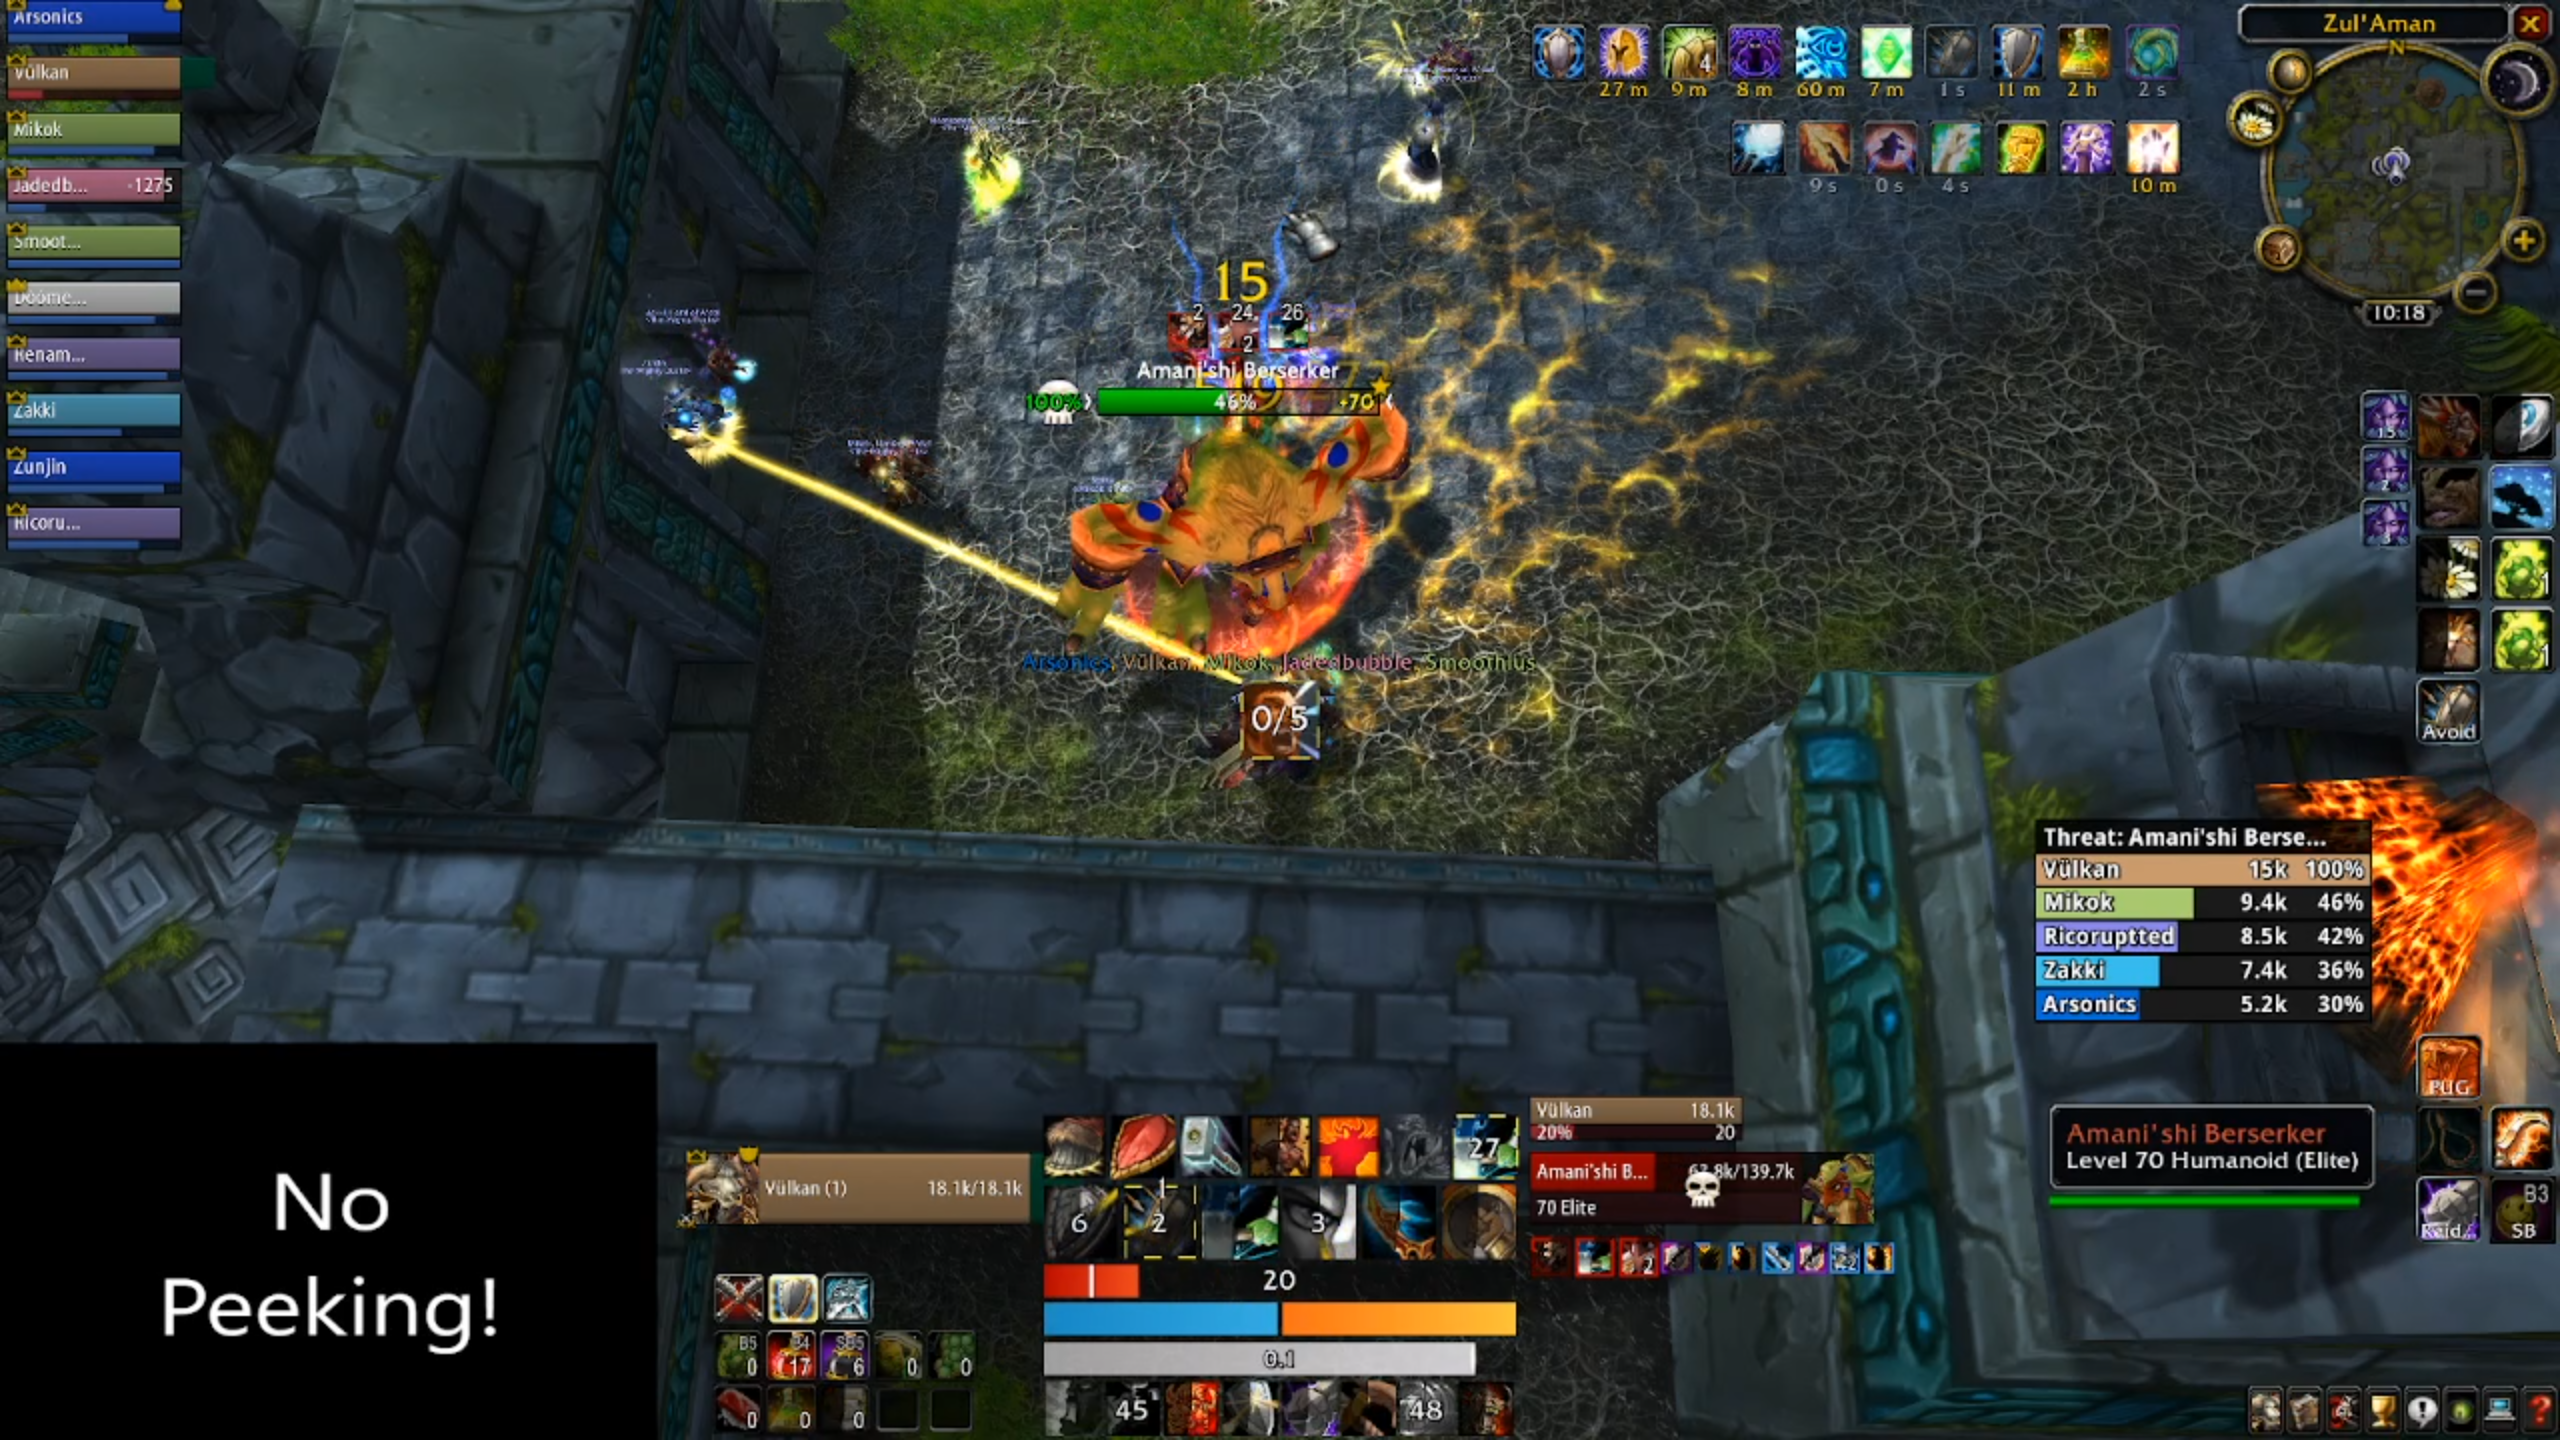
When you're done, head back up the ramp. You'll have to deal with two Amani Berserkers. They deal heavy damage and hand out a hefty knockback, so you will want to tank them up against a wall.
From there, you'll have to deal with your last group of four trolls inside the next boss' room. You'll deal with a flame caster, a medicine man, a tempest, and a handler. To deal with this pack, you'll want to use line of sight to pull them out of the room and down the stairs. It's also recommended to crowd control at least one of the mobs to make the overall damage load lower.
Next, you'll deal with two more Berserkers. Deal with them in the same way as before (up against a wall, no more than one per tank) and before you know it, you'll be at boss five.
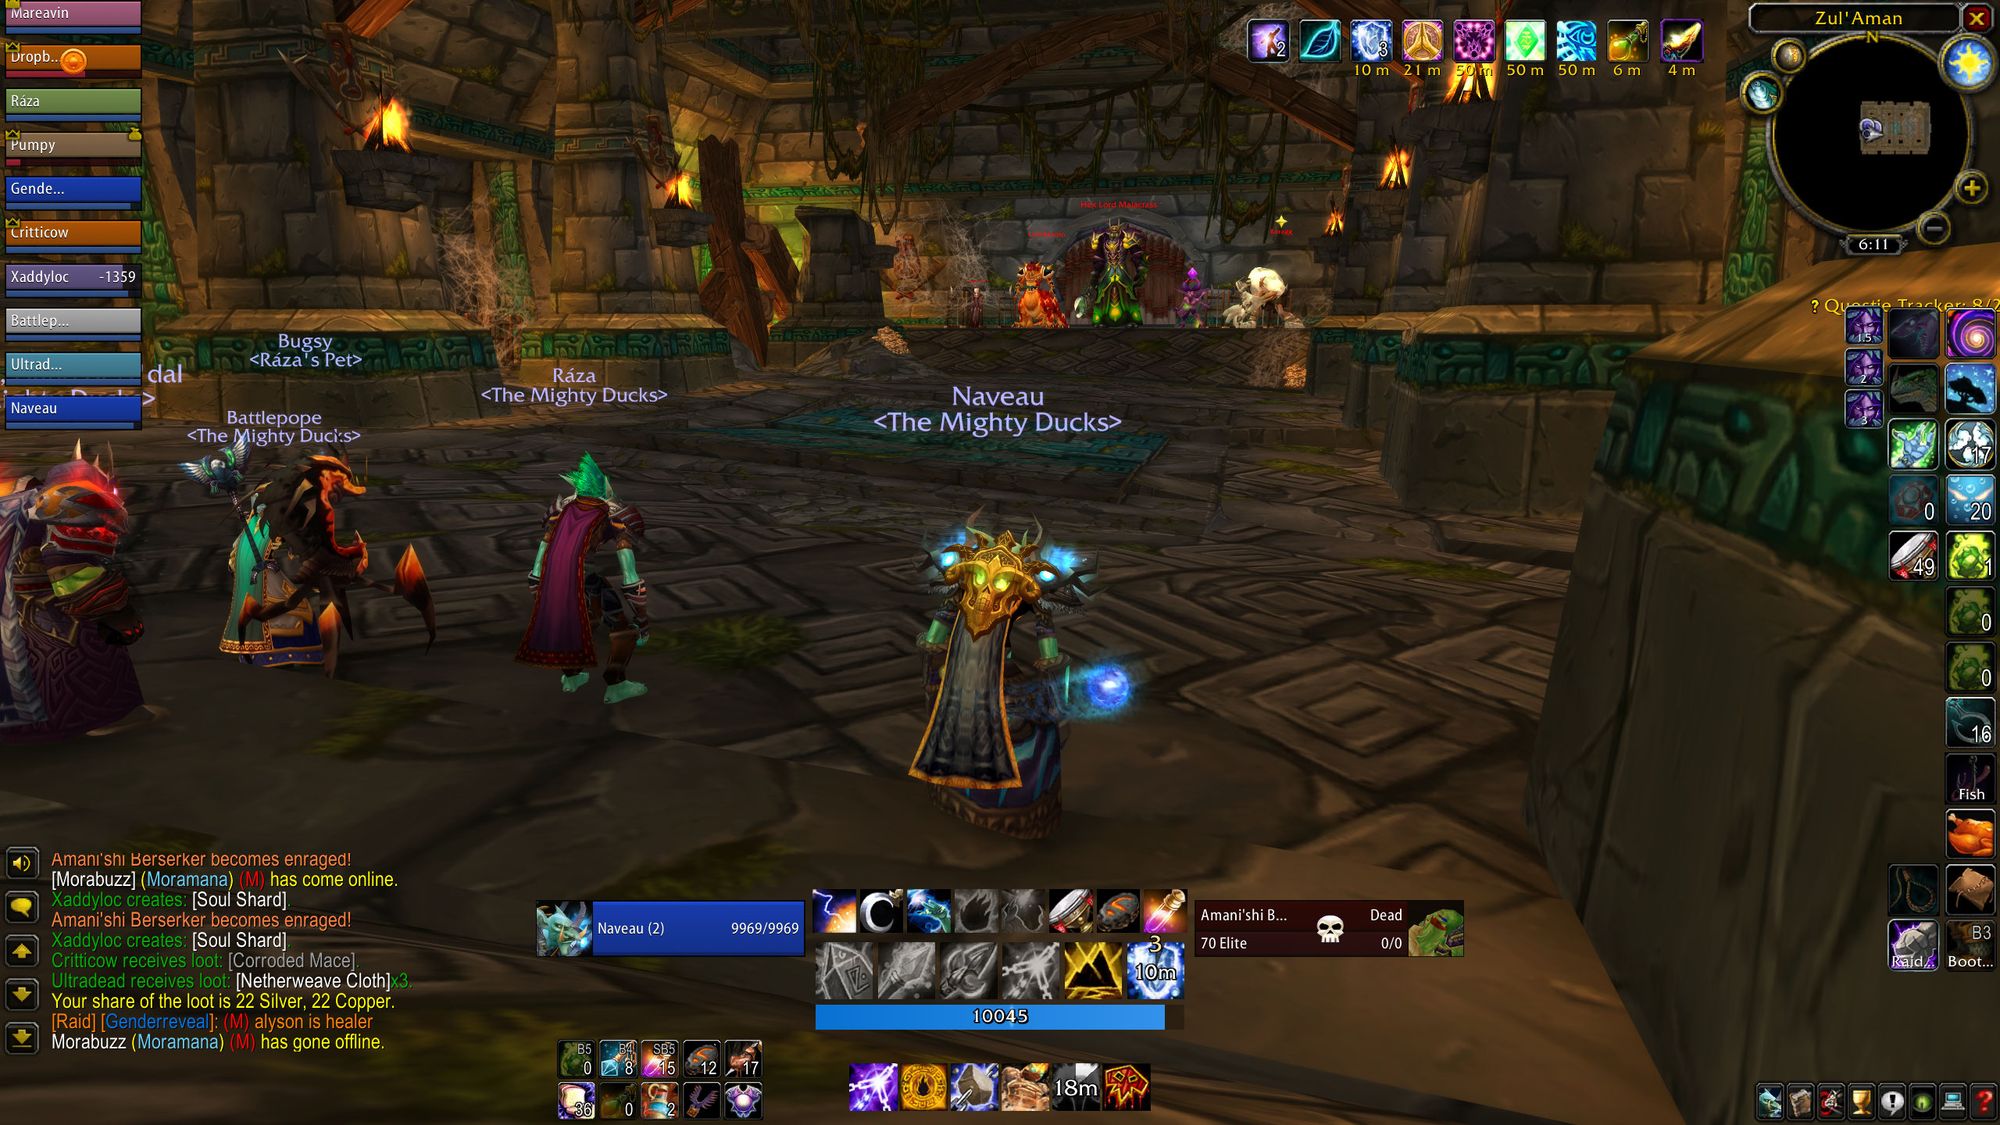
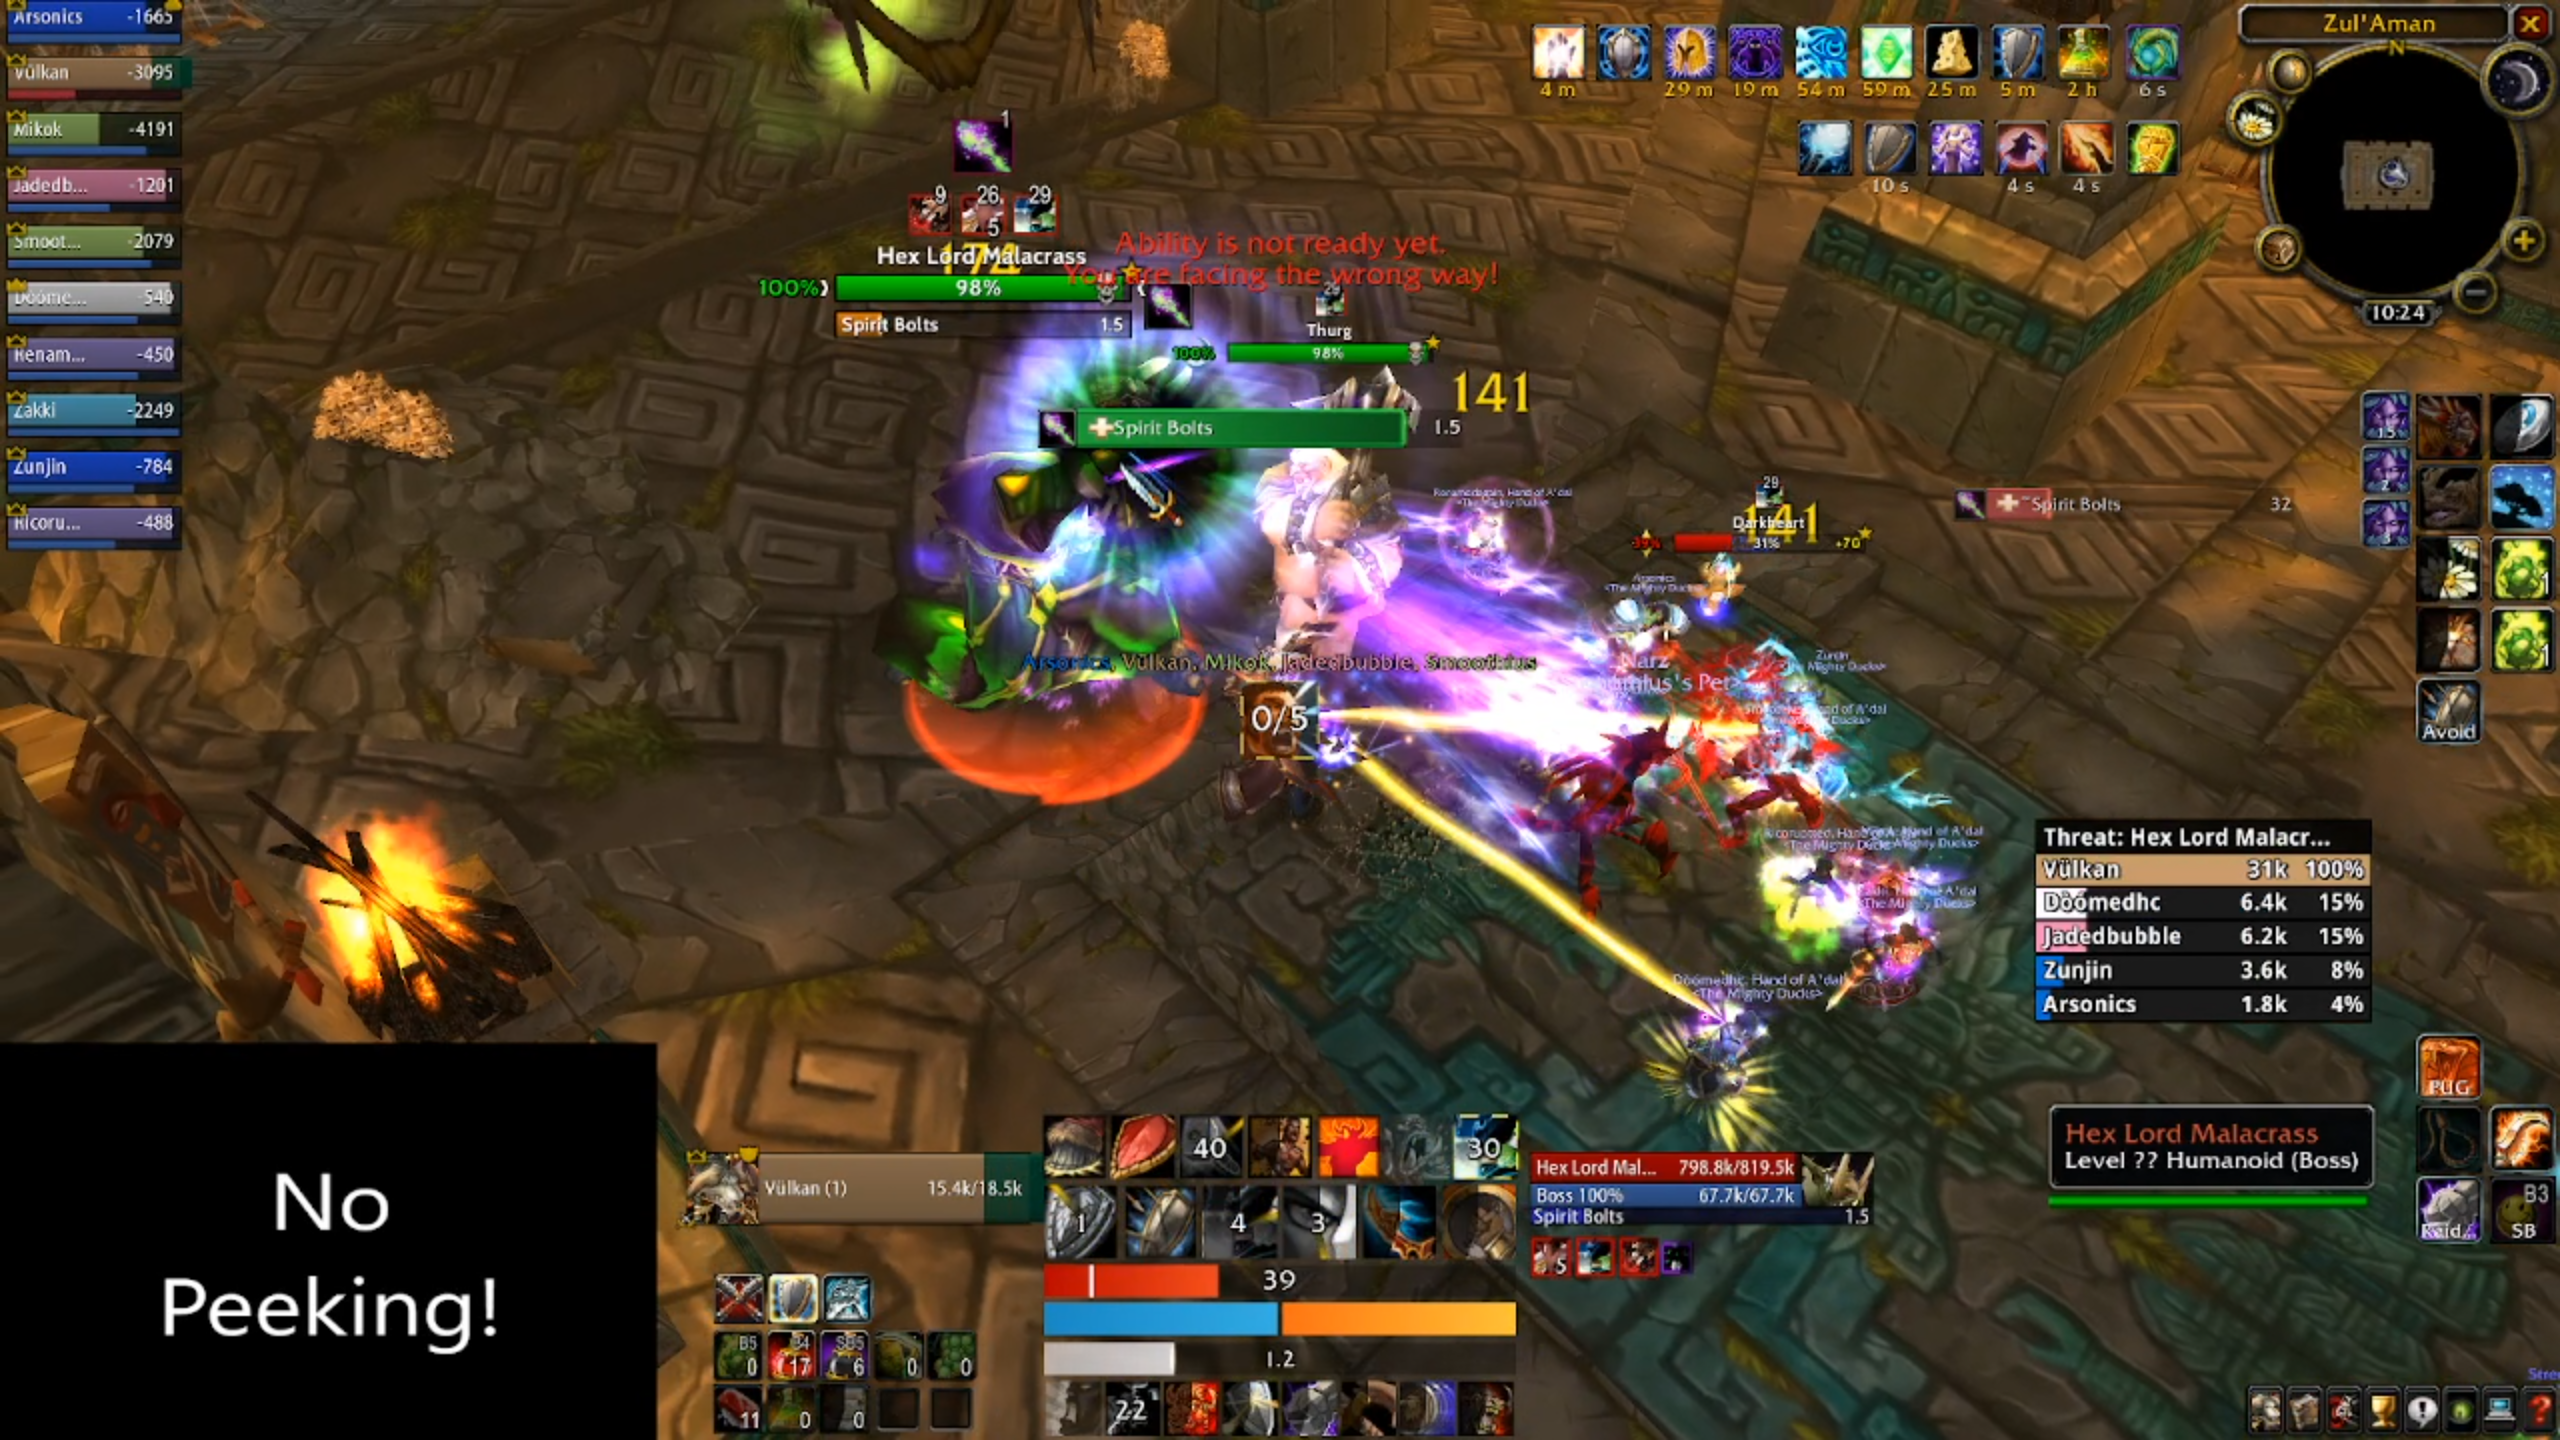
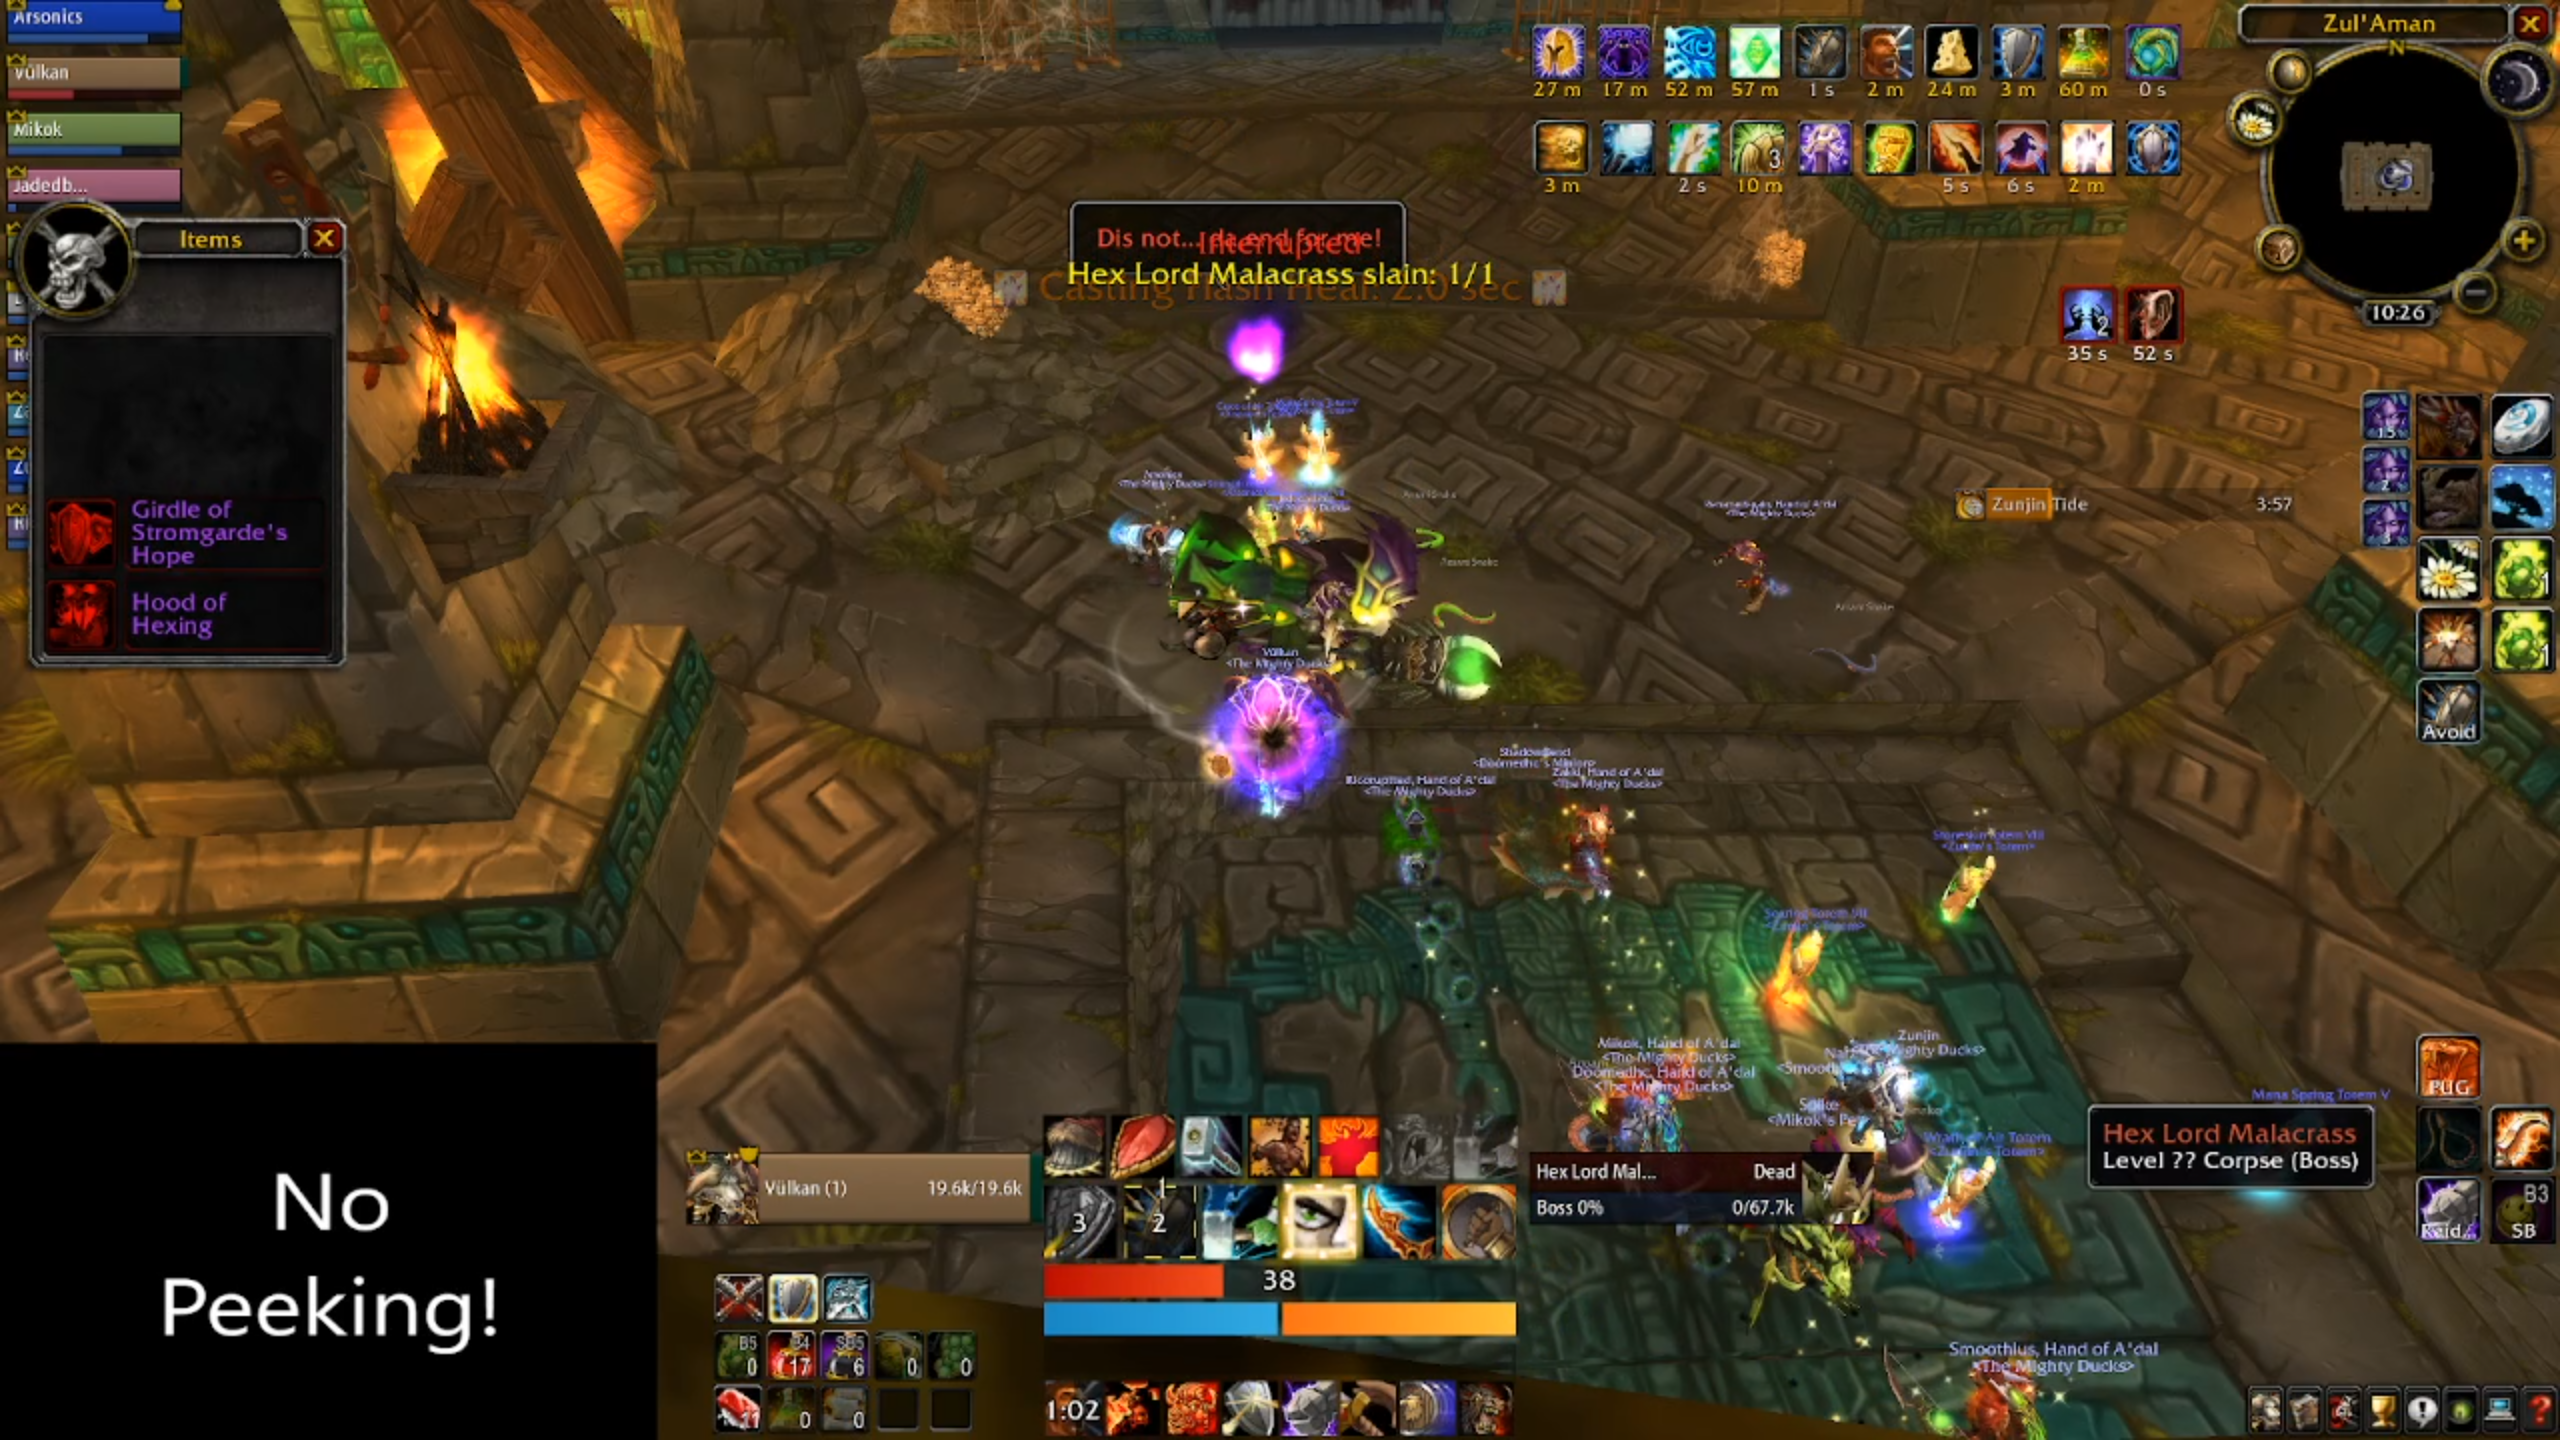
Boss Five - Hex Lord Malacrass
Hex Lord Malacrass can be a straight up brick wall for some compositions, regardless of the quality of the raid's gear. It can be argued that in fact, this encounter is the hardest in the instance.
Our large troll (not) friend comes with four additional adds. These can rotate around a bit depending on the lockout, from a menu of eight. Each one has additional abilities that vary in difficulty.
For a full list, see here.
The cliff's notes is that regardless of the abilities of these four adds, depending on the raid, you will either want to use crowd control, or group them up on the tank and blow them away with AoE damage. It's worth mentioning that one of the adds, Alyson Antille, is a healer, and so will need to be interrupted if you're going to try the "zug zug" approach.
Each of the adds responds to a different kind of crowd control, so I can guarantee that at least one of the adds can be locked down whilst you work on the rest. The key part is to not ignore them. Kill them or lock them down.
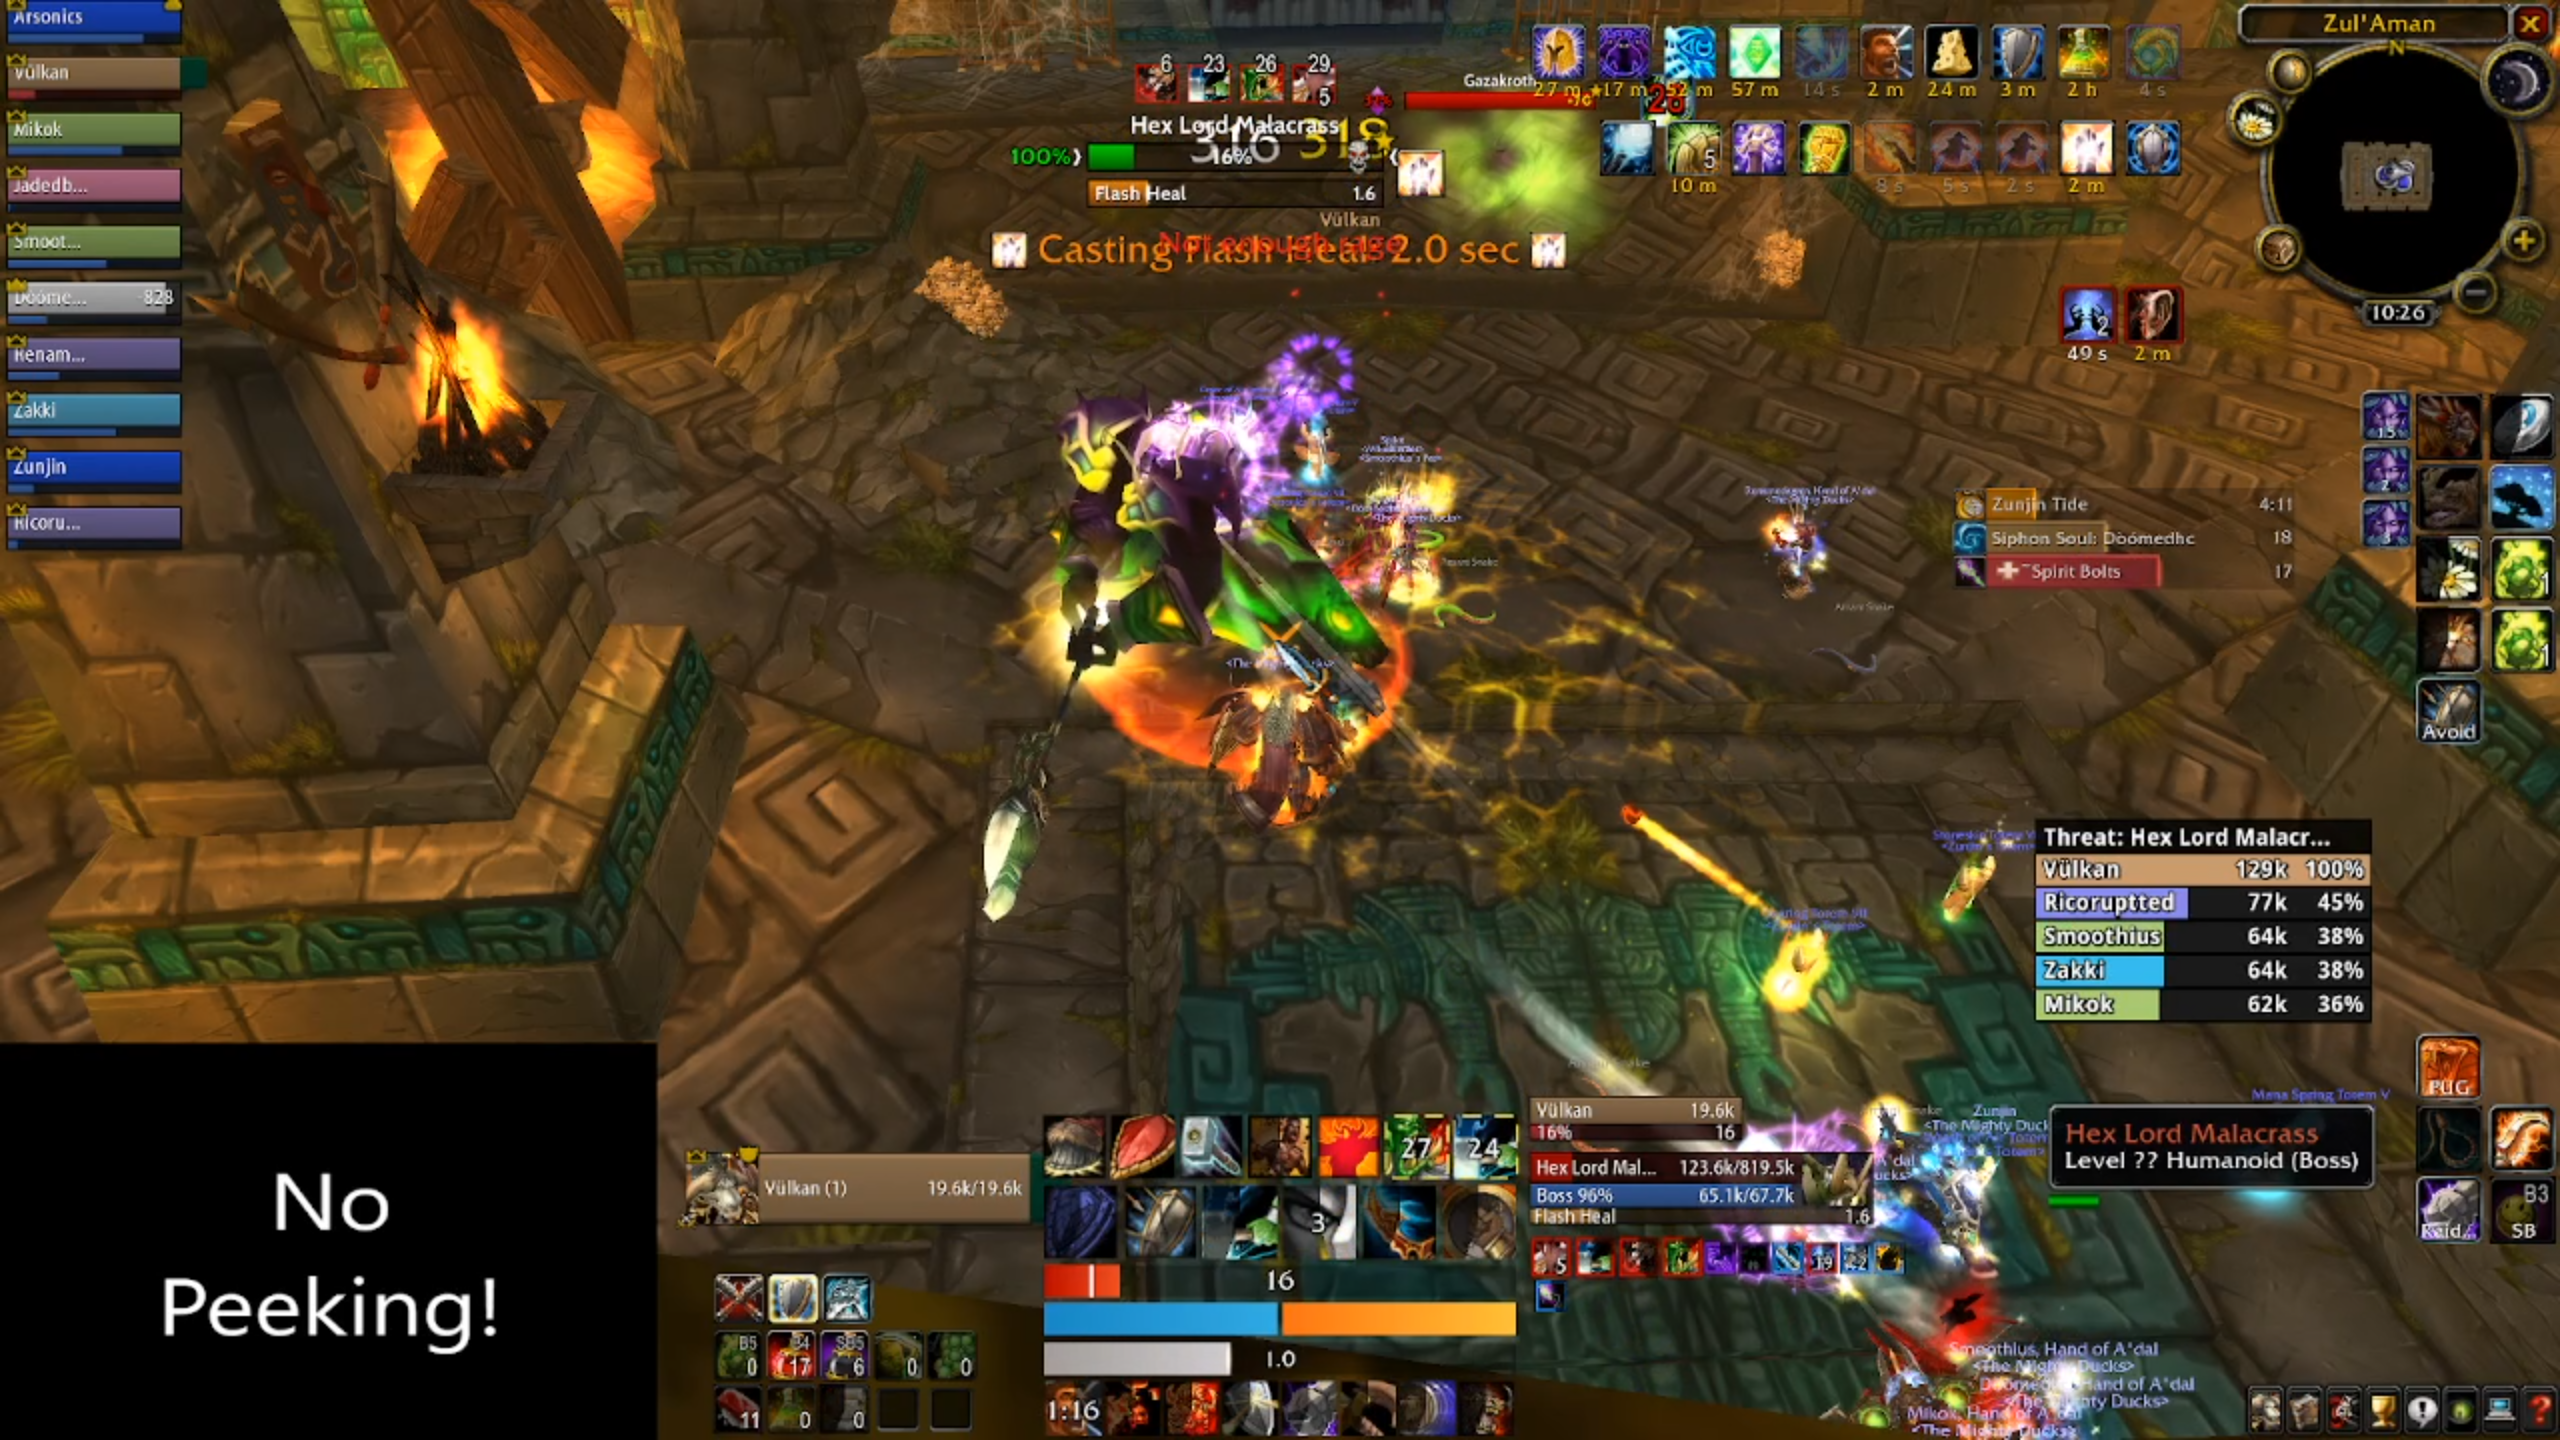
Outside of that, Hex Lord Malacrass will cast an AoE ability that deals damage every .5 of a second, causing spell pushback, so concentration aura from a paladin will help out a lot, and raiders should use health potions and healthstones (if available) to assist healers, as they're going to have a meltdown in this encounter.
It can also help to designate a stack point for the ranged and healers to take full advantage of AoE healing. Knowing what I do now about the configuration of TBC healing teams, if you don't have at least one holy priest or restoration shaman, you'll need to pick one of your casters to put on some healing gear and assist. If you don't have that, you could also try shadow protection potions, or coming back next lockout.
Once everyone's buffed and consumed, it's time to hassle the Hex Lord.
Tactics
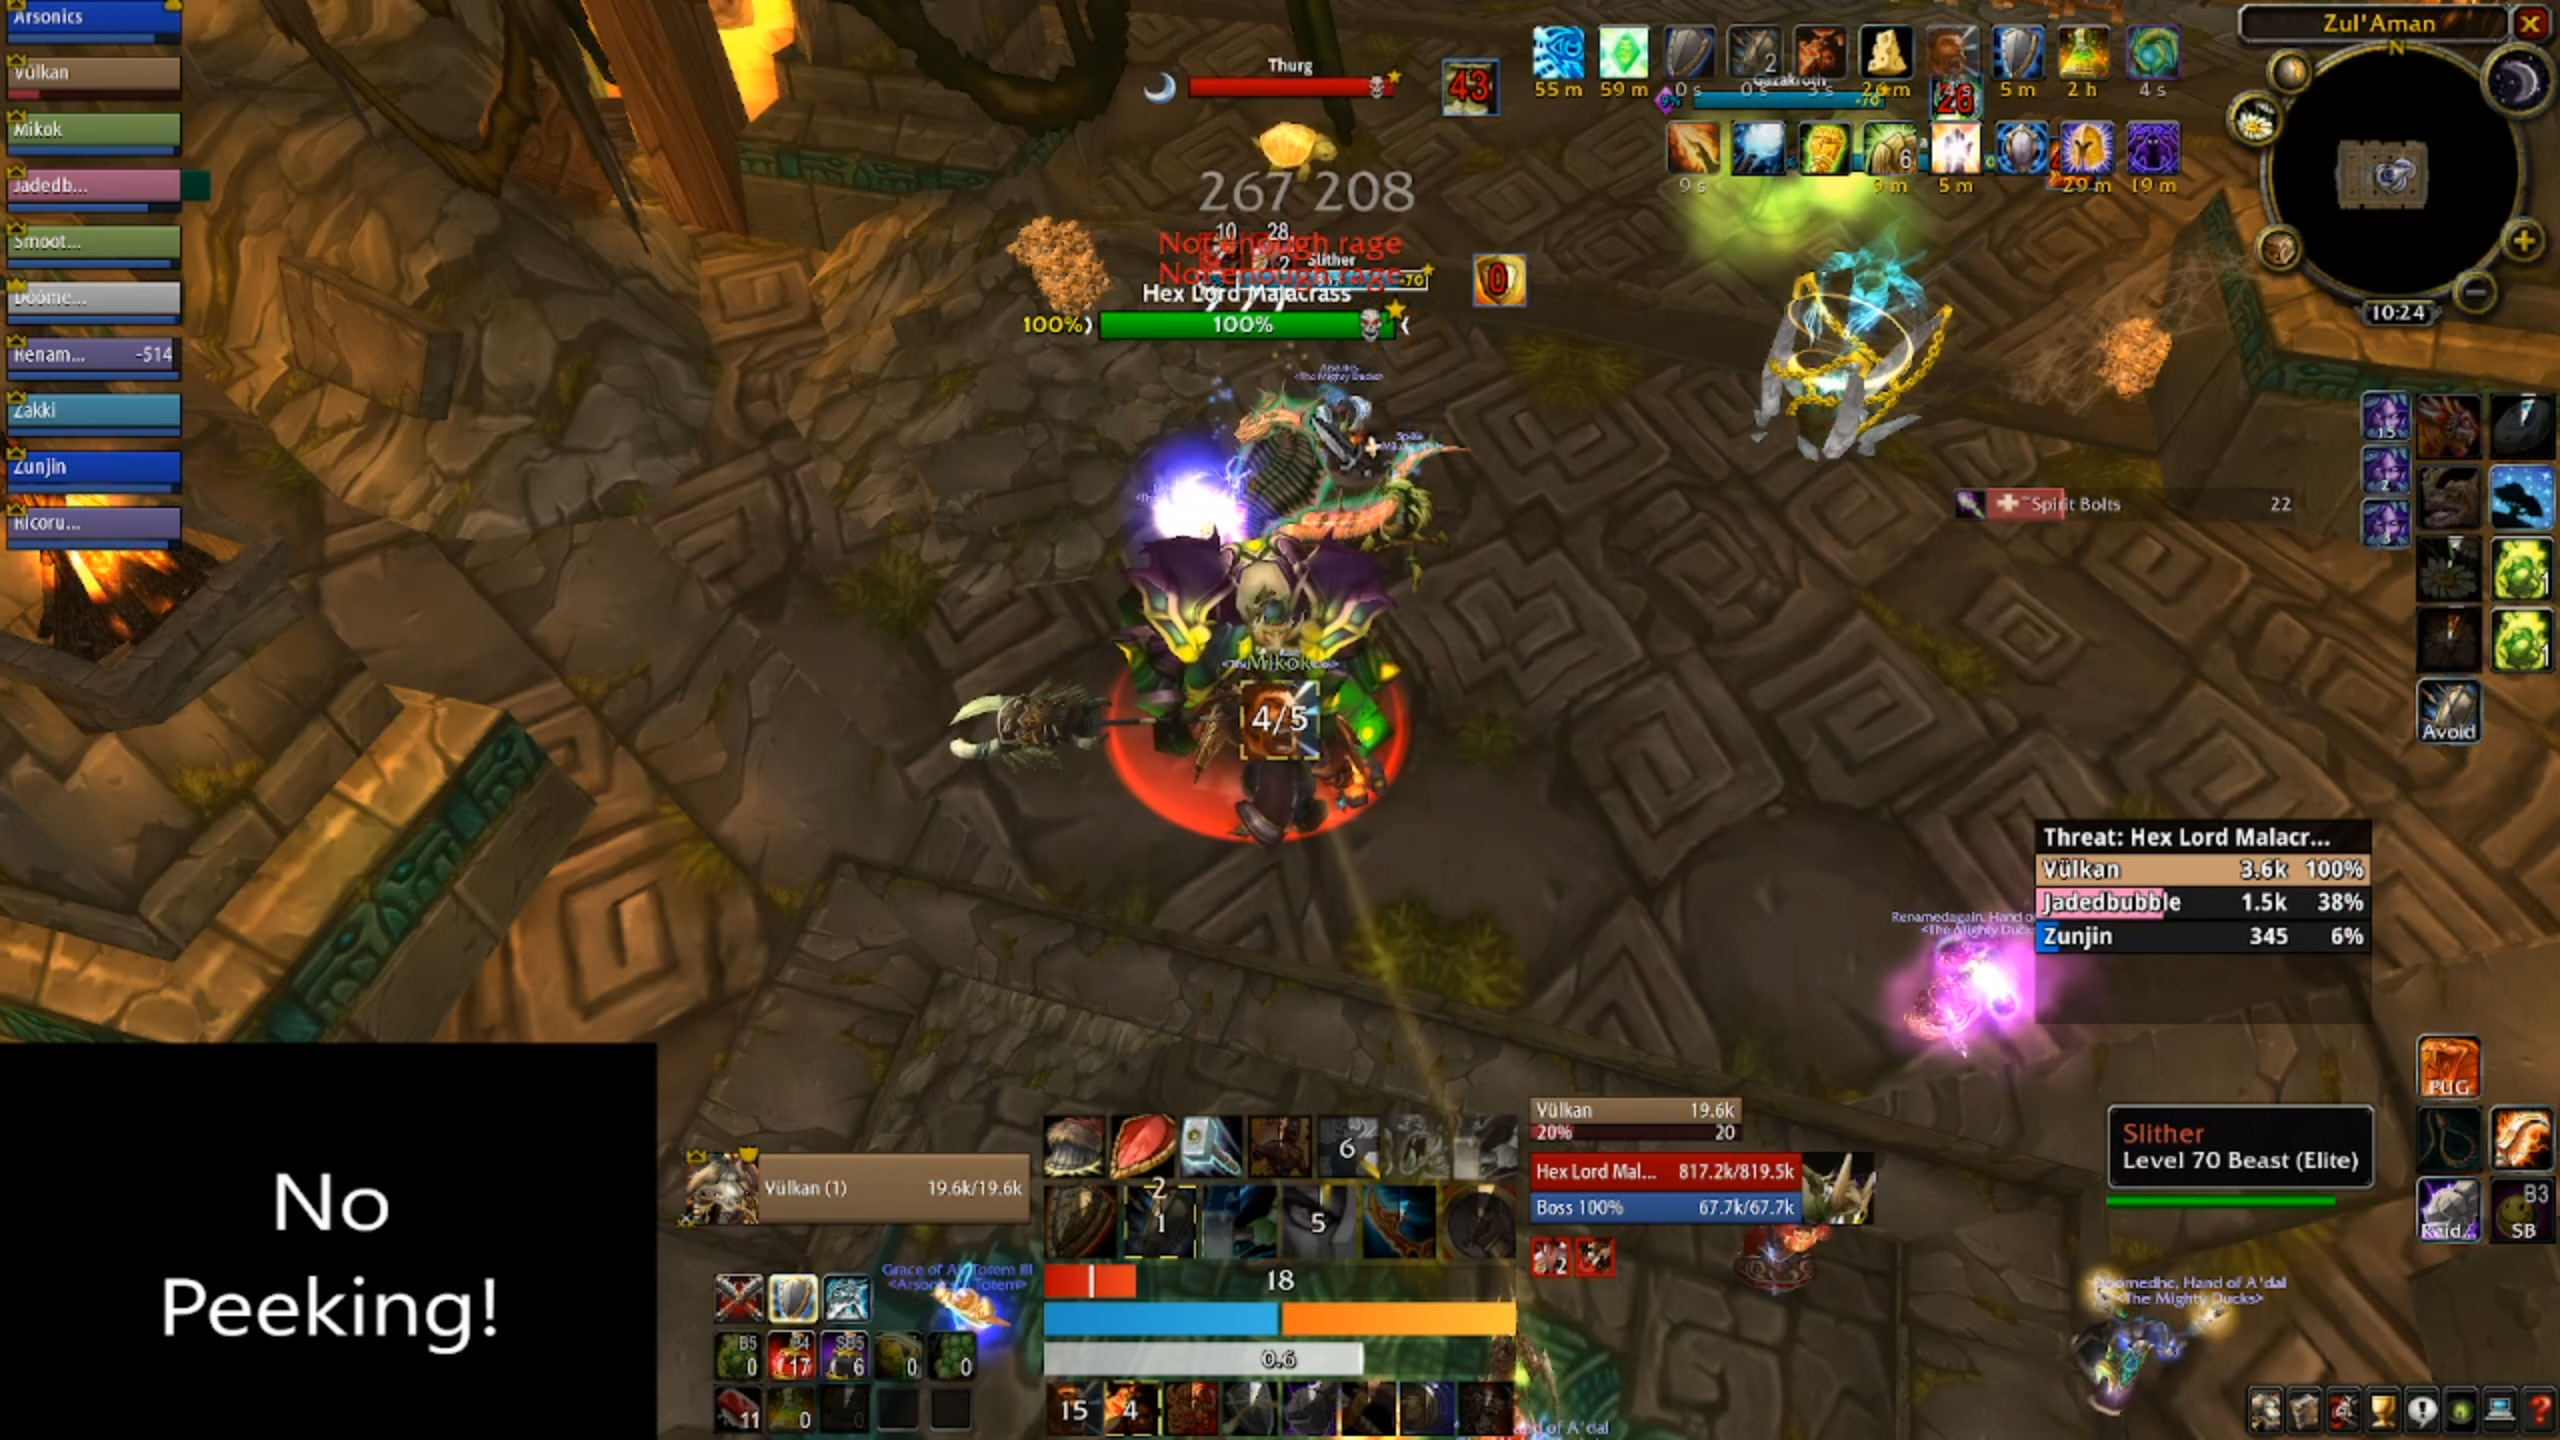
Hex Lord has two main abilities. The first, Spirit Bolts, is the major healing check for the raid. The first cast is 30 seconds into the fight and every 40 seconds thereafter. Spirit Bolts deals 9000 damage over 10 seconds to every raid member, so players without sufficient gear or buffs to survive the damage will die without healing.
The good news is the damage is affected by resistance. If you have a paladin or priest who can use shadow protection, and a druid who can apply mark of the wild, that'll give you 95 - 105 resistance to help reduce some of the damage. Even with this, though, it's a frankly insane amount of damage to heal, and so exepect your healers to be right on the edge for the entire fight.
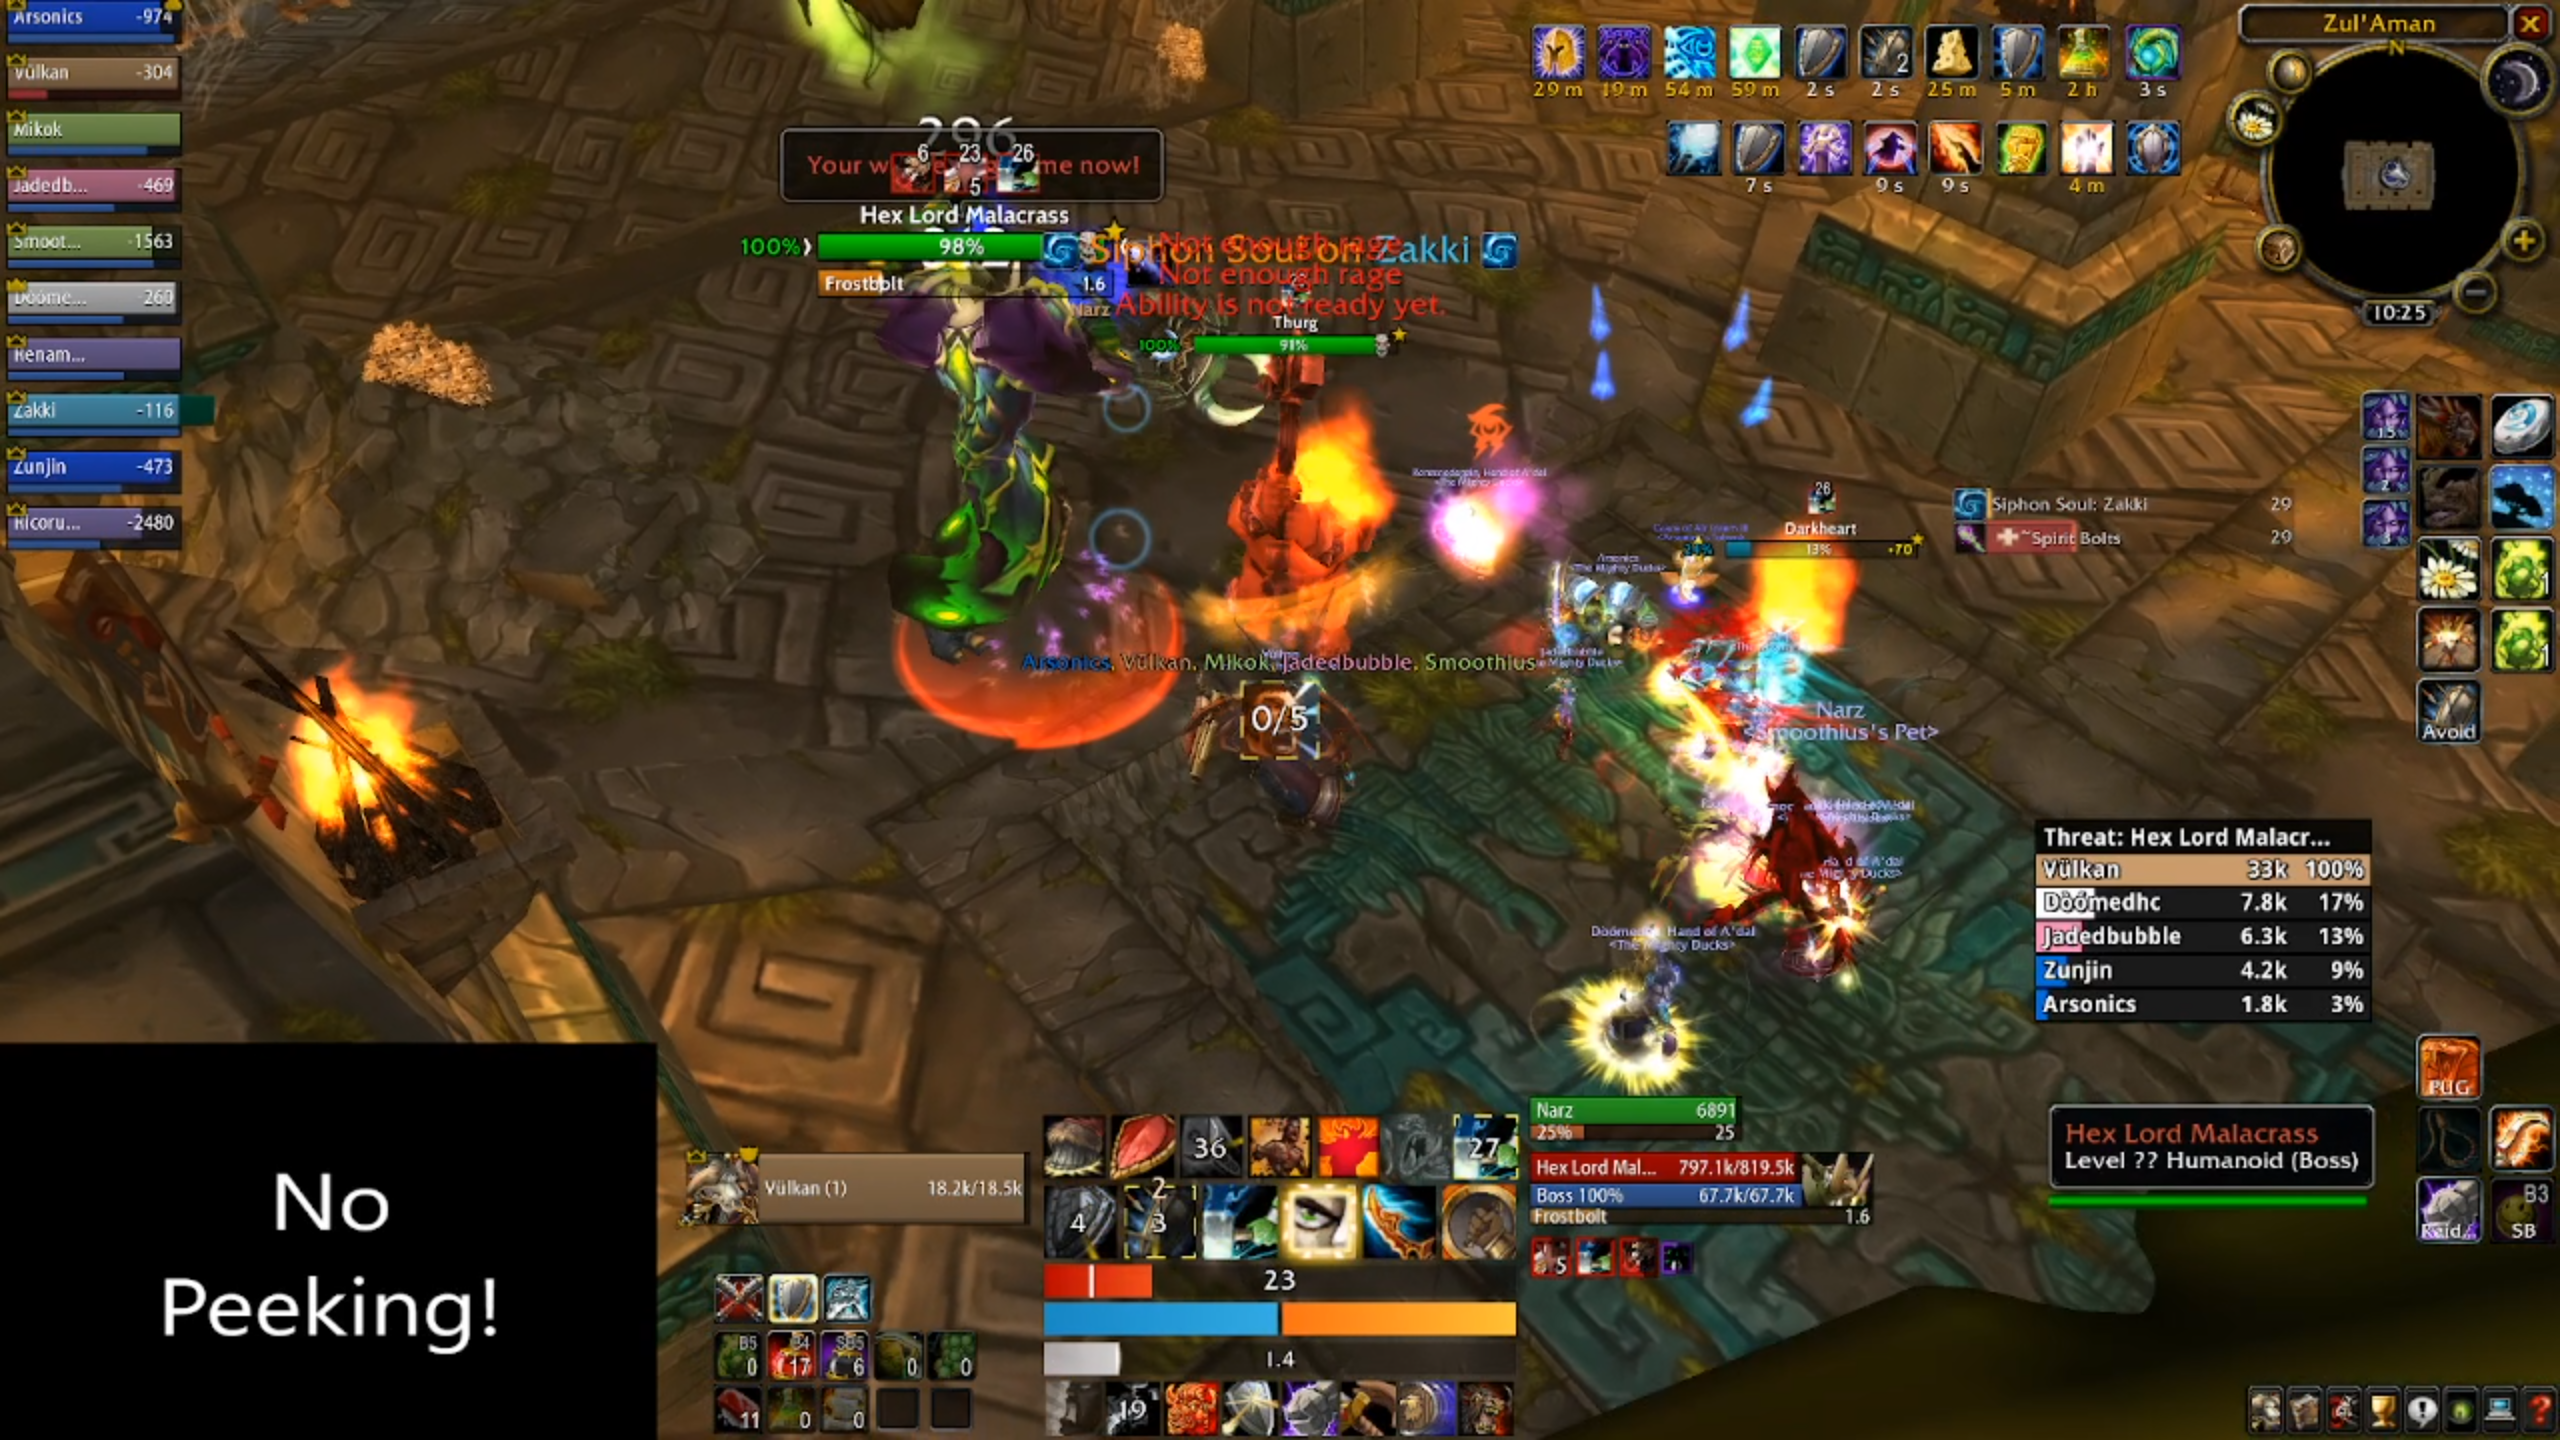
Immediately after Spirit Bolts, the boss will cast Soul Drain, which targets a random raid member and steals some of their abilities. This constitutes the primary loop of the fight.
For the next 30 seconds, Hex Lord Malacrass will gain abilities that belong to the class of the player targeted by Soul Drain. Again, there's a big long list of varied abilities the boss has, which you can find in the same location..
If Malacrass siphons a class with a heal (such as a druid, shaman, paladin or priest), he will always have access to a healing spell and is guaranteed to attempt it at least once in the 30 second window. All of those spells need to be interrupted, as they'll pad out the fight for an uncomfortable length of time.
Most classes will also have a particularly dangerous AoE ability. The most dangerous ones for Malacrass to have will be Whirlwind (from warriors) and Consecration (from paladins). The main tank must be ready to move the boss up and down the room to move away from these effects, without moving too far away from the ranged or healers, thus breaking the stack up.
You'll also need to be aware of any buffs Malacrass will put on himself. The worst of these are Lifebloom (druid), and Spell Reflection (warrior). He'll also curse players with various nasty abilities including Curse of Doom (warlock), Psychic Scream, AND Mind Control (priest) which should be decursed instantly.

Suffice to say, you'll be very busy over the thirty second period between Spirit Bolts.
If you have chosen the "zug zug" approach to dealing with the adds, after casting Siphon Soul, Malacrass will cast Drain Power, which reduces each player's damage by 10%, and increases Malacrass' damage by 10%. This forms the soft enrage (you know, apart from the huge chunk of damage the raid takes every 40 seconds...) of the fight, as Malacrass' damage will increase to unreasonable levels and your raid won't be able to clean him up in time.
If you're really worried about this debuff, you can just leave one of the adds alive, but the real killer is Spirit Bolts, and players getting cleaned up by Siphon Soul abilities. If you can keep these mechanics under control, and clean the adds up in time for the first chunk of damage from Malacrass himself, you'll do just fine.
Don't be surprised if your first attempt is a struggle, and with groups that don't have access to 25 gear, or inexperienced players, if it takes you a couple of wipes and even a lockout to get it right.
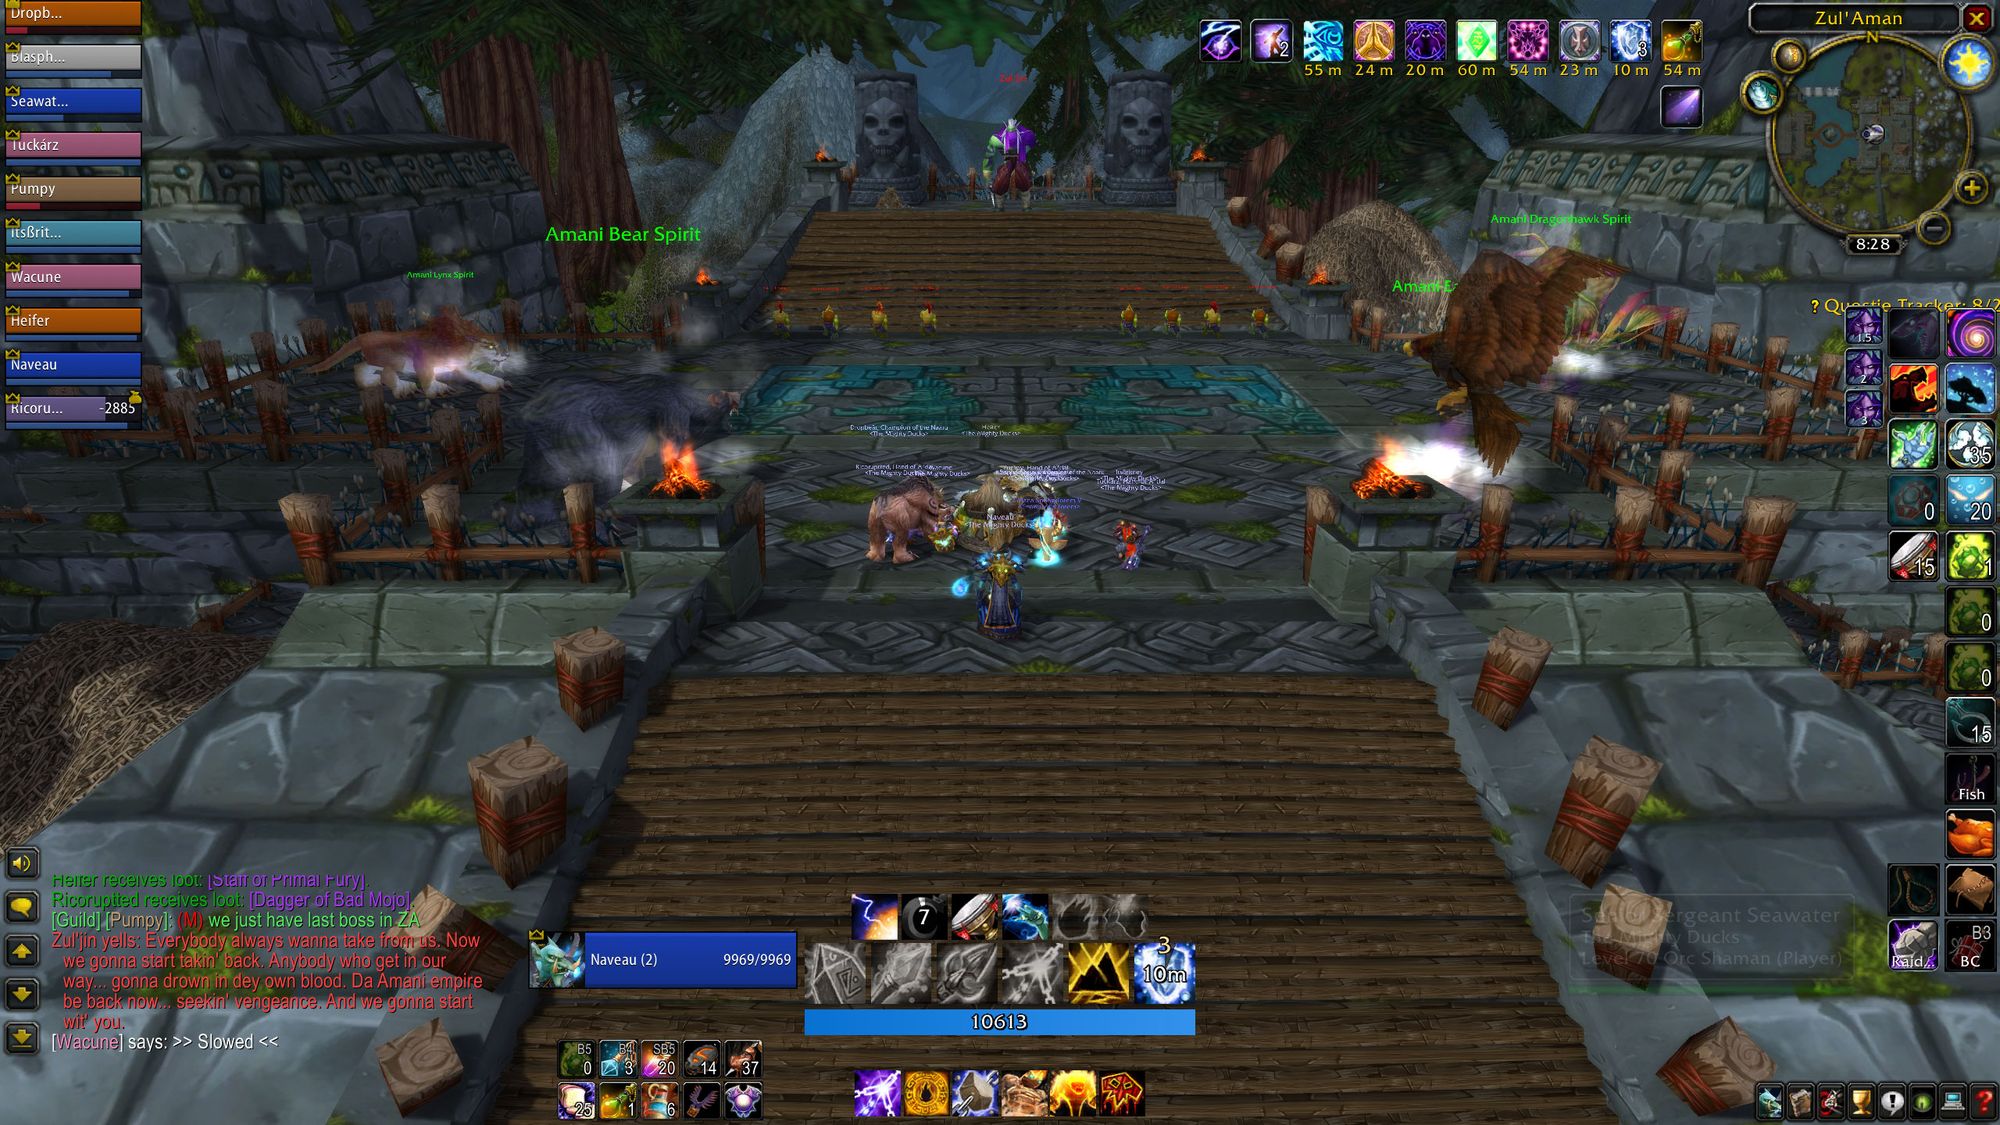
You can leave via the closed doors where the boss originally was, but take the time to make sure everyone's scraped up and topped off first. As soon as you open the door, a horde of non-elite trolls will rush you, but they're not much of a threat - just send them to the shadow realm with AoE damage.
From there, it's a short walk to the last (and most iconic) boss of the instance.
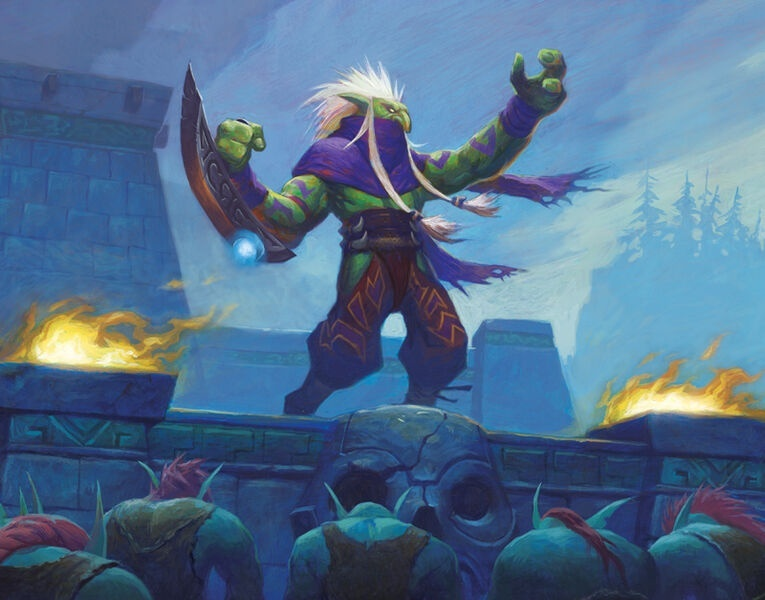
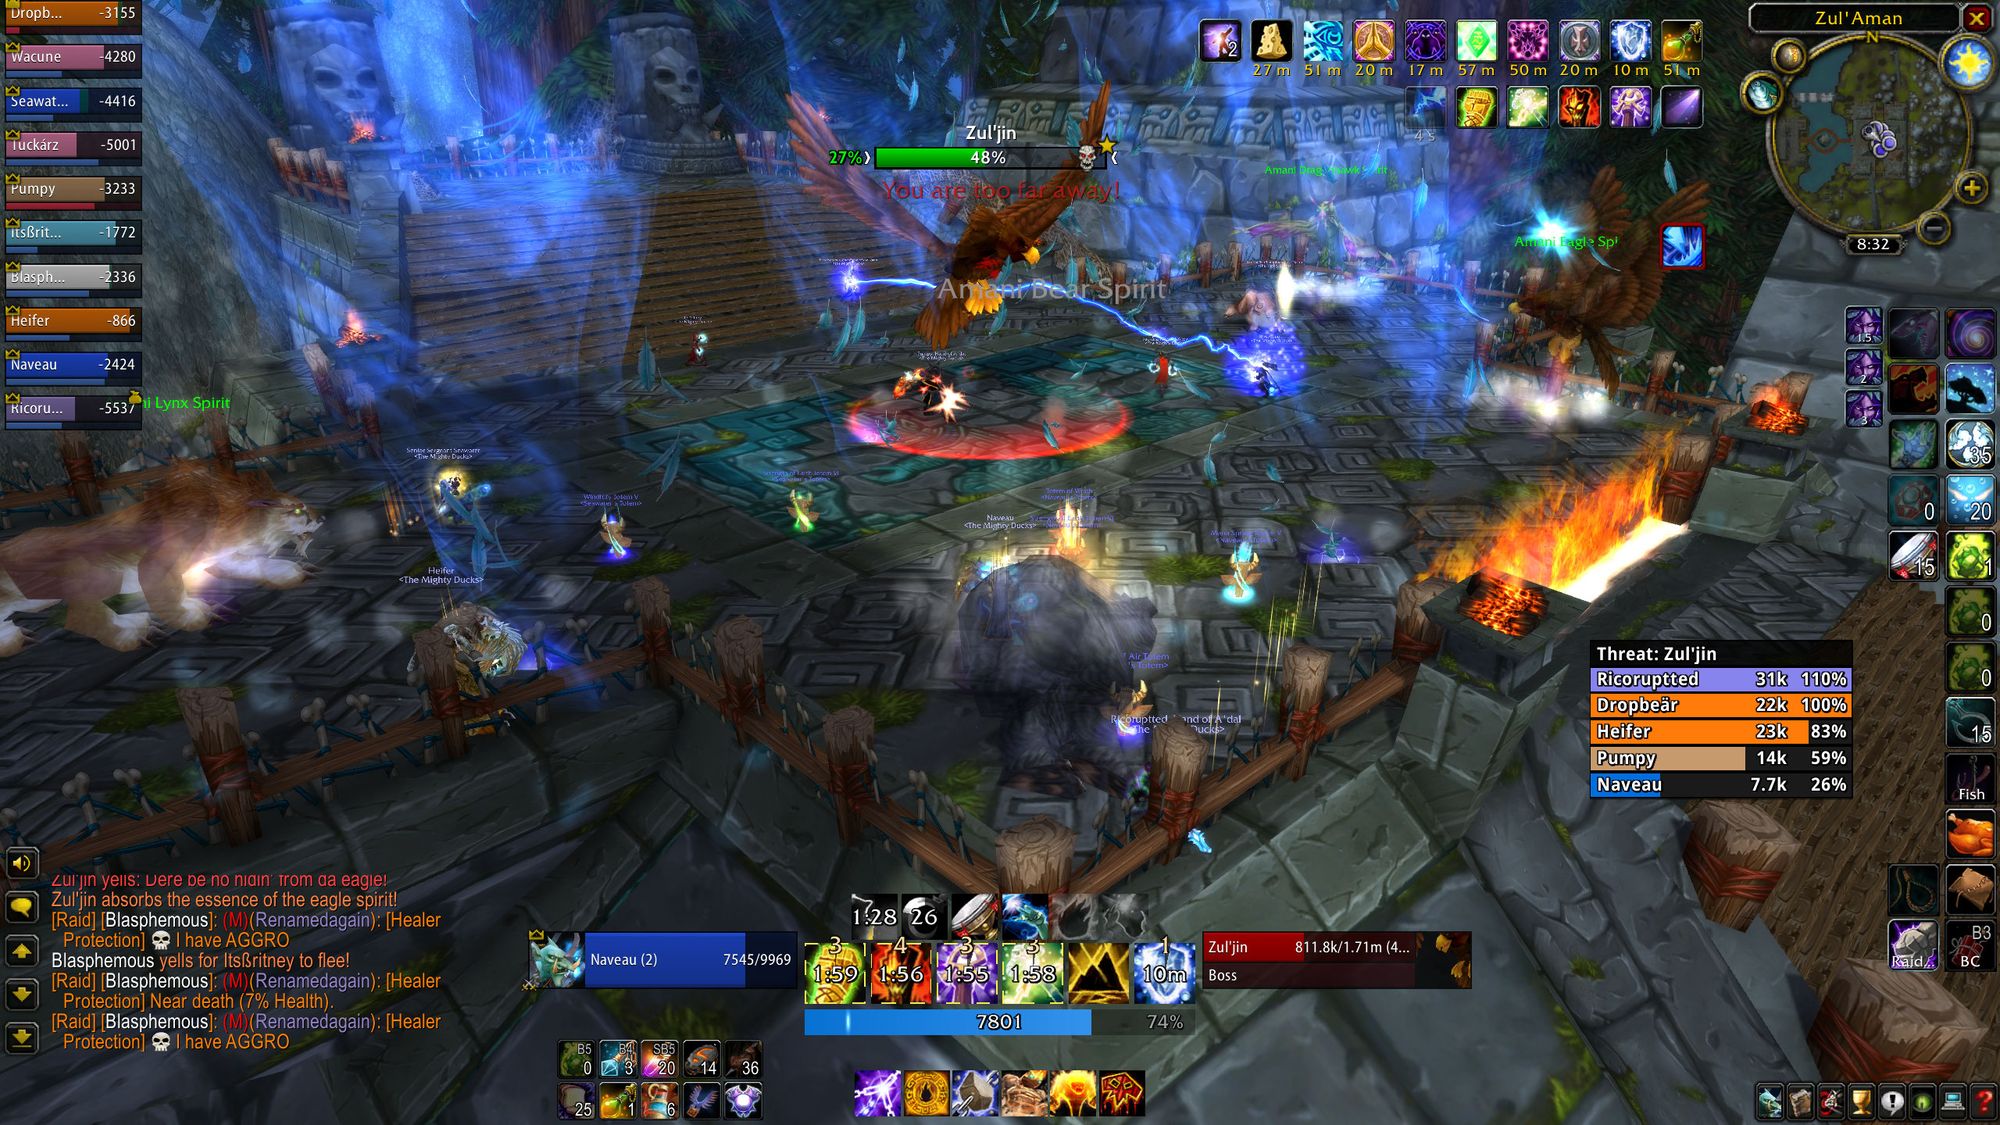
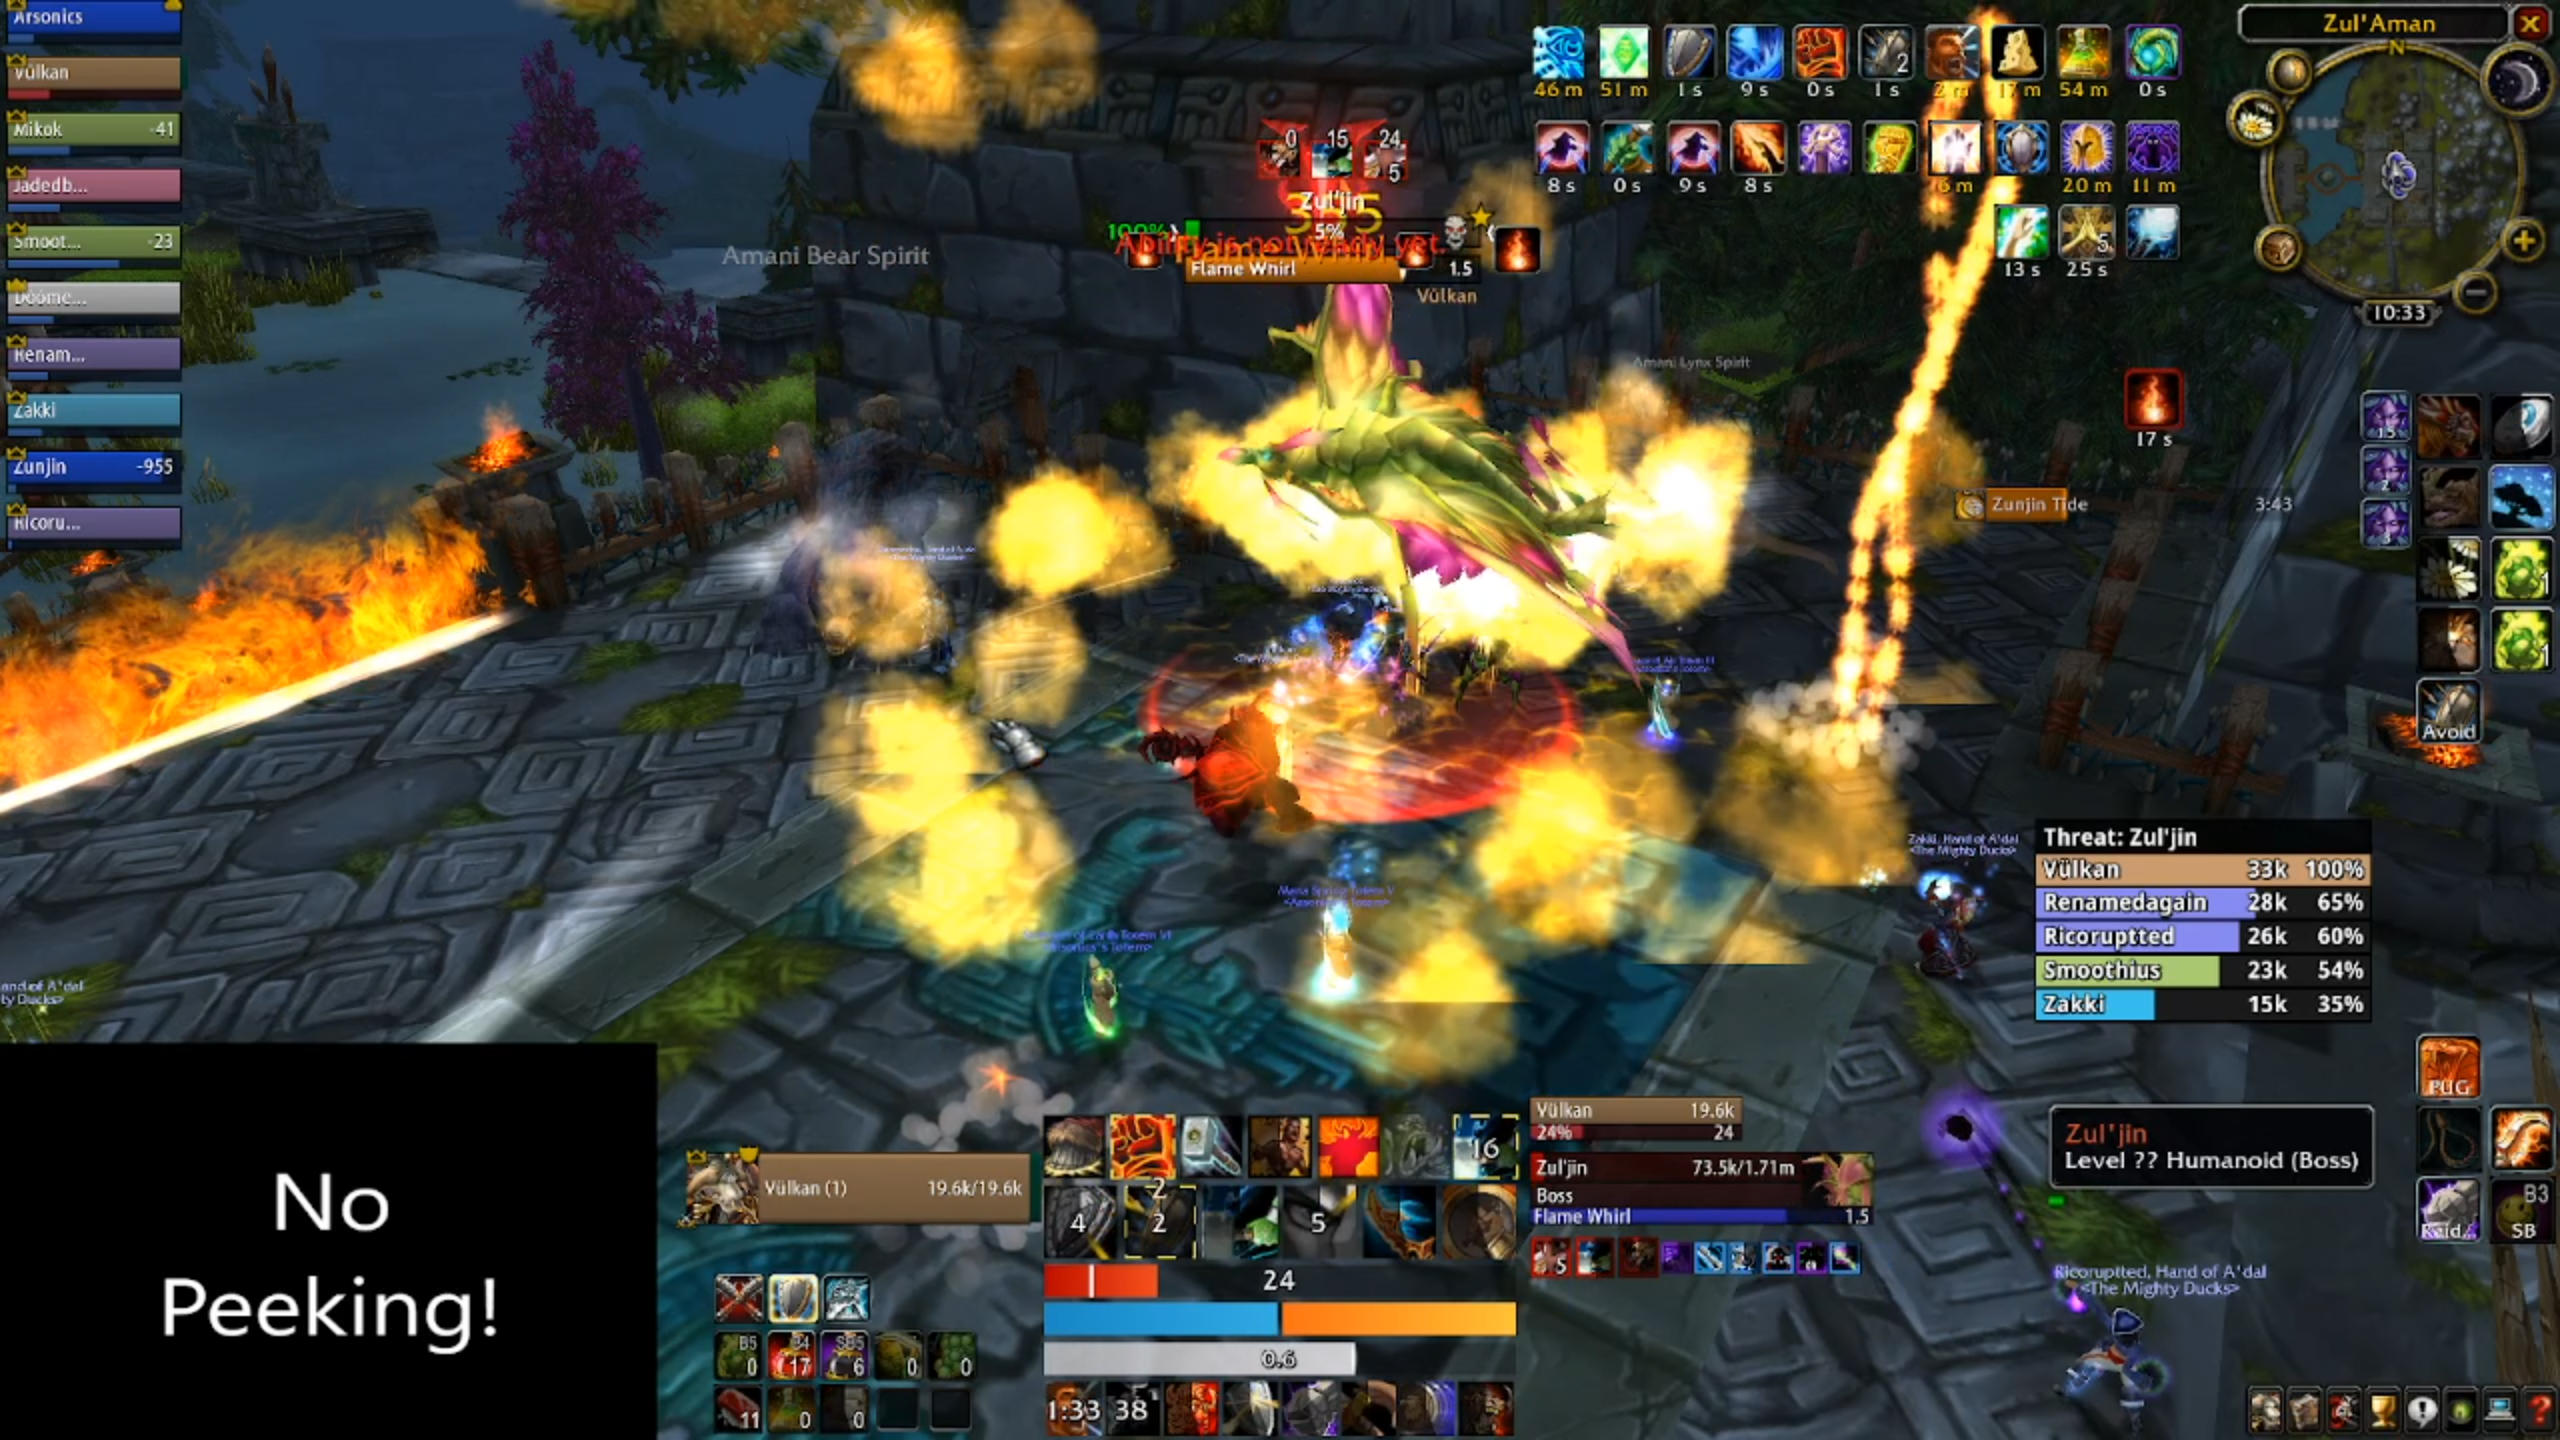
Boss Six - Zul'jin
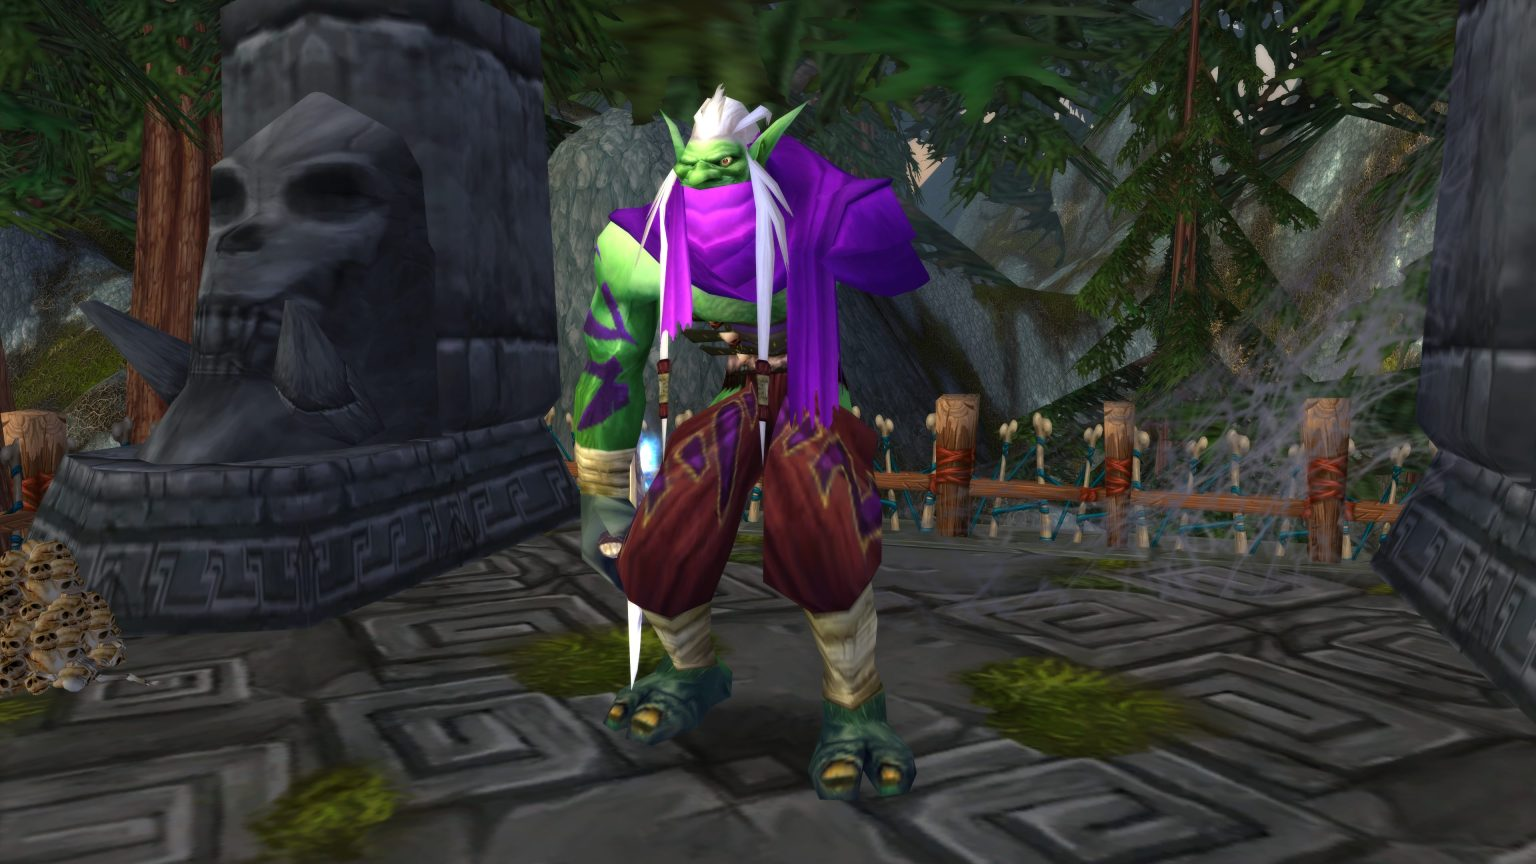
The one armed bandit troll warlord man (troll), Zul'jin is a multiple-stage fight where he channels the essences of the avatars you killed earlier in the run. He'll go through all four of them, each with a unique set of abilities and challenges.
Zul'jin also starts the fight with eight troll offsiders. You'll need to kill them before engaging the boss, but they have low health and won't trouble you. If you wipe, you'll need to deal with them again, as they are part of the encounter.
The raid will also need to be comfortable with dispersing, stacking, then dispersing again, depending on the aspect Zul'jin inhabits, in addition to controlling threat at some, but not all, stages of the fight.
Tactics
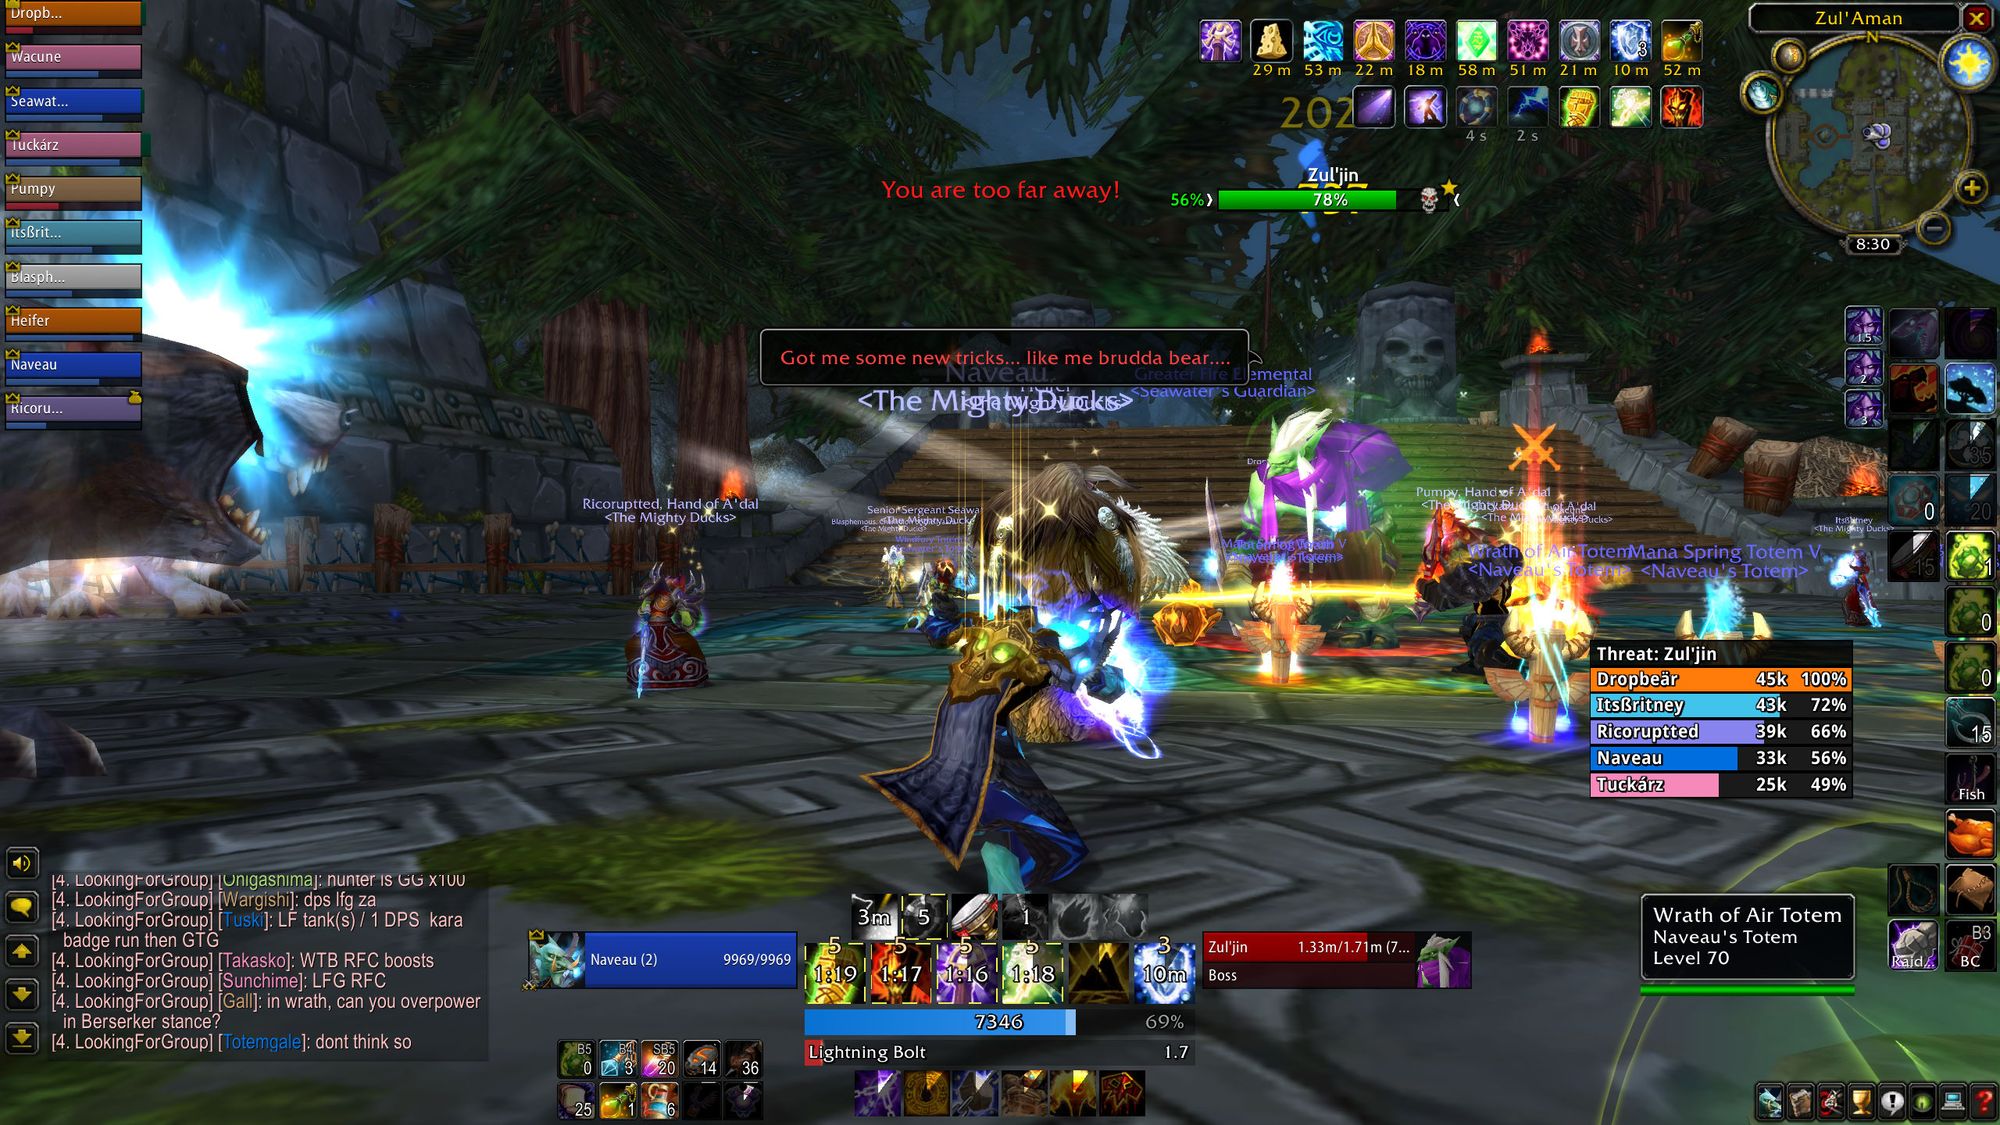
Zul'jin starts the fight in normal boring troll mode. He'll "cast" Grievous Throw on a player in the raid, chunking them for big damage and then applying a hefty damage over time effect that only disappears when the player is healed to full.
He'll also use Whirlwind, so melee need to be prepared to duck out at a moment's notice. Two or more hits on a non-tank melee DPS will kill them, so don't get greedy.
When Zul'jin hits 80%, he'll shift gear into his bear form. Every form change carries a threat drop, so DPS need to be careful and let the tank take aggro each transition.
Much like Nalorakk, Zul'jin in bear form has a frontal cleave, and deals a high amount of damage to the tank using Overpower, a warrior ability which smacks the tank and cannot be dodged.
The boss will also cast creeping paralysis, which needs to be dispelled on the raid. If it's not dispelled, it will stun a player after six seconds. For this reason, when shifting into bear form, the raid (with the exception of the tank) will need to stack behind Zul'jin, to enable a mass dispel from a priest. In the case where you don't have a mass dispel, prioritise healers and tanks first to prevent an insta-gib surprise.
at 60%, Zul'jin will move to his eagle form. This form has no threat, so you can keep pushing whilst he transitions, as it's free damage.
In eagle form, the boss will position himself in the center of the raid and summon tornadoes (called "Energy Cyclones") to chase players. These deal damage, knock back, and can be hard to see.
In addition, for the duration of this phase, every time a player casts a spell, they'll take a chunk of nature damage. This makes healing quite painful (literally) so healers should prioritise using spells with a long cast time and high output, over short low-volume spells. Or Chain Heal for Shamans, because Chain Heal is all they use.
Spell casters need to be aware of their health and be prepared to back off so they don't kill themselves with spellcasts, and take advantage of "batching", where the effect will only apply once if you cast a spell and then use another ability with an instant cast time (say, using lightning bolt and then flame shock.)
After another 20%, Zul'jin will move to lynx form. This is another threat drop.
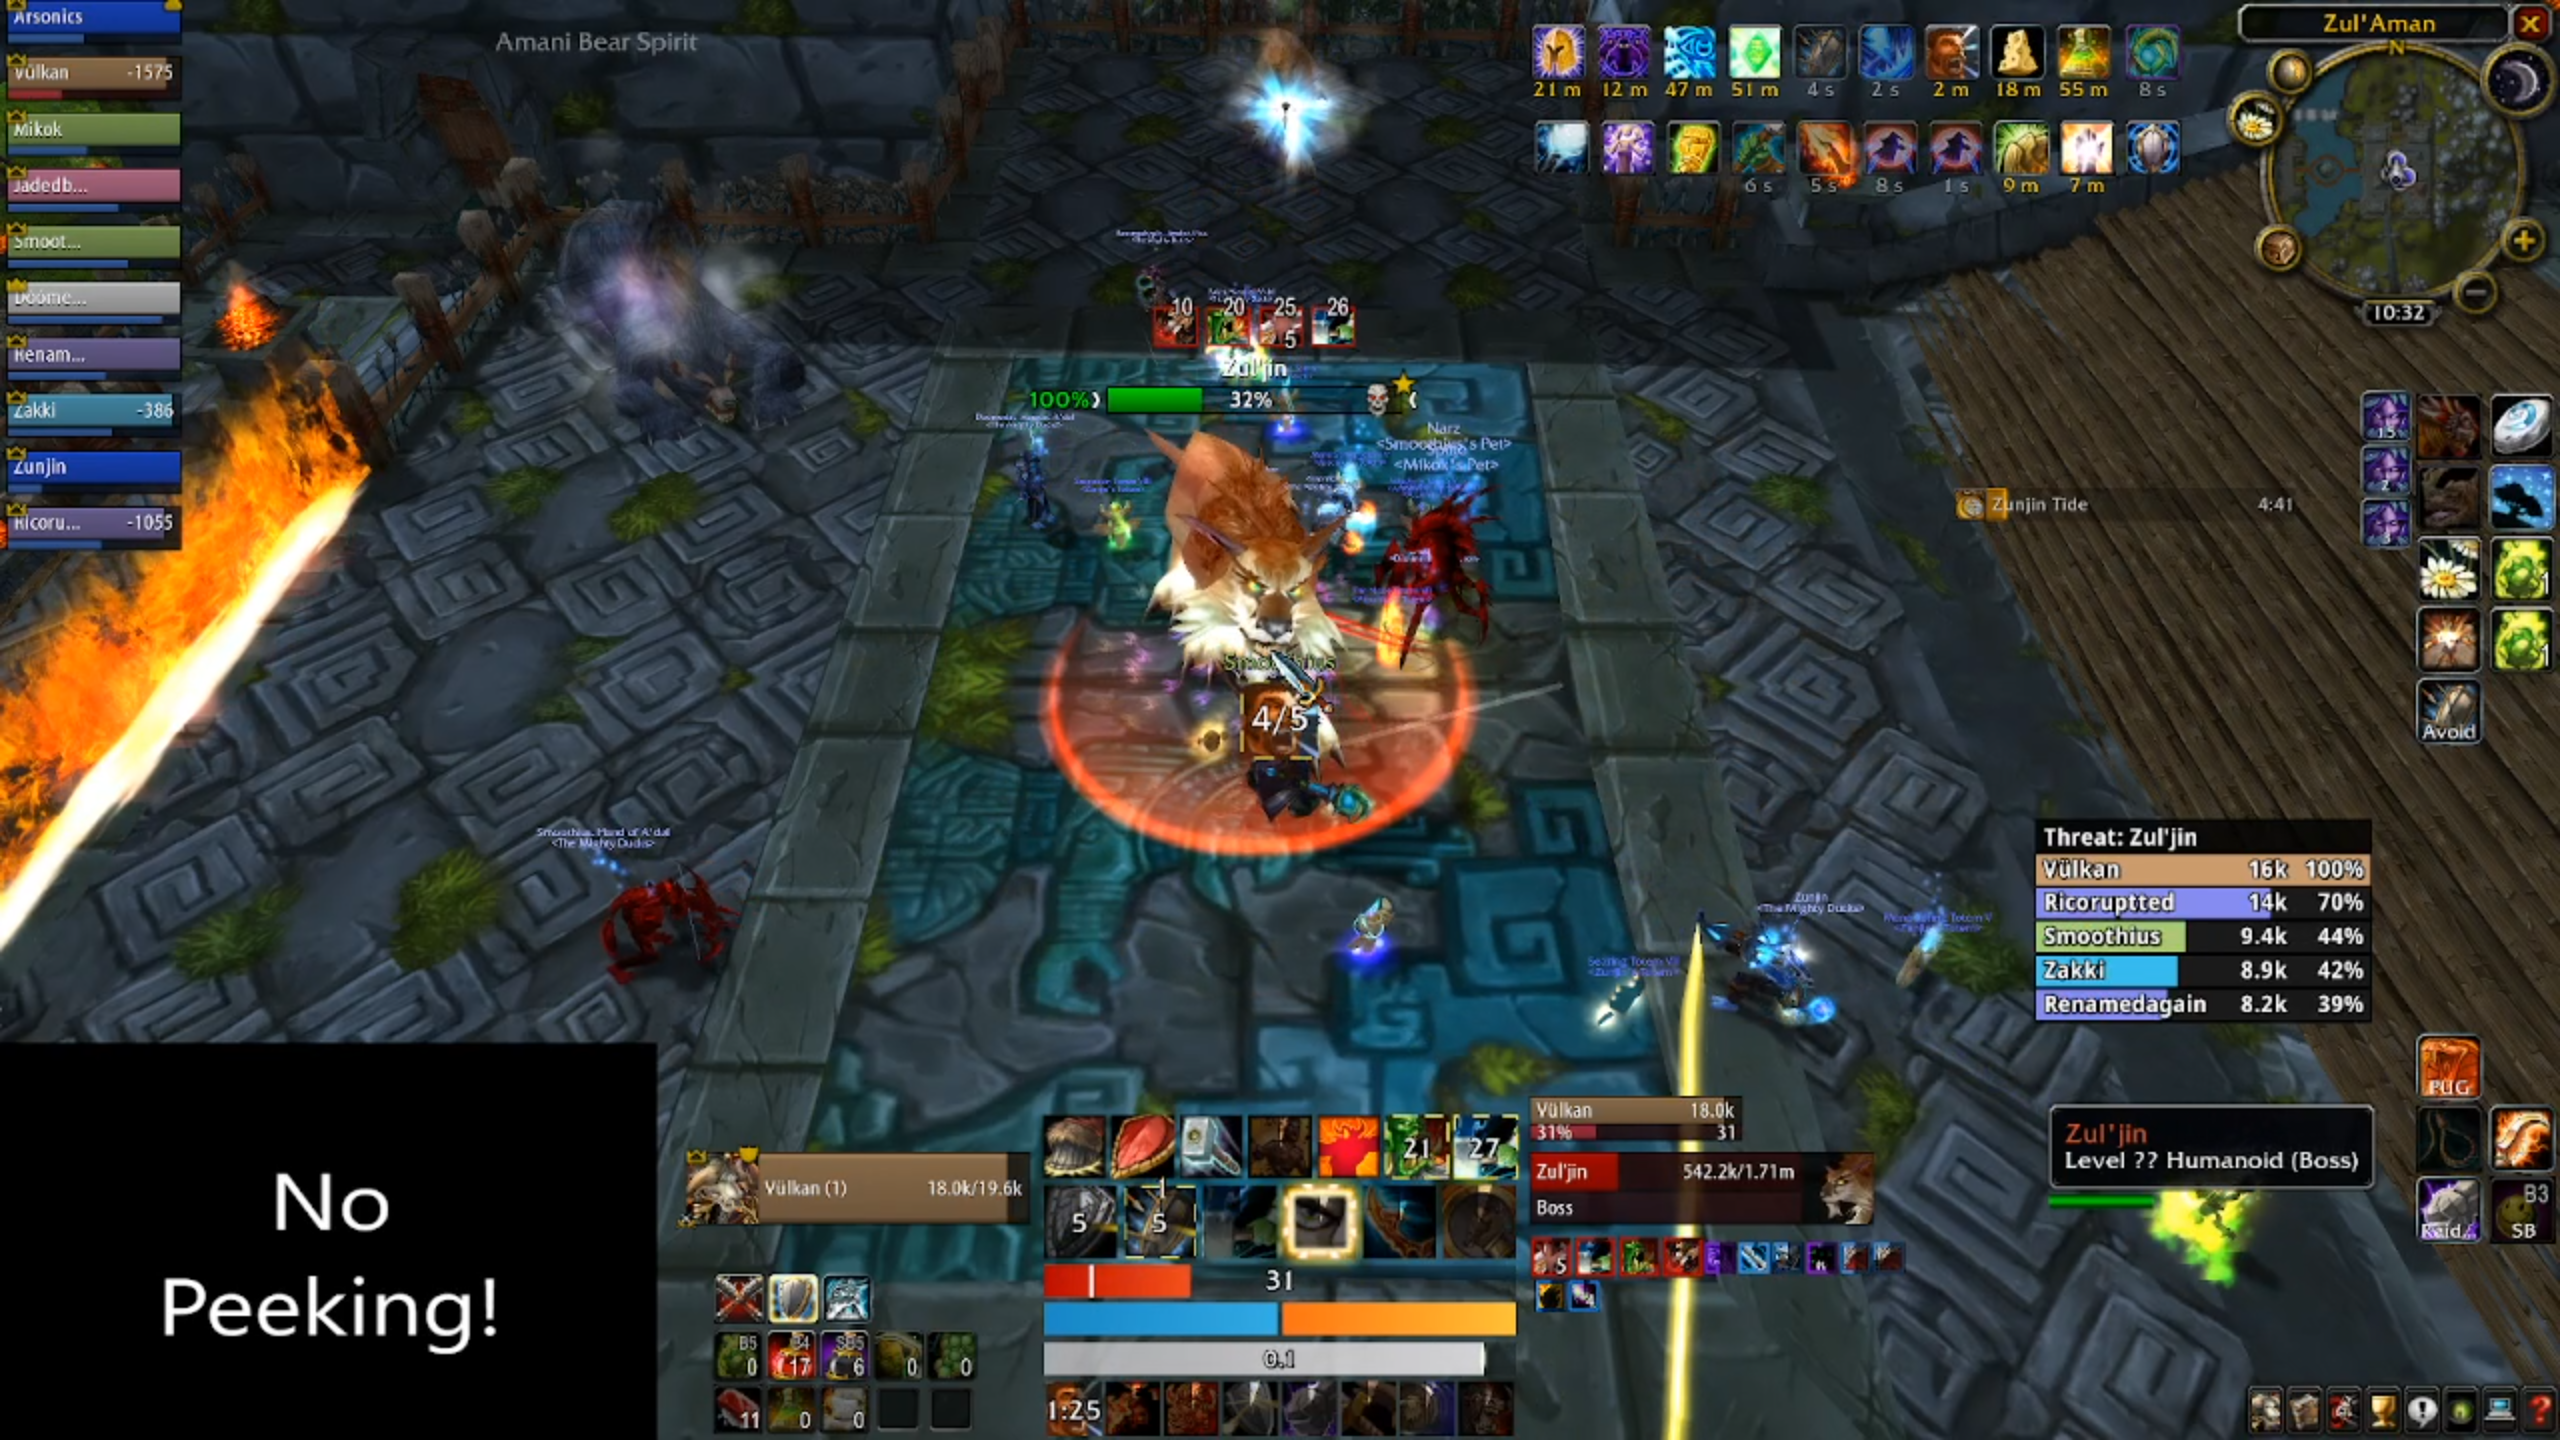
Lynx, combined with dragonhawk, has quite high damage output. In this form, Zul'jin's attack speed will increase by 30%.
Just like the first two forms, Zul'jin has two new abilities. The first ability, Claw Rage, targets a player and stuns them whilst dealing physical damage which ignores armor. This player should be focus healed and if you have a paladin, (or if you're even luckier, two paladins...), you can give the targeted player a Blessing of Protection to nullify this ability entirely.
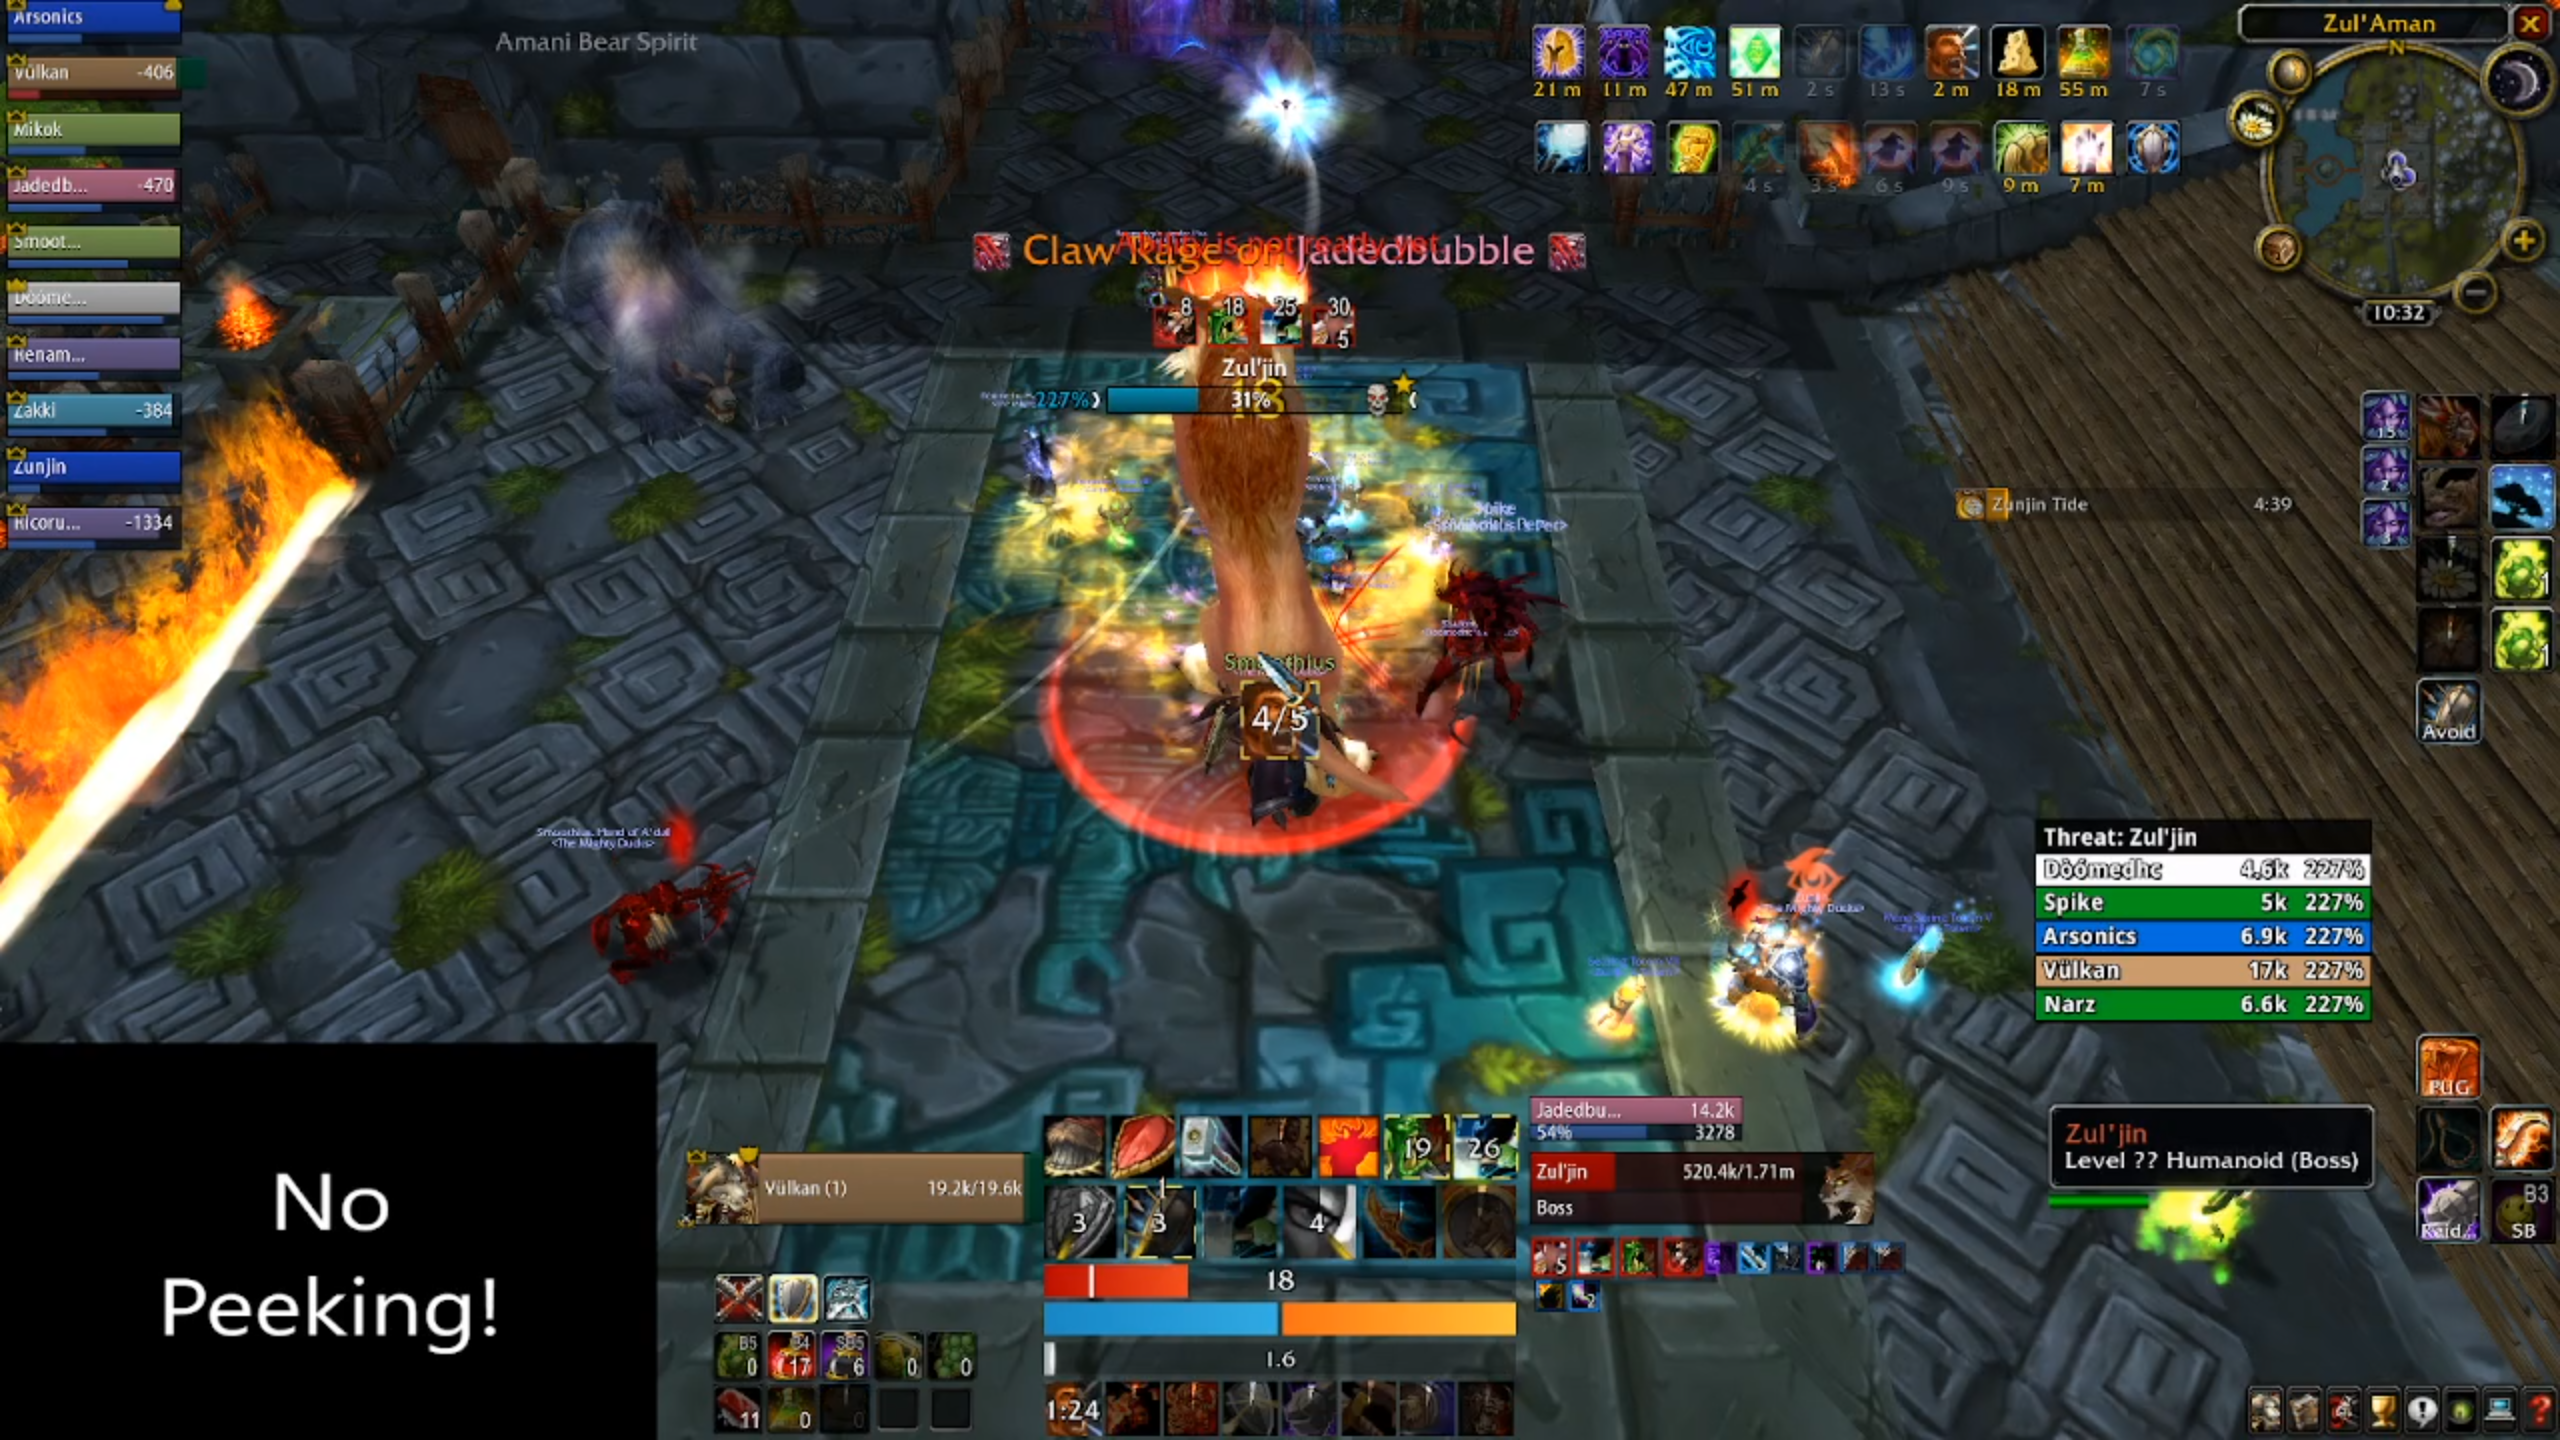
Zul'jin's second ability is lynx rush. The boss will charge between players inflicting a modest amount of physical damage and applying a bleed which deals 1500 damage every 2 seconds, for 10 seconds. This can and will be applied to multiple players, cannot be dispelled, and will need to be healed through.

This phase is probably the most dangerous phase and will be the most likely you'll lose a player, particularly a clothie who doesn't have the armor to resist claw rage. Just keep pumping to get through it as quick as you can. Once you can get to phase 5, you're largely rolling downhill.
Speaking of which, as with the last three transitions, phase five starts at 20%, where Zul'jin will turn into a Dragonhawk.
This phase is all about standard raid survival tactics. Don't stand in front of the boss, don't stand in fire, and use personal cooldowns and offhealing to reduce pressure on the healers.
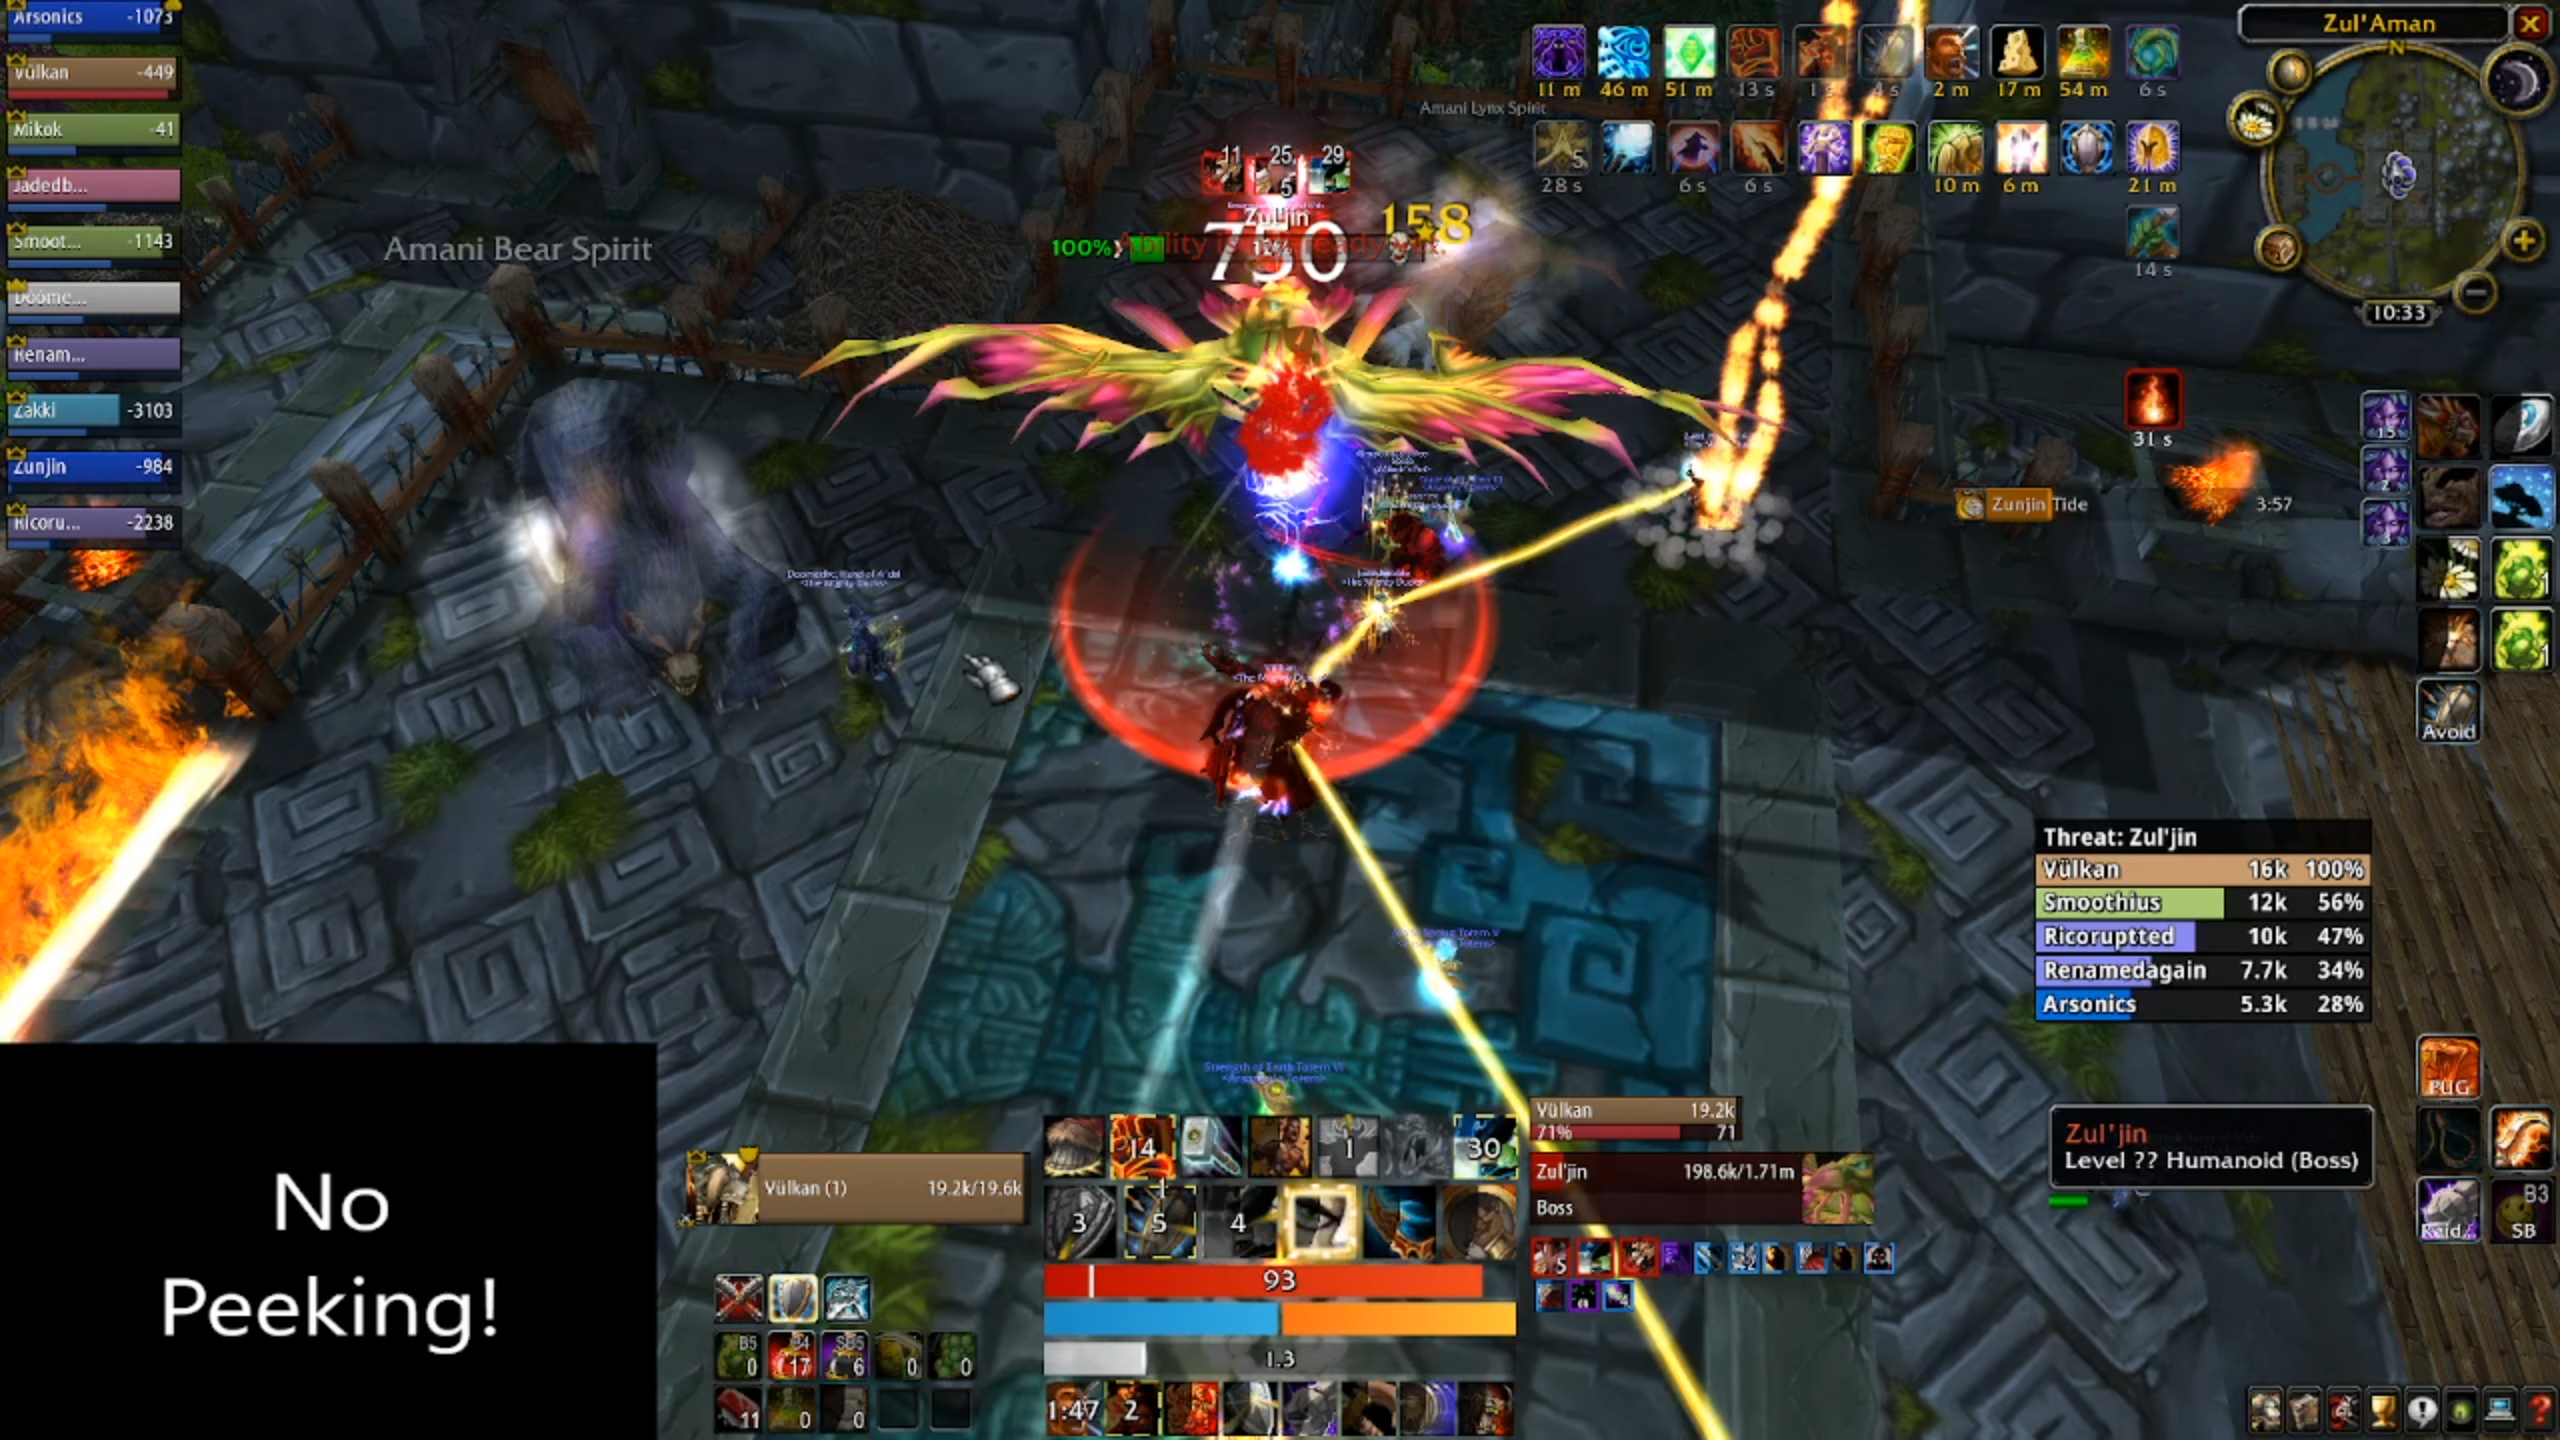
The boss will cast Flame Whirl, which does a chunk of fire damage to the whole raid, and will also cast pillar of fire, a particle effect which does damage to players who stand in it (so don't stand it it, capiche?)
Most encounters with Zul'jin are a battle of attrition. Can you handle repeated threat drops, endless chip damage and ever dwindling resources to have enough gas in the tank at the end of five phases. Most likely, yes, but there's no point which is instantly a wipe. You'll slowly bleed players until Zul'jin squeaks out just enough damage to pick off one healer, then two, then a DPS or two, then your tank, then it's over, red rover.
If your players stay focussed and work together, you should be able to bring down the one-armed troll, and bring peace and freedom to the people of Zul'aman forever!
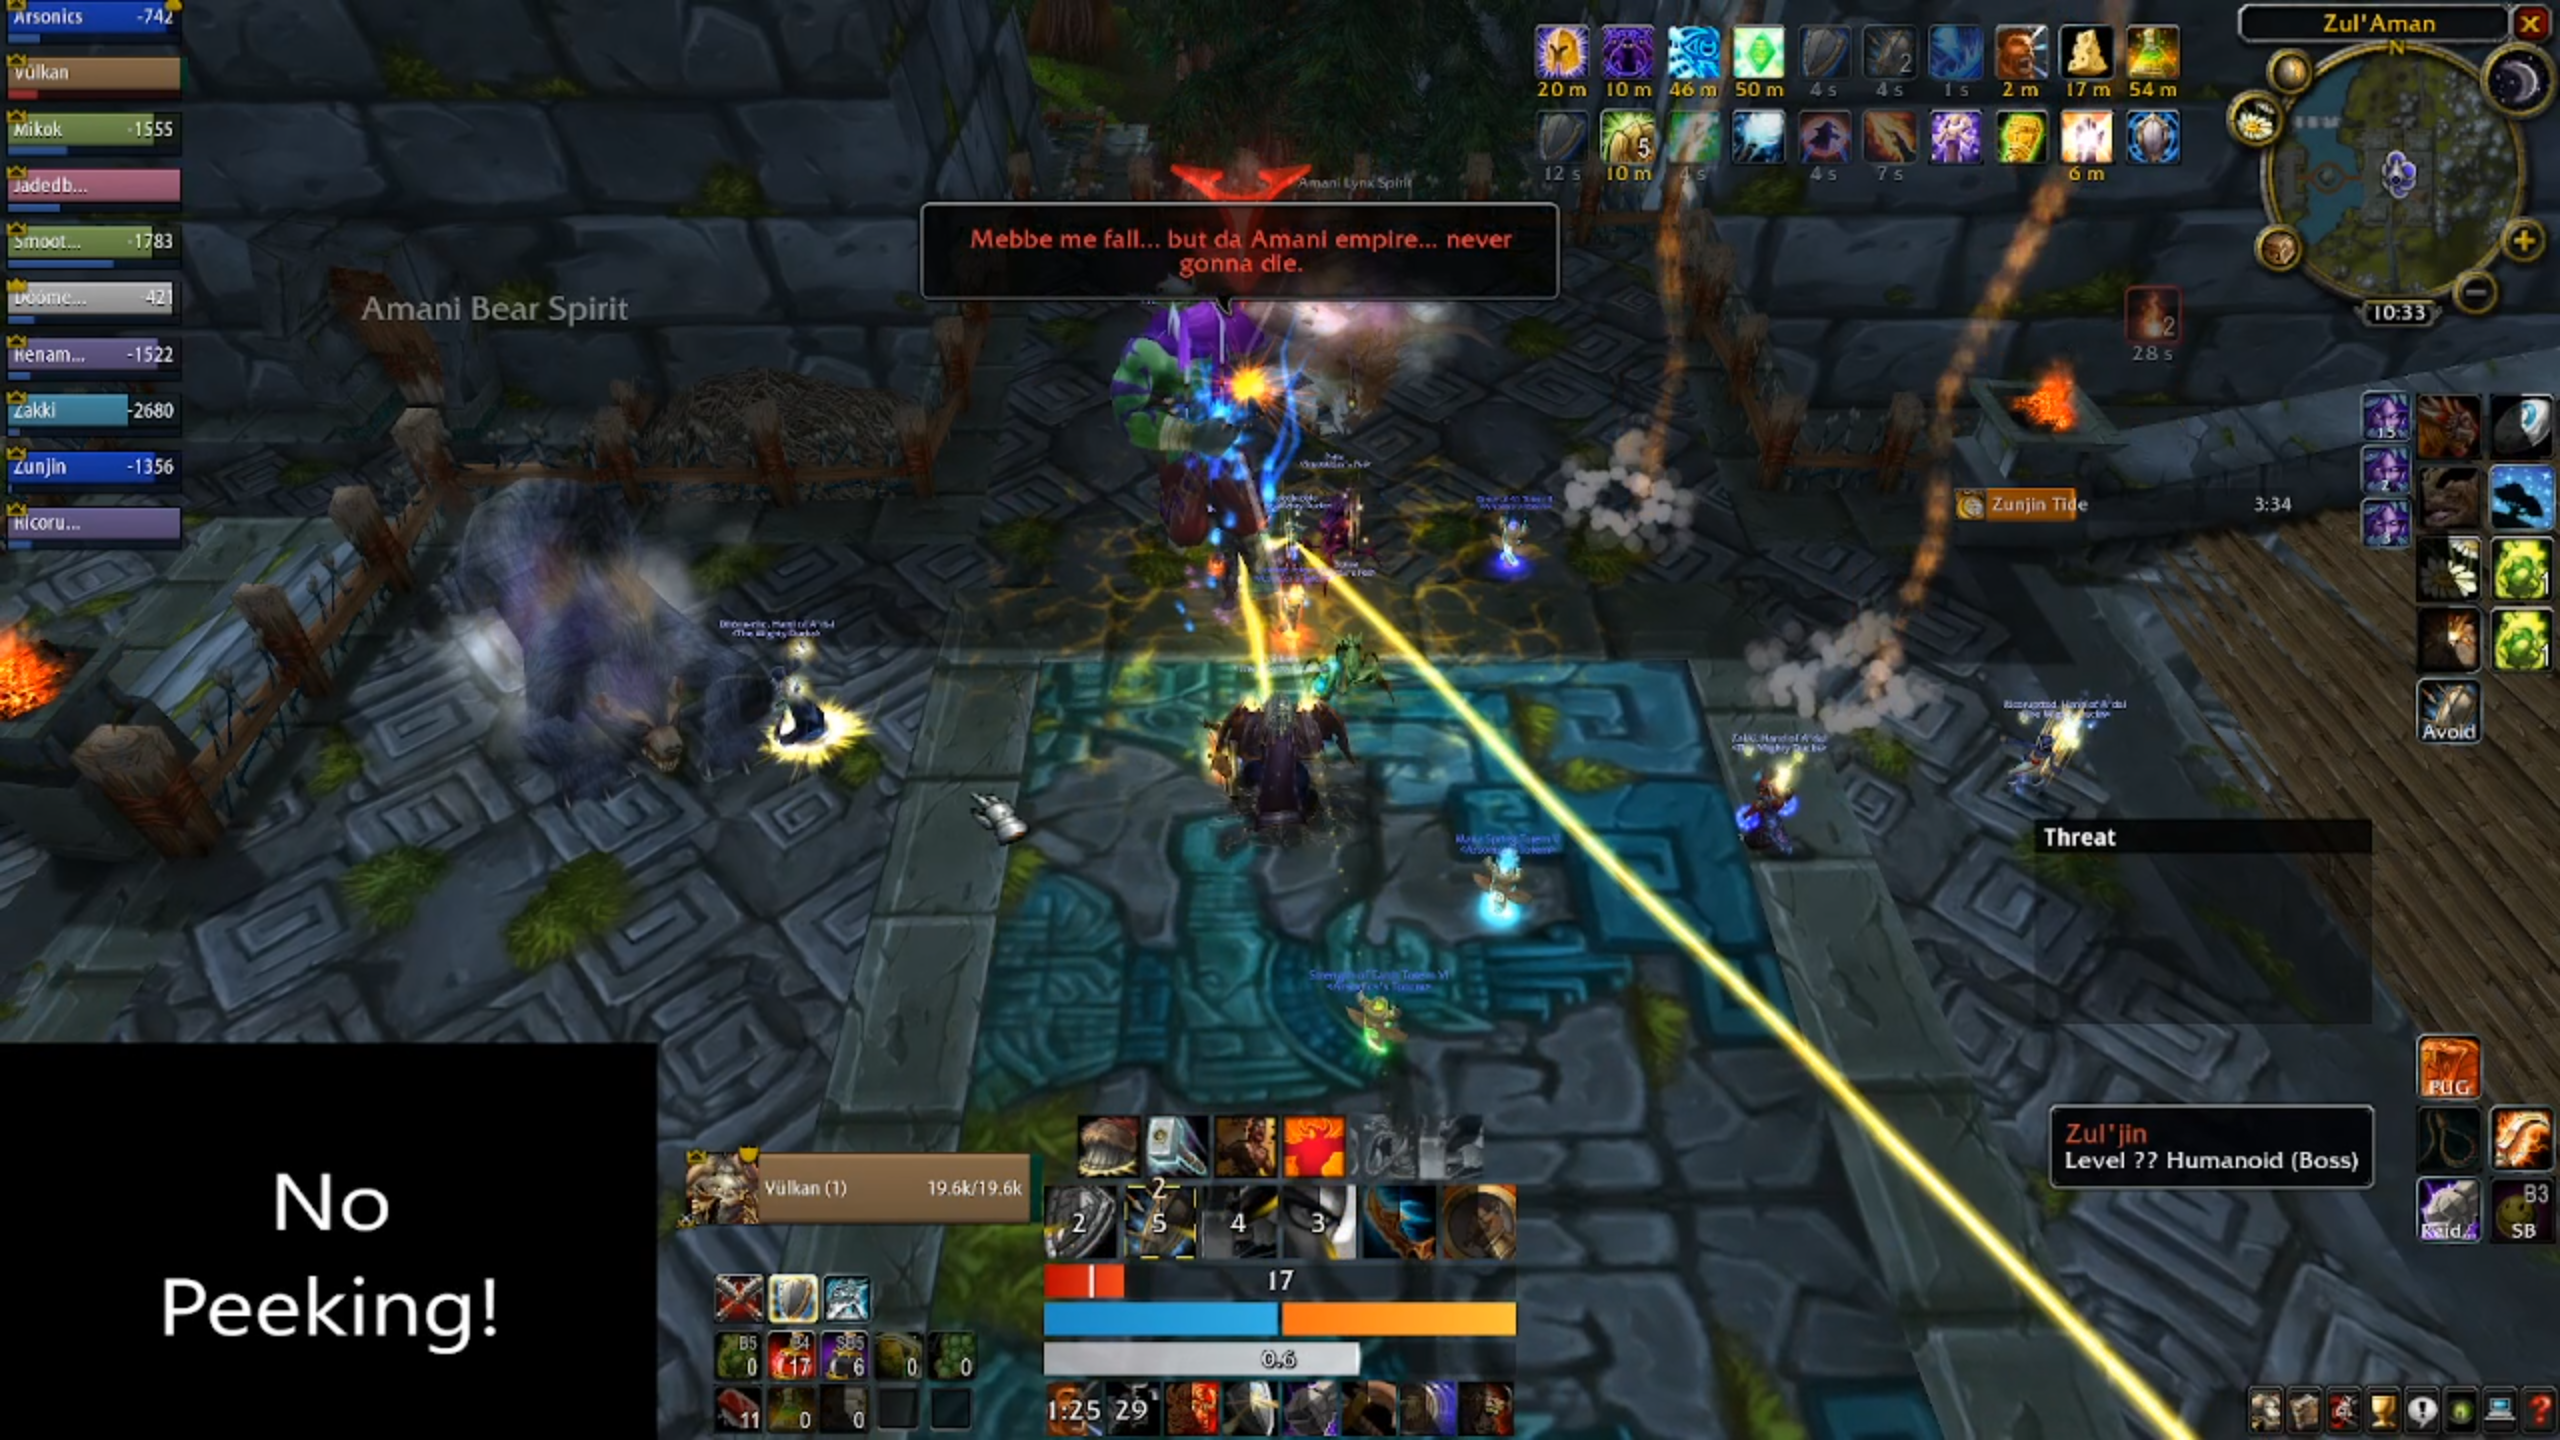
Well done. Enjoy your bear, badges and gear, as well as the uplifting music that plays as the captives of Zul'aman emerge and celebrate.
Conclusion
I ran Zul'aman a lot. A lot lot. With how tough 25-man raiding got at the end of the expansion, a palette cleansing Zul'aman on an alt, helping Marbles from time to time, or gathering up with SWP geared ducks and smoking it like a fine cigar, was just what the doctor ordered.
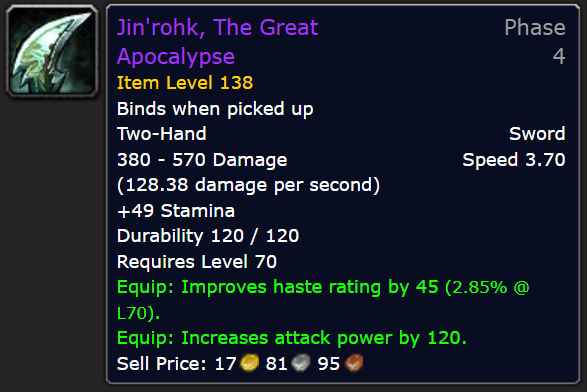
I also ended up with a pair of Jin'Rohk, the Great Apocalypse, which I used to level from 70 - 80. Which probably reveals just how out of date this "guide" is. But it's for me, not for you, sit down.
I can't say I was disappointed when I finally realized Zul'aman's place in the world. It is, and always will be, a part of my memories of world of warcraft. A mystical place on a high pedestal from my teens, and a more realistic loot dispensation facility when I got to play the game for real. I still very much enjoyed it, always, even when I began to see past the visuals and see only numbers and mechanics.
In the end, I got war bears (just like everyone else) on my Shaman main and my warrior alt, as a forever reminder of just how much this instance (and my time with TBC) meant to me.
So that was phase four - we're very much heading into the tail end of the expansion. Join me next time for the beginning of the end, as we tour the Isle of Quel'Danas.

Additional Resources
A run of Zul'Aman from the perspective of my Tauren Warrior - quite a geared group.
Catch you next time,
Vulkan
Did you like this article? Did you hate it? Go over and keep the discussion going on the official Vulkan's Corner facebook page! - whilst you're at it, leave a like!
