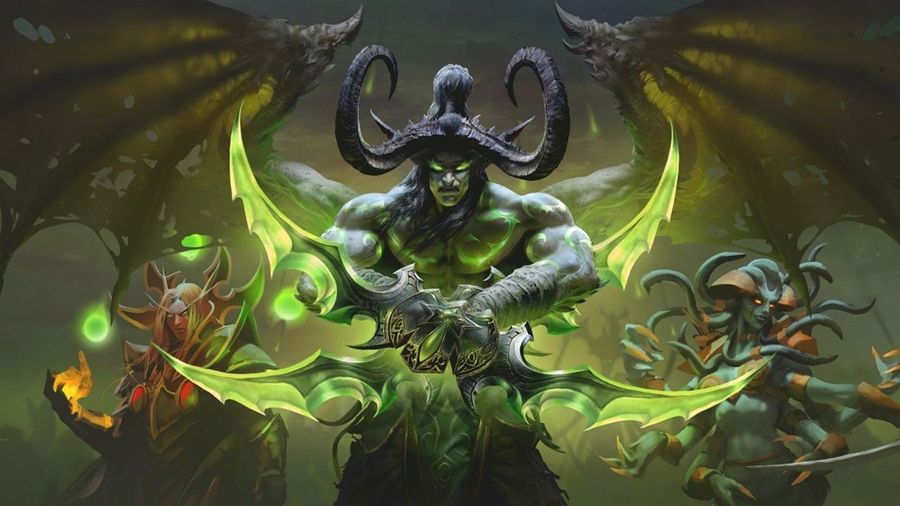
Black Temple.
The very name sends shivers down your spine. An iconic character, in an iconic instance. A significant part of the story of the expansion and the world.
All heralded with one of the first cinematic trailers, that shot the hype for this raid through the roof. Even before playing Burning Crusade Classic, I have watched this trailer so many times, I have lost count.
and also this cool trailer for the same raid made in 2020 by a fan.
Black Temple is, in many ways, a crossroads for TBC classic. It marks the first power spike in terms of gear. Almost every class (with the exception of mages) will replace every item in every slot. The two-piece tier 5 bonus for mages remains strong until the end of the expansion.
A new stat available on gear in phase three, haste (and spell haste, as the stat is separate in TBC) is where things start to ramp up in terms of power. It doesn't become really nutty until phase five, but every little bit of haste for spellcasters makes them just that little bit more dangerous. Particularly warlocks and elemental shamans.
In particular, shamans gain access to mail-specific caster gear that increases critical strike, haste, and spell power, otherwise known as "the trifecta".

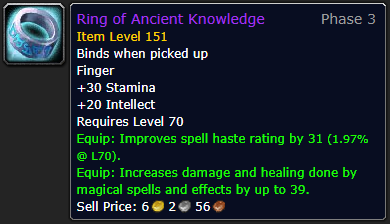
This phase also marks the availability of epic-quality gems and gem cuts, which initially are only dropped from raids. They'll form the majority of your trash loot, but there's also a highly desirable set of rings which have haste, which are excellent for spellcasters and healers, and about as rare as hen's teeth.
Black Temple also marks the last raid that requires attunement. The concept of raid attunements are bittersweet for me. On a personal level, I loved that you had to work to gain entrance to a raid, which provided much needed background to why you were there. One of Warcraft's greatest strengths (which has since been diluted over time) is the rich and complex world in which you exist. Attunements are a way of tying parts of the game together - not so much to teach, but immerse.
But on a guild level, holy hell did it drive me insane. People with different amounts of time to play, not having the skill level to help themselves, and all compounded by a tank shortage on a small server. The deck, as a guild leader, could feel incredibly stacked against you at times. Attunements at a macro scale just do not work, and you can see why they were quietly dropped as a requirement after Black Temple.
But, we're writing this article as if the attunement process is still law, and so we have to cover the Black Temple's quite in-depth requirements. Mount Hyjal and Serpentshrine Cavern, this is not.
Attunement
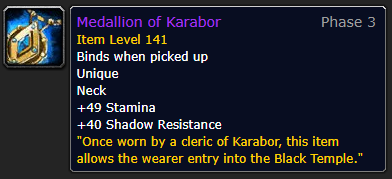
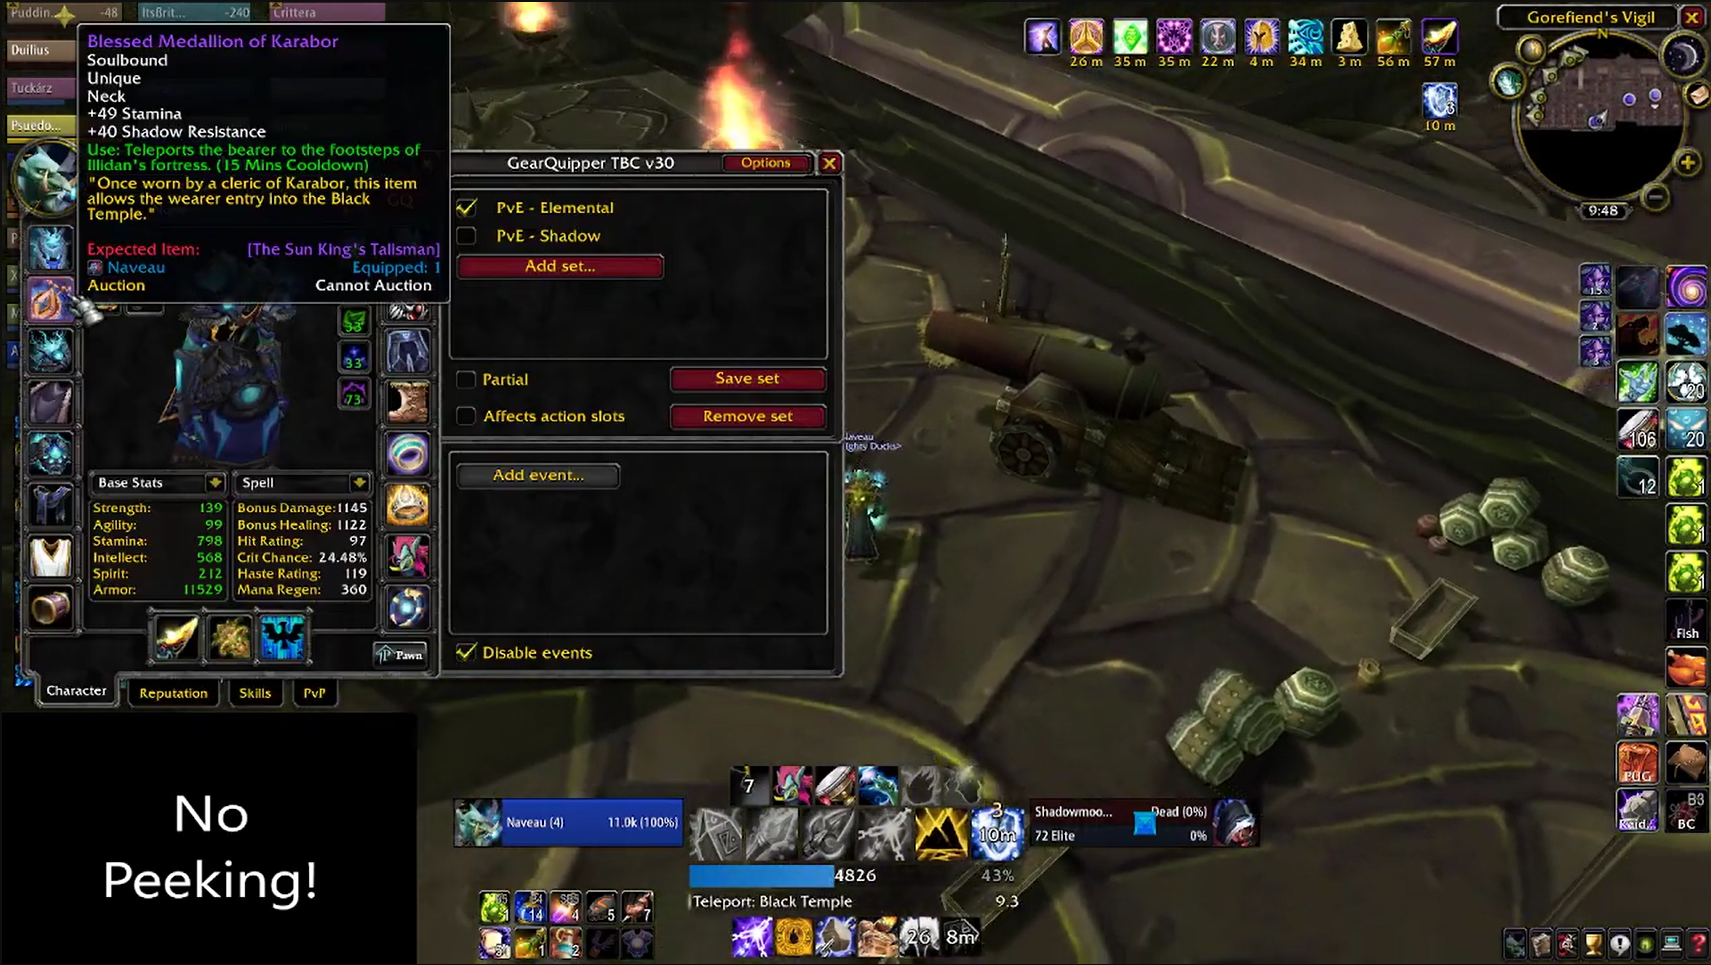
The cliff's notes of the attunement process for the Black Temple, is that you are required to obtain a Medallion of Karabor. This lets you get in via the sewers and also gives you a powerful Shadow Resistance item for boss seven, Mother Shahraz. More on that later.
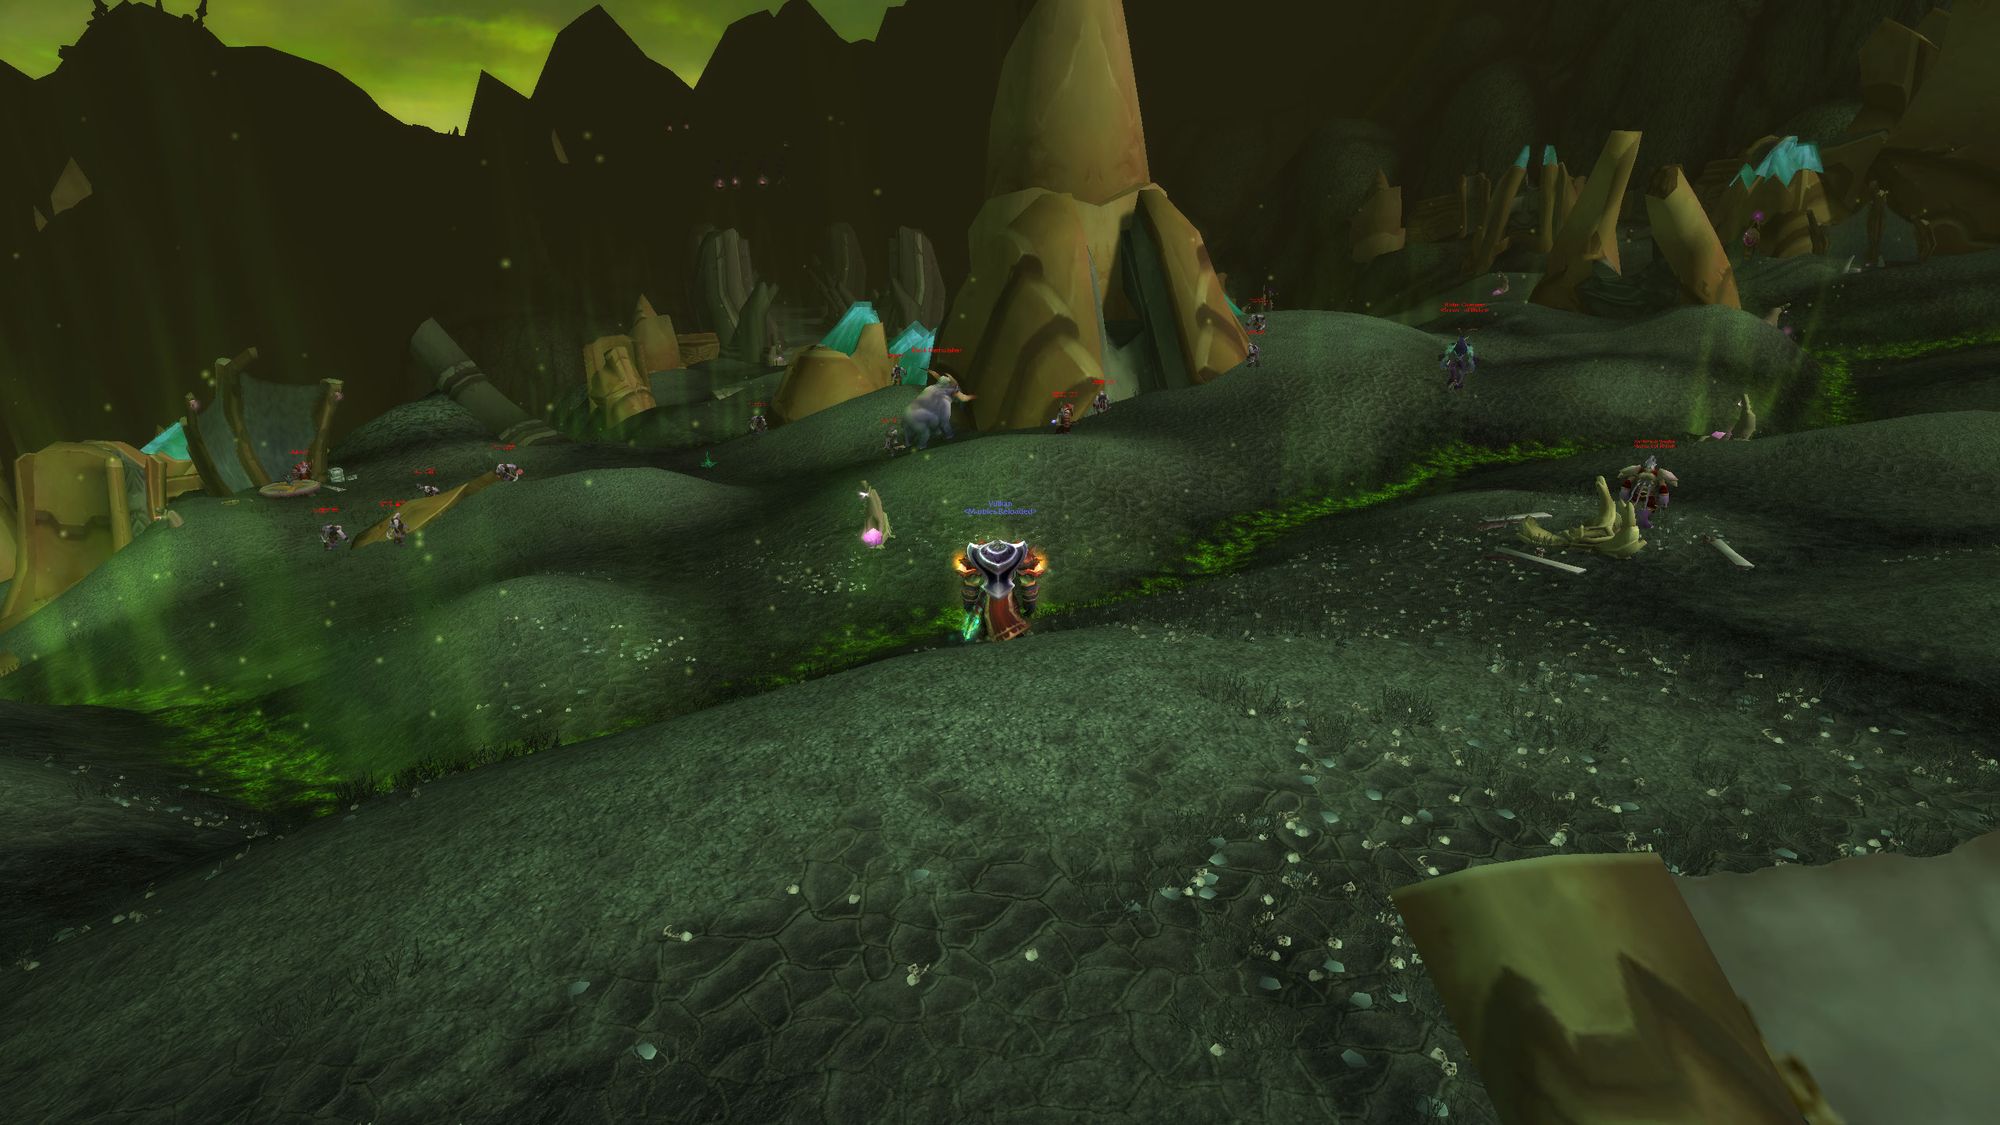
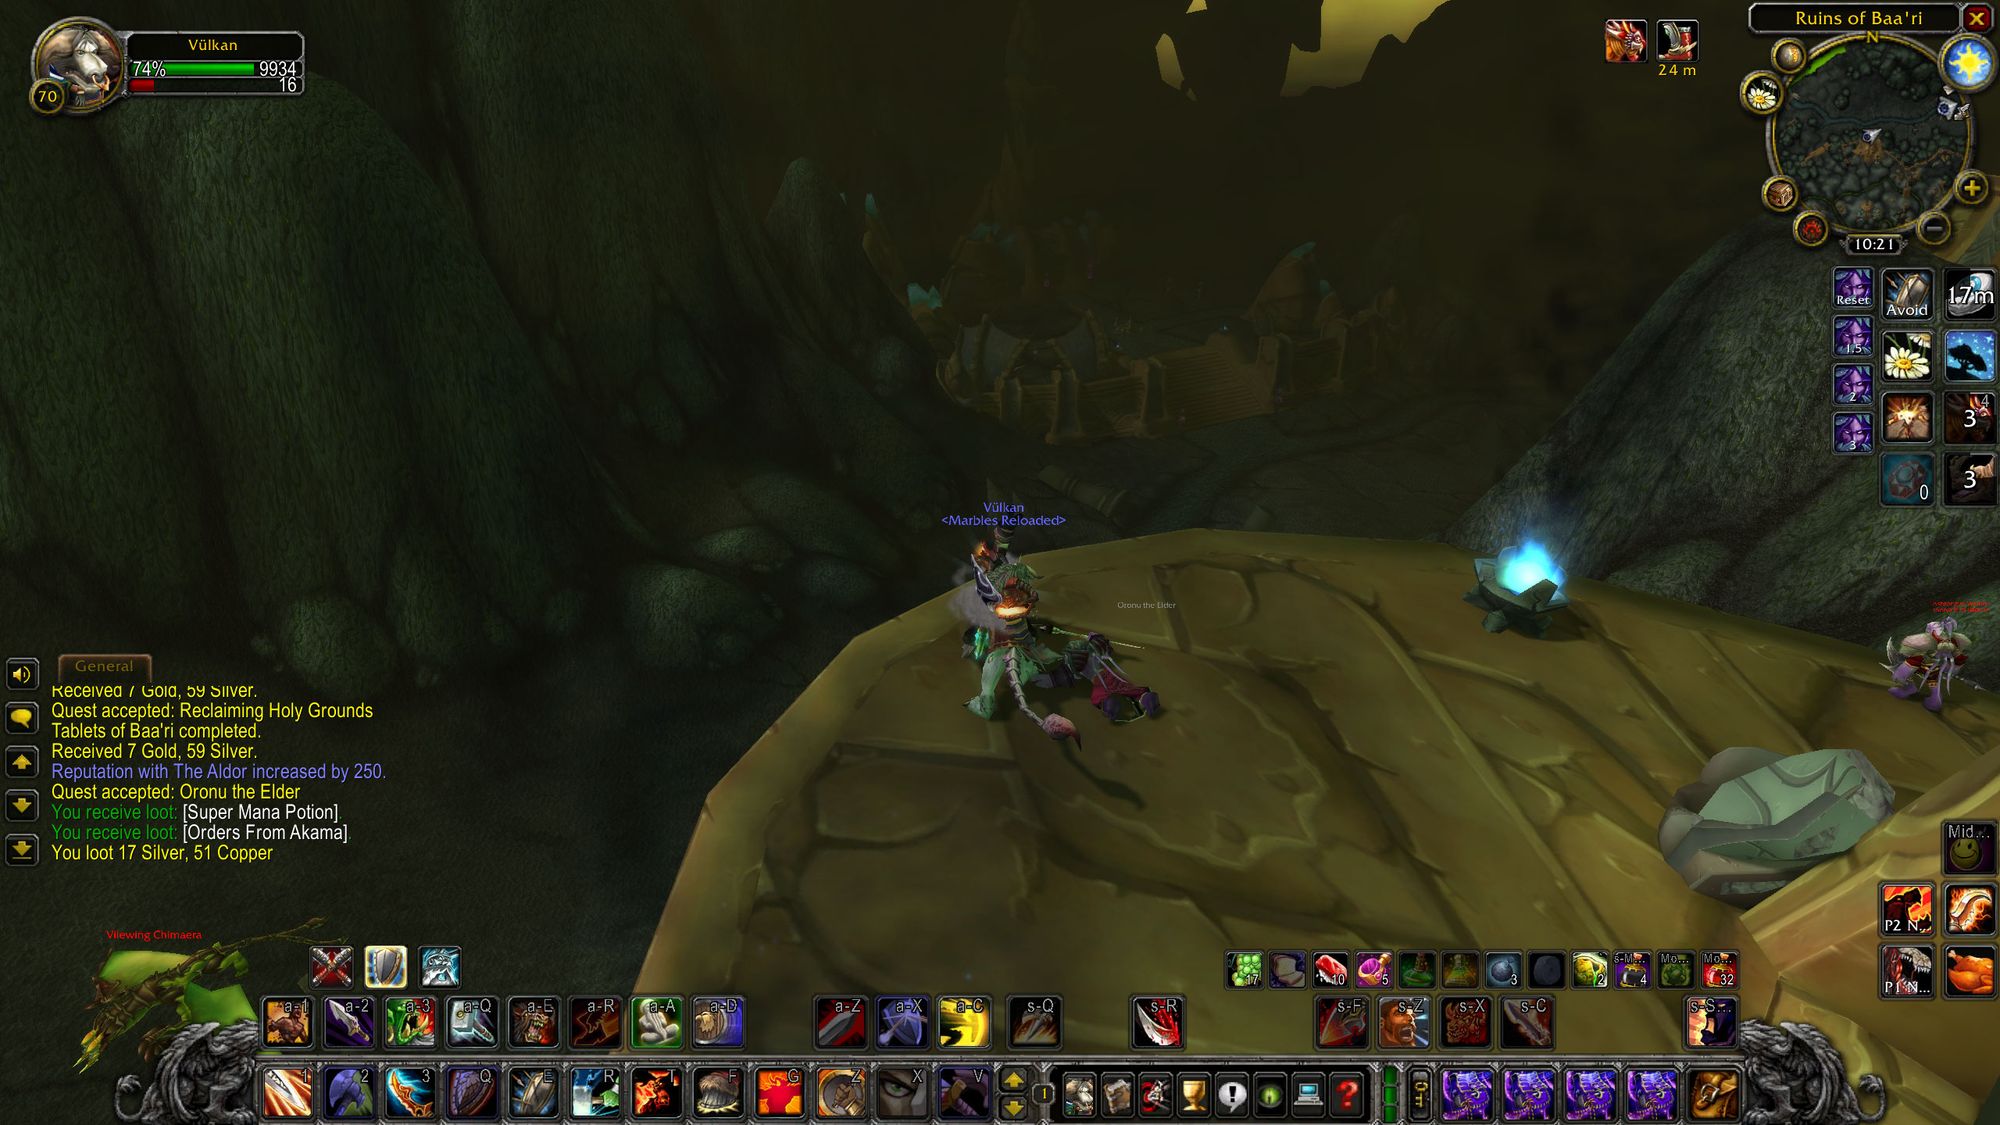
Depending on your allegiance to the Aldor or the Scryer, you're instructed to go and obtain 12 Tablets of Baa'ri in Shadowmoon Valley. Standard fetch quest - head to the zone, kill the baddies and get the items. You can do this whilst leveling, it's not particularly involved.
You then kill Oronu the Elder to gain orders from Akama, the leader of the Ashtongue, a group of broken who serve Illidan. The orders you obtain reveal that the medallion was split into four and given to four of Akama's lieutenants.
You run all over Shadowmoon Valley killing four "corruptors" - one each of air, earth, fire and water and obtain their fragments. These are non-elite level 70 enemies, so present little challenge. Again, something that can be done whilst levelling.
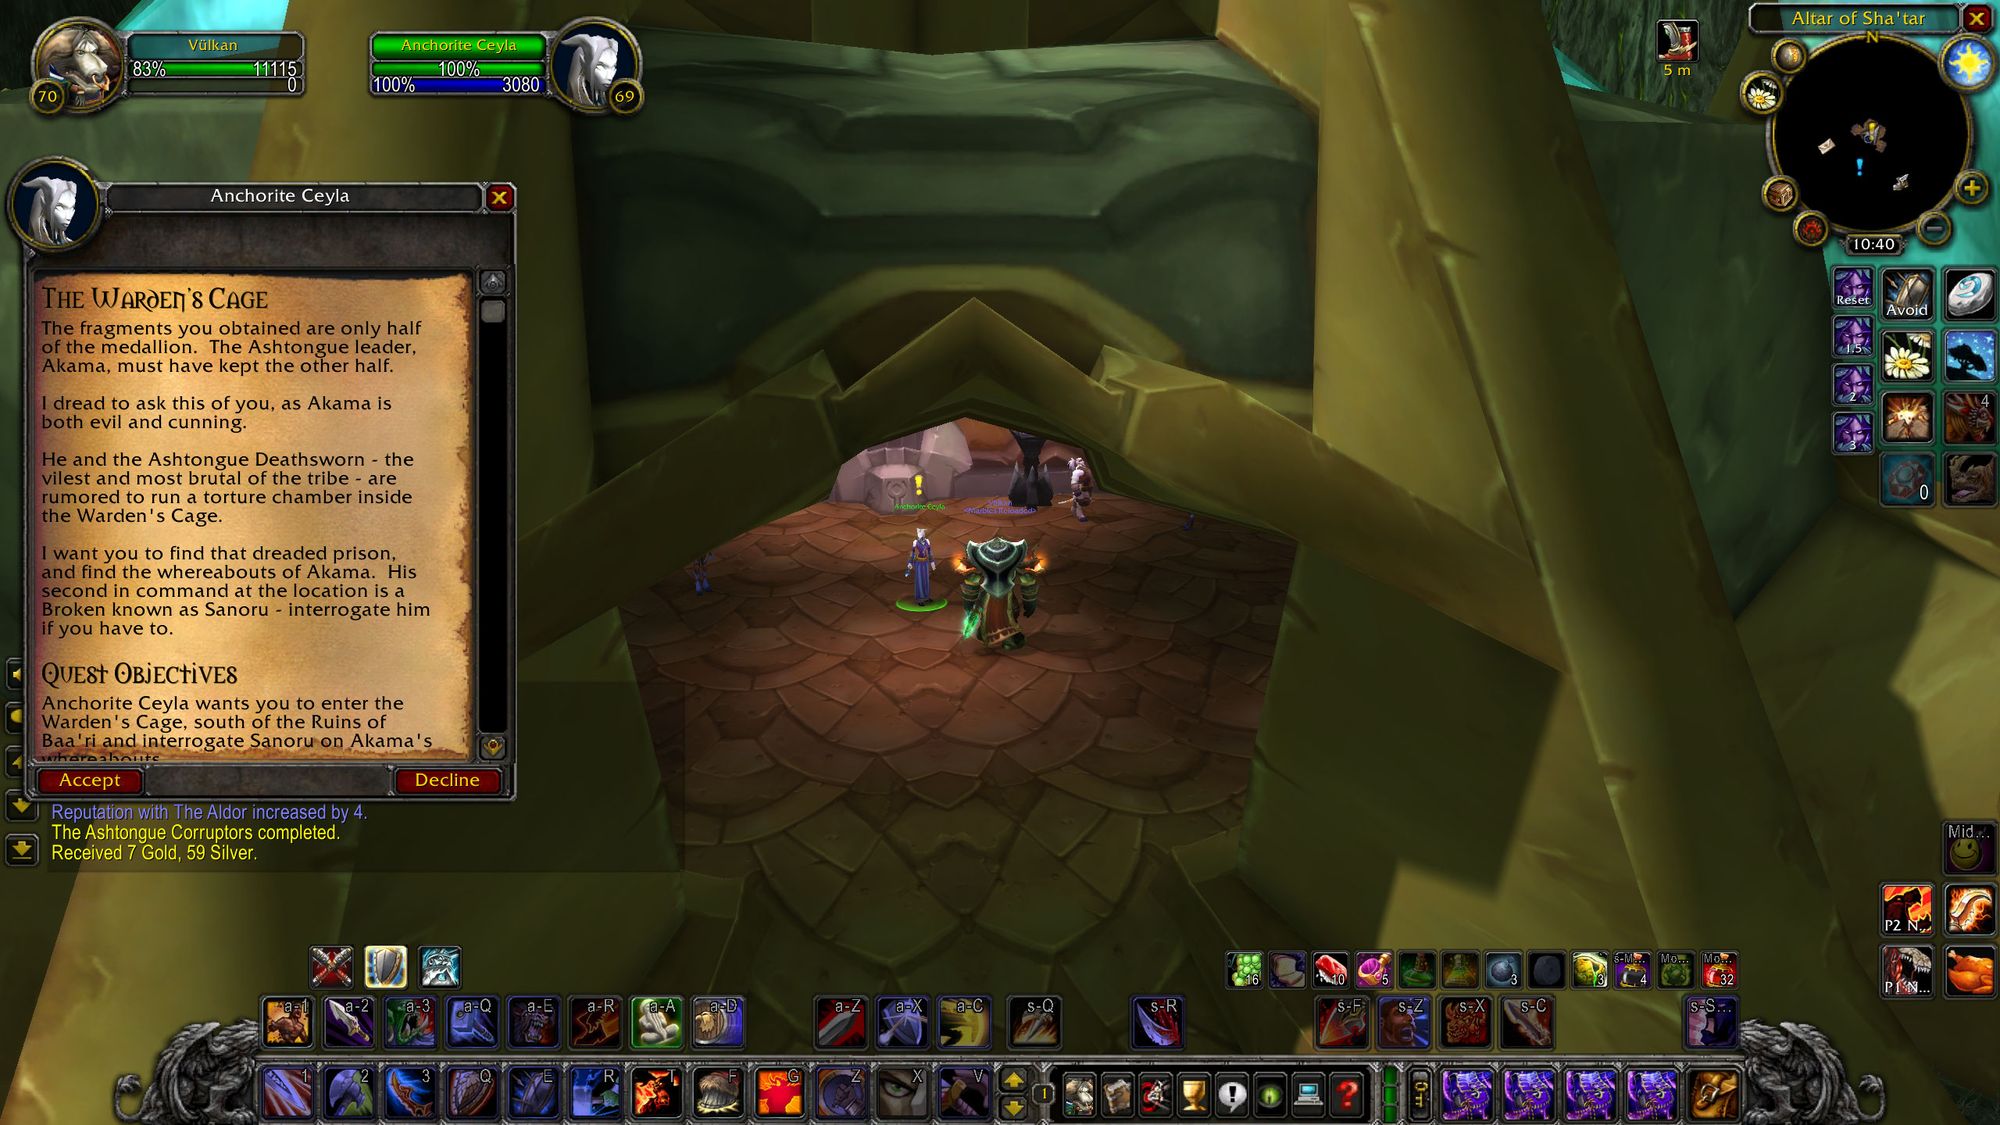
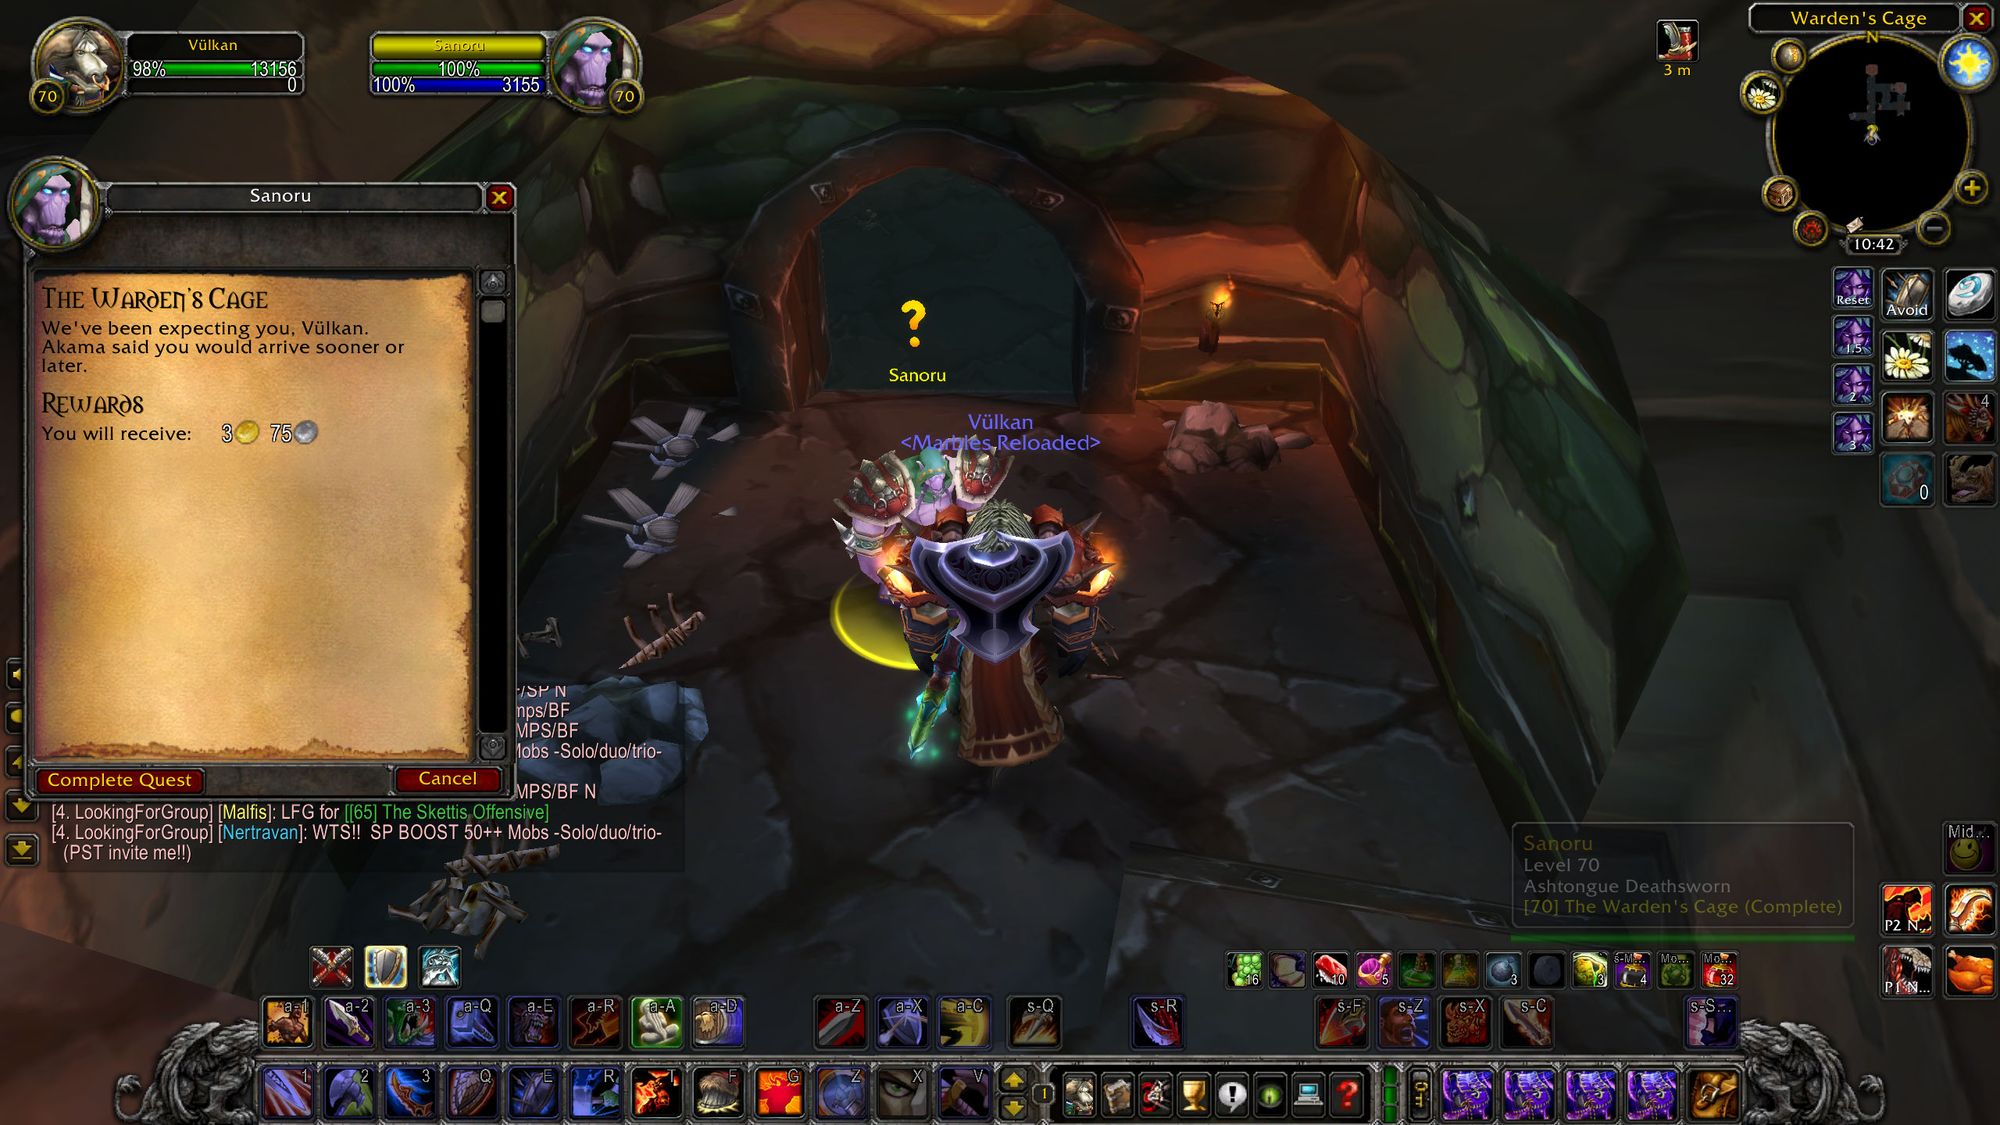
The character (either Aldor or Scryer) who gives you the initial quest then identifies that you only have half of the medallion and sends you to interrogate a member of the Ashtongue, Sanoru, in order to find Akama to obtain the other half of the medallion. You'll find him at the warden's cage in Shadowmoon Valley - you'll find out why it's called that soon enough.
It turns out that Sanoru and Akama have been watching your adventures. The Ashtongue Broken you killed in the ruins of Baa'ri were definitely evil, but a group within the Ashtongue, the Deathsworn, are secretly good - this, conveniently, is Akama's subfaction.
To test your loyalty he sends you back up top to kill one of Illidan's lackey observers, Zandras. He's a non-elite level 70 with two small helpers and so can easily be overcome.
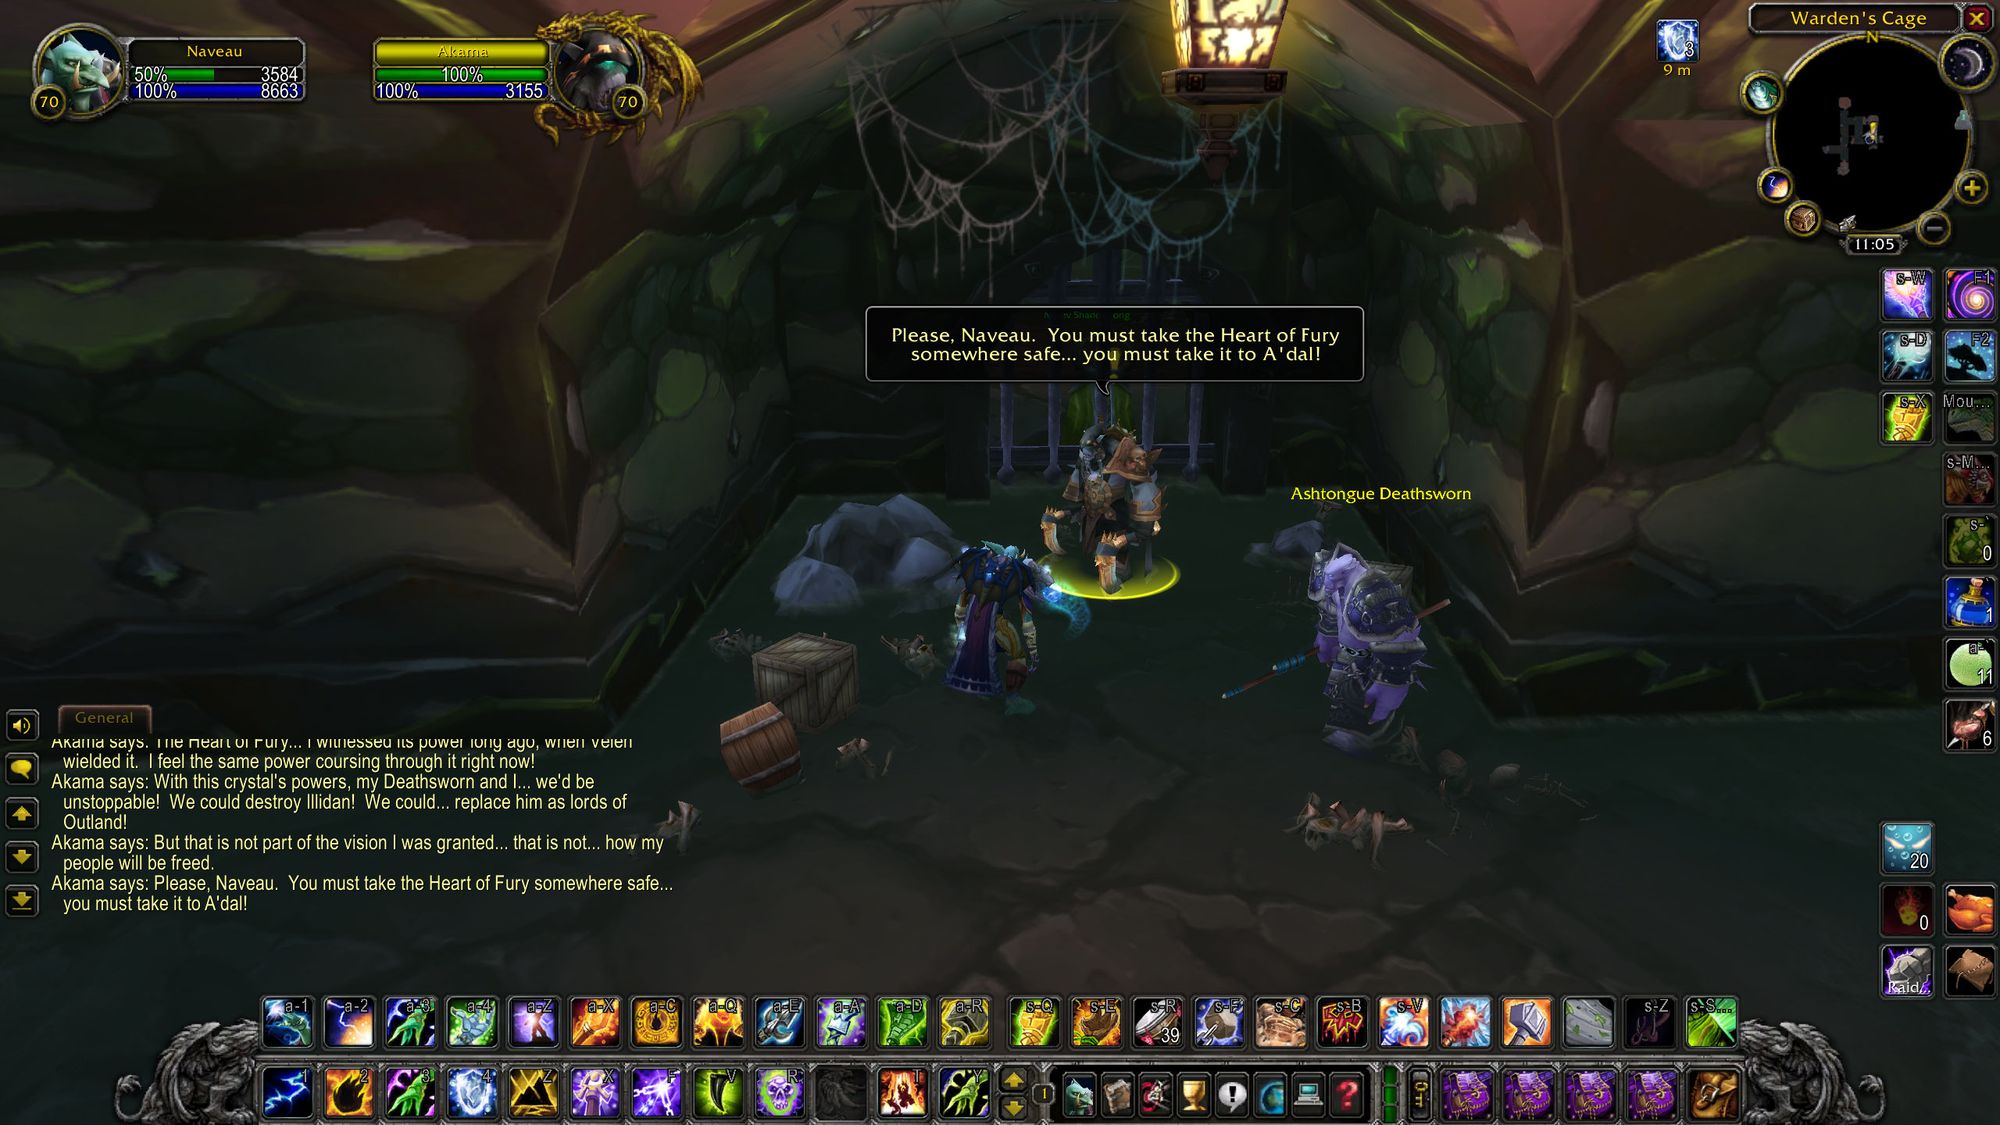
Having confirmed your loyalty to Sanoru, he sees fit to send you to Akama. There's a flooded underwater passage which leads you to the bossman himself, along with a night elf in a cage - Warden Maiev. If you have watched footage of Illidan's boss fight, you will immediately recognise that name.
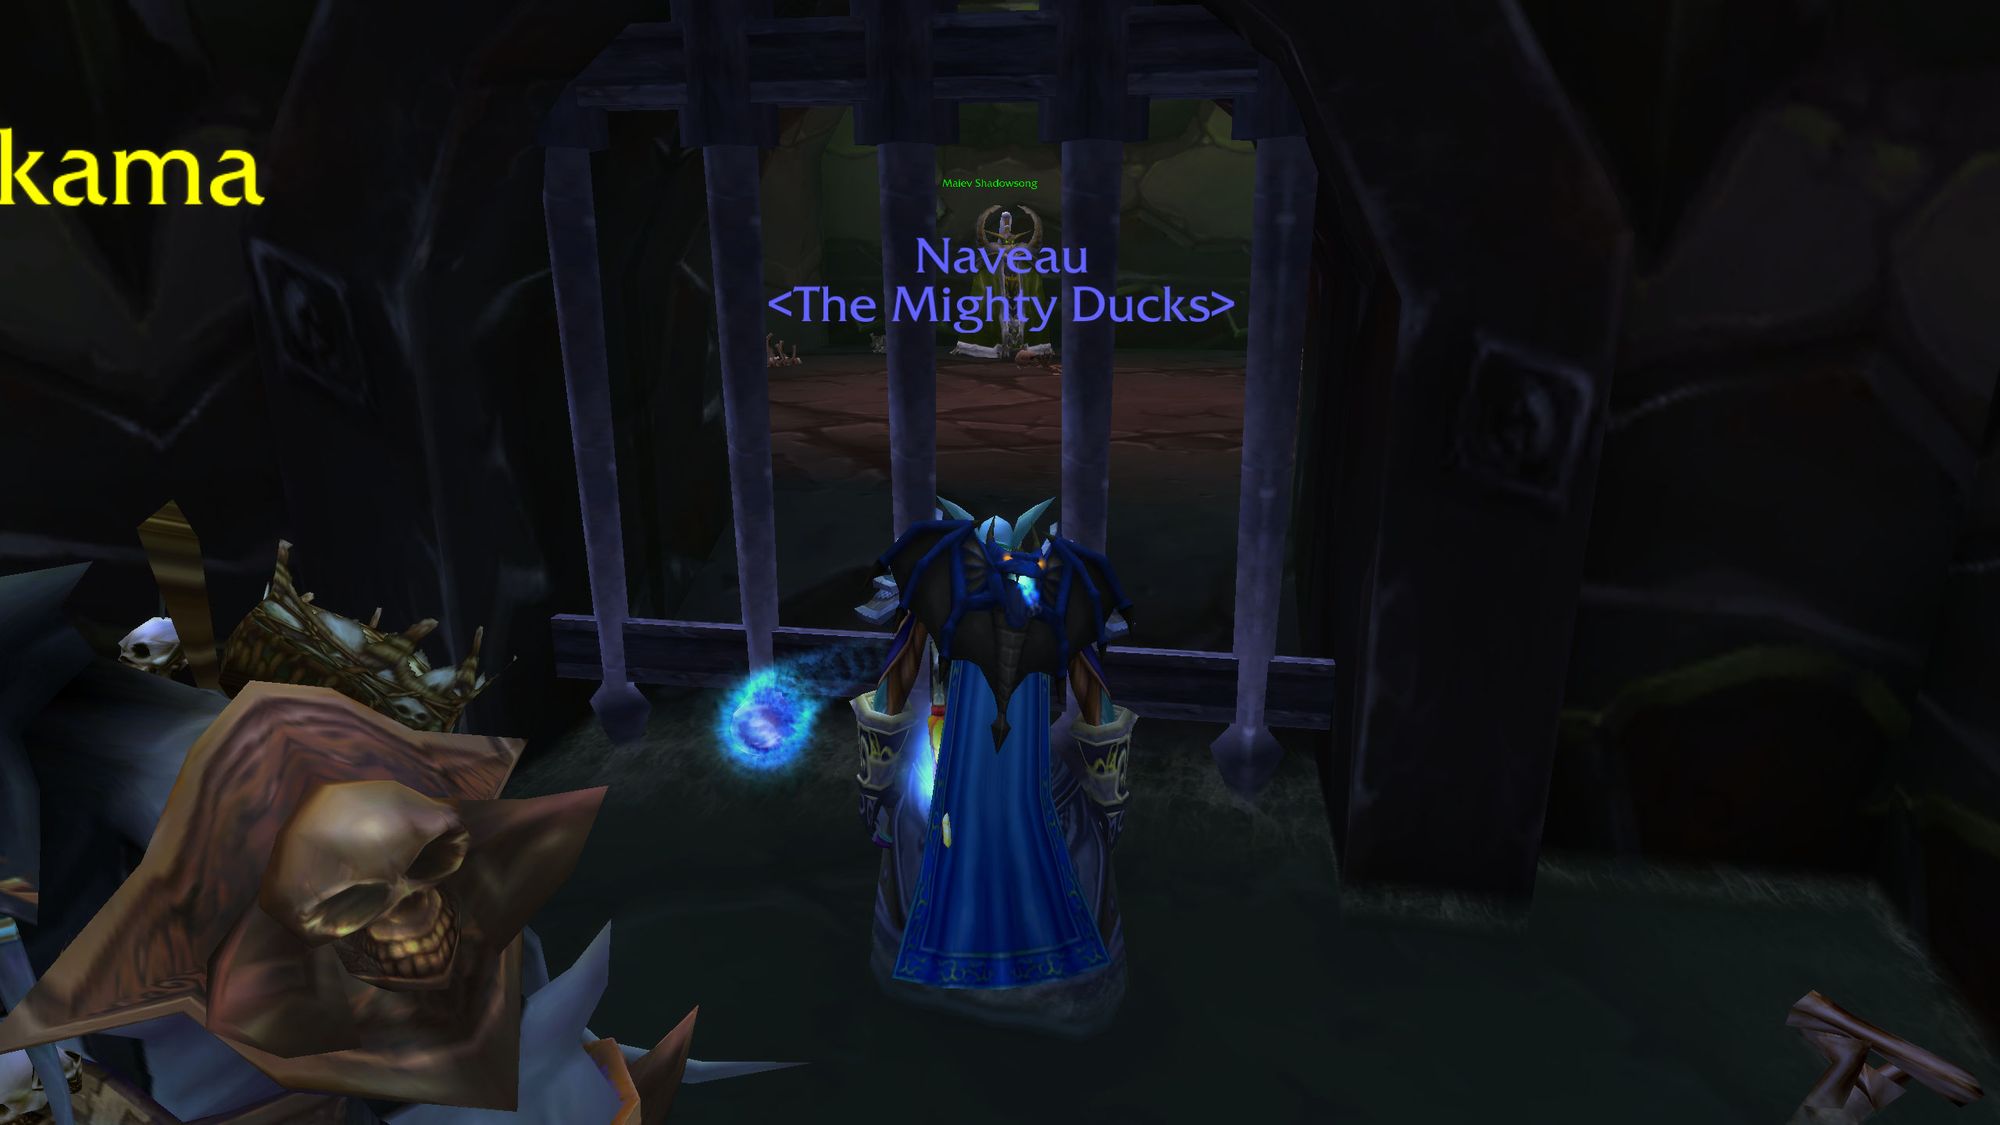
Either way, I hope you now understand why the area is called Warden's Cage.
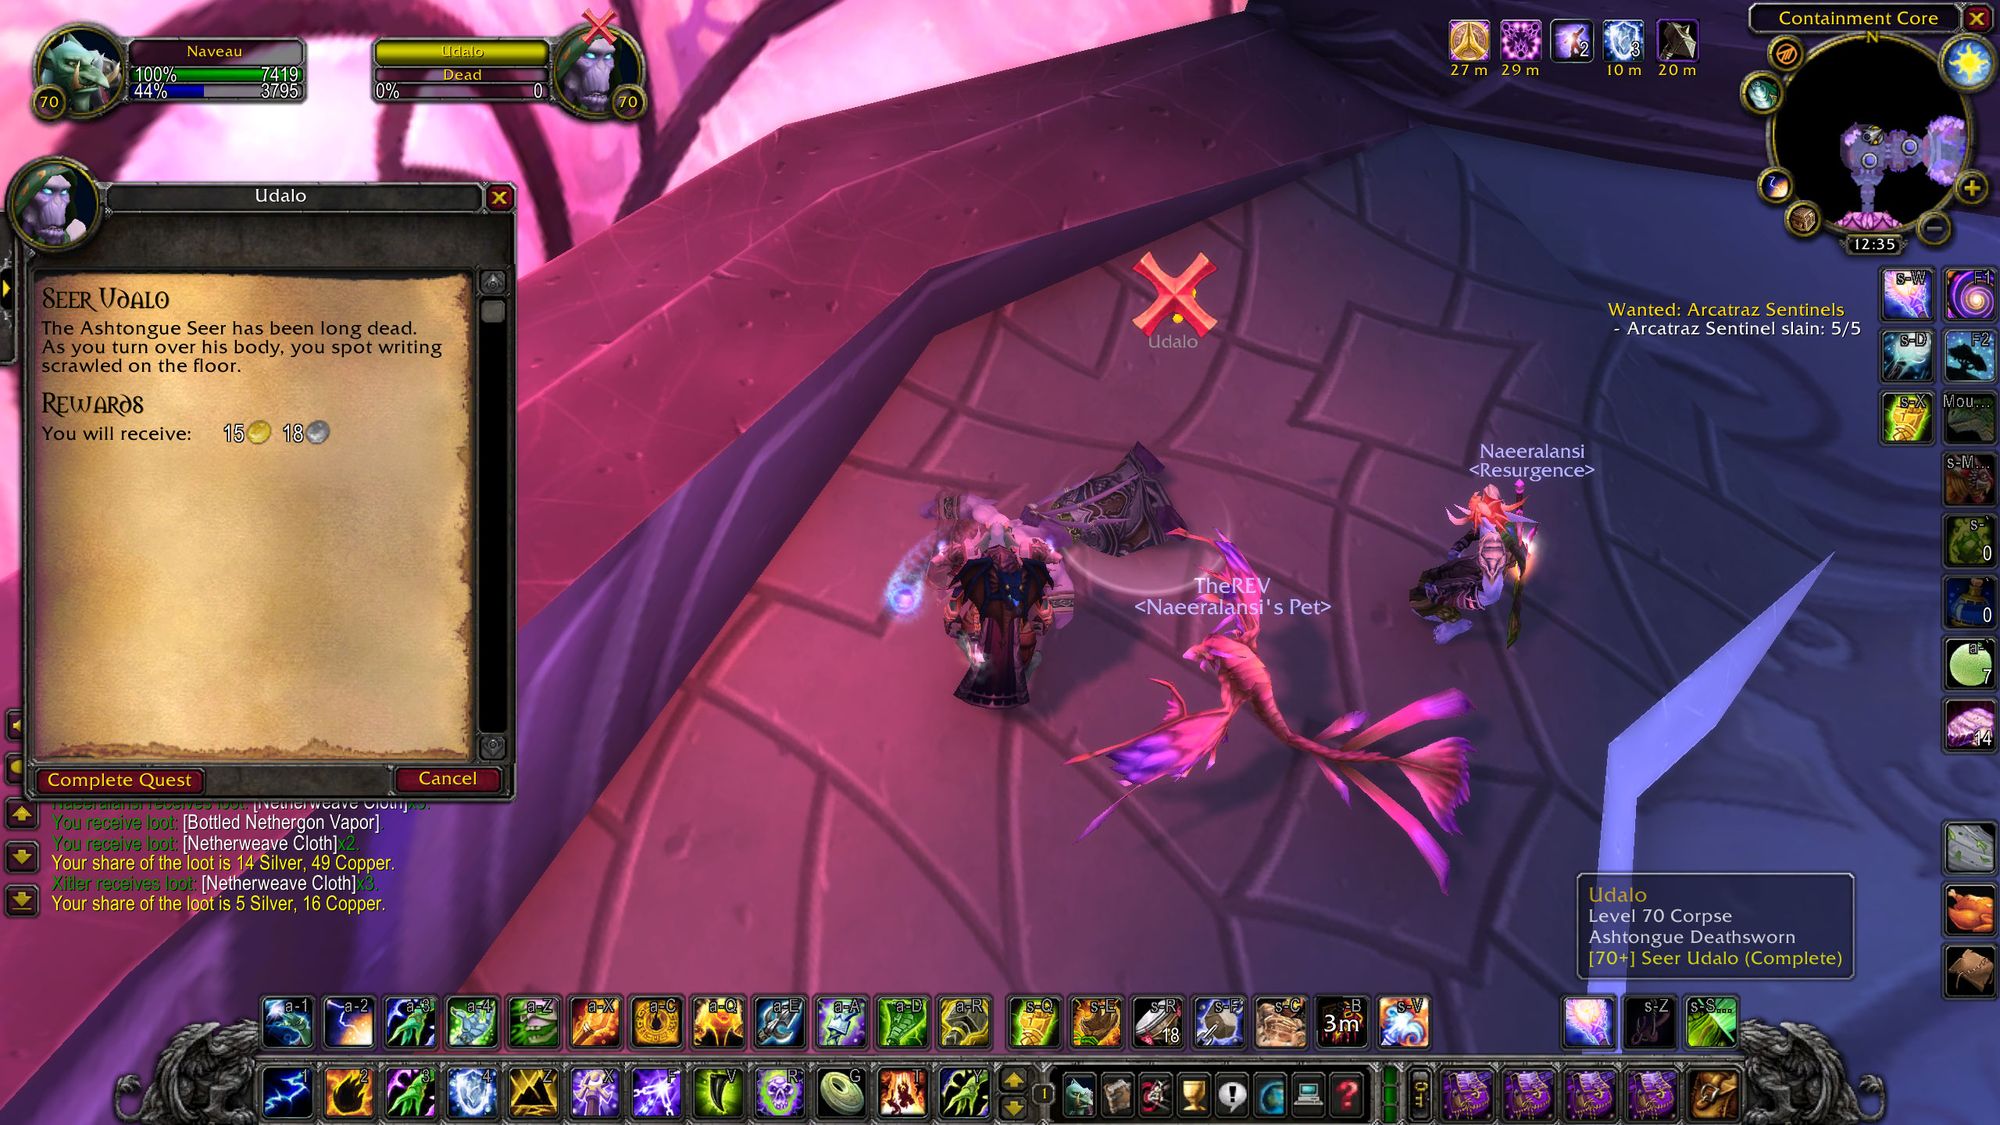
Akama tells you that the medallion pieces he gave the corrupters are not real and that he has a part of the real one. But only a part. He recieved a message by ESP, or something, from another Deathsworn, Seer Udalo, who advised that he found it, but Kael'thas is keeping him under wraps in the Arcatraz.
Now we've already covered the attunement for the Arcatraz for Karazhan, so I won't go over it again, only to say that this quest can be completed on normal difficulty.
You find Seer Udalo face down about three quarters of the way through the Arcatraz. He's dead and has been for some time, but has left you a clue, scrawled in his own blood - the word "Ata'mal".
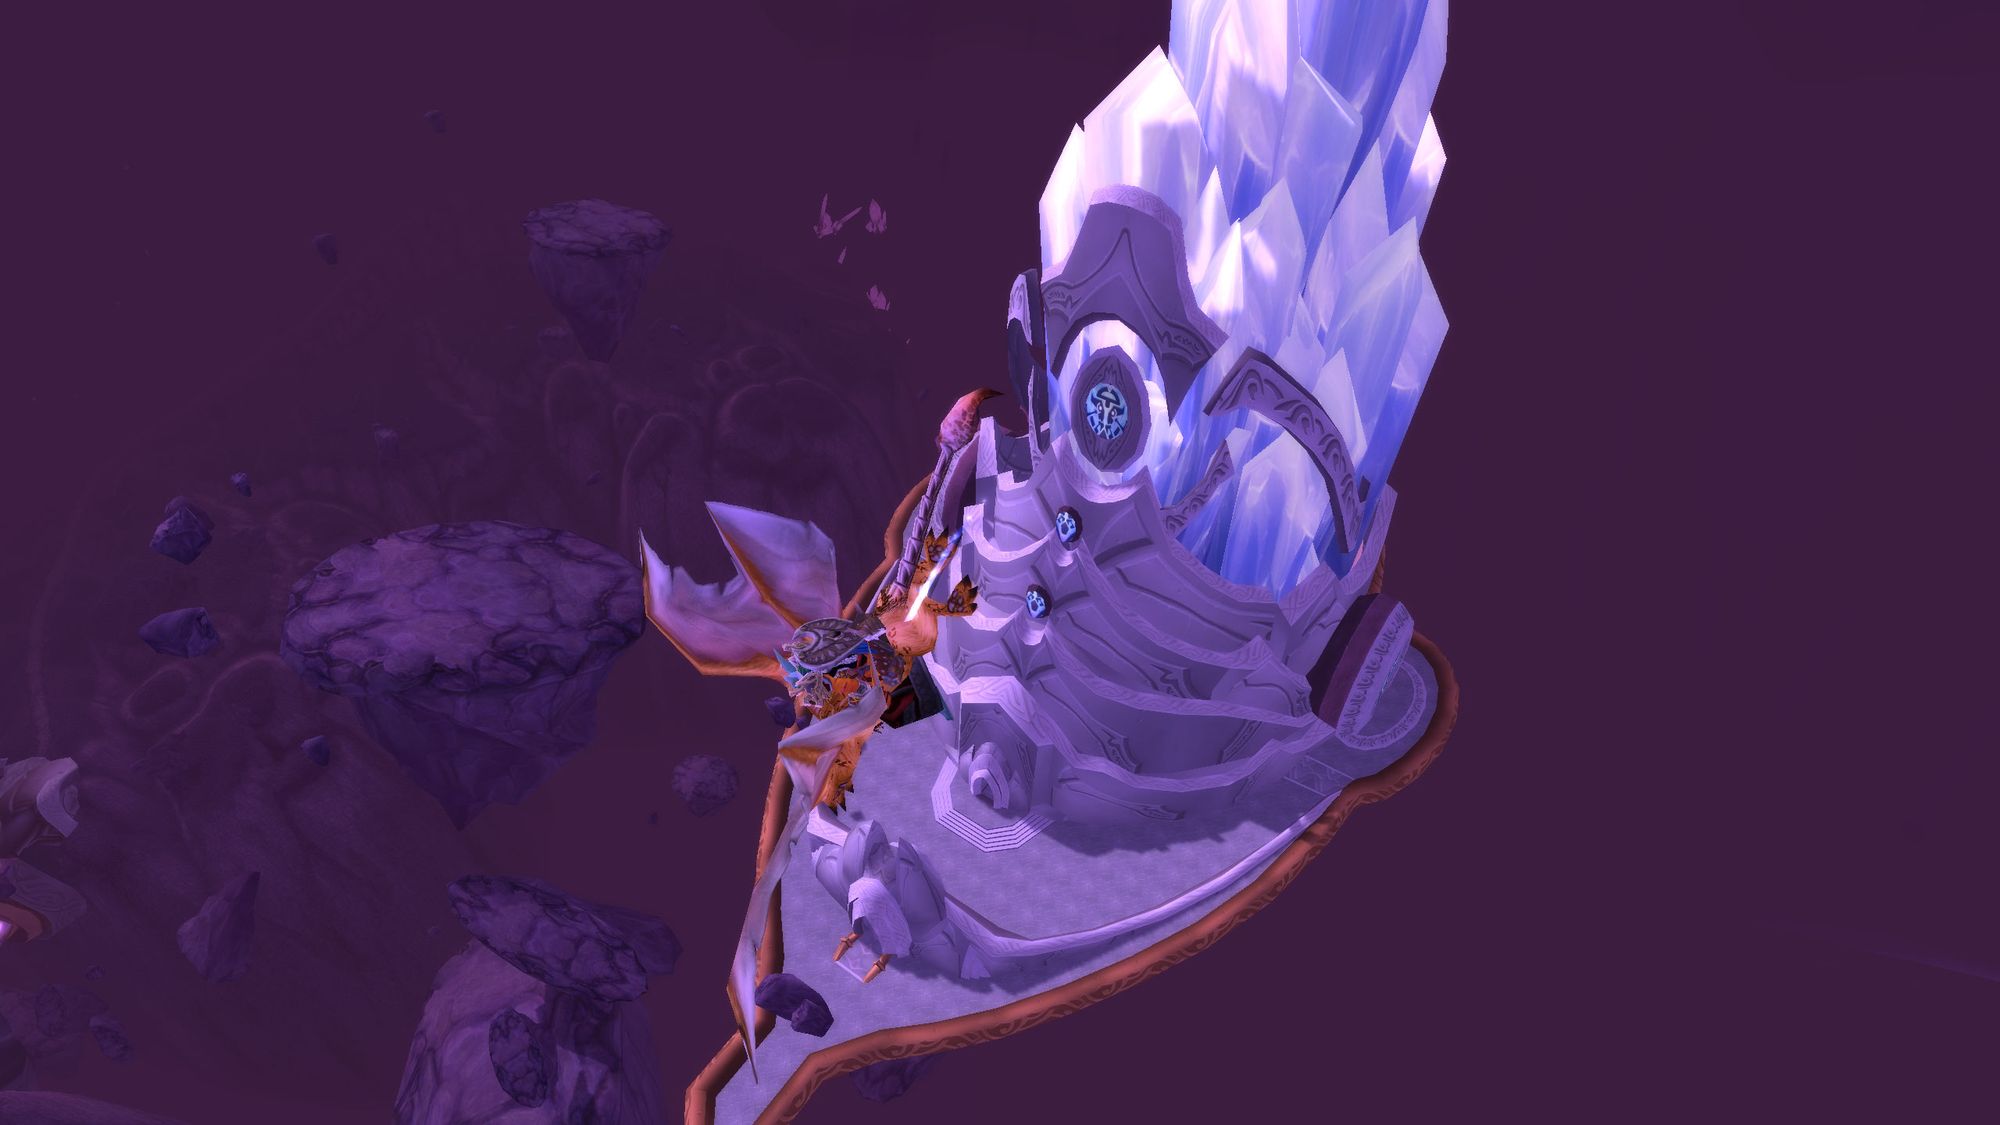
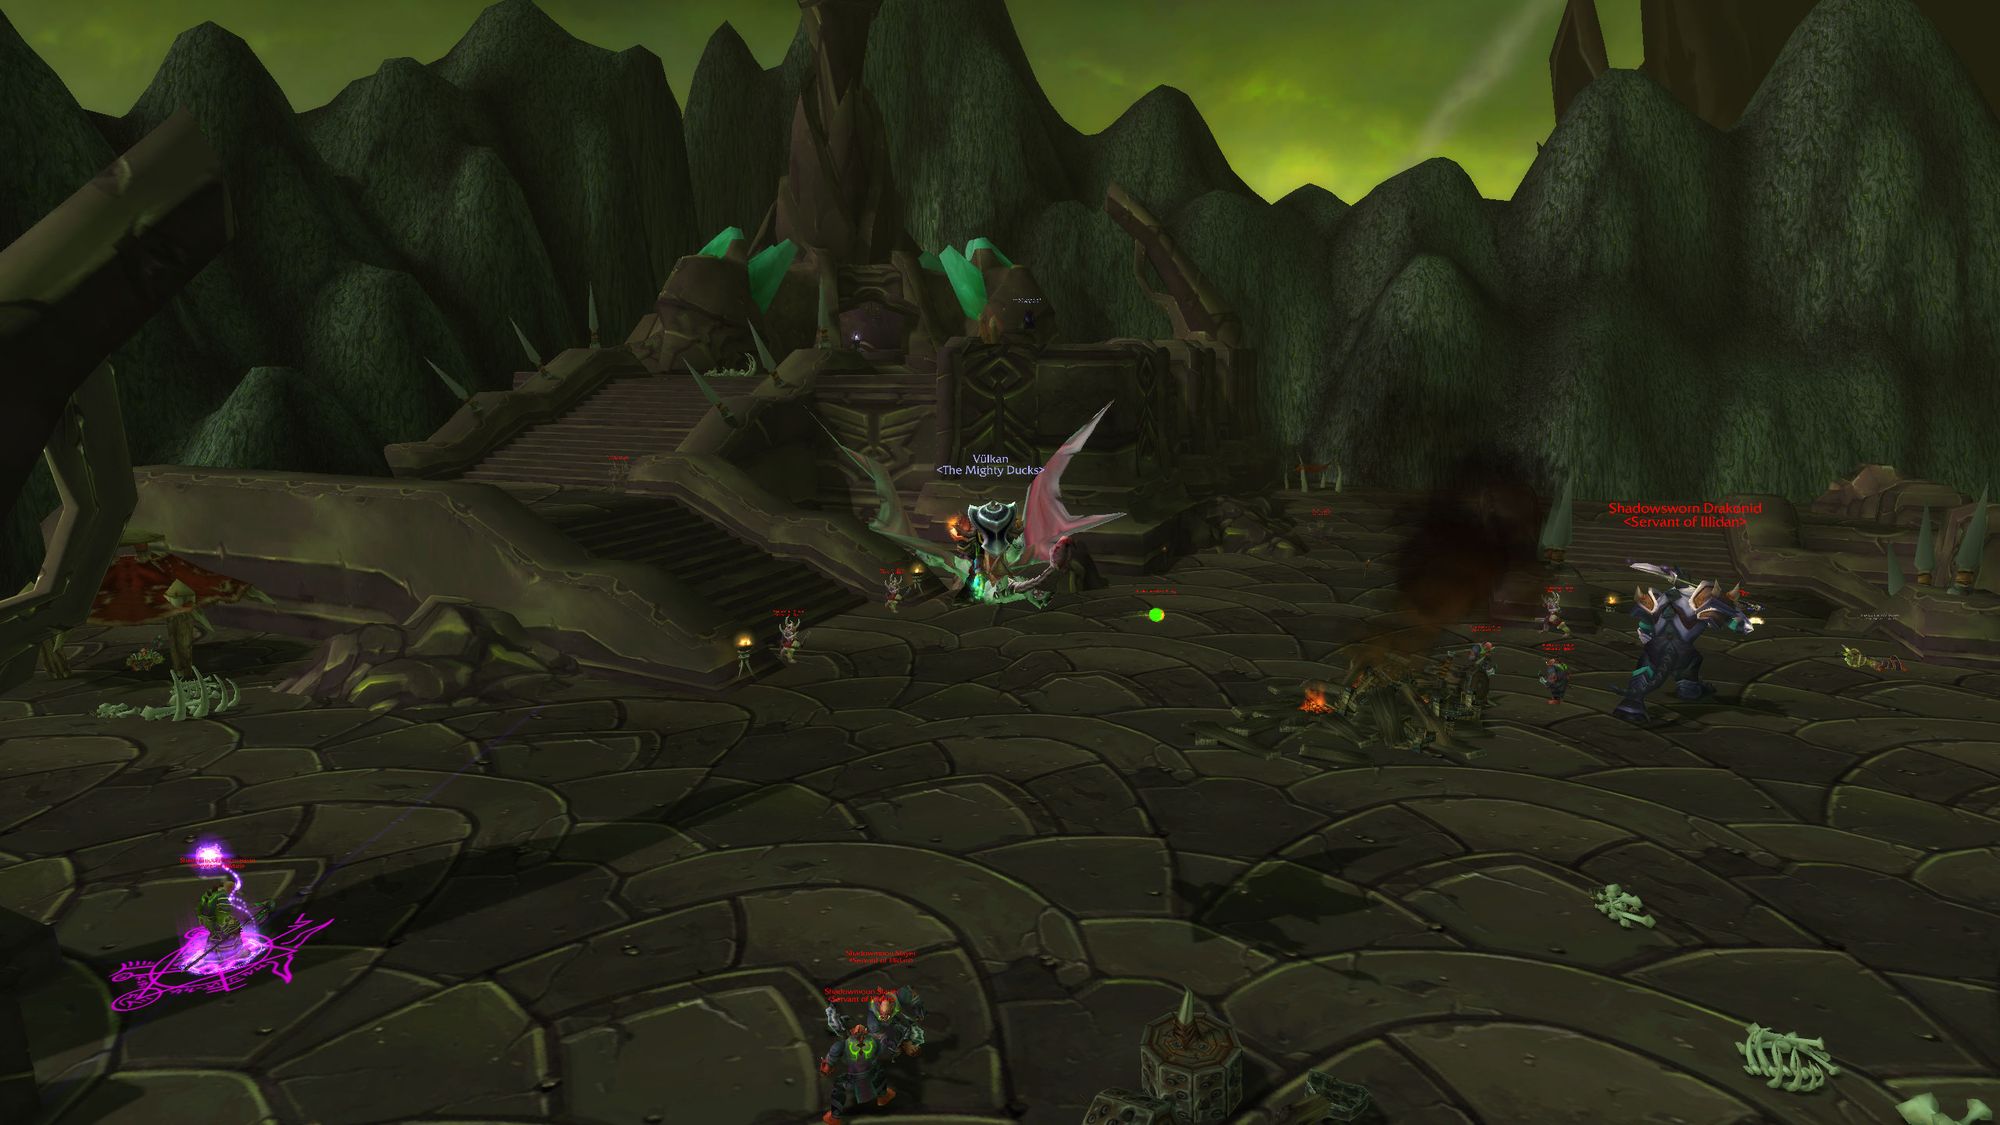
You go back and see Akama, who weeps a little for the loss of his brother seer, but then points you in the direction of the Ata'mal terrace atop the outside of the Black Temple. This a group quest requiring five people and involves fighting waves of fel orcs, followed by a level 72 elite dungeon boss equivalent.
You recover an item called the "Heart of Fury", which is the second piece of the medallion. Akama sends you to A'dal to hold onto it for safe keeping, and a promise that when the time comes, (like in phase 3, or patch 2.1 in the original expansion) he will free Maiev and help you kill Illidan.
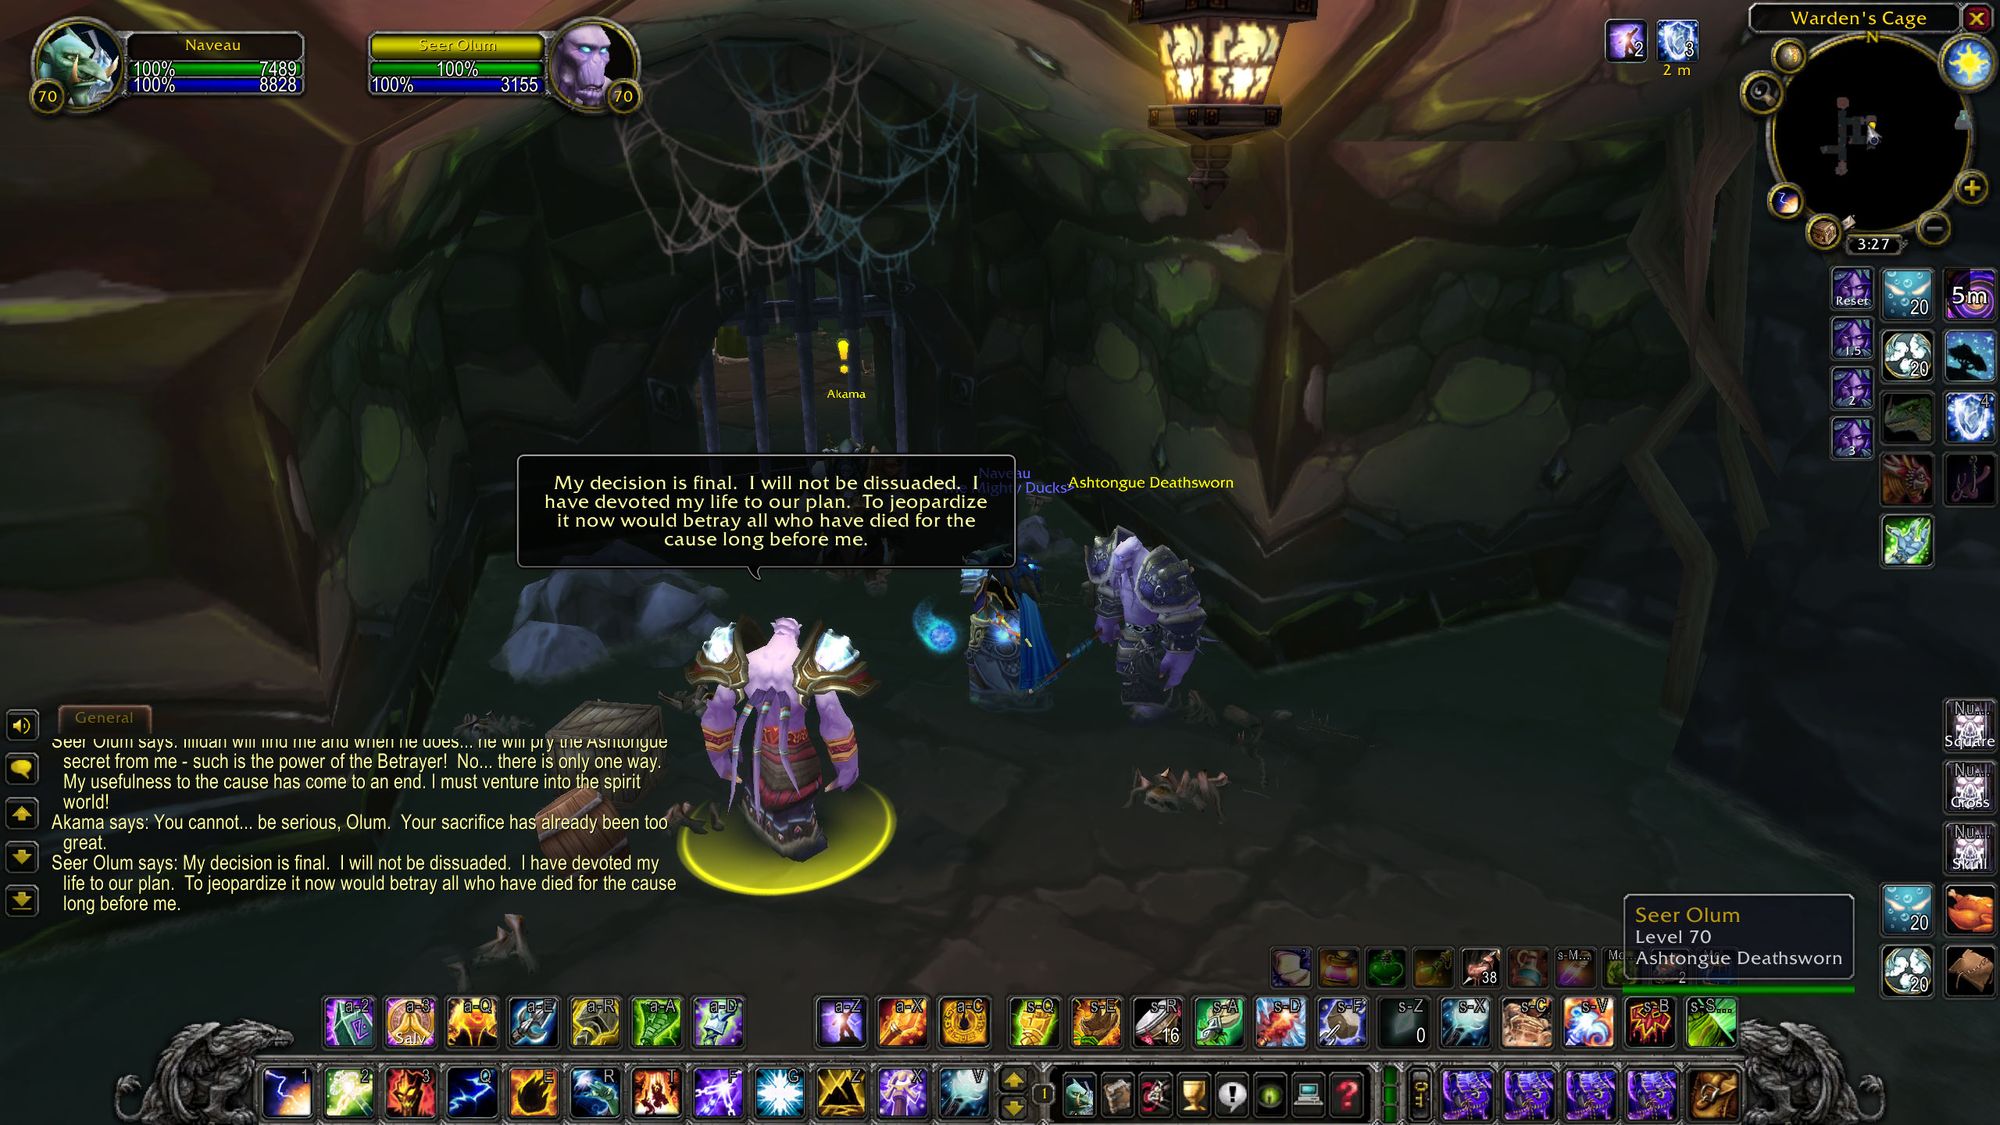
That's where the quests end and the raid quests begin. I noted in my Serpentshrine Cavern report that Seer Olum appears after Fathom-Lord Karathress. Turns out one of Lady Vashj's people got wise to what the Deathsworn were doing, and were going to take Olum to Illidan, which would've given the game away.
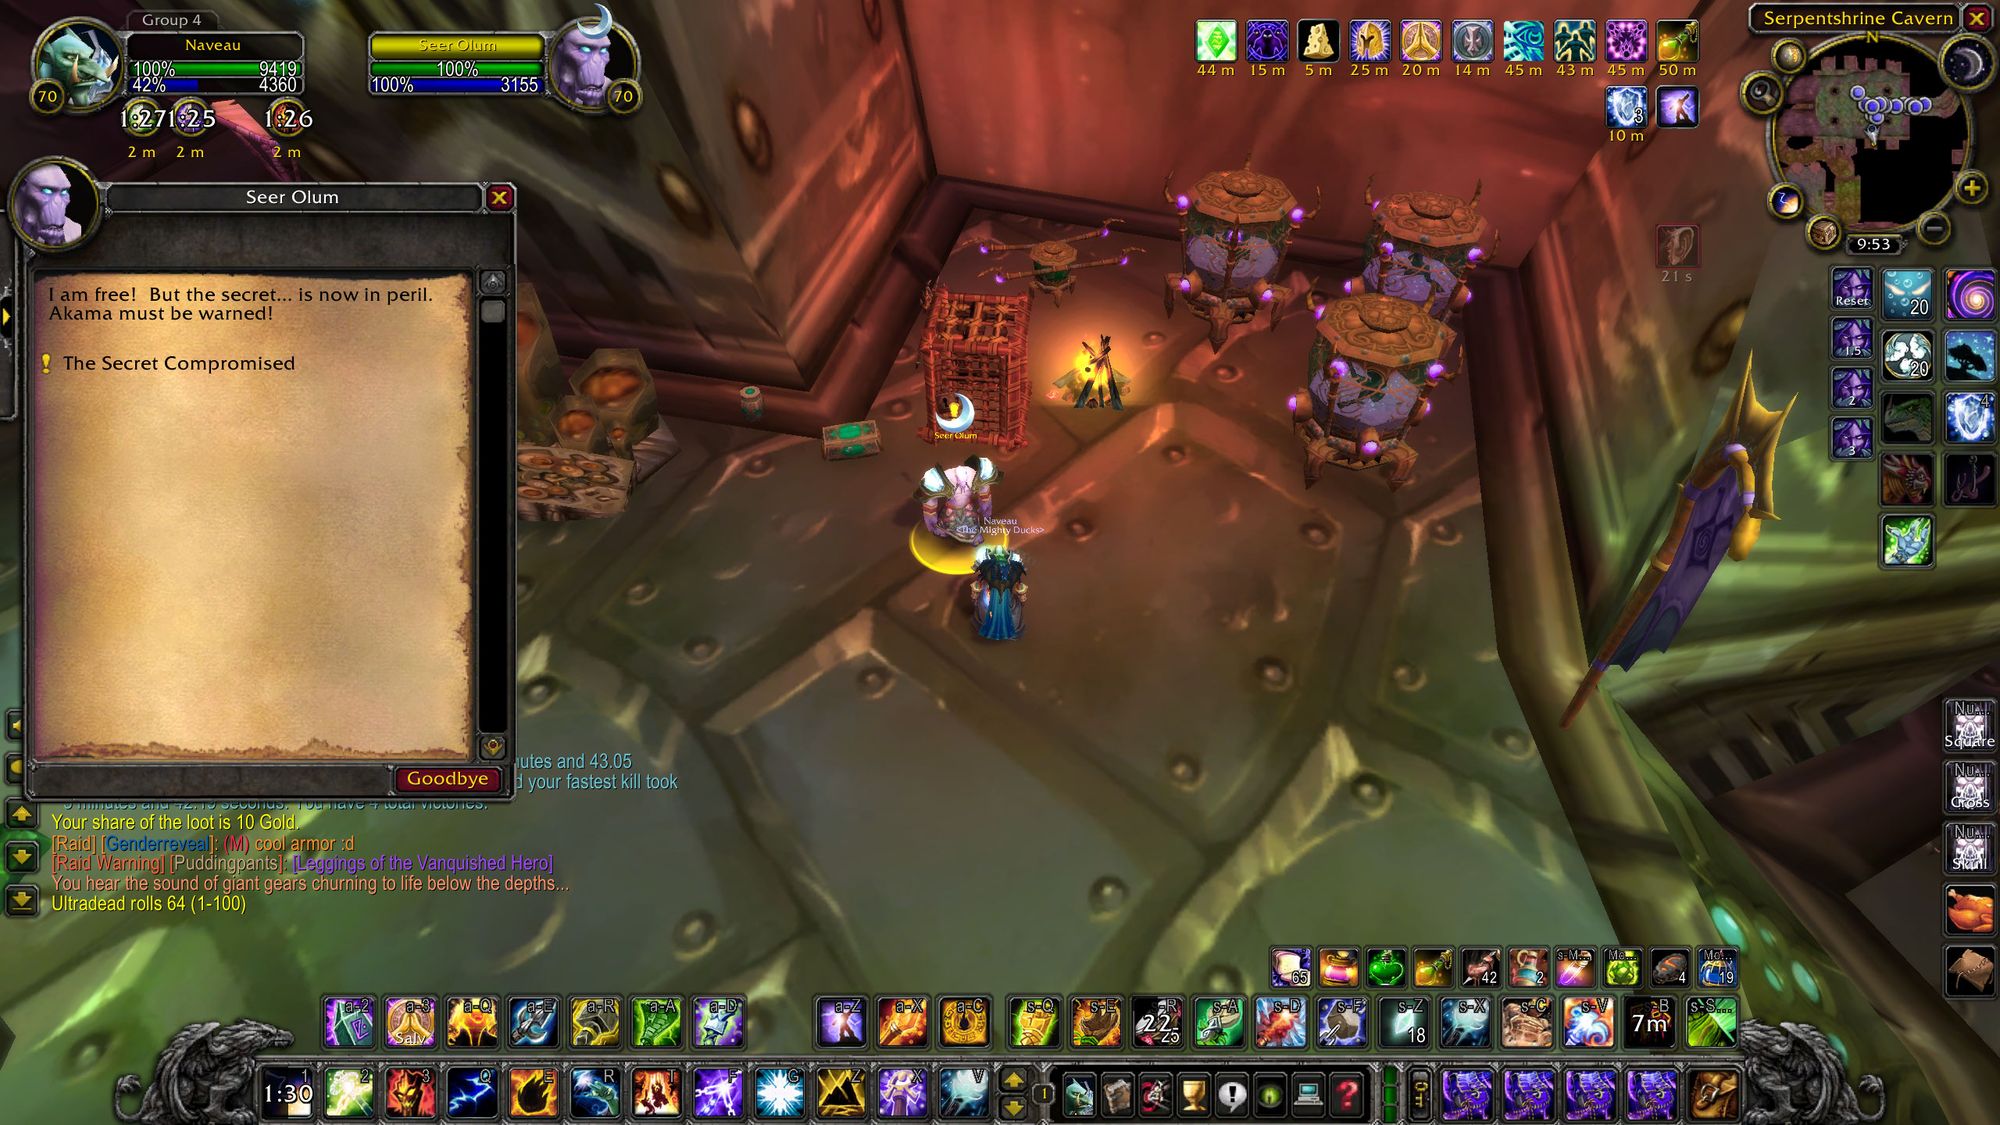
When you turn this quest in, there's a psuedo-cutscene. Olum volunteers to sacrifice himself so Akama can pretend he's a traitor, which he does in front of the dreadlord Illidan sends to investigate.
Akama shifts the blame to Kael'thas, and Illidan demands that the lord of the blood elves be brought into line. You get a disguise to wear in Tempest Keep, which turns you into a broken, and then kill the first boss, Al'ar.

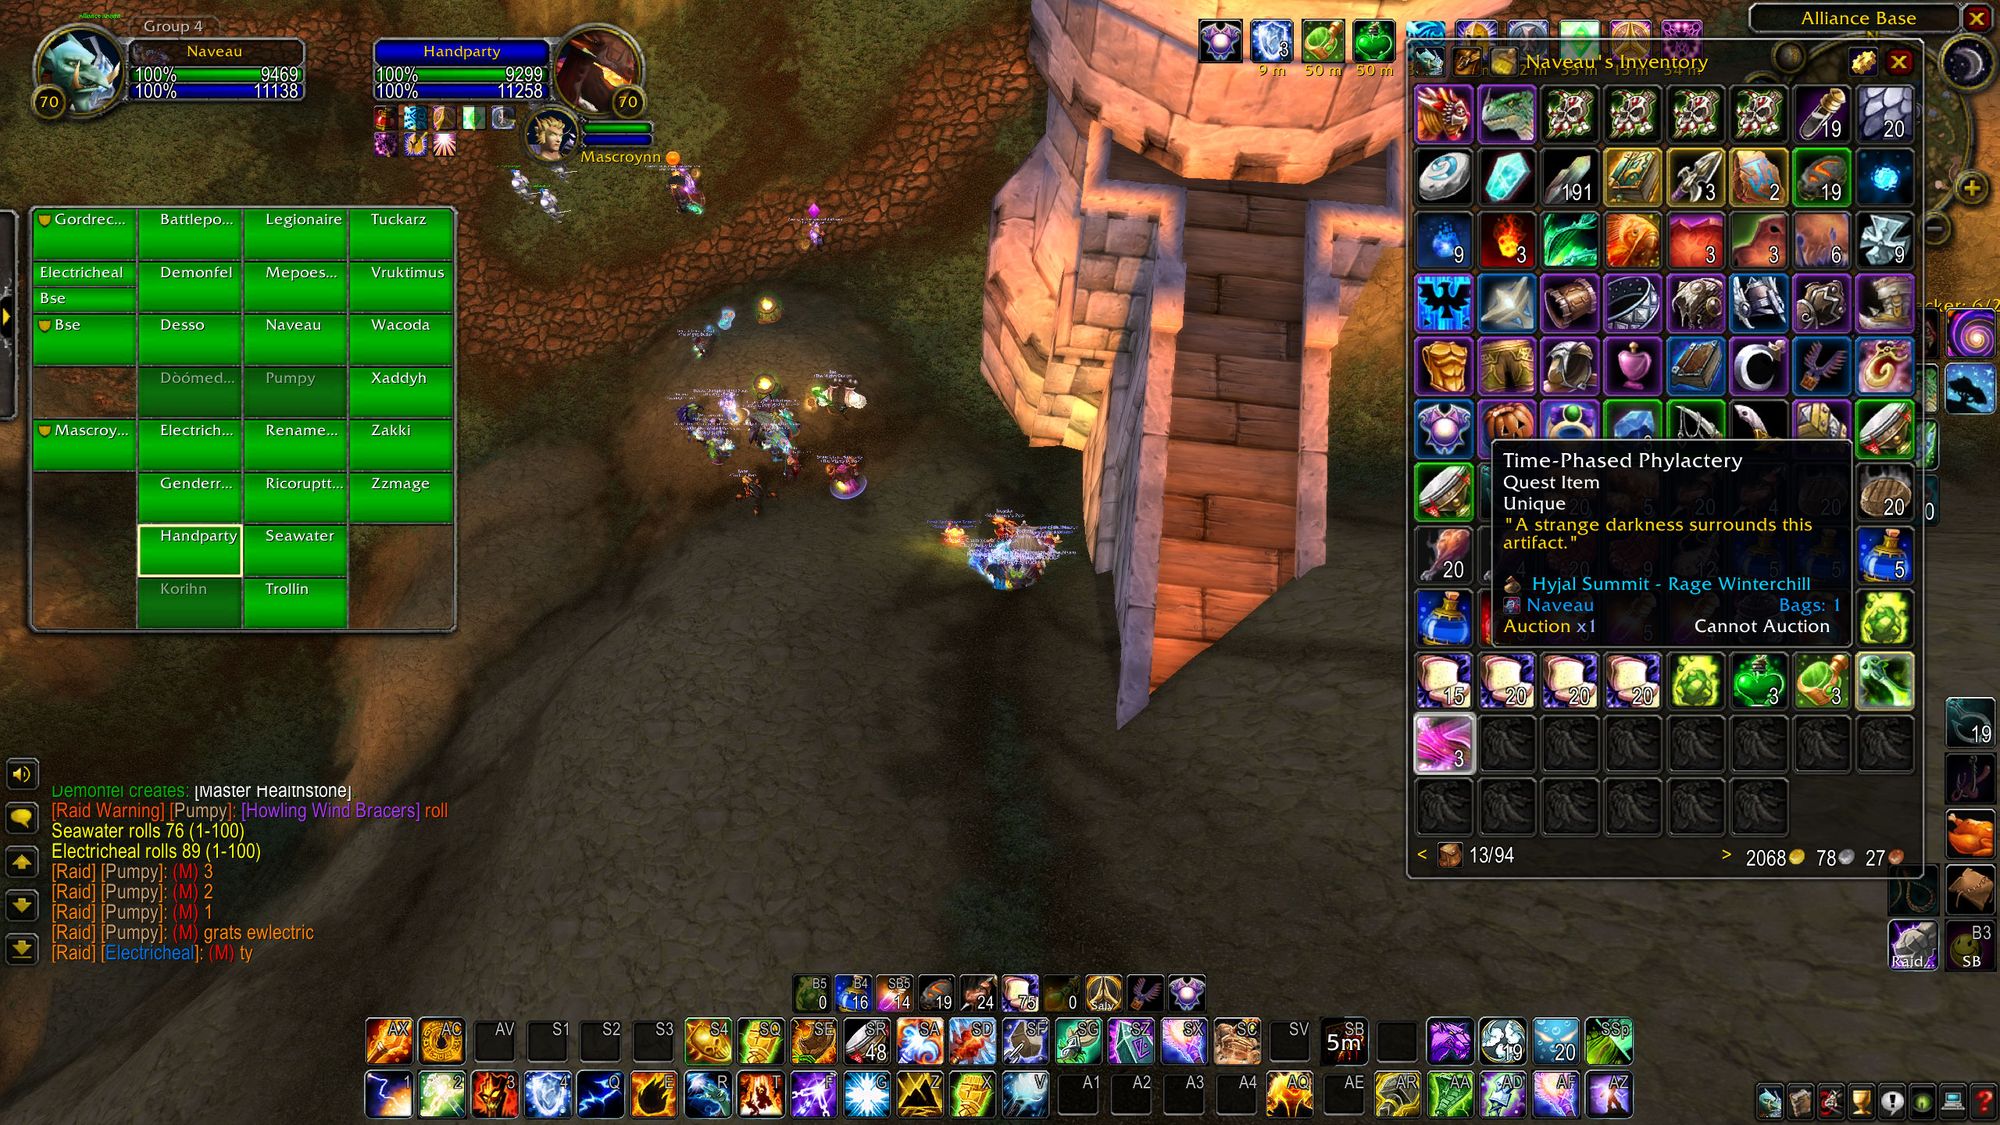
So having done all the phase two raids, there's one more item you need. Rage Winterchill's phylactery. But, of course, he was defeated at Mount Hyjal! So you have to go back in time to Mount Hyjal and kill the first boss.
Having schlepped all over Outland and Azeroth as part of Akama's plan, everything is now in place to distract Illidan and begin the assault on the Black Temple. There's just one more thing you need - the Medallion of Karabor, which is where Akama sends you next.
A'dal, at this point knowing you've struggled through SSC and TK, agrees to give you back the medallion and organises for another Sha'tar, Xi'ri, to attack the Black Temple and create a distraction for you.
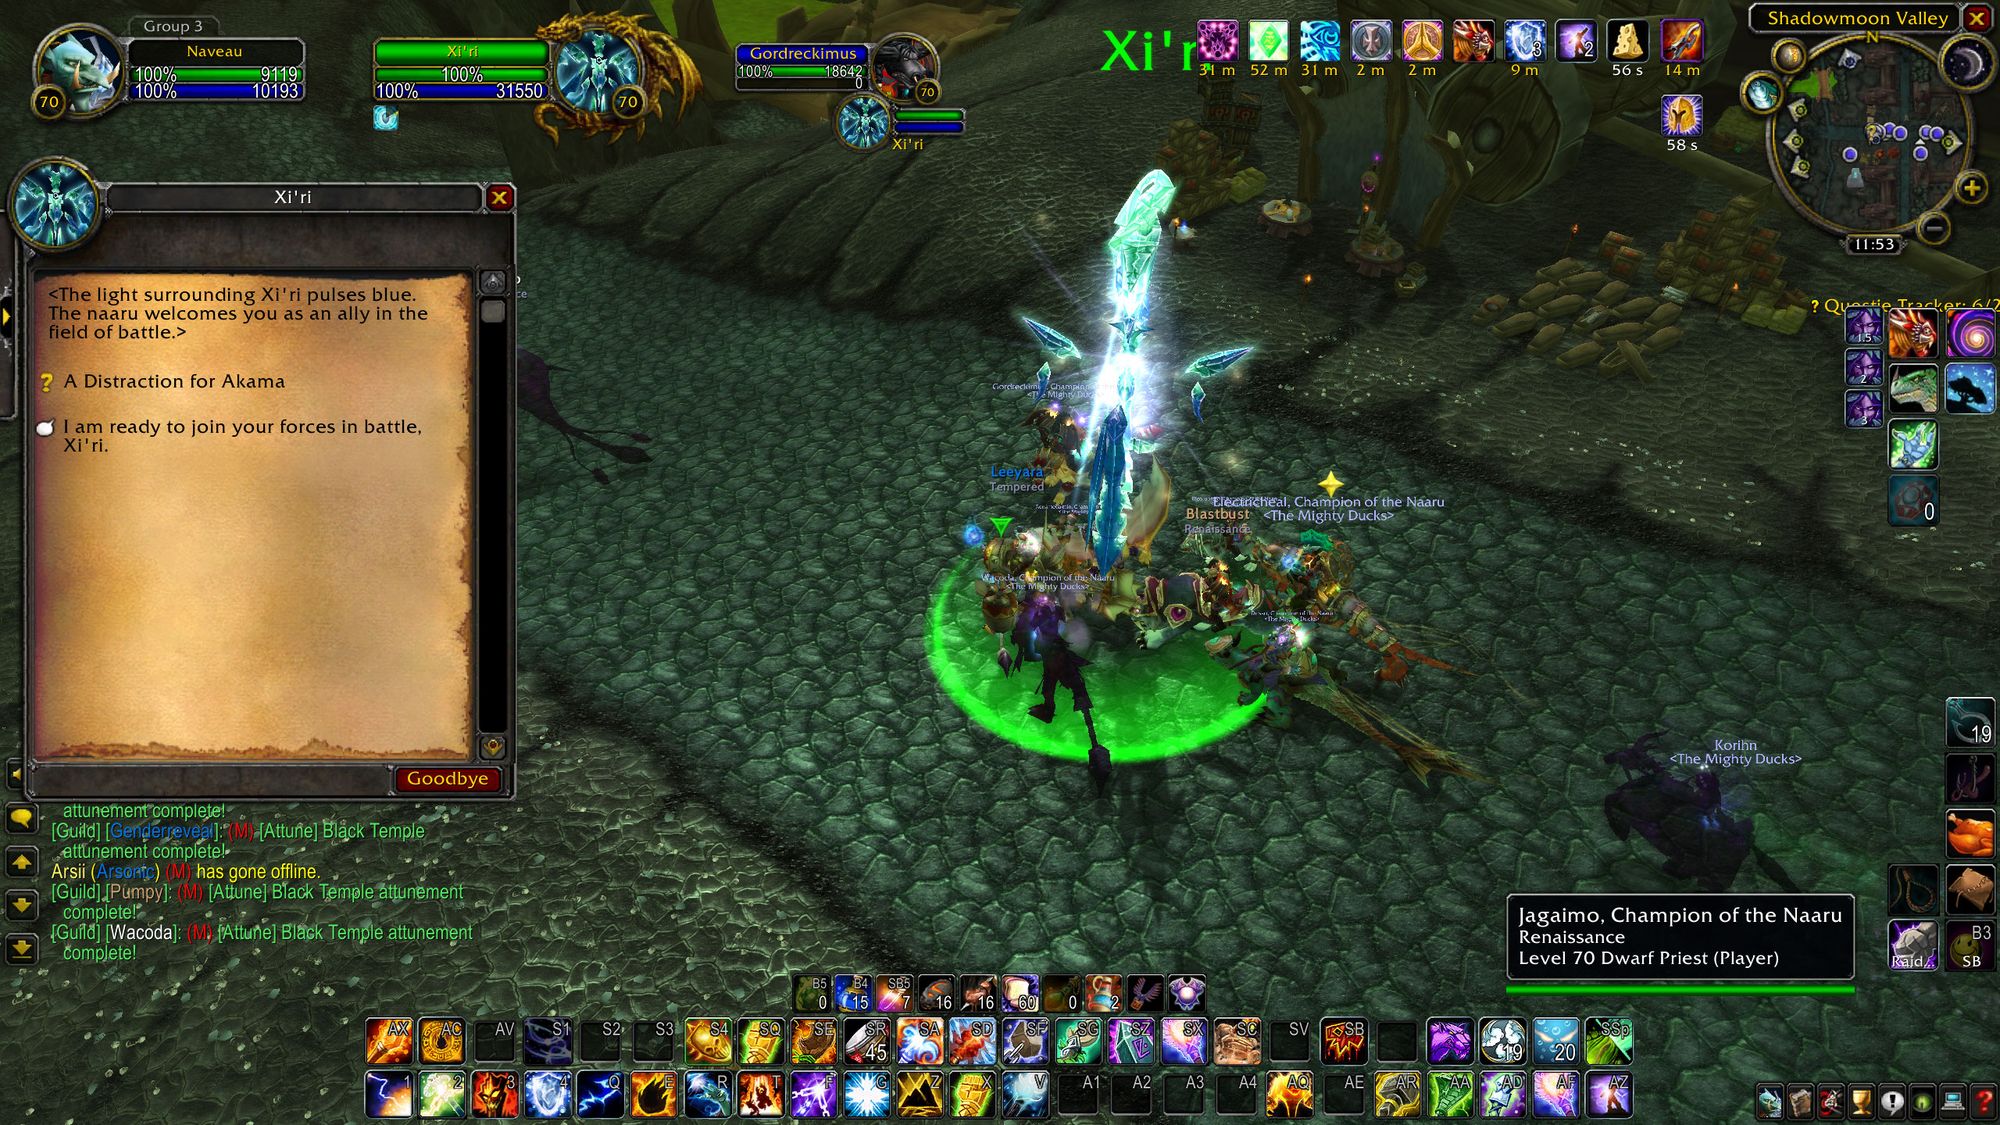
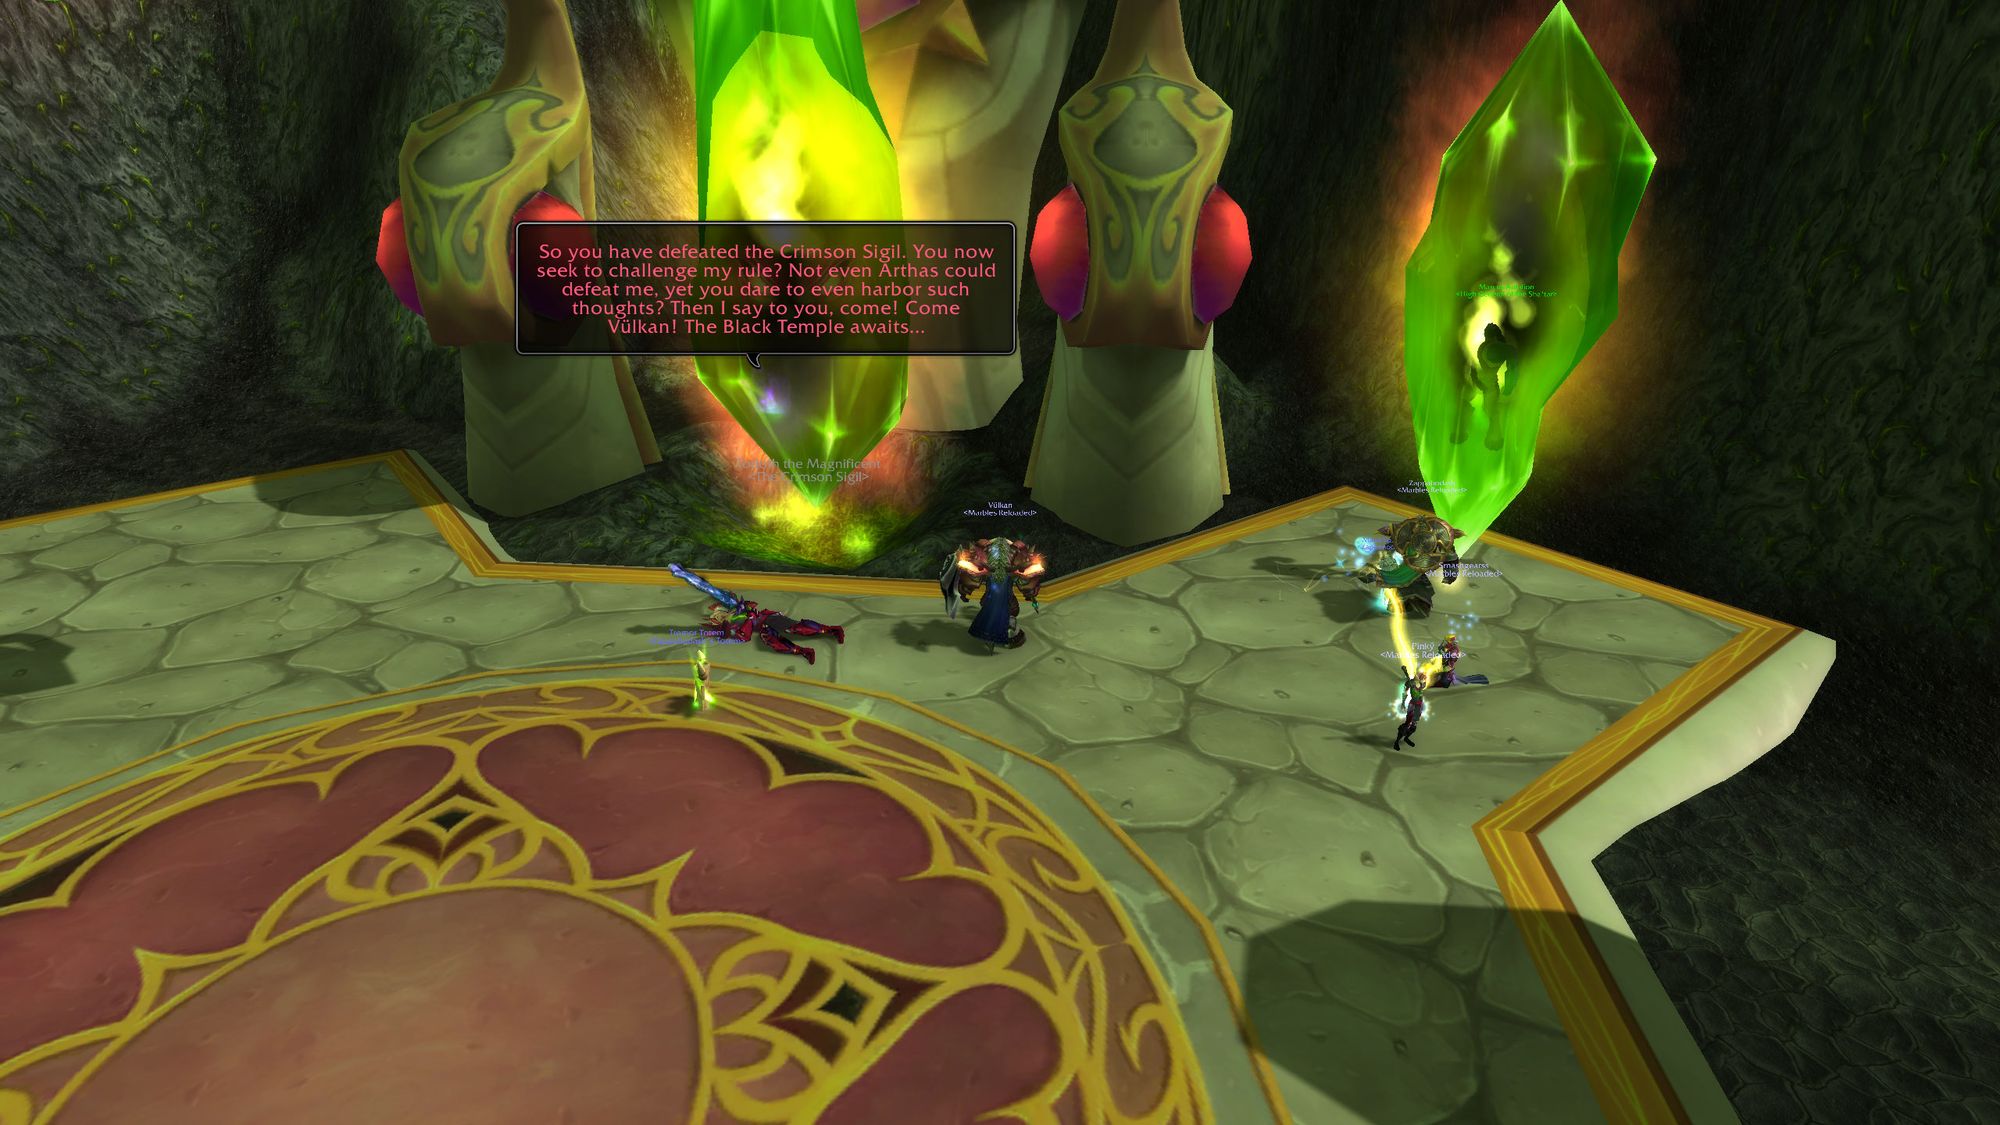
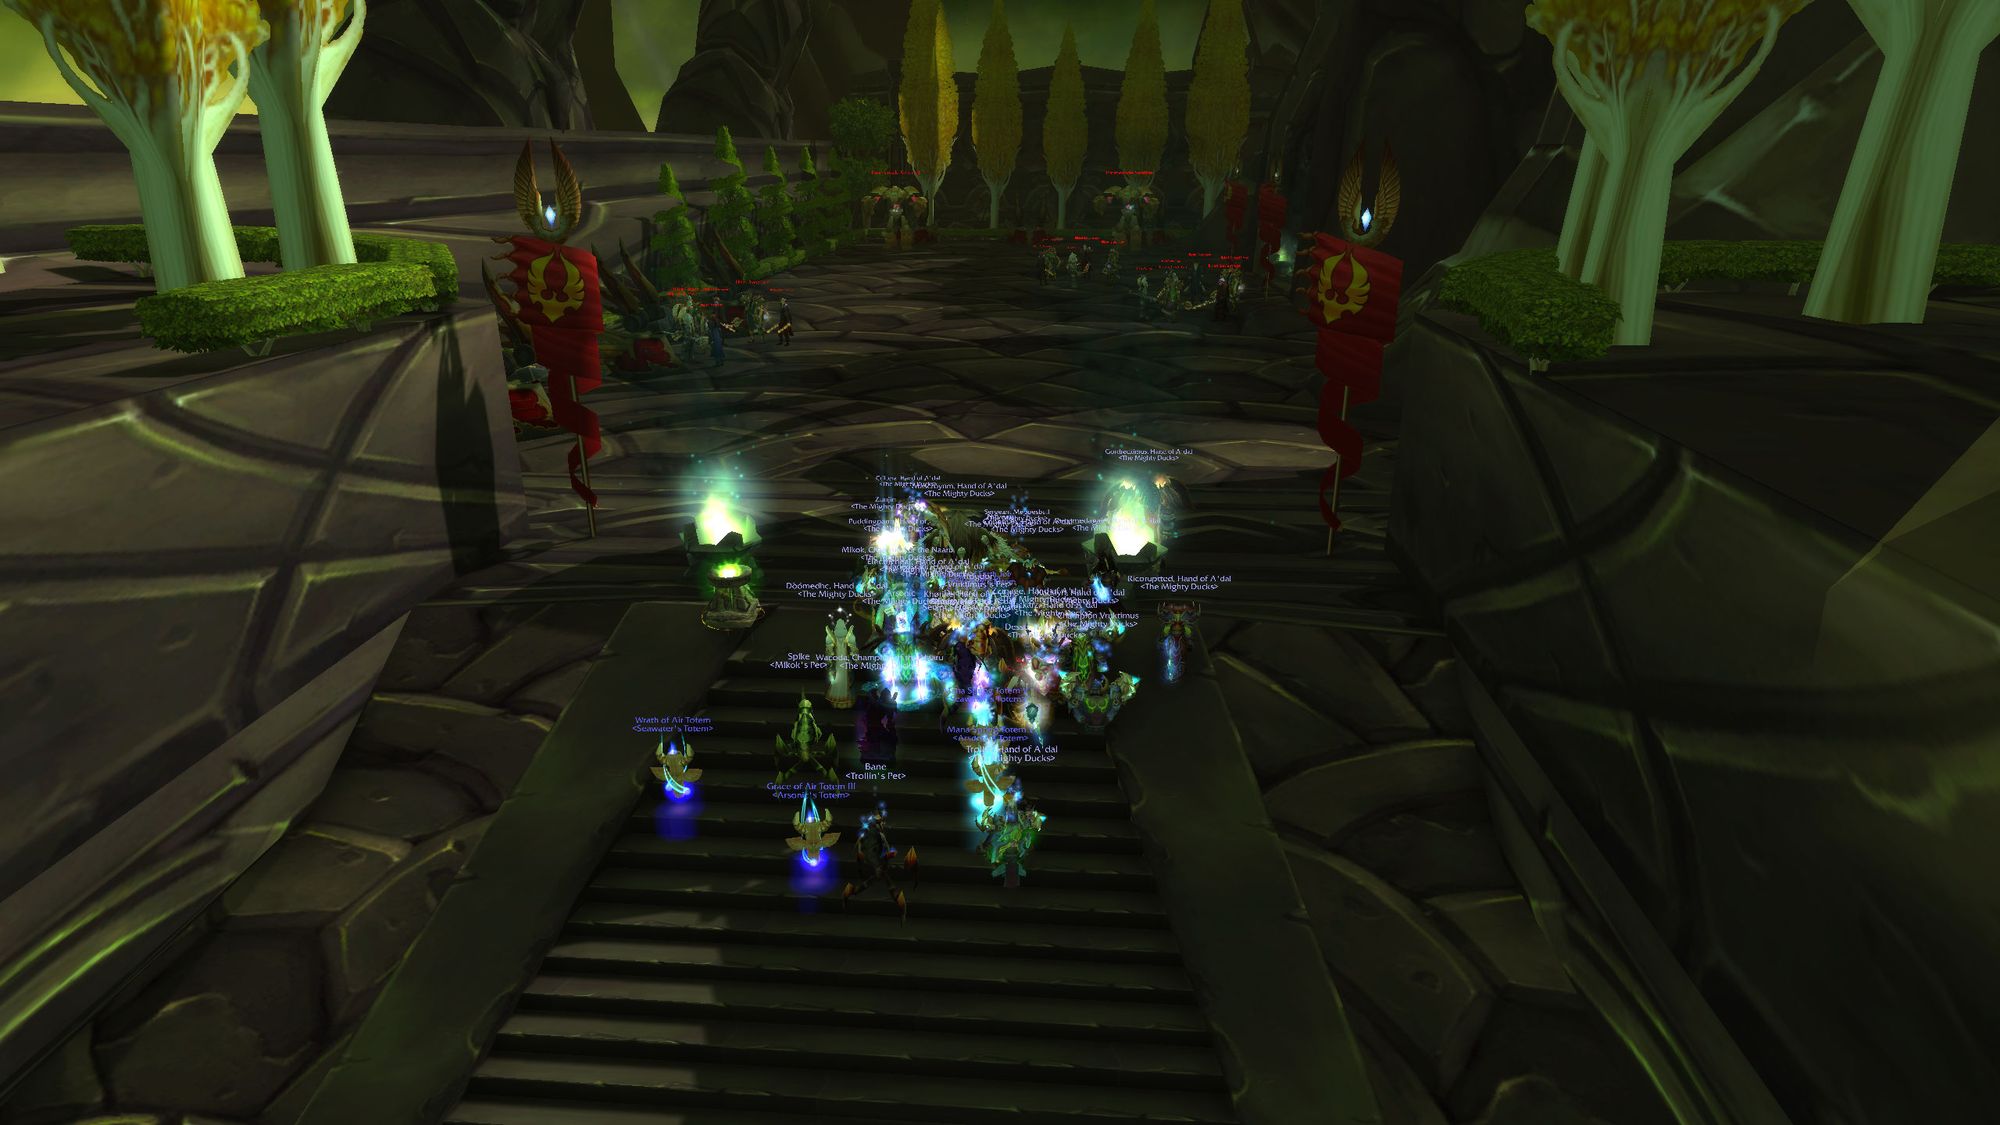
There's some more story, which can be heard from across the zone. In the first two to three days of phase 3, the roleplay could be heard every thirty seconds or so, as guilds from Remulos got attuned.
You kill another minor Dreadlord, Vagath, and at the concluson of the event, you are presented with the real mccoy Medallion of Karabor, granting you entry forever into the Black Temple.
Of course, getting there is one thing - now you have to survive it.
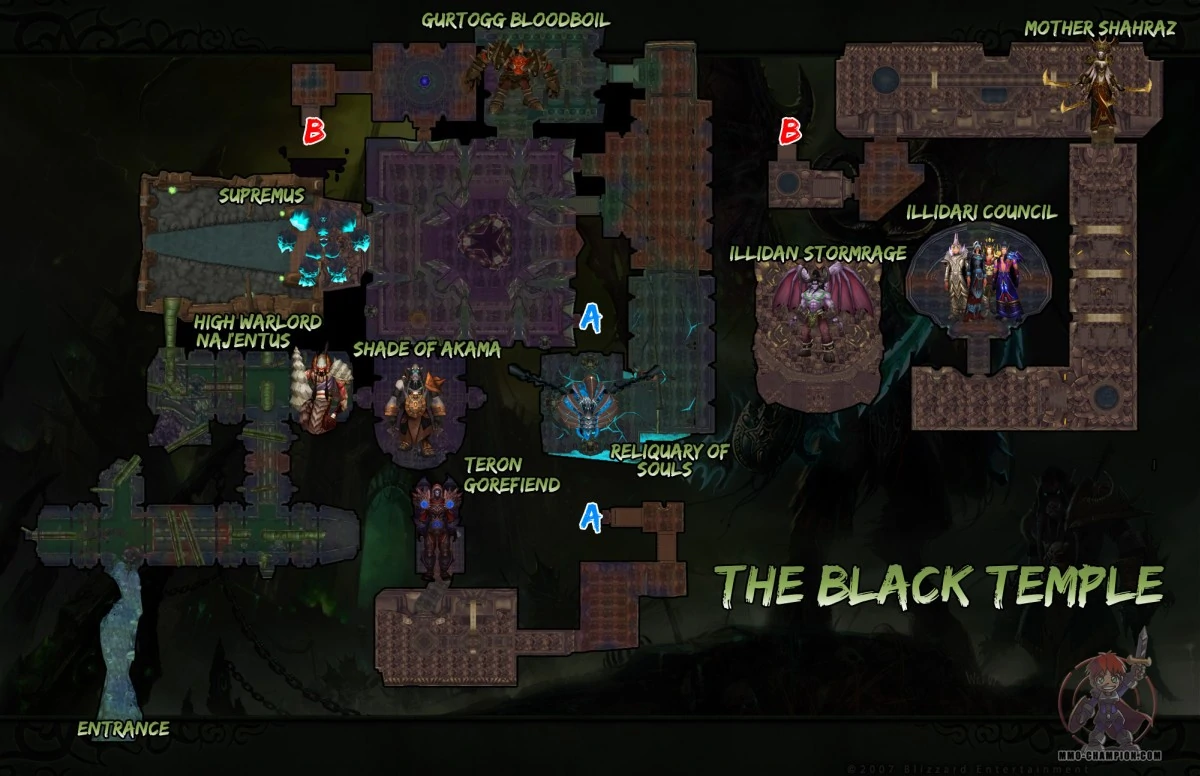
Overview
The Black Temple (BT for short) consists of nine bosses. Prior to phase four, the first six bosses must all be cleared to gain access to the last three. In phase four this was changed so that you can do the first three bosses (Naj'entus, Supremus and Shade of Akama) and then do the last three (Mother, Council and Illidan).
On the subject of future phases, this content has never been nerfed. There were a small number of bugfixes that were present in the raid at launch. It remains in a perfectly balanced state. This means that it never gets to the point where you can roll through it with a raid full of alts - you will need a decently geared group to be able to get through at a comfortable pace, and there are some savage gear checks in there, mostly for tanks and a particularly nasty one for healers.
Whilst your raid is attuning and gearing up for Black Temple, all non-tank classes will need between 160 and 190 unbuffed Shadow Resistance for Mother Shahraz. I'll talk about this in more detail when we get there, but this is not optional. Phase 3 does introduce a set of recipes for Shadow Resistance - the best value pieces being the cloak, class-specific wrists and pants.
To make this equipment you'll need hearts of darkness, which are obtained from trash in Mount Hyjal and Black Temple. It can help to farm the trash before the first boss in Mount Hyjal, as the first eight waves can be reset and farmed infinitely. To get off the ground, each guild member will need two Hearts of Darkness each (with the exception of tanks) for a total of 44.
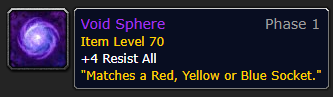
This won't get players all the way, and so they should supplement by socketing gear with void spheres, which does make the huge guild stockpiles of Void Crystals useful, finally. Players can also look at buying +Shadow Resistance green items.
Also, as a continuation of the attunement, there are three additional quests which you complete whilst part of the Black Temple. They involve freeing Akama and killing Illidan. Fairly straightforward stuff.
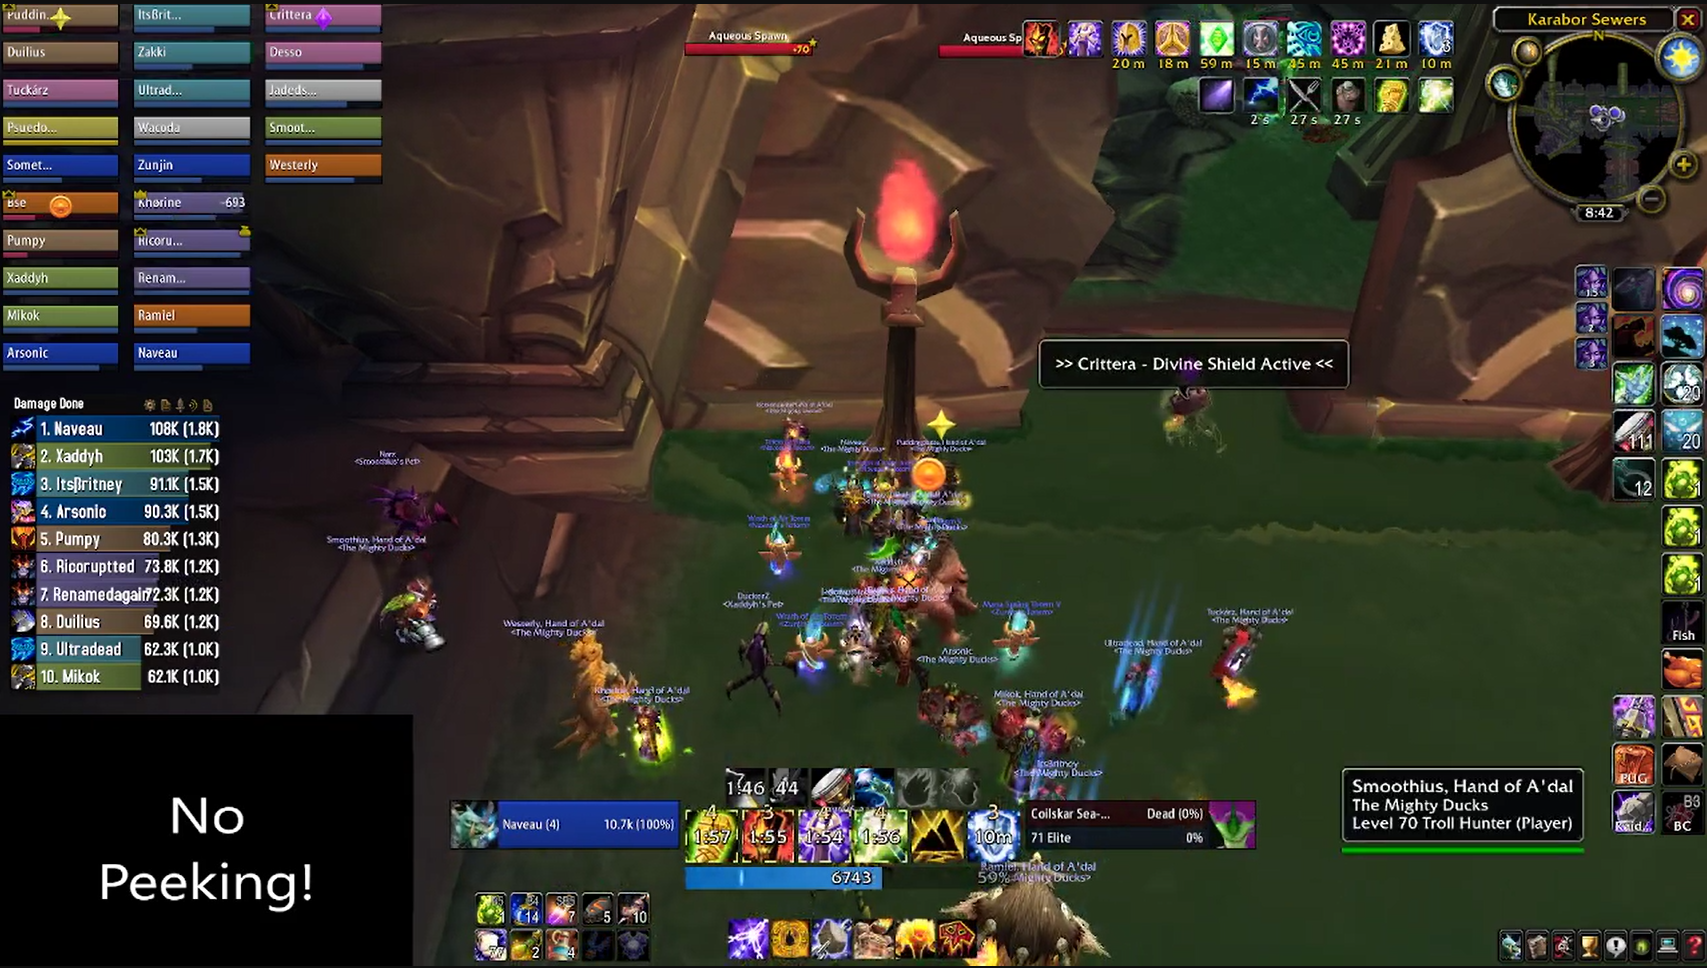
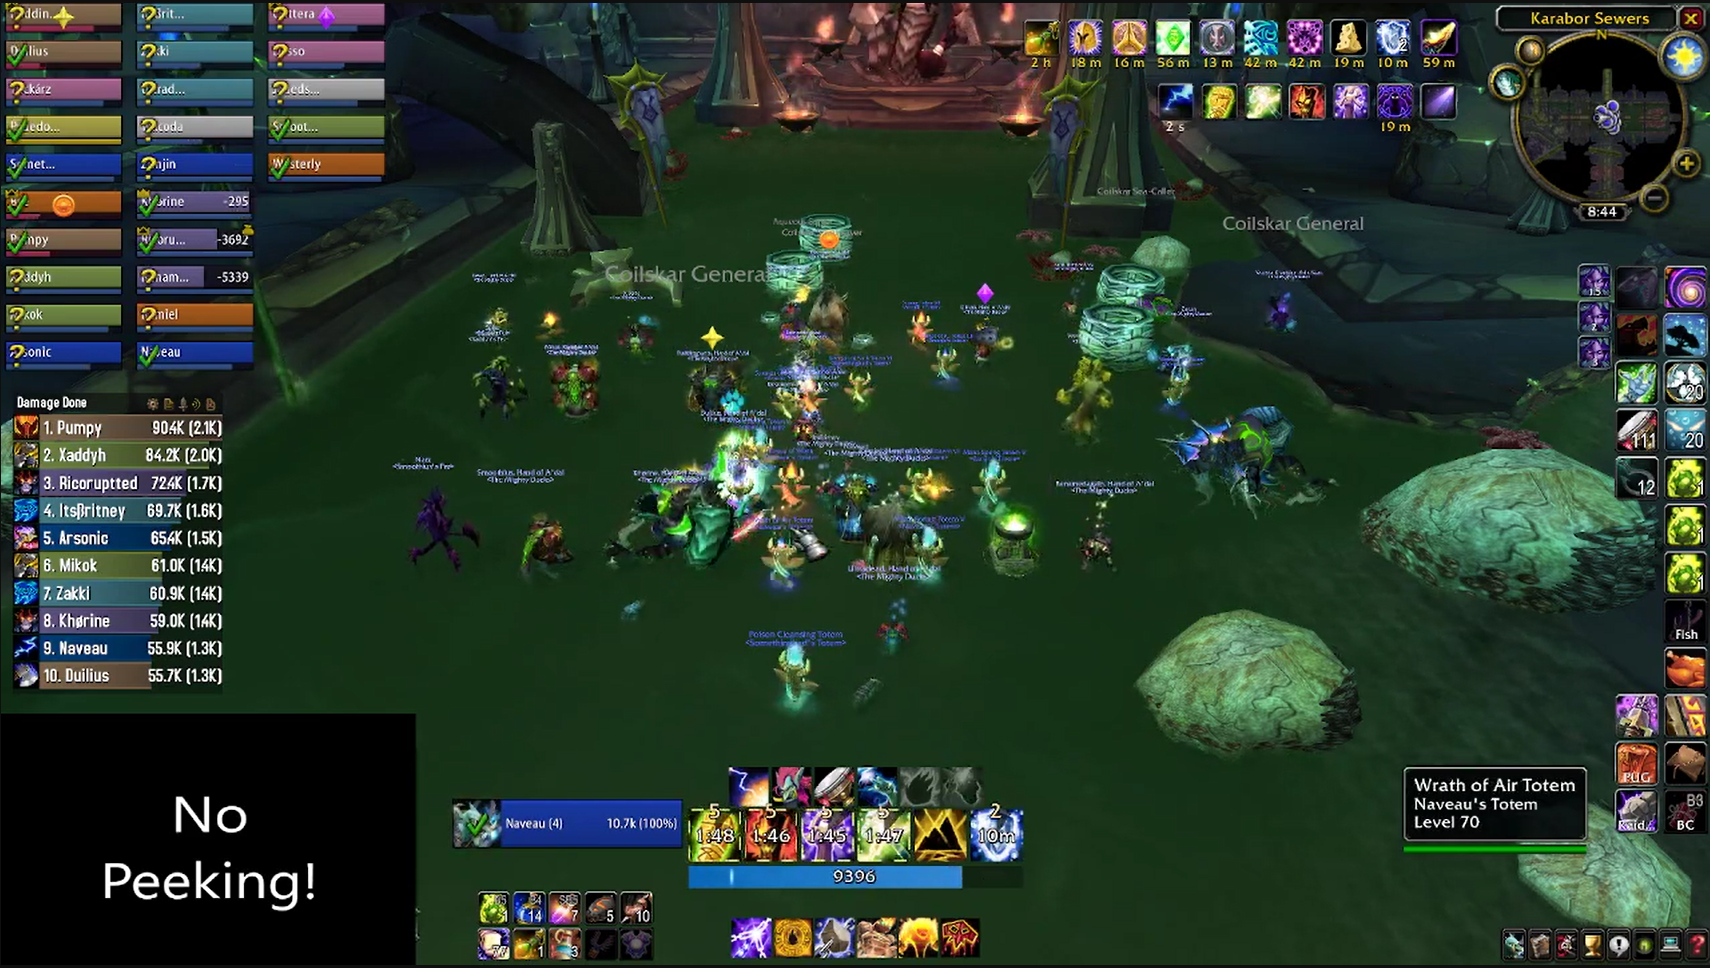
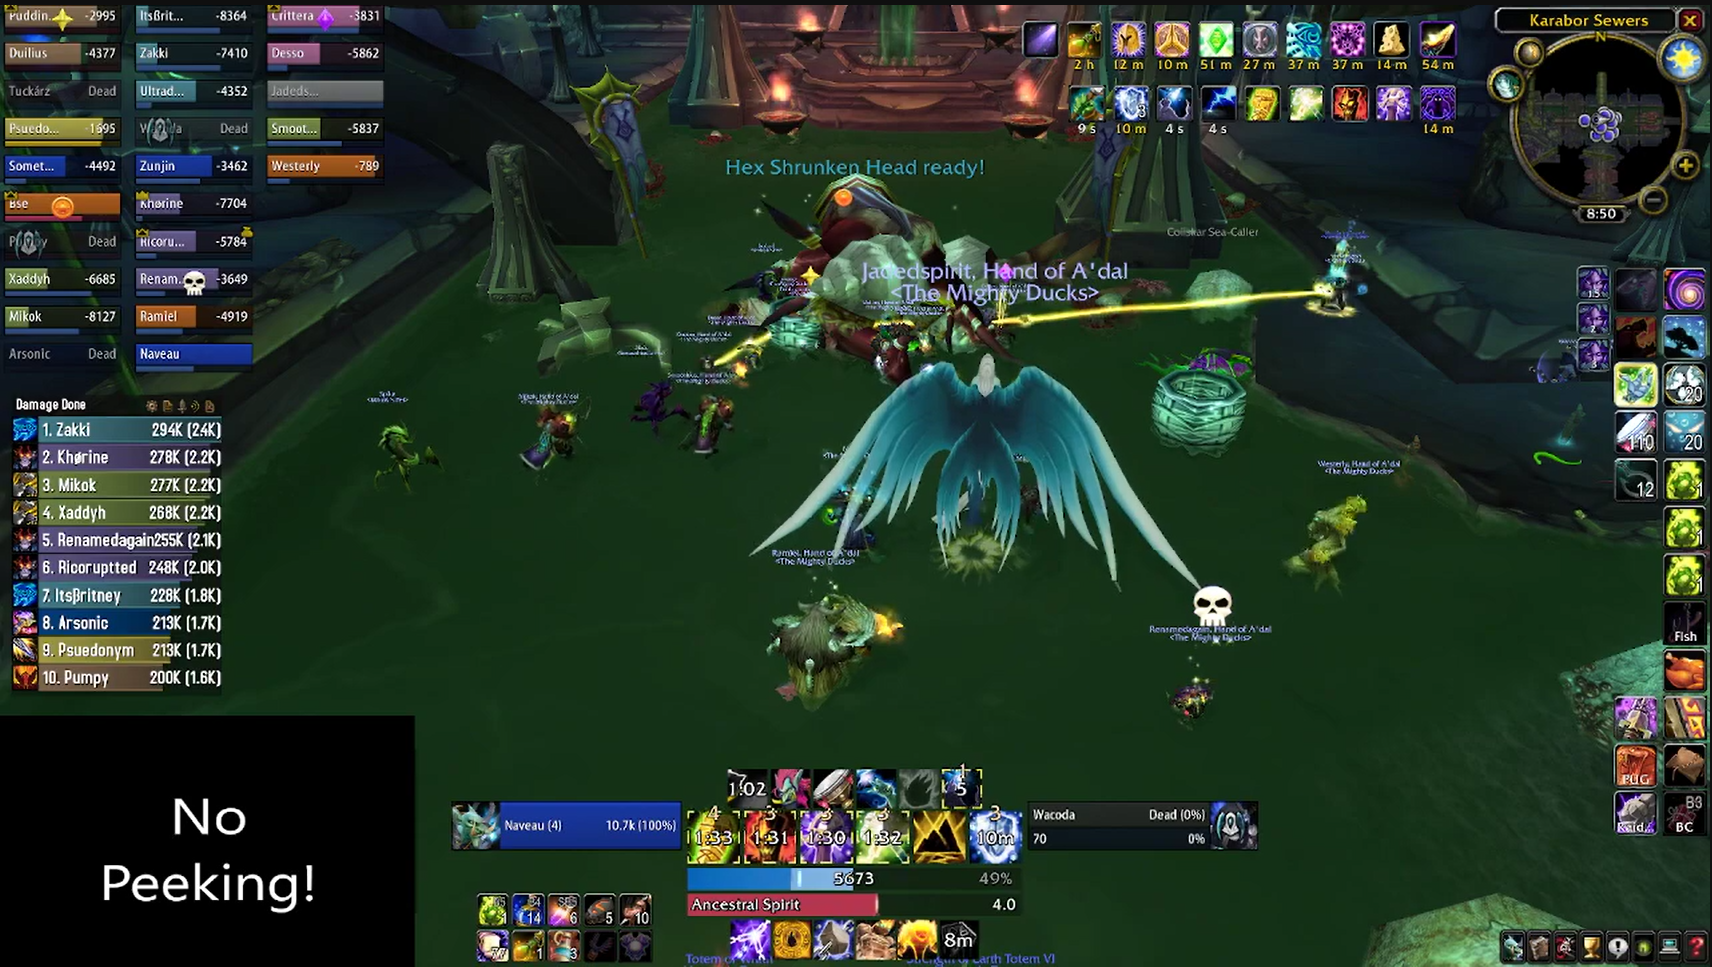
To enter Black Temple, you don't knock down the front door - instead, you sneak in through a side entrance which puts you in the sewers. It can be a bit confusing for new groups, but the key is to keep heading upward.
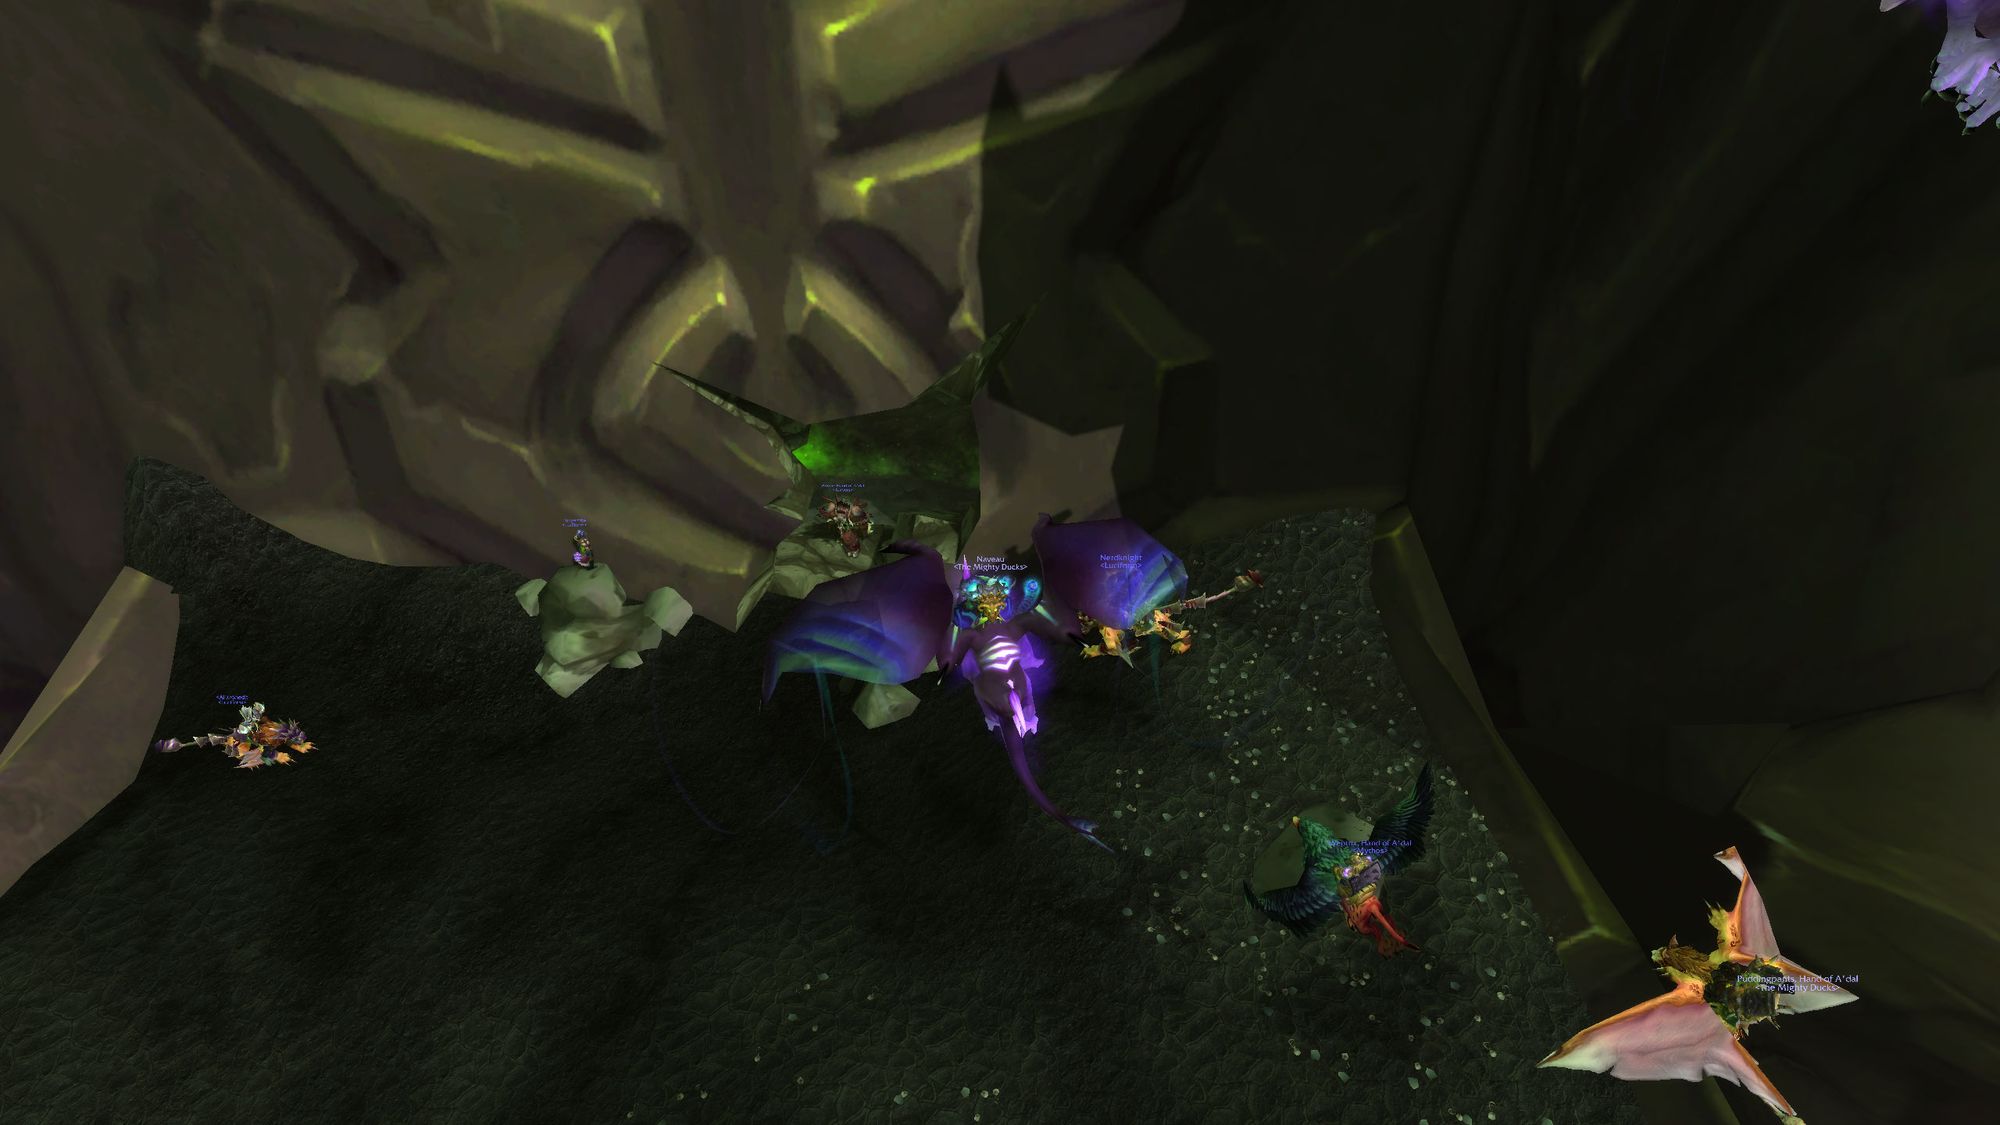
Whilst in the sewers, there are elite water elementals, called Aqueous Spawns, that will sneak up and pick off stragglers in your raid. Make sure if you pull aggro on them, you call it out and try and run them to the tank. Shamans will also want to make sure they're using poison cleansing totem.
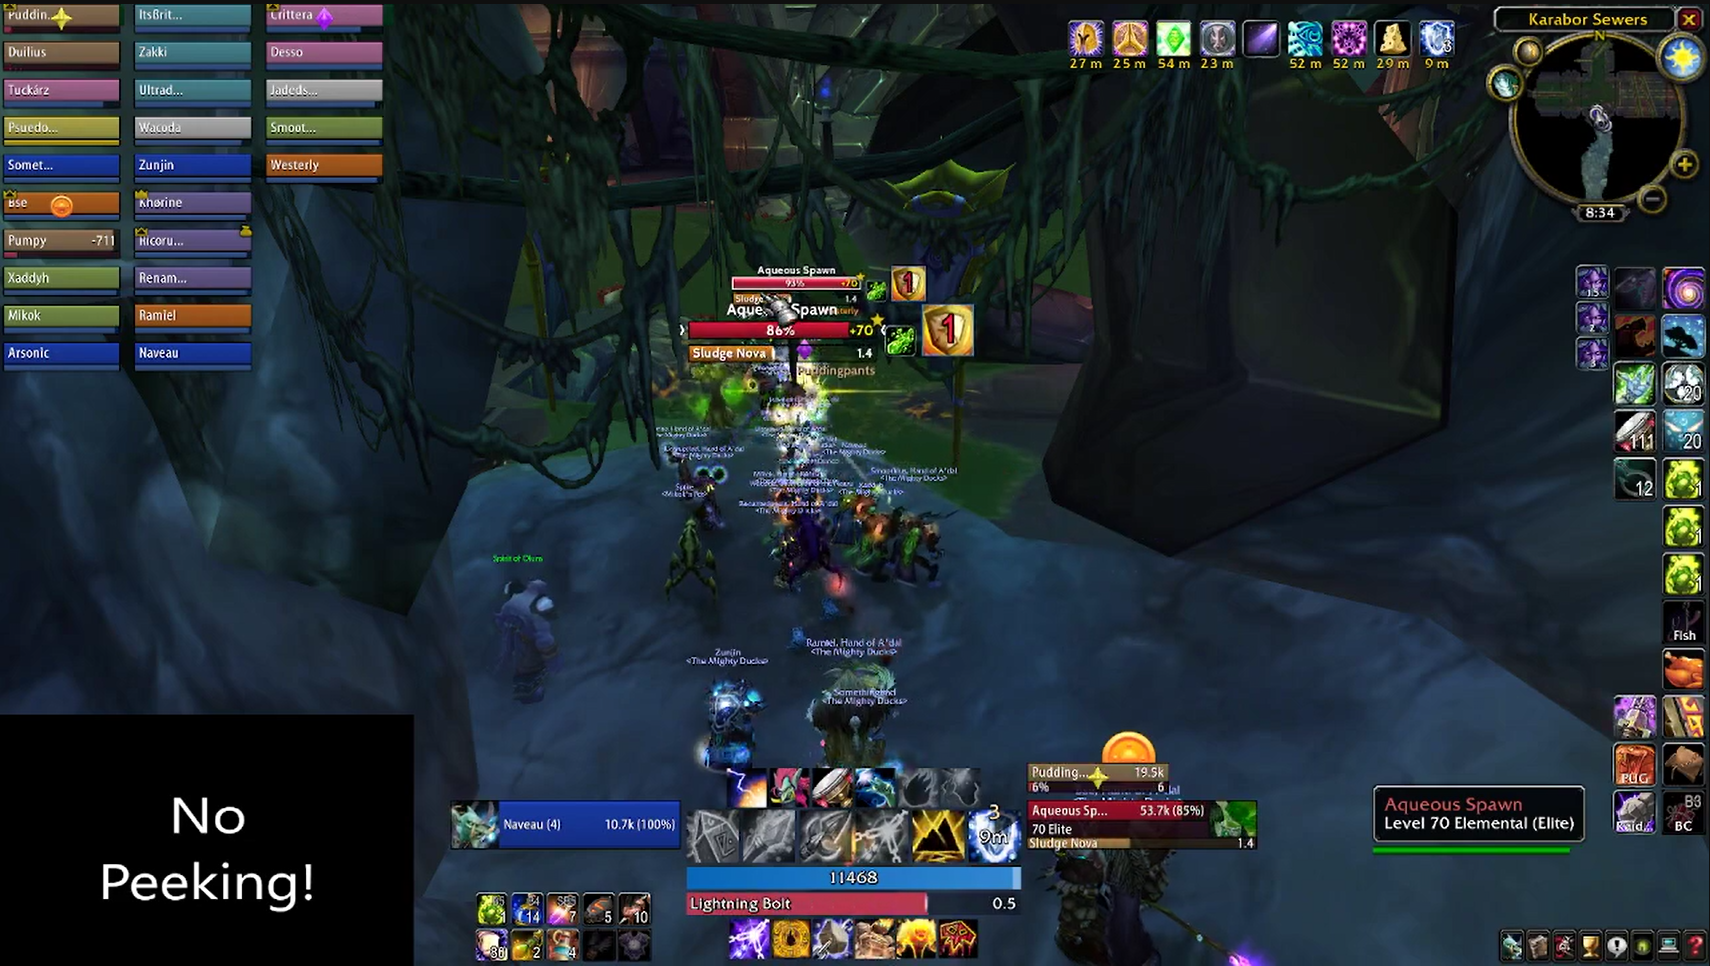
As a trick for new shamans, the totem ticks every time you cast it, so if you repeatedly cast poison cleansing totem, you'll clear poison stacks from your party a lot faster.
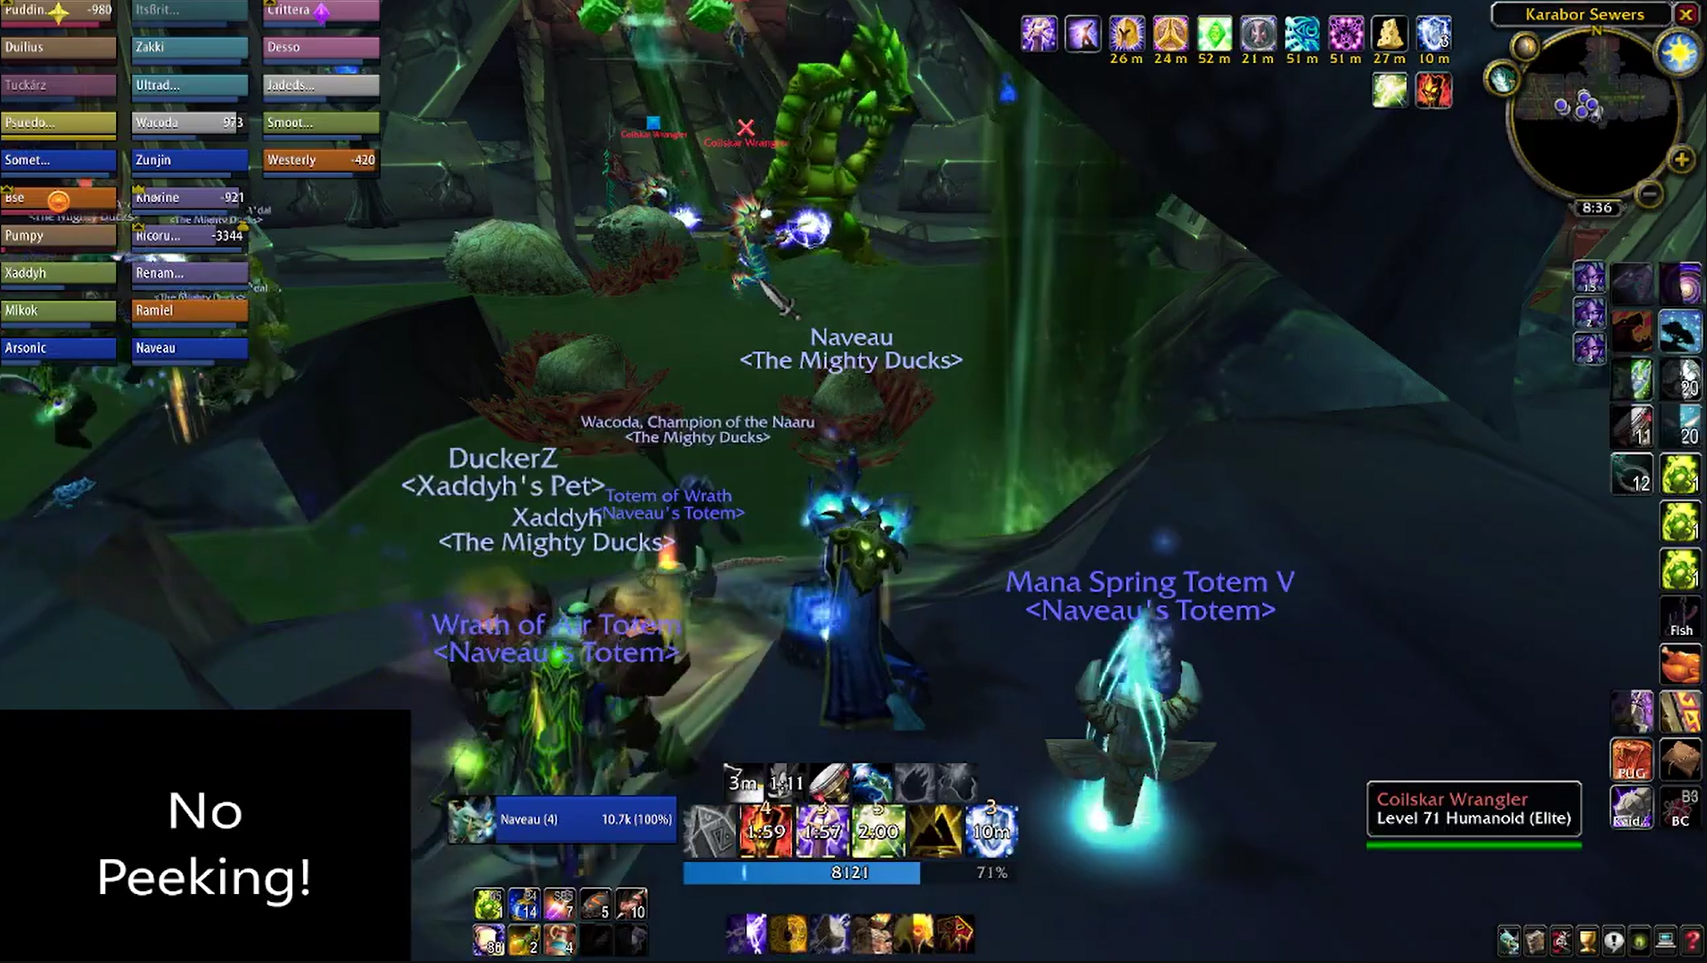
The first encounter is a pair of Coilskar Sea-callers and an Aqueous Lord. Just as a bit of trivia, this is where you'll find the elite versions of all the Coilskar Naga in Shadowmoon Valley. You can skirt this pack if you hug the wall to the right, but if someone bodypulls it because they weren't paying attention, it's not too difficult.
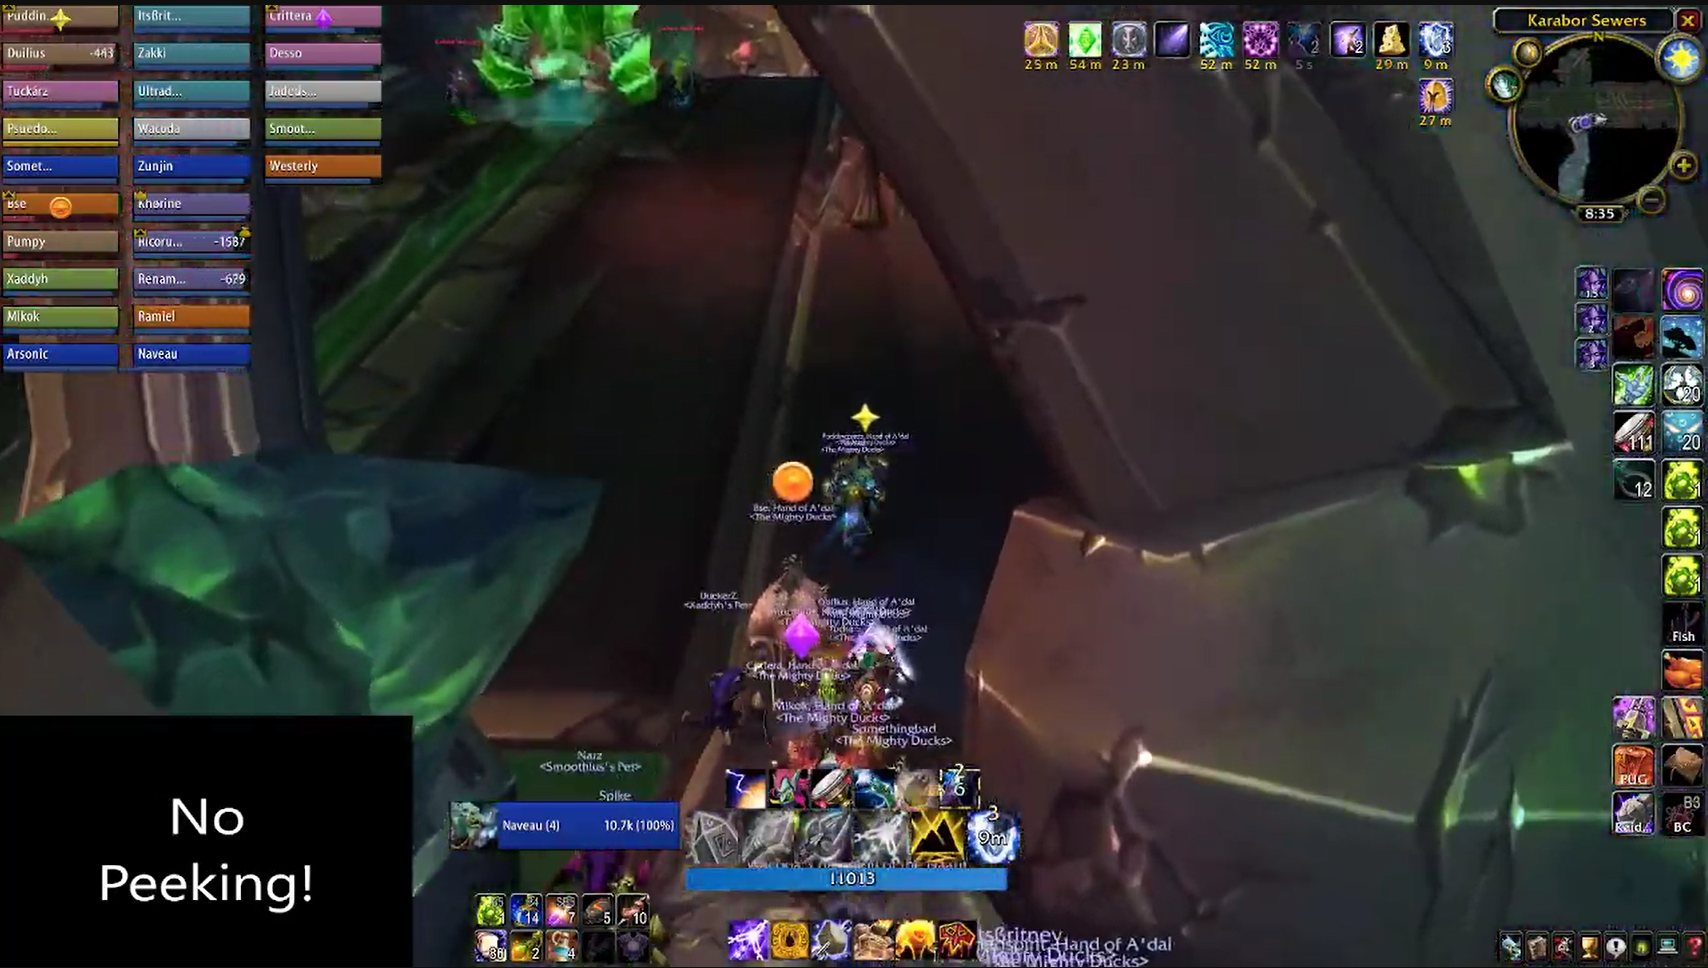
Face the sea-callers away from the raid as they cast a chain lightning in a cone and focus on the lord. If you get a hurricane cast on you (look for the clouds overhead), move out from underneath it. Keep an eye out for spawns, as they will be roaming about.
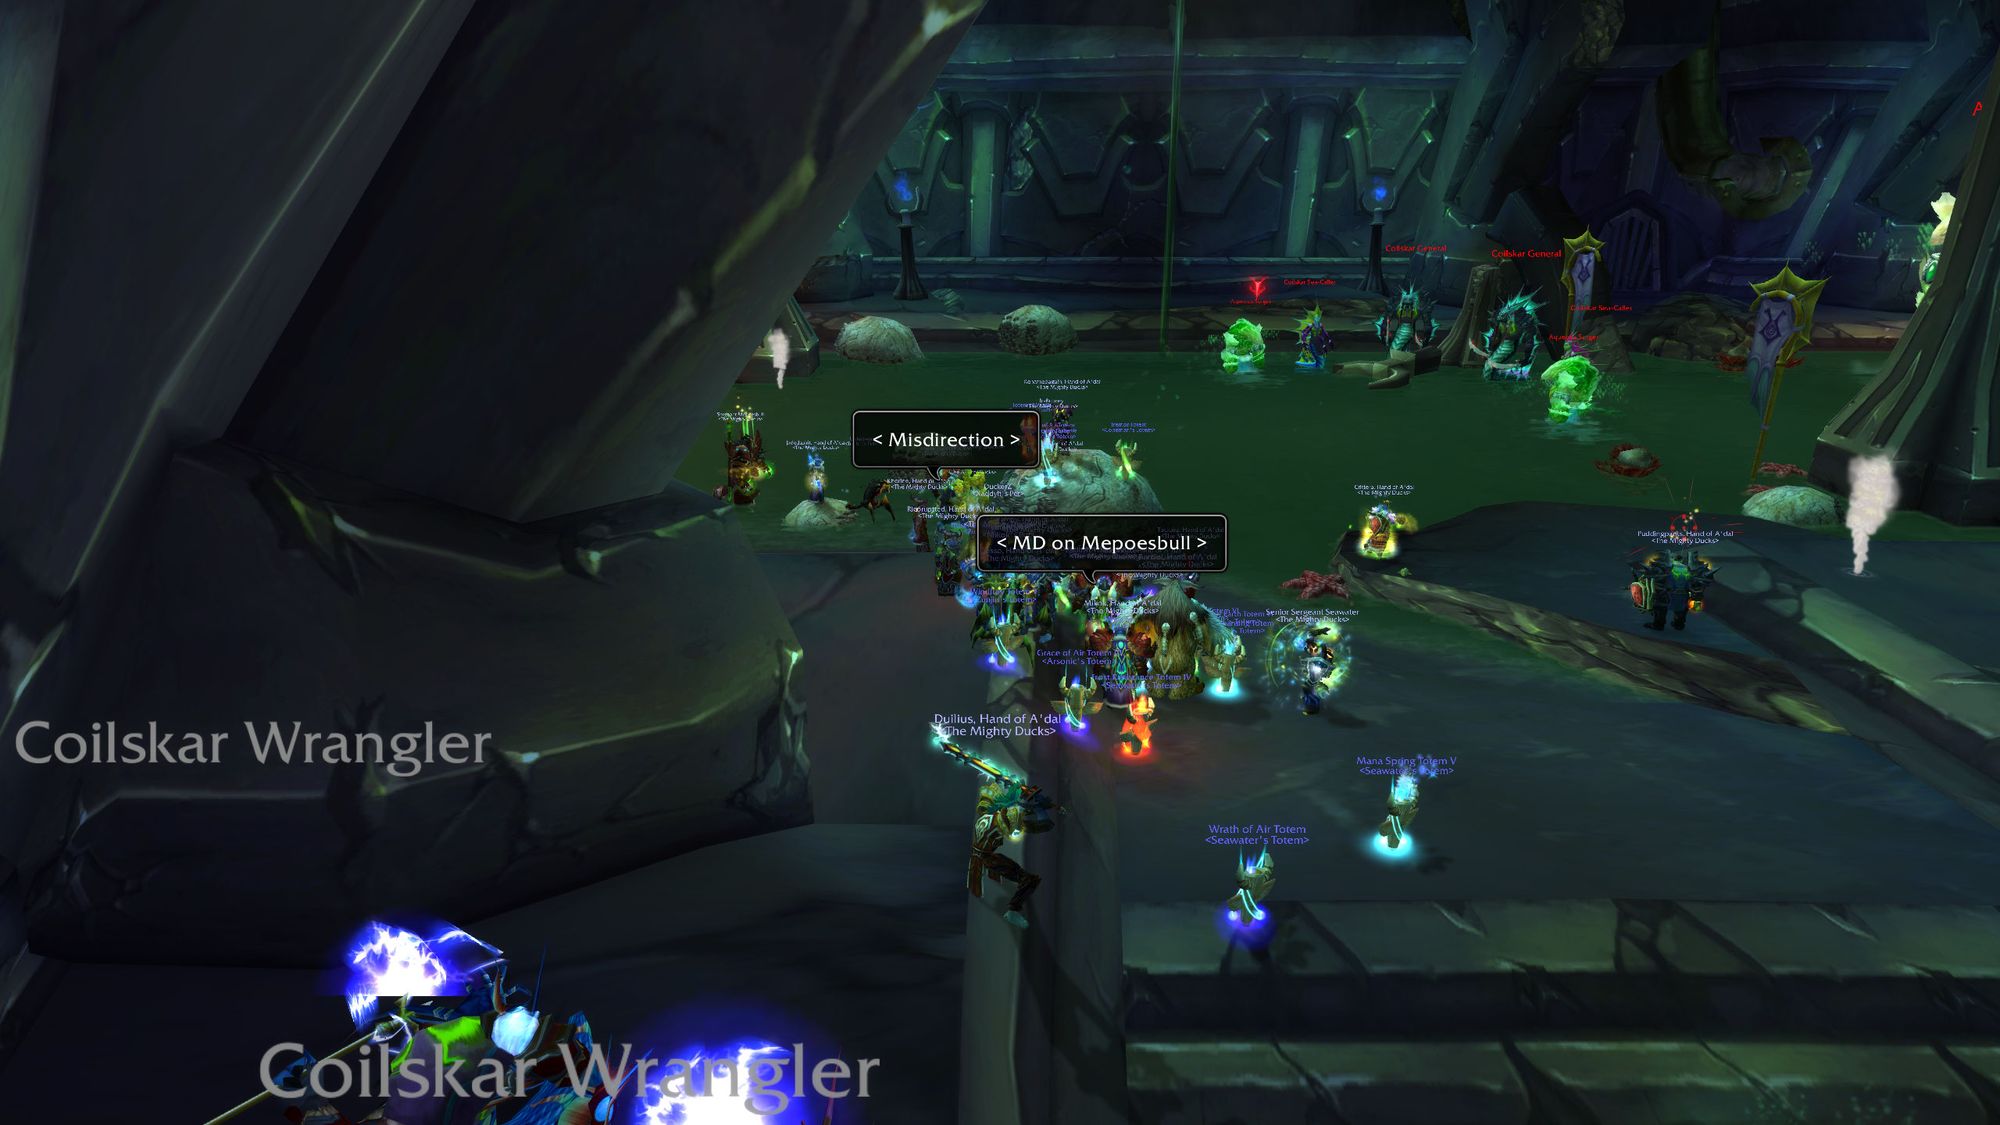
The next pack, two Coilskar Wranglers and a leviathan, can be tricky because of the terrain, which consists of fallen columns and rocks. Make sure your ranged DPS (warlocks and mages) who can cause high threat do not DPS from the rocks, as if they pull aggro, their target(s) will start to evade.
You'll want your off tanks to pull the wranglers off to the side and up against a wall as they have a single target knockback. The raid should focus on the leviathan, but face it away from the group as it casts an acid spray in a frontal cone. Again, not difficult.
You'll hit one more of each of the above packs on your way up. Deal with the lord and sea-callers in the same way. The second pack of wranglers and their leviathan you will want to pull around the corner so you can safely tank the wranglers against the wall. Tank the leviathan on the corner itself.
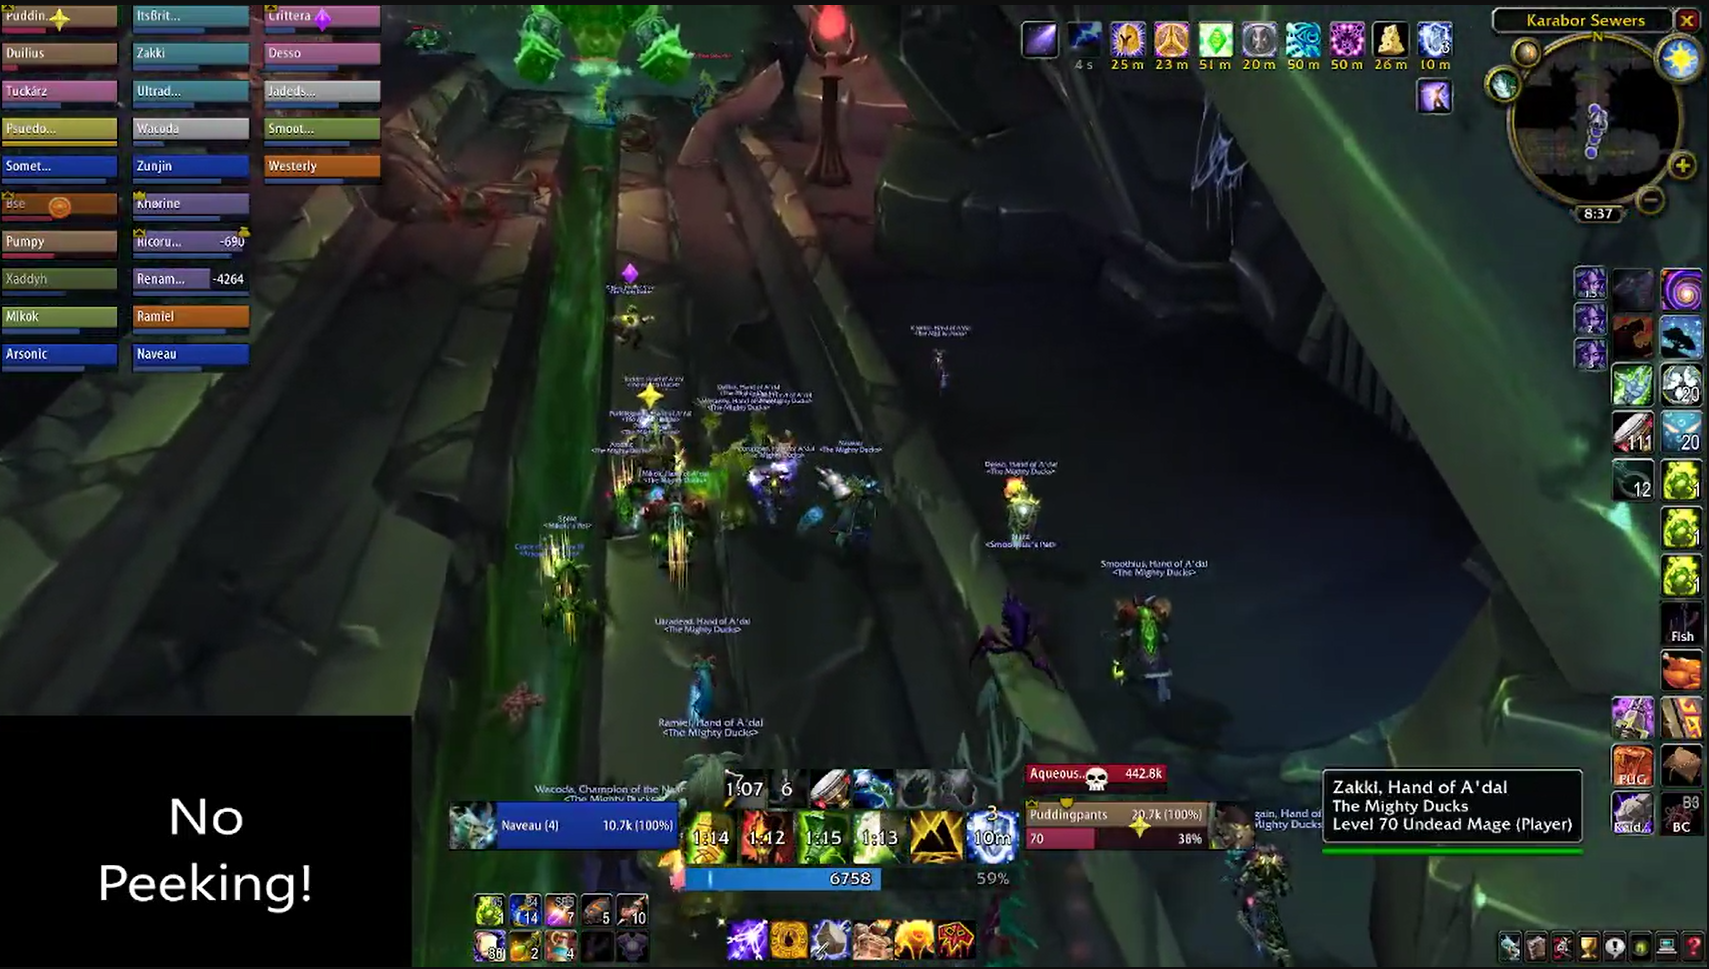
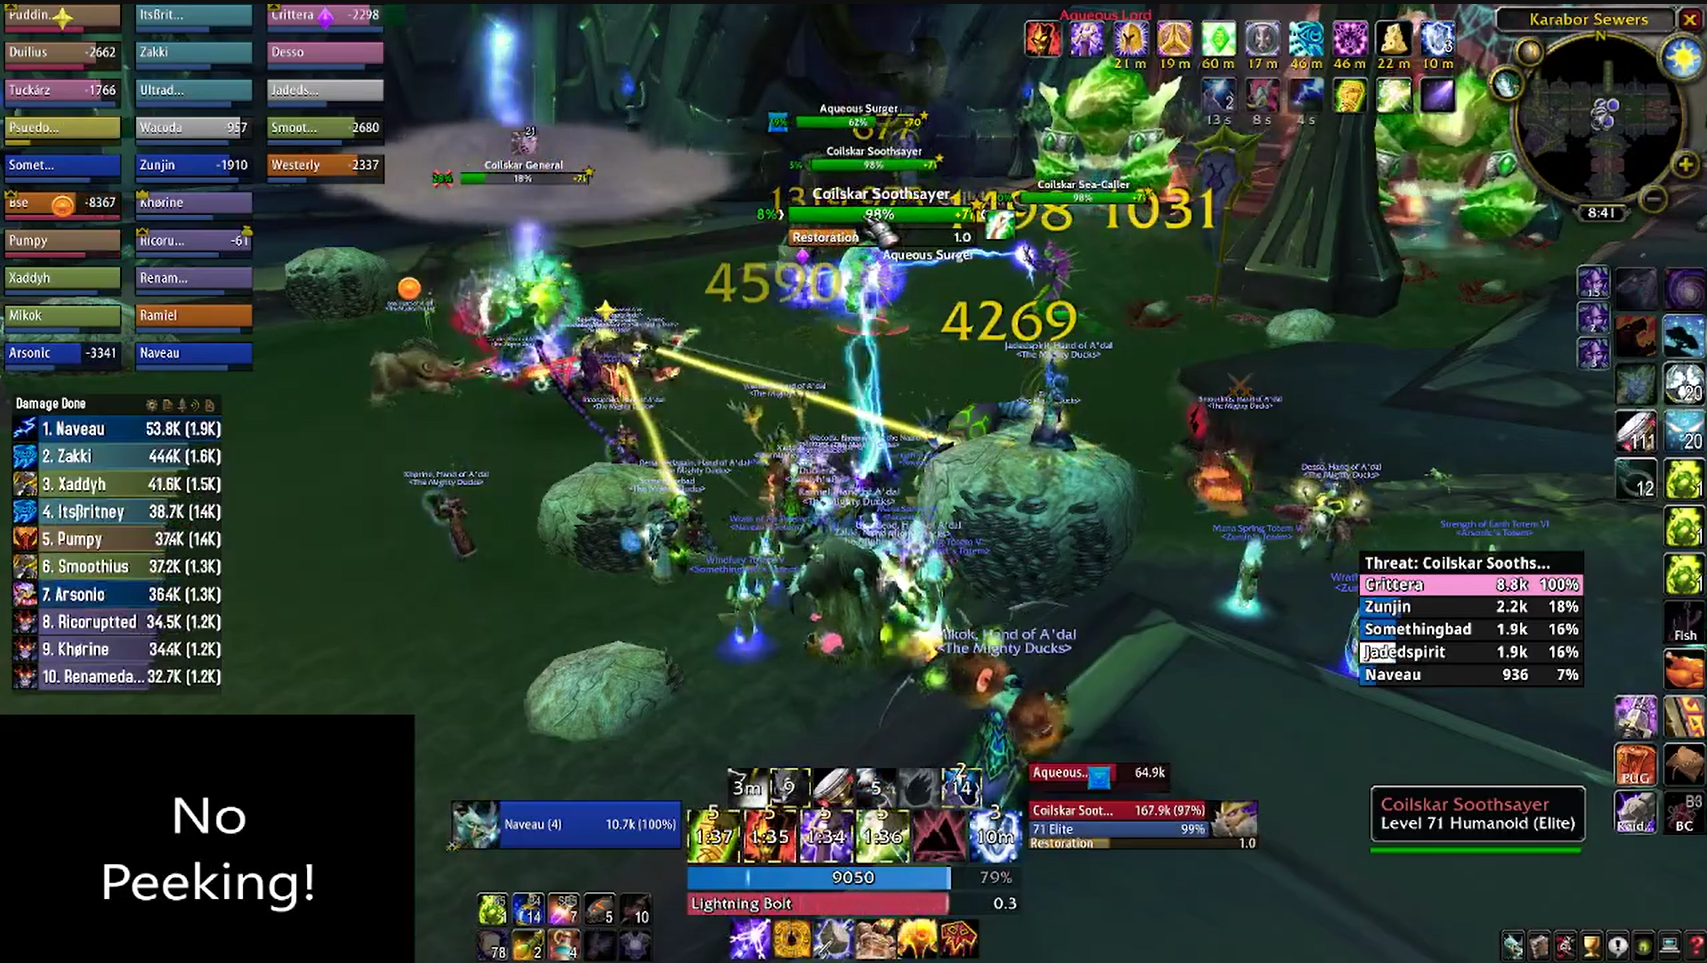
The next trash pack is very dangerous and can wipe raids. It's a random pack, but always has two Coilskar Generals, which provide a damage buff and break crowd control effects. The other four mobs are an assortment of Naga and their pets. In particular, up to two Aqueous Surgers. The nightmare pack has two Surgers along with the two Generals.
The Surgers have a poison bolt volley which can have its damage and the lingering damage effect increased by the generals, so two of them alive can and will wipe a raid almost instantly.
You'll want your off-tanks to take a general each and take them over to the side. Your paladin should deal with the other four targets, whatever they may be. If you have two surgers, you should instruct your warlocks to keep both of them continuously banished.
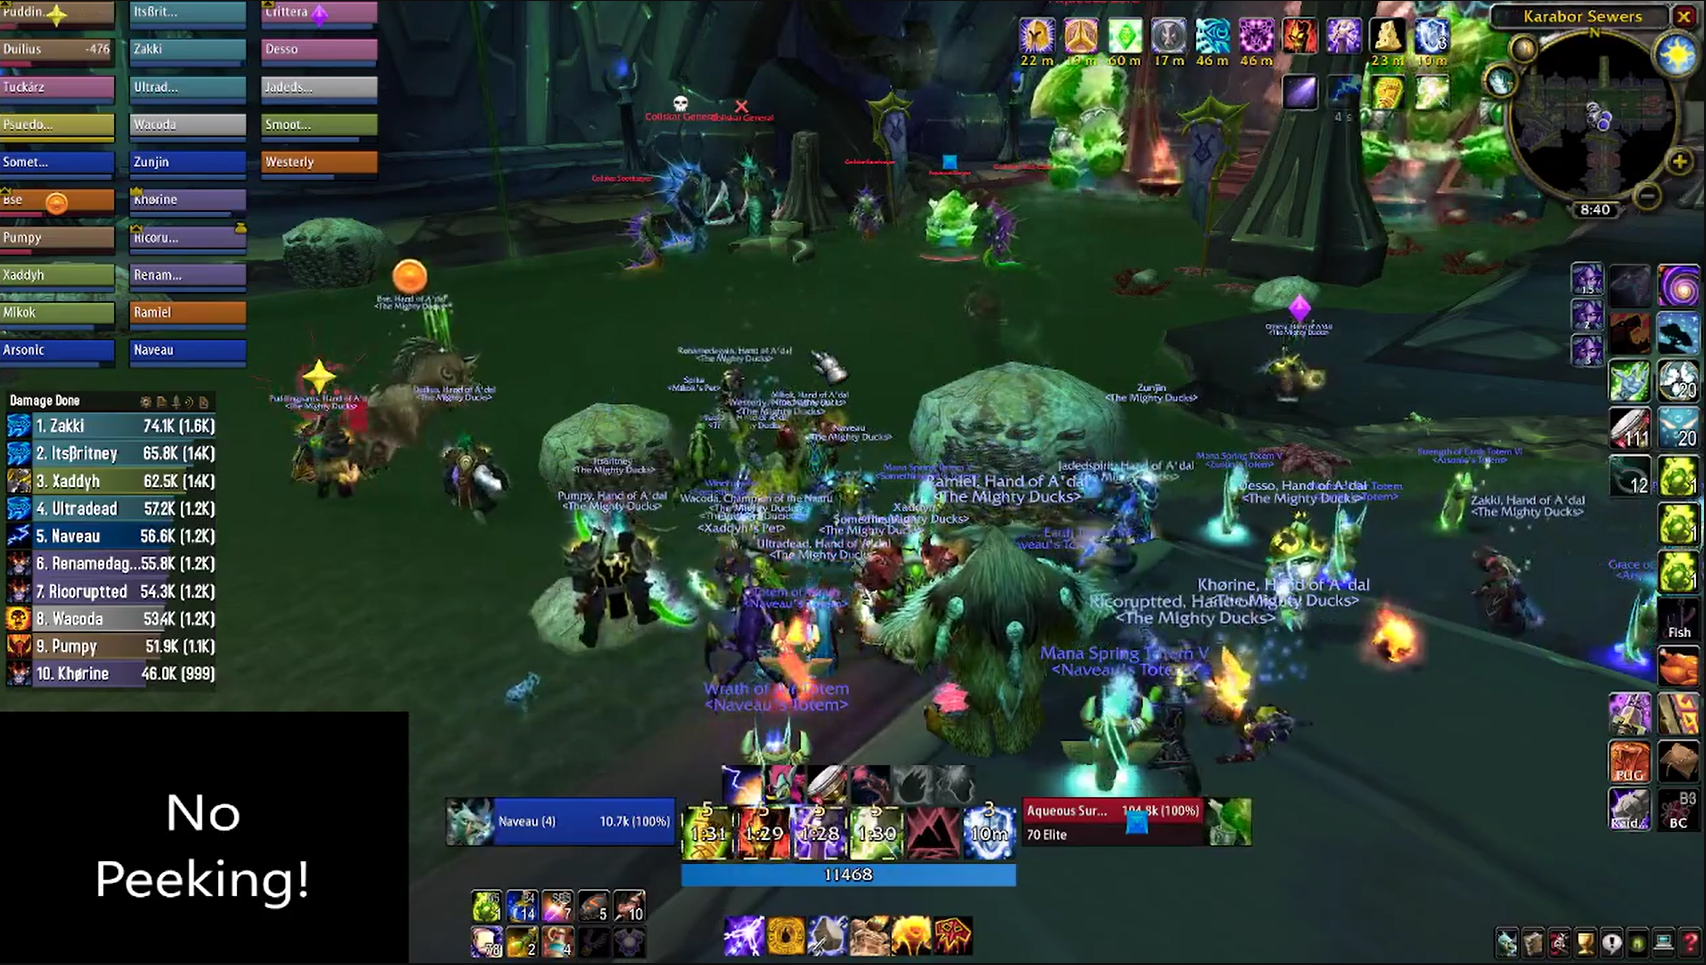
The generals will break the surgers out, just keep them short banished until the generals are dealt with. Never deal with more than one surger at a time, and make sure that poison countermeasures (such as poison cleansing totem, abolish poison, etc.) are in play, especially on the paladin.
This pack, at times, is harder than some bosses, so don't rip each other up if you wipe. Just curse your luck, and be glad this trash isn't right at the end of the instance.
With a little luck, you'll be able to move past this trash - there's two pulls between you and the boss. The first is the pair of Aqueous Lords in front of the boss. They do not pull as a group of three, you definitely pull the lords separately from the boss, and accidentally pulling all three will cause a wipe.
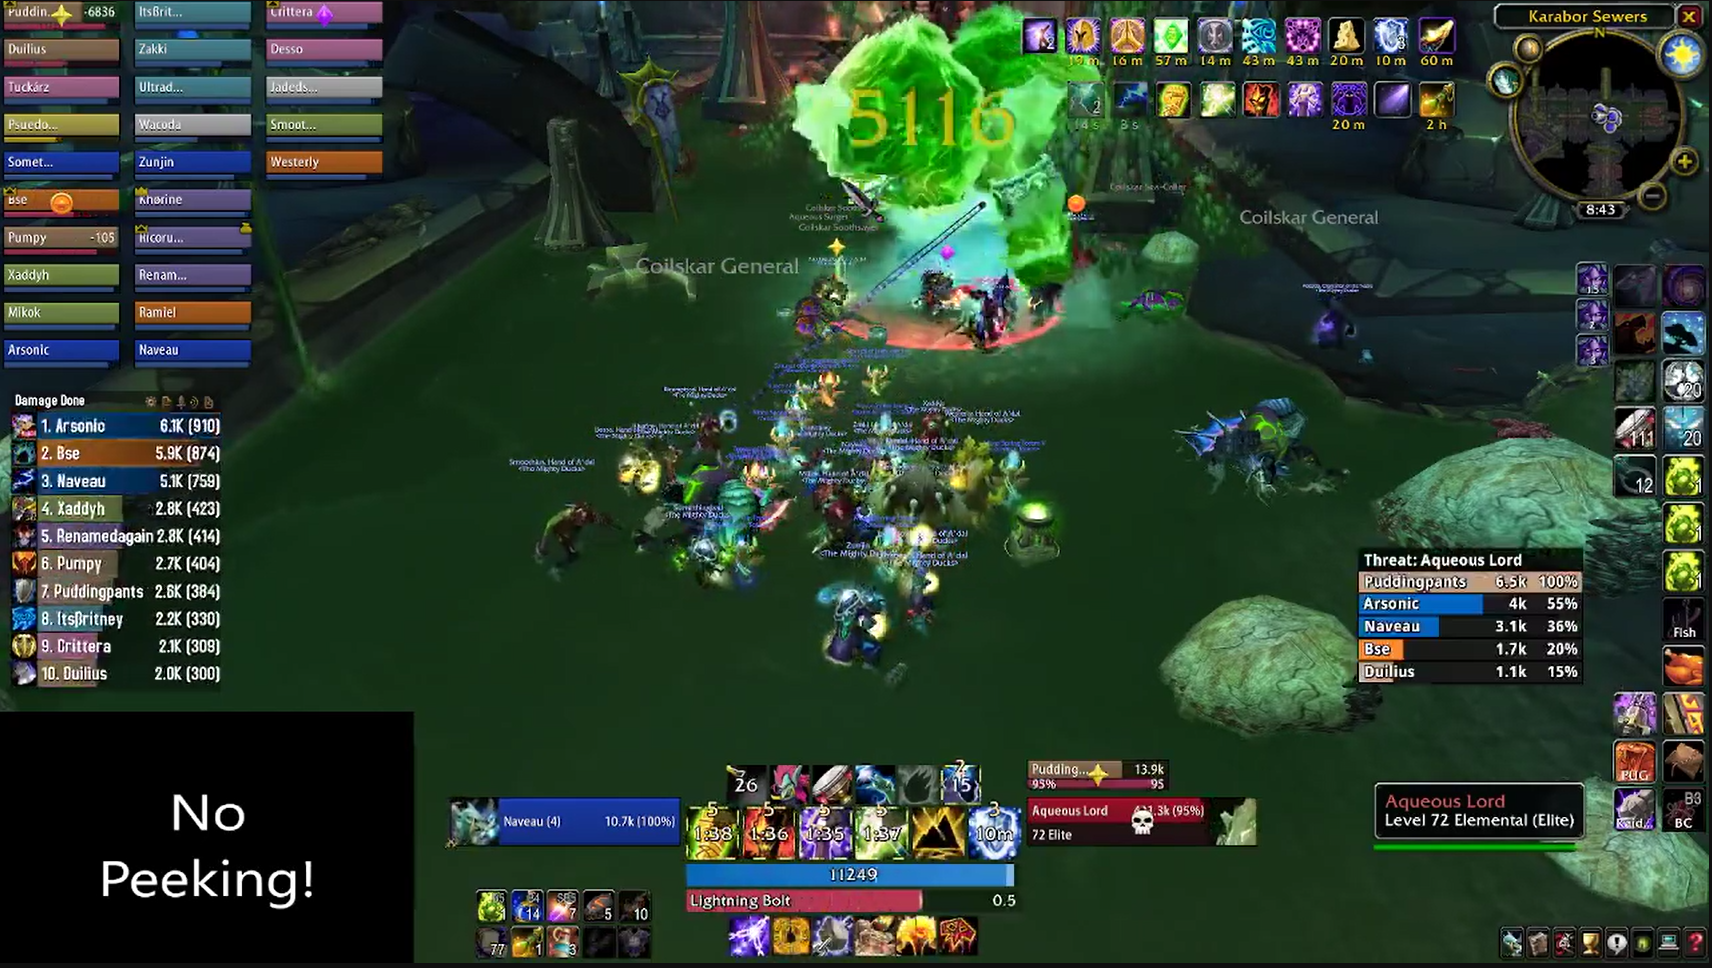
The lords don't do anything special, just make sure one of your tanks is picking up the spawns around their feet.
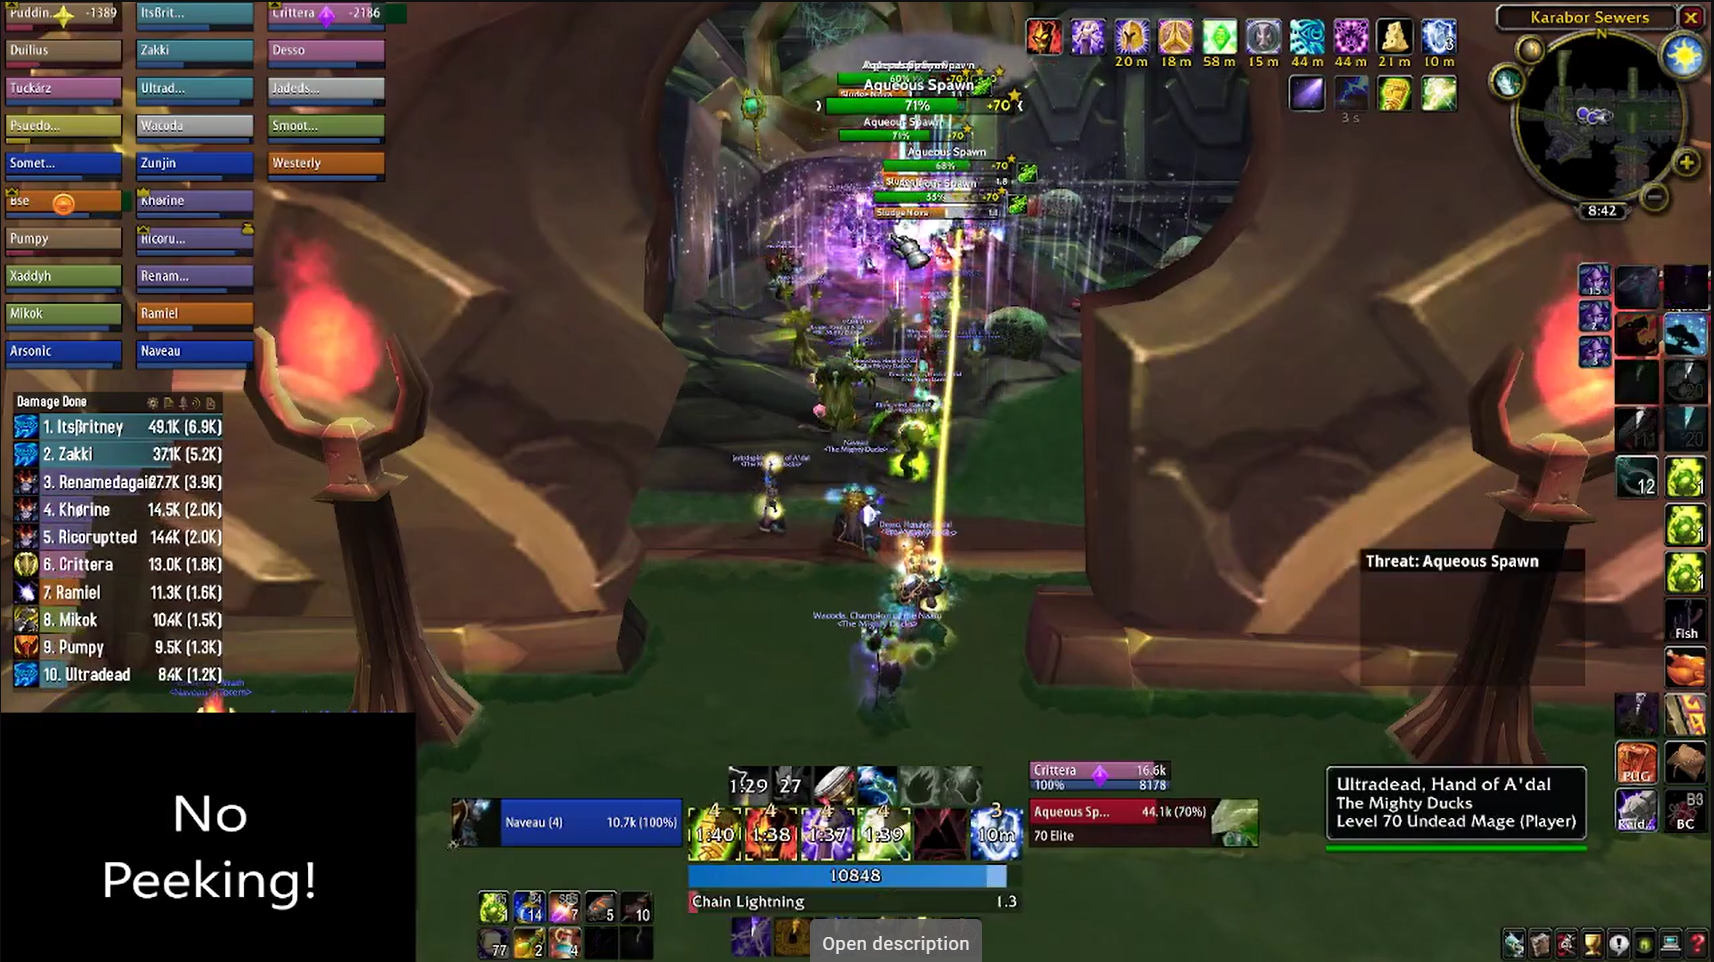
The second pull is a bit spicier. It's a room full of spawns which will smash the raid with their sludge nova ability. What you'll want to do is have your paladin run in with some sort of shield active, whilst the rest of your raid hides out of line of sight.
Have the paladin gather up as much threat as possible, and then, before the shield expires, have your engineers and blood elves run into the room and silence the surgers. From there, your raid should blast the spawns apart with cleave damage as quickly as possible before the sludge novas overwhelm your raid. Poison cleansing totem, is, again, mandatory.
With the room in front of the boss cleared out, it's time to take on the first encounter of BT.
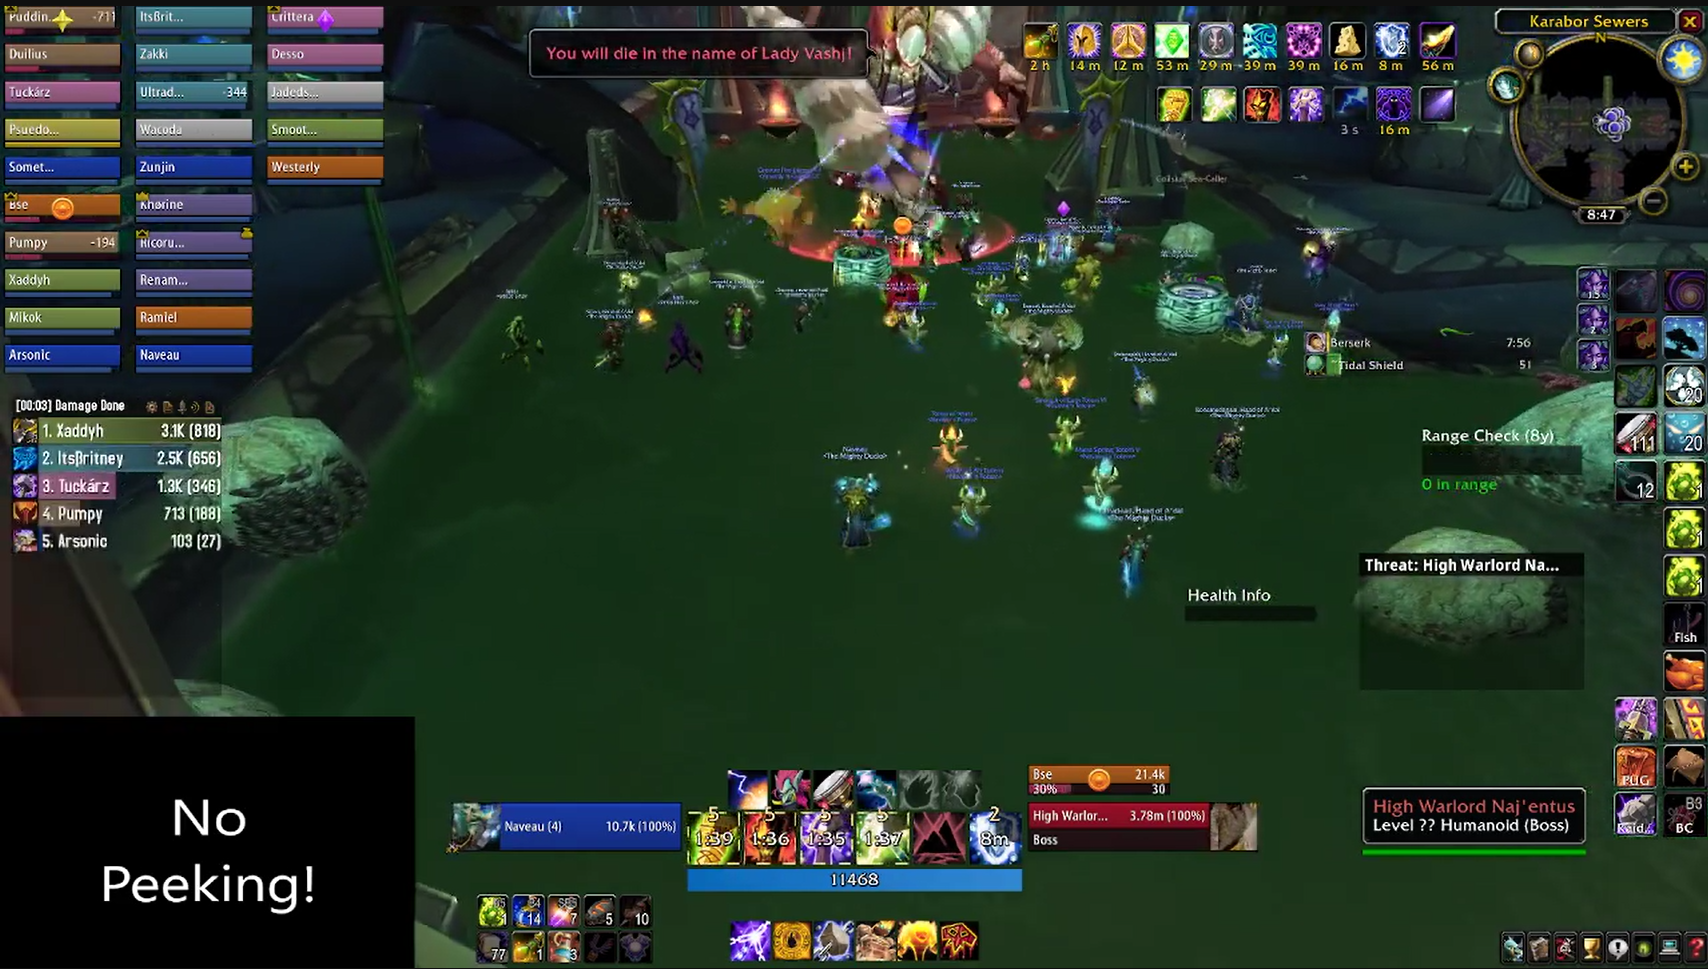
Boss One - High Warlord Naj'entus
In terms of positioning for this boss, you'll want your ranged groups to anchor themselves either to the left, right or middle of the room and then spread out from there. This is to counteract Needle Spine, which targets a player and deals a chunk of damage to the player and anyone else within a six yard radius.
You'll also want all raiders to have more than 8500 health, as one of the mechanics in the raid, Tidal Burst, chunks all the players for exactly 8500 frost damage. The fight is not long, but it can help to make sure players have more than one healthstone, and have setup the warlocks in their raid to provide different sizes of warlock candy.
When you're ready to party, you'll want to initiate the pull with a misdirect onto your main tank. This is a one tank fight, so your offtanks can pile on DPS gear. Optionally, paladins can help with raid healing, which can be beneficial for groups running a little bit light.
Tactics
Naj'entus (Jeff to his friends) is a fairly straightforward tank and spank encounter. You'll want maximum attack from the pull and the aim is to kill the boss in as few Tidal Shields as possible. An elite geared group can do it in one or less, good groups normally only need one or two and the number only gets higher from there.
In addition to the random AoE chunk damage, the boss will also target a single player and hit them with an impaling spine. Whilst impaled, the target will take constant damage and be unable to act. Another player must go over and pick up the spine, freeing the player.
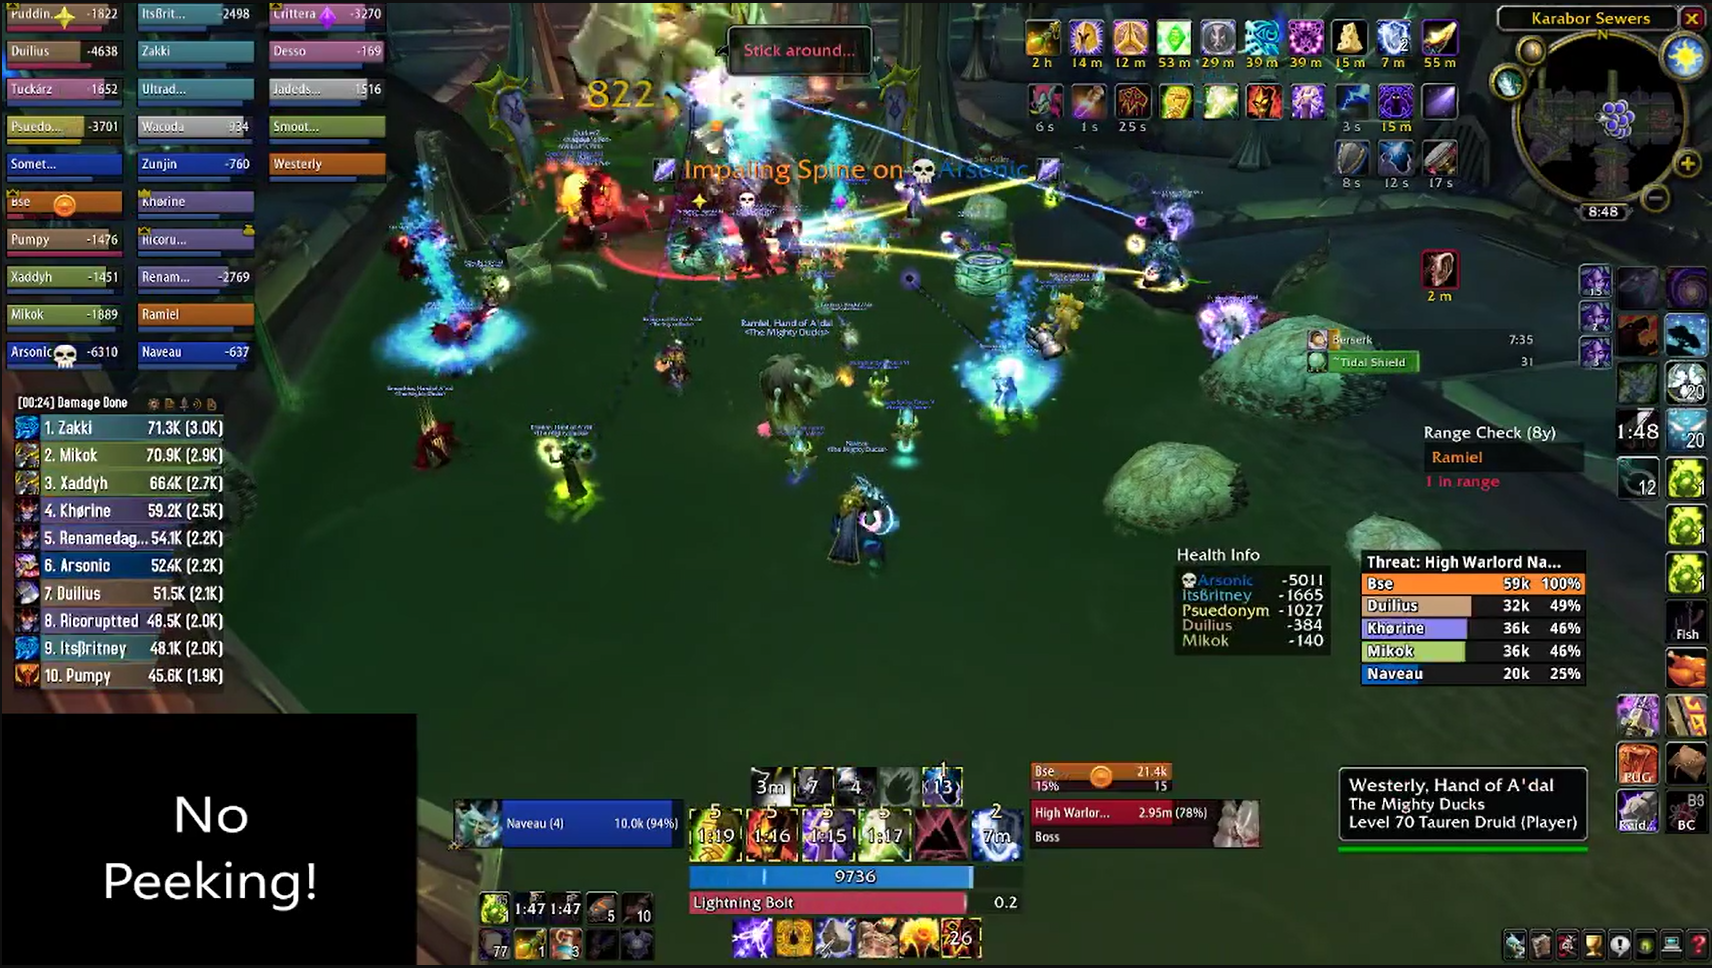
The player that picked up the spine will then have an item in their bags. Players should call out if they have a spine, as it will be important for the next mechanic, Tidal Shield.
Every 60 seconds, the boss will surround himself in a Tidal Shield, which regenerates 1% of Naj'entus' health every two seconds. It will be very obvious when it happens, as the boss will have a large water bubble around his model. In order to remove the shield, a player with a Naj'entus spine must throw it at the shield.

But, there's a catch. When the shield is broken, the boss will instantly cast Tidal Burst, the big chunk of damage mentioned above. Your raid leader should call the spine, to make sure that healers know to top everyone up, and to signal players to use healthstones, healing cooldowns, and defensive abilities immediately after taking the chunk of damage.
So long as your players can show iniative and pick up spines and you can handle the loop of shield -> top up -> throw spine -> healing cooldowns, you should be able to put down the last of the great Naga in TBC without must hassle.
And with that, we've cleared our first boss of BT. Eight more to go. (Or five more if you're doing the phase four skip.)
Head toward the Aqueous spawn room, you'll head up a pipe and emerge into a large courtyard. There's lots of trash here, so the keyword should be steady, consistent pace. Your tanks should be looking to keep the raid moving, whilst keeping one eye on healer mana.
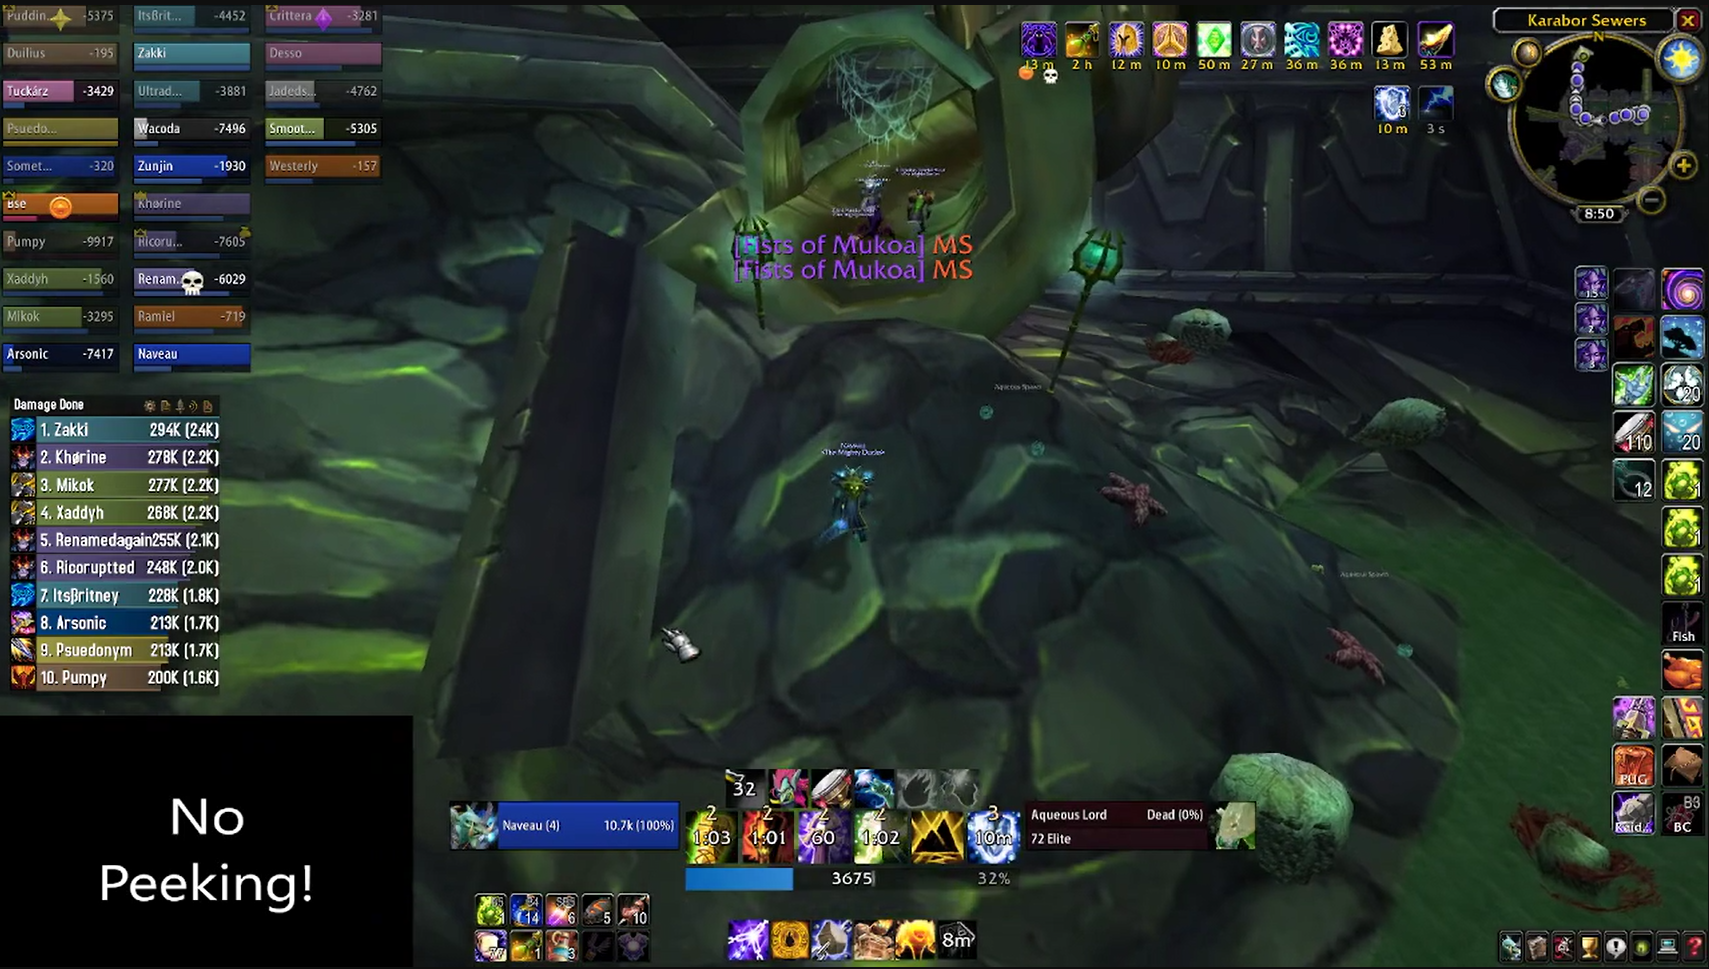
Immediately to the right are a pack of Bonechewer Peons and a Bonechewer Foreman. Have your feral druid or warrior handle the Foreman and your paladin scoop up the peons. The Foreman does enrage if you kill the Peons first, but the additional damage is not threatening, so either cleave off the foreman, or just blow away the peons with seeds and explosions. Dealer's choice.
Hug the barricade to the right. The next pack, which consists of two Dragonmaw Wind Reavers can be skipped, but it can flank players that spread out whilst moving up the path, so it's worth clearing it up anyway. The Wind Reavers cleave, so make sure you're far enough back not to get caught or you're behind them.
The next three packs patrol up and down, so trust the judgement of your tank core on when to pull them. Misdirects can help here. There are two Illidari Fearbringers and another pack of two Wind Reavers. Each Fearbringer has a stomp with a huge range, (about 50 yards, which will cover the entire raid) a frontal cone fire breath, and a rain of fire.
You'll want to use the barricade to line of sight pull them back and use the previously cleared courtyard space so players can avoid the rain of fire. You can get unlucky and get stomped into a rain of fire, so players should be actively looking to use healthstones to keep your healers from cardiac arrest.
Once all three packs in the middle have been cleared, you're now looking the next boss right in the shins. But you'll need the entire area to be clear to move around, so there's more work to do.
There are two more Illidari Fearbringers - one to the left, and one to the right. Misdirect pulls can help those tanks who are nervous about the aggro range of the boss.
With the area in front of the boss opened up, you'll then want to clear the two wings. On the left wing (facing the boss) is a pack of peons and a foreman and then a pack of Dragonmaw Wyrmcallers. Each Wyrmcaller summons in an additional Dragonmaw Sky Stalker, which cannot be hit until they've landed. You'll want to use line of sight to pull the Sky Stalkers in to allow your tanks to pick them up. You can also just have your beefy ranged classes, such as shamans and hunters tank the Sky Stalkers, as they don't deal a lot of damage.
On the right wing are two packs of Wyrmcallers. If you're feeling particularly brave, you can pull both packs and use the ballista on the right hand side to drag all the Sky Stalkers onto the raid. Otherwise, just pull the two packs seperately.
Once you've cleared everything out, we're onto the next boss, who bars the way into the temple.
Boss Two - Supremus

Supremus is a big boy, and the encounter will take place along the entirety of the courtyard you just cleared out. You want your raid to be aware of where they are in relation to the boss, and you'll want to start with fixed positions, that will then descend into chaos.
You'll need at least two tanks for this fight, but a third one always helps. When positioning during the fight, you'll want your two off-tanks to be on top of the boss. Melee players need to make sure they're standing further away from the boss than all of the tanks to avoid having a rocky fist smash their head in.
It can help to use a console command to zoom out the camera, so you have full visibility of the arena, as there are a number of hazards you will need to be aware of.
When you're ready to rock, you'll want to start things off with a misdirect from a hunter, and drag Supremus into the middle.
Tactics
Supremus is a two phase fight. The first phase, referred to as the 'tank phase' is exactly what it says on the tin. Your main tank holds the boss and your off-tanks need to keep secondary threat on the boss. Much like Gruul, Supremus will hit the second player on the aggro table with a hateful strike, which can and will one shot a particularly feisty melee DPS.

The boss will also target a player and send a line of fire, called "Molten Flame" at them. It's easy to avoid as it moves in a straight line, and easy to see because it's a bright light blue on a dark green background. Don't stand in it, job's right.
Where things will get messy is when the boss transitions to his fixate phase. Like it says on the tin, the boss will pick a random player and fixate on them. The boss only deals slightly more melee damage in this phase, so if your tanks are chunky enough, they can hold the boss in position whilst Supremus gives them a whack.
Everyone else will need to run. If a player moves too far way from the boss, however, Supremus will charge them and instantly kill them. If a player is fixated, they need to tease the boss with the possibility that he'll catch them and kill them.
The boss has no threat table in this phase, so if you're not being fixated, just keep hammering the boss. However, all players need to keep one eye out for the second ability in this phase, Volcanic Geyser.
The boss will spawn volcanoes around the arena which deal huge damage in a wide area around them. They'll kill you in two or three seconds even with a healthstone, so the key is to stay on your toes and make sure your camera is zoomed out so you can spot where they spawn and move before they start doing damage.
At least one player, if not several, will be killed by geysers every fixate phase. The damage is too high, and the reaction window to move too small. Be ready with battle resurrection spells and warlocks should soulstone healers.
One other thing whilst in the fixate phase. The boss will reset if he's dragged beyond the two ballistas at the bottom of the courtyard. When moving the boss, a good idea is to run the boss to the left and right instead of forward and backward to prevent this from happening.
When the boss transitions back from fixate to tank, there's a threat drop. Players need to be aware of this (the addon deadly boss mods, which is pretty much mandatory, has a timer for the end of the fixate phase) and be ready to temporarily stop damage until the tank and off tanks are in position. It might cost you five or ten seconds, but it'll save the boss jumping around killing players.
Even adjusting for a handful of players dying to geysers, Supremus' health pool is not large and there isn't a ton of pressure on healers during the tank phase. It shouldn't take more than one or two fixate phases to clean up the boss.
Once everyone who died to geysers has been scraped up, the doors to the temple open and you can enter the main annex where the majority of the raid is.
Through the entrance and past a winding hallway is the foyer of the temple, complete with breath mints, room temperature water, and plenty of demons and broken draenei. The first pack you'll want to pull on the right has two Illidari Centurions, as well as three satyrs - an Illdari Boneslicer, Defiler, and a Heartseeker.
The next few packs will want to be dragged into the hallway before the foyer. Have your ranged and healers group up in the corner and direct your hunters to misdirect to your tanks. Your off-tanks should each pick up a centurion and face them away from the raid, as they cast a silence in a frontal cone. Otherwise, your paladin should gather up the satyrs, and you should direct a warlock to banish the defiler, as it casts a nasty rain of fire on the ranged and healing stack.
The next pack consists of a defiler, a boneslicer and a nightlord (no, not the chaos space marine legion, quit asking). The nightlord fears, has a nova-like ability which does hefty damage and needs to be outranged (similar to spore quake in Serpentshrine cavern) and spawns greater shadowfiends which need to be blasted down by the aoe classes in the raid.
You'll want to drag this pack into the hallway too, and the tanks may need fear wards to avoid a chain pull.
The next pack is a group of Ashtongue, which features an Ashtongue Feral Spirit with a huge aggro radius. However, you can use this against the pack to avoid pulling it and bypass it entirely.
Have a mage use invisiblity, and after it applies, walk out and engage the Feral Spirit. The rest of the pack won't move and you can easily stomp it out.
Then have your raid move along the wall to the right, staying as close as possible. You'll reach another pack of demons similar to the first - two centurions, a heartseeker, defiler and boneslicer. You'll want to pull them into the corner, this time you'll want to banish the boneslicer and smash down the defiler before it can cast a rain of fire on your raid.
Once the pack is clear, you can now move into Akama's room. Make sure you don't drift out too far to the left, or you'll body pull the pack in the central foyer.
This next bit can be pretty tricky - there are four packs of Ashtongue. The first two, consisting of a battlelord, mystic, primalist and feral spirit have huge pull ranges. If your raid is chunky enough, you can pull both left and right, but it's not recommended. You'll want to drag the pack to the main area, still hugging the corner and blast them down from there. If your paladin is meme spec (i.e, has no divine shield for ranged pulls) you will want to use a misdirect.
Only thing to look out for here is the battlelords cleave and the mystic spawns a cyclone totem, which counts as a windfury totem. Also it's not possible to interrupt the mystic's chain heal, I tried.
Once you clear the side packs, you then have to deal with the middle pack of two primalists. They're not a threat, but they're too dangerous to pull with another pack. Eat them quickly.
The next two packs closest to the front of the room are identical - two battlelords, a mystic and a stormcaller. You can use the pillars to group them up, as the stormcaller casts lightning bolts. You'll want to deal with the mystic first and the rest is up to preference.

Once the room is clear, you can take on the next boss.
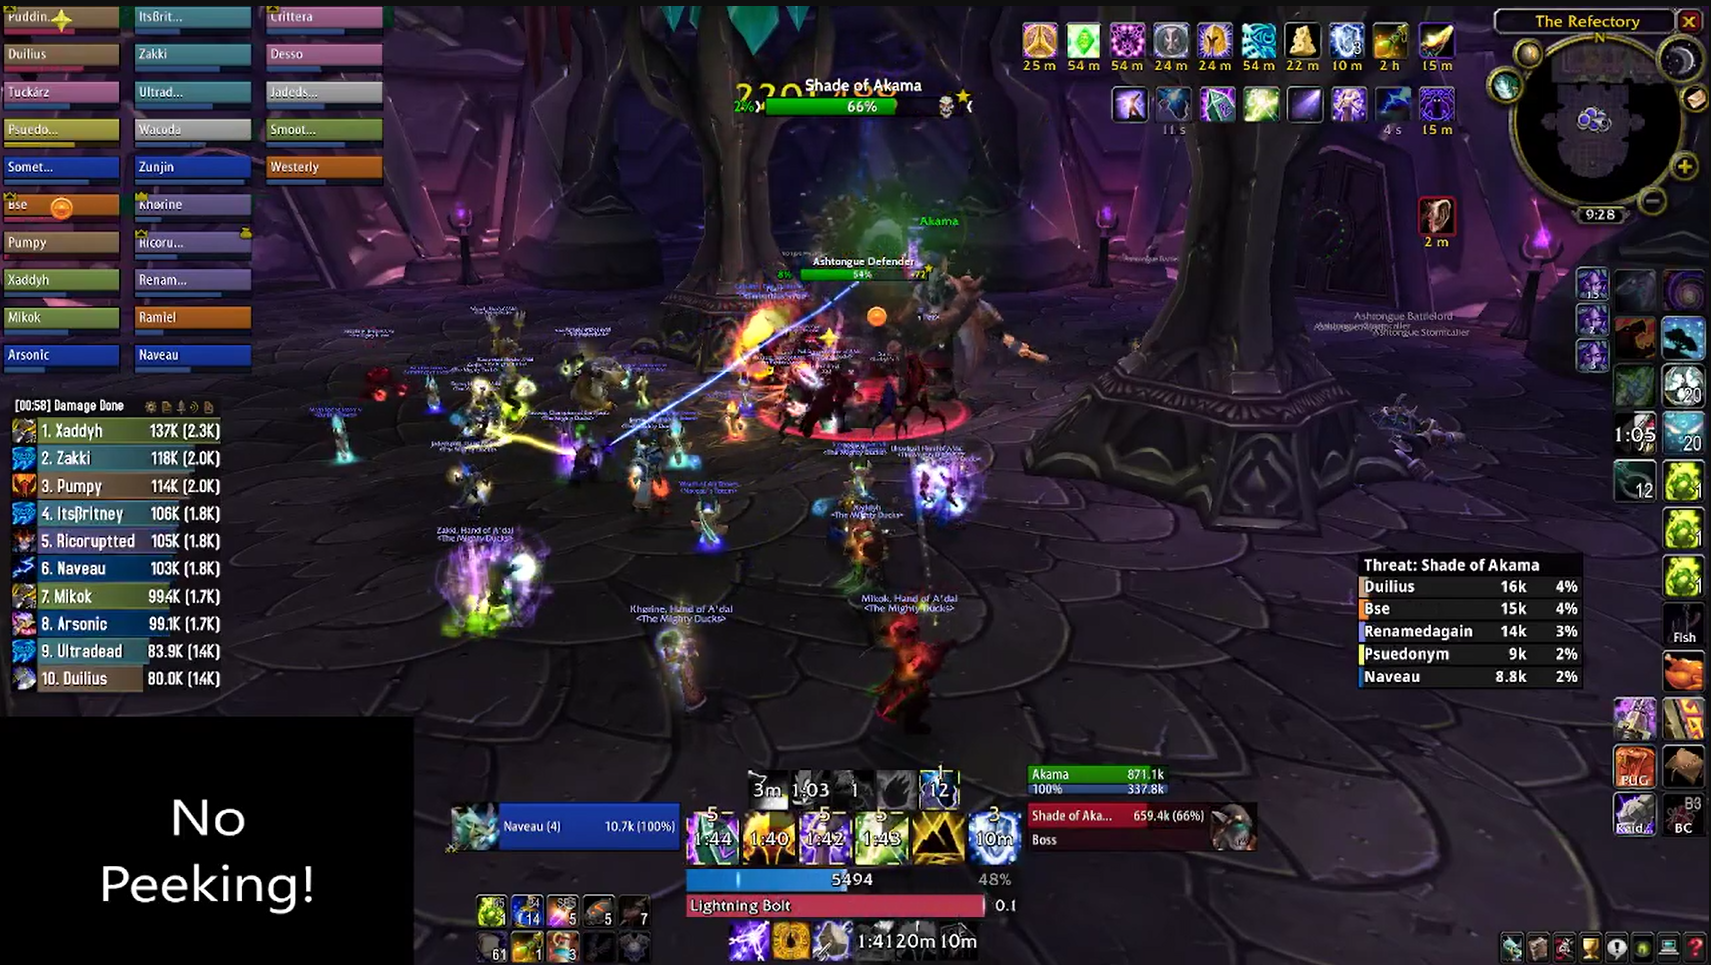
Boss Three - Shade of Akama
I say "boss", but the Shade of Akama is one of the easiest encounters in all of TBC. There was even an argument at one stage to not count it as part of Black Temple at all.
The encounter doesn't start until you speak to Akama, who is in stealth at the front of the room. You'll want your raid to split into three around the platform where the Ashtongue channellers are.
There are two entrances to the left and right which need to be covered by your off tanks. It's recommended you give this job to your paladin and your druid, and have your hunter put a frost trap down to slow incoming reinforcements.
Once everyone's in position, have a chat to Akama. He'll start slowly walking down the middle of the room, then the channelers will turn hostile.
Tactics
You'll want to blast the channelers away as soon as they appear. They have no threat table, so it's a good idea to use bloodlust and significant raid cooldowns at this point to chew through them as fast as possible.
Whilst you're working your way through the channelers, reinforcements will spawn on both sides of the room. The reinforcements will consist of a sorcerer, rogue elementalist, spiritbinder, and defender.
The sorcerer will ignore your offtanks entirely and sprint to the center of the room and start casting a rain of fire; don't stand in it. The remaining adds can be gathered up and tanked.
Once all the channelers are killed, the Shade becomes free and makes a beeline for Akama. At that point, your tanks should drag their adds onto the Shade and your raid should cleave them down. Neither the boss nor the adds have very much health, so everything will die quickly.
Your only failure state is if Akama dies, but that's so remotely unlikely that I've never seen it happen.
Once the Shade dies, that's the end of the encounter. I hate using the "joke" descriptor, because it's still worthwhile to see and experience the encounter, but its difficulty is trivial.
Once the encounter ends, Akama will make a speech which echoes through the halls of the black temple, telling the surviving Ashtongue (aren't you glad you didn't kill that extra pack now...) to shake off their oppression and rebel against Illidan.
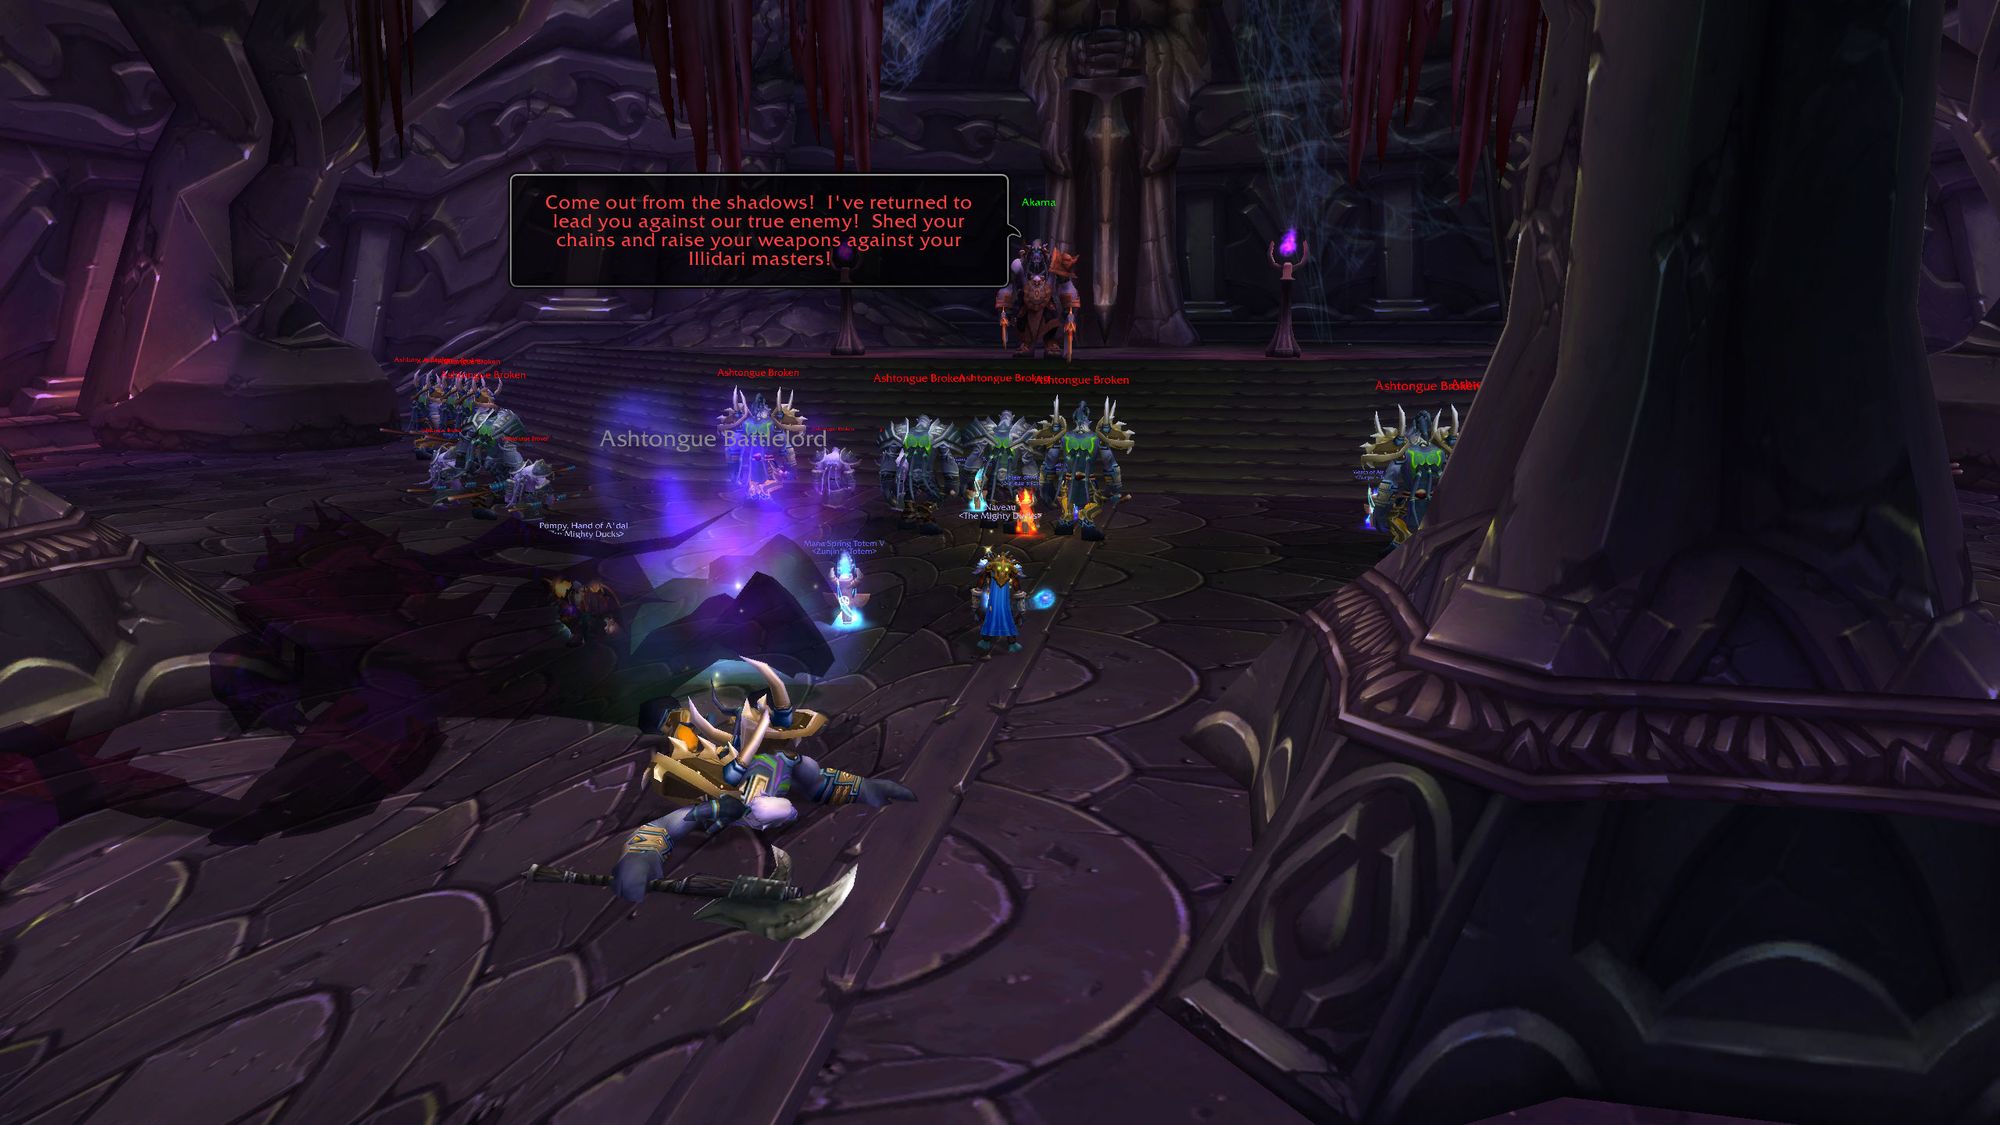
At this point all the Ashtongue packs in the instance become friendly. This does take some time to apply, so it's worth having the raid hang back and top off.
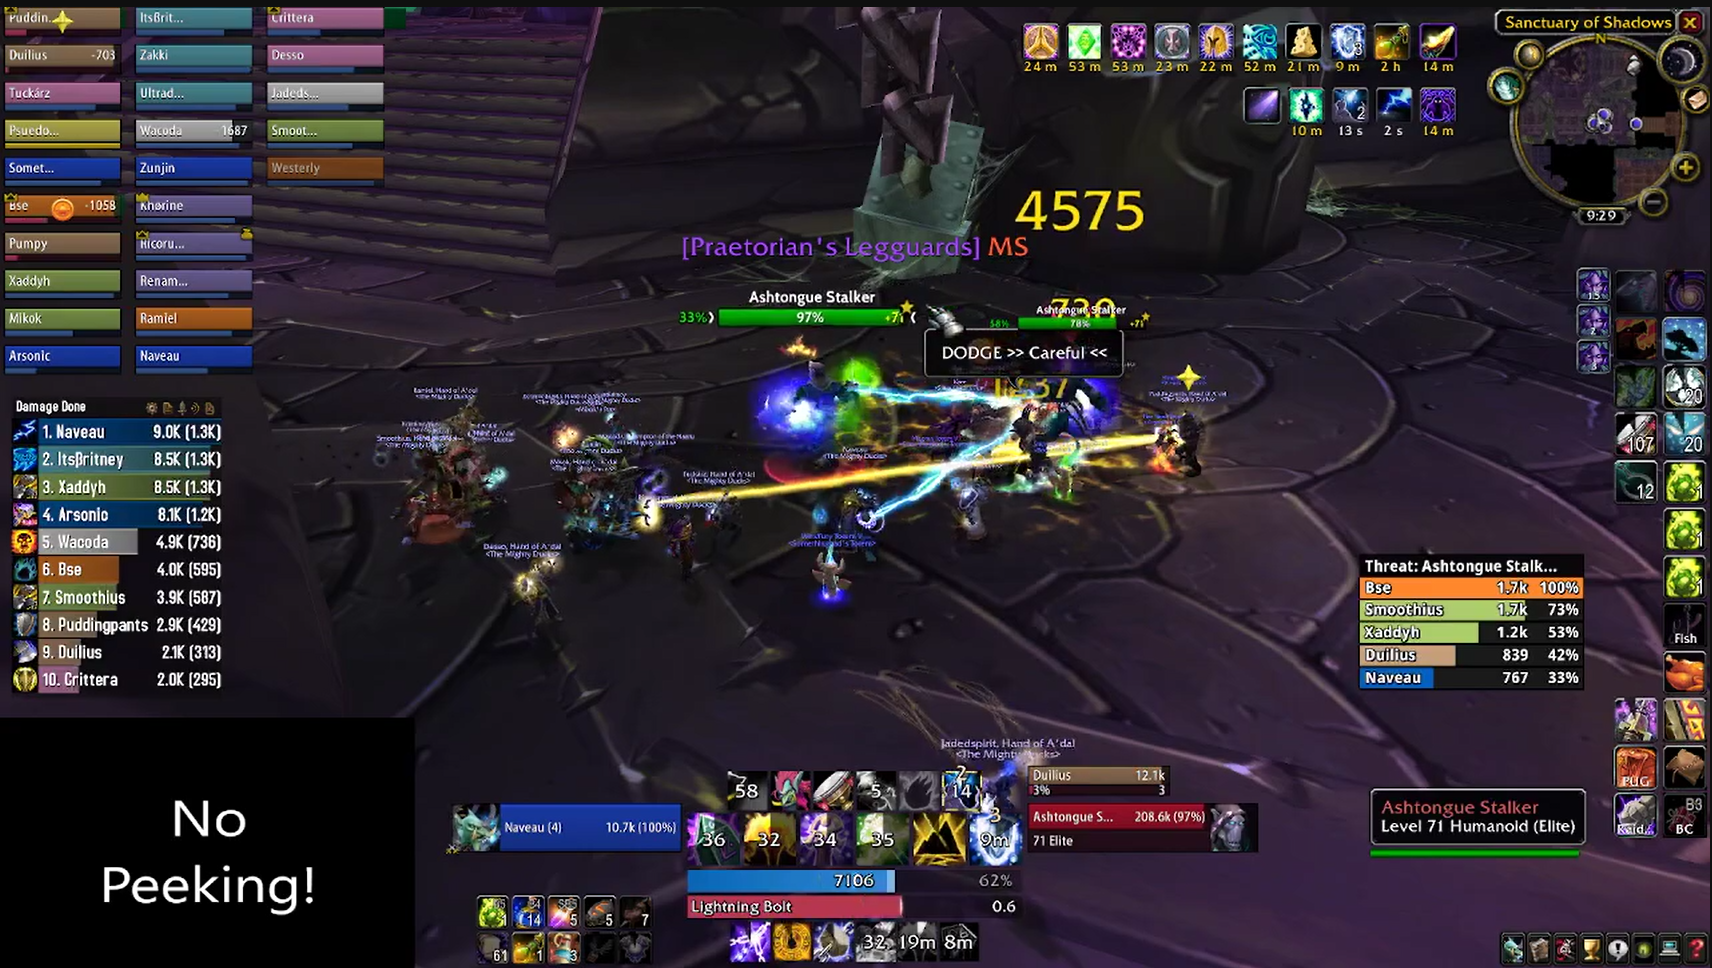
If you raced on ahead, you'll find two Ashtongue stalkers in stealth close to the stairs leading up to Teron Gorefiend. They'll slow you down but won't do much more than that.
With the Ashtongue patrolling the middle area becoming friendly, this opens up the Ashtongue vendors in the center of the foyer. They have the recipes for shadow resistance gear, along with class-specific trinkets once you get to exalted. They aren't very good.
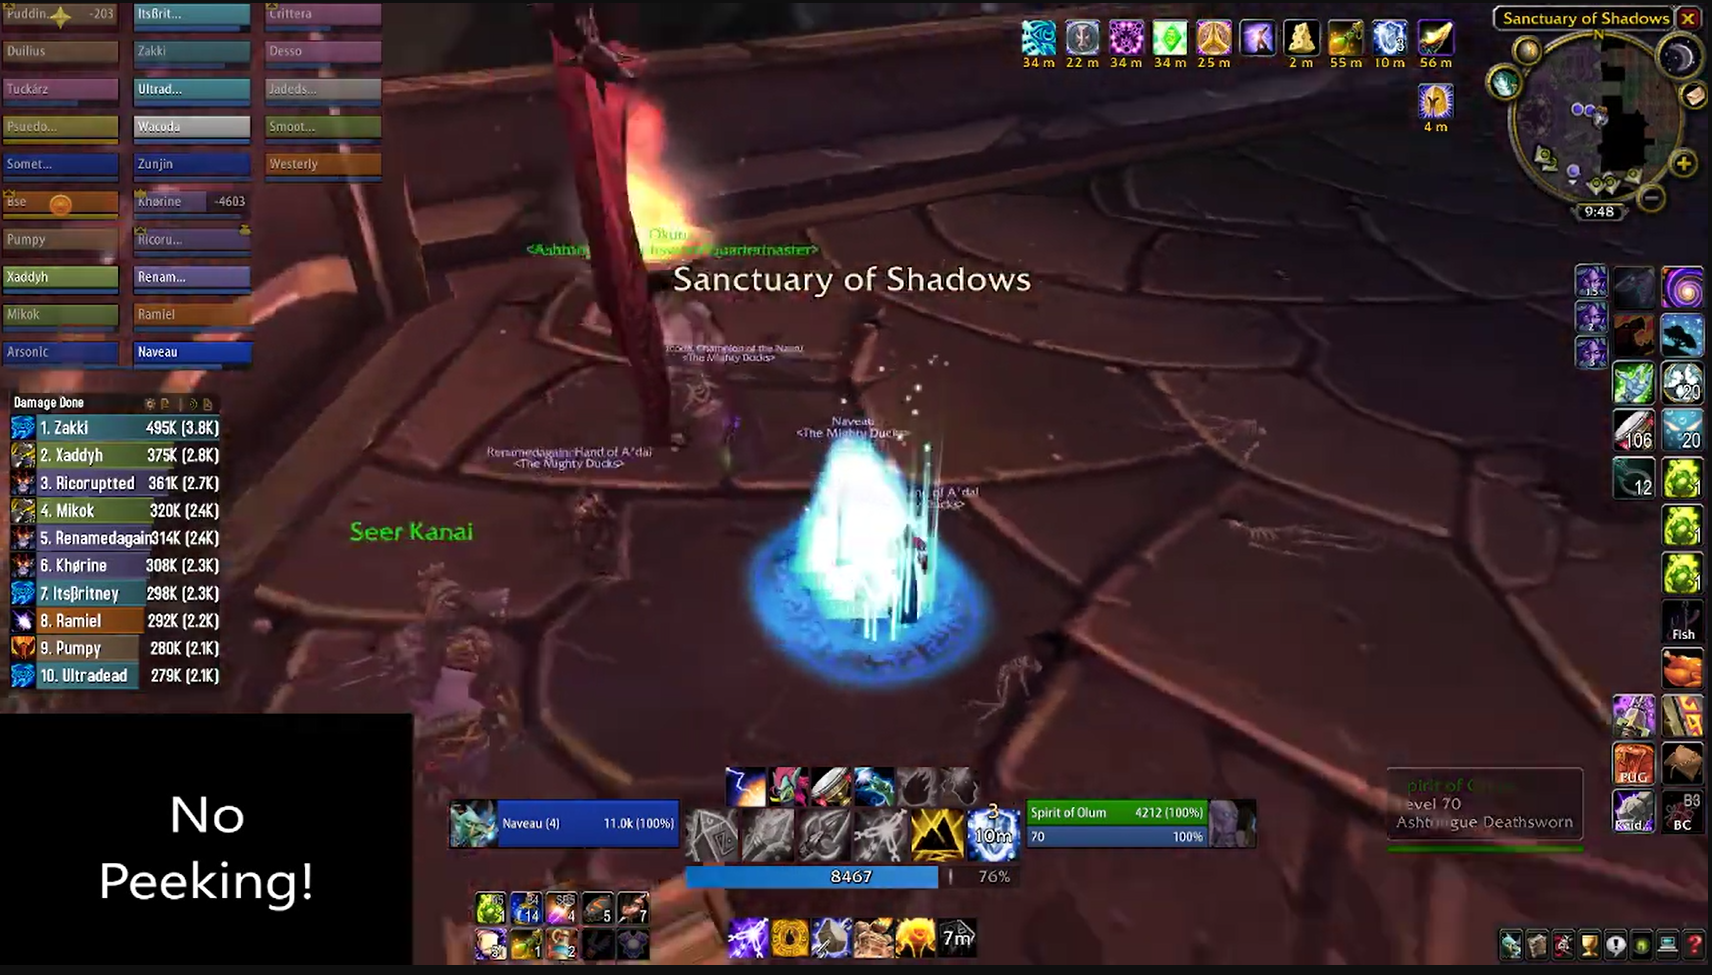
If you wipe, you can talk to the Spirit of Olum at the entrance of Black Temple to teleport here, which saves a ton of time.
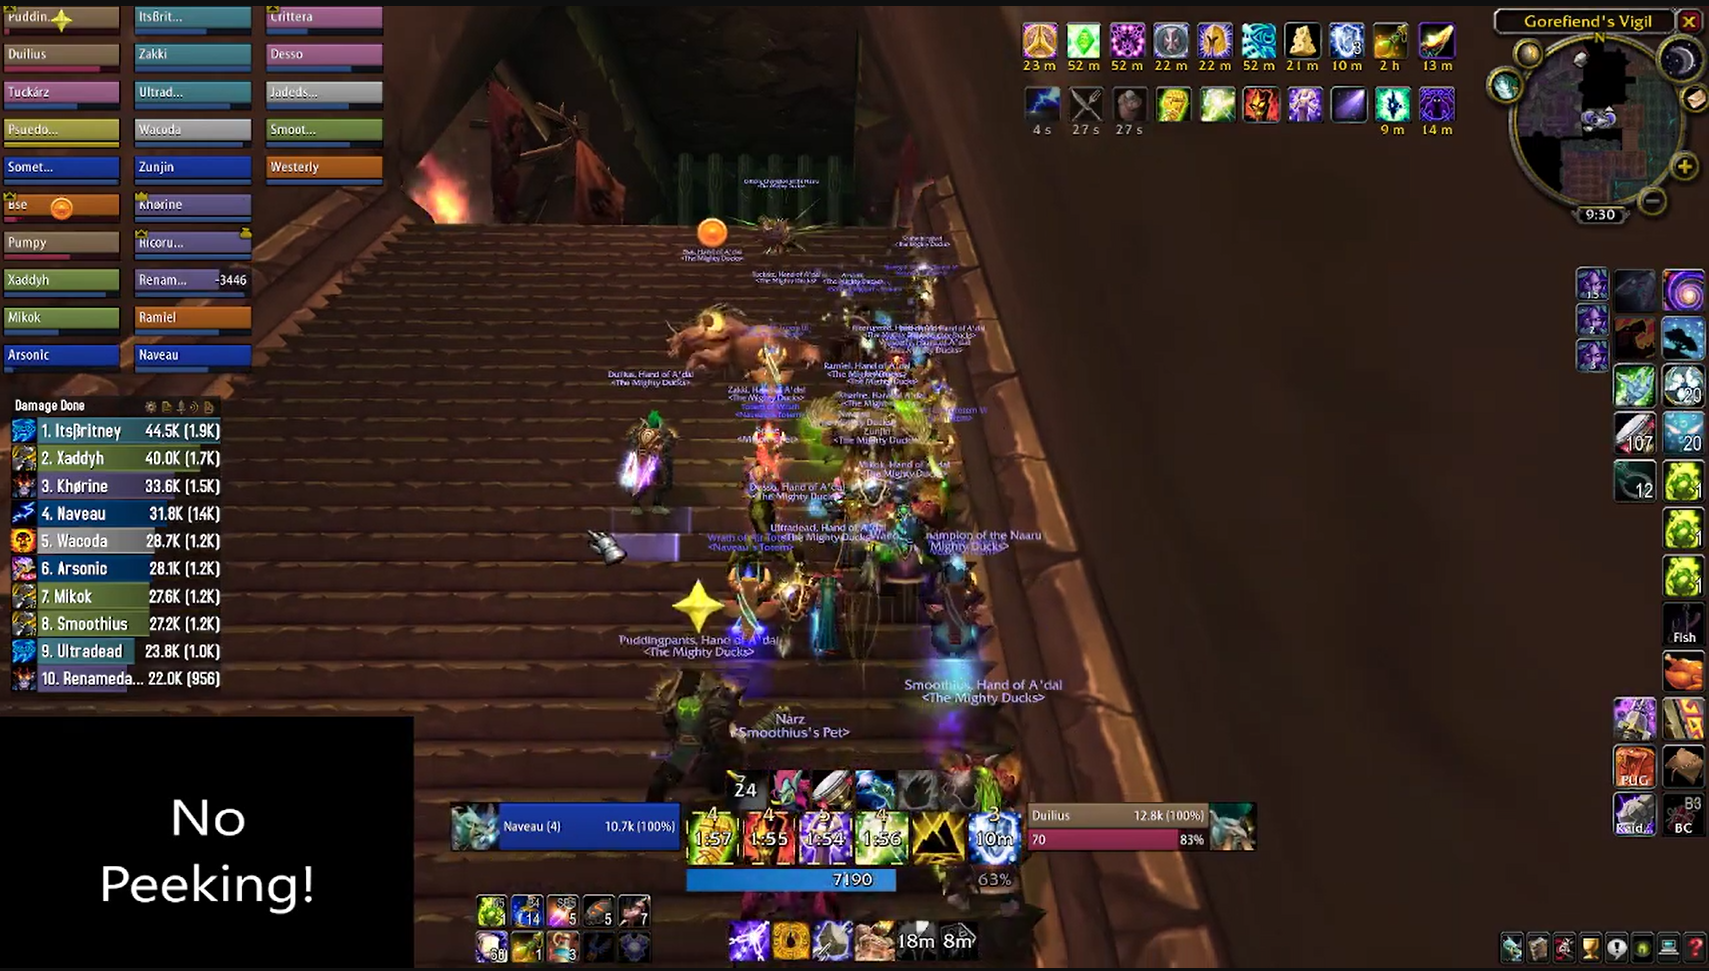
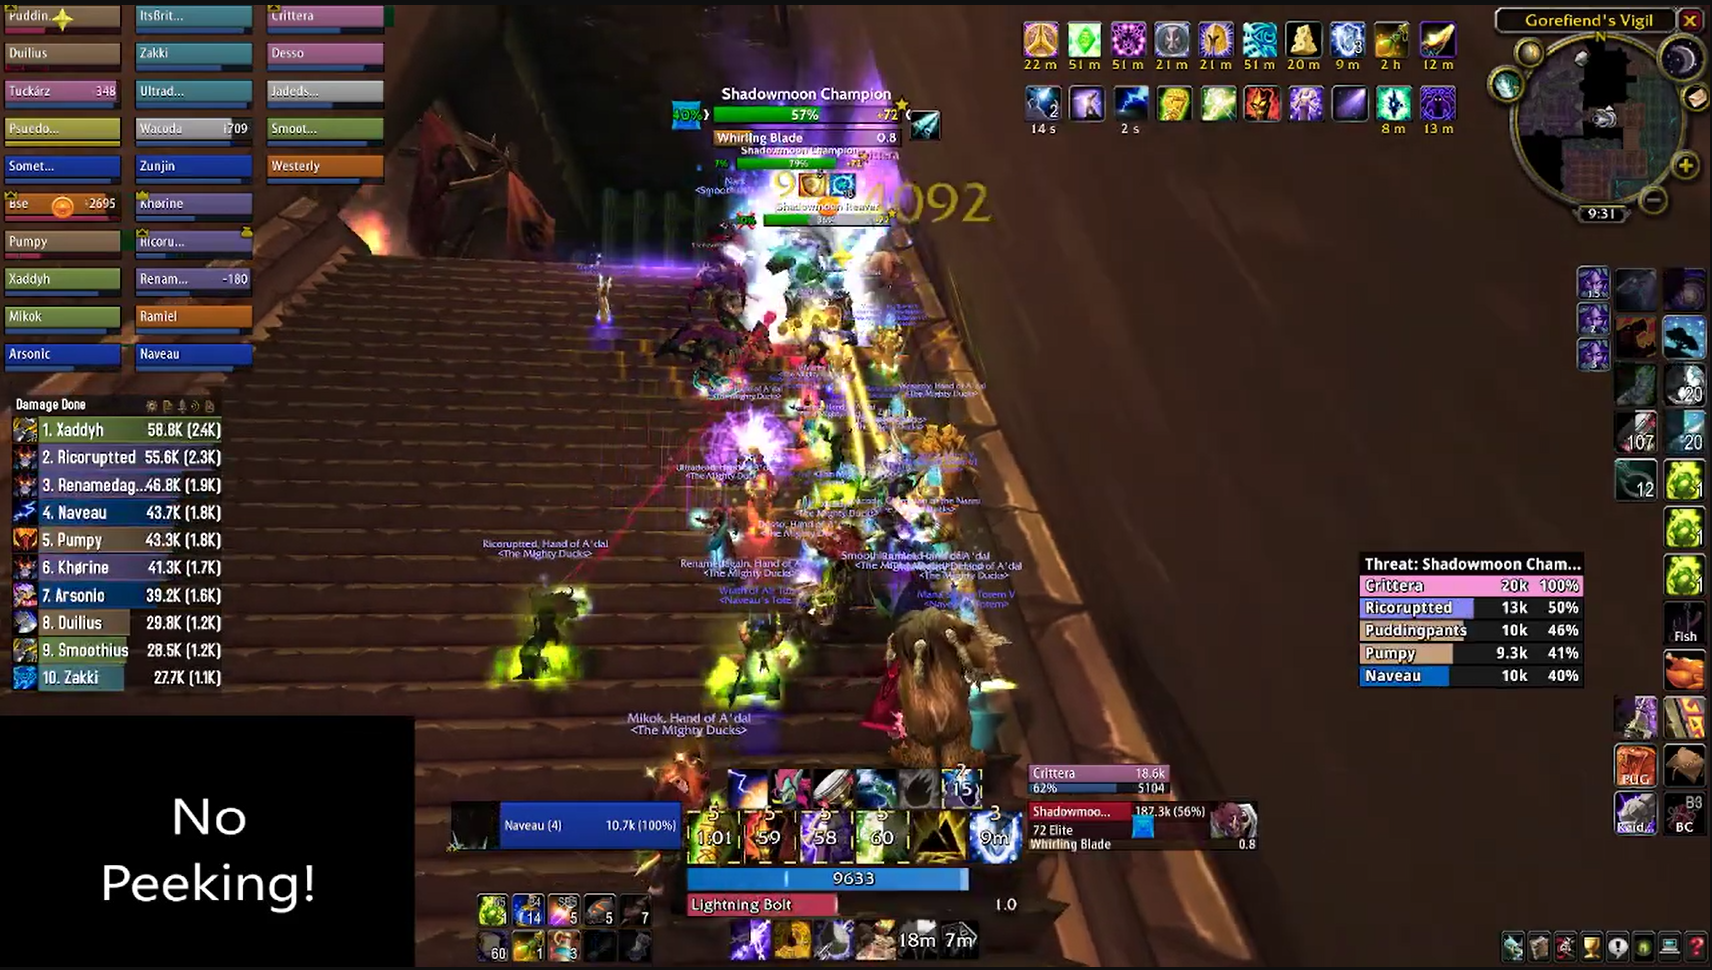
Once you're done repairing, head up the stairs. On the first landing, you'll find your first pack of Shadowmoon Orcs, consisting of two champions and two reavers.
For this pack you'll want your raid to gather up on one side of the stairs and use line of sight to pull the orcs back, grouping them up..
The champions have a frontal cleave, and cast whirling blade, a non-targetable whirlwind effect on a player. When this is cast, players should move to the opposite side of the stairs to avoid it. The Shadowmoon Reavers have a mana burn which increases with every spellcast, so the mana drain effect is pretty hefty. Don't be surprised if you need to take a break after every reaver pack.
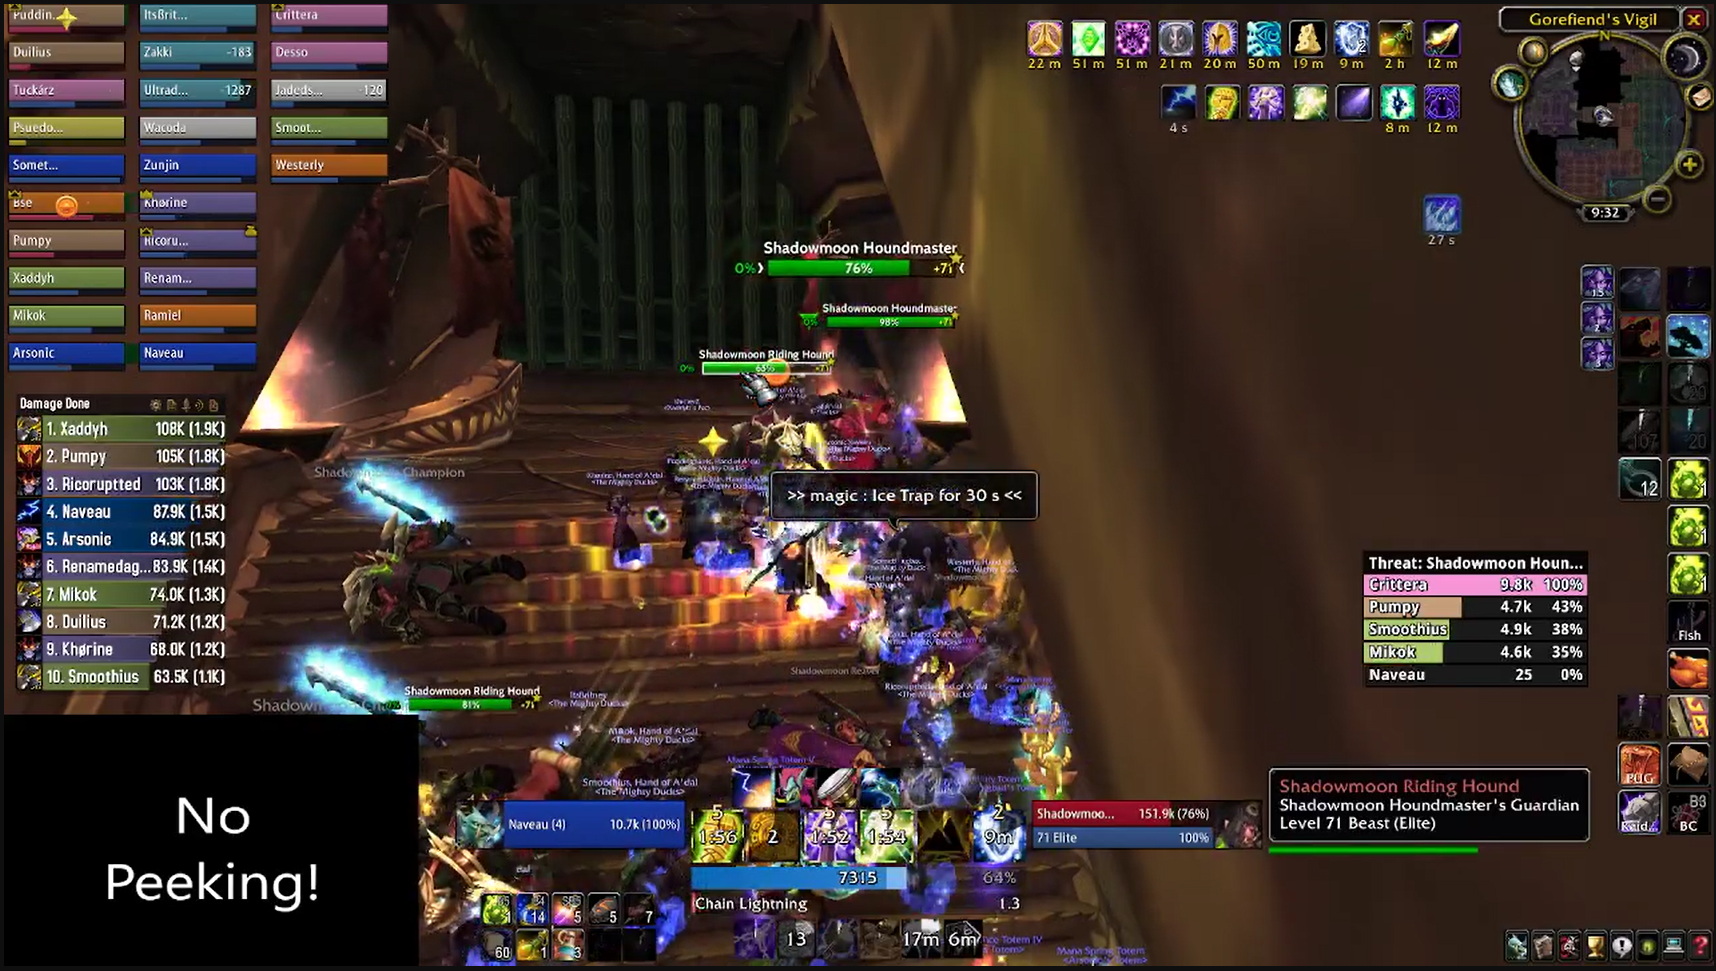
The next pack is patrolling the stairs between the first landing and the next room. Two Shadowmoon Houndmasters, who will dismount to engage you when pulled, spawning two riding hounds. The hounds charge, so you'll need to stack, and the houndmasters cast a freezing trap on the whole raid, which can be mass dispelled after you clean them up.
On the next set of stairs, just around the corner on the right is your next pack. Two blood mages, a champion, and two war hounds. The blood mages case bloodbolt, an uninterruptible cone of damage - so face them and the champion away from the raid. The war hounds don't charge like the riding hounds, so can just be dealt with as part of the pack.
The next pack is against the wall on the right - two warhounds, two grunts, two blood mages and a reaver. The grunts don't do a lot of damage, and can be easily grouped up and cleaved down. As with the previous pack, single target the blood mages and reaver first.
Here is where things get tricky - you will emerge into an L shaped room, with the exit on the opposite side. Between you and there are for different packs, which can be avoided or engaged.
The first pack on the wall to your immediate left has a champion, two reavers, two grunts and a war hound. You can use the stairs to pull these enemies back in order to group them up. Make sure you keep moving for whirling blade.
There's a pack of Shadowmoon Blood Mages and Deathshapers accompanied by a Wrathbone Flayer on the right, a pack of Shadowmoon Soldiers led by a Shadowmoon Weaponmaster. Patrolling the perimeter of this area are two hound masters.
The first approach is the riskiest, which is the skip approach. Ranged pull the houndmasters first, making sure to stack and dispel the freezing trap. Then, making your way along the left wall, there will be several non-elite orc mobs you can pick up and quickly dispose of. Be careful here, though, as you can accidentally pull boss six through the floor by accident, which will wipe your raid. I don't think this is intentional.
The second approach is the partial skip. Pick off the houndmasters, then engage the weapon master and soldiers, again making sure not to pull the boss through the floor and grabbing the various non-elite enemies.
Finally there's the full clear, which carries the least risk, but takes the longest. Pull the blood mages, deathshapers (which can be crowd controlled) and flayer back, then the hound masters, then the soldiers and weapon master. Randomly, the Wrathbone Flayer will ignore whoever is tanking it, and will run over to the second highest threat. Make sure that is single-targeted down first.
Regardless of if you manage to sneak past the trash or you decide to clear it, the next pack consists of a pair of champions and reavers. Keep an eye out for whirling blades, and move them away from the entrance as there's another patrolling pack which can be engaged by accident here.
That pack patrols the ramp leading up to an open air area and consists of two hound masters. Just like last time, stack up to avoid charges and mass dispel the freeze (or take the opportunity to top off) and you'll breeze past them.
Once you get to the top of the ramp you'll end up in a courtyard. There's two packs that can be skipped entirely by skirting around the edge. Have your tanks go first and pick up the grunts milling about, before gathering up in front of the opening to Teron's room and clean them up.
The next pack is more deathshapers, blood mages and a flayer. Use crowd control on the deathshapers, single-target the flayer, and face the blood mages away to minimise damage from bloodbolt. Remember the flayer will occasionally ignore its tank and run toward the next target on the threat table, so use the outside space to its fullest.
There's two identical packs before the next boss, each consisting of two Hands of Gorefiend. They hit hard, enrage, and cleave. So face them away, and have hunters coordinate tranquilising shot use.
Once both packs are down, we can move up to the reason we came all this way.
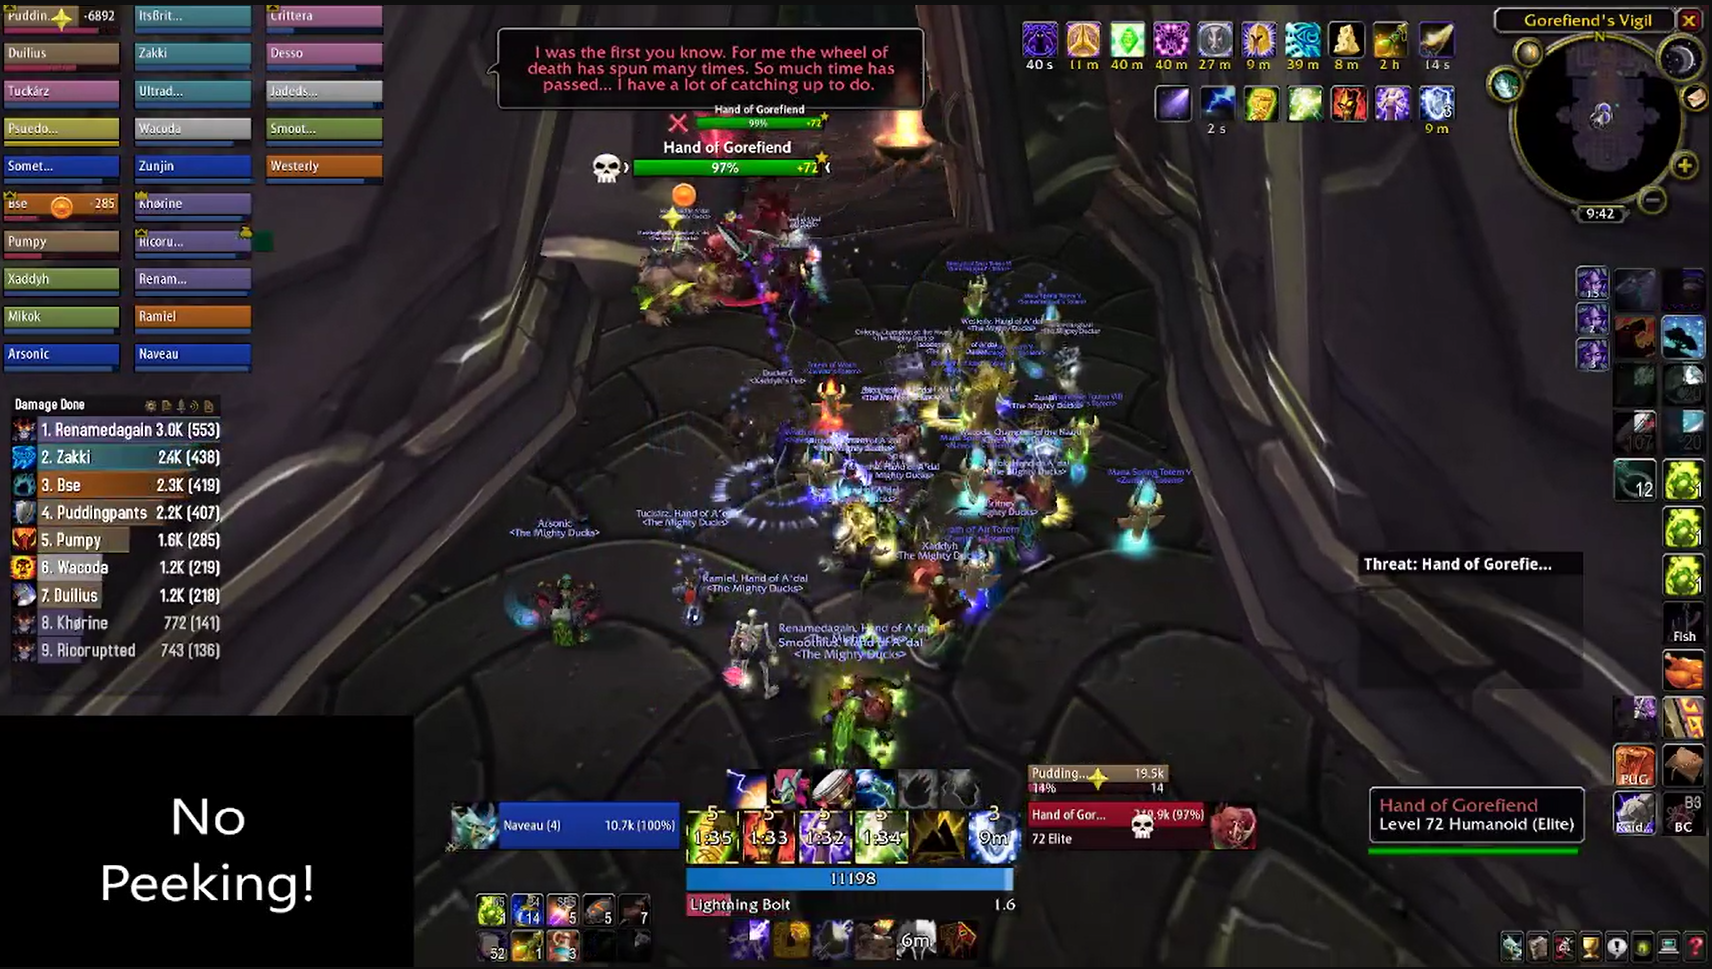
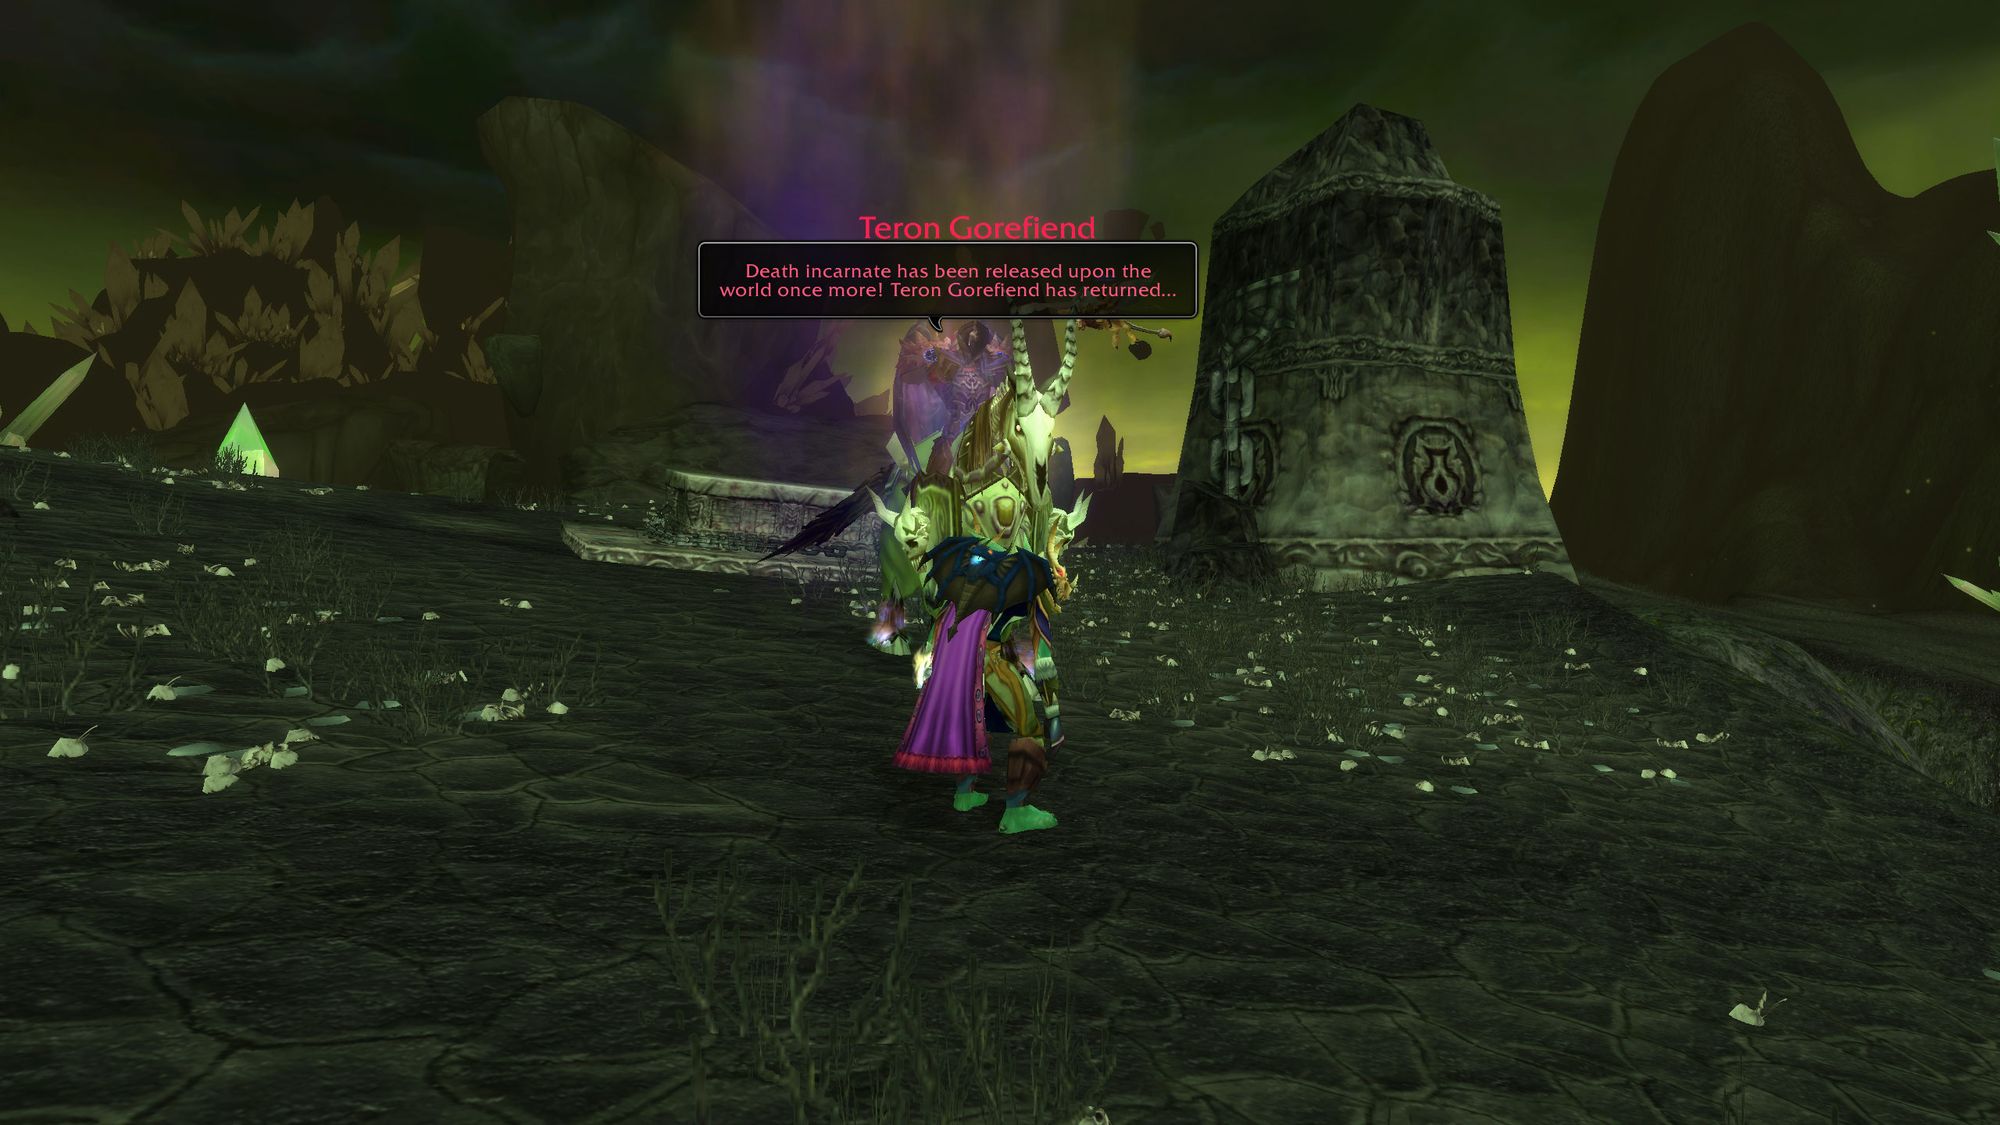
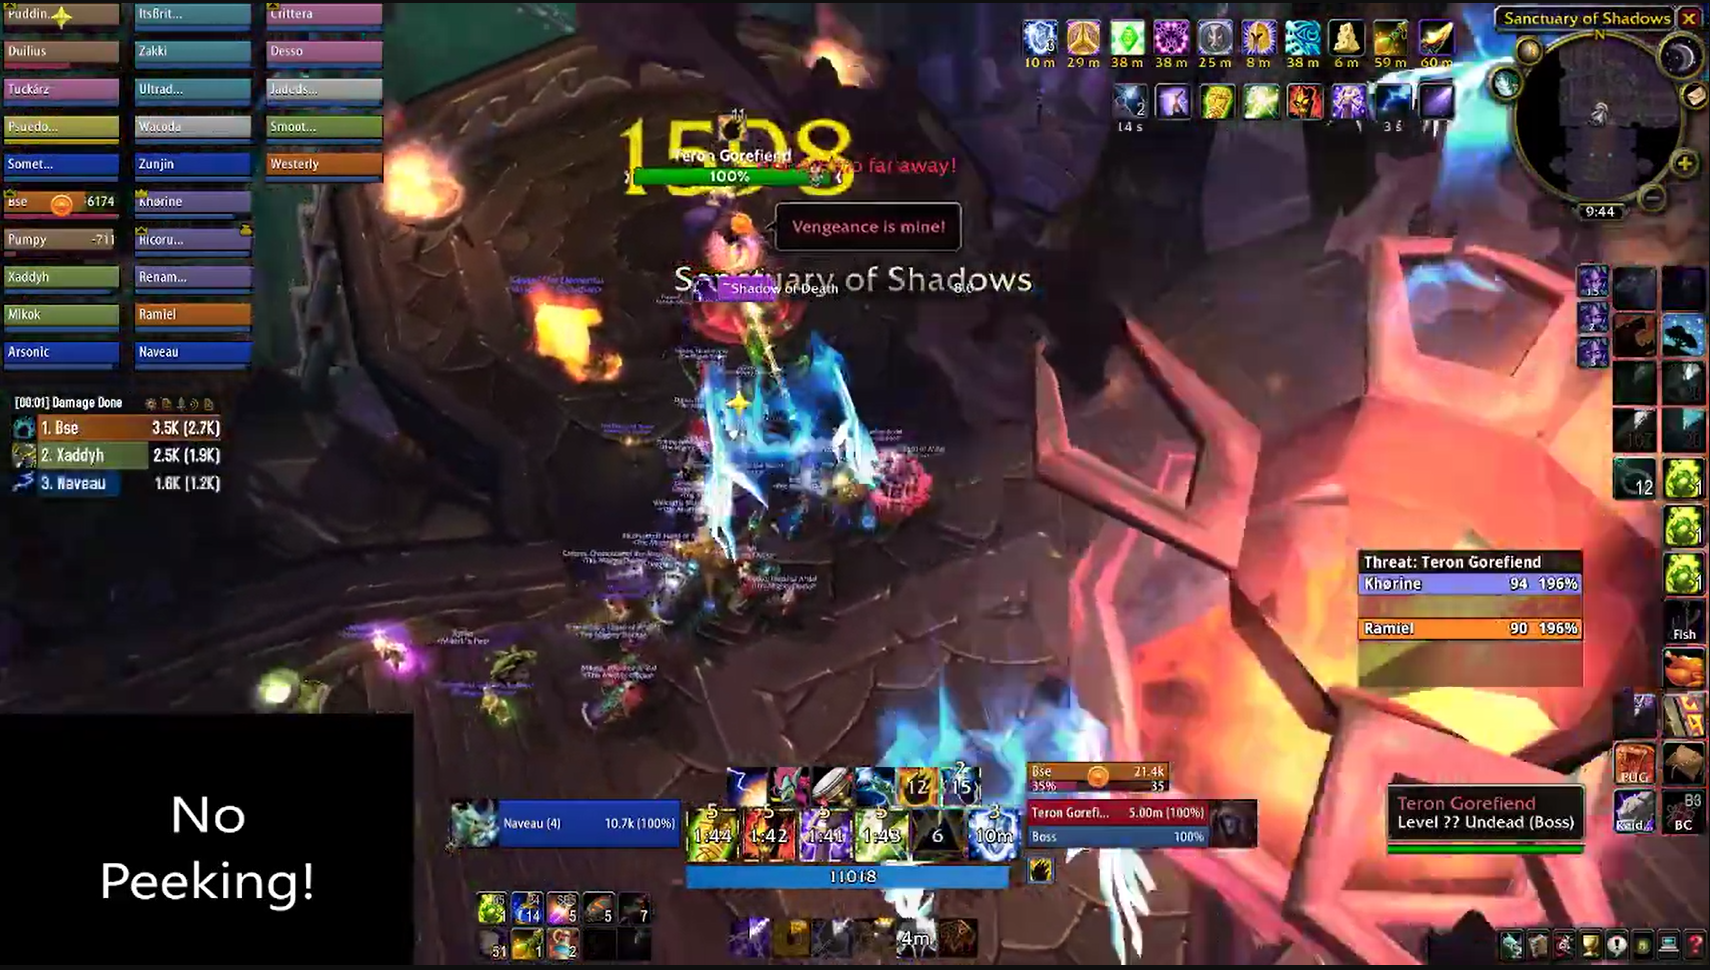
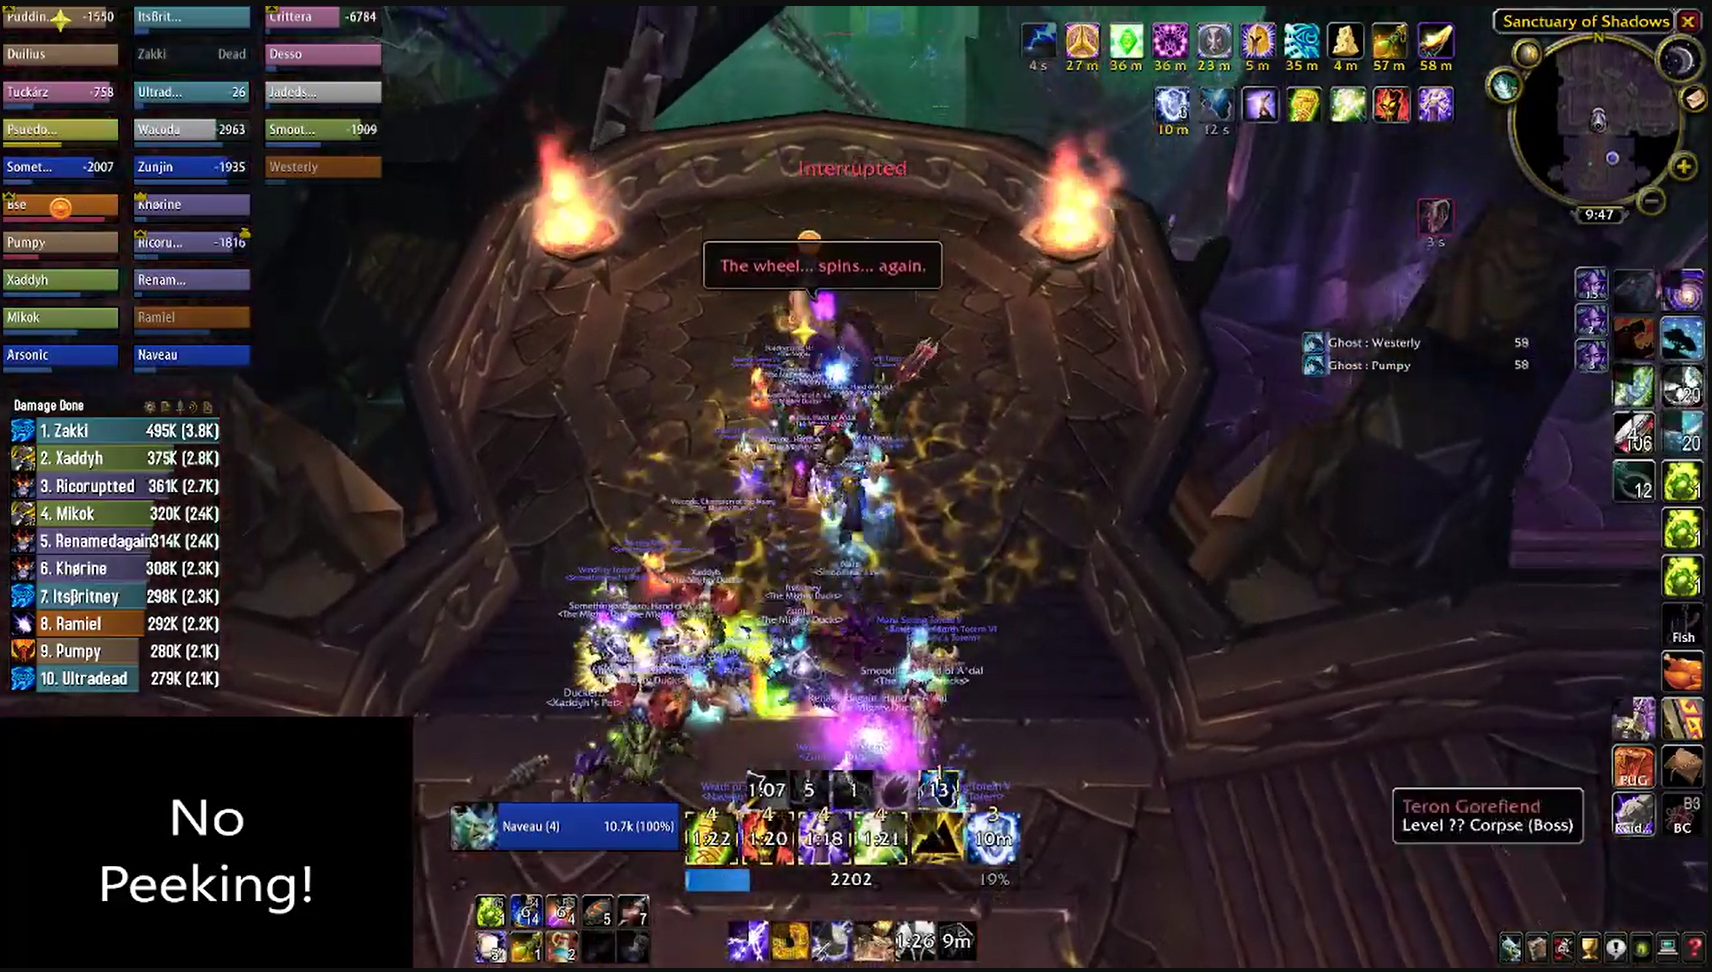
Boss Four - Teron Gorefiend
The first Death Knight, Teron Gorefiend is actually an Orc, stuffed inside the rotting carcass of a human knight. Which is why he looks human and sounds human. As you enter the room, his weariness infects you as he monologues about death and misery. Cheerful stuff.
There's also a chain of quests out in Shadowmoon Valley where he tricks you into recovering his prized possessions and then possesses you in order to slay the ancient draenei spirit responsible for his imprisonment. Strangely enough, it's not required for any attunement process.
The irony is, after all this buildup, and deep character significance, Teron Gorefiend is one of the easiest fights in the instance. It's little more than a dyno session to see who can pump the biggest in a fight that lasts no more than about two minutes.
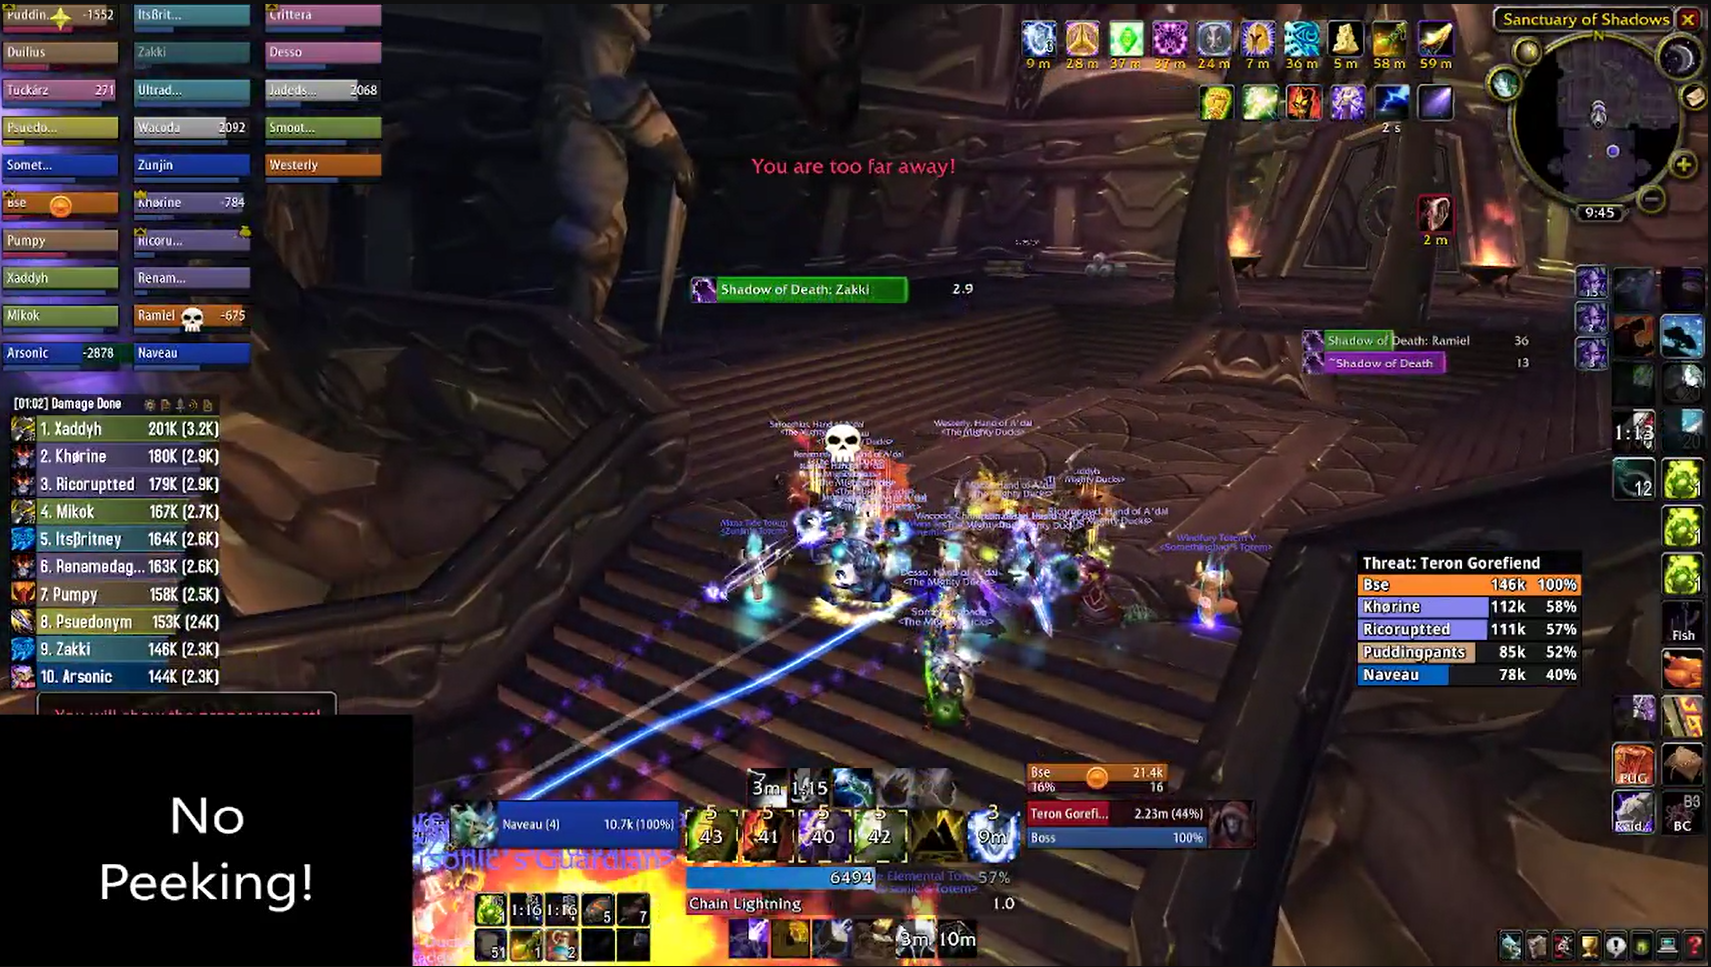
Let's start with the pull. You'll want to have your entire raid stack up on either the left or right wall. You'll be out of line of sight, but can still precast abilities so you can get the power down quicker. Shamans with totems, etc, will enjoy being able to set and forget.
To initiate the contact, you'll want to have your main tank break cover and then stagger your hunter misdirects into Teron.
Tactics
Teron has a handful of abilities that do chip damage to the raid that just have to be healed through. The first is Incinerate, a ticking fire damage spell that can be removed by priests and paladins. It's hefty, but easily dealt with.
The second ability is Doom Blossom, a floating untargetable purple orb that shoots shadow bolts at people. This damage can be partially resisted, although can sometimes be stressful to deal with when coupled with Teron's third ability, crushing shadows - a non-dispellable debuff that increases shadow damage taken.
Doom Blossoms and Crushing Shadows are supposed to combo together to pressure your healers. But the fight is so short, and the healing throughput possible from having the raid stack up to abuse chain heal and circle of healing, really nullfies this.
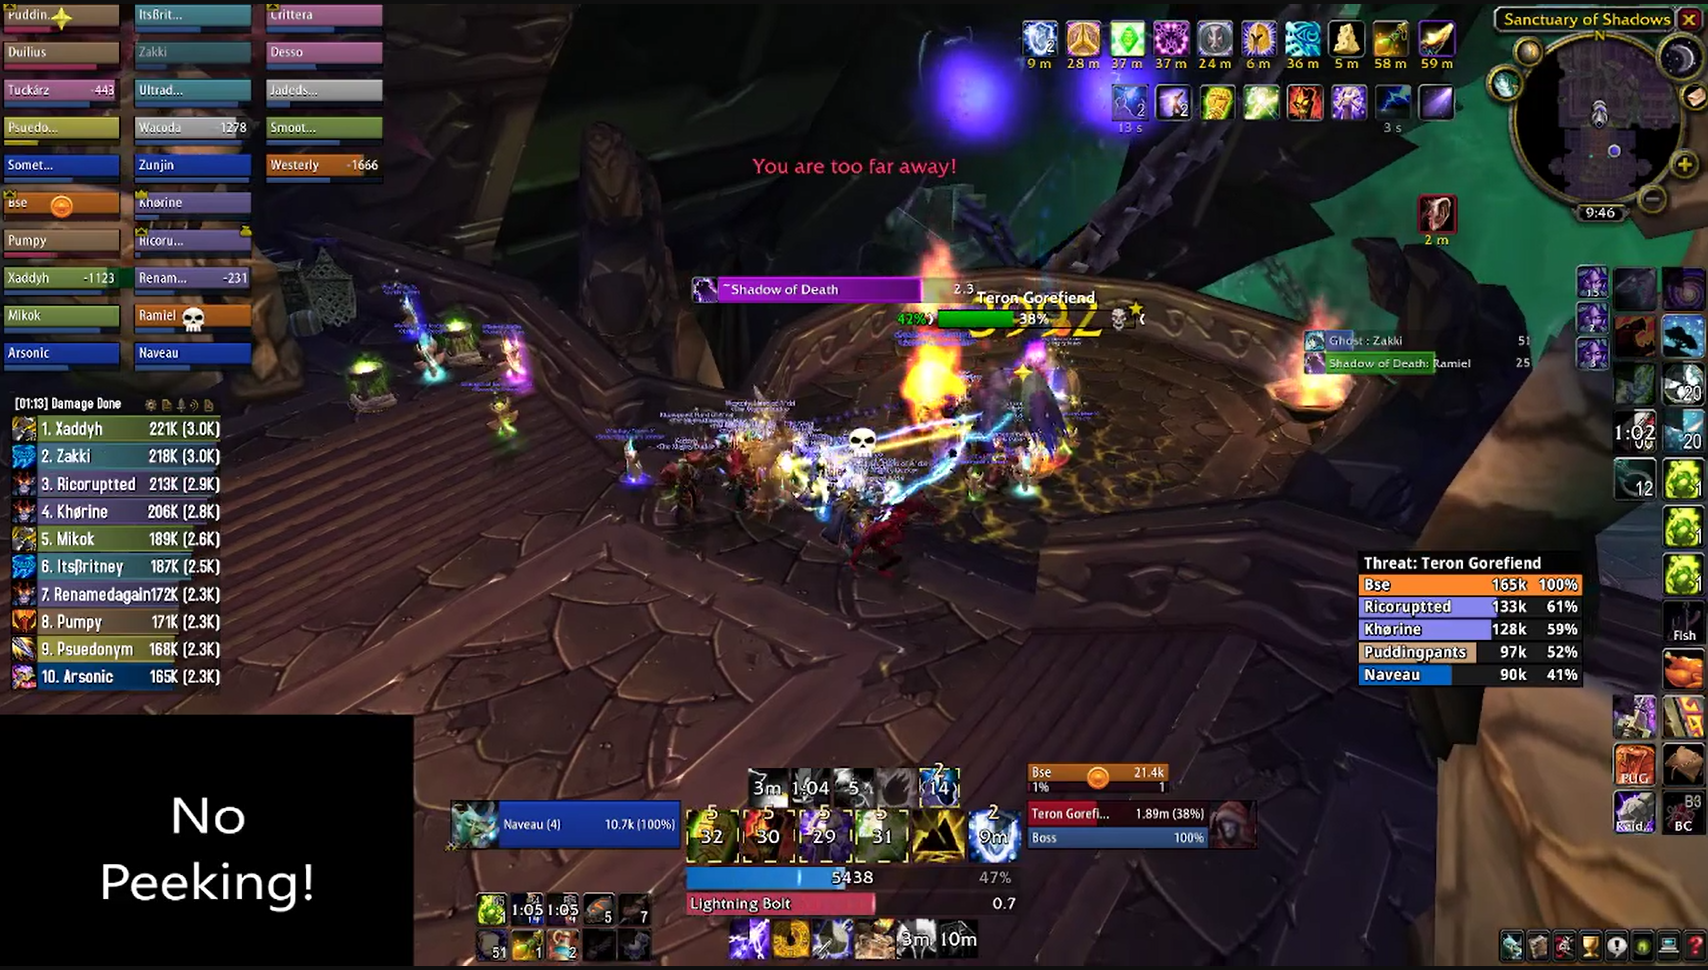
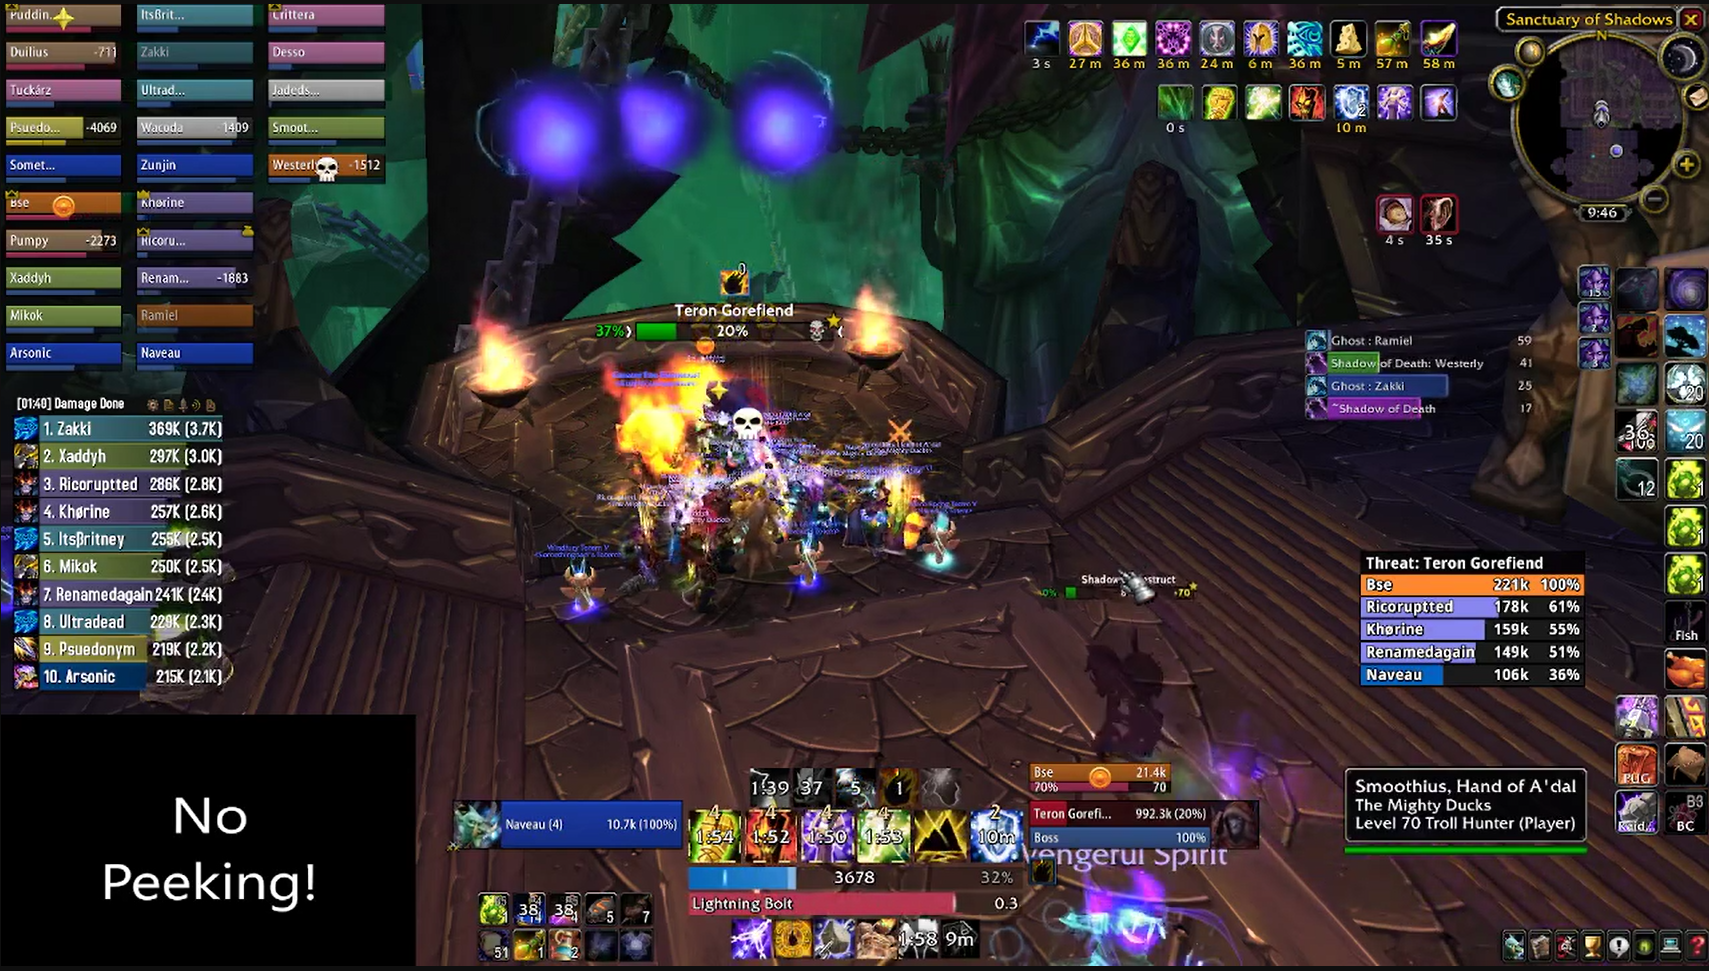
The only real threat to the raid is "Shadow of Death". Much like Azgalor in Mount Hyjal, this marks a player for instant unpreventable death. Unlike Azgalor, however, when the marked player dies, four ghosts are spawned at the location the player dies.
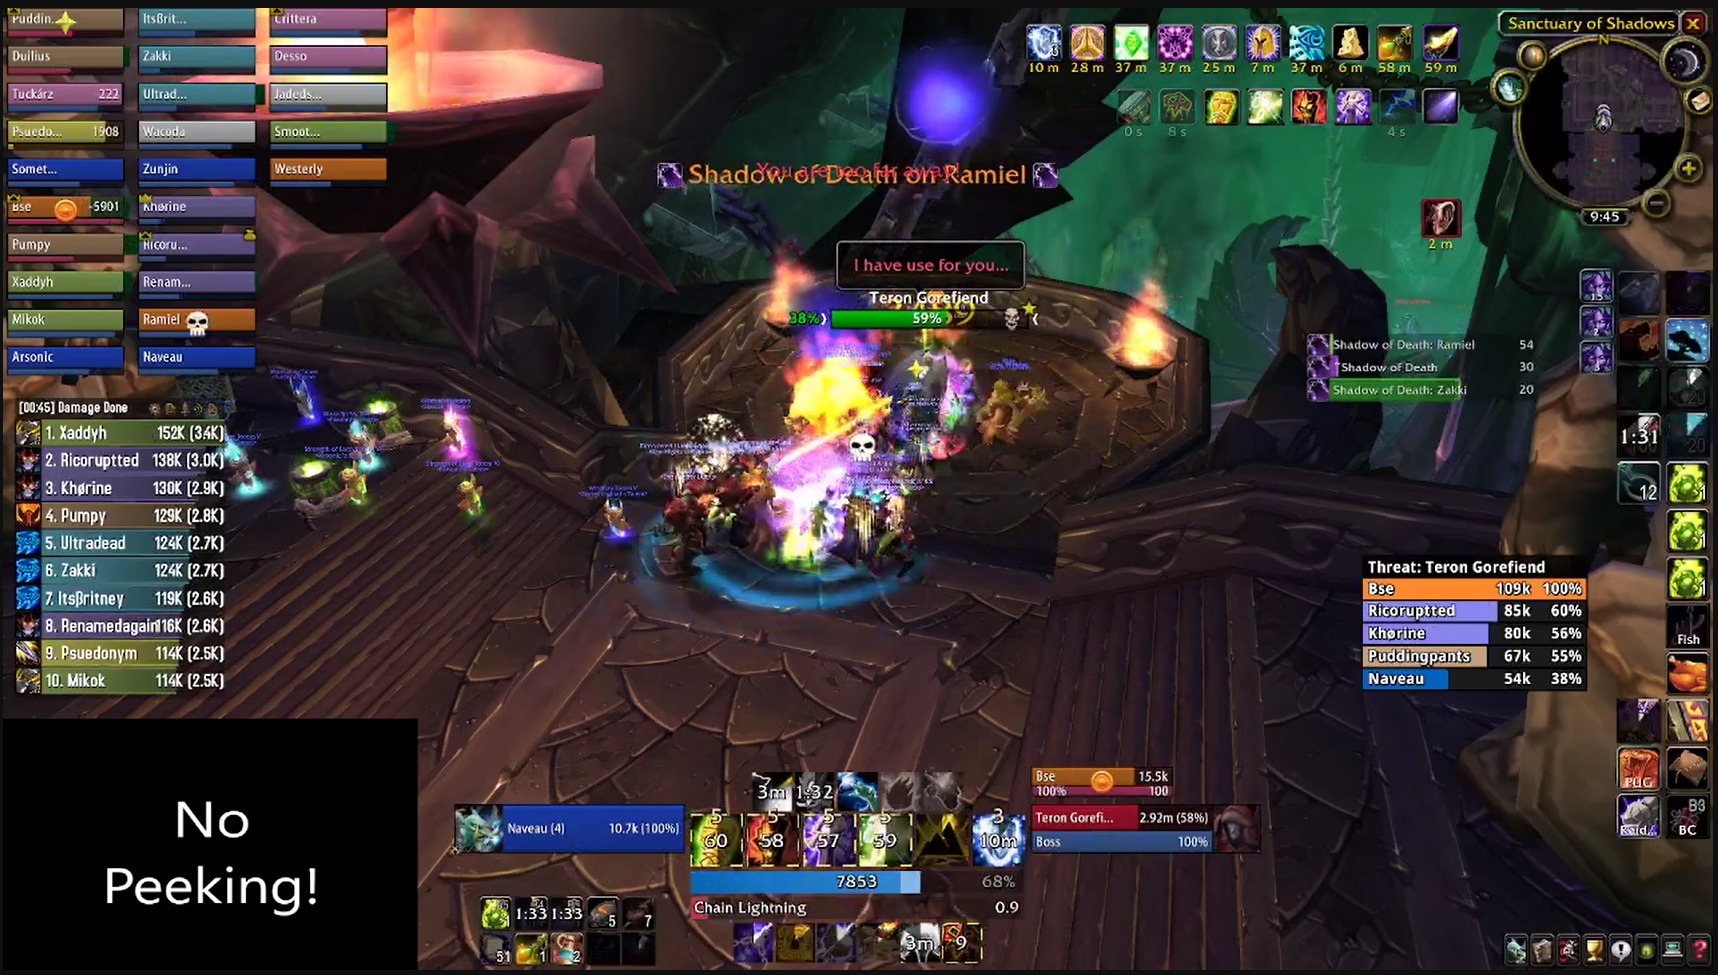
These ghosts can only be targeted by the player-controlled ghost (called the "Vengeful Spirit") and so if the ghosts reach the raid they'll start killing players. The vengeful spirit has a series of abilities to attack the ghosts to kill them before they reach the raid.
A long long time ago, in a galaxy far far away, there was a flash game developed to train players on how to use the vengeful spirit to kill the ghosts before they reached the raid. You can still find it here.
The vengeful spirit has four abilities - spirit volley, a rebranded frost nova ability, spirit chains, an immobilizing area of effect ability, and spirit lance, a rebranded ice lance which slows and freezes enemies. You'll want to open with spirit volley, then spirit chains and then tab target through the ghosts with spirit lance, rinsing and repeating until the ghosts die.
You can also find a macro which queues up all the abilities so you only have to press a single button. If you're not familiar, it can be a lifesaver (but not literally, as you're already dead).
To give yourself the most time possible, players who get Shadow of Death should run to one of the corners of the room when there's 10 seconds left on the debuff. This will maximise the room you have to deal with the ghosts.
Despite how dire this sounds, it's entirely possible to outgear this mechanic. By the time the Ducks had five or six phase three runs under their belt, on more than on occasion, someone would forget to move, ghosts would spawn in the raid and the healers would just be able to manage the extra damage and spell pushback. It was insane.
It's also worth mentioning that all of this only really applies to the first wave of ghosts. Once more than one person becomes a vengeful spirit, the number of ghosts that get spawned stays the same but you have twice the spell casts to handle them. And so on and so forth until the boss dies, which takes between two to three minutes, depending on the quality, composition, and gear of your raid.
When Teron hits the deck, it's time to handle some more trash.
You'll need to walk all the way back down (remember not to pull the trash in the L-shape room if you skipped it) to the large annex room. After you've completed the Black Temple quests, it actually becomes quicker to use your Medallion of Karabor to teleport to the front of the raid and take the teleport back up to the Ashtongue Deathsworn area.
As you cross over to the next doorway to the back left, there will be two more packs of demons to deal with, identical to previous demon packs encountered on the way to the Shade of Akama. The first pack is an Illidari Night Lord, a boneslicer and a heartseeker, so make sure ranged DPS are engaging at maximum distance and that you're using fear countermeasures. Be ready to cleave down the greater shadowfiends when the night lord spawns them.
The next pack guards the entrance to Mother Shahraz's room, but if you're clearing in one night, it can speed the process to clear them out now. There are two centurions, a defiler, a boneslicer and a heartseeker. You'll want to pull them from range and move the centurions over by the chain on the left, whilst the Satyrs get grouped up and blown up by your casters on the right wall. Take care not to stand in the defiler's rain of fire.
Now we'll start moving toward boss five and six. There's a big dangerous pack of Bonechewer orcs that you'll need to pull back into the main temple room, using a hunter misdirect or shield. It can also help to use a freezing trap to restrict movement.
This pack has two mutant war hounds, two blade furies, two prophets and two shield disciples. The big threats in this pack are the war hounds and blade furies, which should be targeted down first. The war hounds leave a poison cloud when they die, so melee need to be careful.
the blade furies drop threat and have a whirlwind. It's very easy for a blade fury to get loose, run toward a warlock or hunter and then start spinning on the raid, triggering massive damage. All three specs of warriors should try and disarm them when they get loose, to prevent whirlwinds.
The prophet and shield disciple don't do anything interesting, save the shield disciples using shield wall when they get low, making the last 10% of their health take forever to remove.
With that pack out of the way, you can move into the next room properly now. There will be roaming Bonechewer Behemoths, which have a meteor, a charge and a war stomp. You'll need to have the raid stack up on top of each one to soak the meteor and not get charged, which will oneshot anyone but a tank. It is possible to chain pull behemoths to speed progress, but make sure the first one doesn't have long to live so you don't give the healers conniptions.
Head to the left first, where there'll be another pack of normal Bonechewer orcs, identical to the pack engaged with a misdirect. Just like the previous pack, deal with the war hounds, then the blade furies (making sure to disarm them to prevent whirlwinds) and clean up the rest at your leisure.
Head down the stairs and you'll find another different pack of Bonechewer orcs - two big Bonechewer Brawlers, and lots of Bonechewer Spectators. Have a warrior and feral druid pick up a brawler each, and have your paladin hold the rest. These packs are not particularly threatening, and can be blasted down relatively quickly.
Head into the next room, where you'll find two behemoths patrolling. The first one is some distance from the next pack of brawlers and spectators, but the second one is right on top of them. Don't be surprised if you end up pulling a behemoth, spectators and brawlers all at once. It's definitely possible to make your way through them, just make sure to baby your tanks.
Once you've cleared all that up, you can head down the ramp to take on the next boss:
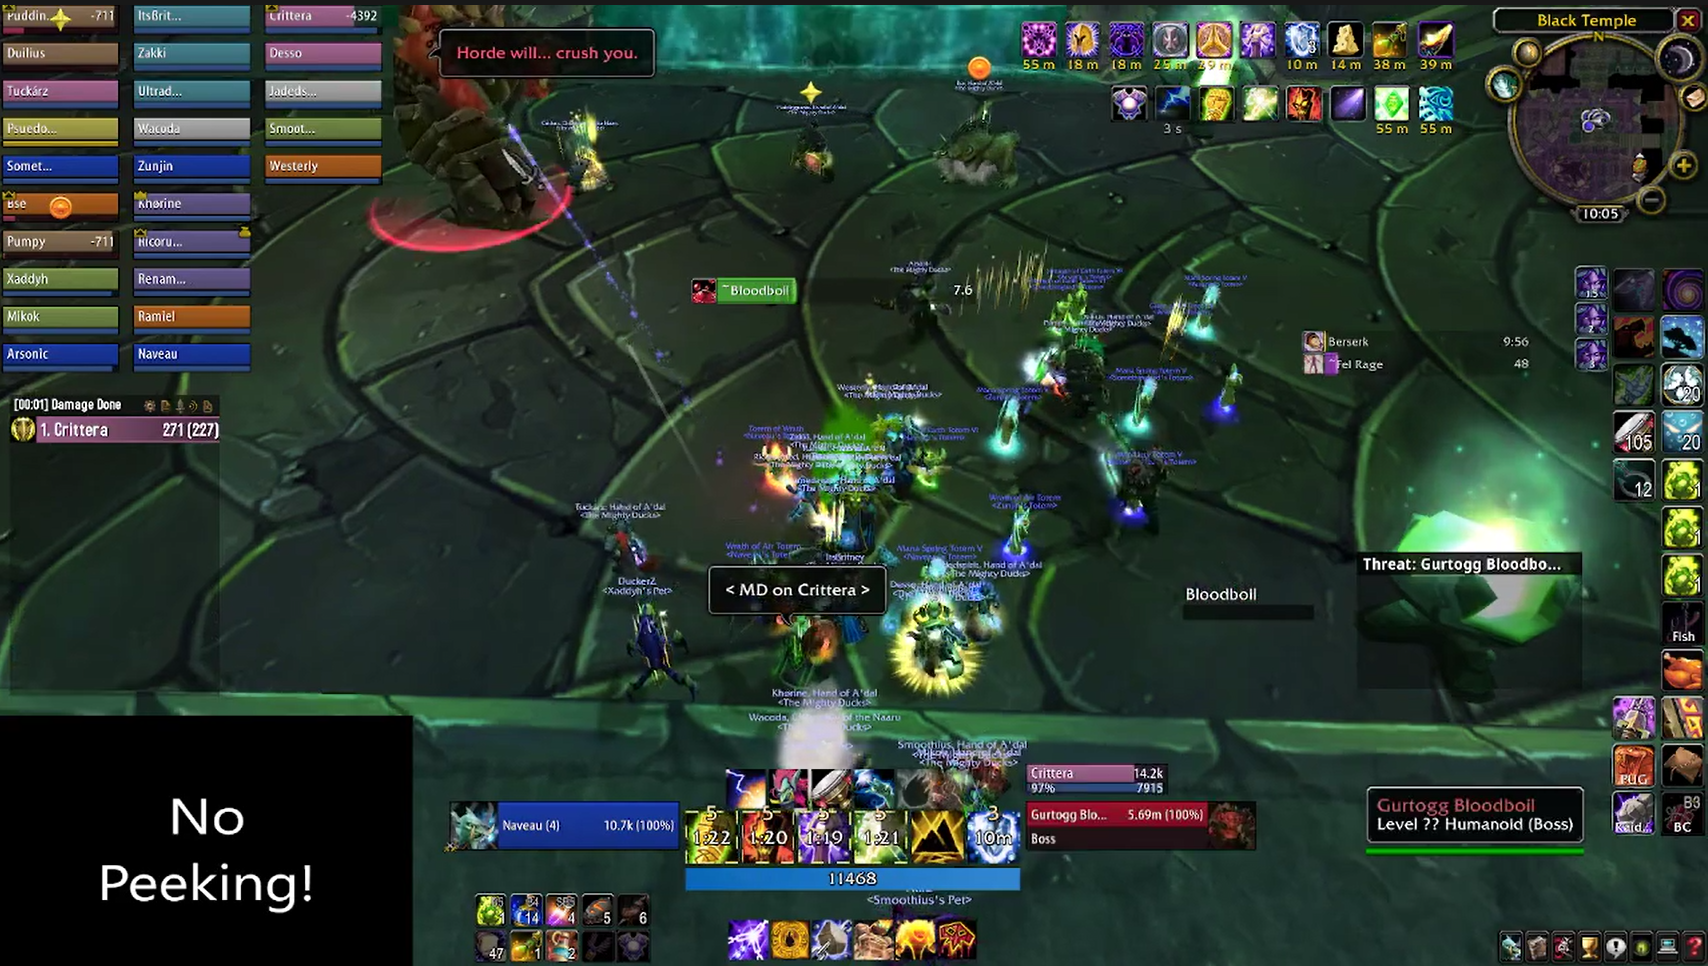
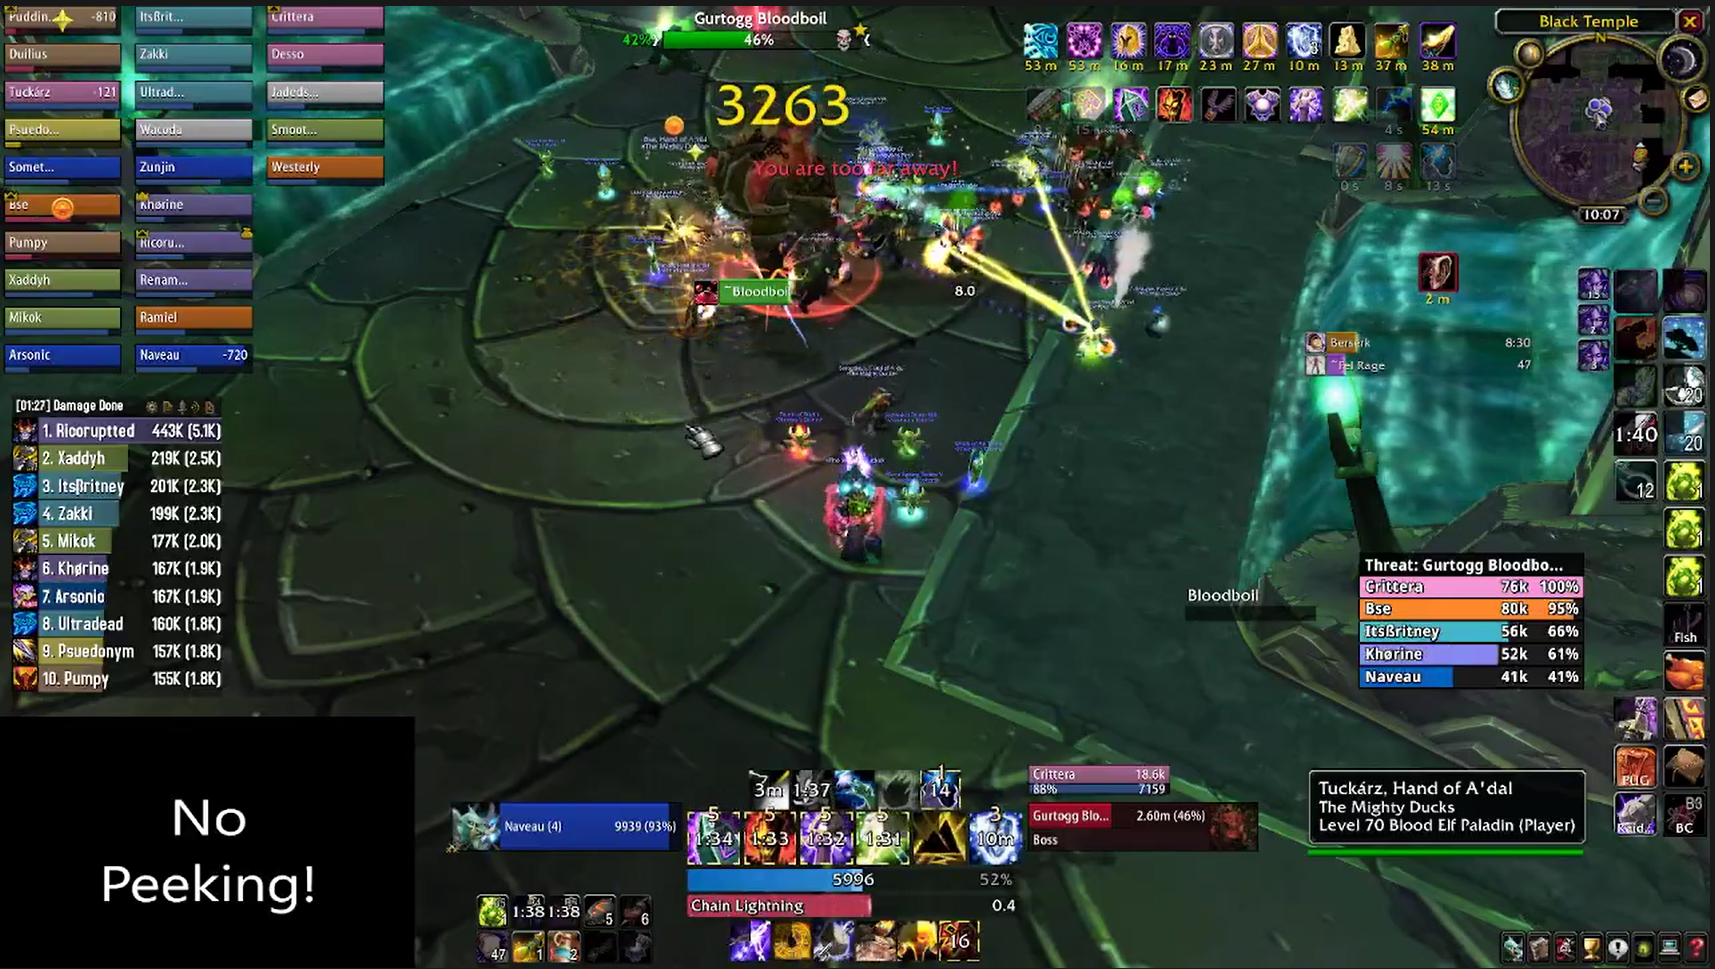
Boss Five - Gurtogg Bloodboil
Gurtogg is the first big gear check in phase 3. He hits quickly, for high amounts, requires tanks to output high threat and deals large amounts of damage to the raid. His health pool is also very high, and so cannot simply be zerged down like Teron or Shade.
You'll want to assemble your ranged and healing players into three groups of five and have all ranged players stack on the ledge just before the pool of water. This is for the boss' Blood Boil mechanic, which will be discussed in a moment. The key part is that everyone knows which group they're in. Try to minimise the number of healers who need to move and spread them out across the three groups.
You'll want your main tank in the pool on the opposite side to the ranged stack. All the melee, including off-tanks, should position behind the boss. All three of your tanks will need to wear maximum mitigation gear for this encounter, as Gurtogg hits like a runaway ice-cream van.
You'll want to use a misdirect to engage, so you can rely on the boss' positioning.
Tactics
Gurtogg is a two phase encounter. In the first phase, he has a number of linked abilities to pressure the raid's healers and the ability of your tanks to generate threat whilst also not getting squished.
The first ability is Blood Boil, which is why the raid is broken up into groups of 5. The boss will target the 5 furthest players away by distance and give them a stack of Blood Boil, a stacking damage over time effect. All three groups will need to rotate moving into the pool to be the furthest away in order to be eligible as a target.
You don't need to move all the way to the moon, just one or two steps backward.
For the tanks, there are three key abilities. The first two are frontal cone effects - Arcing Smash and Fel-Acid Breath, which do damage and apply a stack of the third ability, Acidic Wound. This is the key mechanic for tanks.
Every stack of Acidic Wound applied to the tank applies a stacking damage over time effect (300 nature damage per stack) and reduces their armor by a small amount. This will make your tanks very squishy in a hurry, so you need to have one of your off-tanks take aggro from the main tank to let the stacks expire.
The problem here is two-fold. First, the boss cannot be taunted, meaning the only way to swap is for a tank to out-threat the main tank. Considering the feast-or-famine nature of all three tank classes, this can be pretty troublesome, and so use of misdirects to quickly catch an off-tank up is recommended. Warriors should also consider having a dual-wield set to maximise their threat with limited resources. Druids and paladins need to start praying.
Paladins can use divine shield to quickly remove their Acidic Wound stacks, which can help out significantly if your off-tanks have been overtaken by DPS classes.
But that's not all. Much like Void Reaver, the boss will also use Eject, which will drop the current tank's threat - this can have disastrous consequences for trigger-happy raid groups, as if your tanks (in full mitigation gear) fall too far behind, Gurtogg will just start rolling through the DPS classes in your raid.
To address this issue, it can be worthwhile to give your tanks five, ten, or even fifteen seconds of clear air to hammer the boss and build up as much threat as possible, in order to generate a buffer between them and the zuggers in the raid. This does put you behind on stacks, but can give you more time in maximum attack mode.
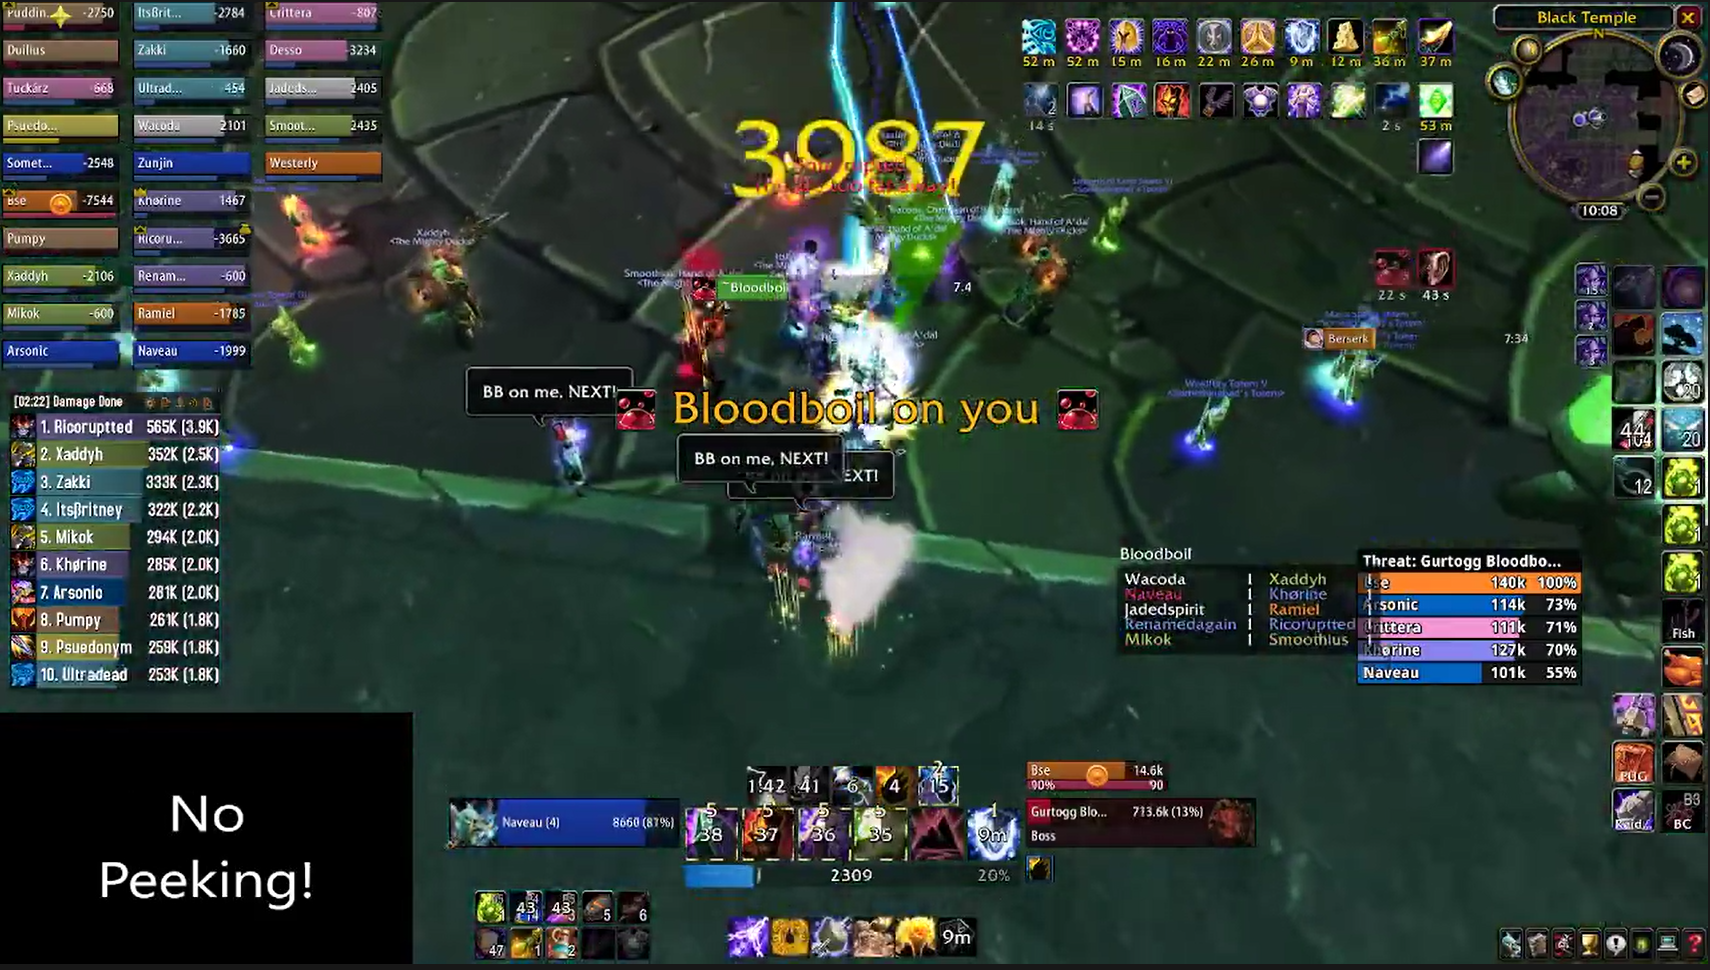
In phase two, the boss blows up the ranged stack with a Fel Geyser, which does damage to everyone in an area around it. The timing of this ability is fixed, so your players should look to spread out prior to the cast to minimise the amount of damage spread through the raid.
Gurtogg will then pick a random player in the raid and afflict them with Fel Rage. This makes them big, red, and angry, and the boss will fixate on that target. Gurtogg will also be under the effects of Fel Rage, so will absolutely smash the unlucky target. A good way to counteract this is to cast a Blessing of Protection (again, from a paladin - you have three, right) on the Fel Rage'd target, which will block a significant chunk of damage and make healing less nightmarish.
Bloodboil will priotise a spellcaster or healer with Fel Rage normally, meaning even with the additional survivability, a player will normally take huge amounts of damage. They should be priority one for healing at all times - if the boss kills the Fel Rage target, he'll still be very big, red, and angry, which means he'll be able to one-shot everyone but the beefiest of raid tanks.
This is the phase you want to burn the boss, as his threat table is frozen for the duration. Give it all you've got - Bloodlust, personal cooldowns, consumables, etc. The more damage you can get in this phase, essentially for free, threat-wise, the better.
Bloodboil still has frontal cone attacks which will overwhelm the healers with damage when they happen, so even with cooldowns rolling, the raid should prioritise moving out of the way rather than standing and shooting.
When phase two ends, the target of Fel Rage will have their threat dropped to zero, but it's not a total threat drop. The raid should return to phase one positions and prepare for an imminent Blood Boil.
Don't be surprised if both your healers and tanks run out of gas before the boss dies and keel over. If you can get Gurtogg to 10% before your main tank eats the dirt, the raid should be able to clean up, though you should expect the majority of your raid to die.
With that, we're more than halfway through Black Temple. We've got a long way to reach the summit, though.
Behind Gurtogg, a corridoor has opened up which takes you back to the Behemoth room, rather than having you go back all the way you came, up the ramps and such.
Head to the right now - there will be another pack of Bonechewer orcs. More blade furies, war hounds, prophets and disciples.
Once you've cleaned them up, have the raid top up and buff up, as the way to the next boss is a gauntlet of constantly respawning trash, so there won't be a break to stop between here and engaging the boss.
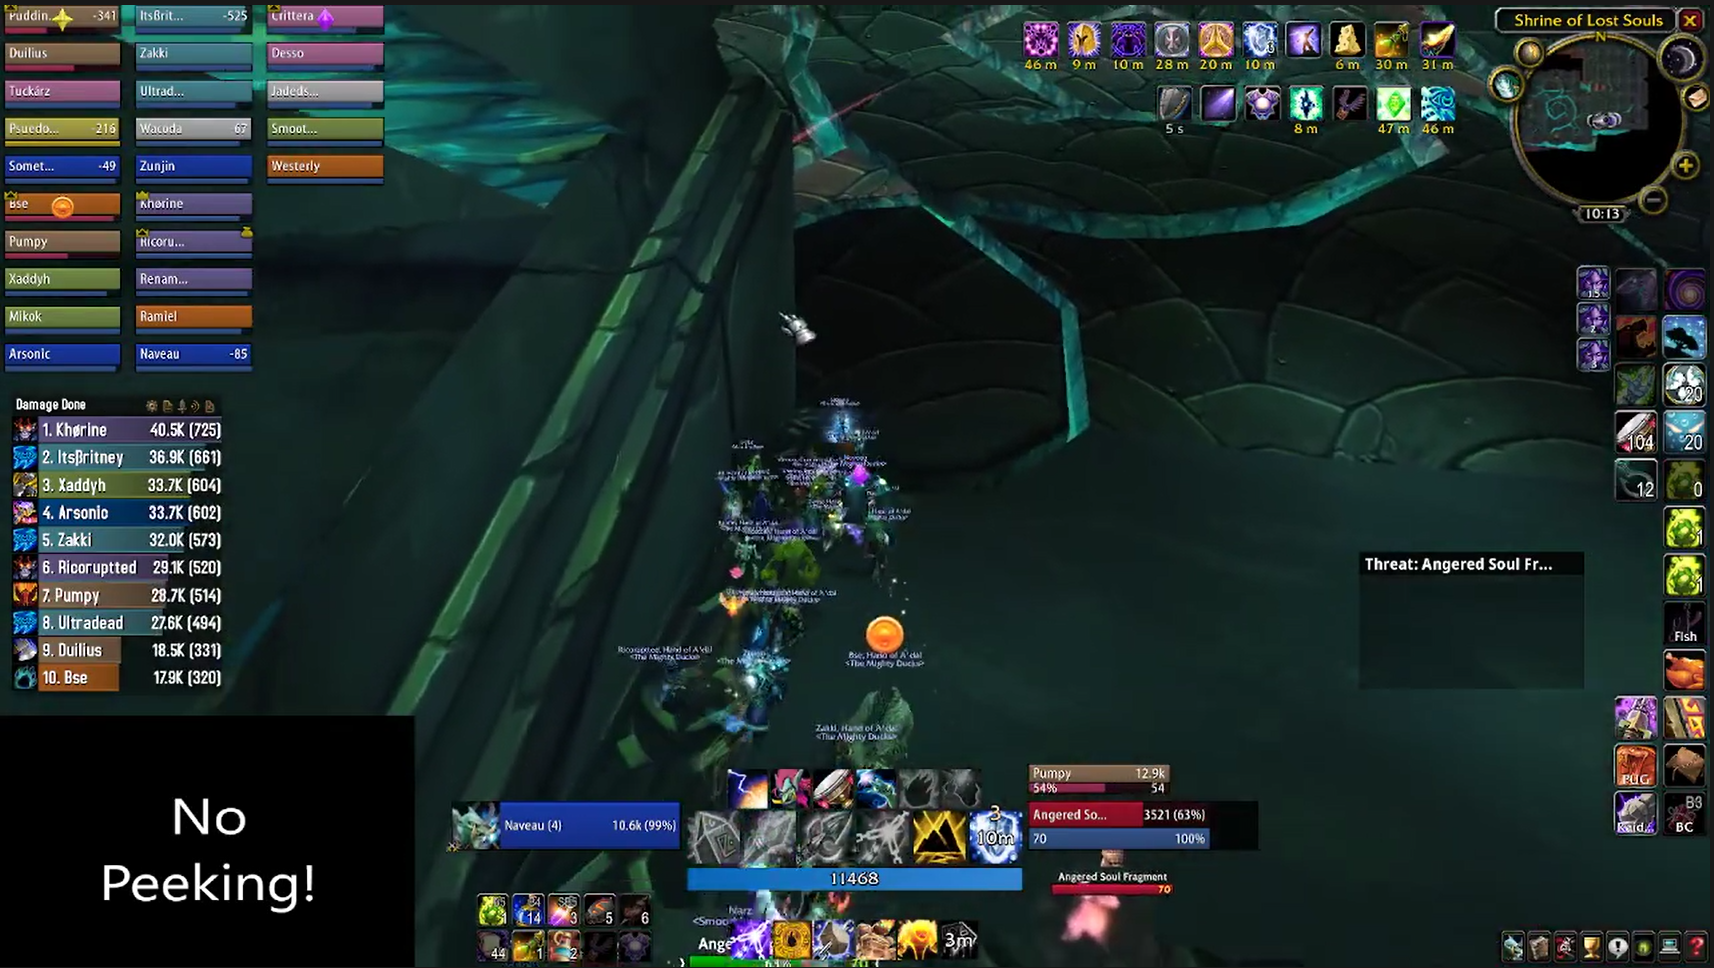
Boss Six - Reliquary of Souls
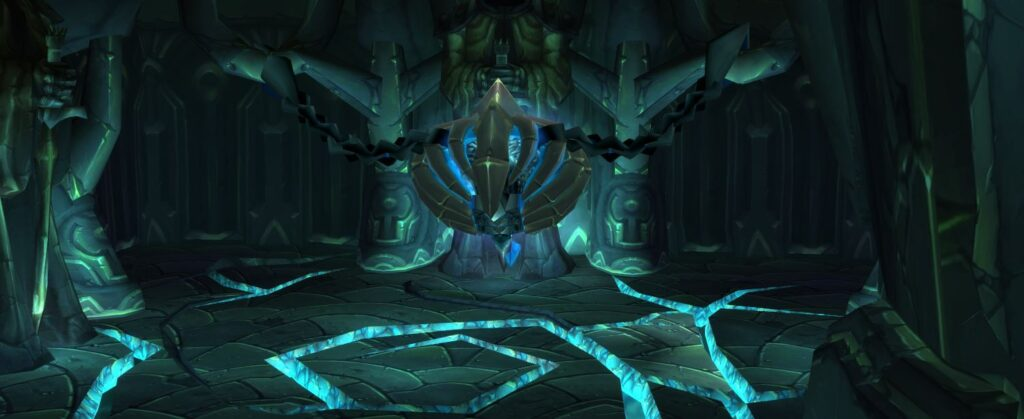
When I tried to run Black Temple as a level 90 character, I did this boss with a friend of mine. I had no idea how it worked, and its strange mechanics intrigued me. So I had been looking forward to this fight for awhile.
Reliquary is a tricky, mechanical fight, requiring multiple skillsets at varying times in the encounter. Sometimes it's about the tanks, sometimes about the DPS, sometimes it's about all three, sometimes it's about none of them. Everyone has their role to play.
Before we get there, let's talk about that gauntlet, though. The spirits in the next area will continue to respawn and so you will get a limited window to recover health and mana. It's also important not to leave behind anything that might draw additional mobs onto your raid, like shaman totems.
If you're concerned about your shaman core leaving totems everywhere, it's advisable to tell them not to bother putting them down at all, save for totems that despawn by themselves, like magma totem.
You'll attract too many enemies if you walk the entire length of the room, so it's recommended to get across it in two movements.
There's a section of wall jutting out that creates a corner. You'll want your entire raid to jam in there and drag the first lot of mobs onto your position. None of the ghosts have a lot of health, but they do a lot of damage, so using area of effect spells to knock them down quickly is ideal.
From there, the raid should move again, ending up at the top of the ramp leading down toward the boss. Again, blast down the trash and use the gap before the next respawn to top up health and mana. If you've got mage food (which you should) you can keep using the mage food to regain health and mana a little bit faster to save time.
After you knock down a wave of respawns, head down the ramp - the fight will start almost immediately, so you'll want your raid to know their positions ahead of time. Make sure you clean up any ghosts that might've followed you down the ramp, too.
Tactics
Reliquary has three phases. Each phase has different characteristics, but they're incredibly obvious, so it's not difficult to determine what phase you're in if you zone out in the middle of the fight.
In phase one, all healing is reduced by 100%. In case that isn't immediately obvious, that means no healing spells work at all. The only things that work are damage mitigation, like shields.
The boss will fixate on the closest target. You'll want your melee DPS to hang back (but still in range) and make sure your tanks are stacked close together so they can change which player is the closest. The boss doesn't hit hard, but you can't heal off the damage, so don't be a hero - when its your turn to go in, you go in - before your tank friends get killed.
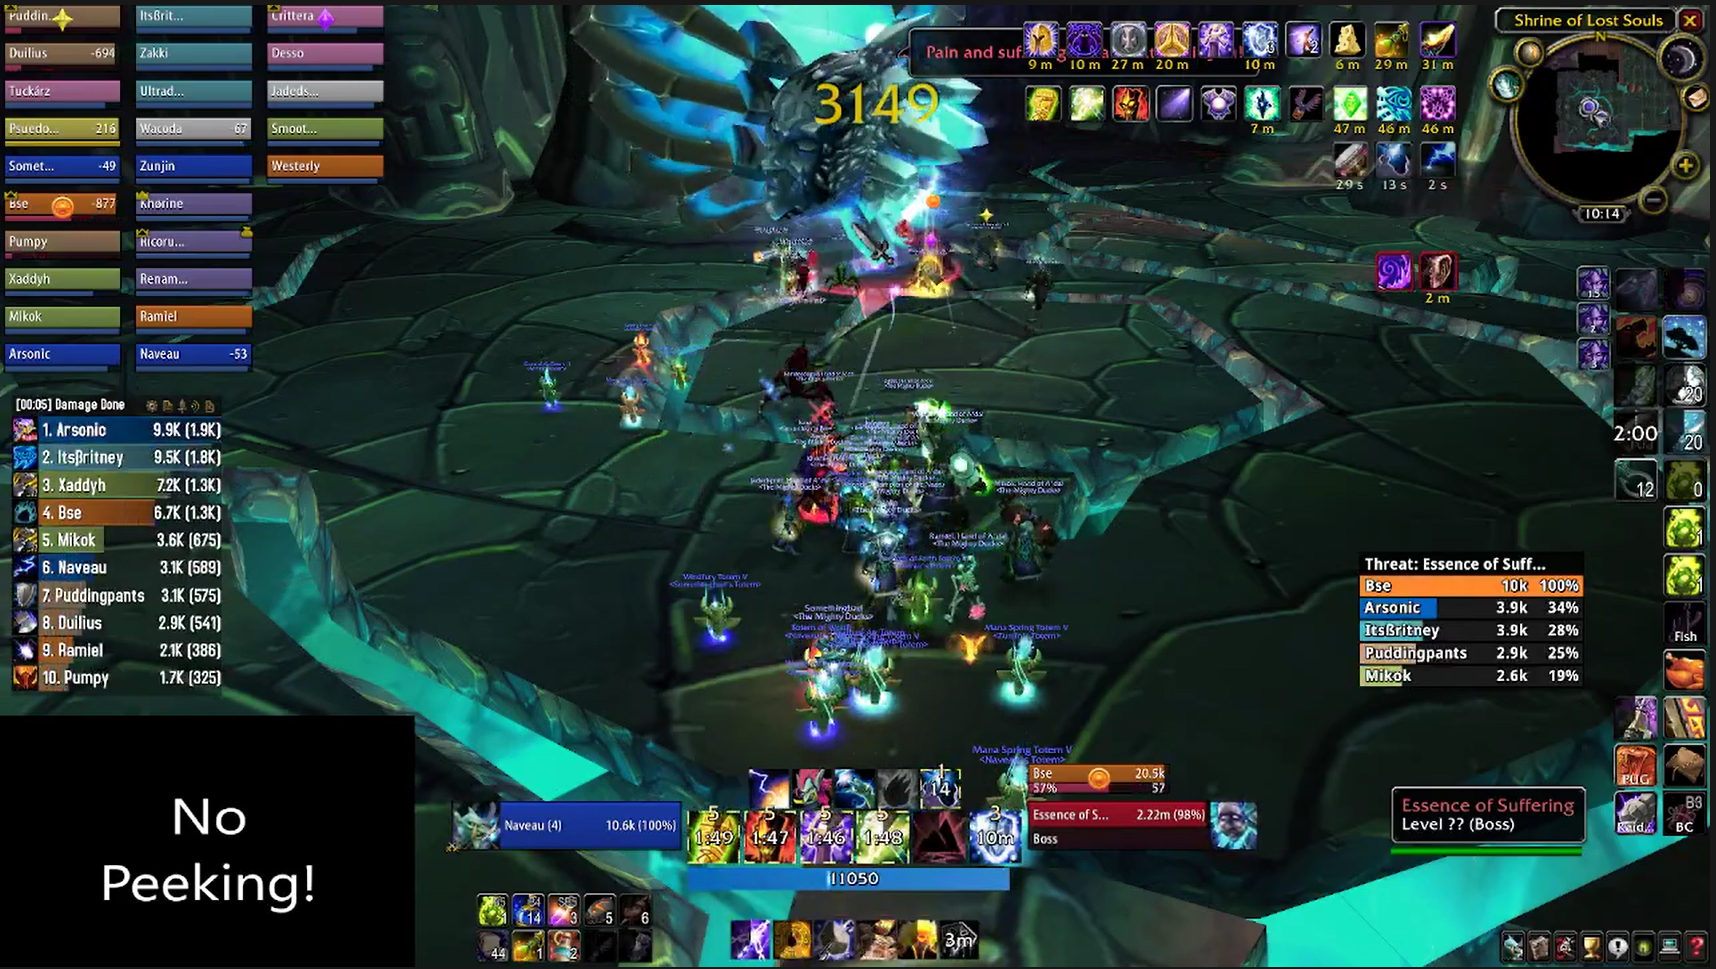
In this phase the boss has no threat table, so you'll want maximum attack (I love that phrase, in case you haven't noticed.) The fight is long enough that you'll be able to use a potion cooldown for all three phases, and the raid's health and mana is topped up between phases, so you want to use destruction and haste potions.
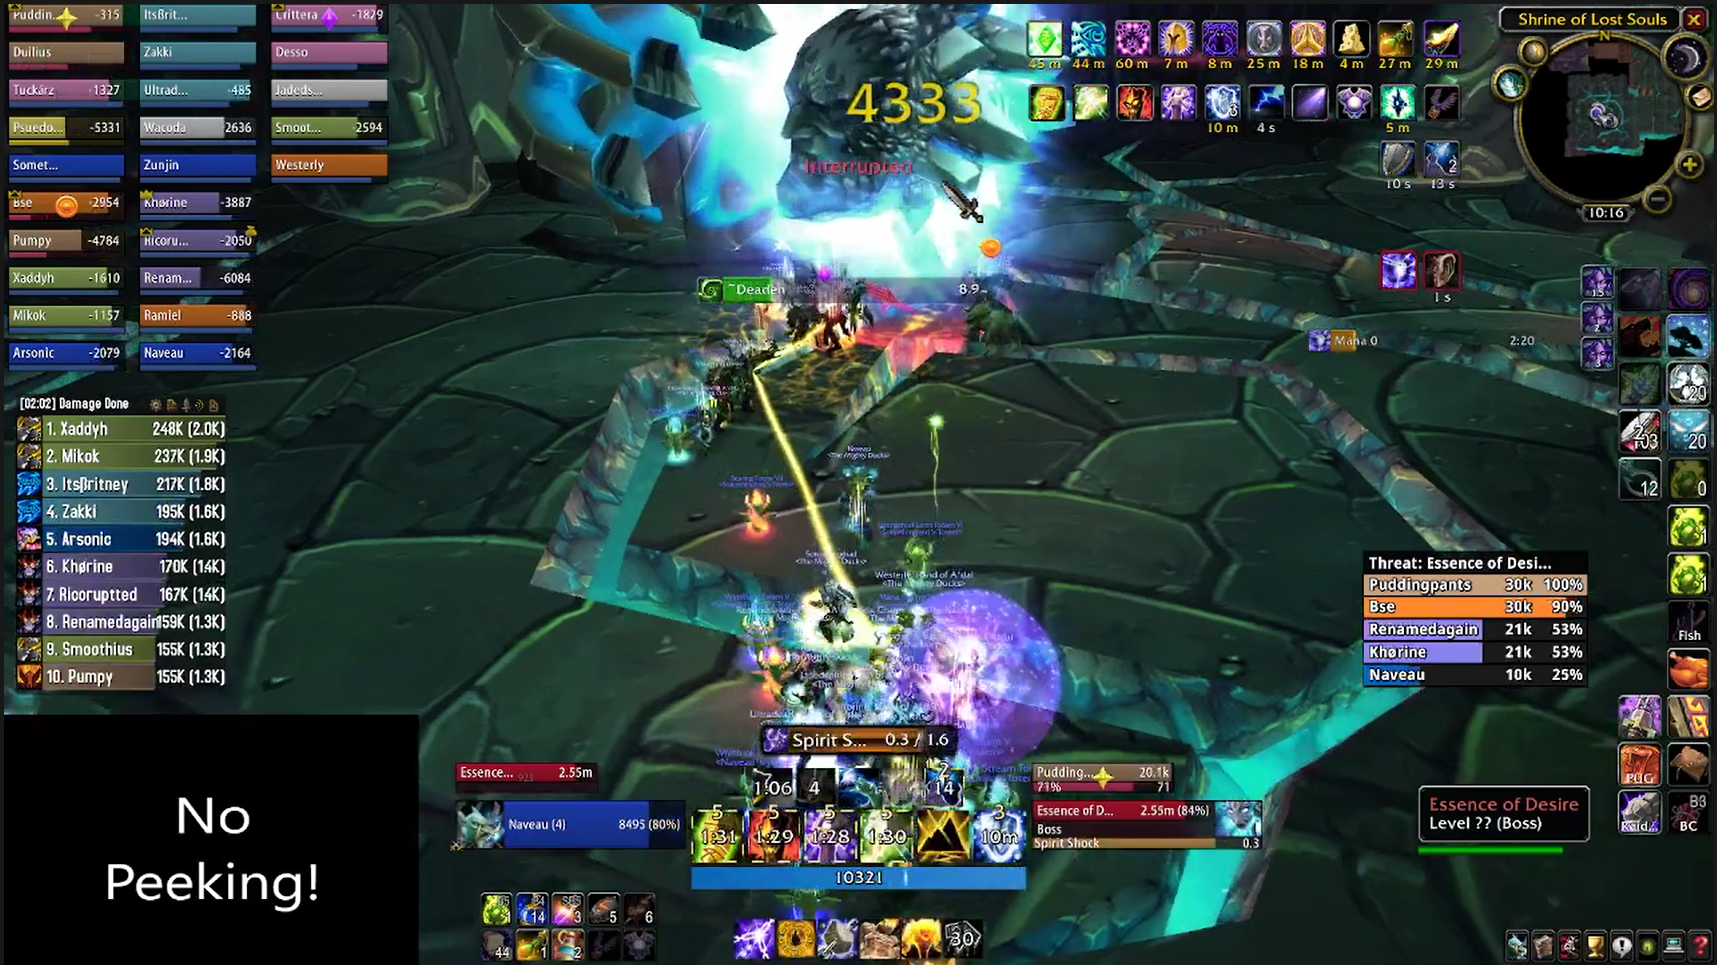
Every 20 seconds, the Essence of Suffering will cast Soul Drain on three players. This does damage and drains mana, so should be dispelled as soon as possible, as there's no way to top affected players up until you get through the first phase. I cannot stress enough, every point of damage on the raid matters during this phase, so don't skimp.

Approximately once a minute, the boss will also soft enrage, gaining 25% damage and 50% attack speed. You can use a tank cooldown (if you're a warrior) or if you're feeling spicy, you can have your rogue (if you have one, because they're not very good this phase or most of the expansion) tag in and use evasion to soak the enrage hits. This can go a long way to saving the life of a tank, so is highly recommended.
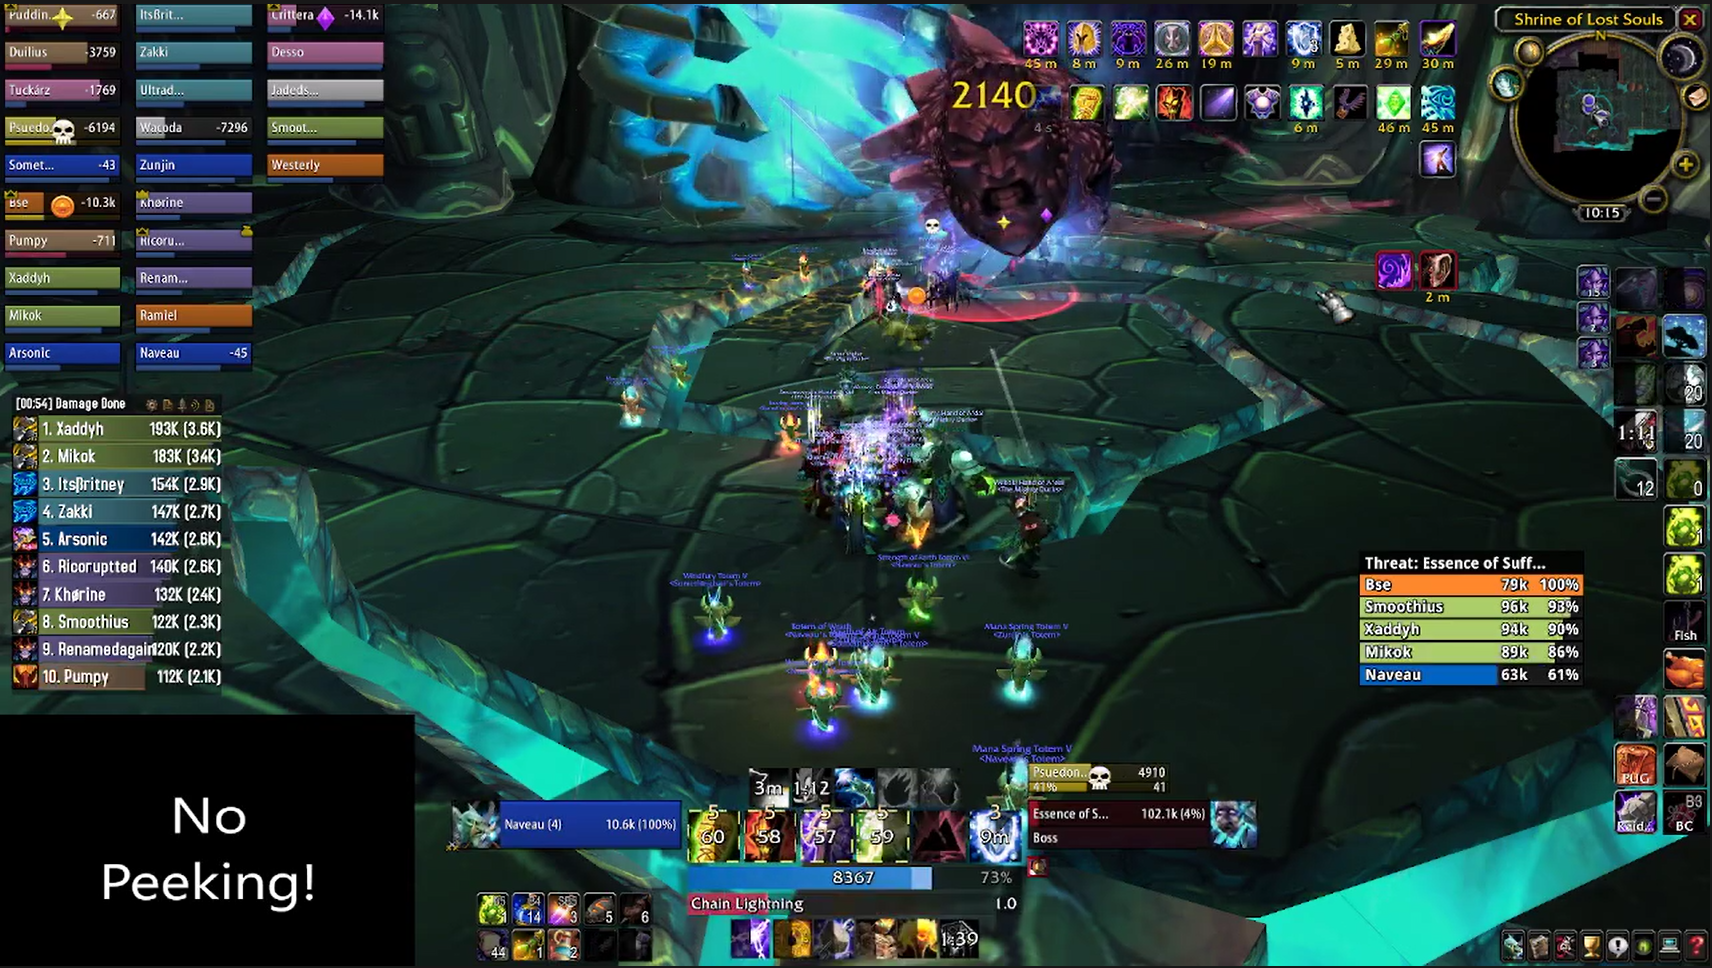
It's imperative you don't let this phase go on too long, as you'll be guaranteed to lose people to chip damage, and your tanks have a finite health pool. Under freshly geared circumstances, it shouldn't take more than two minutes. Any more than that, and you'll struggle the whole fight anyway.
Once you drop the Essence of Suffering to zero, it retreats to its protective cocoon... thing... and Enslaved Souls spawn and attack the raid. Each one you kill will explode and restore health and mana to the raid, giving you a full grip for the next phase.
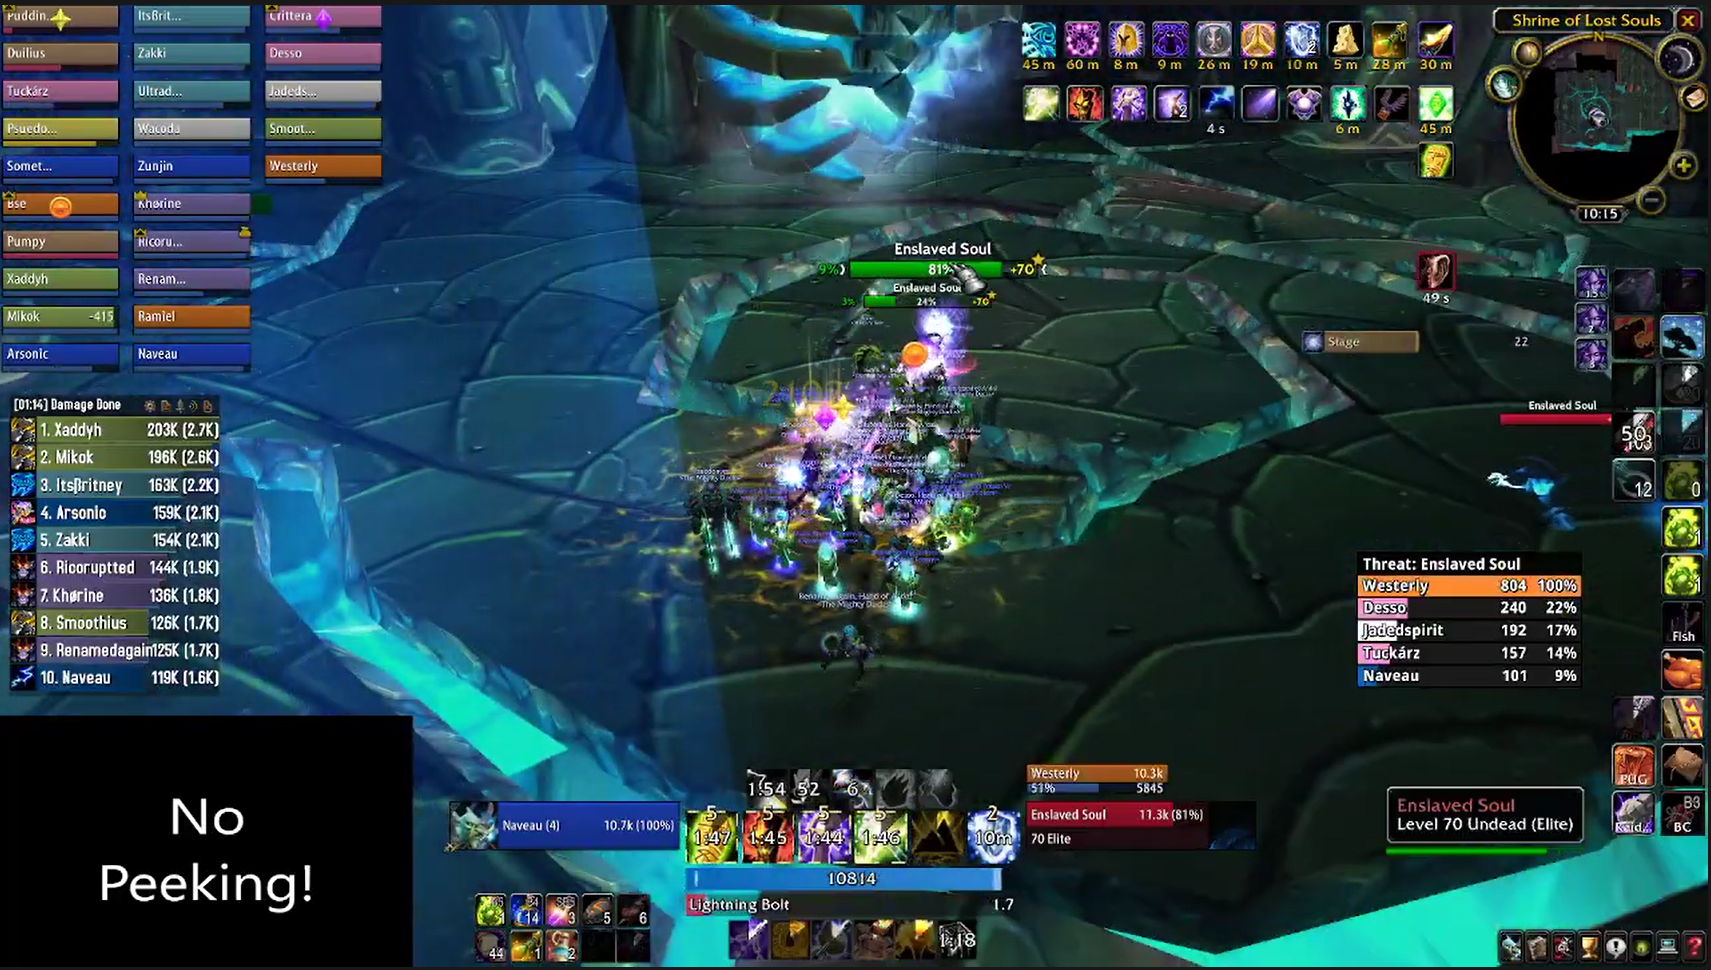
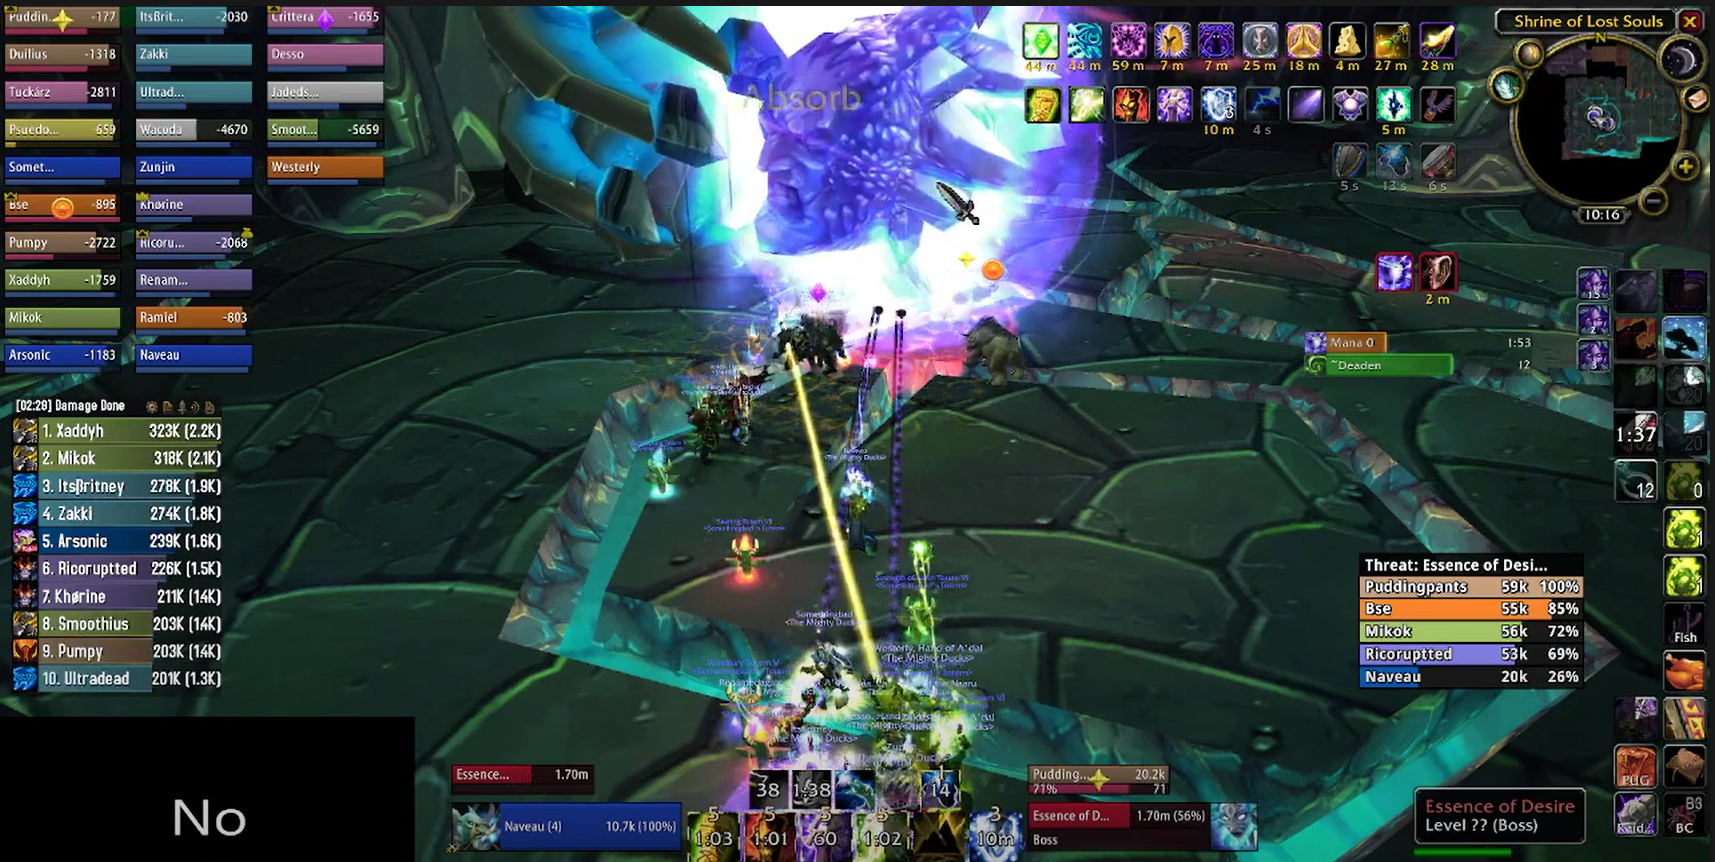
After about a minute, Reliquary will transform into the Essence of Desire, and phase two will start.

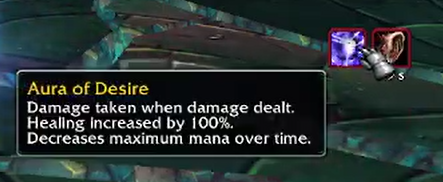
Your raid will now be affected by the raid-wide Aura of Desire, which reduces your total mana by 5% every eight seconds. So, doing the math, in 160 seconds, no-one in your raid will have any mana left, causing a wipe. This ability also causes 50% of all damage done to be reflected back at the raid.
This means really fragile classes like warlocks, mages and the like need to be very careful when doing damage, and be prepared to back off and/or use health stones, or risk killing themselves. Whilst this phase is a DPS race, you have much more time than the first phase, so players shouldn't be afraid to back off if they're in trouble.
The boss also has two interruptible casted abilities. Spirit Shock, which does damage and disorients the tank, and Deaden, which increases damage taken by 100%. It's recommended to setup a rotation order as the boss will cast these abilities multiple times in quick succession.
If your warrior is main tanking, they can reflect Deaden back at the Essence of Desire, increasing its damage taken by 100%. Be careful with this, though, because that will increase the damage going out across the raid.
Lastly, the boss will also buff themselves with Rune Shield. This absorbs a massive chunk of damage and increases attack and cast speed by 100%, making Spirit Shocks and Deadens instant casts. Fret not, though, as it can be purged, dispelled and spell stolen. It can be very worthwhile for Mage to spellsteal it for the huge amount of spell haste it gives, which will push the already absurd Arcane Blast cast time below the global cooldown.
Again, once the Essence of Desire drops to zero, it'll retreat, ghosts will come out to top you up and then the last face of the Reliquary of Souls will appear.
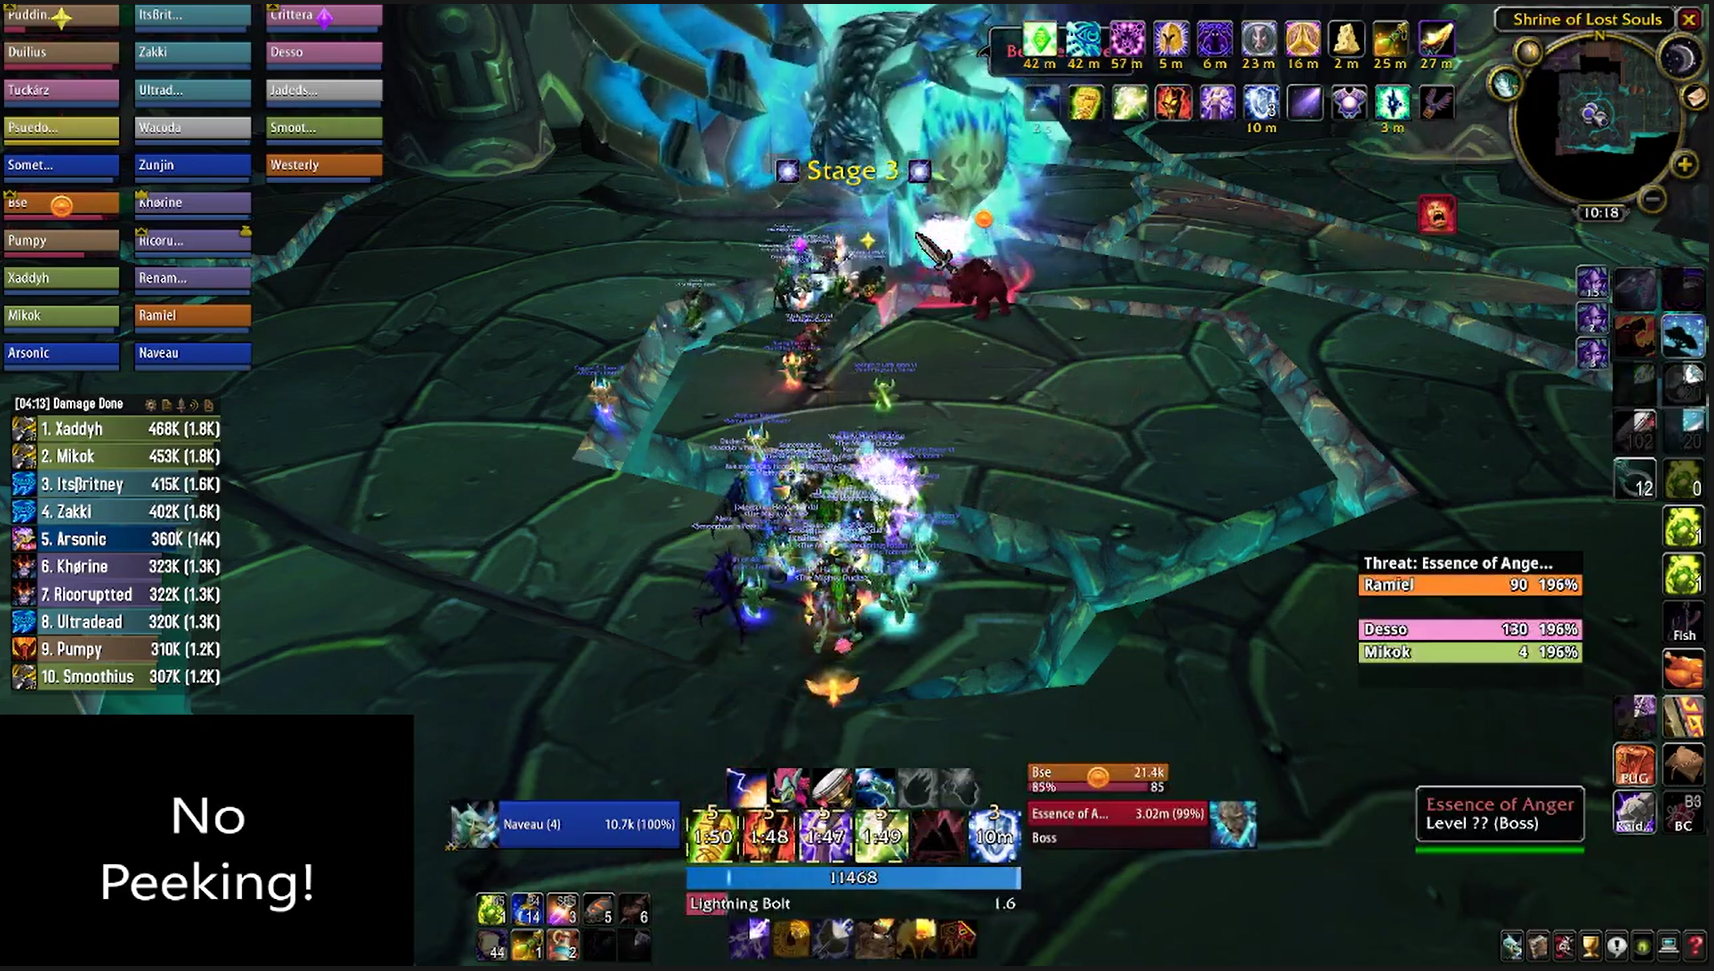
Just like the first two faces, the Essence of Anger is another DPS race. This time the raid-wide debuff becomes the Aura of Anger, which increases damage dealt by 5%, at the cost of 100 shadow damage every three seconds. Like the Essence of Suffering, this ability will continue to stack up until the damage over time becomes too oppressive for your healers to keep up - in theory, anyway.
The next main ability the boss has is Soul Scream. Cast in a frontal cone, this ability drains rage or mana and then turns it into damage. As your main tank for this boss will be a druid or warrior, it is imperative that they keep their rage as low as possible, or risk getting deleted by a massive Soul Scream.
Because this is based off of a resource and can't be mitigated, it doesn't matter how chunky your tank is, if they're at 80 or more rage when this goes off, they're in serious trouble.

The second big ability is spite. The boss will pick three random players and hit them with a huge chunk of nature damage - nearly 8,000 damage. They'll then get two seconds of invulnerability where they can't take damage from effects like the Aura of Anger, so your healers need to be on the lookout and top up affected players before that immunity wears off and they get killed by the ticking damage over time effect.
Lastly, if the boss ever has to change targets for any reason, the Essence of Anger will increase its attack speed by 100% and the rest of the raid will recieve 200% extra threat from all abilities. So the key here is to just let your main tank get a nice easy threat lead, stack up some misdirects, and then blow all your cooldowns, including Bloodlust, and obliterate the boss for the last time.
A messy transition from the first phase to the second is going to be your leading cause of wipes, followed by your tank getting deleted in phase three when they hold onto too much rage. Generally speaking, if you can get through to the third phase, it's all downhill from there and you should easily pickup the kill.
Now despite having removed the giant soul rock, the trash in the previous room has still respawned, so you'll need your tanks to lead the way back.
Exit out the room and head toward the area where you cleared out the Illidari trash. It's time for all of your tanks except your paladin to made to feel completely inadequate.
Well, mostly.
The next series of rooms will be filled with a bunch of folks looking to have a good time. You can tell because of the cushions. Have your paladin tank drop consecrate and hold threat on them because this next set of rooms is what they were born (or, more likely, programmed) to do.
Just be careful of the charming patrons, as they can mind control members of your raid, including the tank. It's more efficient to just kill them instead of trying to interrupt them, but, it's dealer's choice.
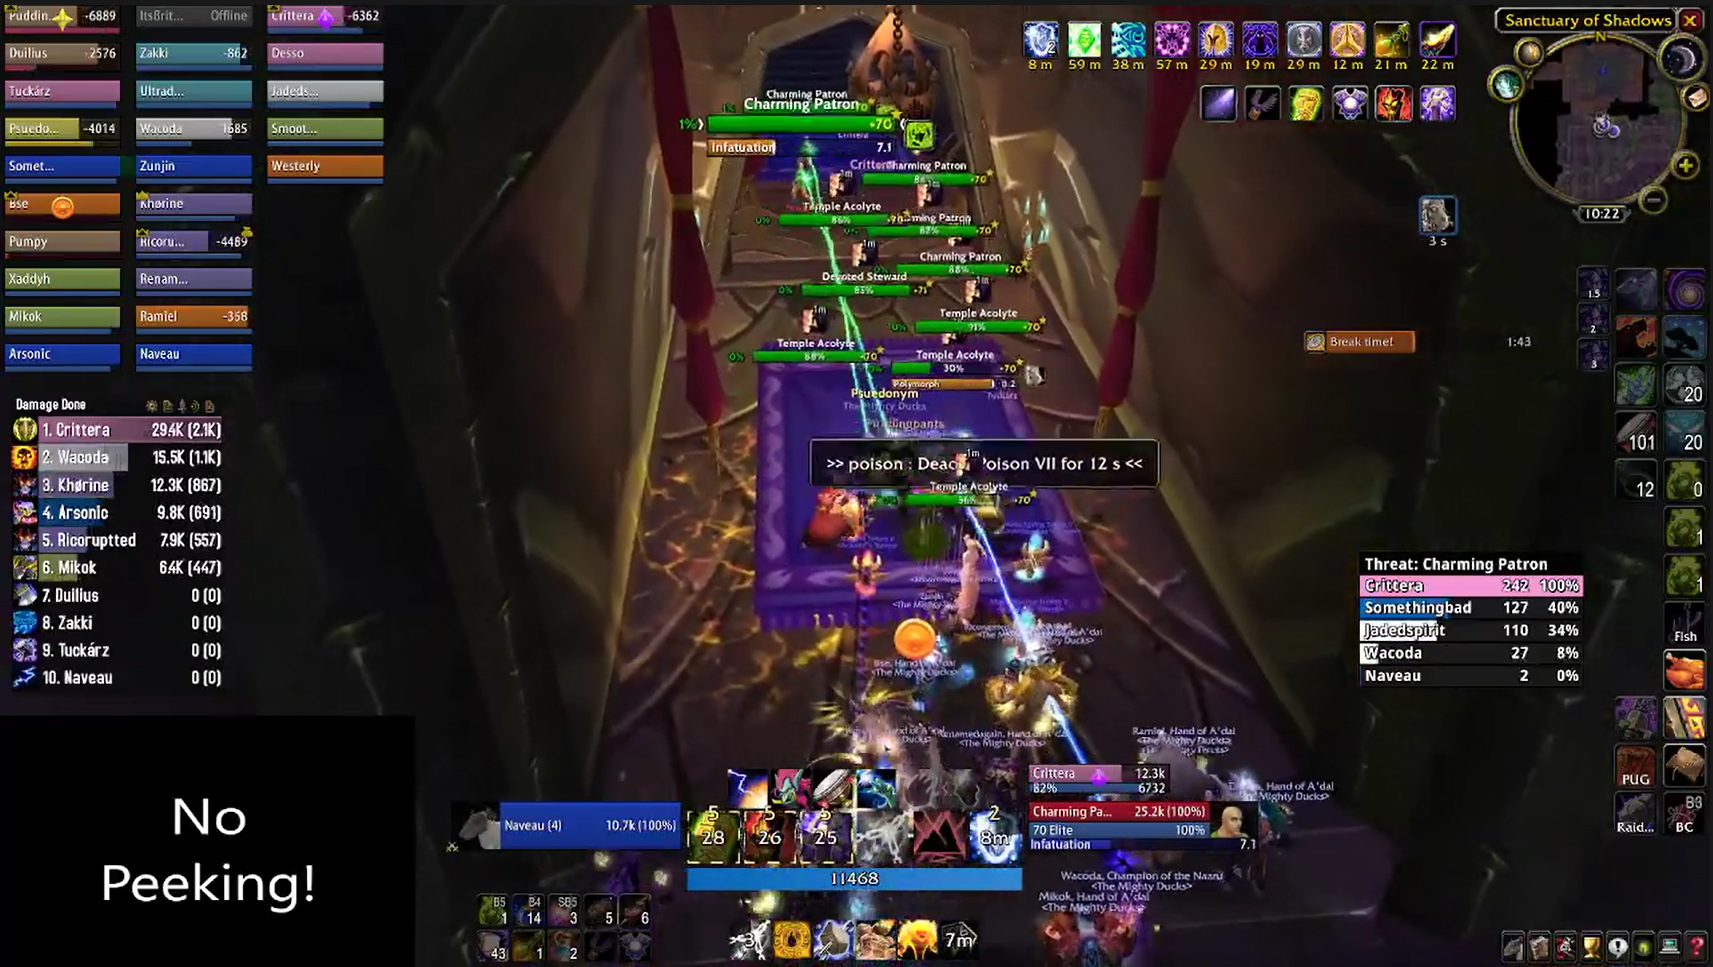
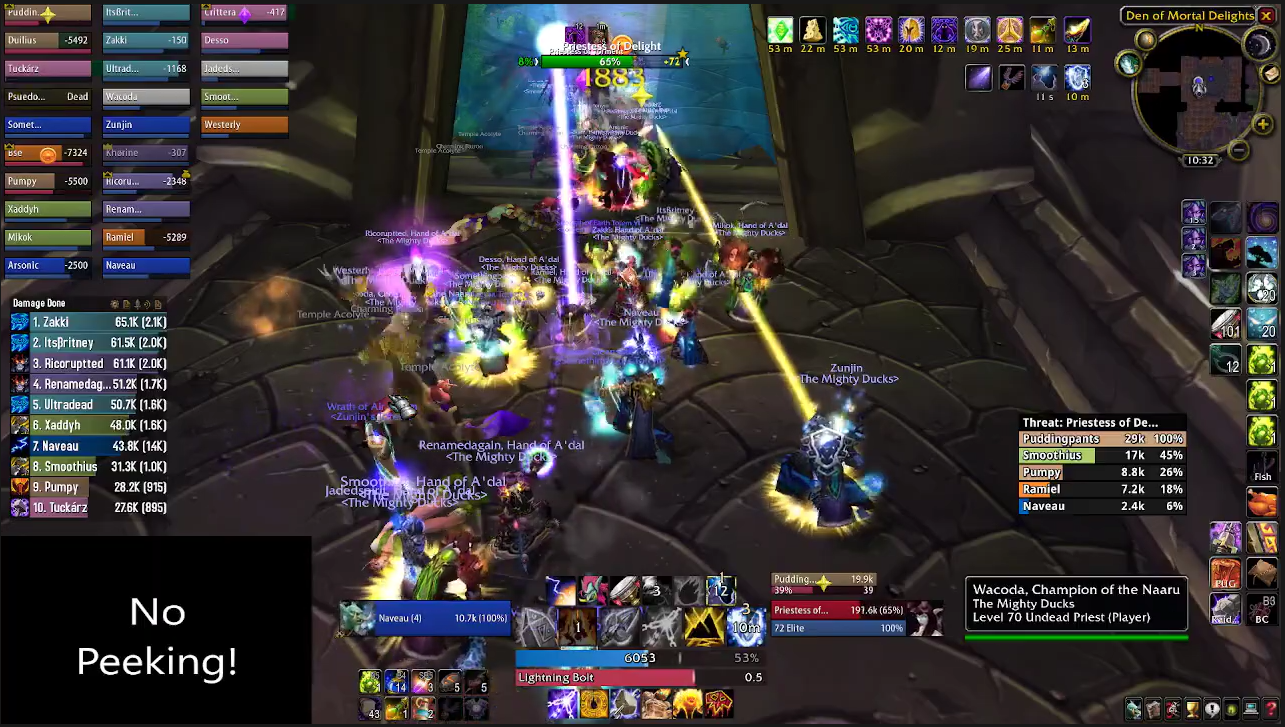
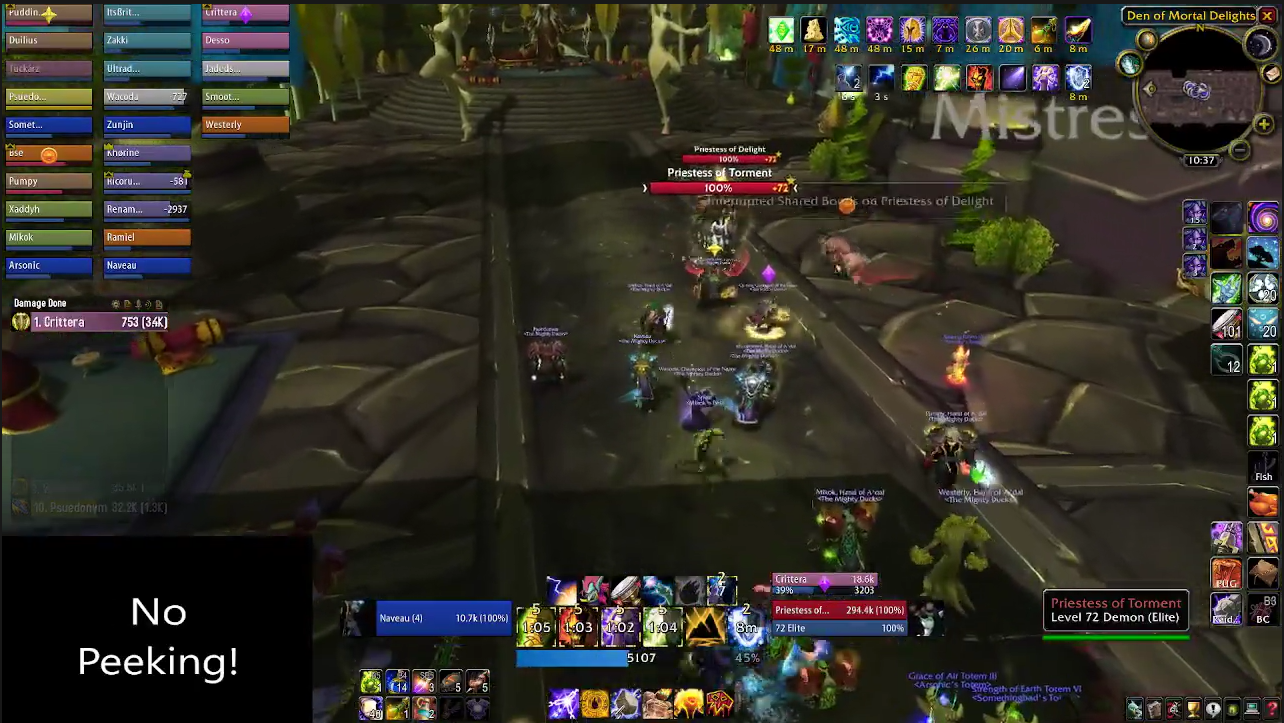
In addition to the hordes of patrons, the next two rooms also feature a patrolling pack of two succubi - a Priestess of Delight, and a Priestess of Torment. When they're engaged, both of them have a rather peculiar undisclosed mechanic. Kind of. One or both of the priestesses will cast an ability called Shared Bonds, which distributes damage evenly between them and reduces all damage by 50%.
The catch, is that the spell is a hidden channel cast by one or either of the mobs and can be cancelled with an interrupt. You'll know if you've gotten rid of it if the shield disappears and they start taking significantly higher amounts of damage.

The Priestess of Torment will also cast "Shell of Pain", which reflects 100% of all damage. It can be very difficult to see unless you have an addon like Threatplates, or Plater. But I'd recommend using either of those anyway because they're so much better than Blizzard's plates.
It's a fun way to test your raid's situational awareness when Shell of Pain gets cast, to see who isn't paying attention, zugging to the max, and then killing themselves by accident.
There are three rooms identical in trash pack composition - three or four packs of chaff, one pack of priestesses. Make sure you're clearing the mind controls, interrupting shields and switching to the Priestess of Delight when the Priestess of Torment casts Shell of Pain.
After the three rooms comes a (relatively) beautiful open air area full of demons, more packs of patrons and stewards and patrolling pairs of priestesses.
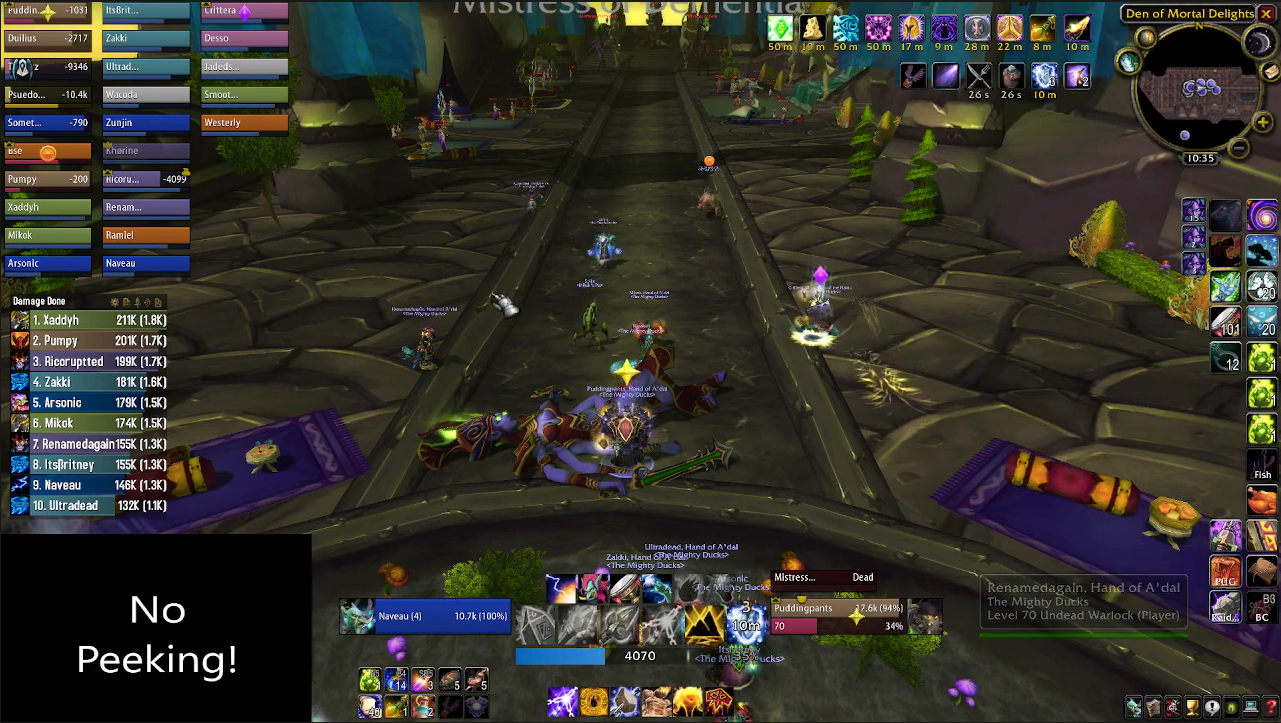
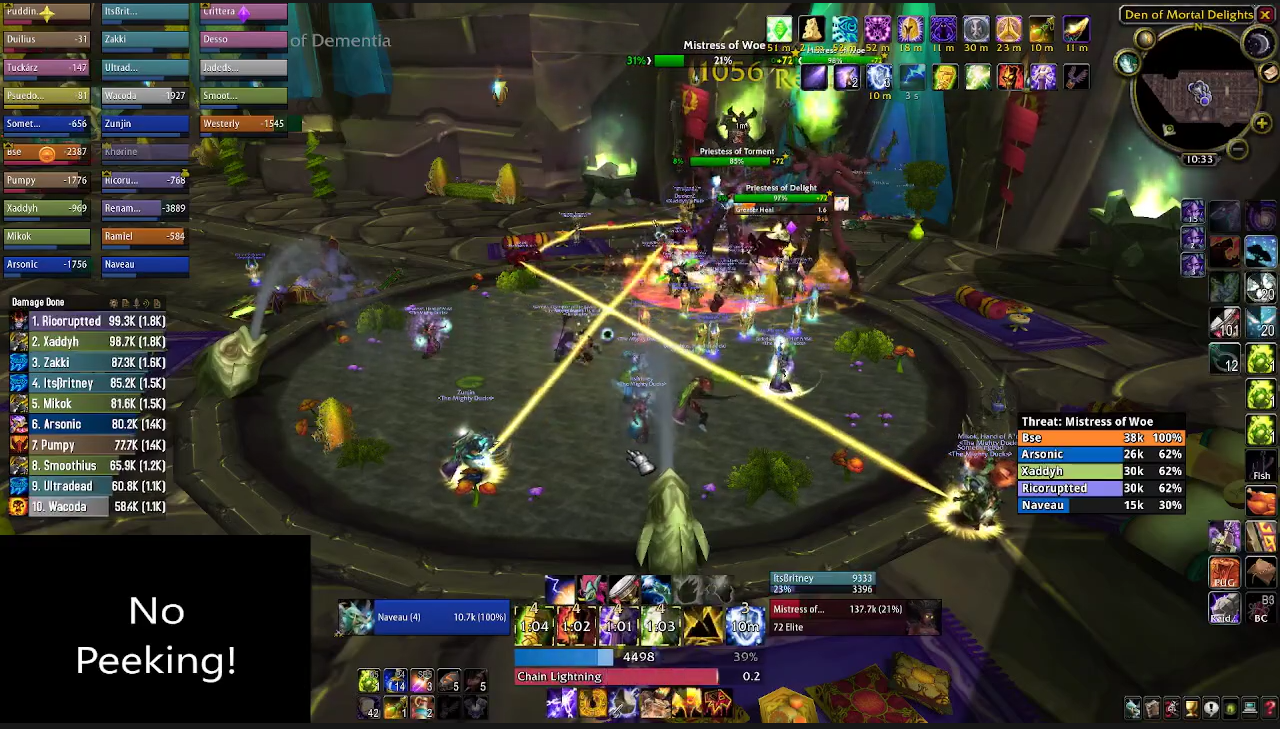
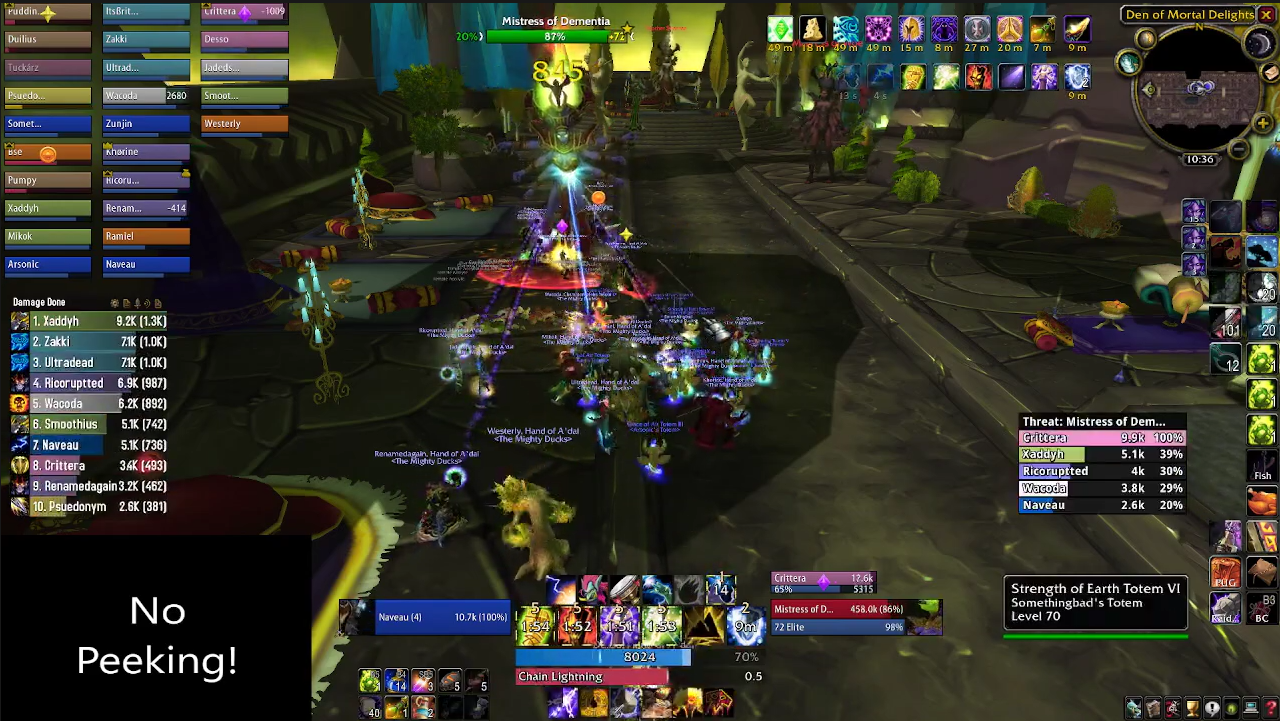
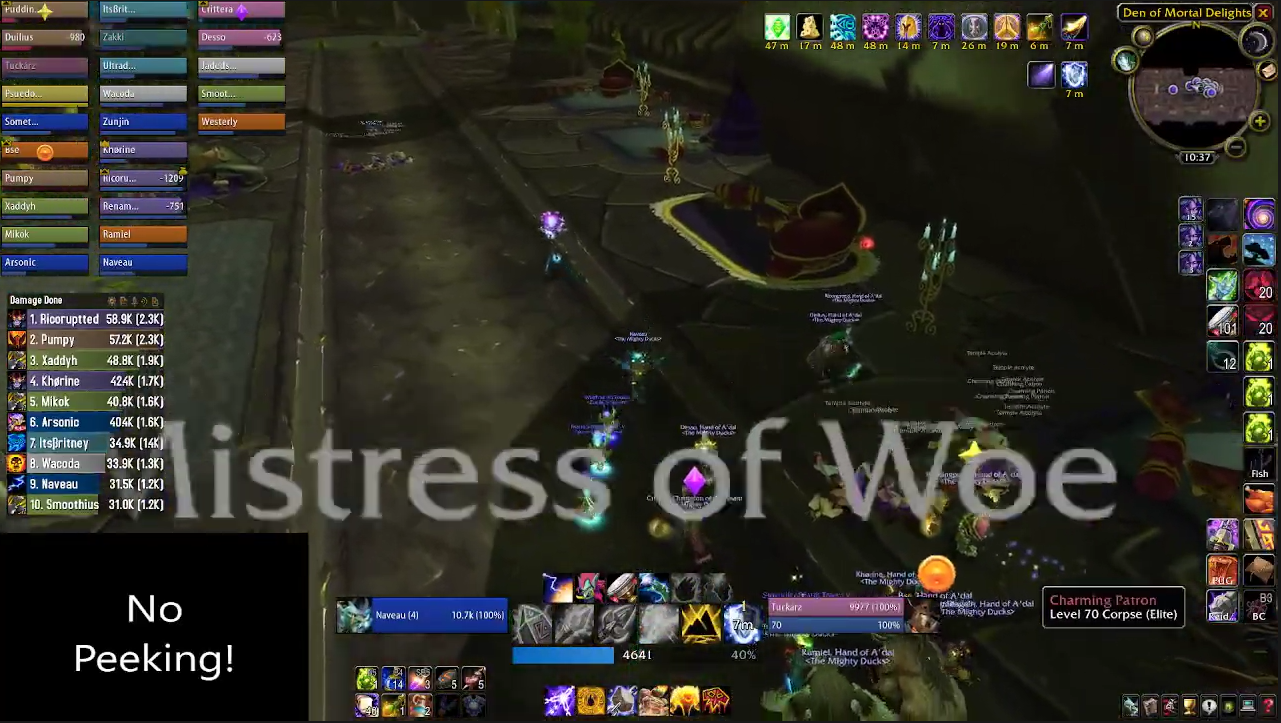
You're also introduced to two new enemies - Mistresses of Dementia and Mistresses of Woe.
If your group is a bit thin, you can pull these one at a time. As the raid acquires more gear and confidence, you can dial in how quickly you want to chain pull them. Past a certain point you can also go two at a time, or even tackle two mistresses and a pair of priestesses. This is extremely sweaty, however.
The Mistress of Dementia is fairly straightforward. She hits for a chunky amount and will randomly debuff a player with confusion, stunning them, and "buffing" another target with dementia, which increases the player's size, and boosts their healing and damage output.
The Mistress of Woe is a little bit trickier. She'll make copies of herself that will whirlwind through the raid, doing a low, but constant, amount of damage. You can target down the copies, but they despawn when the mistress dies, so it's better to just target down the mistress before things get too dicey.
After the first two mistresses and a pack of priestesses, there are four packs of patrons. They're not threatening, but there's always a risk of mind control, so you can pull two packs at a time. Then there's another two mistresses, and then a pack of priestesses patrolling around the raised boss platform.
And just like that, you're at the boss.
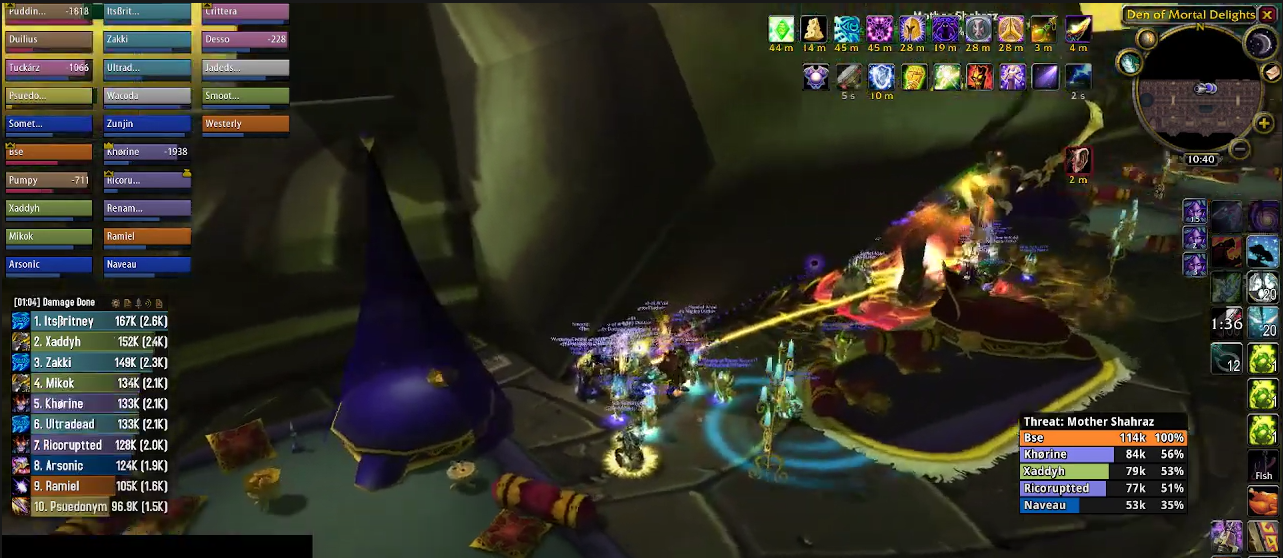
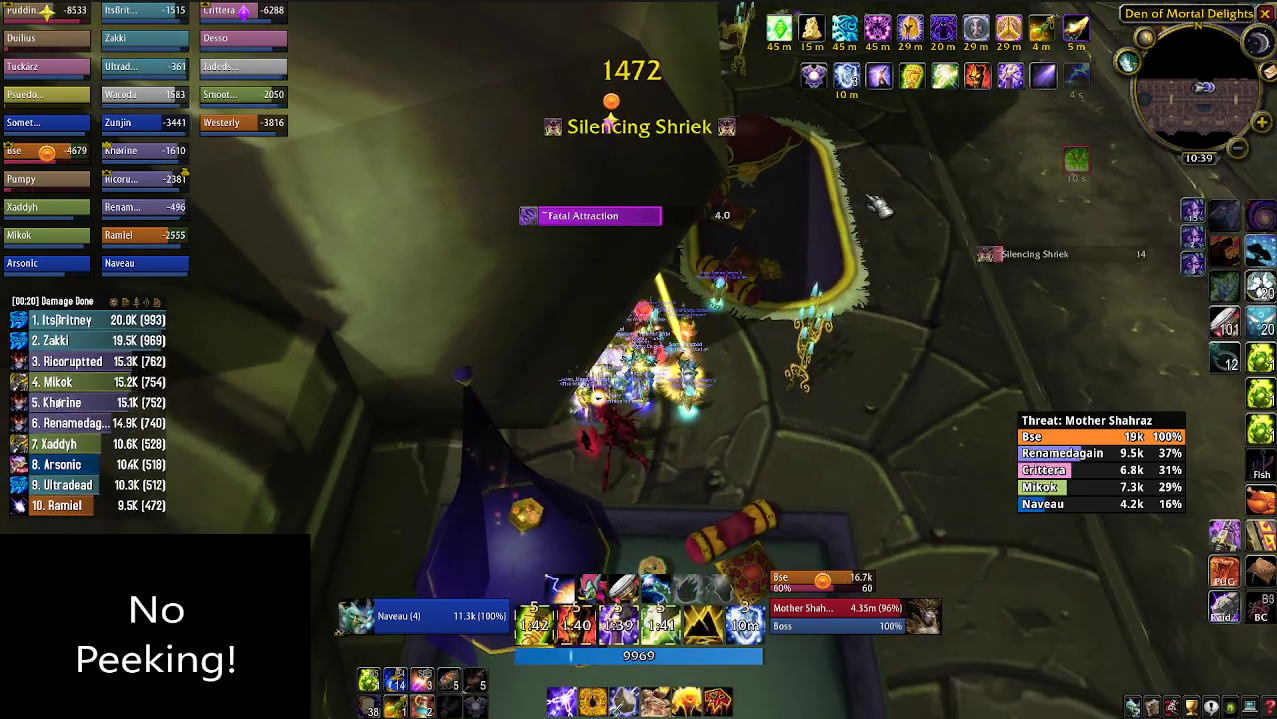
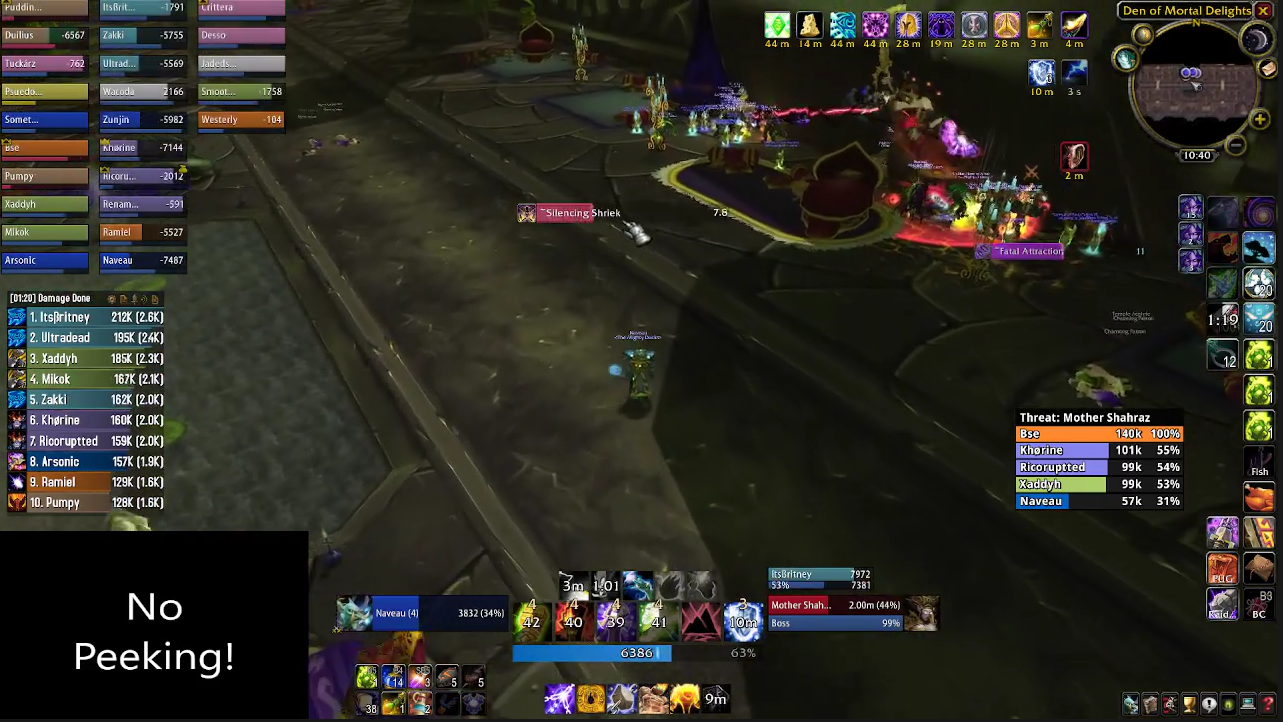
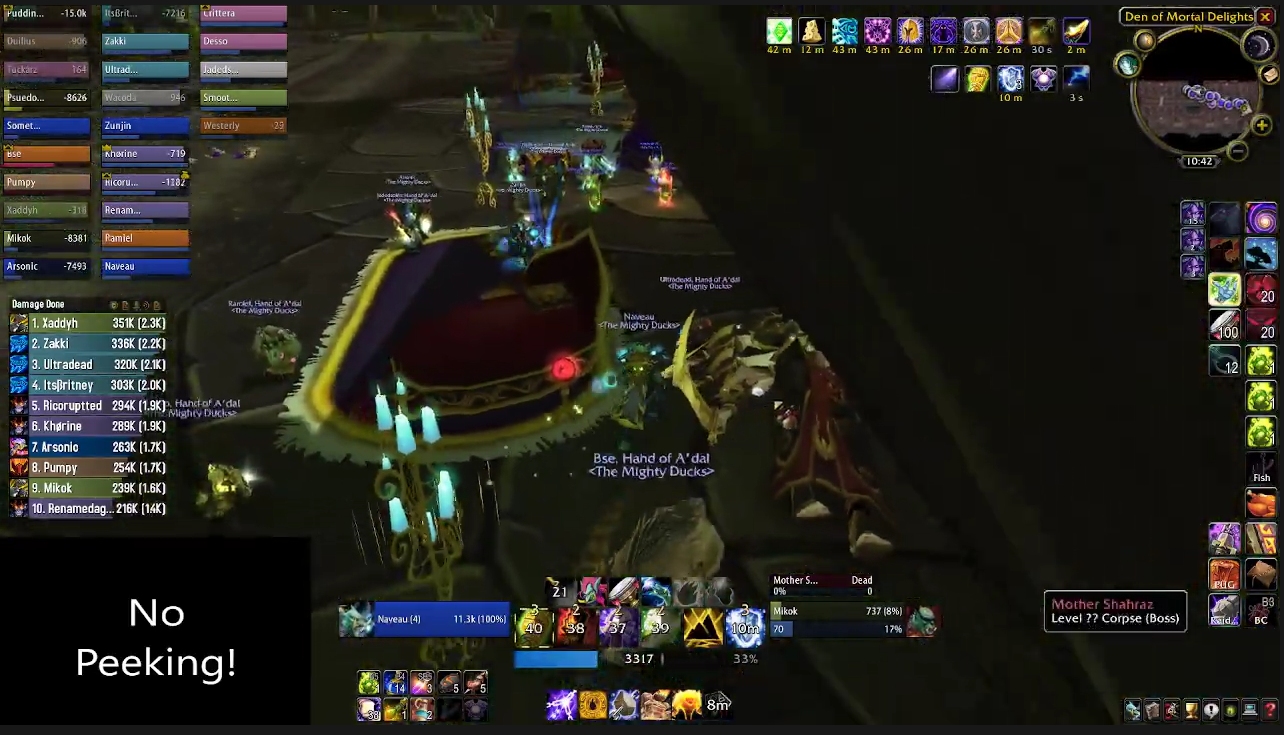
Boss Seven - Mother Shahraz
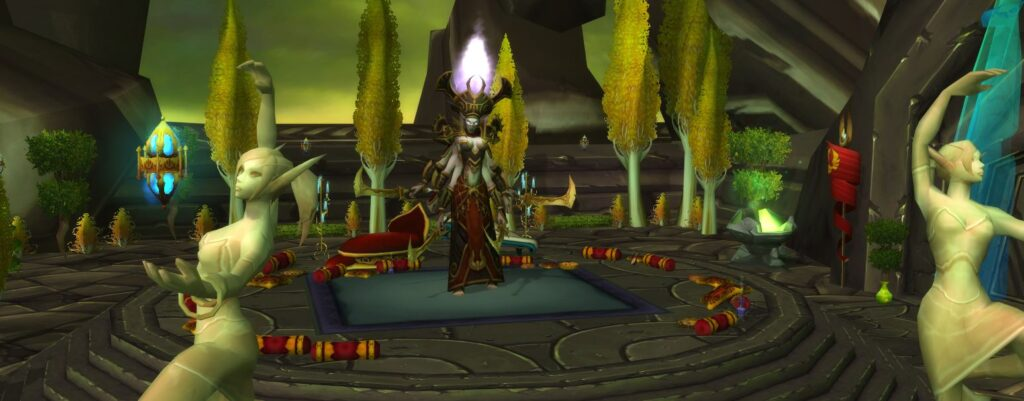
Mother Shahraz, "Mother", "Mummy Sharon", "Mum Shaz", or some other variation, is a quirky boss that puts you at the mercy of RNGesus. This encounter also relies on your raid being coordinated enough to bring the resistance gear needed to avoid being instantly killed by the boss.
As I mentioned above, all players will need to have 170 shadow resistance unbuffed. There's specific Shadow Resistance gear that you can craft, which uses the new crafting material available in the phase three raids, hearts of darkness.
You also are required to have your Medallion of Karabor on your person to get into the raid, which gives you +40 and a big chunk of stamina. If your raid is skimping on hearts, the cloak and the braces (whichever is the cheapest to make, as the boss doesn't do physical damage to the raid) give the most value per heart.

For those that want to see all the Shadow Resistance crafted epics, you'll find a resource at this link.
If you only have the cloak, neck and braces, you'll need either another crafted item to bridge the gap, or a series of items with void spheres in them. There's also a Shadow Resistance enchantment for the cloak, and a Shadow Resistance enchantment for your helm, bought from the Lower City.

Just remember, that whilst it's excellent that you have Shadow Resistance to the ceiling, you also need to either heal or do damage, respectively. Much like fire resistance for Leotheras, the more you pile on, the less effective you will be.
(Editor's Note: My ideal configuration once resource constraints ceased to be an issue was the neck (+40) enchanted cloak (+55) wrist piece (+40) and the leg piece (+72) for a total of 207 unbuffed.)
One positive aspect of this boss and progression attempts on her, is that if something goes wrong, you can retreat a short distance, reset, and go again after scraping everyone up.
In terms of pre-raid positioning, there are a number of different locations and formations to engage Mummy Sharon. The keys to success are:
- Having the entire raid be under a terrain object, as Shaz does a knock-up;
- The ranged stack must be more than 20 yards from where the boss will be tanked, as Mother has an AoE silence;
- All three tanks must be literally (not figuratively) inside each other for Saber Lash.
There are only a handful of positions in the room that are suitable. The Ducks tanked Mum underneath a fallen section of wall on the left hand side. This was wide enough to be able to fit the raid stack (without mucking up their camera, either, which is a problem with some other tanking locations), far enough away from the boss' tanking spot, and with room for all three tanks.
Everyone in the raid should have a healthstone and be comfortable with their keybind to use it, as there won't be time to fumble around in your bag or with your bars when you get teleported by Fatal Attraction.
You'll want to use a misdirect chain to put the boss in the right spot, considering the distance from her platform to a suitable location, and to help the primary tank build threat.
When everyone's in position, double check your gear and let's get started.
Tactics
The first set of abilities you'll need to deal with are the beams. They come in four varieties - sinful, sinister, wicked and vile. All of them will target up to 10 players and deal shadow damage in various ways. Mother will use a beam three times before switching to a different type of beam to keep things fresh.
Sinful Beam does a chunk of shadow damage - up to 8000 before resistance. Standard stuff.
Sinister Beam is the reason the raid is parked under the terrain object. It does 2000 damage and shoots the player into the air (unless they hit, say, the top of a wall...)
Wicked Beam drains mana, then inflicts an amount of damage to a player equal to twice the amount of mana drained. This makes the fight a DPS race of sorts, as you'll want to remove the boss before Shazza removes all your mana. (Except for warriors, but we don't like to talk about that.)
Lastly, Vile Beam inflicts a damage over time effect on targeted players. Partially mitigated by shadow resistance and then aided by the AoE healing capabilities of your group (provided you're loaded up on Shamans), this won't be much of an obstacle.
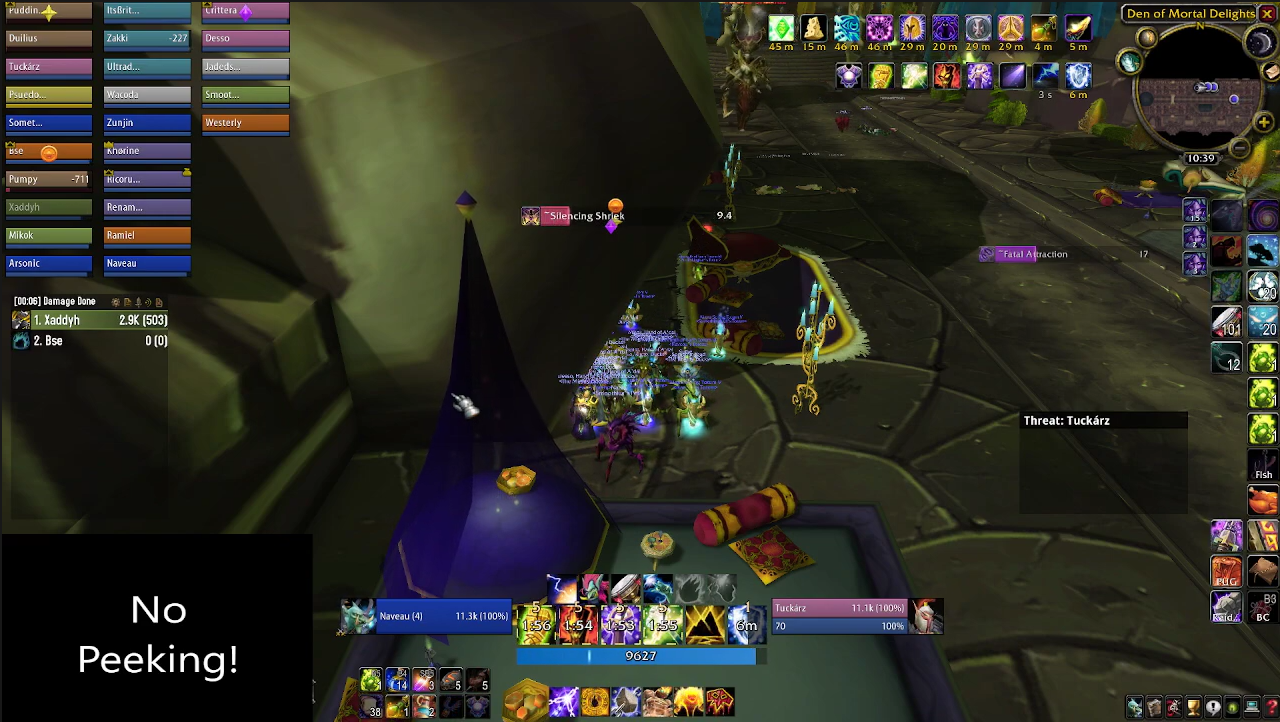
The second mechanic is Silencing Shriek. It has a range of 18 yards, but you'll want to be 20 away to be safe. It does what it says on the tin - silencing the raid for an extended period of time. As you can imagine, if the healers get silenced, you're pretty much boned. This is why the ranged stack is positioned where it is, which should be out of range.
For melee DPS who have to cast spells, such as retribution paladins or enhancement shamans, have fun not being able to do anything for a third of the engagement. Elemental shamans on Hydross the Unstable say hello.
Mum's next mechanic is Saber Lash. It deals an absurd (70,000 damage plus) amount of damage in a very narrow cone in front of the boss. However, it gets split amongst the players in the raid and is reduced by armor. So all three tanks should be in full mitigation gear, and stacked inside each other.
You'll want your warrior or druid to hold threat, as well, as your paladin won't be able to chase getting silenced for 10 seconds every thirty seconds.
Positioning for this ability can be tricky. The two off-tanks need to be standing just behind the main tank, but inside the main tank's model, to make sure they get hit. It can help if you're a tank with a big model, like a Tauren, to eat a Savory Deviate Delight to use the much smaller and easier to work with human model.
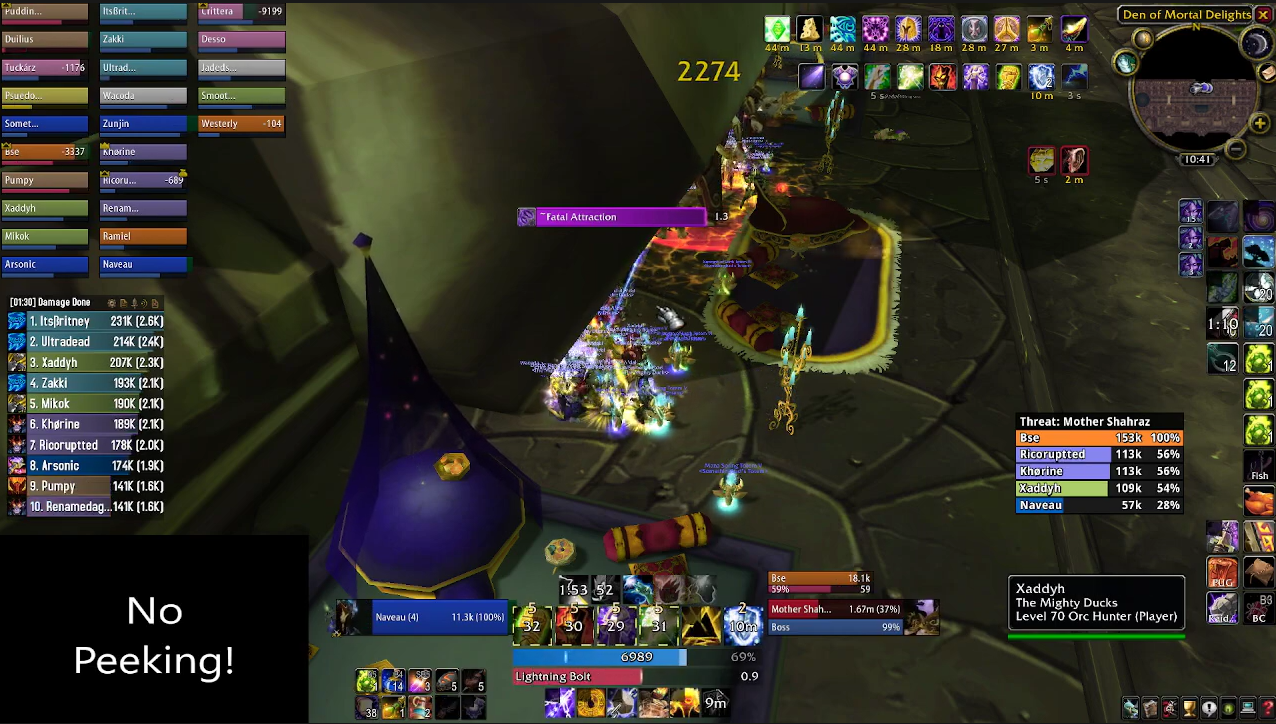
The last, and most important mechanich of the raid, is Fatal Attraction. Every 45 seconds (approximately), Mother Shahraz will pick three random players, teleport them to a random spot in the area, and link them with a purple beam that is broken by distance. Whilst the three players are linked, they will take increasing shadow damage until the link is broken, either by a player's death (most likely) or distance (sometimes).
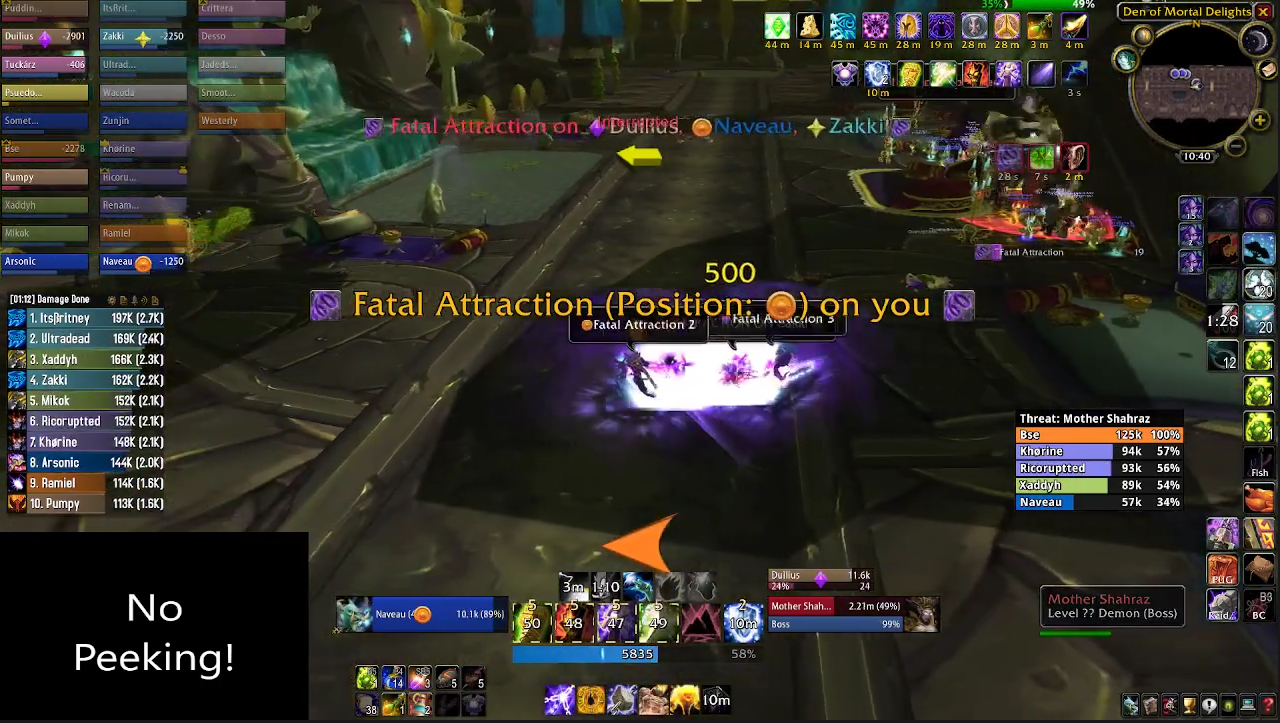
As soon as the boss moves you, you will start to take damage. You need to react quickly and be ready to use a health stone, shadow resistance potion, or both. Engineers can use rocket boots, mages can blink and rogues can use Cloak of Shadows. The key here is to use whatever tools you have so you don't kill your friends.
Where things can (and often do) get hairy is when Mum Shaz wants to test the raid's ability to handle extreme amounts of damage.
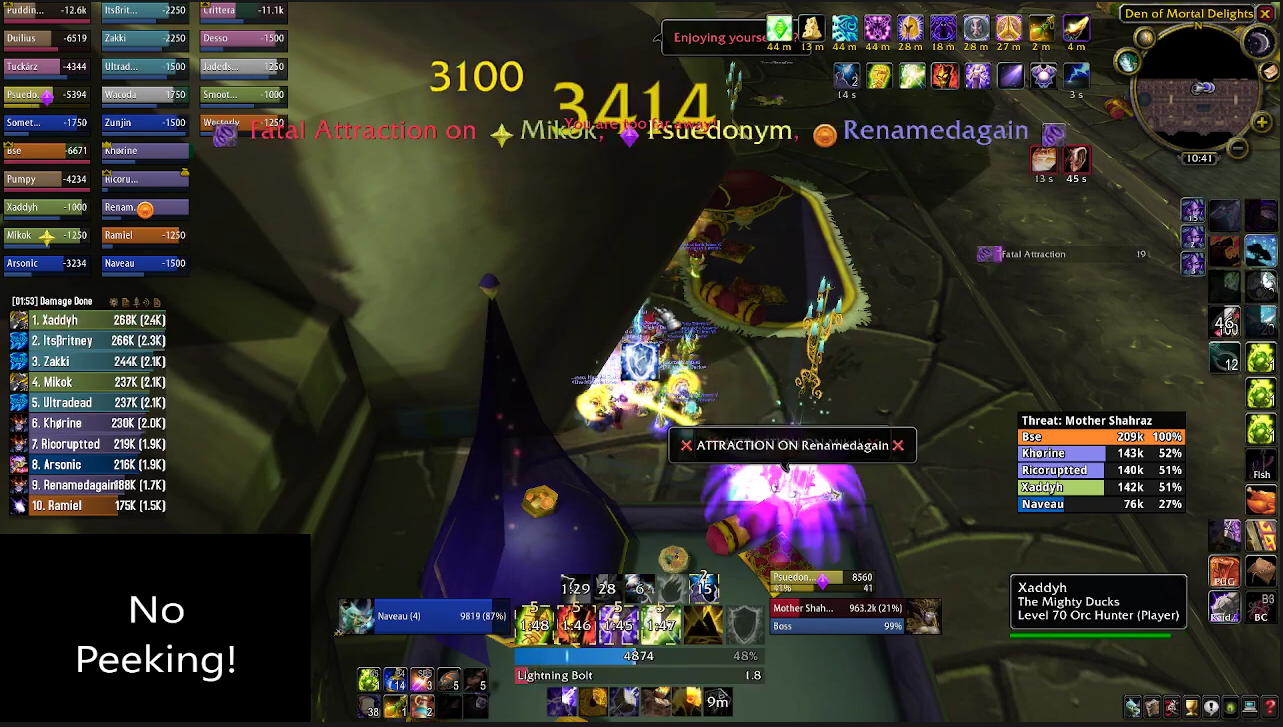
When players are linked by fatal attraction, the same damage the player takes is also inflicted on players within 15 yards. So if the players get teleported on top of the raid, that's pretty much lights out, barring extreme reaction time, or a small miracle.
Players should also make sure when the get teleported, that they don't then run into the raid until they've dropped Fatal Attraction.
Once all your players are able to handle getting teleported, and lady luck smiles on you, Mother Shahraz should fall over. Your reward will be your first tier 6 tokens of Black Temple, so enjoy them.
After the conclusion of the fight, make sure you re-equip your normal damage gear, because you'll need it.
Head to the end of the outdoor area - on the right will be an entrance leading up to the final part of the raid.
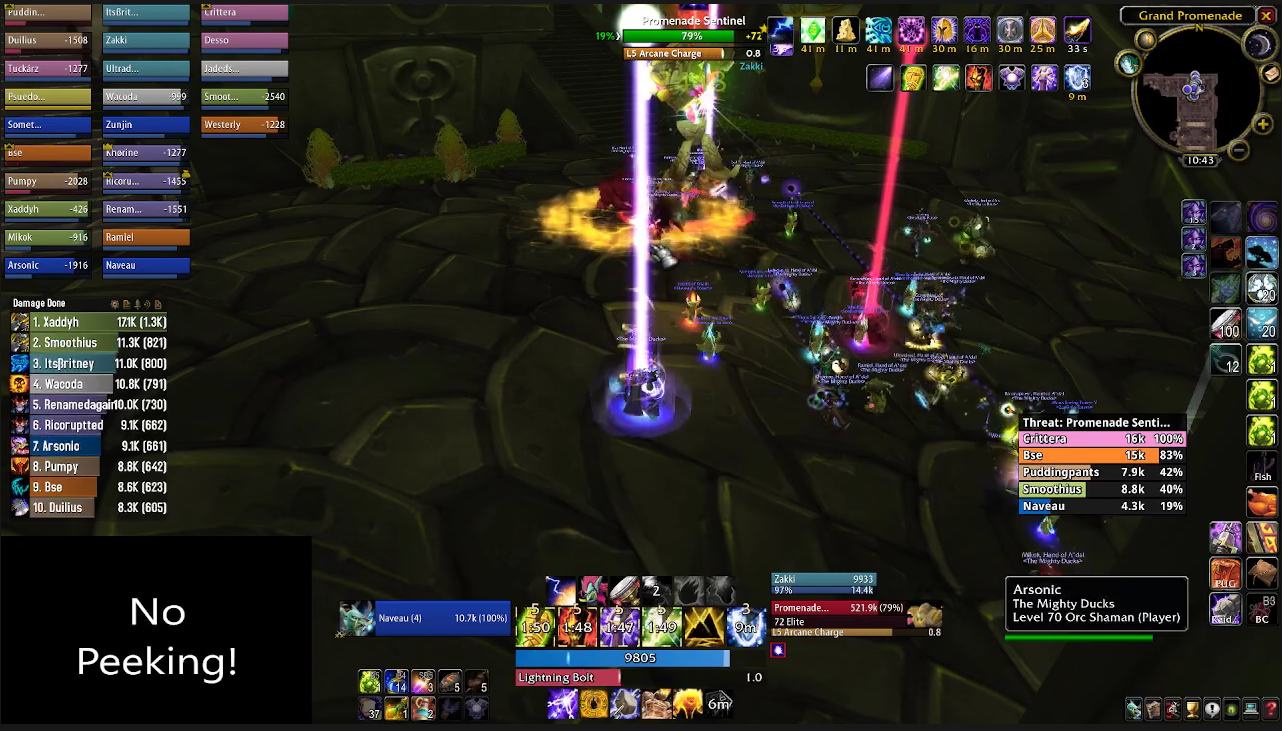
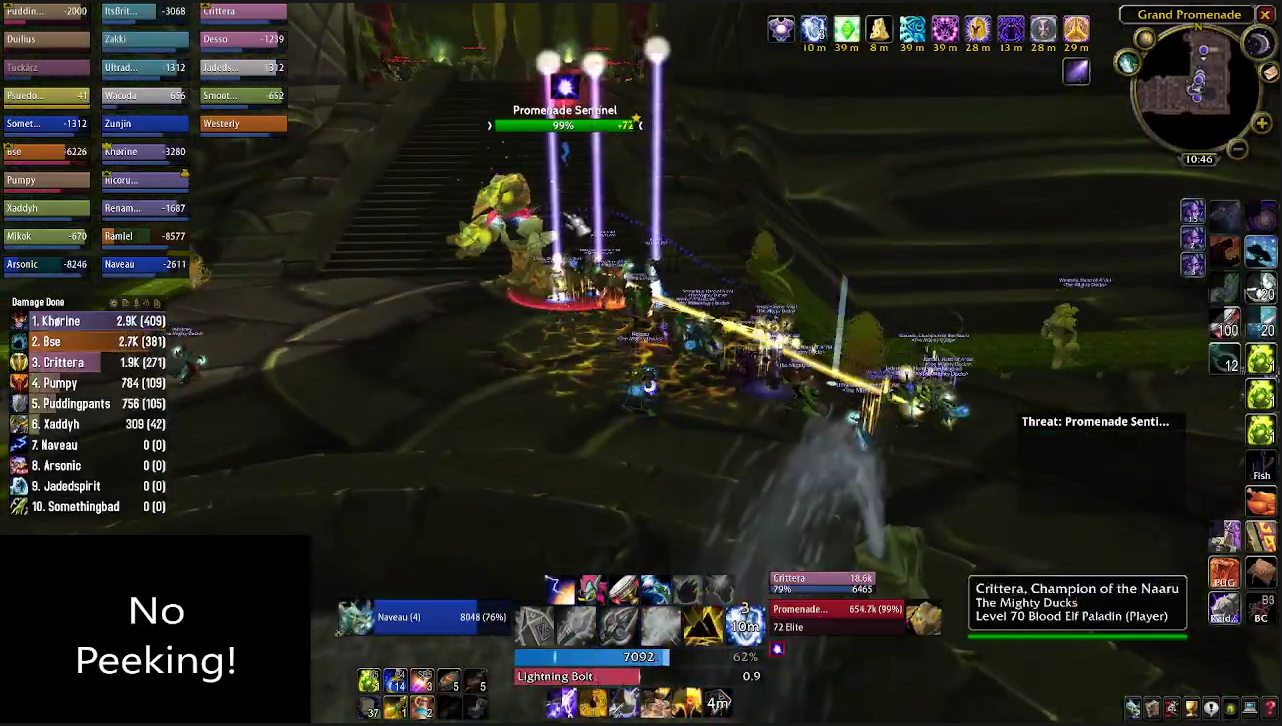
The next part of the raid will be a series of platforms and stairs. You'll deal with Promenade Sentinels, using the same model (but recolored) as the sentinels in Tempest Keep. These ones are much nastier though.
The sentinels will do chip damage to the whole raid. They'll also target an area on the ground, and a short time later will inflict heavy damage on players who didn't move. The annoying mechanic to deal with is L5 Arcane Charge, which targets a player and inflicts damage equal to 100% of their health - i.e, instant death.
The only way to deal with this ability is to have a priest shield a player, or have a player break line of sight using the stairs or a wall.
There are four Promenade Sentinels in total. They're not a threat to your raid, but they will slow you down by randomly blowing up a player or two.
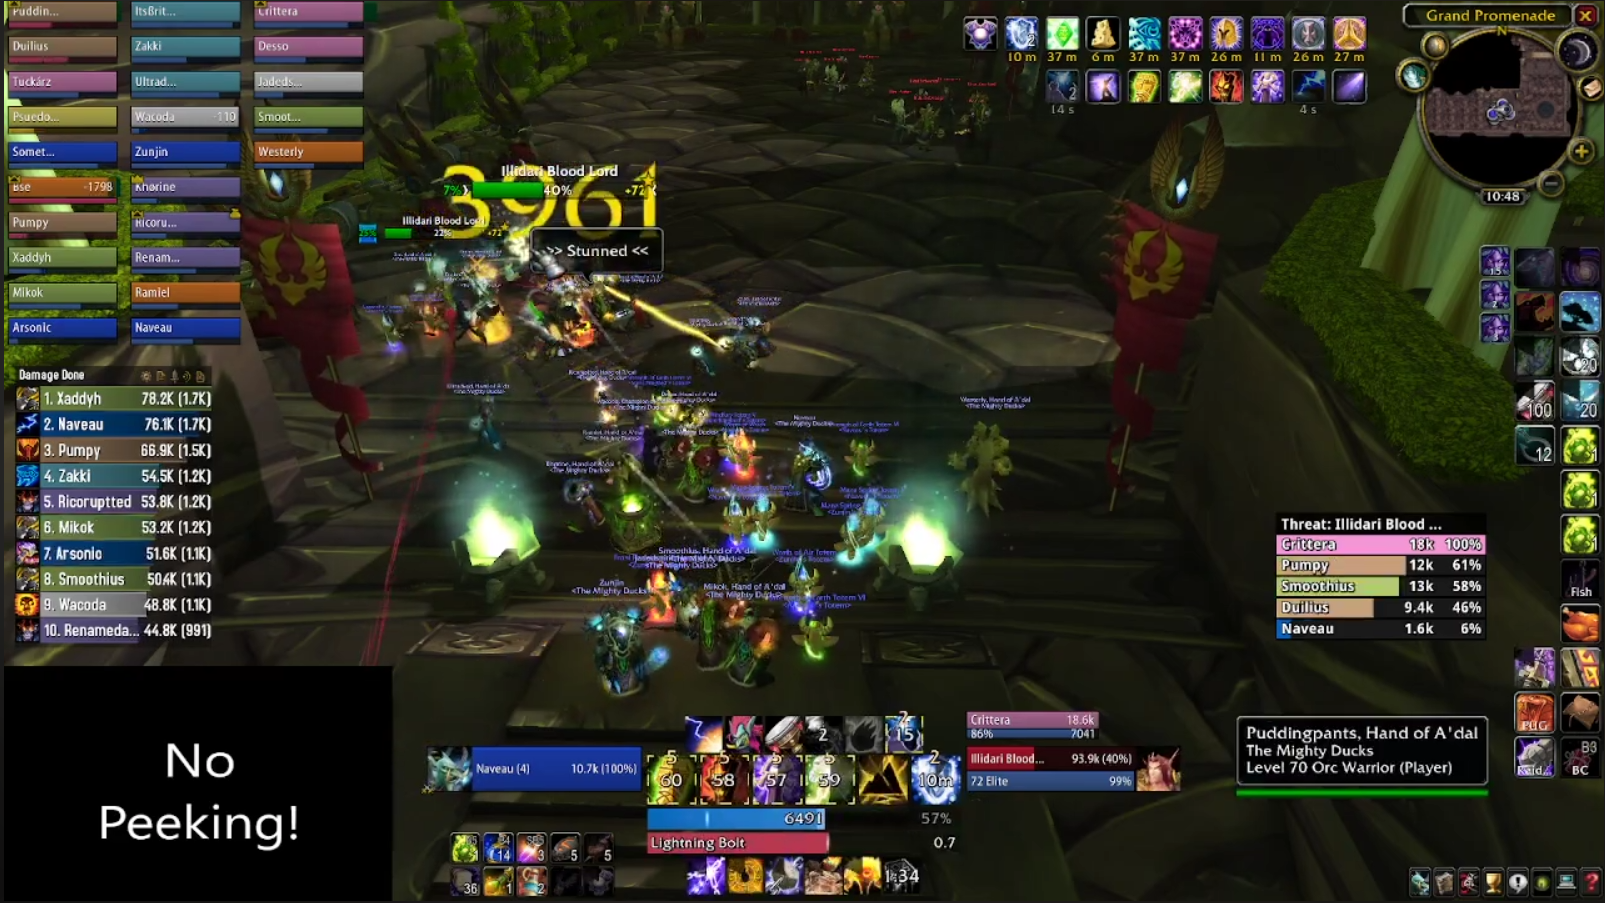
The last platform before heading inside has three packs of Blood Elves to deal with - which are a depowered version of the next boss(es). Each pack consists of two Illidari Blood Lords, two Battle-Mages, an Archon, and an Assassin.
The battle-mages cast Blizzard on the raid, so your mages should be ready to polymorph them. You can deal with the remaining trash at your leisure, but be ready for the assassin to disappear and re-appear on top of your ranged stack when you least expect it.

The Archon will also use a Divine Shield when he gets to low health. This can be mass dispelled if you're in a hurry.
The next two packs of Blood Elves pull identically. It is possible to pull two packs at once if your raid gets a little bit loose, so, be careful, the walk back to this area takes a long time.
You don't need to clear the Promenade Sentinels hanging at the back, so you can head inside to the penultimate boss of Black Temple.
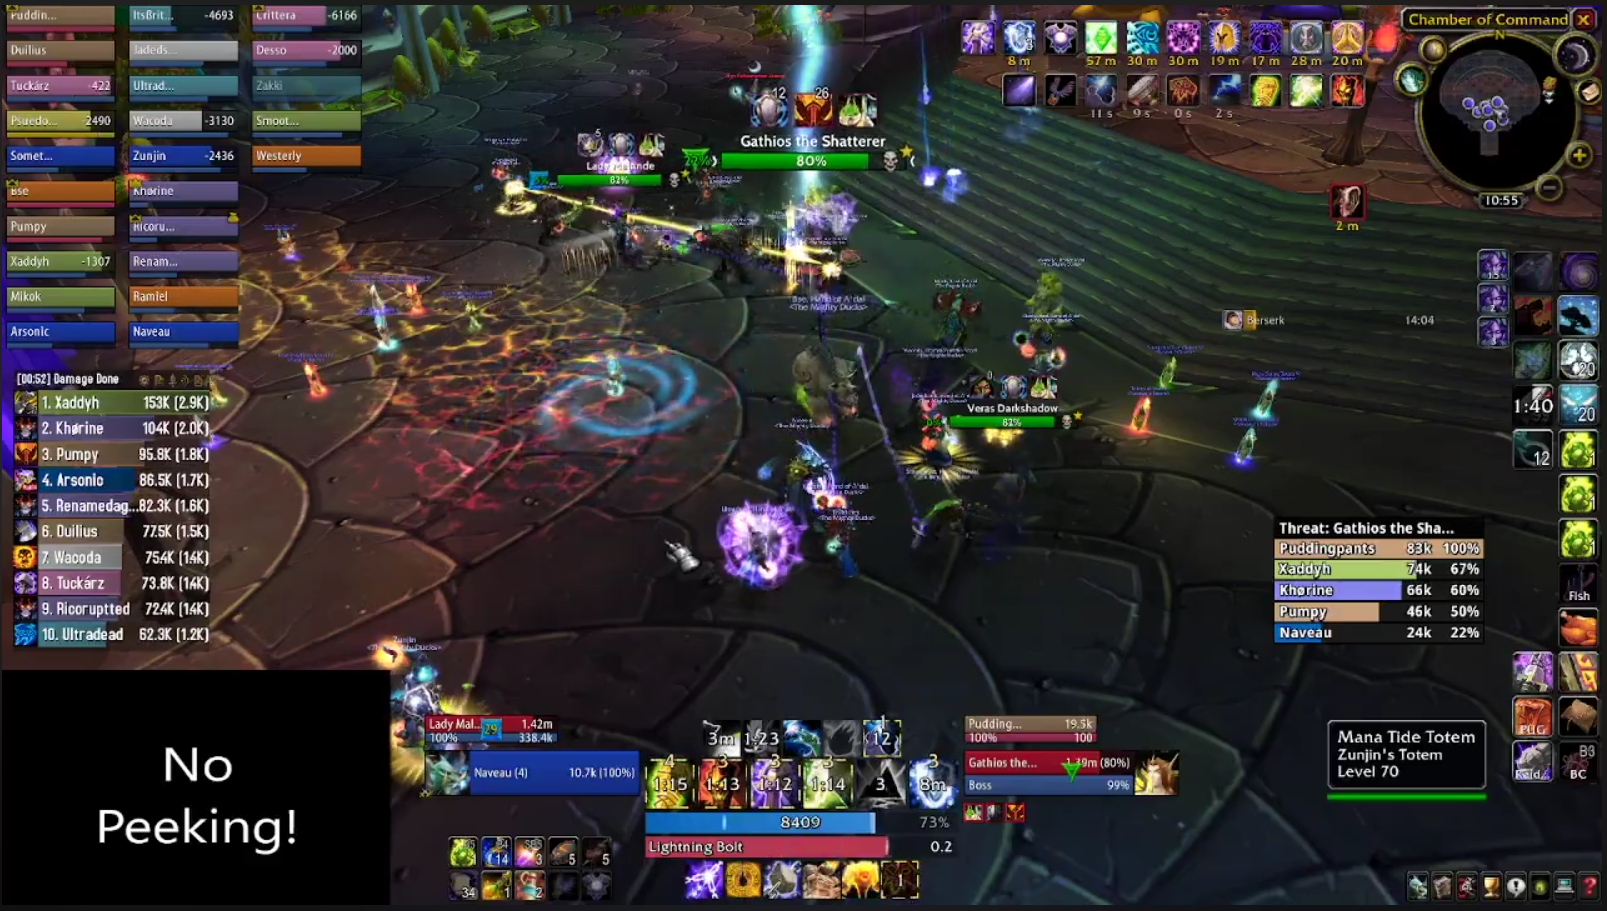
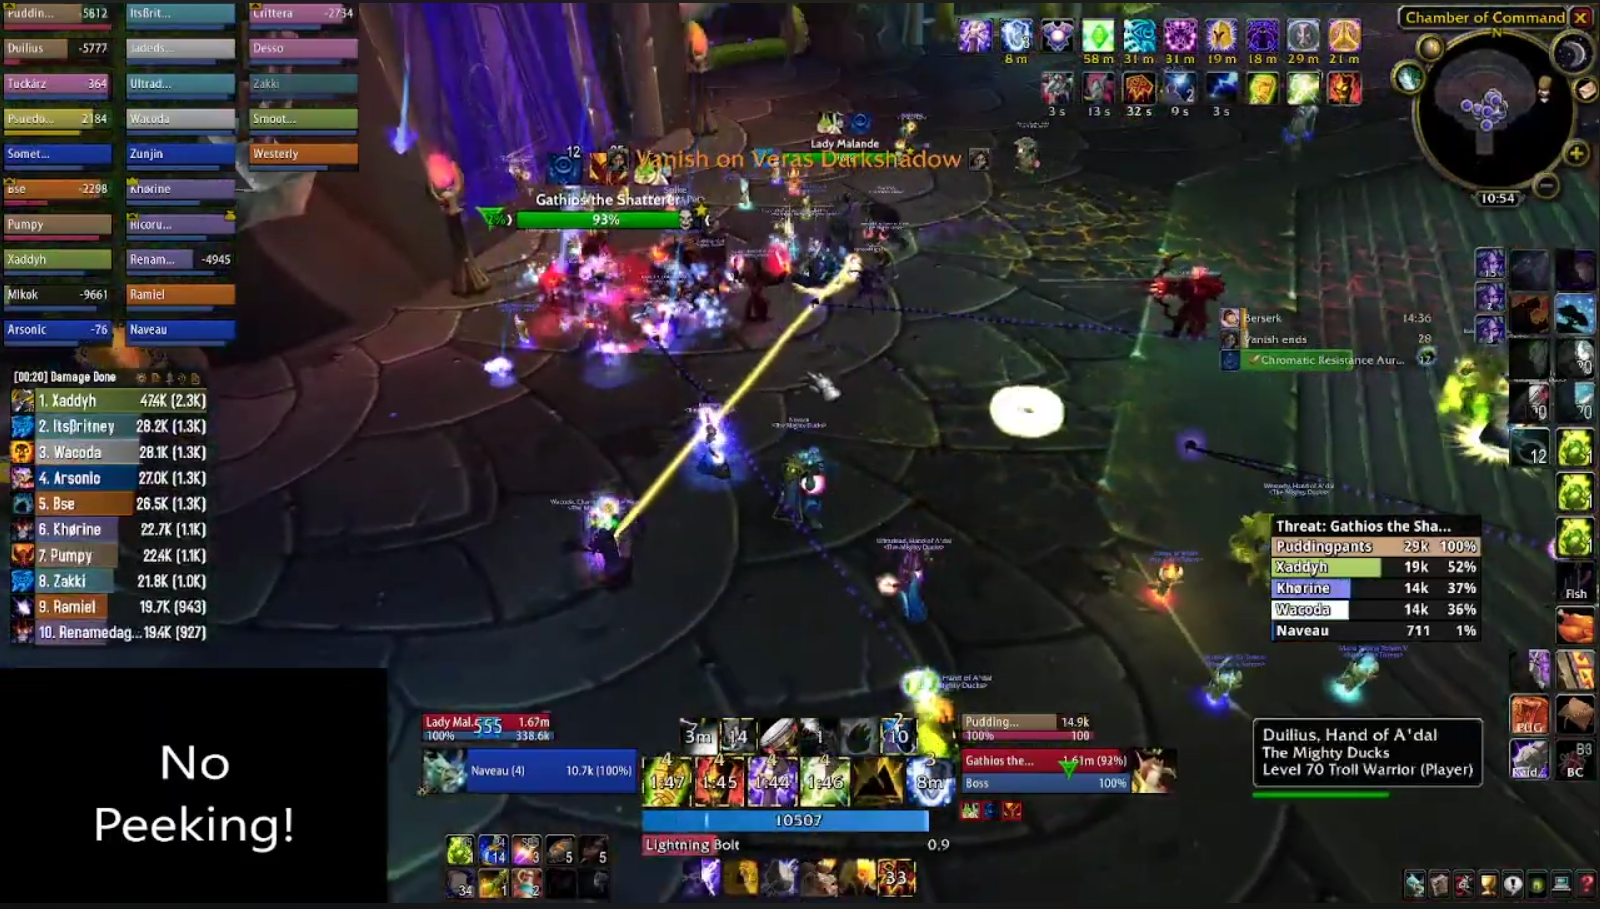
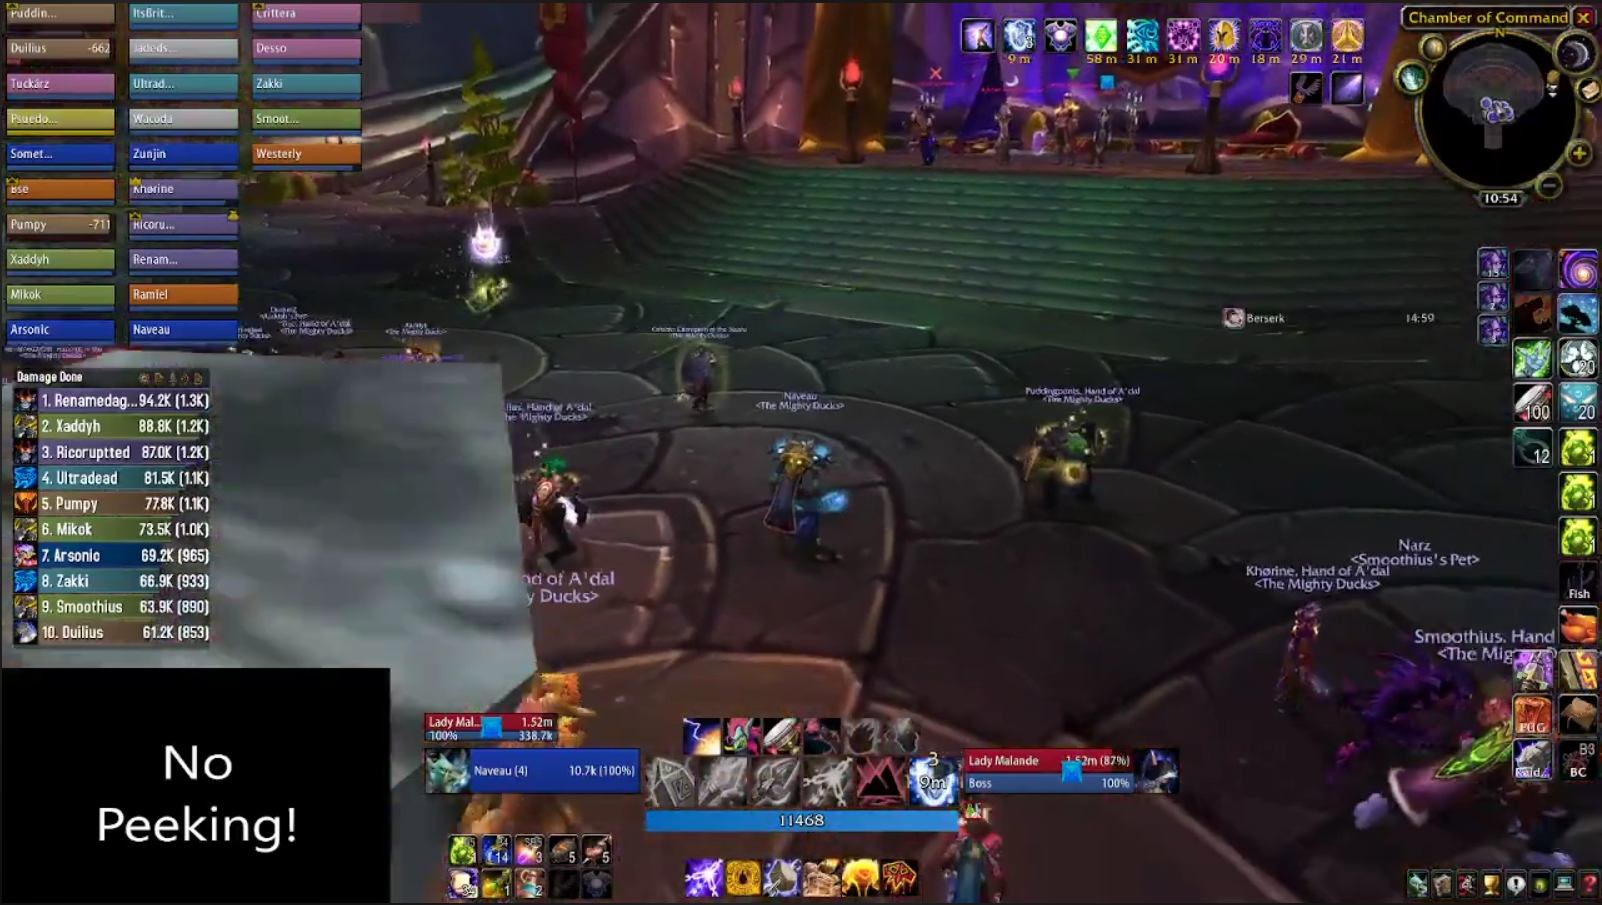
Boss Eight - The Illidari Council
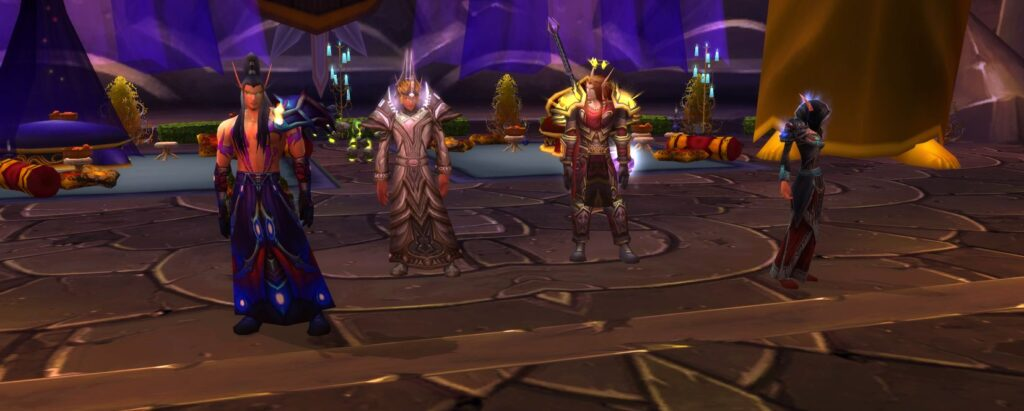
Ah yes, council. Arguably more difficult than Illidan himself.
These four cheerful characters require coordination, player awareness of positioning, and have mechanics that can easily wipe you and your raid if a player makes a mistake. They are absolutely a gear check, and require your raid to balance maximum output with staying out of trouble.
Unlike previous councils, all four members have a shared health pool. That means cleave is very useful here. The mechanics of the council members prevent you from stacking them all up and blowing them away, but you will often have the chance to hit two or three targets.
Starting from the left is Veras Darkshadow. He's a rogue, which means he goes invisible and poisons your raid. He will need to be tanked - he doesn't hit very hard, but every minute or so he will drop threat, use vanish, and poison random members of the raid with Deadly Poison, a ticking damage over time effect that does 4000 nature damage over four seconds, then follows up with Envenom, a rogue finishing move for between 4-5k damage.
The rough translation of how that all fits together is that Veras will vanish, poison someone, envenom them and kill them unless they're topped up in the four seconds between being poisoned and envenomed. Players should, in an ideal world, be saving their healthstone cooldowns for when they're about to get envenomed, but we live in the real world, and there are plenty of other hazards that may need that cooldown.
When Veras pops out of stealth, your off-tank needs to be looking for him before he runs over and cuts up a healer in addition to everything else. Time is of the essence here as well, because Gathios the Shatterer (more on him later) will sometimes cast Blessing of Protection on Veras, making him immune to physical damage and thus unable to be tanked, except by a paladin.
When Veras isn't poisoning and killing people, he should be tanked as close to Gathios as possible so classes with a cleave can double up and do more damage.
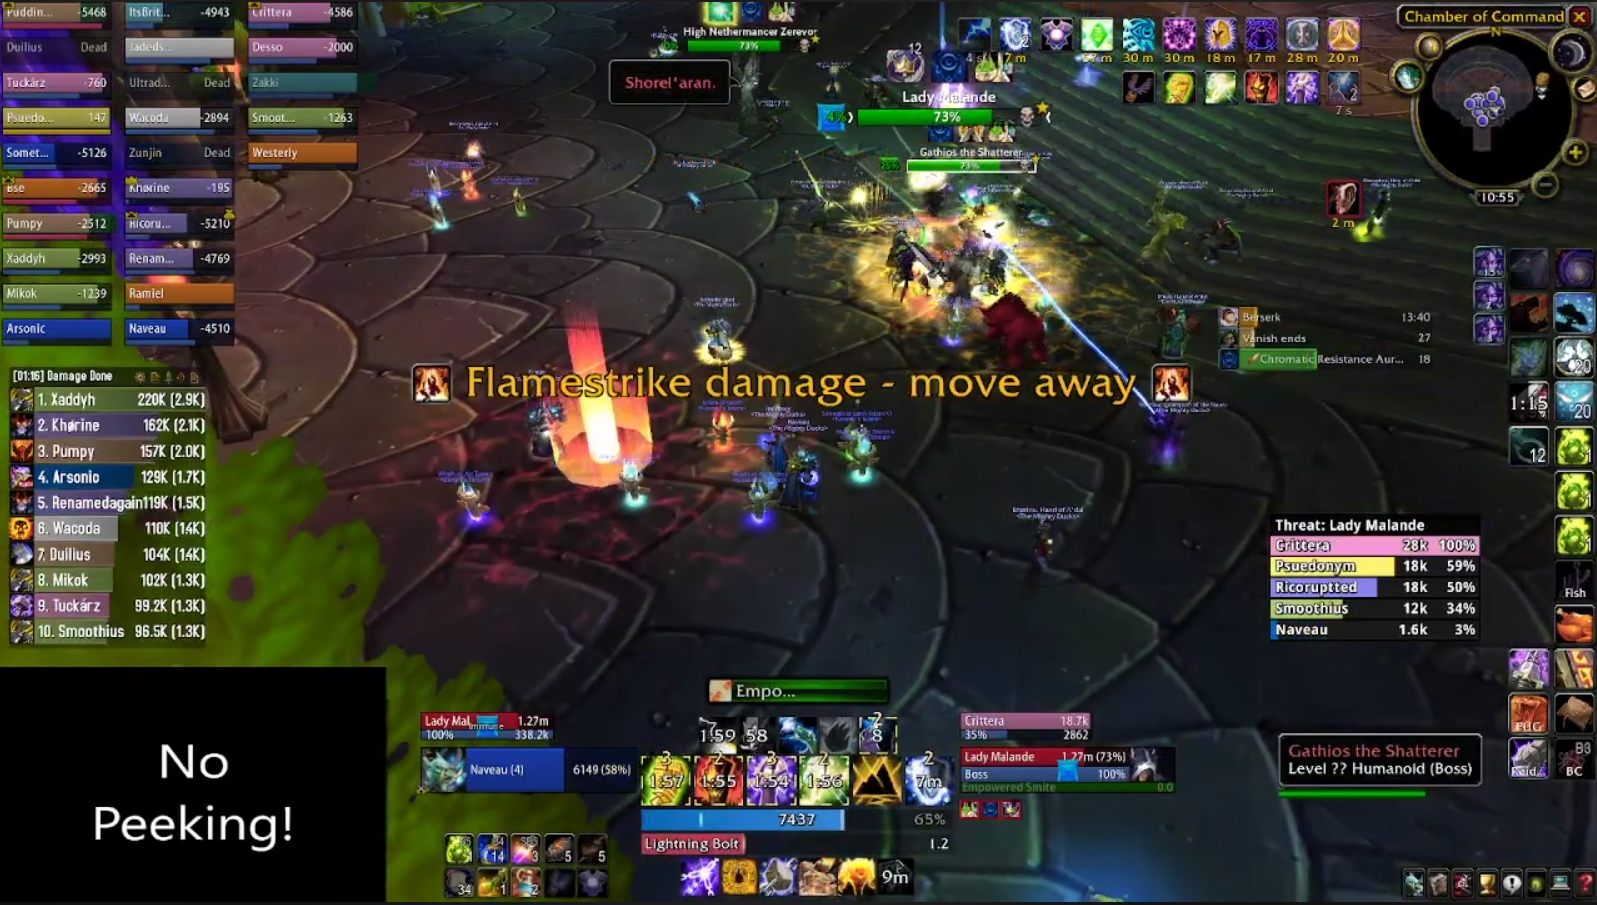
Next is High Nethermancer Zerevor. Much like Krosh Firehand from High King Maulgar in Gruul's Lair, you'll want a mage to tank this chap, as Zerevor casts a spell on himself called "Dampen Magic", which reduces magic damage by 75%. This is extremely helpful, because the High Nethermancer pumps out single target magic damage, making conventional tanking impossible.
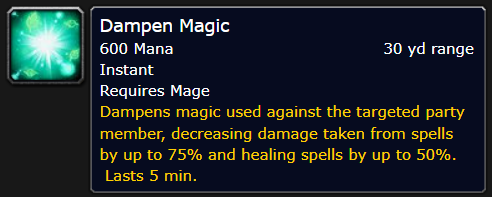
Zerevor also casts Flamestrikes and Blizzards onto your raid which do huge amounts of damage. Flamestrike is guaranteed to tick at least once on a player, but you do have a short window of time to evade Blizzards. Either way, this jerk will spread damage far and wide and put your healers under huge pressure. Your players need to be constantly aware of where they are and where the hazards are. If you're clumsy and near-sighted, or prone to tunnel vision, GTFO is an excellent addon here.
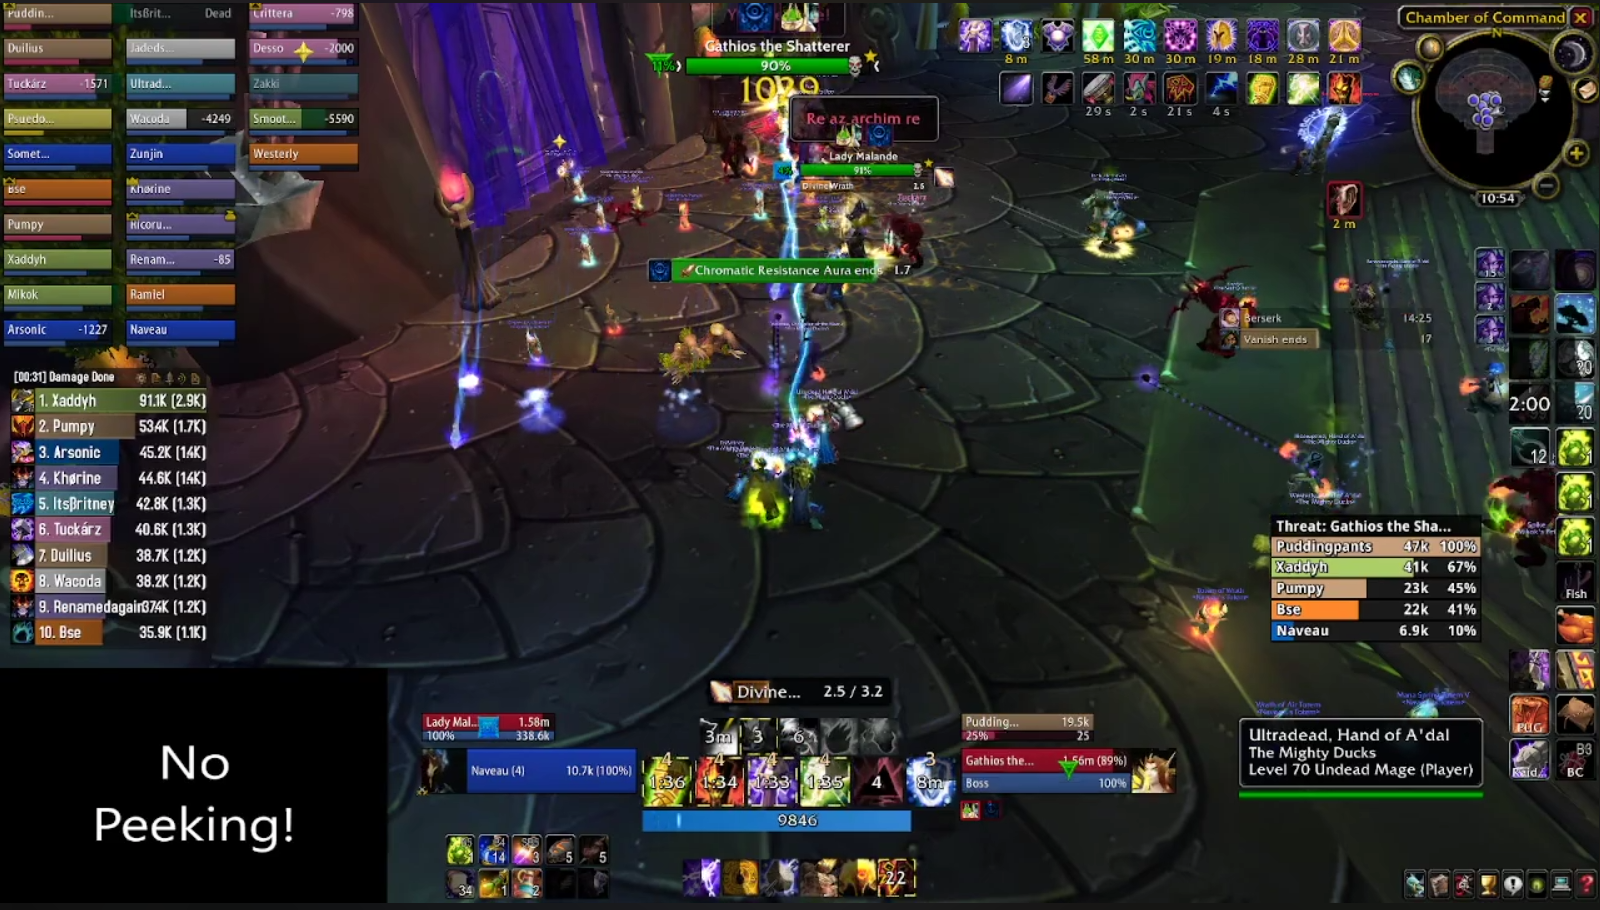
Next is Gathios the Shatterer. He's the paladin equivalent. He comes with a big hammer and a range of obnoxious paladin abilities, just like the real class. Gathios has the most abilities of all four council members, which makes him the most dangerous. He also has the most armor and resistances, but due to the various abilities he casts, he has to be your primary target.
This is the only fight in the entire expansion where Spell Penetration will actually be useful, as Gathios increases the resistances of himself and the other council members by 250, for 30 seconds. You can do a lot more damage with a bespoke Spell Penetration set than a conventional set, but it can be a lot of investment for what is essentially bigger individual numbers.
To start off with, Gathios will belt your tank with his two-hander. He'll also buff himself with either Seal of Command, or Seal of Blood. Both of which will have a chance to do additional damage, and periodically he will consume that seal, just like a real paladin, and cast Judgement.
Judgement of Command hits like a freight train, but, good news! Warriors can reflect it and turn a big spike of damage into a big turnabout of damage.
Judgement of Blood, on the other hand, will deal a small ticking dot that will need to be healed. Swings and roundabouts.
Gathios will also cast Consecration on the ground, dealing heavy damage to everyone that stands in it. As soon as this is cast, your tank needs to pull Gathios out of it - he doesn't have a ranged attack, so it's as simple as moving backward. If not for the sake of the tank, for the paper-thin melee DPS trying to do big numbers.
Lastly, Gathios will cast Blessing of Protection and Blessing of Spell Warding at random on other council members, making them immune to physical and magic damage. He will never cast both on the same party member, so that's nice, I guess.
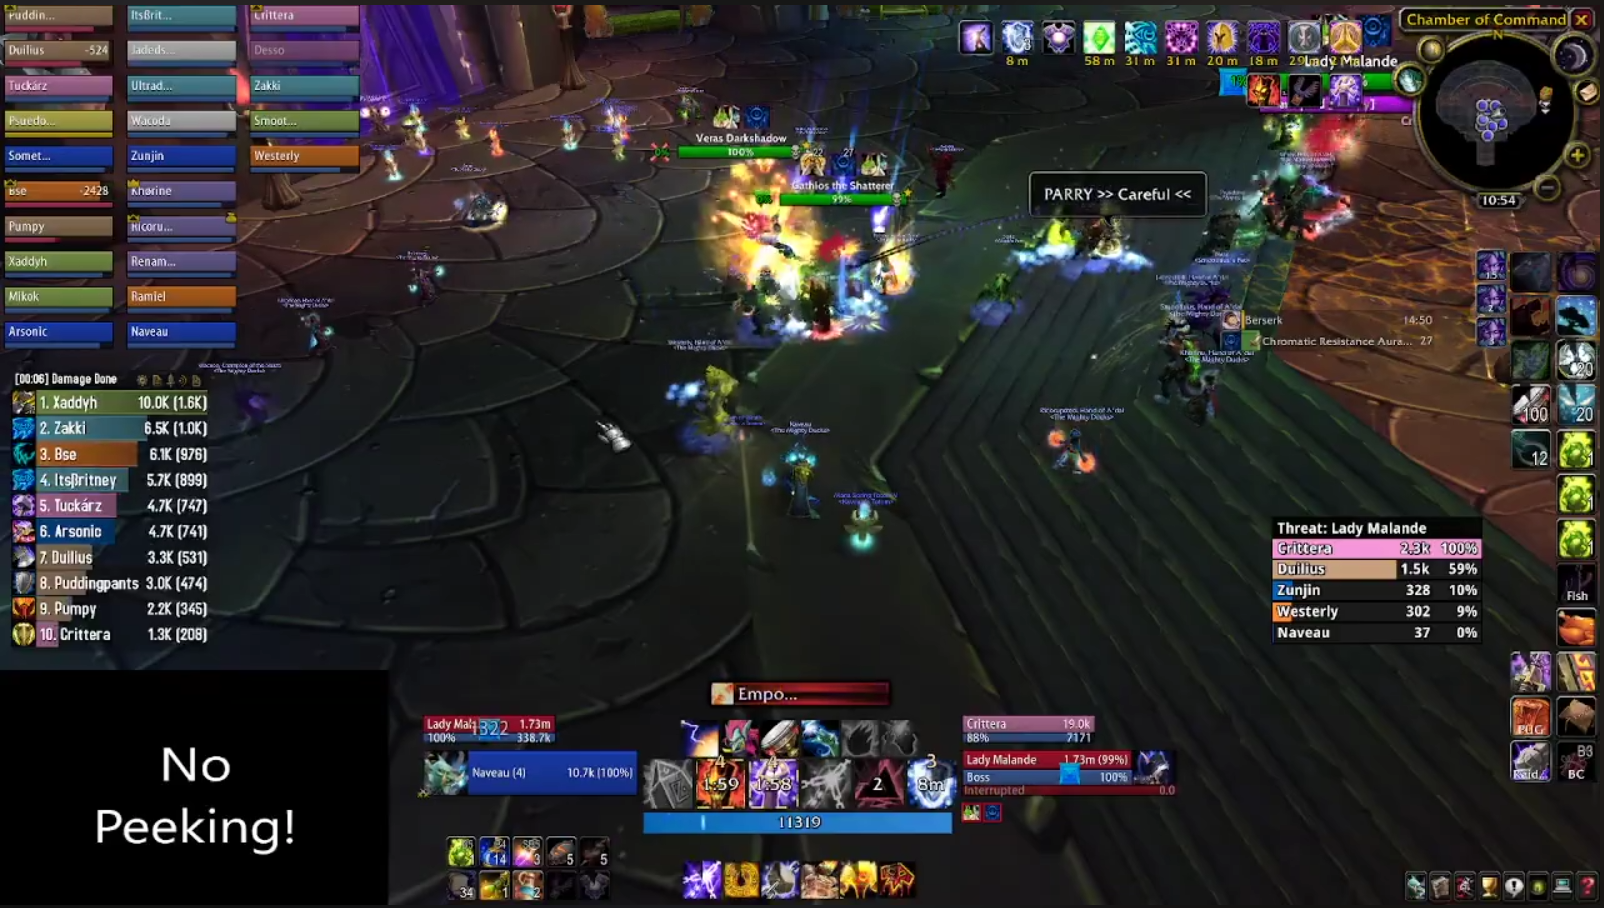
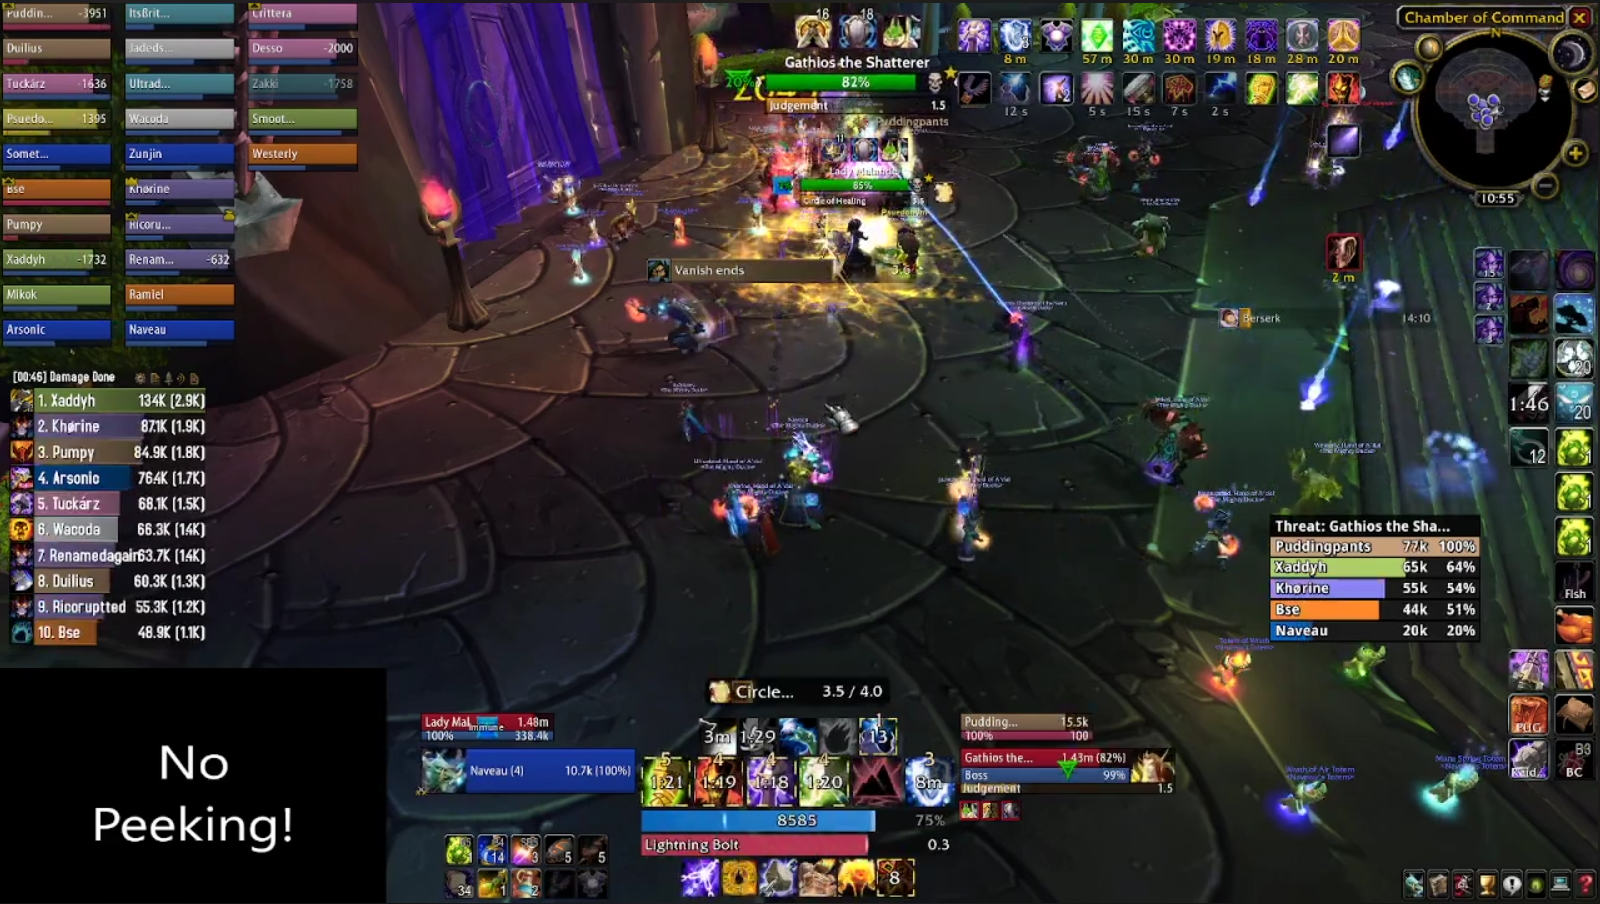
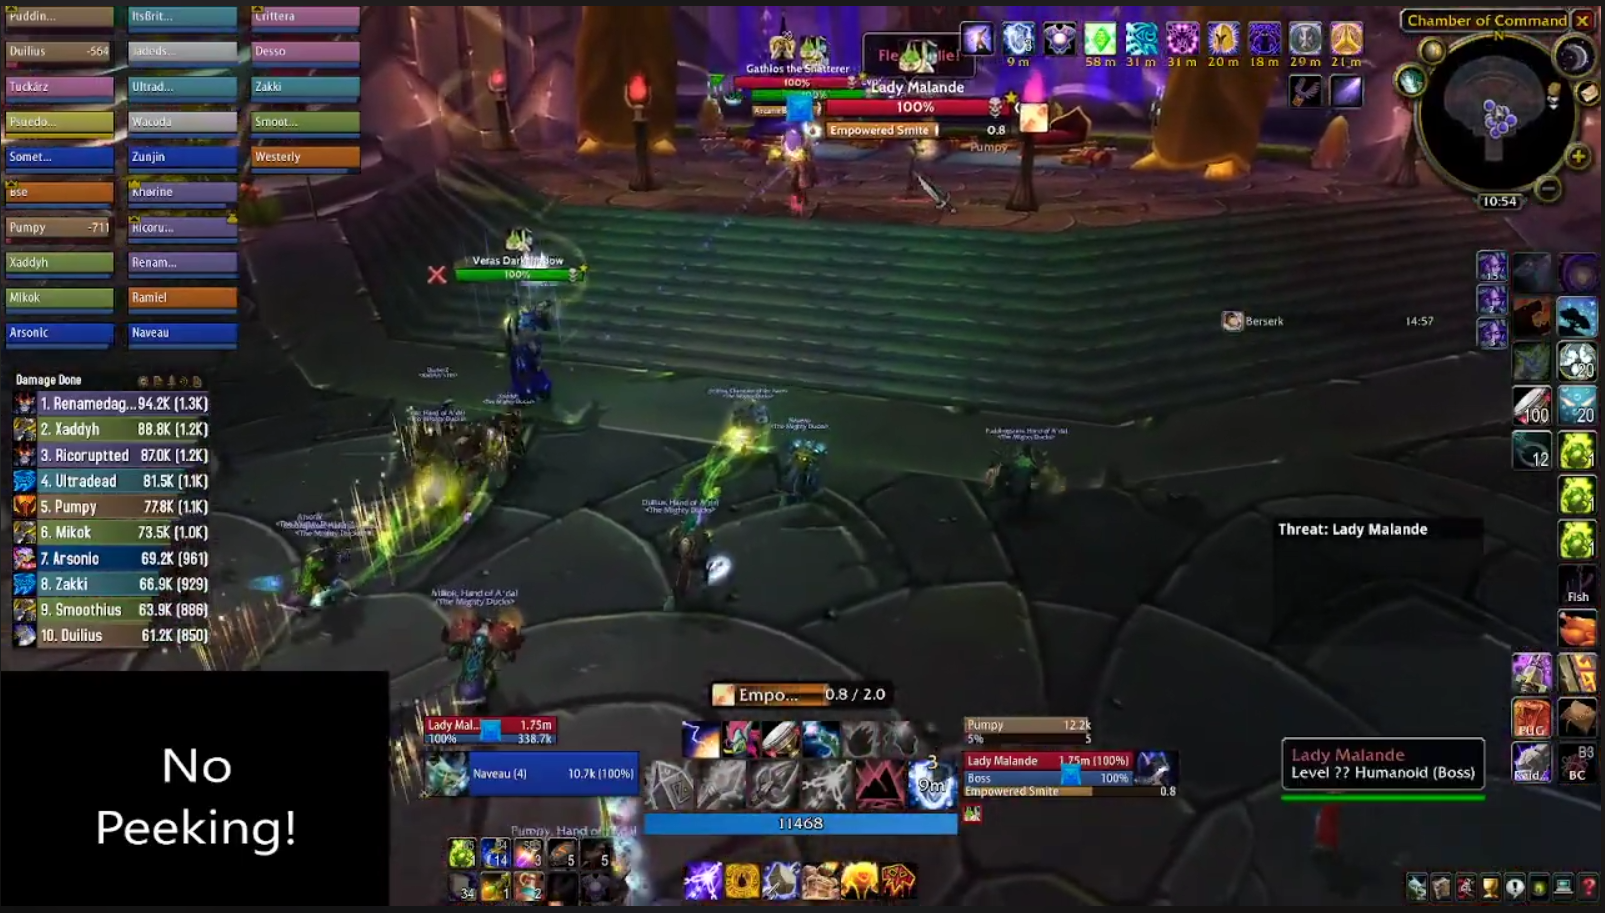
The final member of the council is Lady Malande. She doesn't have the ability to wipe the raid, but does have the ability to make the fight last so long that you'll lose too many players to attrition.
Lady Malande has several different spells, all of which are interruptible. Empowered Smite deals a minimal amount of holy damage, so can be safely ignored. Divine Wrath is a powerful damage over time effect that cannot be dispelled, and her big ability is Circle of Healing. It works identically to the priest version, except because the bosses all share a health pool, you can quadruple the amount of healing from this spell.

The boss also has a dinky reflect damage shield ("Reflect Damage"), so when that happens, any melee engaging her will need to go somewhere else.
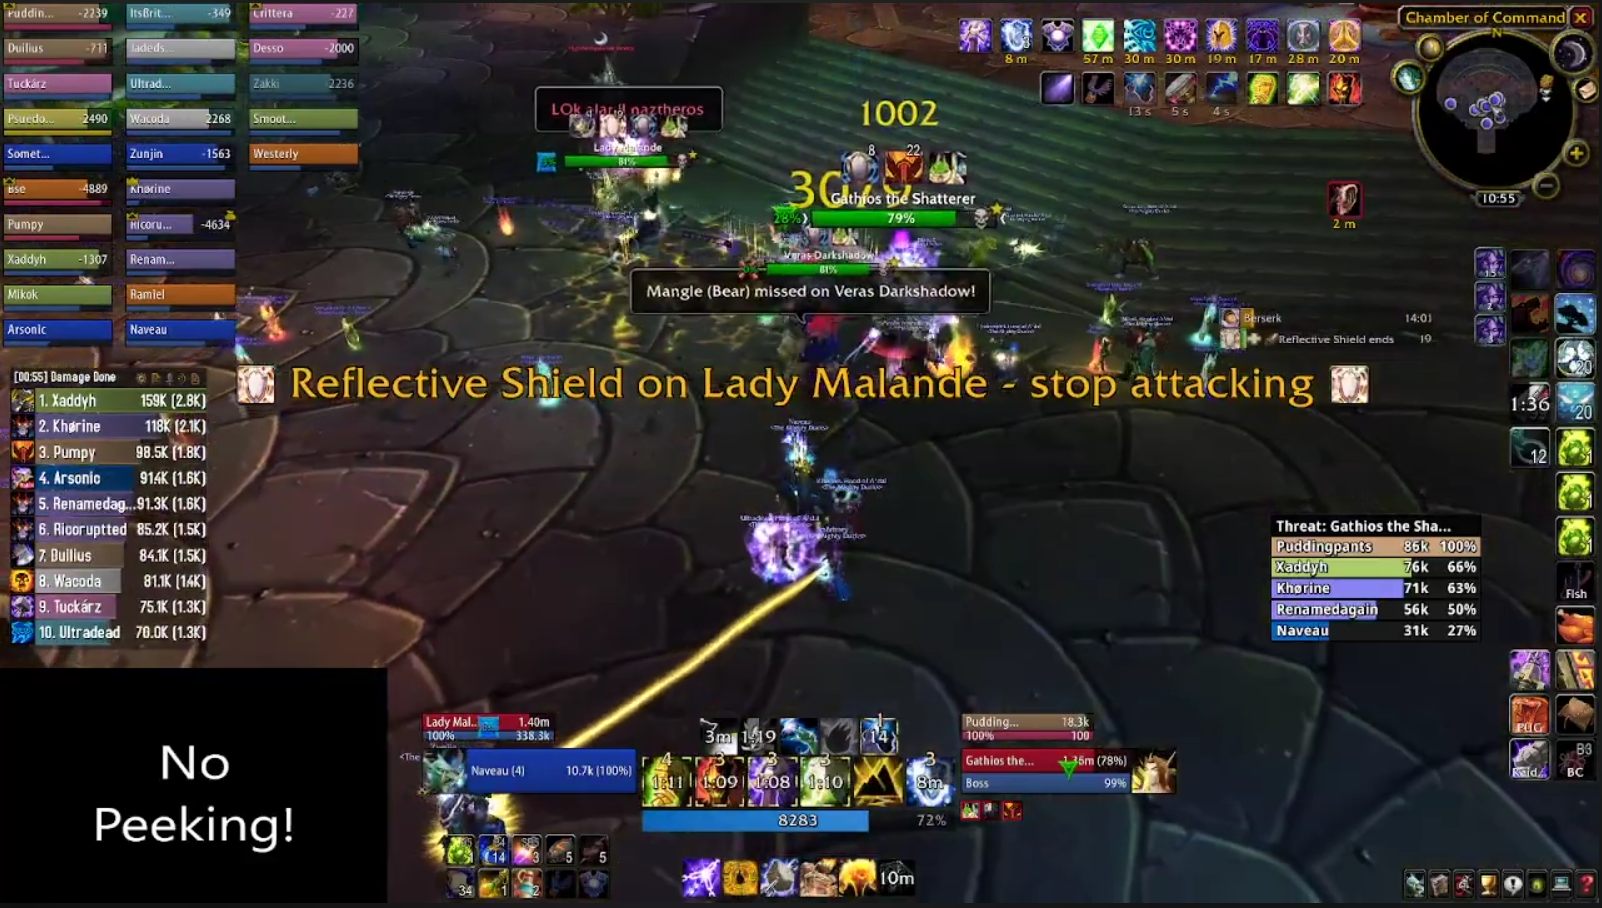
The raid will need to work as a team to keep Divine Wrath and Circle of Healing from going off. Divine Wrath will kill a player, Circle of Healing will extend the fight so long you run out of mana. Not fun.
So that's the council. Just remember, you need to battle all of them at once, and they all stay alive until you empty their health pool.
Like with any council boss, getting off to a good start depends on the pull. You'll want Gathios misdirected to your (warrior) tank, Veras onto your off-tank, and your mage will need a blessing of protection, so the council don't all make a beeline for them and stomp them into jelly. They'll also need to spellsteal Dampen Magic pretty much instantly, or Zerevor will pulp them.
With misdirects ticking and the BoP on your mage, it's time to rock and roll.
Tactics
The easiest way to handle this boss is to imagine there's a box in the centre of the room, with four points. Gathios needs to be tanked on one of those four points, and as soon as there's a hazard, the tank moves. Don't worry about the DPS whining they have to move, they'll live.
Malande should be dragged into the middle of the room, using interrupts. You'll also need four players - two physical and two magical - assigned to interrupt Divine Wrath and Circle of Healing. Whoever is tanking Malande should make the raid aware of when she becomes magical or physical immune, so players don't waste their interrupts and can keep attacking Gathios.
Veras should just be tanked with Gathios where possible for additional cleave damage. If your the off-tank who has been given this miserable task, make sure you're looking around for when he's going to come out of stealth so he doesn't get a blessing of protection and a clean threat table to chase down healers.
Whilst all that's going on, your healers and ranged DPS need to use the right side of the room (facing the council) to spread out and make sure they're ducking Blizzards and Flamestrikes. It's imperative you have a healthstone available for Veras' poison and envenom, so the more damage you take from (mostly) avoidable area of effect spells, the more vulnerable you are.
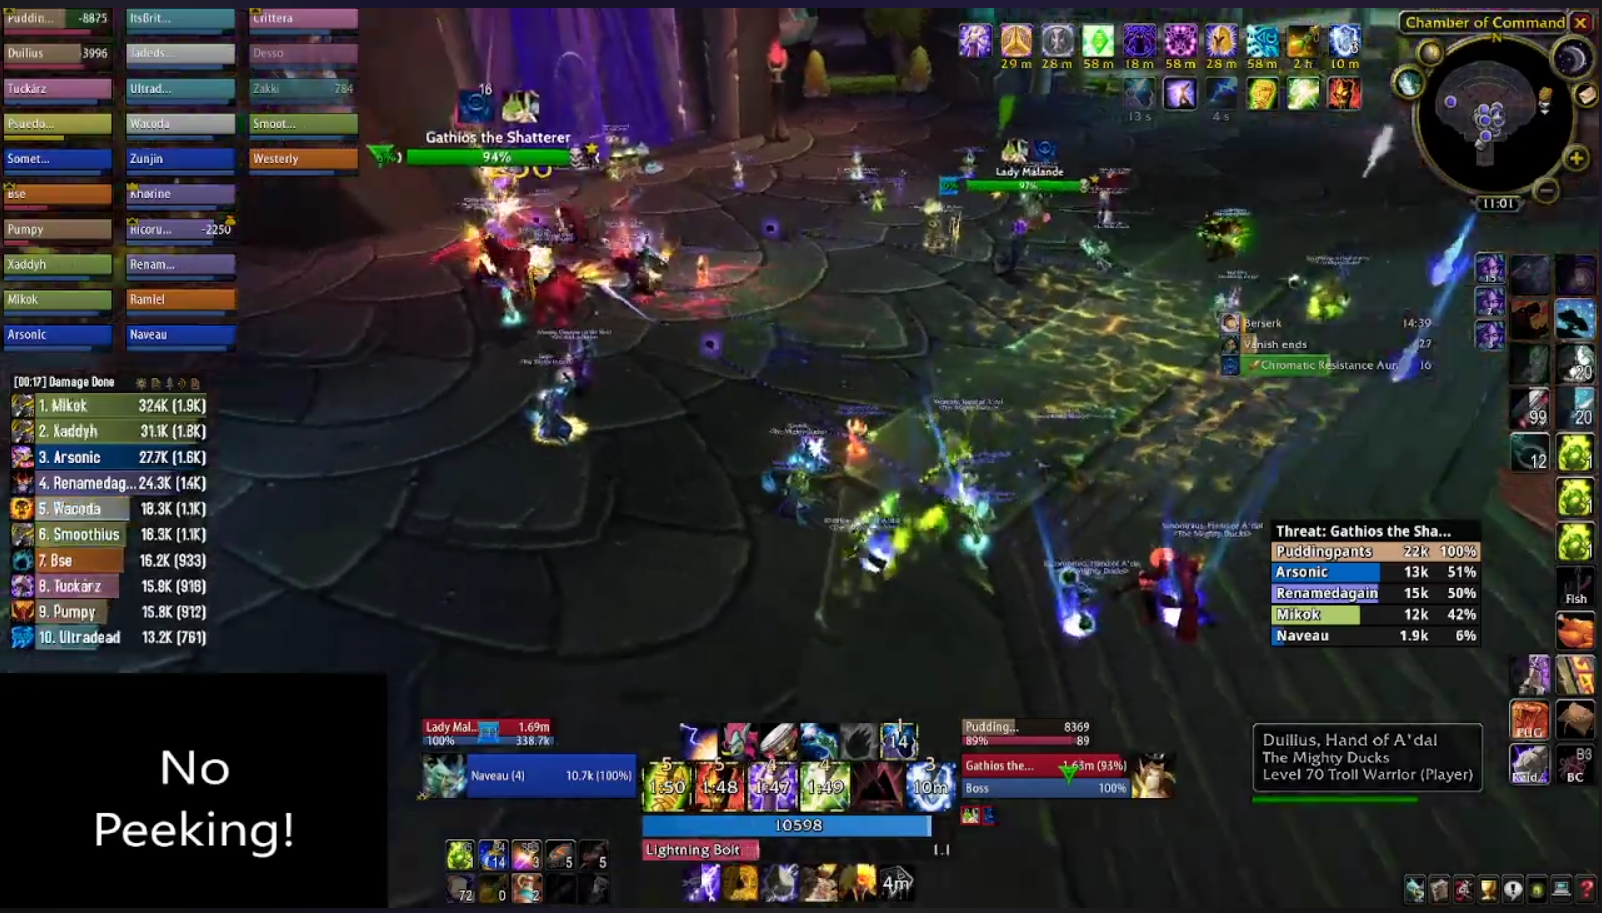
Depending on your healers and their gearing it may simply not be possible to top you off when you've taken too much damage from those effects. Off-healing when things get really dicey can also be useful. If you're really stretched, having your boomkin put on healing gear (as their buffs are largely set and forget) and helping out on poisons and envenoms can go a long way.
Here's a raid map so you can see how this encounter is supposed to fit together:
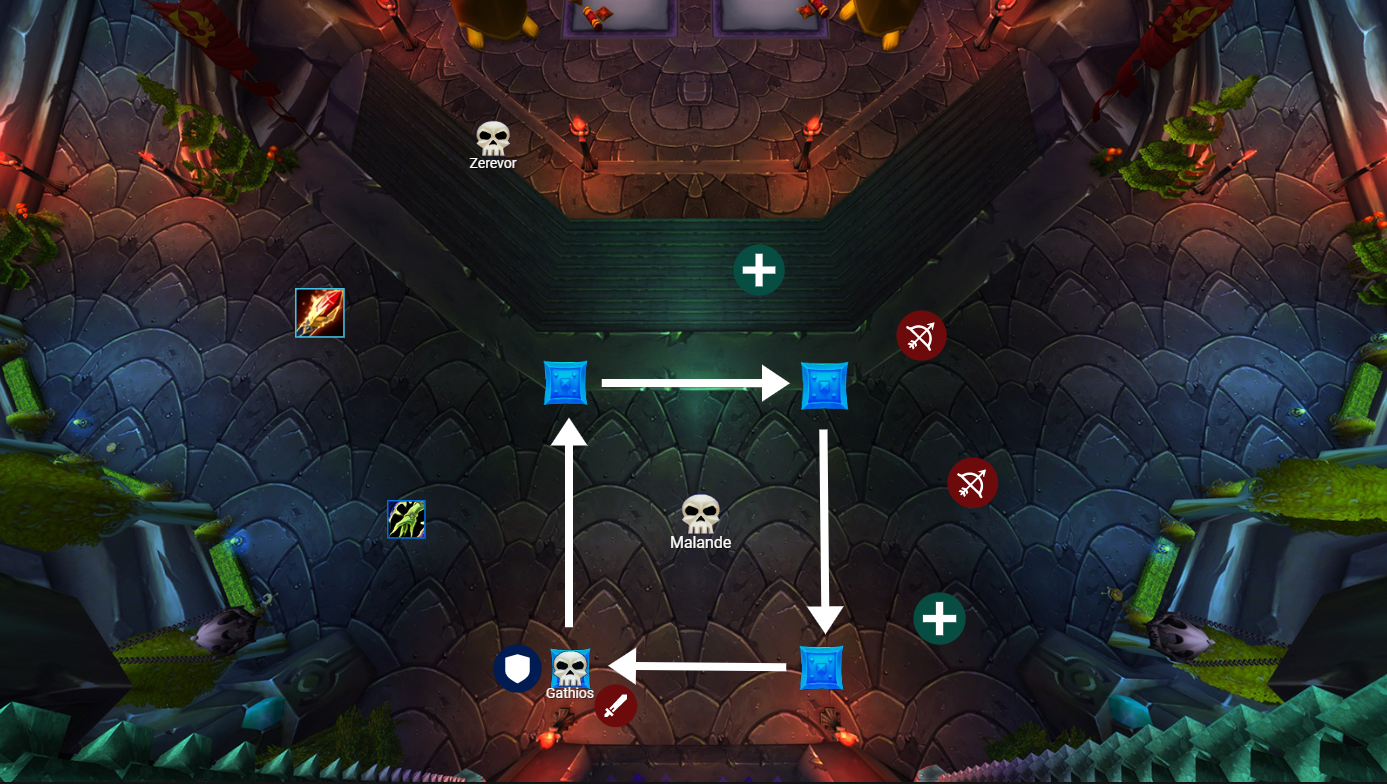
It's going to take a lot of coordination as a raid and individual effort to clear council. At the start of phase three, the Illidari Council held my guild up longer than Illidan did. It is genuinely stressful from start to finish, trying to keep safe, whilst doing maximum damage and keeping Malande disrupted.
And with that, falls one of the hardest bosses across all phases - and unlike other phases, this boss remains difficult from day one all the way to prepatch. So give yourself a pat on the back.
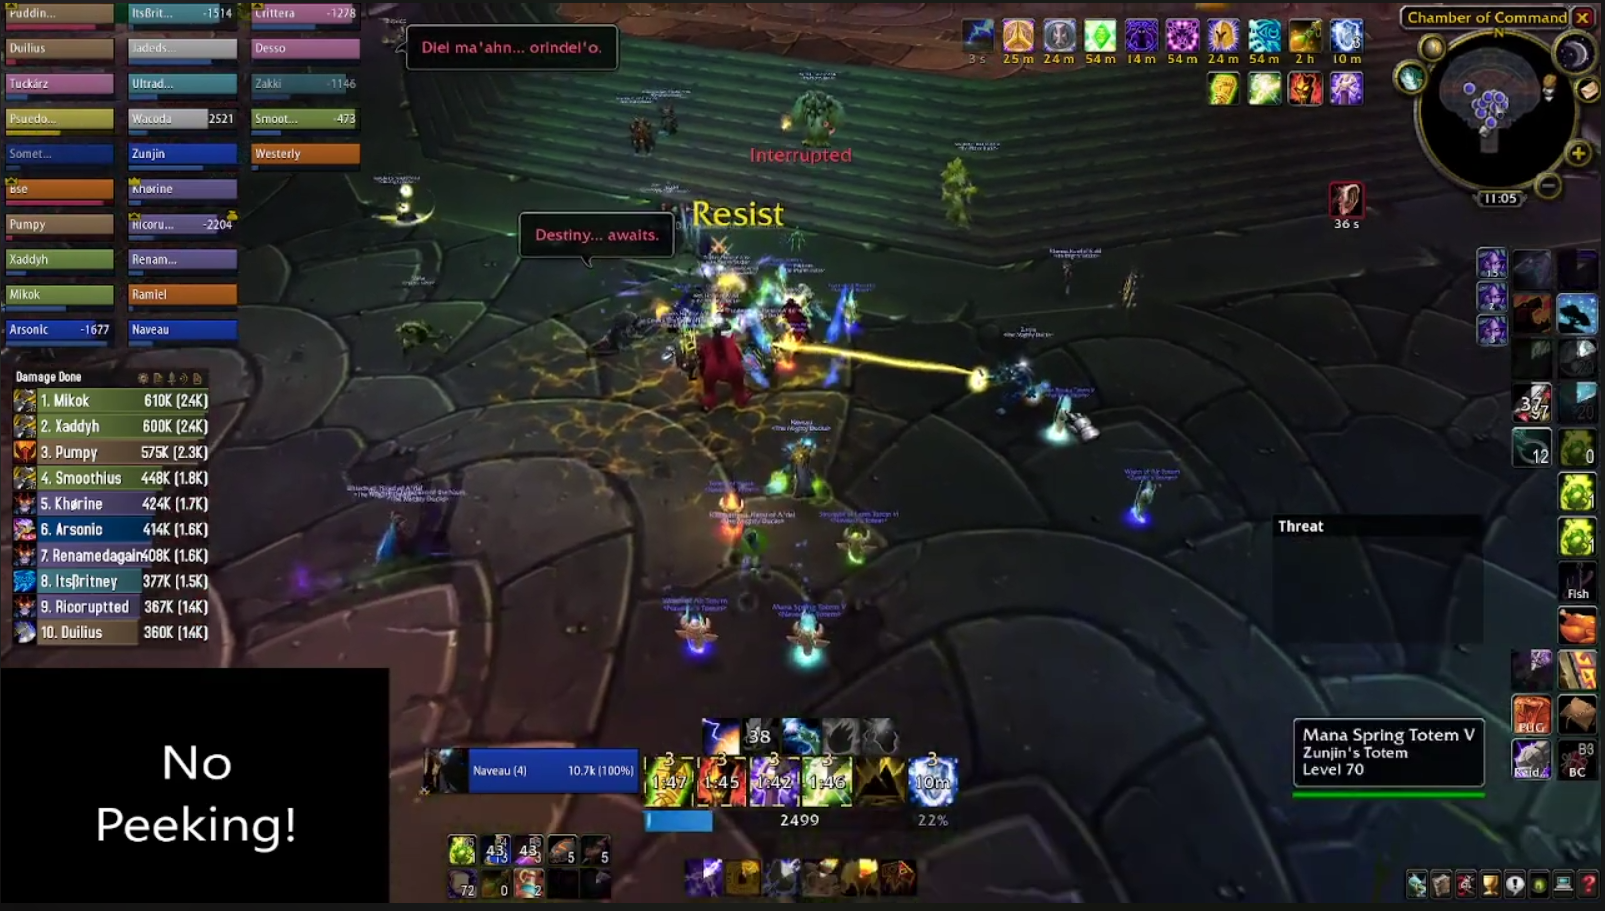
The last door is locked - to open it, you need Akama (and his ghost brethren, from the attunement process) to channel his energy and bust it open. From there, it's a short walk to the last boss of Black Temple.
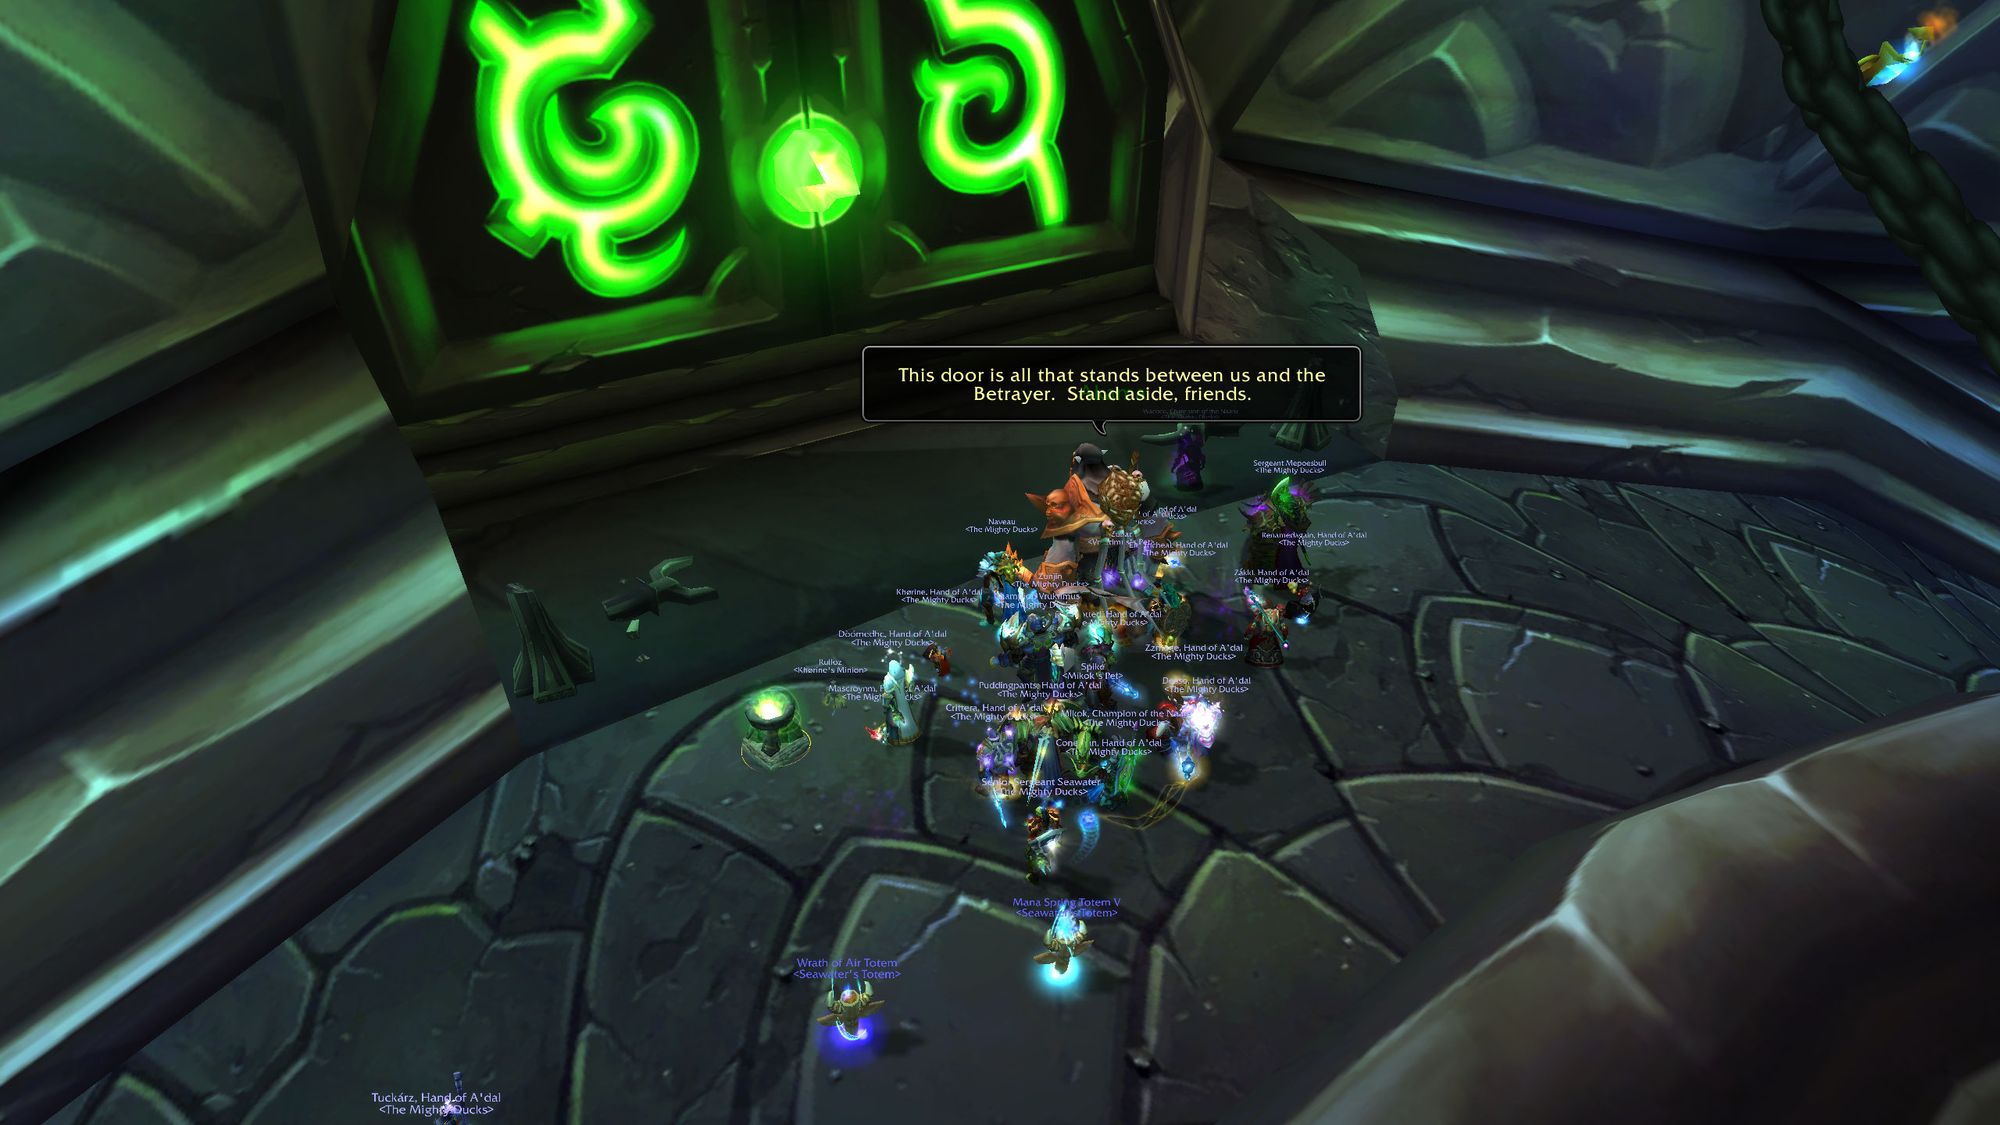
Are you prepared? Is your body ready? Well, you're about to be put to the test.
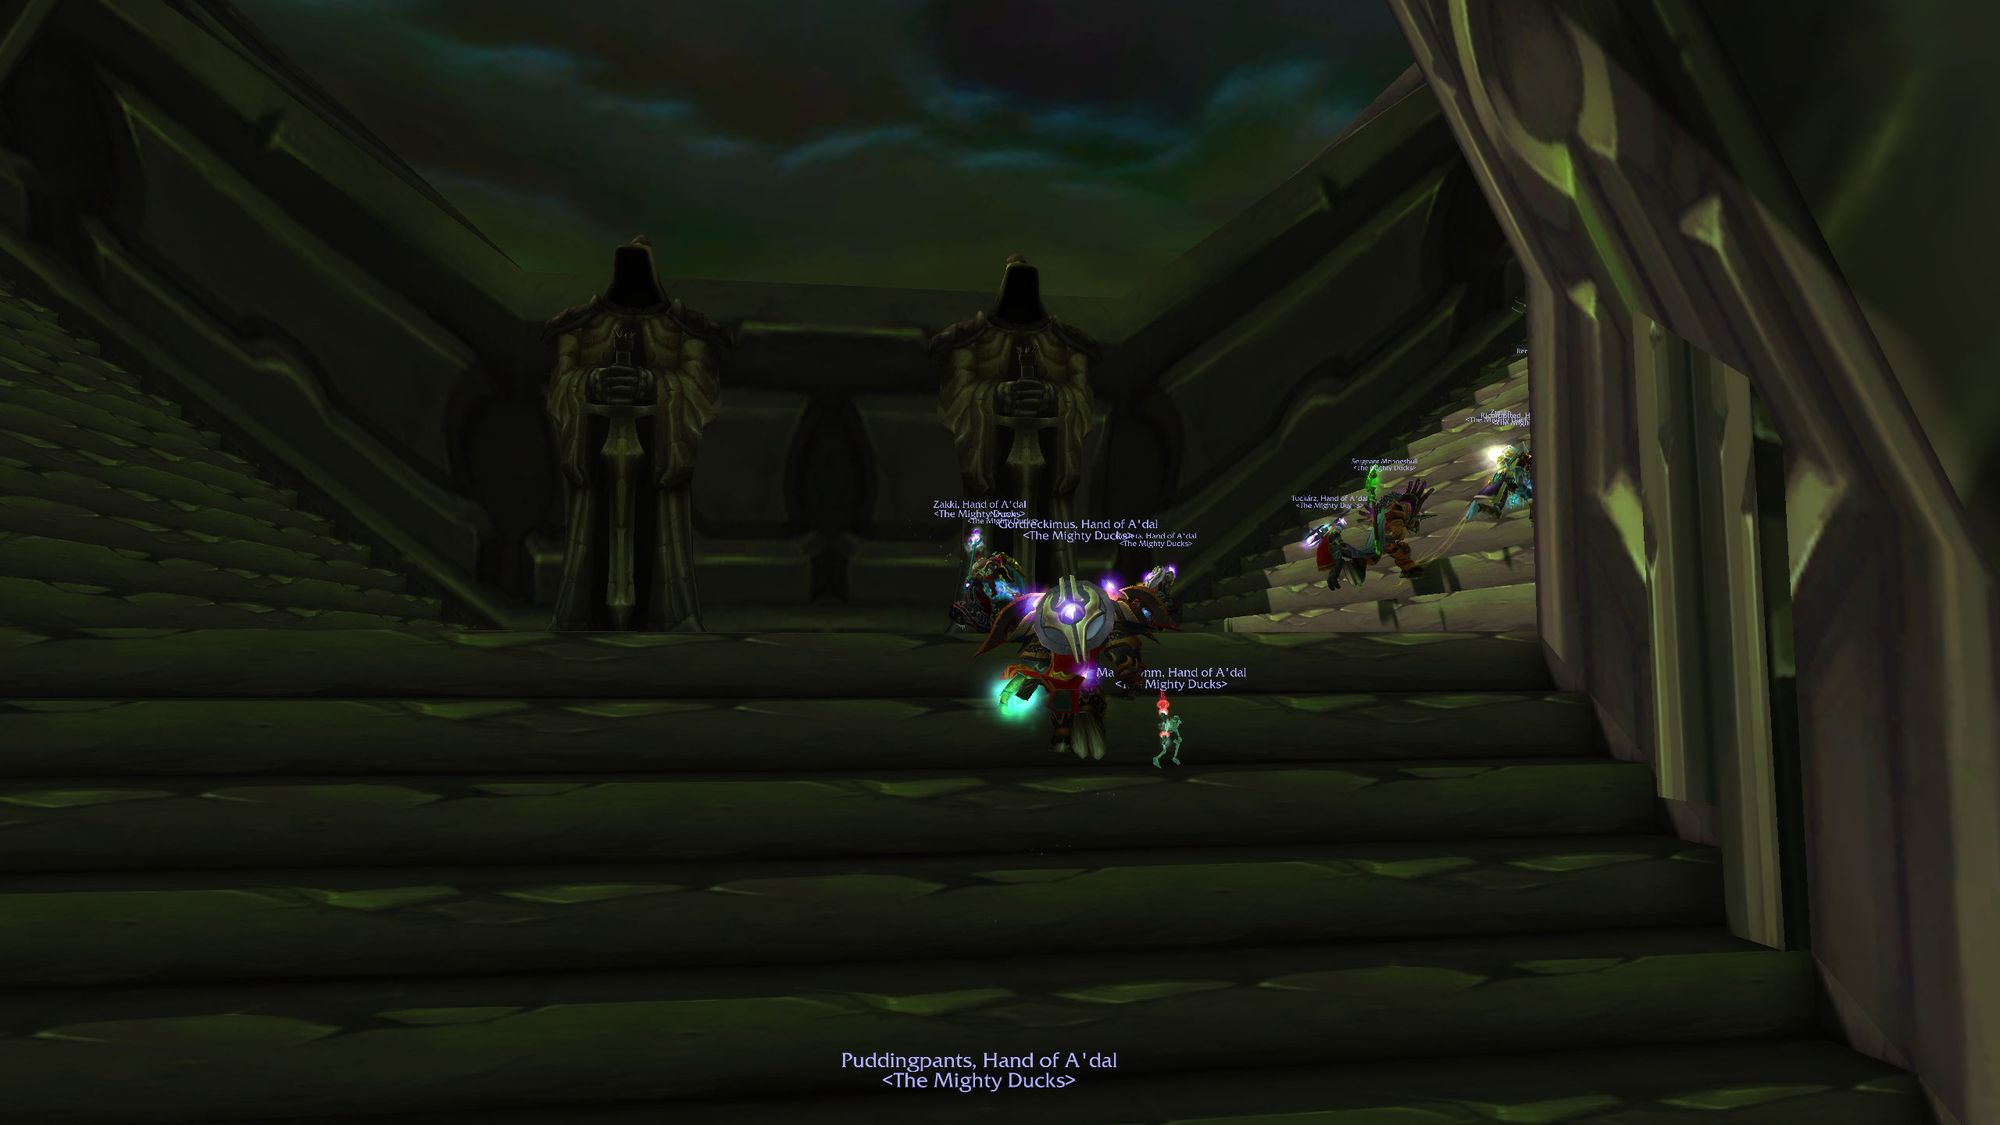
Boss Nine - Illidan Stormrage

Before we rip into the meat of the boss fight, a small lore tidbit:
The skull Illidan has in his hand there, is the Skull of Gul'dan. It's a very powerful trinket that I used for the remainder of the game.
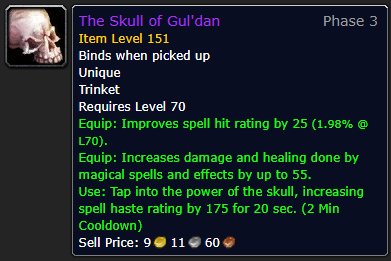
In terms of what you'll need before the pull, you will need two tanks with maximum fire resistance. This can either be 365 from gear, or 365 buffed (approximately 270, assuming minimum mark of the wild resistance and 70 from a totem or aura.)
Second, if you're using a paladin to tank this boss (and you SHOULDN'T, but whatever) your paladin will need to be uncrittable and uncrushable from base gear. What that means for the casual reader is that your tank will need to sacrifice almost the entirety of their spellpower threat gear for mitigation. The magic number is 102.9% avoidance before holy shield.
The reason you need to do this is one of Illidan's primary abilities, Shear, which can be blocked or parried, but cannot miss. It reduces the tank's maximum HP by half, which makes them a dead duck. This also makes feral druids unsuitable to tank Illidan as their method of mitigation comes from dodge.

The last option, and best, in this pundit's humble opinion, is a warrior tank. Shield Block guarantees a block on Shear, and there's zero chance an alert warrior tank ever gets sheared - and even if they do, they have defensive cooldowns. They will take more damage than a bear, but not more than a paladin, and difference is not high. If your warrior is particularly thin, they can pile on additional mitigation gear to make the difference.
Lastly, on the off chance your raid does not have the gear to burn the boss, you'll need to have a warlock with 365 Shadow Resistance for Phase 4, as Illidan's demon form requires a ranged tank.
Either way when you reach the Temple Summit, Illidan won't react to you as he's too busy staring intently into old mate Gul'dan's skull. You activate the encounter by speaking to Akama, who then goes to confront Illidan.
There's some back and forth about Illidan not being surprised by Akama's betrayal, and then he utters the line heard round the world...
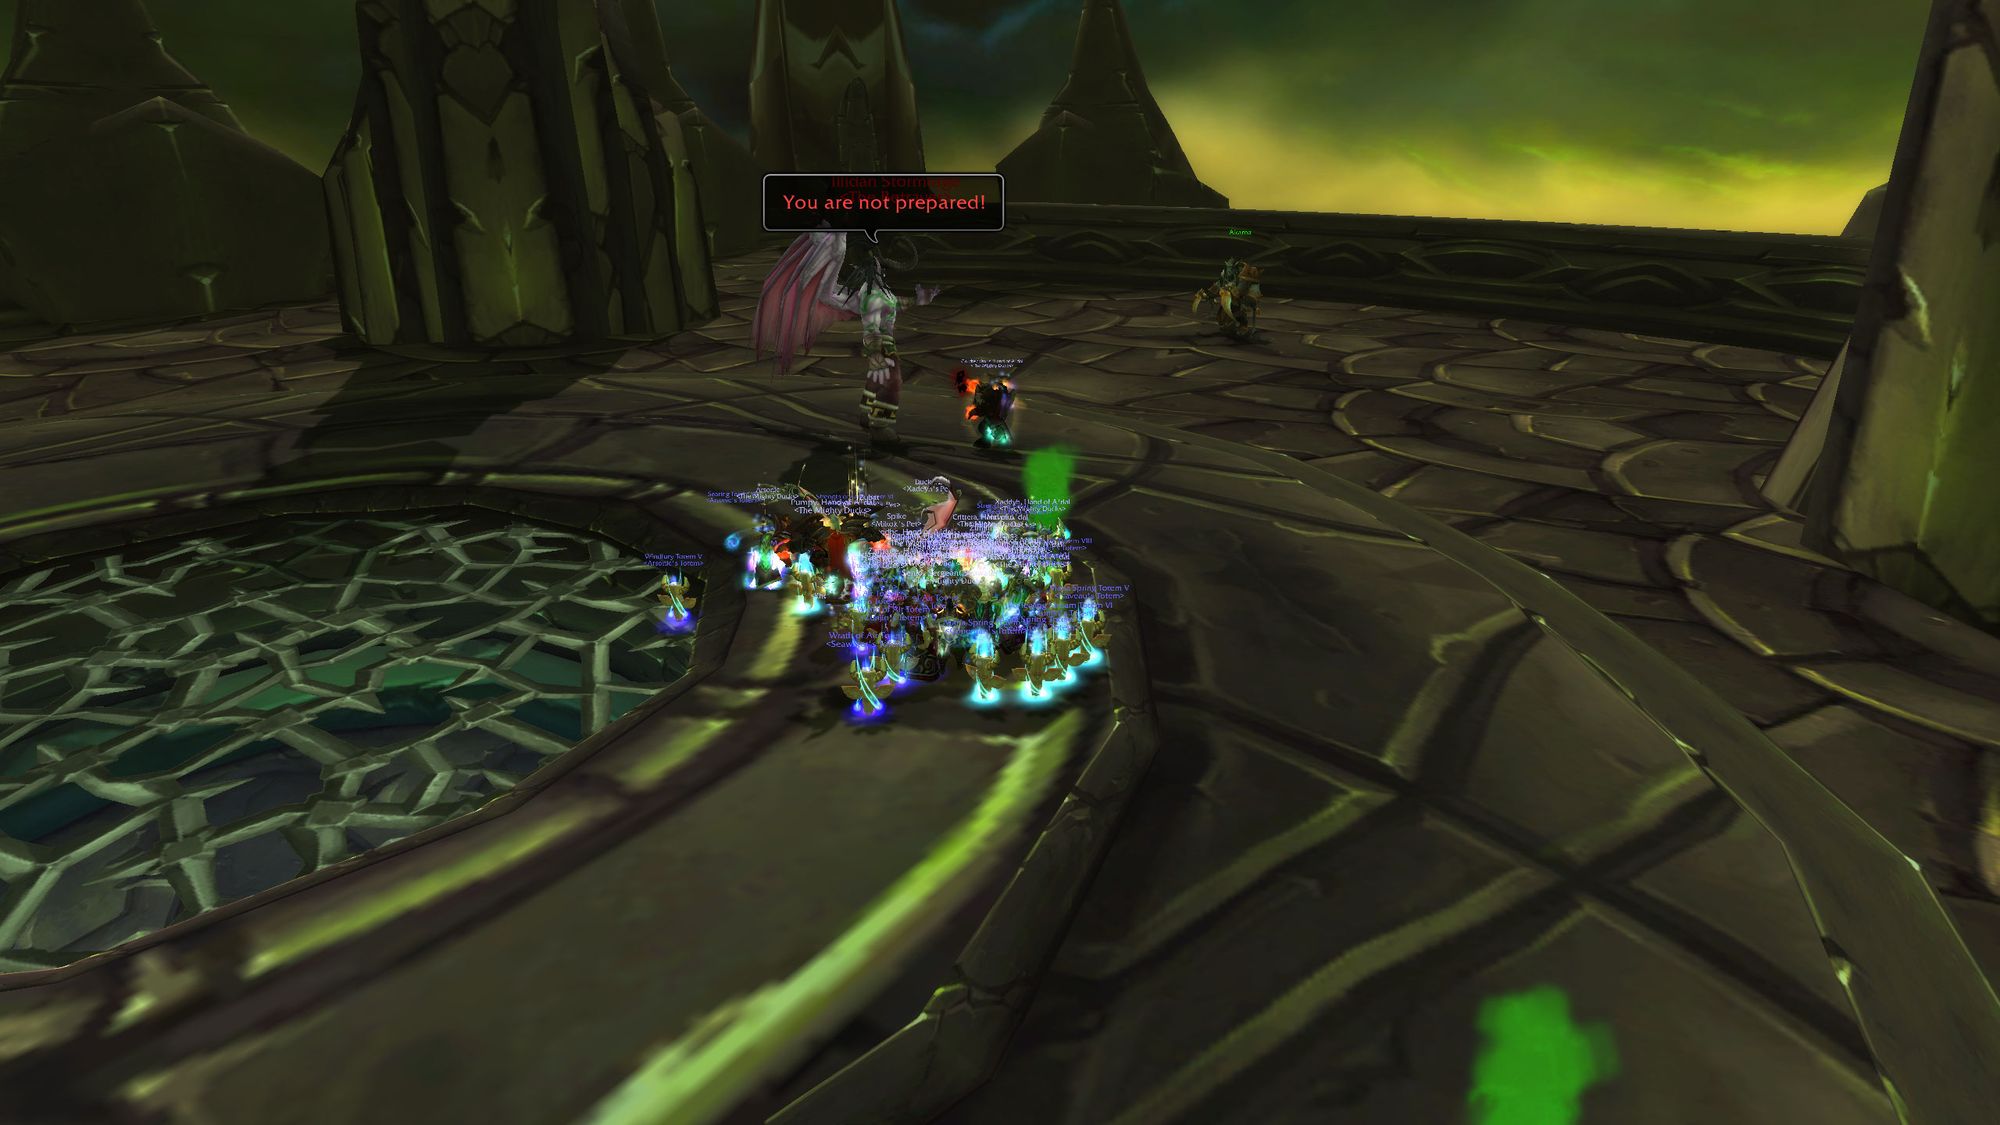
And just like that, it's on.
Tactics - Phase One
For phase one you'll want your ranged and healing group to stack up, your melee to be behind the boss and your main (warrior) tank in front having a go. You'll want to make sure the drain area in the center of the arena is clear, as that's where players will need to move when afflicted with Parasitic Shadowfiends.
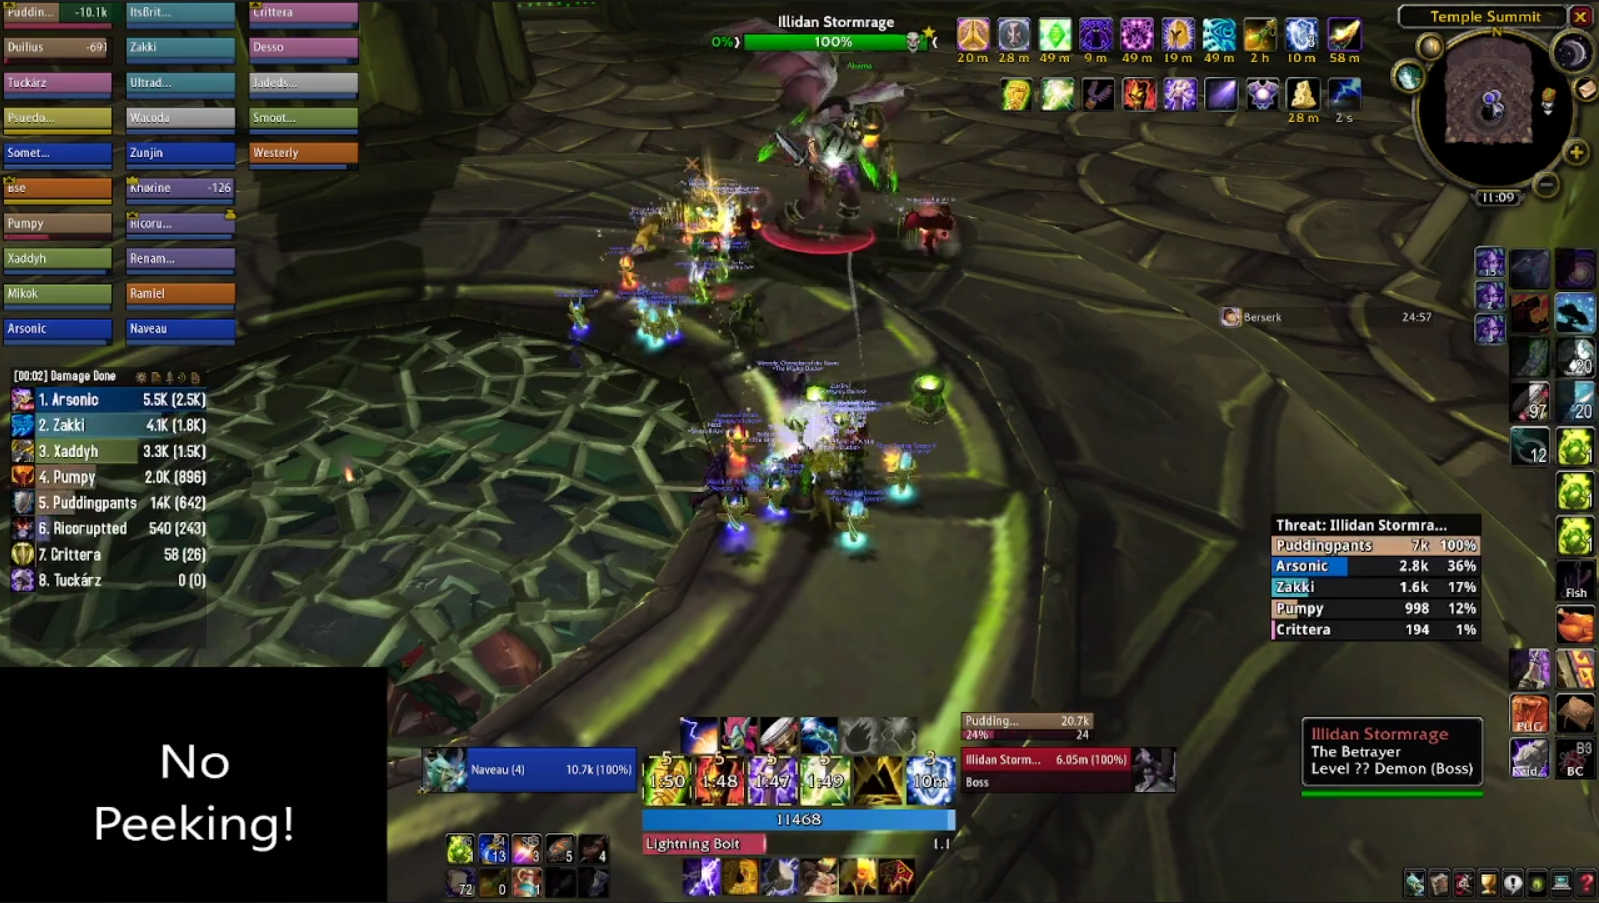
How this ability works is that a non-tank player will be targeted, and after a short period of time, that player will spawn two Parasitic Shadowfiends on their location (duh.) These little guys have a small health pool, but can target additional players with Parasitic Shadowfiends, which can grow exponentially and overwhelm the raid.
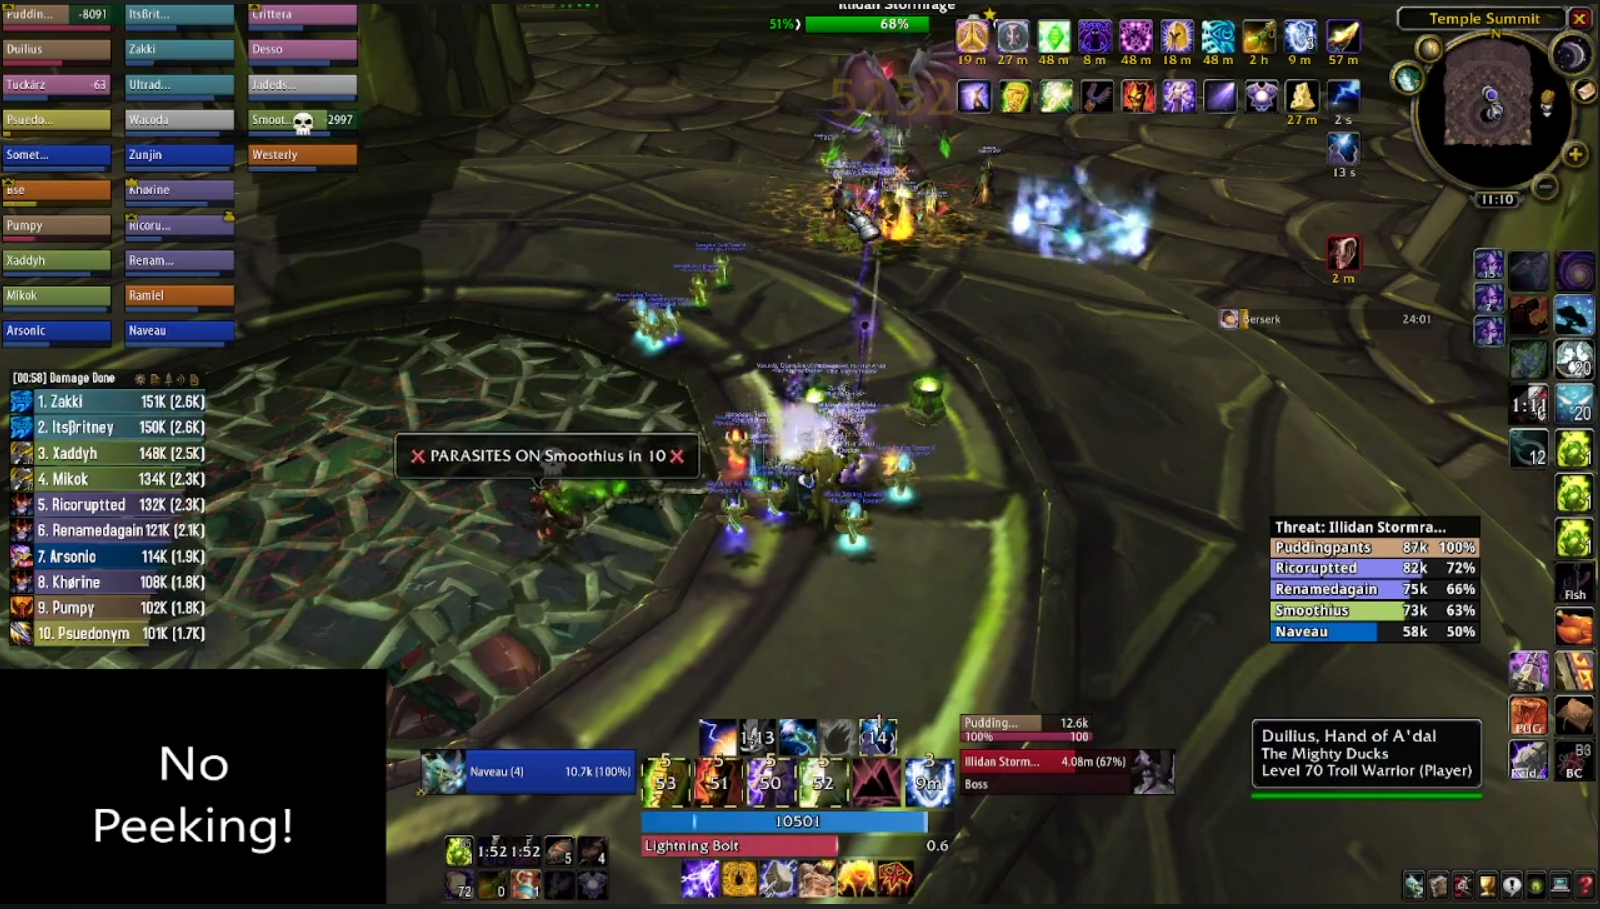
(Editor's Note: If your group is geared and has lots of AoE cleave, you can also drop these off Illidan and have spell cleave and warriors put them down. This gives you more uptime on the boss, but phase one is not a DPS race.)
Illidan's next three abilities are all tank related. The first ability is draw soul, a frontal cone which heals Illidan for 100k for every player hit and inflicts a chunk of shadow damage. Don't stand in this.
The boss' second ability is Flame Crash. Every so often, Illidan will jump a short distance and land in front of the tank, spawning a pool of edgy blue fire around him. The tank needs to move Illidan away from this pool of fire, far enough away that melee and hunter pets can attack the boss without taking damage.
It's important to consider which way the tank will drag the boss. Ideally you'll want to move Illidan further out, and then around the outer ring of the drain, giving you the most room. Don't move the ring toward the ranged stack.
Lastly comes the big ability for the entire encounter (except phase 2) which is Shear. I mentioned it above, but in case you missed it in this 17,000 word extravaganza, Shear reduces the tank's health by 60%, generally making him a sitting duck for Illidan's normal boring melee attacks. Some tank classes (warriors. Tank Illidan with a fucking warrior.) can burn cooldowns to get out of trouble, but the safest way to deal with Shear is to not deal with it at all.
Again as mentioned above, Shear cannot be dodged, which is why feral druids are unsuited to this role. Paladins can tank Illidan, but must sacrifice their entire pool of threat gear to reach an astronomical amount of avoidance (the scientific name for the combination of block, dodge and parry). Leaving warrior tanks who can use Shield Block, which raises their block chance by 75%, completely nullifying the mechanic with very little investment.
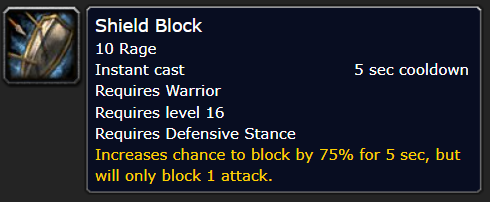
Get it yet? All of TBC, Warriors are the red-headed stepchild. But this is their finest hour. They are built to handle one of the biggest, nastiest, chaddest bad guys in all of World of Warcraft. Don't be a fuckwit, let your protection warrior tank Illidan.
One small consideration whilst you've made the RIGHT choice for Illidan to be tanked by a warrior is that there is an outside chance the boss will use up both of a Warrior's shield charges with normal boring melee hits and then use Shear. To mitigate this, it's just recommended that the tank take a beating from Illidan and only use Shield Block when Shear is being cast.
I'd also recommend an addon like Quartz, so you can see a big ugly bar when Illidan is casting Shear, in order to use Shield Block at the right time.
Regardless, once Illidan hits 65%, he gets mad that the raid is attacking him, and takes to the skies, starting phase two.
Tactics - Phase Two
In phase two, Illidan throws his glaives into the ground either side of the drain area. From these, spawn two "Flames of Azzinoth", two fire-elemental looking characters who need to be tanked by your two fire resistance tanks. This is, in all honesty, the hardest job of the raid.
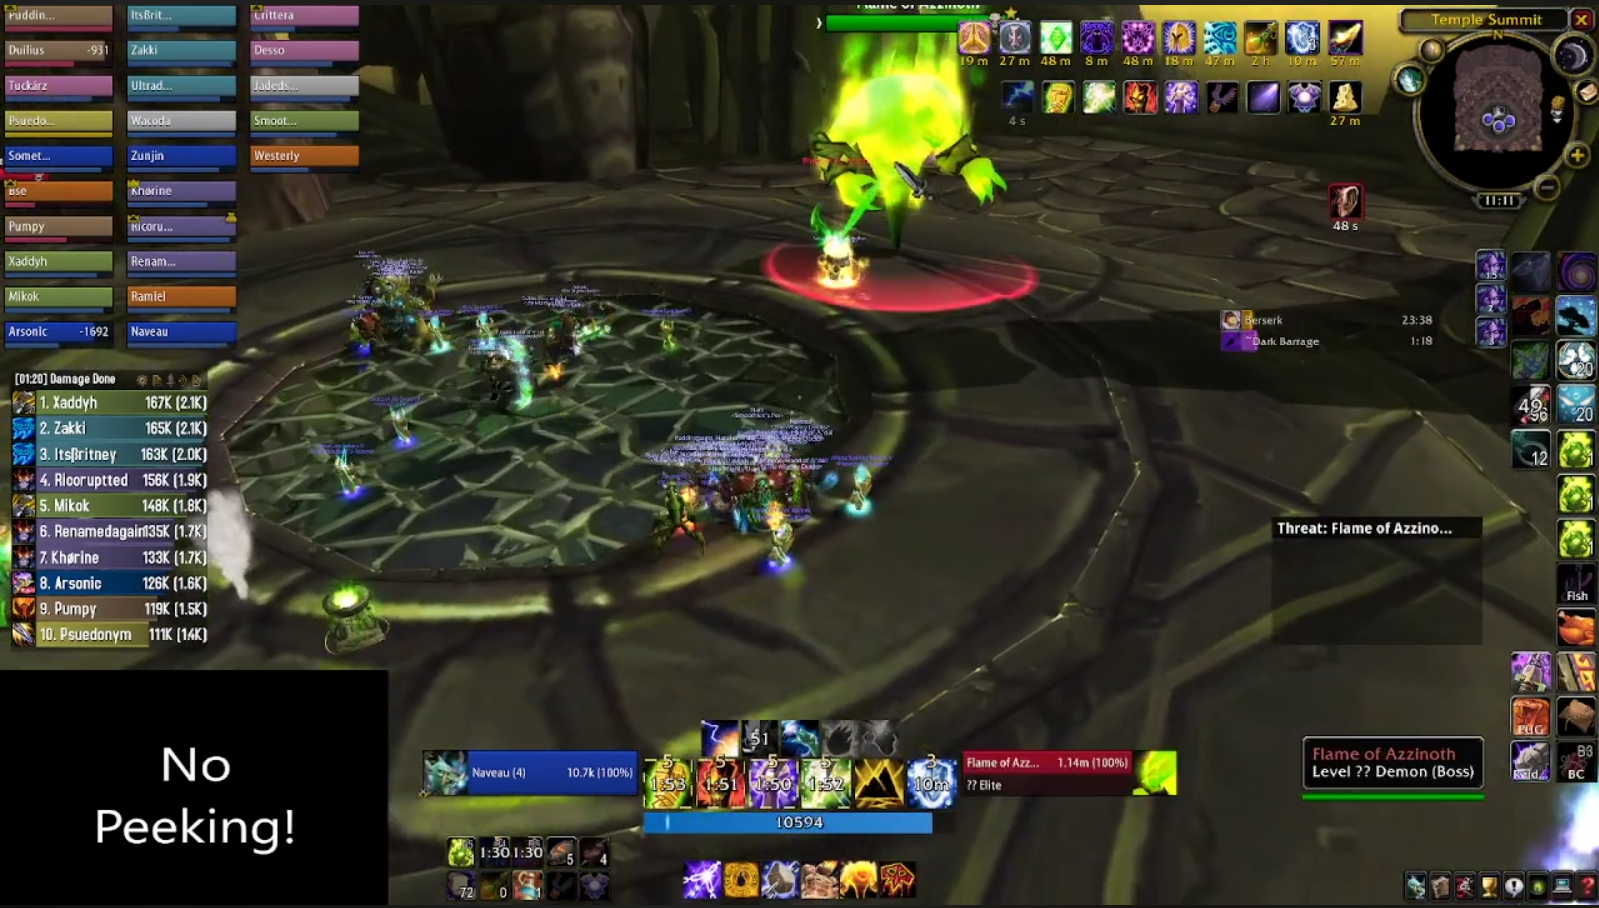
Firstly, each flame is "tethered" to the blade which spawns it. If you move the Flame of Azzinoth too far from the blade, it will drop threat and charge someone in the raid, resulting in a wipe.
Next, each flame casts a frontal cone attack, which leaves a patch of fire on the ground. This deals damage, and hurts. A lot. Your flame tanks will need to keep the Flame of Azzinoth pointed away from the raid, but also keep it moving so they don't get cooked by the fire patches left behind.
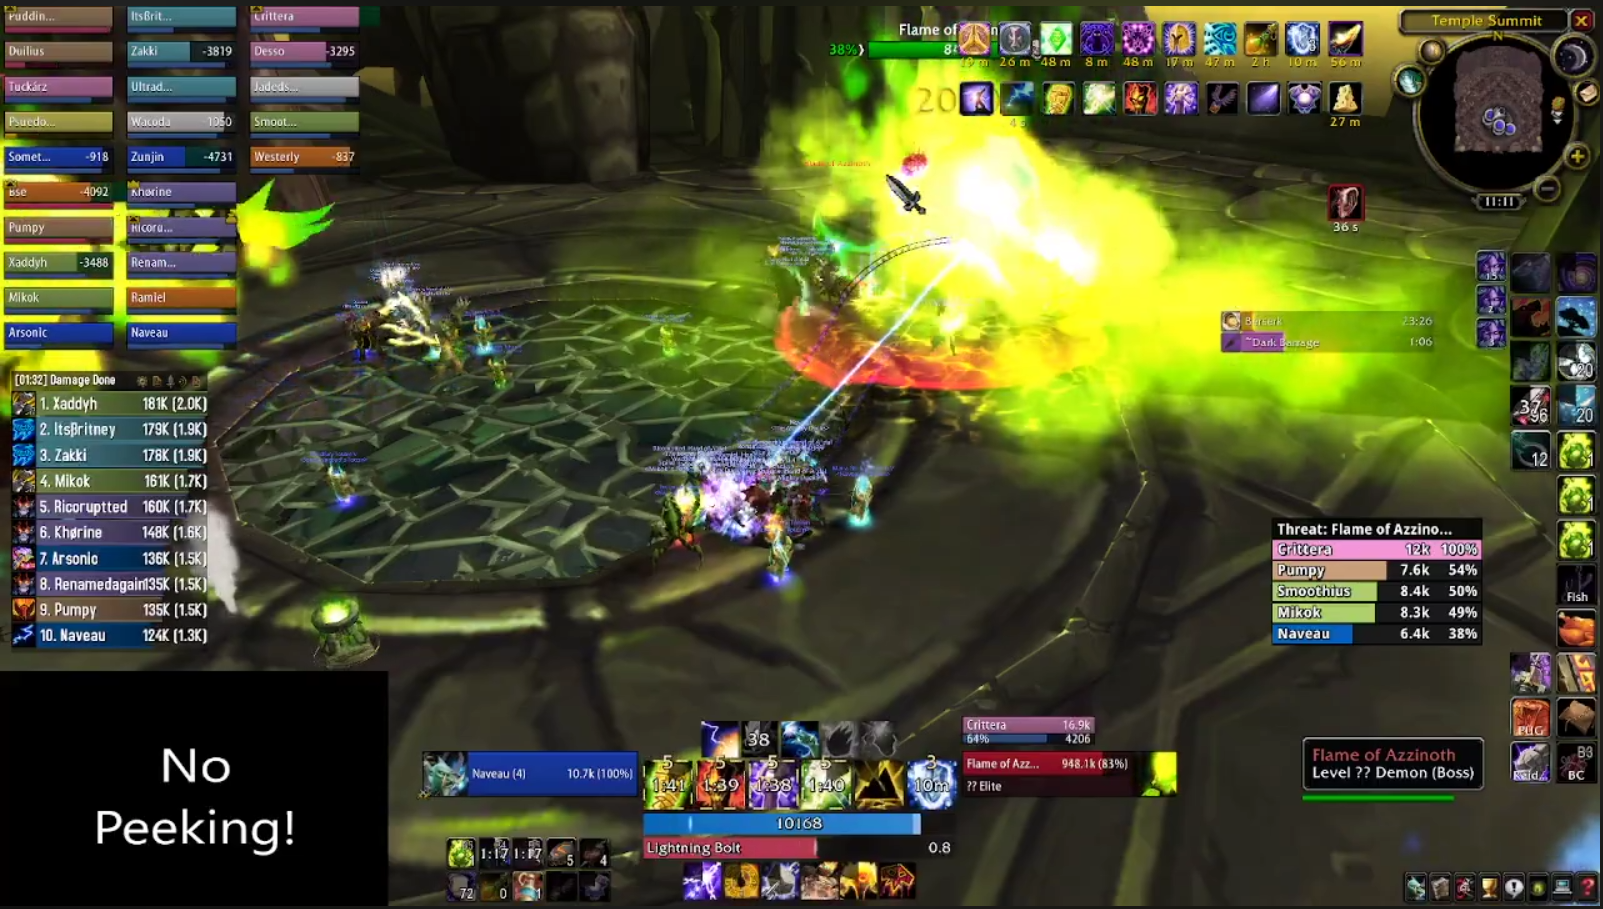
Last, Illidan will also cast Eye Blast. The way this ability works is that Illidan will fly to either the north or south of the temple, make a poorly worded threat, and then shoot a long, wide, beam of blue fire across the arena where the flame is being tanked. He will sometimes fly to the other side and then fire off another eye-beam, resulting in a sort of criss-cross pattern, leaving the flame tank with very little room to maneuver.
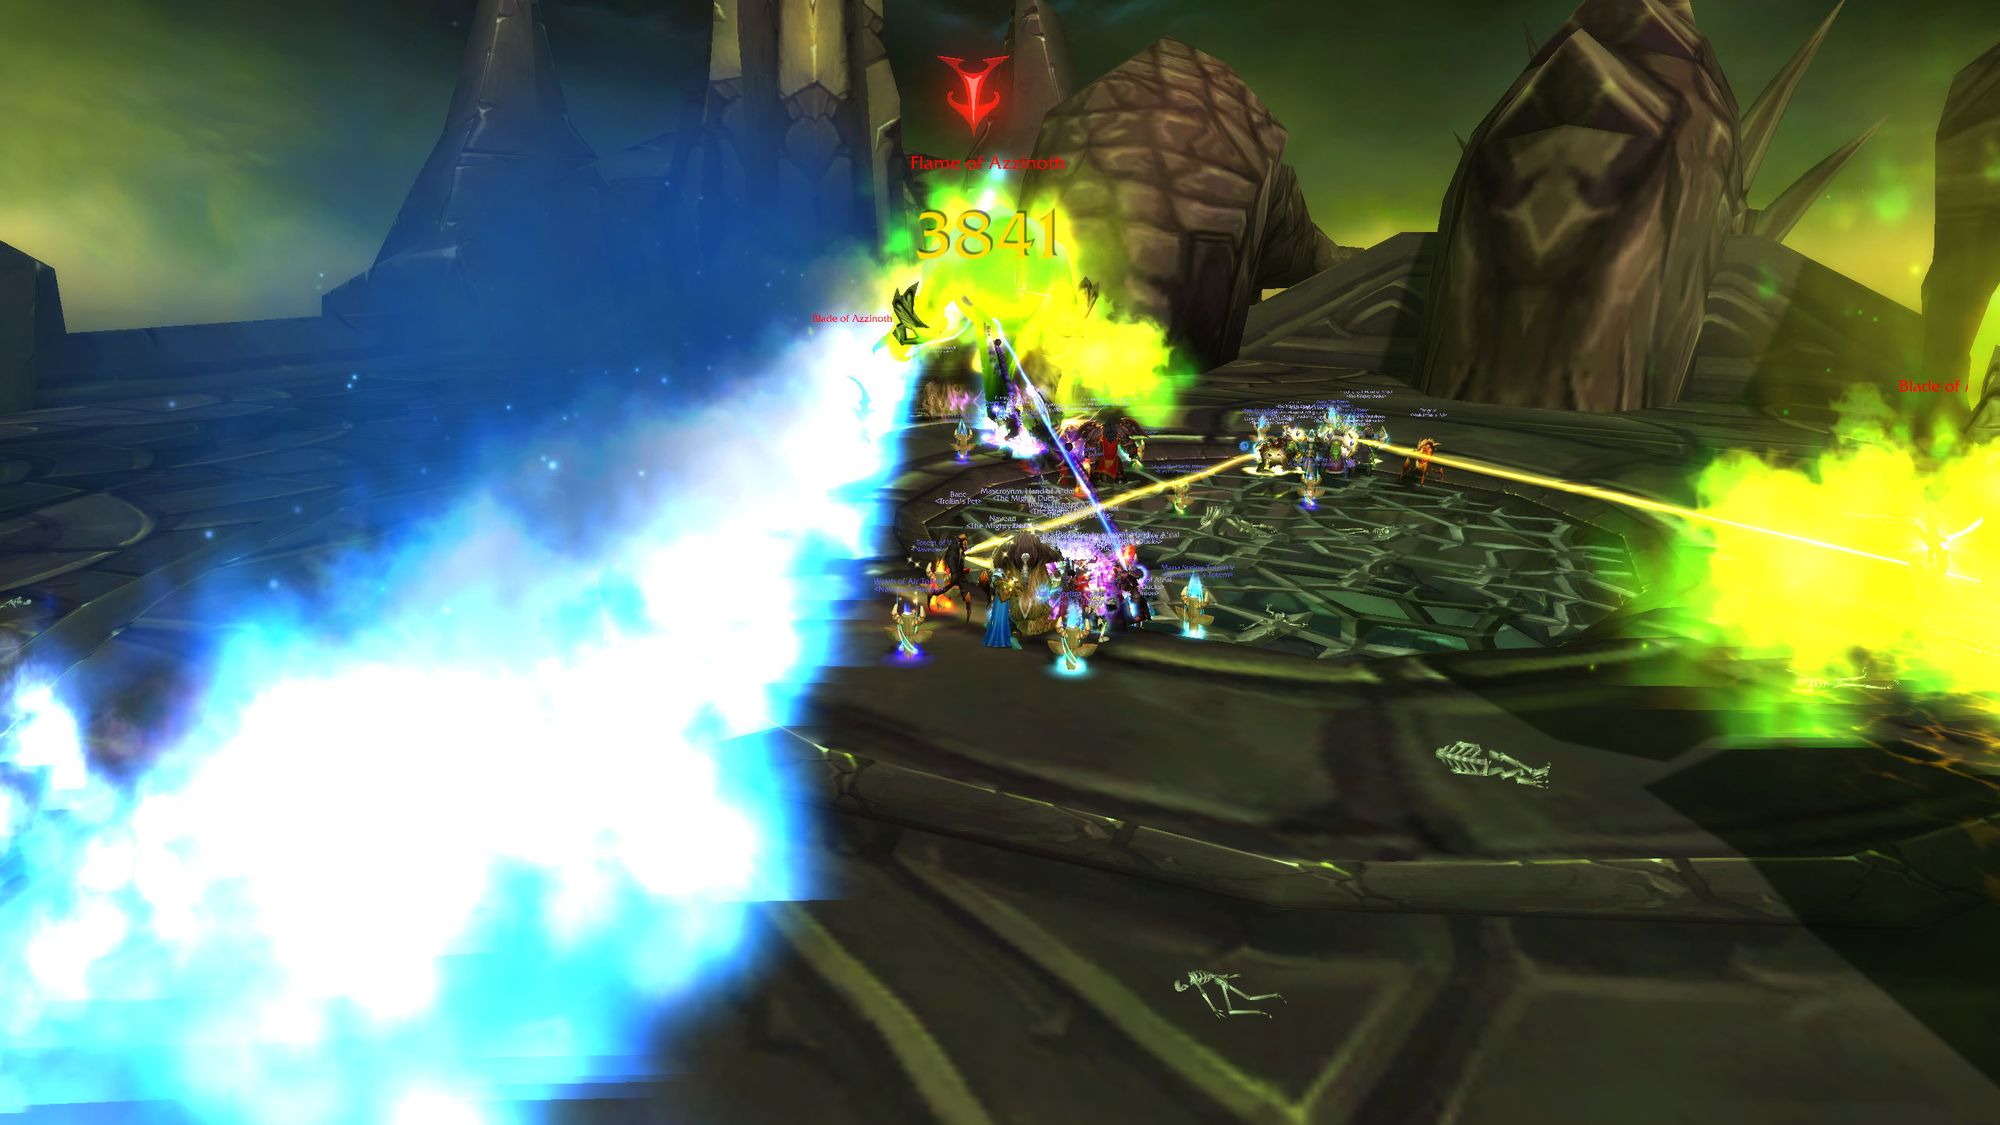
All put together, your two fire resist tanks need to be ballerinas as they dodge multiple types of fire, some of which can come from behind the player, in an area the size of a postage stamp, relatively speaking, whilst trying to avoid having their target breathe fire on the raid and wipe it. Don't be surprised if this is your first big progression hurdle, and get used to your fire resist tanks getting accidentally one-shot by Illidan's laser beams.
DPS classes need to be careful when attacking the flames, as the threat of both off-tanks tanks will be neutered thanks to having to wear resistance gear. Misdirects are recommended, along with starting slowly and switching frequently.
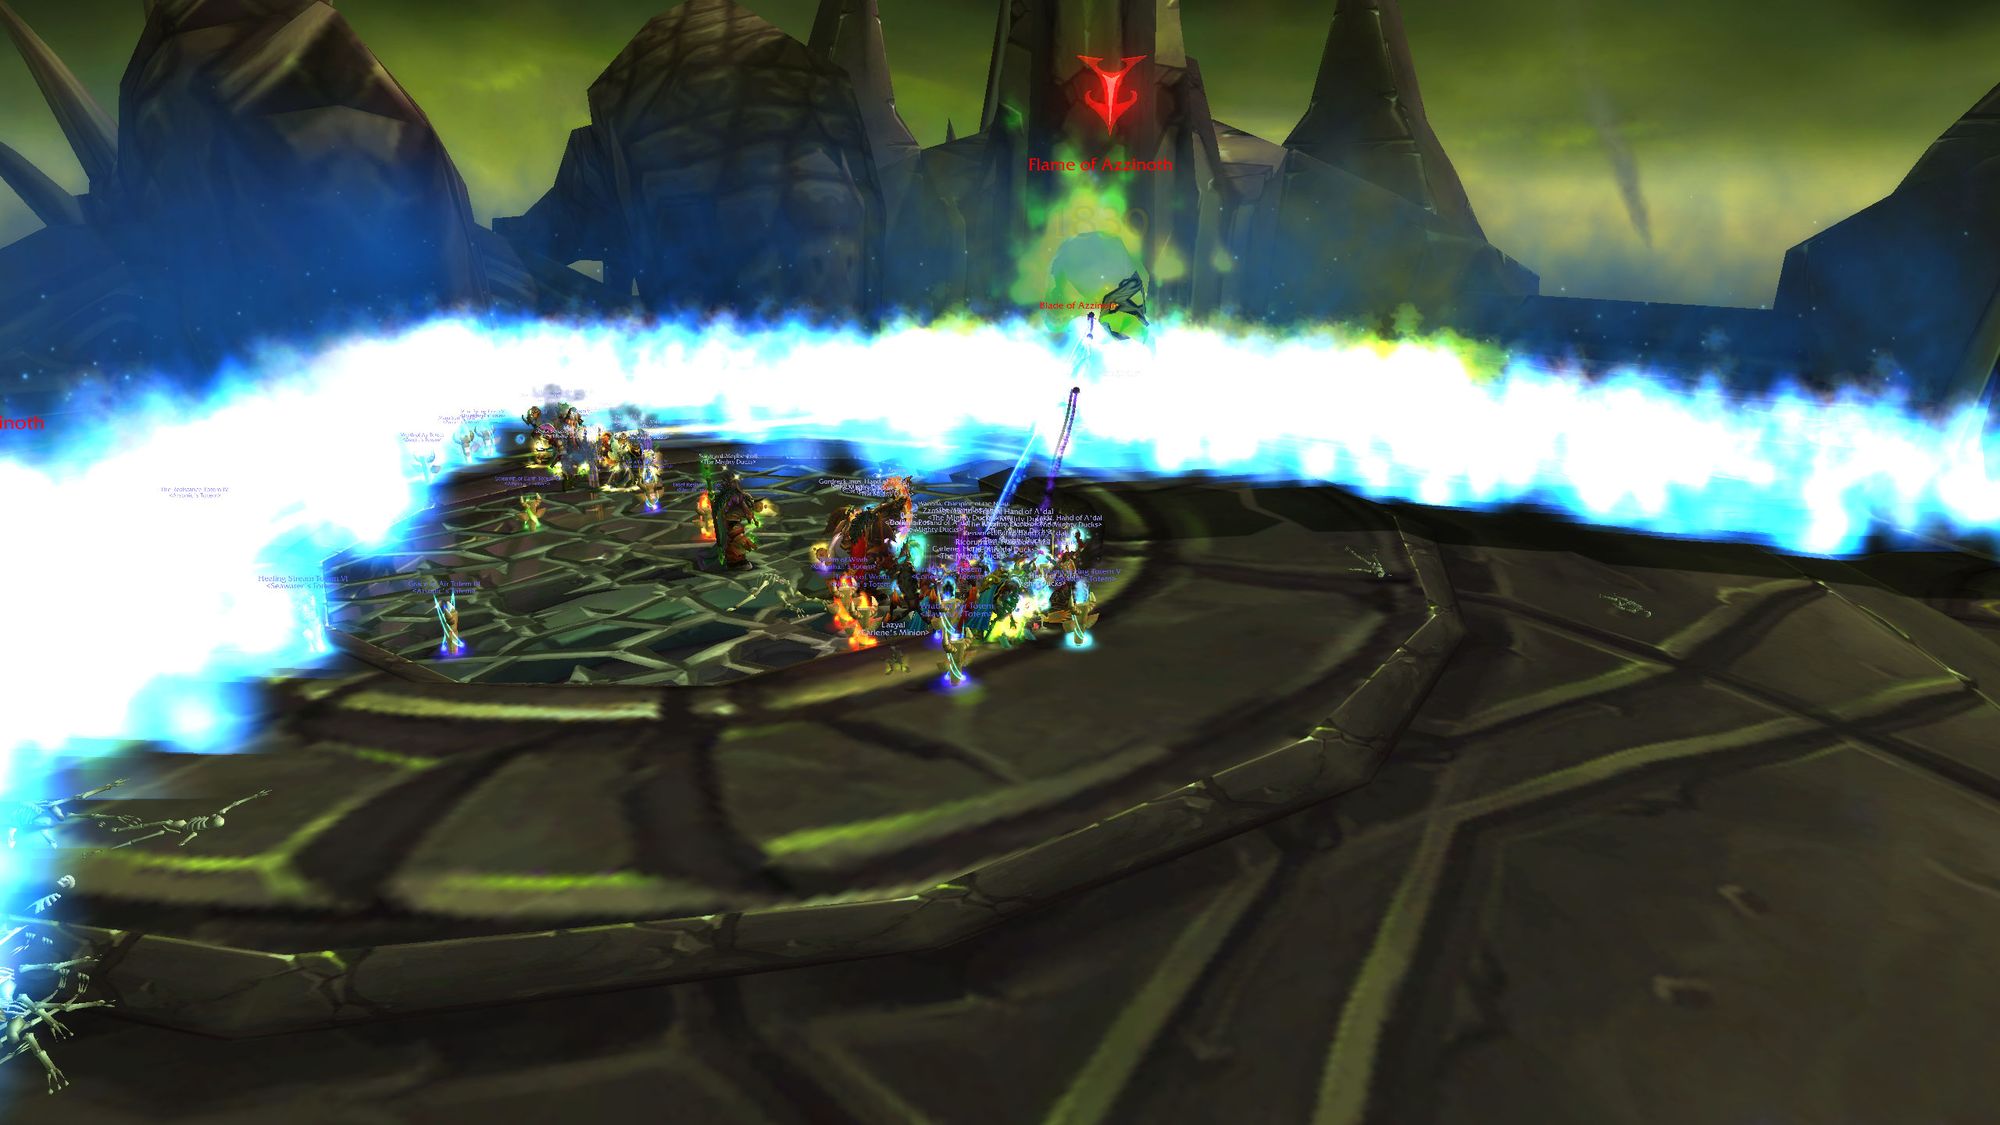
Whilst all that is going on, Illidan will throw fireballs at the ranged stacks, dealing damage in an area around the target. The ranged should split into two stacks, one at either end of the arena, and make use of chain heal and circle of healing. The damage from fireballs can be intense, so offhealing can sometimes be a good idea, along with using healthstones.
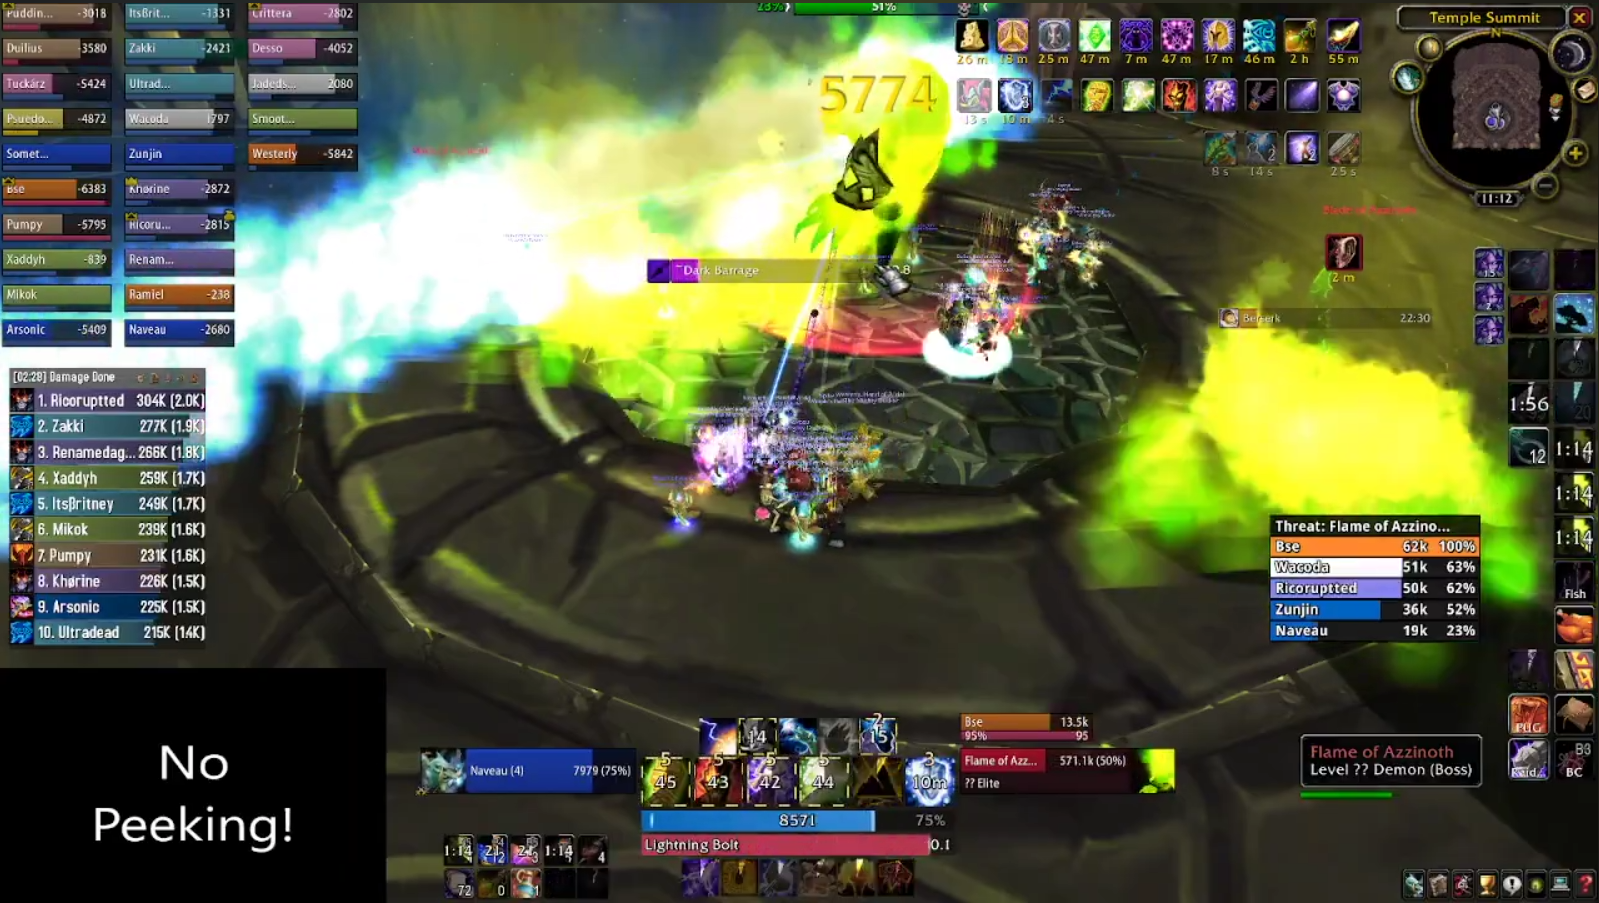
Finally, every 90 seconds (or a minute thirty), Illidan will pick a player and cast Dark Barrage. This is a titanic amount of damage dumped on one player. You'll need multiple healers (normally three or four) to drop everything in order to keep the target alive. It's a ridiculous amount of damage. Fortunately if you make your way through this phase at a reasonable pace, you should only have to deal with this once.
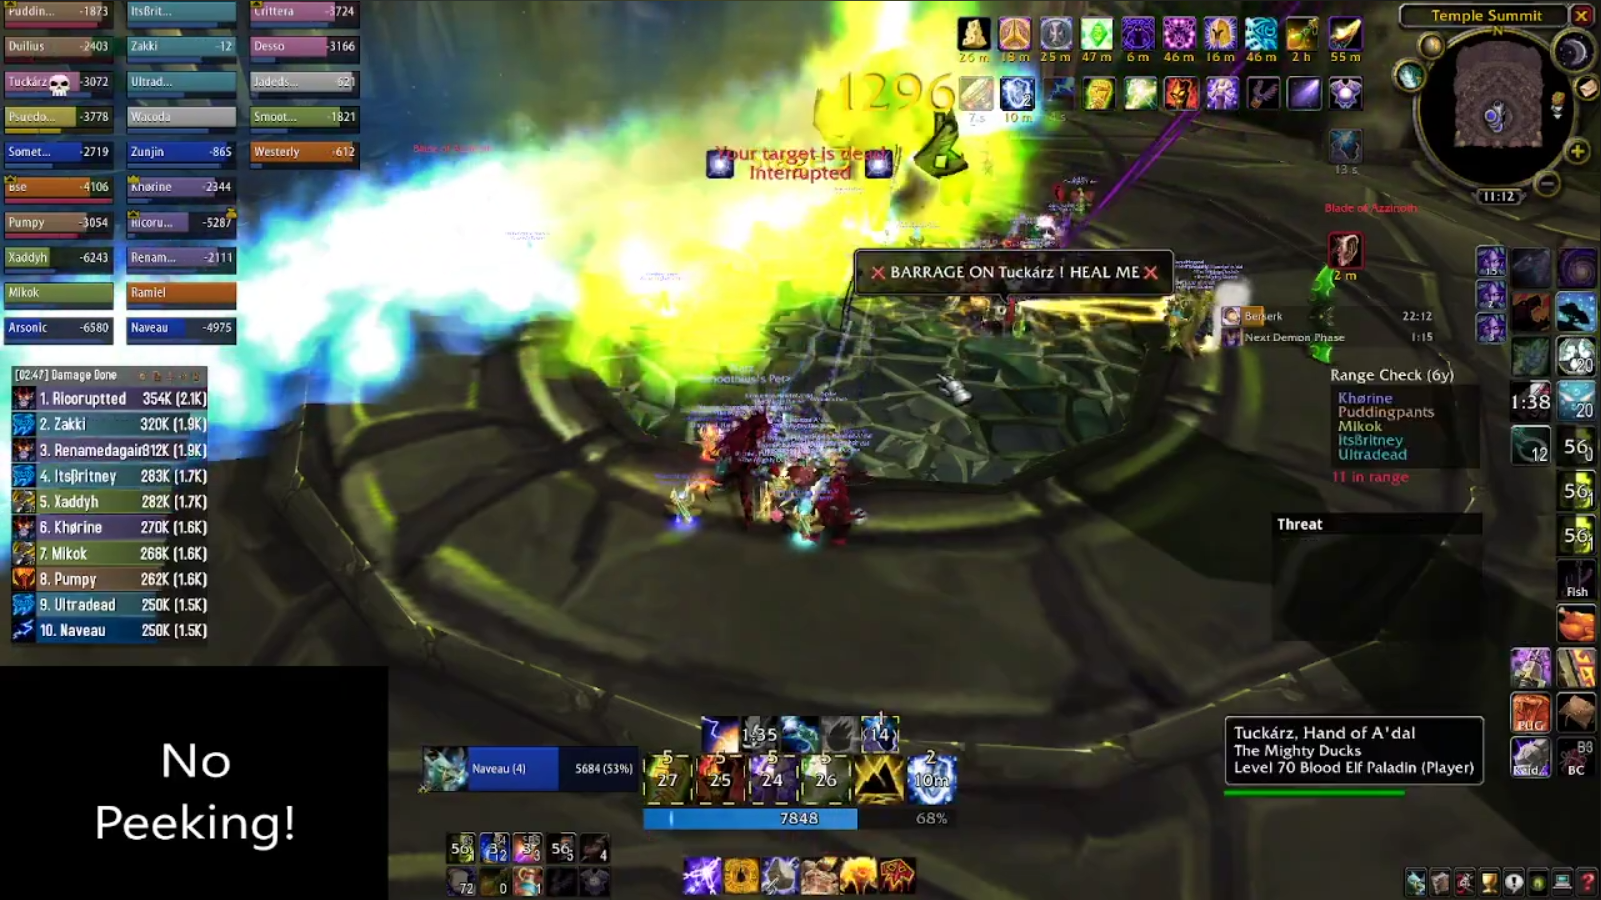
When both flames are dead, Illidan will land and phase three will start.
Tactics - Phase Three
Illidan will land in the center of the arena, right in the middle of the drain. Your (warrior) tank will need to move him out, and your ranged and healers will need to spread out in order to handle the single new ability, Agonising Flames. It's a powerful damage over time spell that affects a player and anyone nearby, inflicting 36,000 fire damage over the course of a minute. Illidan will cast this spell every 25 seconds or so, and repeated casts affecting multiple players will quickly overwhelm your healers.
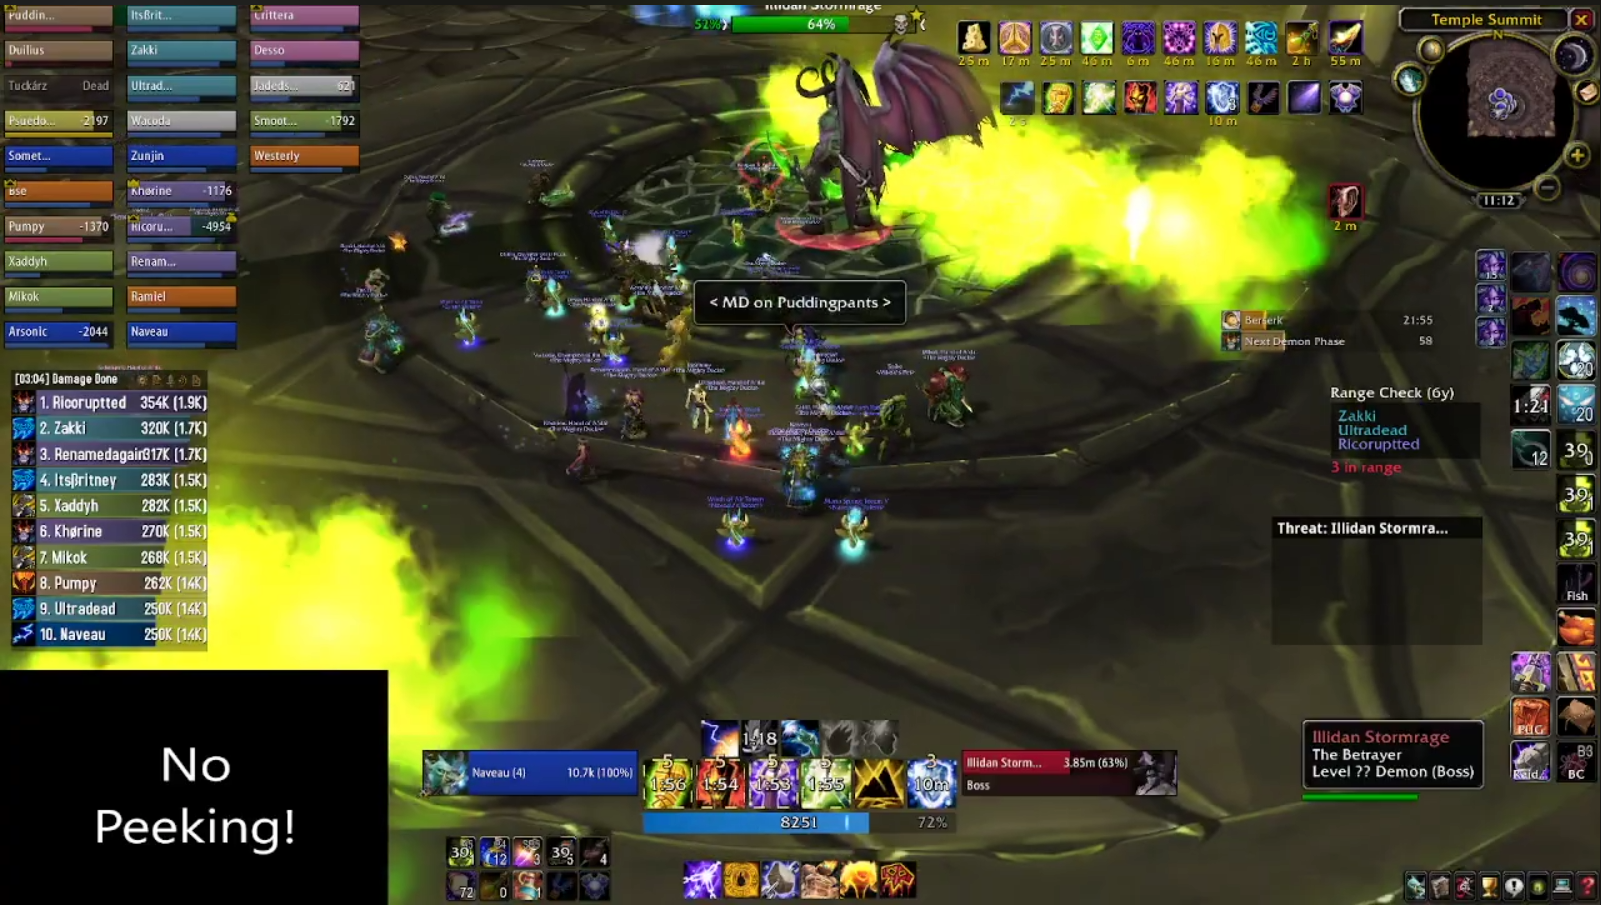
Illidan will continue shearing, drawing souls and flame crashing. The tank should move him around the outer edge of the drain, preferably in such a way that your ranged and healers have to move as little as possible, as this phase can technically be considered a DPS race.
Shadowfiends will also continue to spawn, and will need to continue to be sorted out. They can get out of hand much quicker with players spread out, so dealing with shadowfiends becomes raid responsibility.
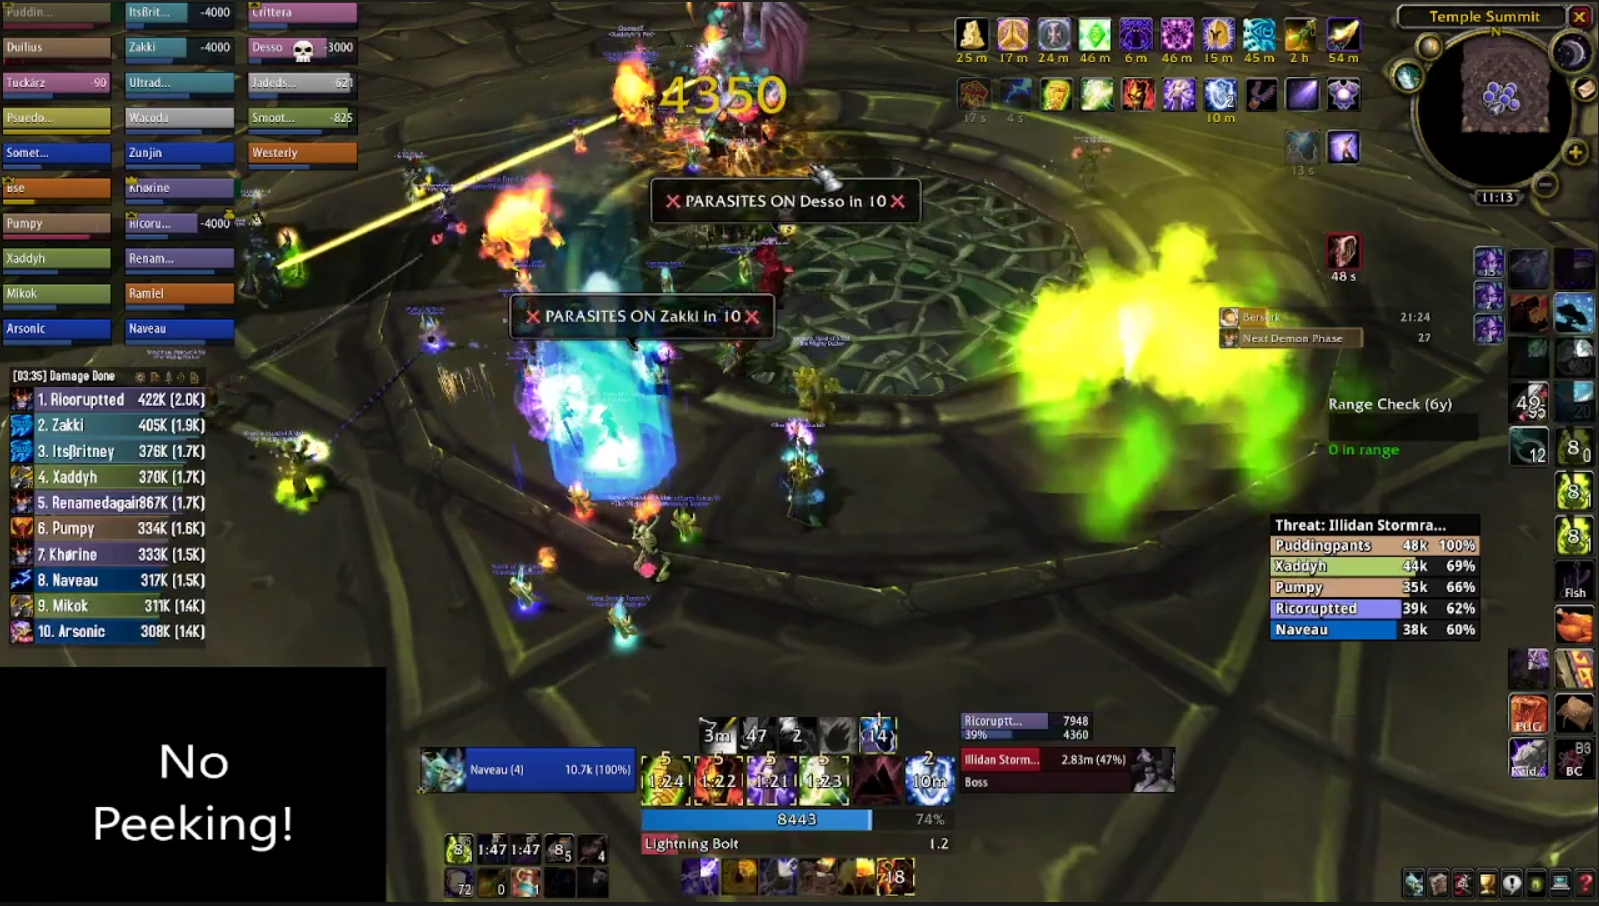
If you can get Illidan to 30% from 65% in 60 seconds, you will be able to bypass phase four entirely, and you will likely be able to secure a kill. However if you can't hit that mark and haven't prepared for it, you'll likely wipe, and even if you have prepared for it, phase four is extremely challenging.
To this end, you'll want to roll misdirects into the tank and use your DPS cooldowns here. All of them, including Bloodlust. Maximum attack here.
Most raids (even PUGs) don't bother trying to plan for phase four. It's all or nothing. So much so that I don't have any footage of this phase. But for a brief moment, let's pretend that after sixty seconds, you failed the DPS check and Illidan is transitioning to his demon form.
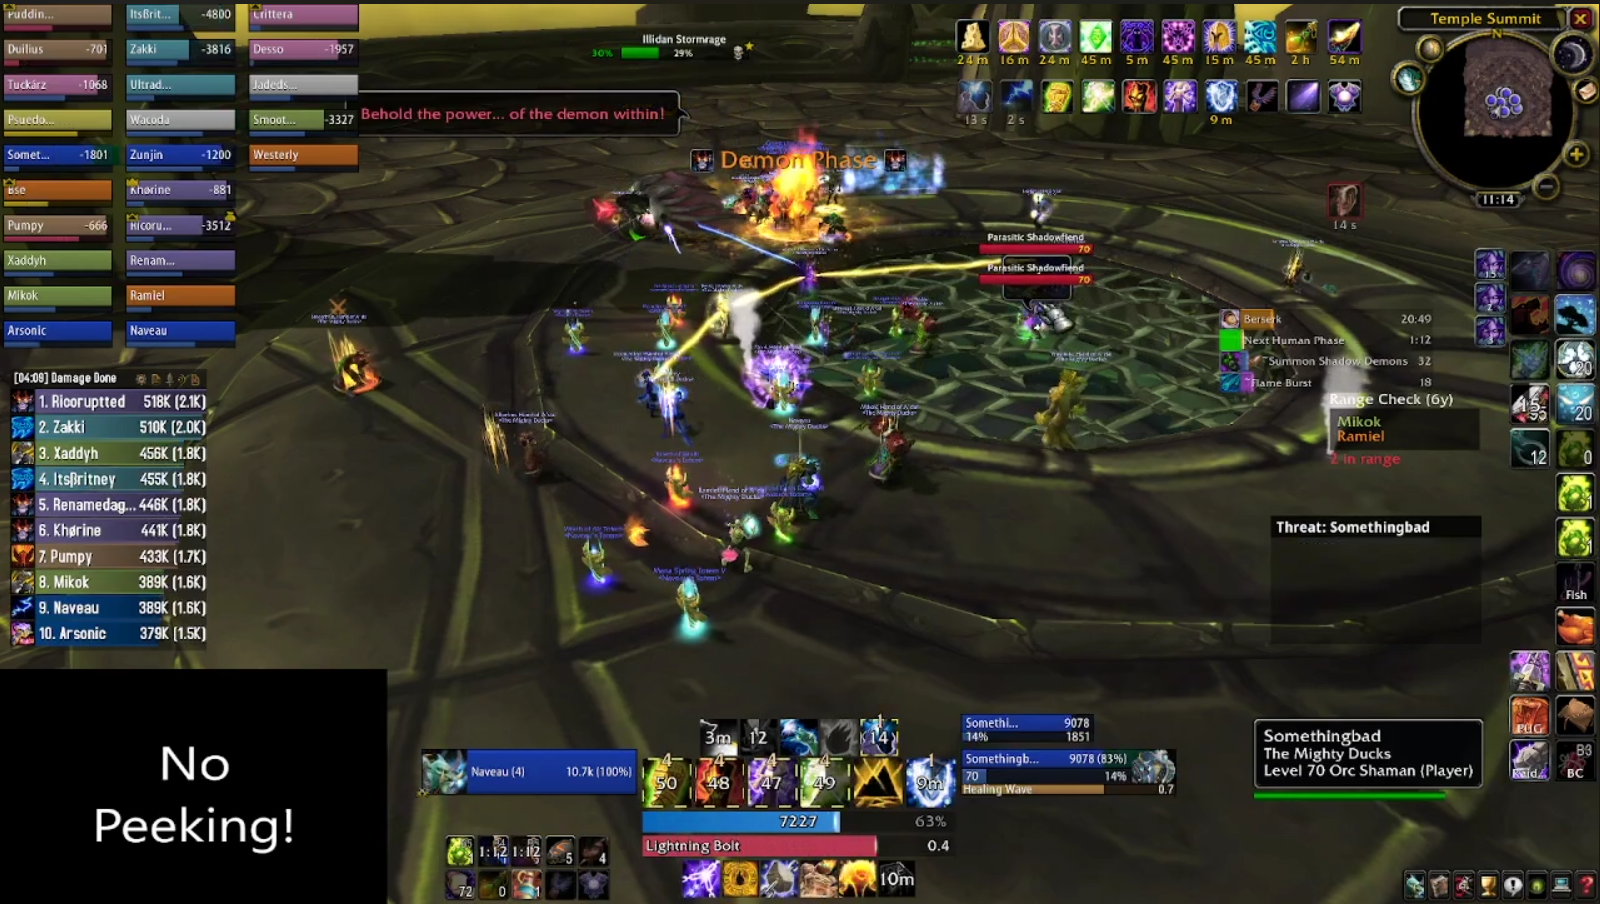
Tactics - Phase Four
To start with, Illidan wipes his threat when he transitions into his demon form. His melee damage increases by 500%, making traditional tanking, even by a warrior, becomes impossible. You will need your shadow-resist geared warlock to take threat using Searing Pain.
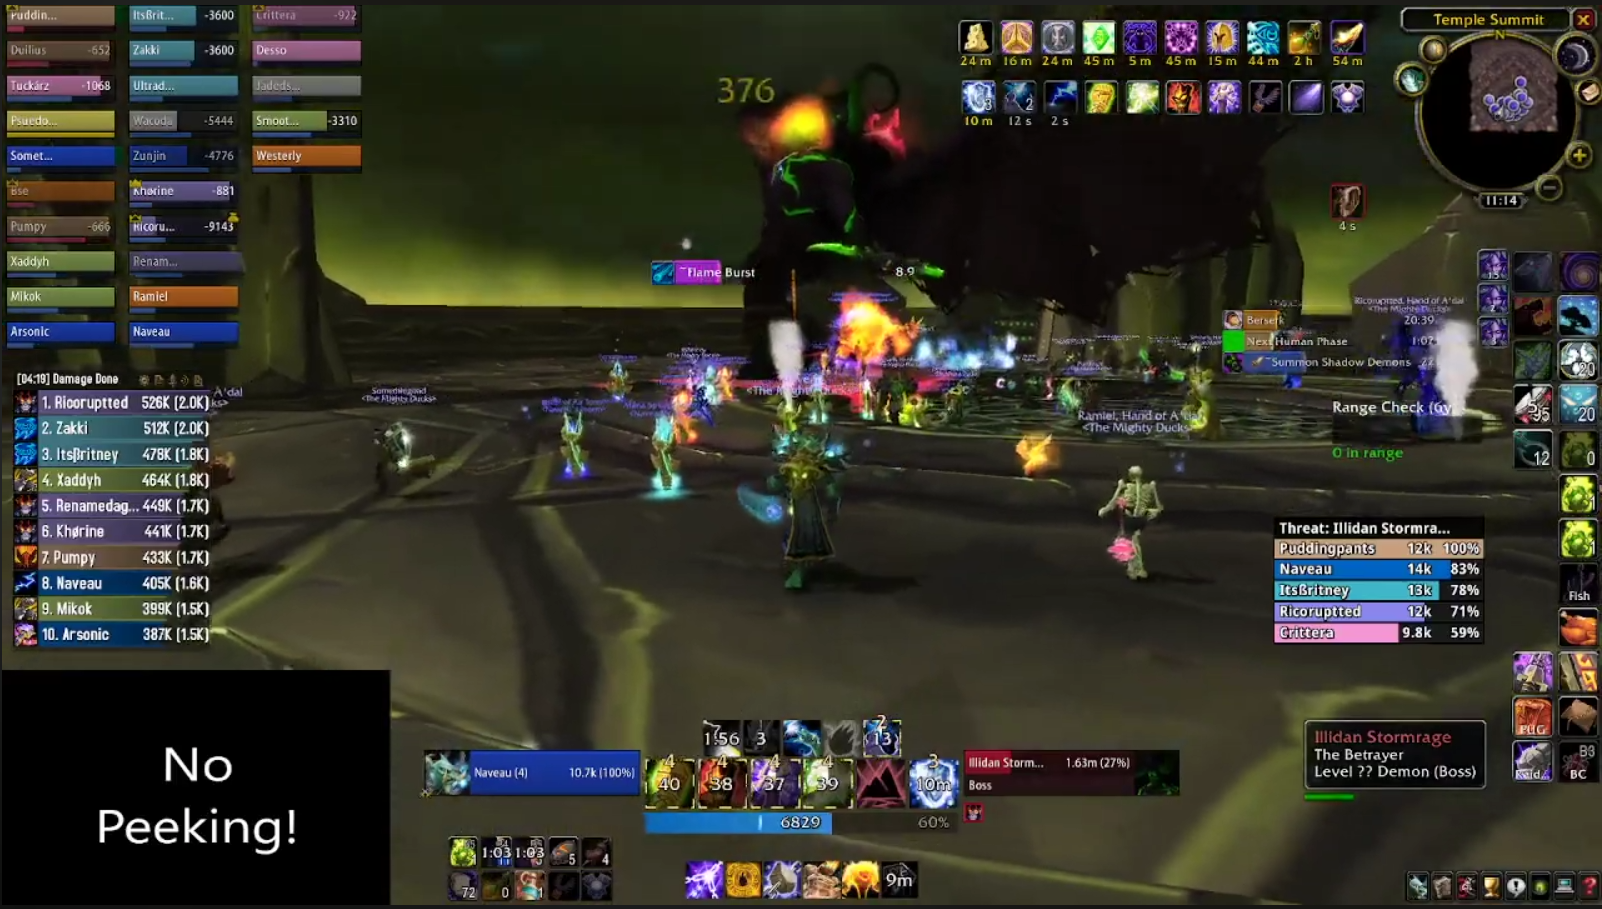
Illidan also has a pulsing AoE which deals hefty shadow damage for every player within fifteen yards, so melee get to take a holiday.
Again, your raid will need to spread out in order to avoid flame burst, which does a high amount of damage and increases for every player within five yards. So not a lot, but the damage is punishing and will kill two players if they stack together.
Lastly, Illidan will summon four Shadow Demons. Each Shadow Demon targets a player with Paralyze, which stuns the player. Whilst that's going on, the Shadow Demon will move toward the player - if the mob reaches them, it will use Consume Soul, which will oneshot the player. Then the Shadow Demon will pick another player and kill them until there's no-one left.
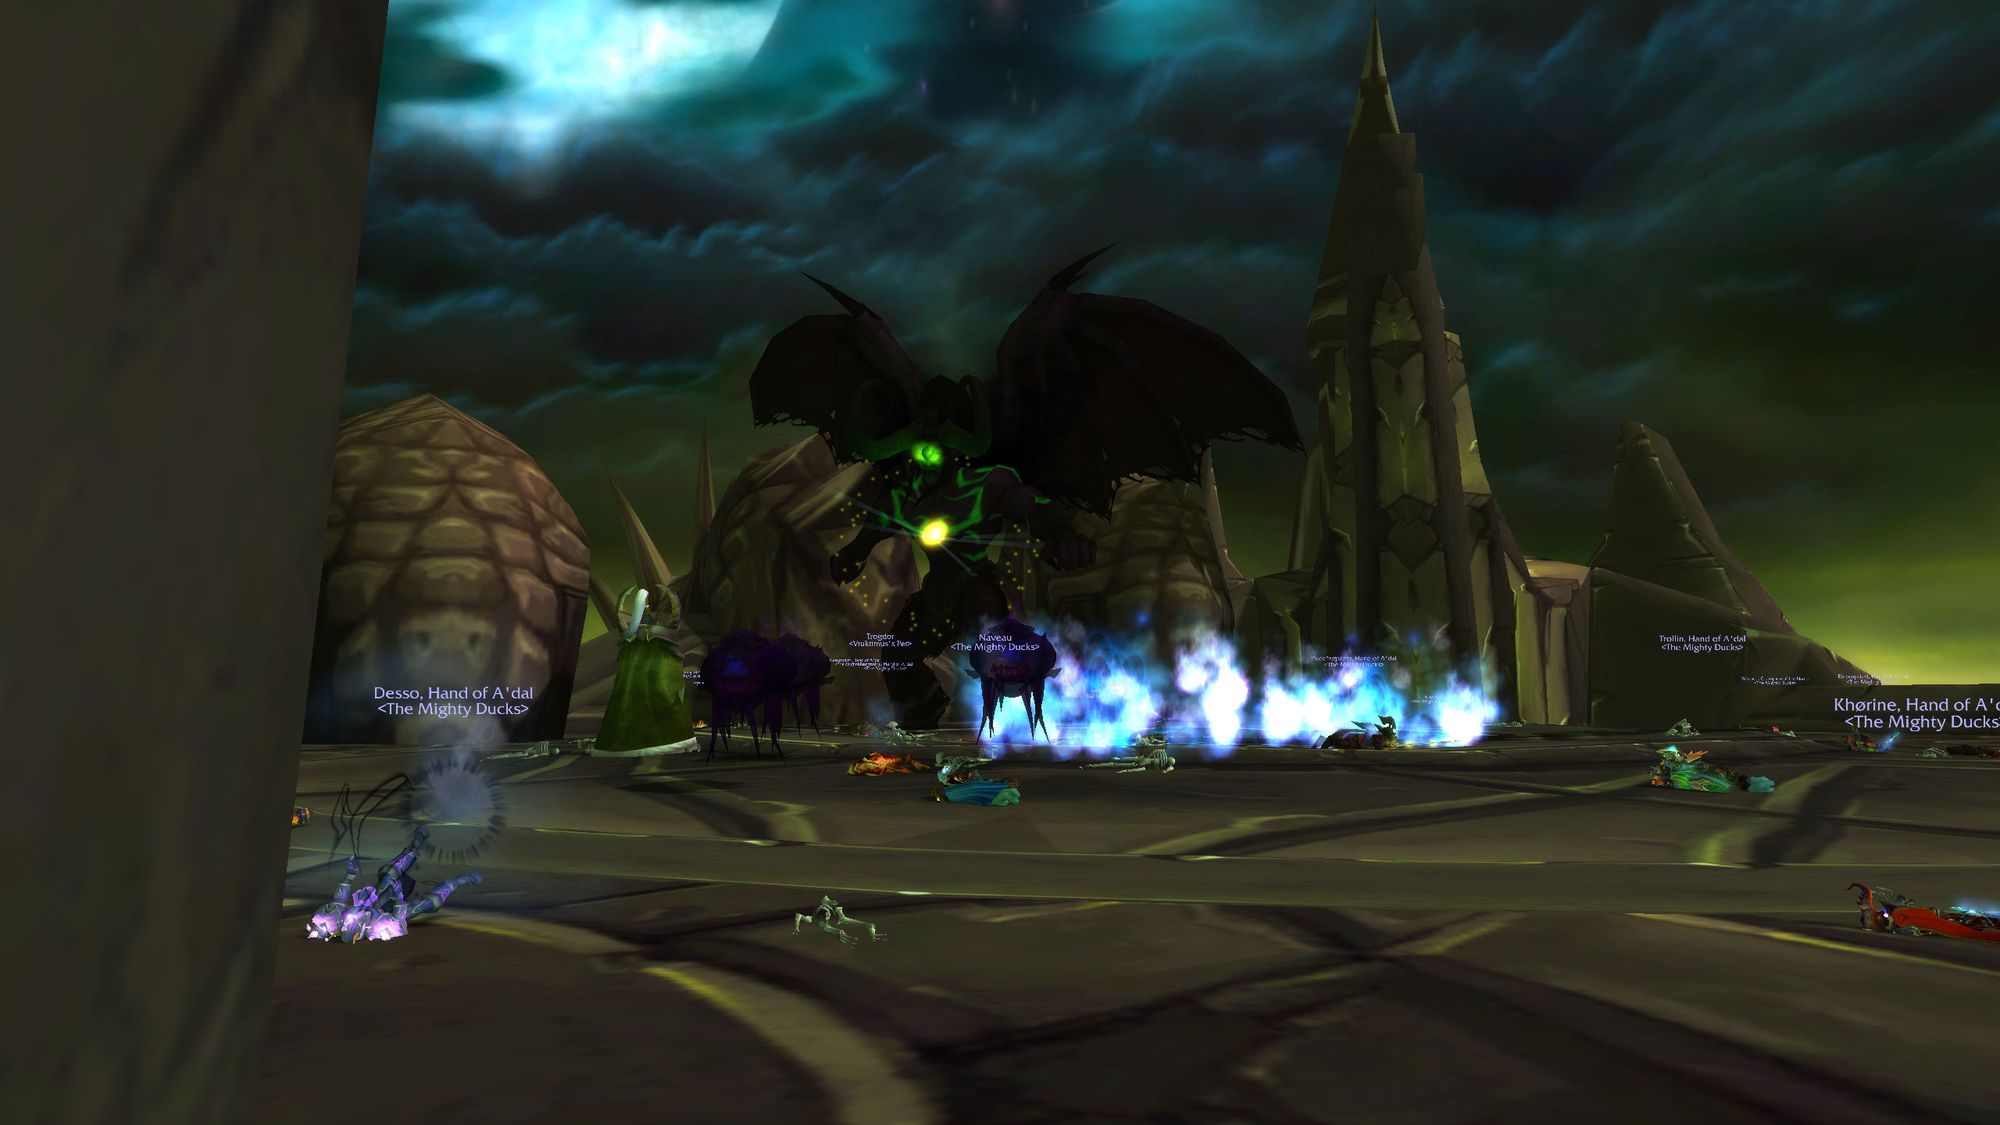
The Shadow Demon can and will target the warlock tank, so that demon should be prioritised due to the short travel time. Fortunately, the demons have low health.
After 60 seconds, Illidan will revert to phase three (or five.) At 30%, Illidan will also transition to phase five. Time for the fight to the finish.
Tactics - Phase Five
Immediately after moving into phase five, Illidan will stun the raid and lecture them about being weak.
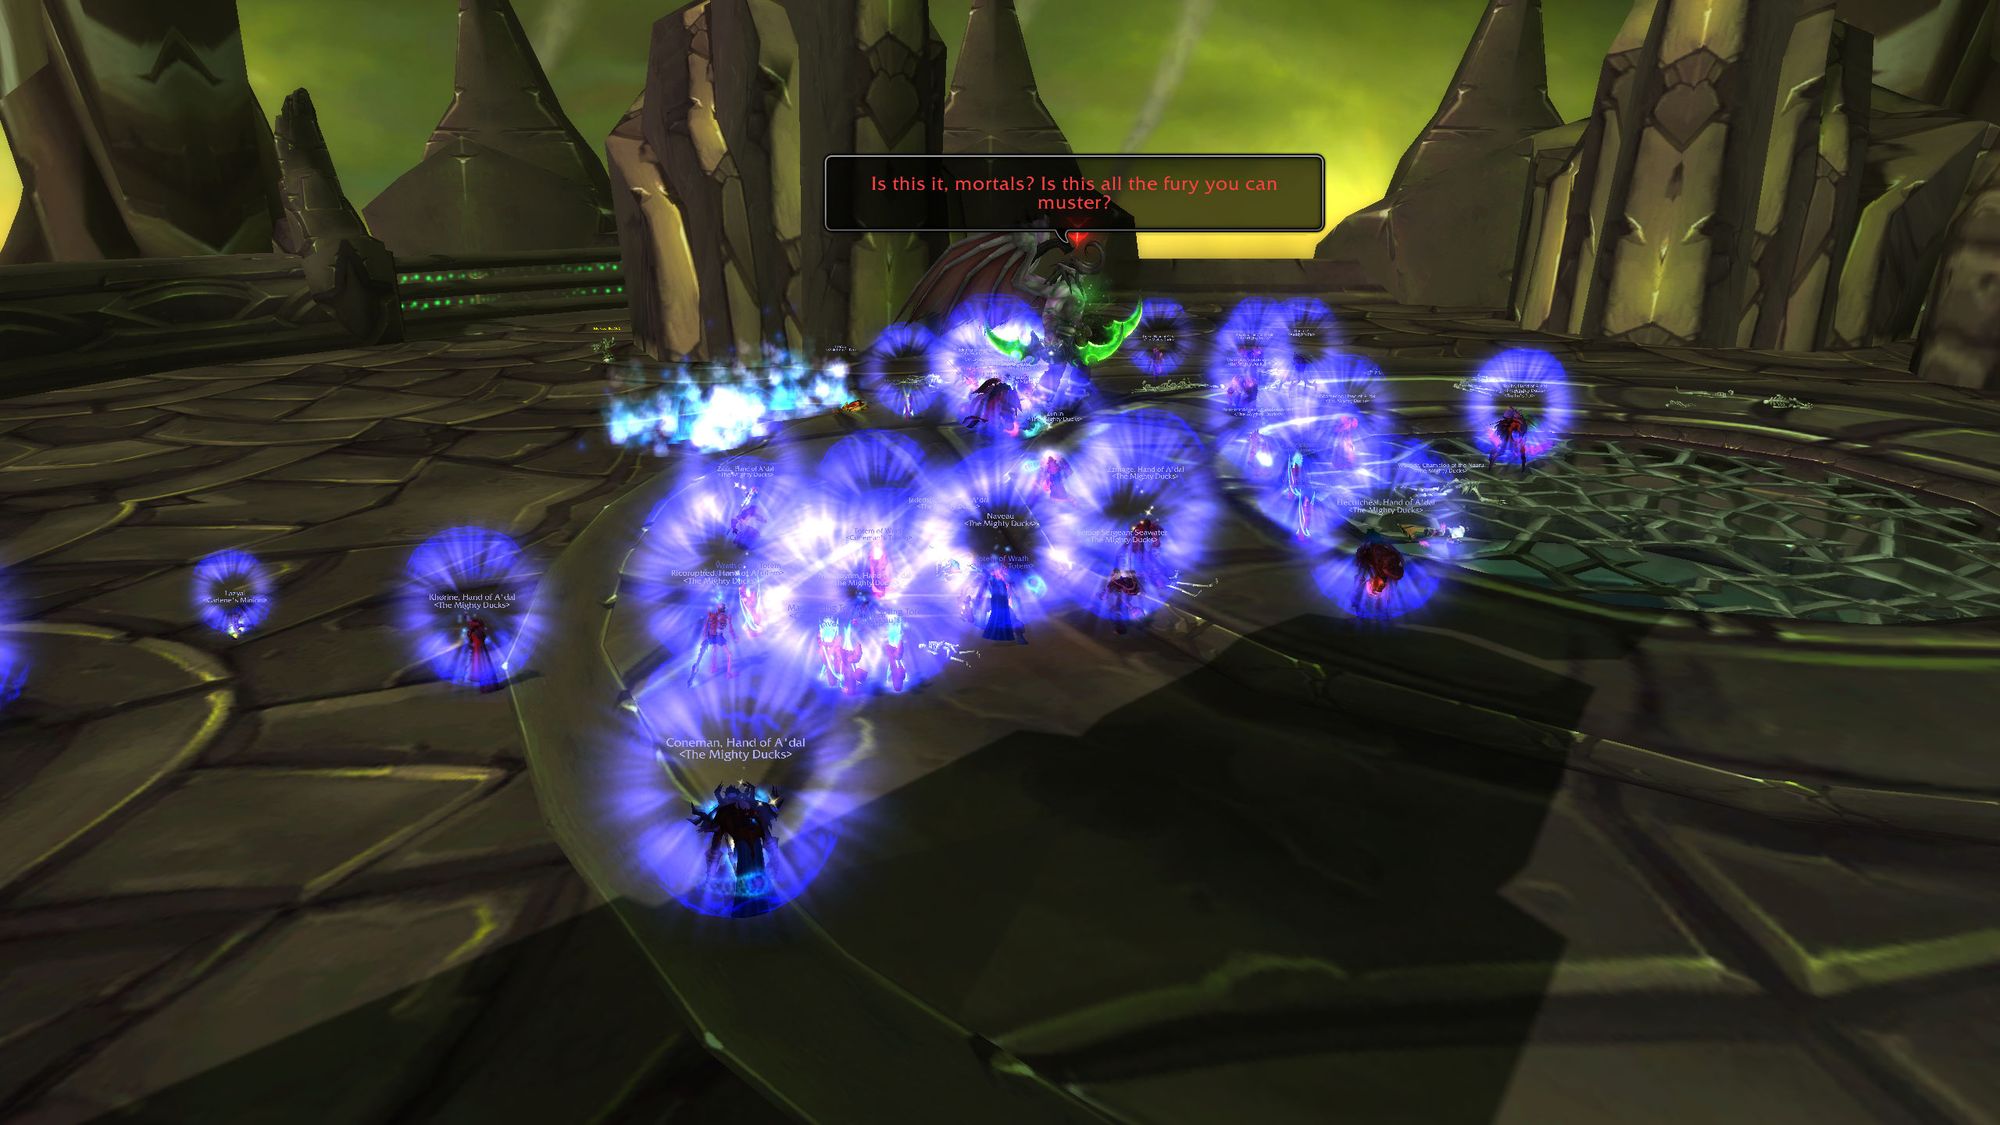
And then, out of nowhere, Maiev will hit Illidan over the raid with a chair, and the fight will begin again.
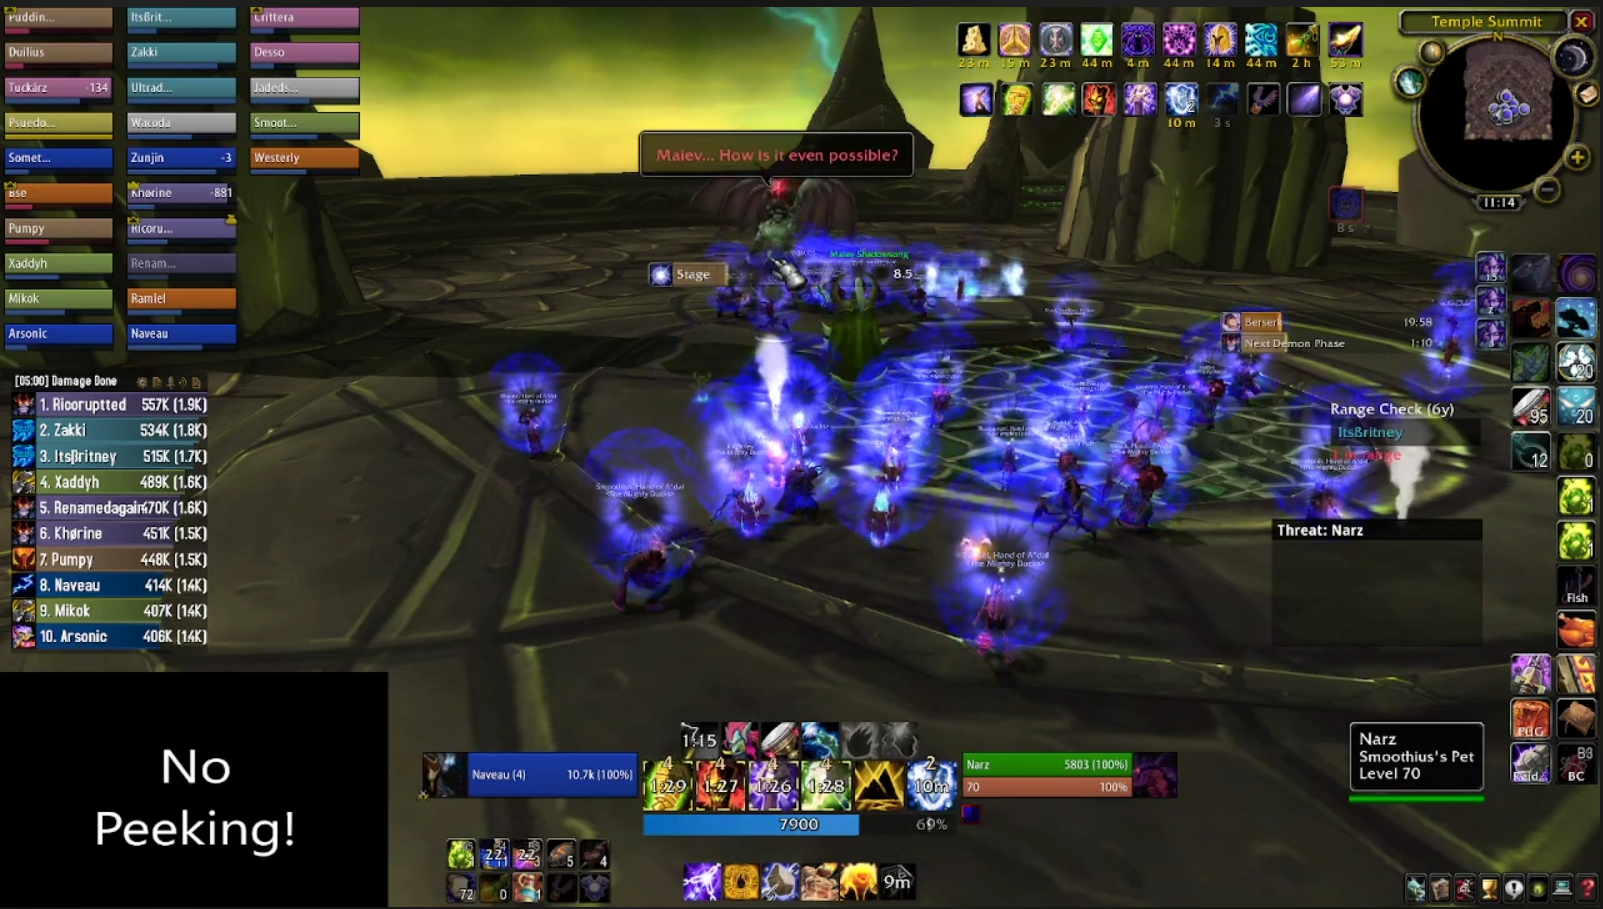
A bit of housekeeping here. In phase three, whilst pushing the boss, you can get a mini-transition to phase four, which wipes threat, then instantly moves the boss to phase five.
Because your tank has to move away from the boss and stop generating threat after the aggro wipe, you can end up with your ranged DPS sitting far on top of your tanks.
Assuming threat was wiped in the mini-transition to phase four (which is not a guarantee, depending on the strength of your raid) and the boss moved instantly to phase five, your hunters will need to instantly coordinate using misdirects on the target (normally a warlock, or several warlocks.) If that's not enough, you will also want to use a Blessing of Protection on any DPS above the tank, which should direct Illidan toward your main tank instead of eating any unsuspecting DPS.
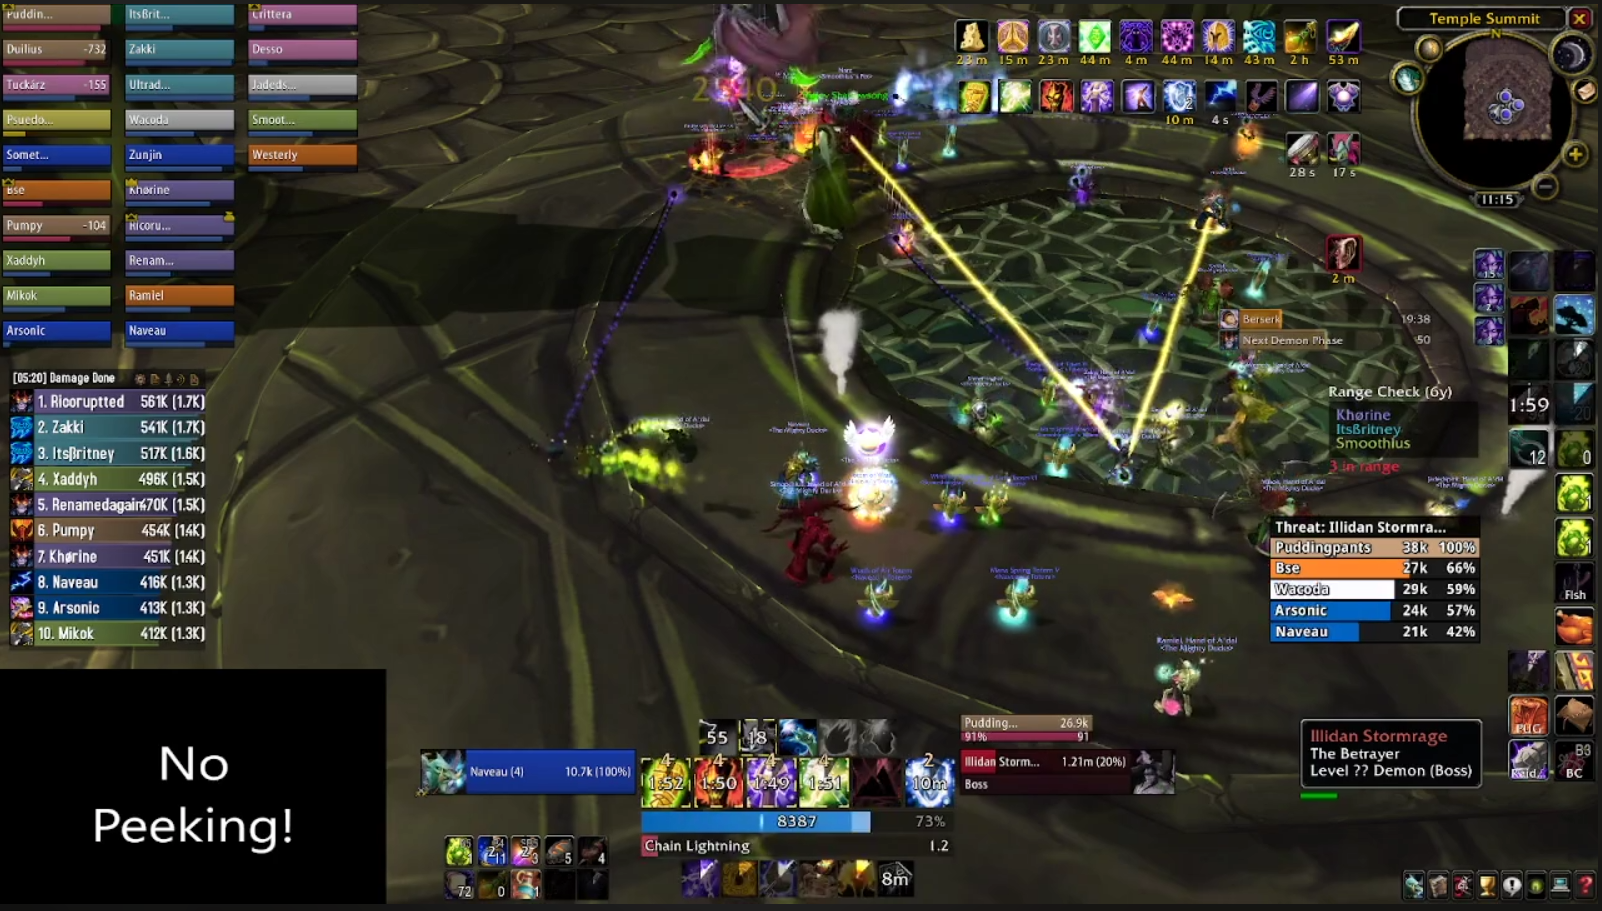
Maiev will also participate in phase 5 now. She'll place traps around the arena for you to move Illidan into. When you do, it'll stun him for 15 seconds and increase his damage taken by 100%. Normally moving Illidan into just one of these traps is enough to finish the job, but it's not always easy to move the boss, so it should only be done if it's convenient.
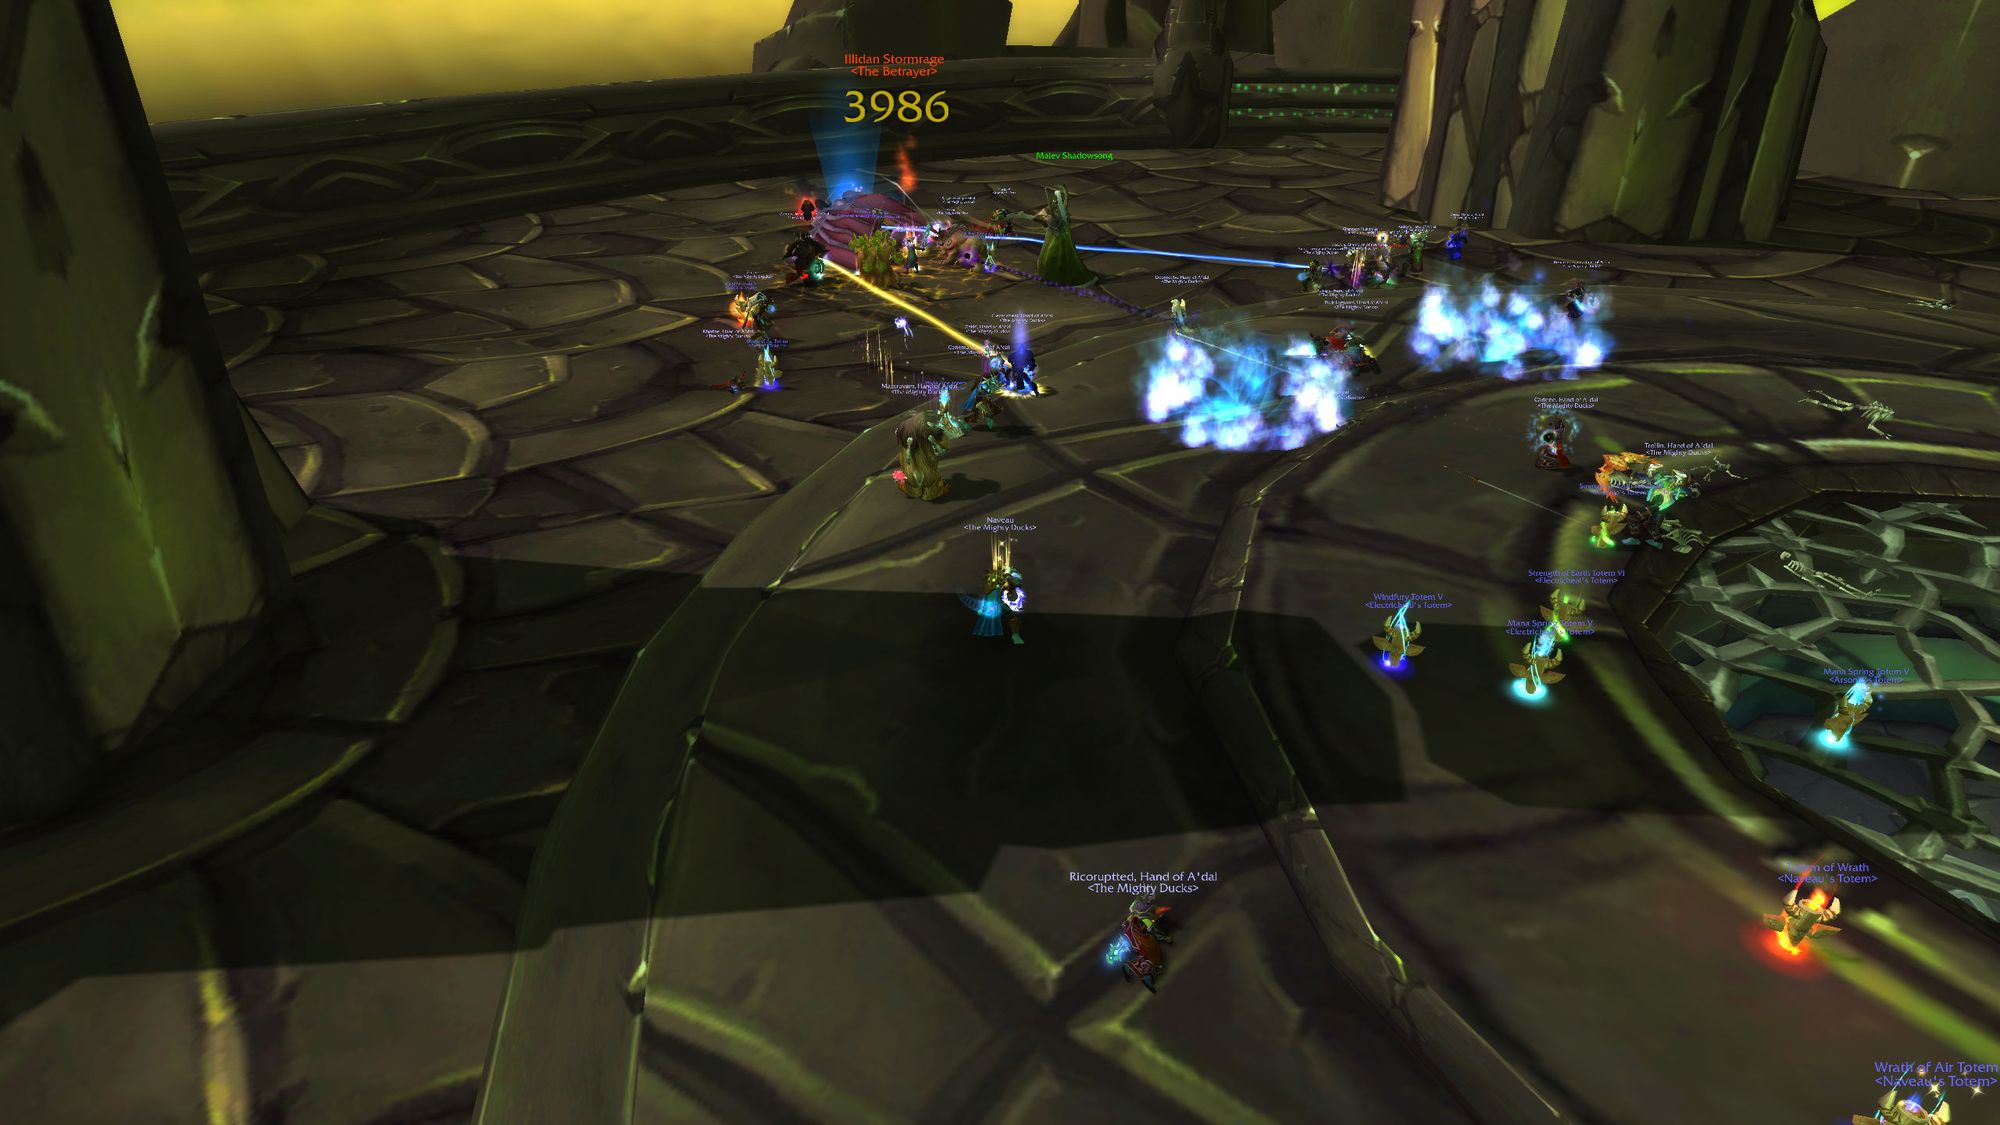
Finally, in addition to Agonising Flames, Draw Soul, Flame Crash and Parasitic Shadowfiends, Illidan will also soft enrage. It increases his attack speed by 30% and his damage by 50%, pumping his damage through the roof. A defensive cooldown or two here will go a long way to avoiding Illidan stomping you or your tank out.
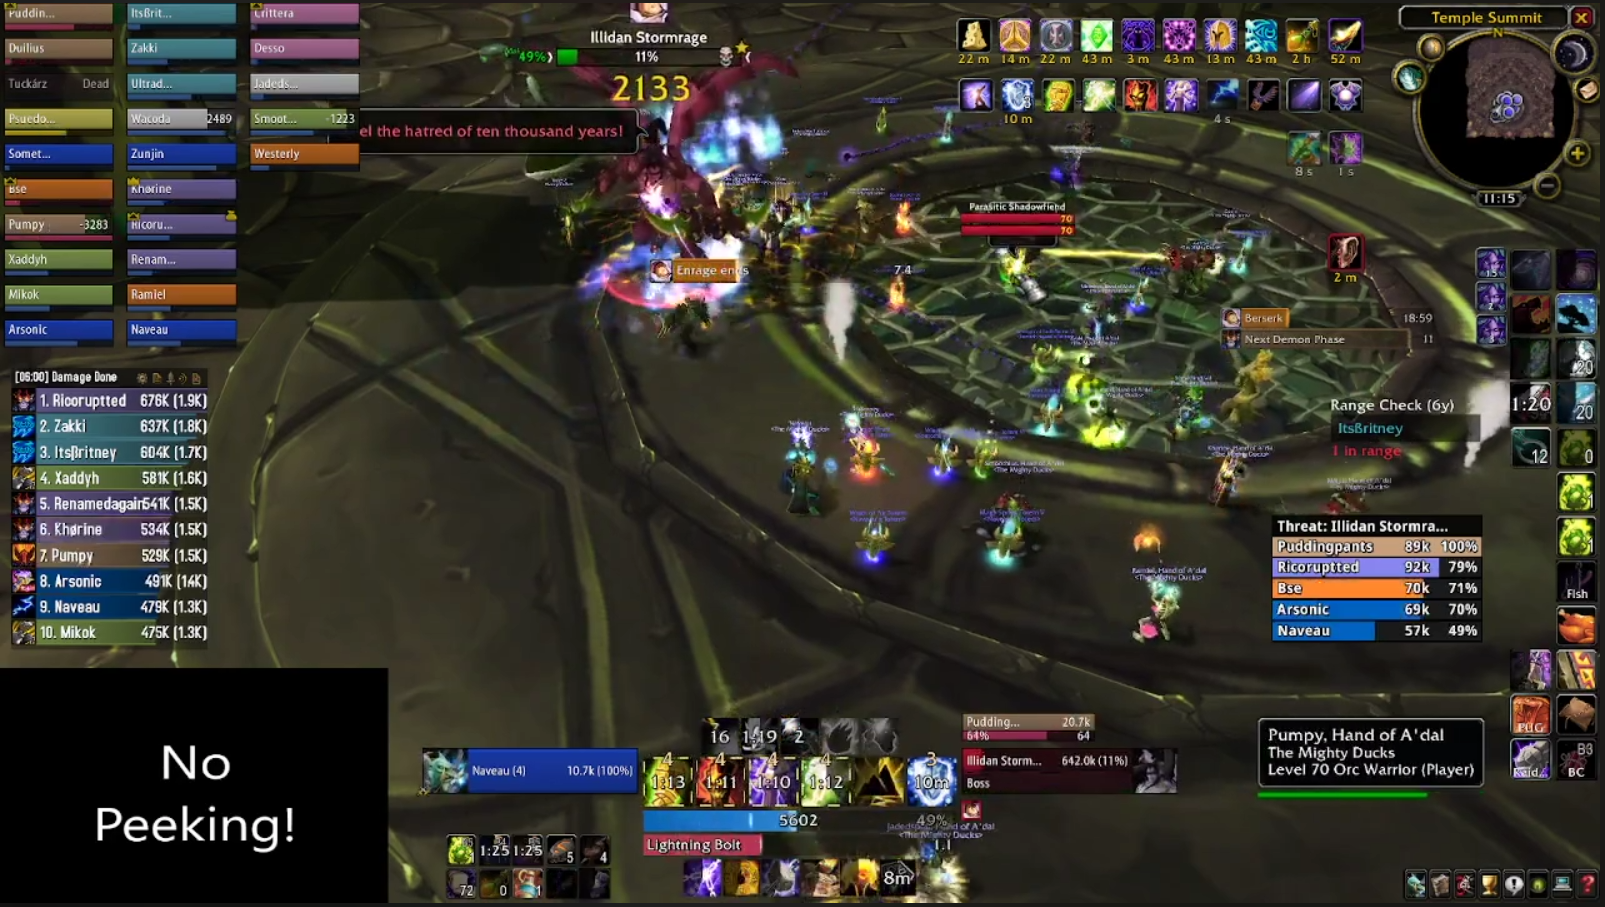
Once Illidan drops to 0%, it's all over, red rover. Black Temple, and phase three, is clear. Well done.

If you're a very lucky guild, you might just get one of the most iconic weapons in all of World of Warcraft, too:
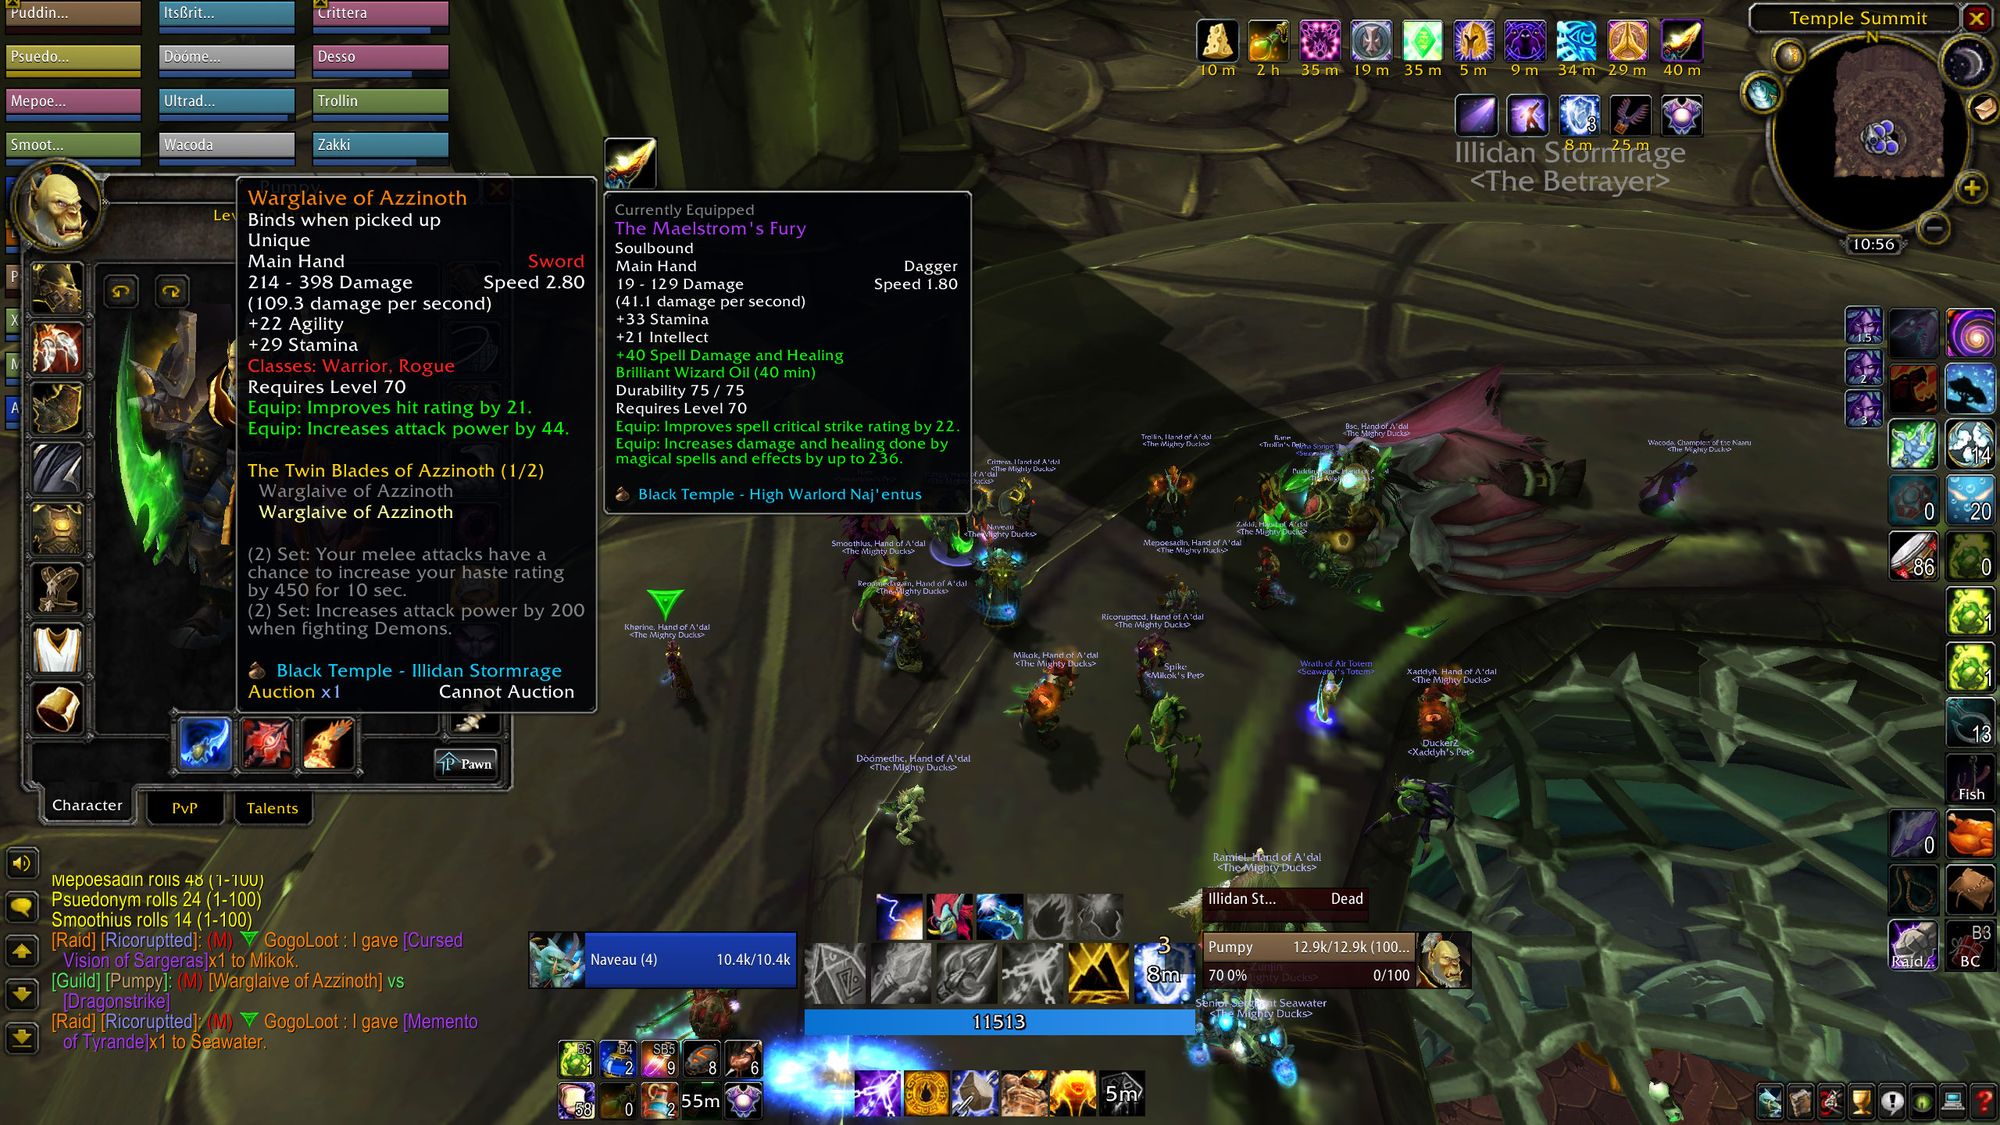
Conclusion
I remember the temple as it used to be. A dark and foreboding place, dripping with style and atmosphere. A place where demons and fel orcs ran amok, and the loot was indeed, phat.
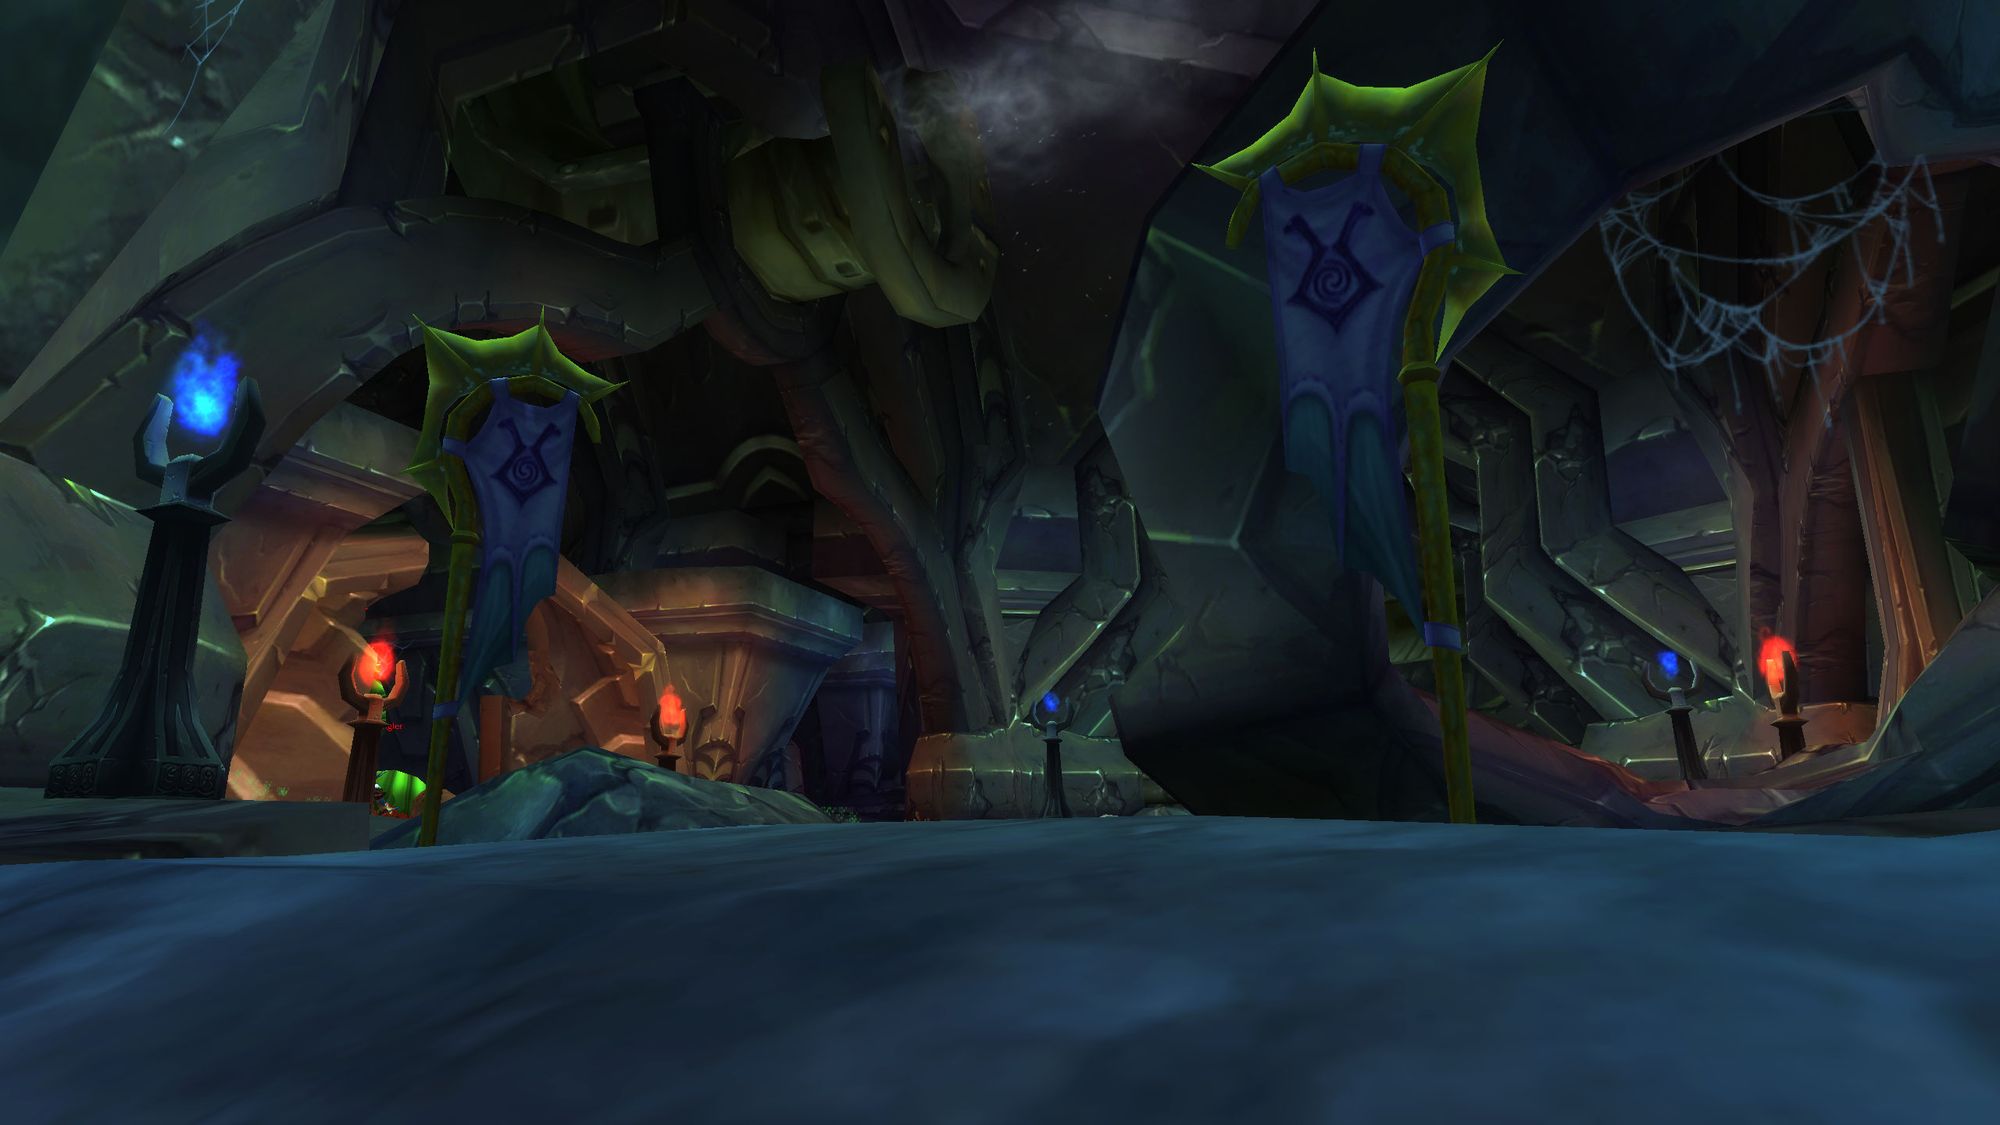
A place with a dark master, a dark past, and a disturbing vision for a world on the brink of destruction. Only brought low by the conspiration of many different factions, brought to confluence by characters of great significance. Plus 25 berks with various forms and abilities.

Now eventually, Black Temple went to the back of the discount rack, as is the fate of all World of Warcraft content. But getting to experience it, as it was presented to players in 2007, was magical. It really is an amazing, well constructed raid, with interesting and complex bosses.
And the final encounter is something very special. To get to experience that properly (and also have it recorded) is something I will never forget, and it's one of the reasons I played this game in the first place.
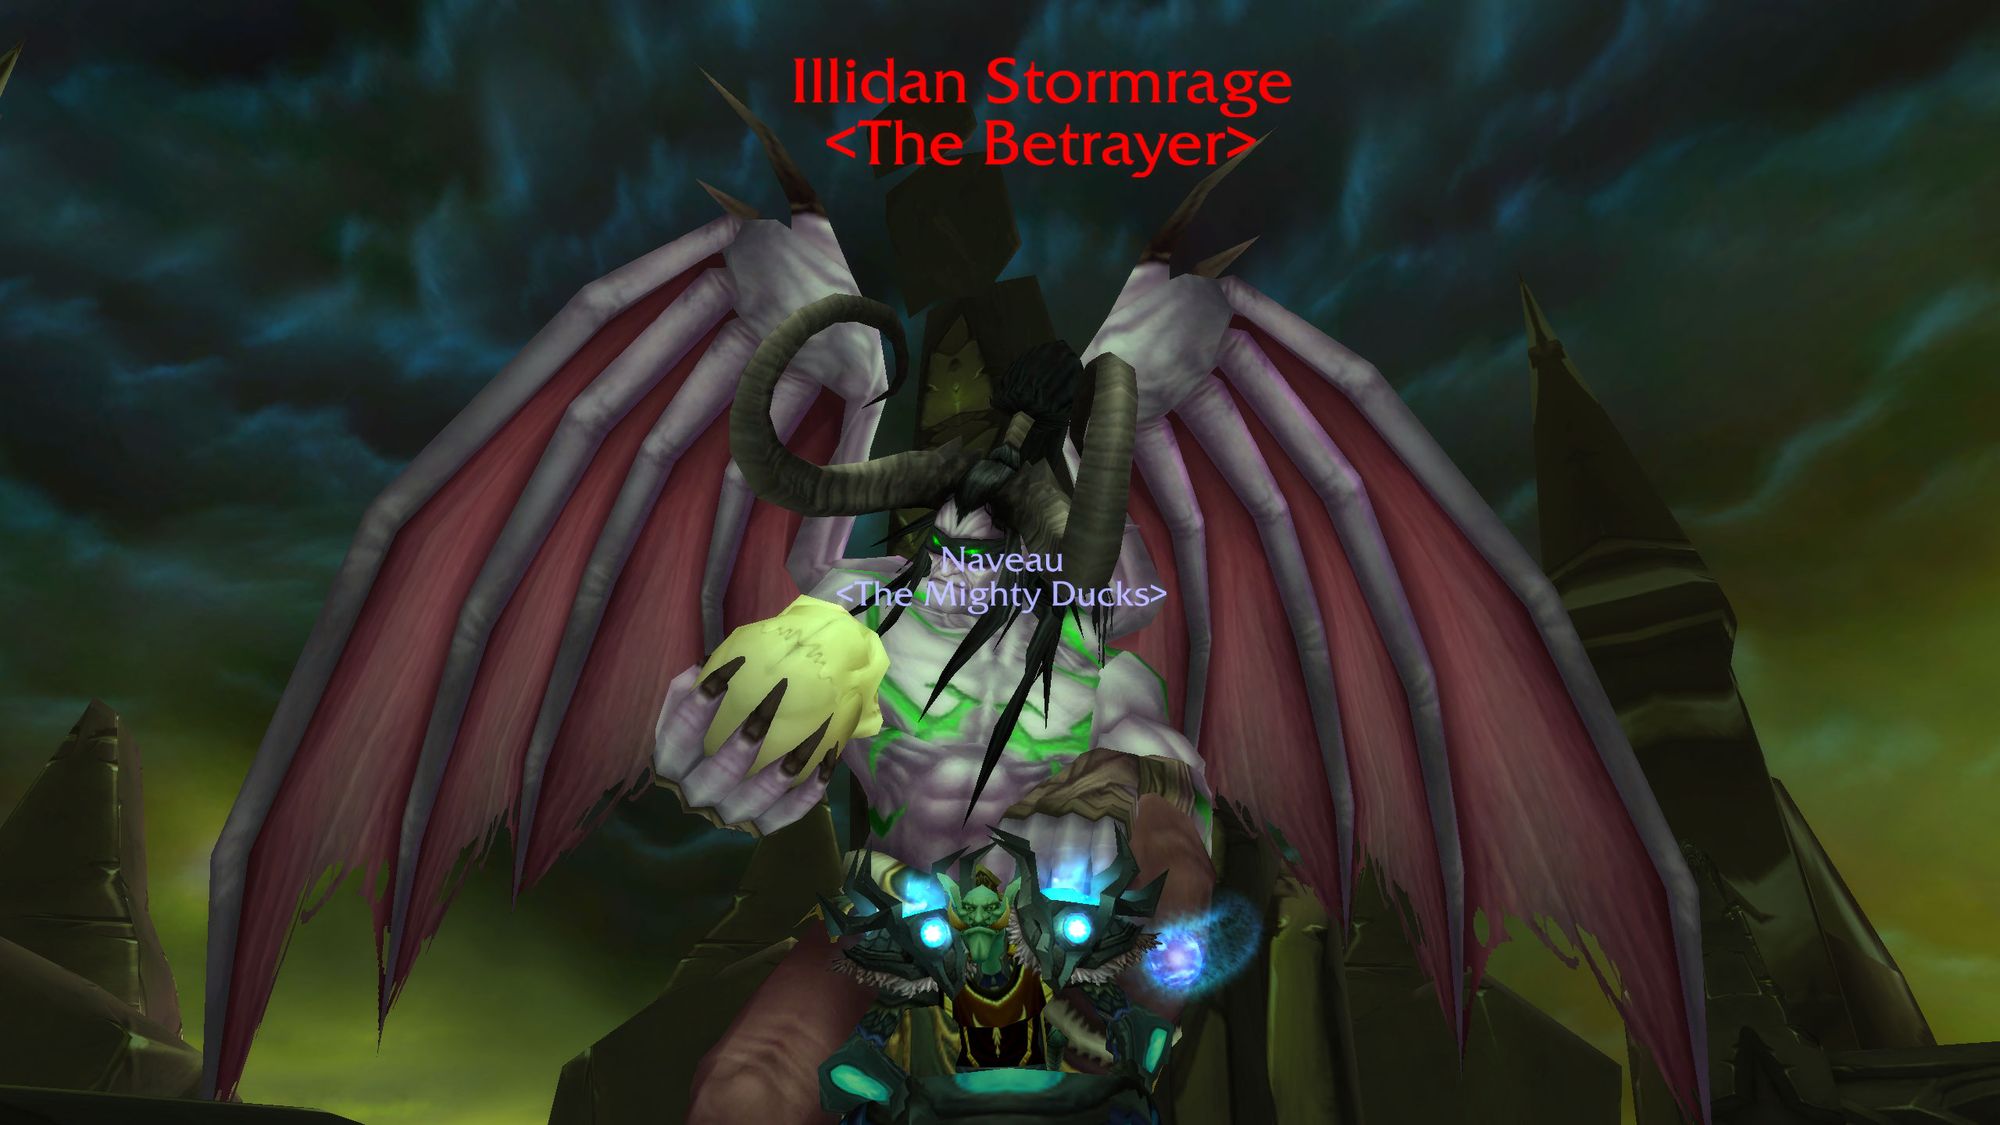
Sunwell Plateau would eventually replace most if not all gear found in Black Temple. But that is still another two phases away. Even then, certain items were still relevant until the conclusion of the expansion.
And the content was never nerfed. To me, Black Temple is a perfect raid.
But the show must go on. Join me next time (hopefully) for a tour of my personal favourite part of TBC - and the driving force behind my decision to play TBC classic.
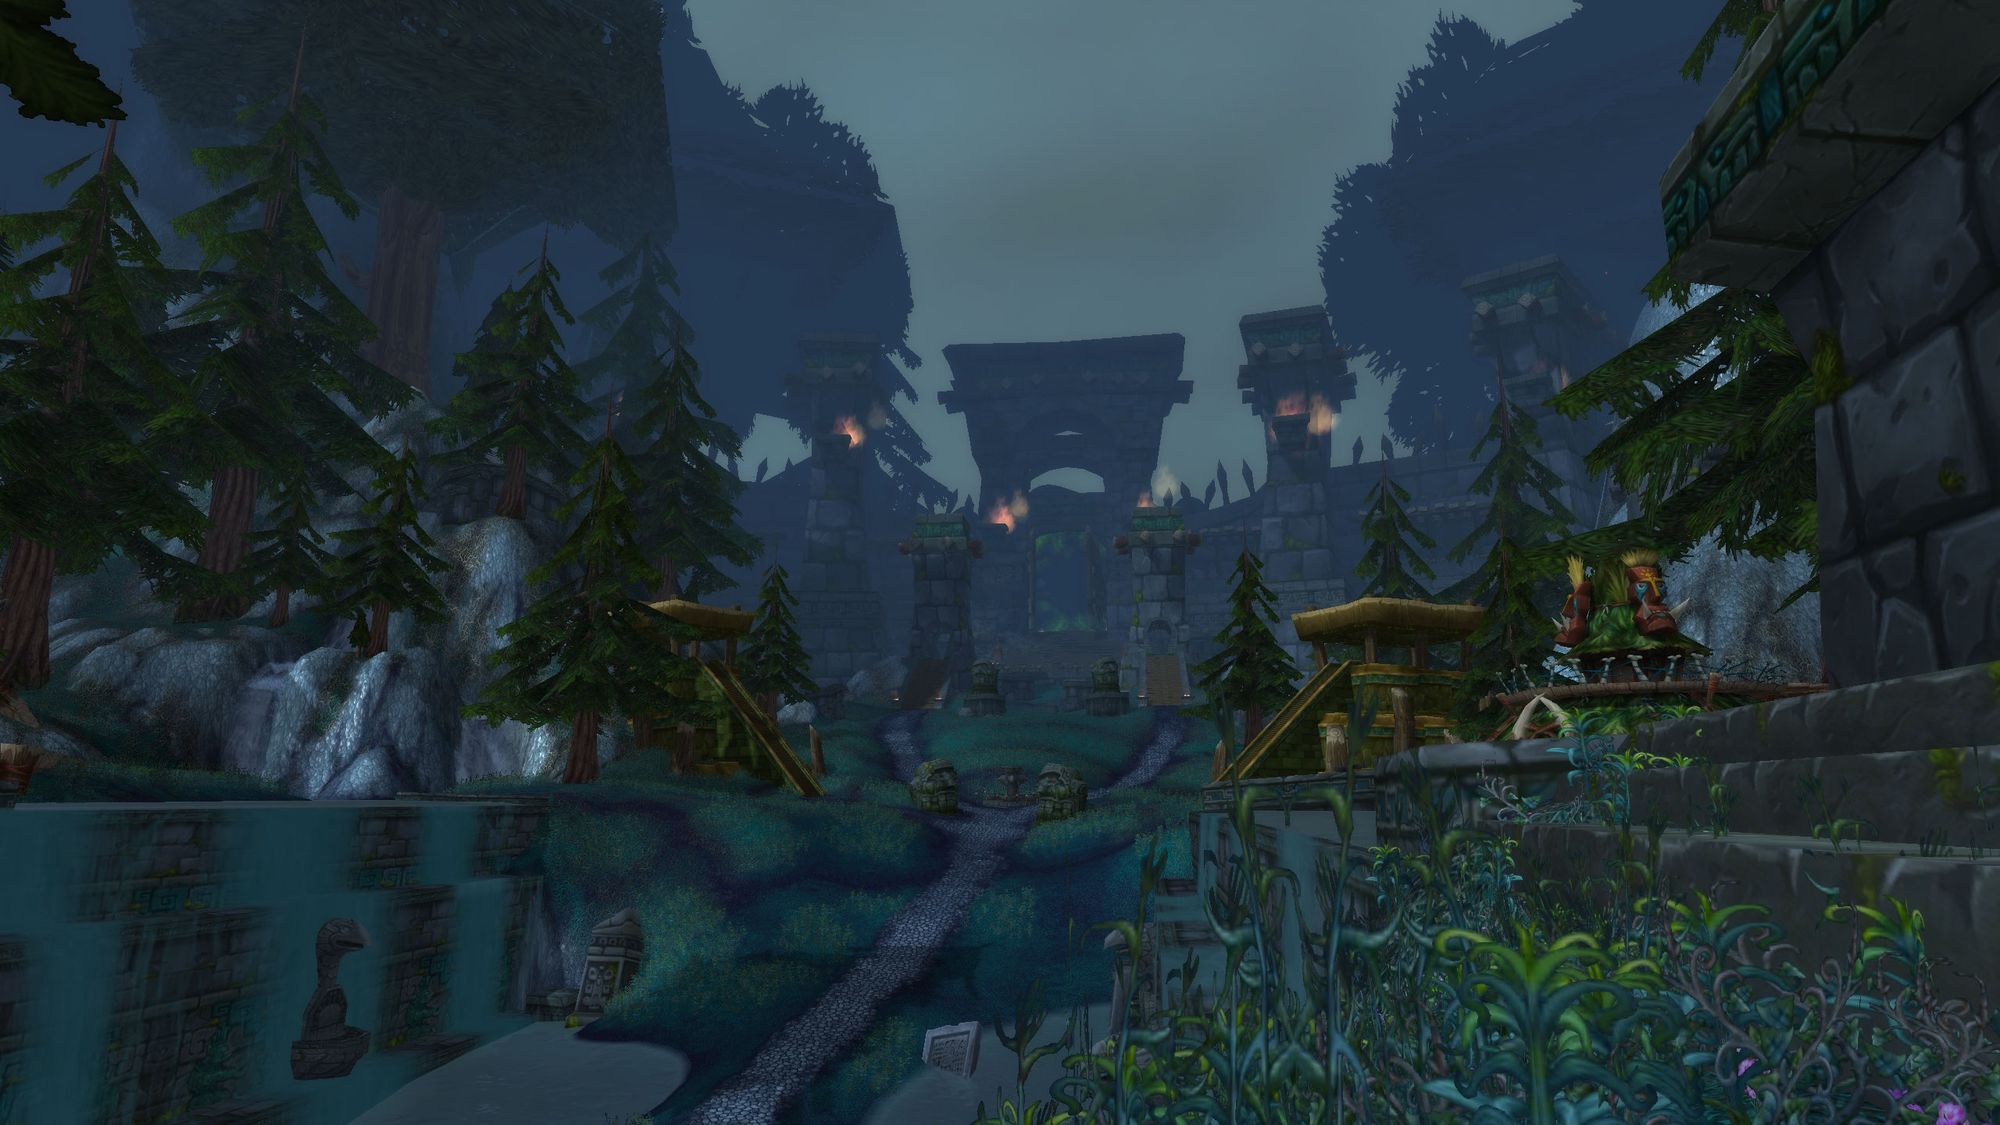
Additional Resources
A full run, from start to finish, of Black Temple. This was in phase four, which is why the bosses drop badges.
So it is recorded somewhere, the primary voice you hear is Khorine, our warlock raid leader. There's also the soft-spoken fury warrior and the guild master at the time, Pumpy.
You'll also hear from time to time, particularly on council, Rico, Ducks' present guild leader (at time of writing).
Catch you next time,
Vulkan
Did you like this article? Did you hate it? Go over and keep the discussion going on the official Vulkan's Corner facebook page! - whilst you're at it, leave a like!
