(Editor's Note: Just a quick note on titles and names. The official name for this raid is "The Battle for Mount Hyjal" and it's also known as "Mount Hyjal" and "Hyjal Summit". All three can and will be used interchangeably, if this annoys you, please continue reading.)
When I said playing World of Warcraft was like climbing a mountain, I didn't mean literally. But the game's designers clearly did.
I had experienced Mount Hyjal precisely once, at level 90, when I took a look at the instance with a friend from a very old "retail" (it was Mists of Pandaria) guild, Purple Lobsters. We experienced precisely one boss, the first one, who cast a mysterious ability on us when his health got too low, and we nearly died.
We did not ascend the summit that day, but much like every other emotional experience I've had playing World of Warcraft, I thought about that when I entered this instance for the first time.
I first cleared Mt. Hyjal with the server's GDKP (see my article on moneymaking for more information about what that is) before the real raid. That's not important to anyone, but I want it documented somewhere. My secondary character, a Tauren Warrior, got attuned to Black Temple before my main character, an Elemental Shaman. Go figure.
Now, before anyone asks, no, I can't remember the time playing Warcraft III where 25 foul-mouthed abrasive nerds killed all the incoming enemies, then the bosses, and saved the world without me having to do anything. Either I'm getting senile, or we live in a multiverse. Perhaps both.
Of course, before I get too excited about actually getting into the instance, we have to attune. As is the case with the first raid of each phase, it's fairly simple.
Attunement
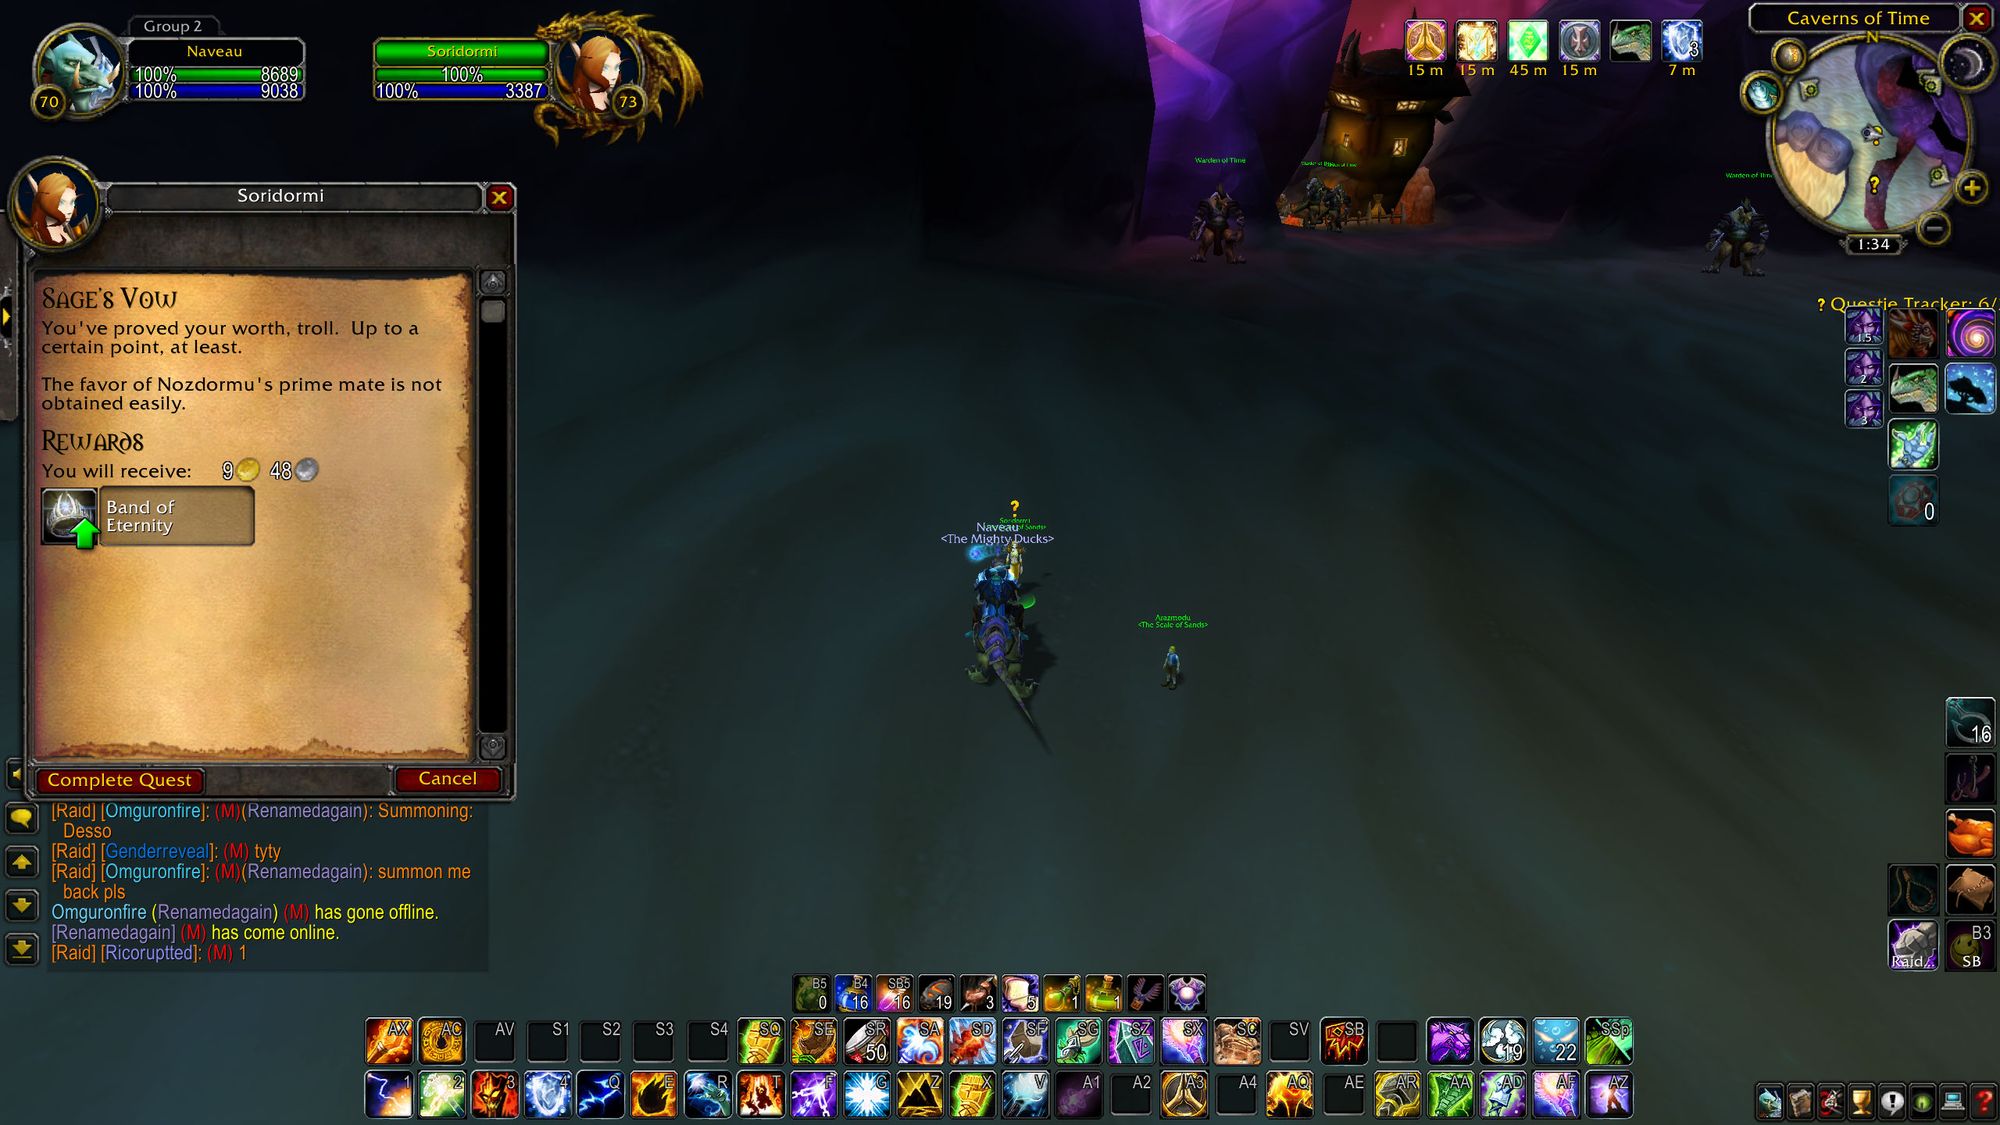
At the start of phase 2, the quest "Vials of Eternity" becomes available from Soridormi, a member of the Scale of the Sands, a sub-faction of the Bronze Dragonflight in the Caverns of Time.
The quest tasks you with defeating Lady Vashj in Serpentshrine Cavern and Kael'Thas in Tempest Keep. If you were doing this pre-nerf, a nightmare. Post-nerf, a breeze, provided your raid team had been going at it since the start of the phase. Only slightly harder if your team hadn't been going at it since the start of the phase.
Impossible still for a casual guild in half phase one gear.
Completing the quest grants you access to the Hyjal Summit. You also get an epic ring which increases in power as you gain reputation with the Scale of the Sands subfaction, which you get passively by killing enemies and bosses in the Mount Hyjal raid. This is also an incentive to do the quest and Mount Hyjal after attunement for both instances was removed in phase four.
Either way, get out your climbing gear, and let's get ready to prevent the world from ending... again!
Overview
Before I get too excited, two quick footnotes:
The first is that to redeem tier 6 gear tokens, there's a lobby before you enter the raid properly where a member of the Bronze Dragonflight will turn your tokens into gear. Yes, that does mean you can obtain gear instantly, but if you forget to redeem your tokens until after your guild's raid, then you will need to form a raid group with a second person to gain access to the vendor.
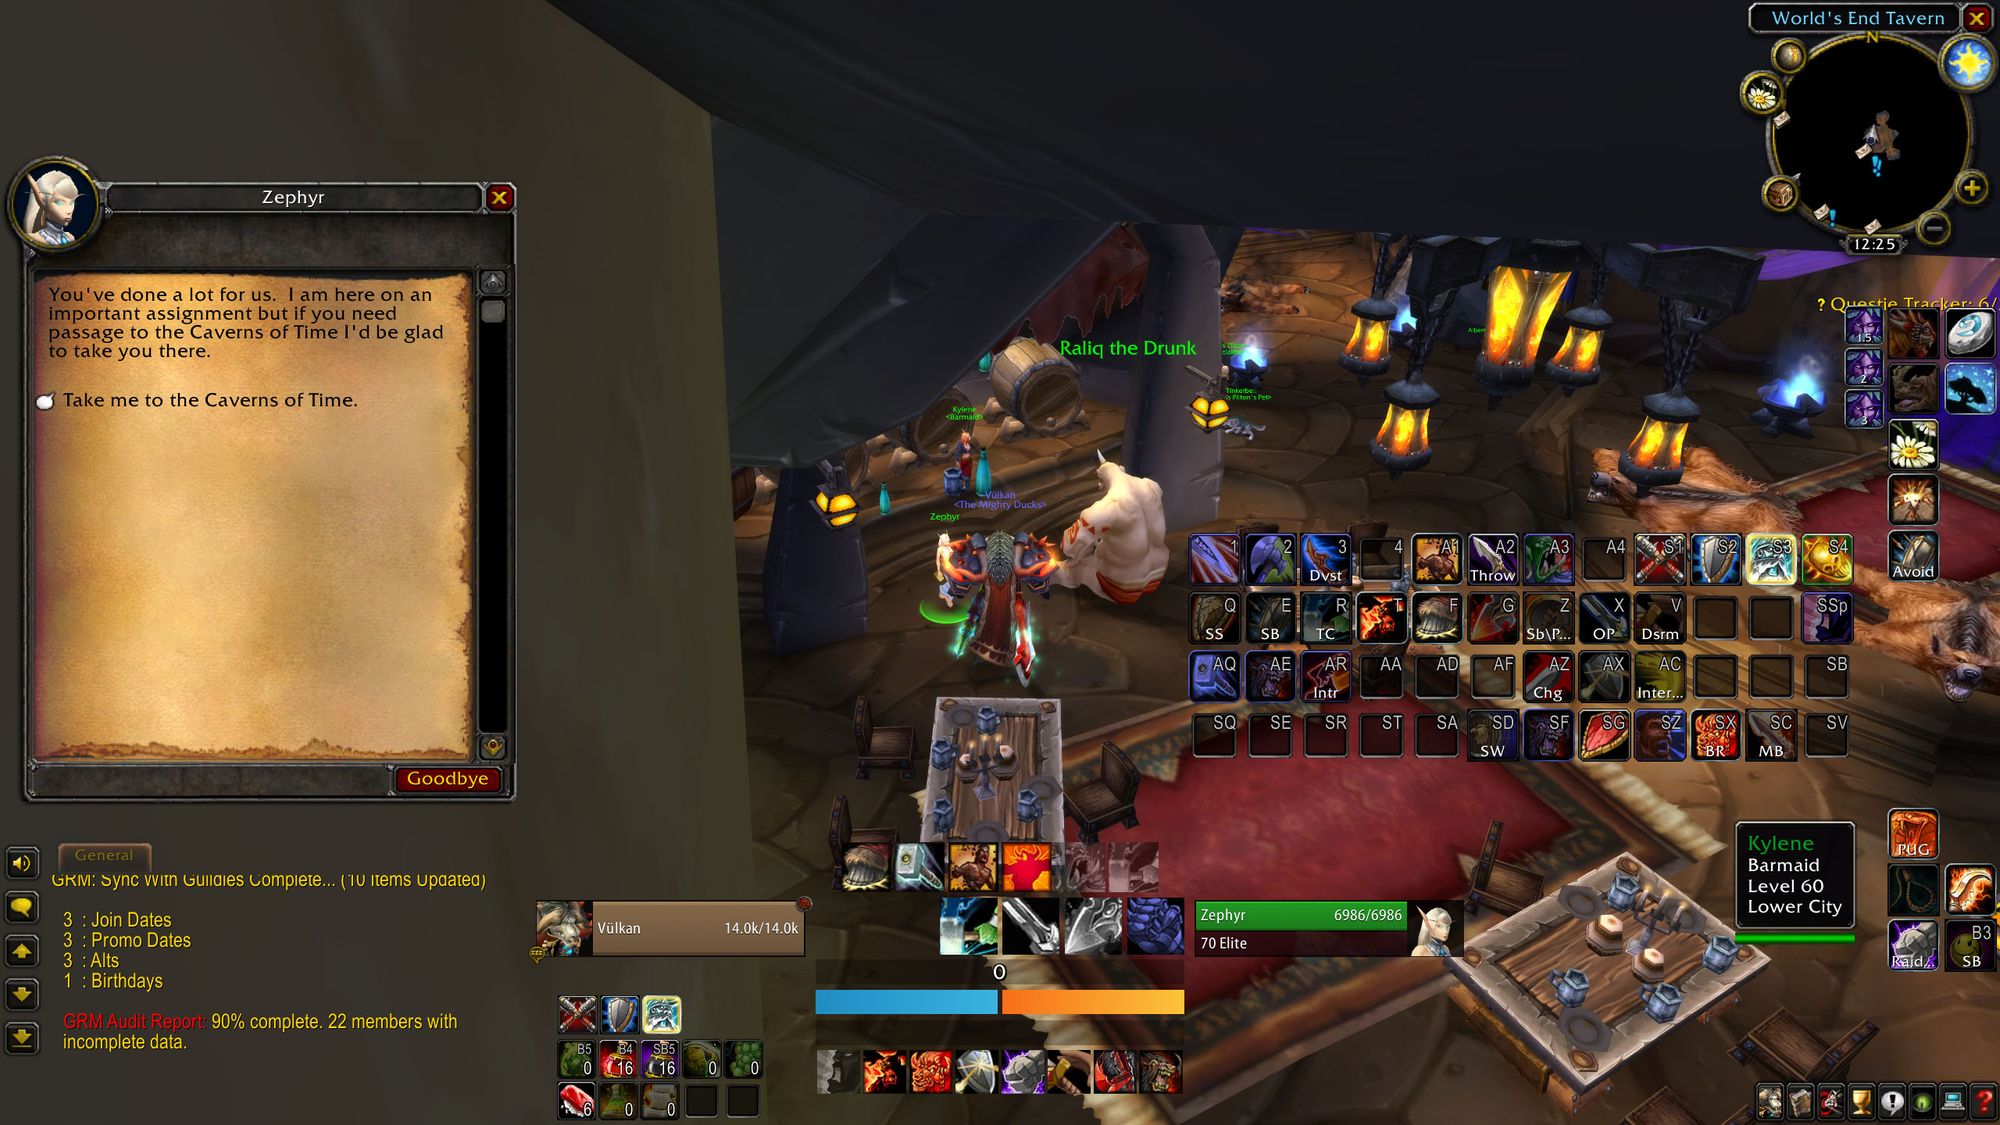
The second is that in phase 4, a member of the Bronze Dragonflight was added to the World's End Tavern in Shattrath City who can teleport you instantly to the Caverns of Time. Prior to this, you were required to fly out there. Although this is nothing new, considering you had to undertake the same process for the two dungeons in the Caverns of Time, Old Hillsbrad (OHB) and Black Morass (BM).
Also, it's not quite attunement, but it is mandatory (unless you're undead, a mage, or a warrior) for you to have an medallion of the horde. You'll need it for Rage Winterchill, boss one, and Archimonde, boss five.
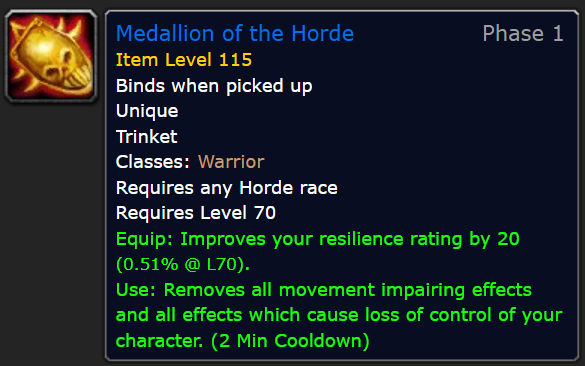
To make a lot of honor in a hurry, Alterac Valley weekend was the go. An average of 400 honor a game, games over in ten minutes, you'd have everything you need for your shiny insignia in about two hours.
(Editor's Note: Prior to the launch of Mount Hyjal, both the amount of honor for World PvP dailies was quadrupled, and the honor cost for the insignia was cut in half. So you had to do maybe two quests and five Alterac Valleys and you had your trinket.)
With that out of the way, let's talk about how trash and bosses work until you get to Archimonde, the fifth boss.
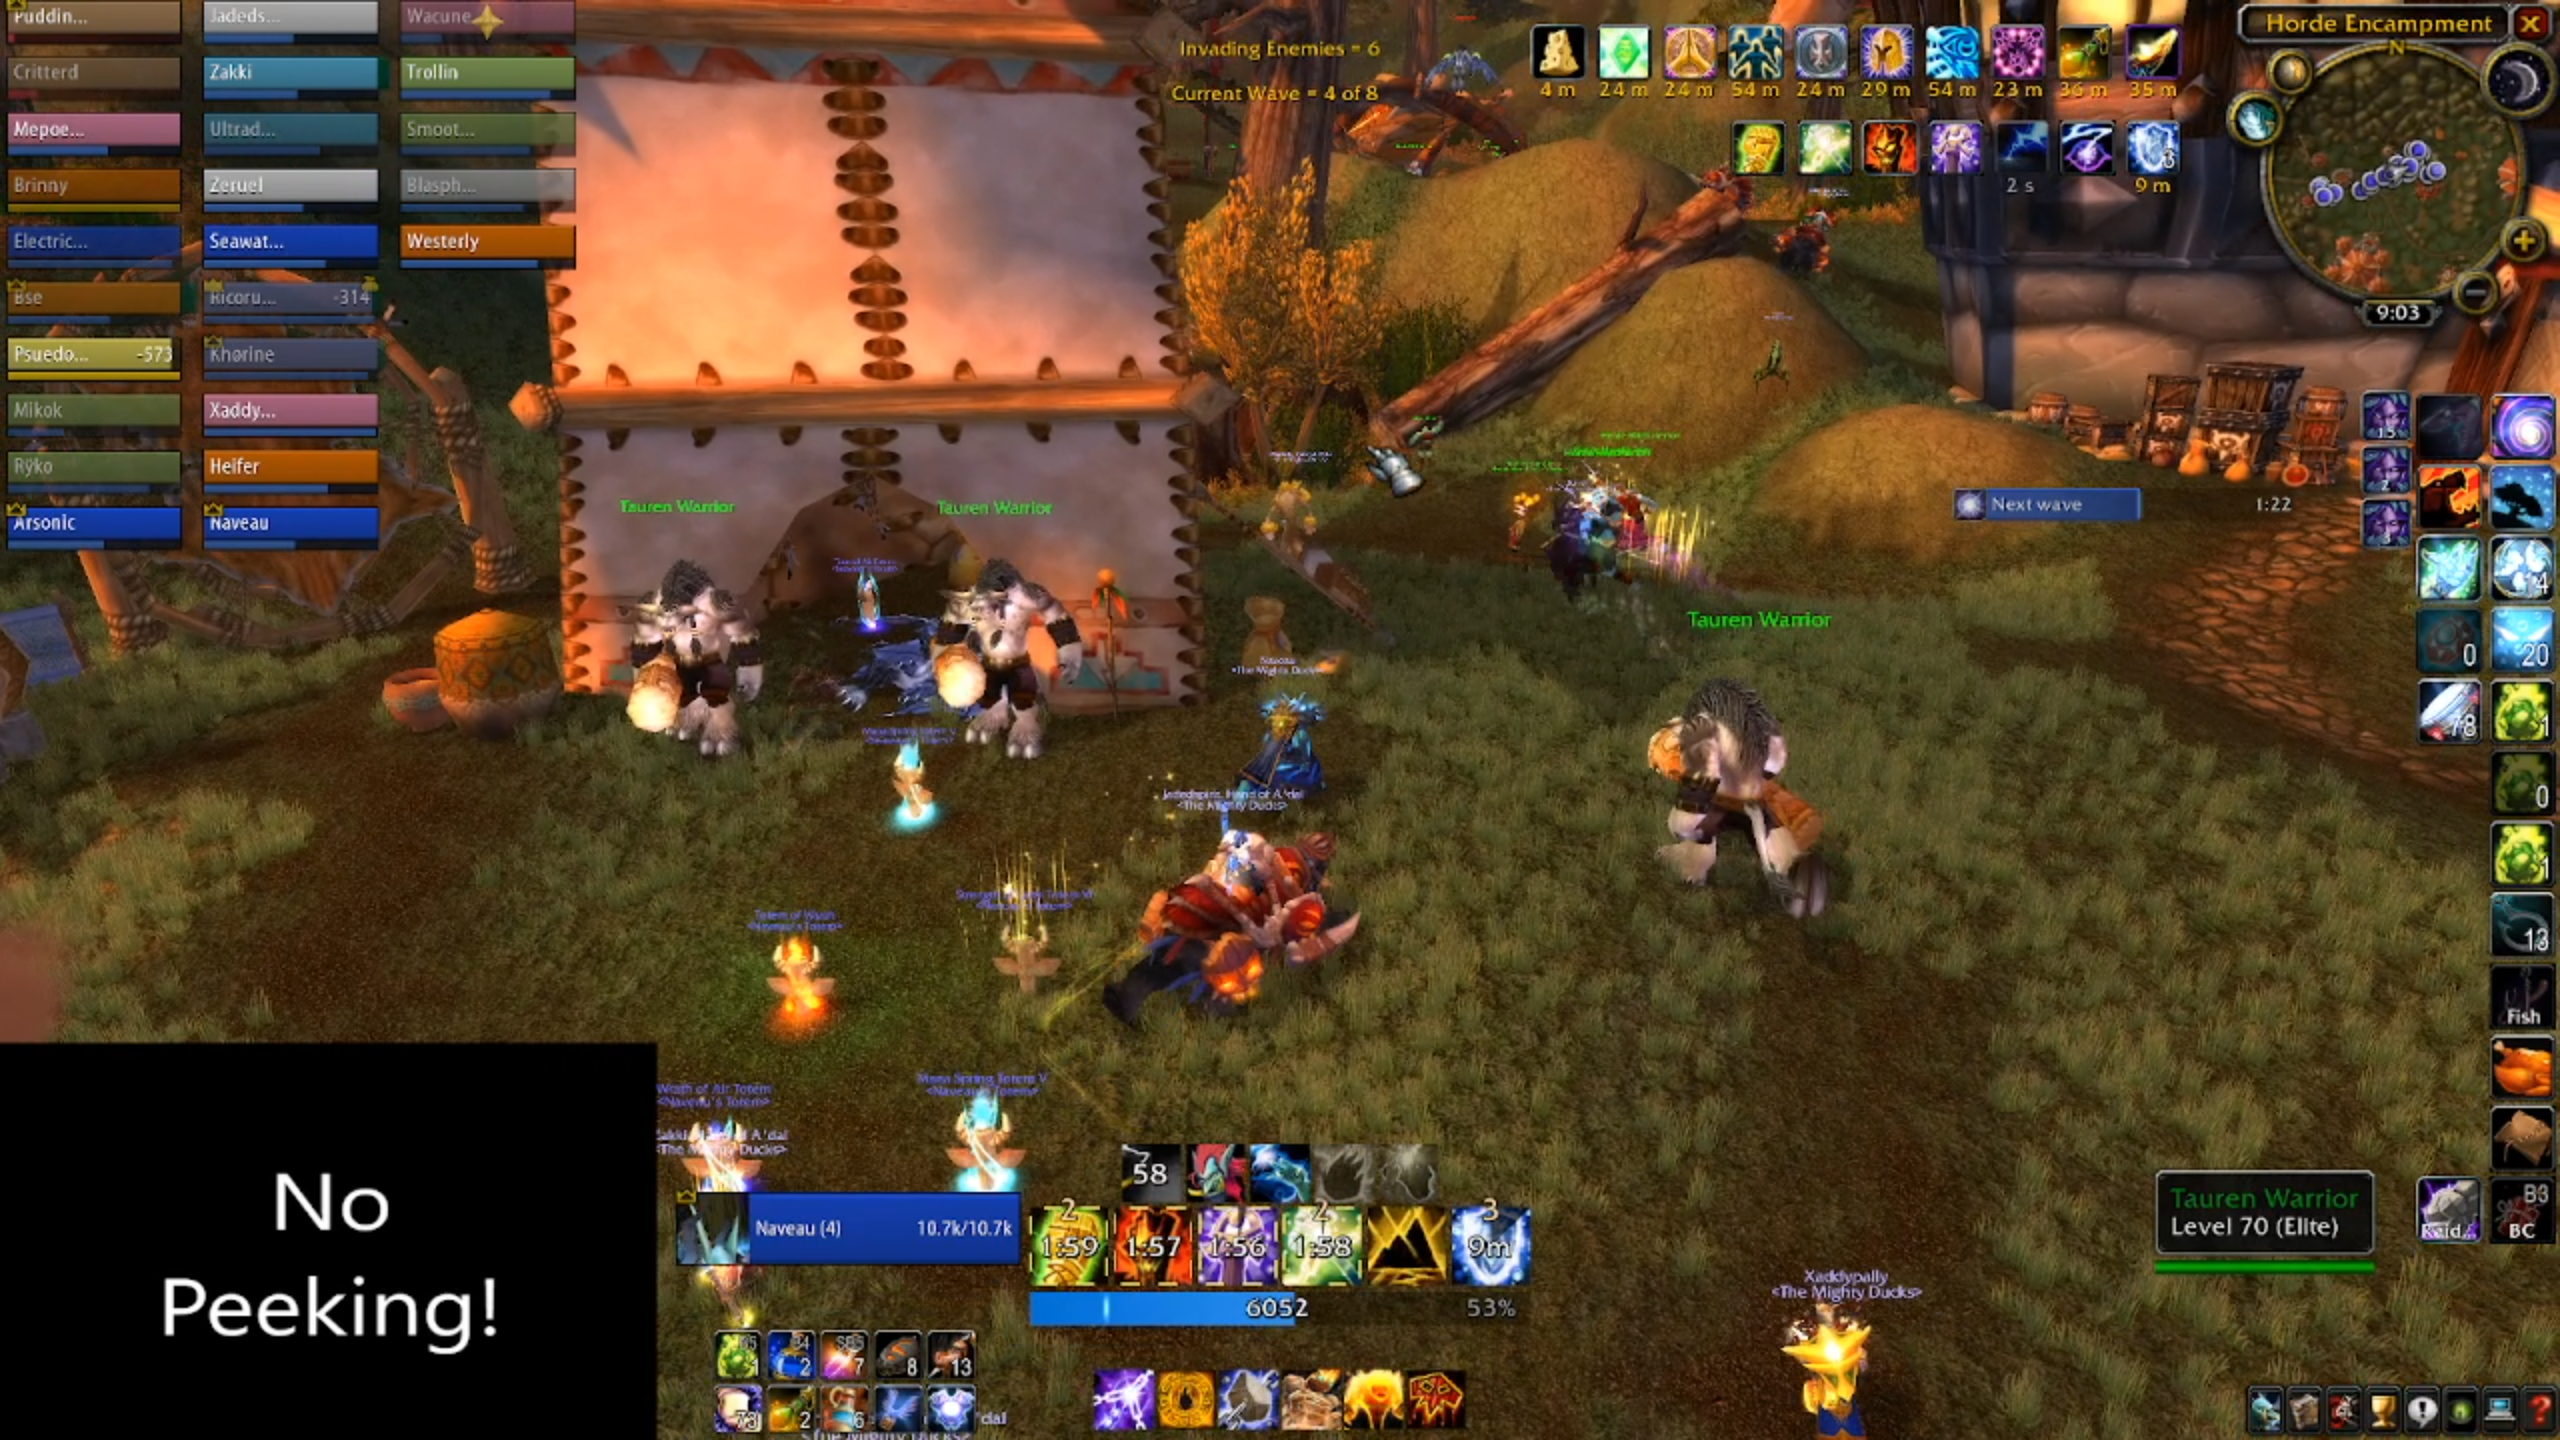
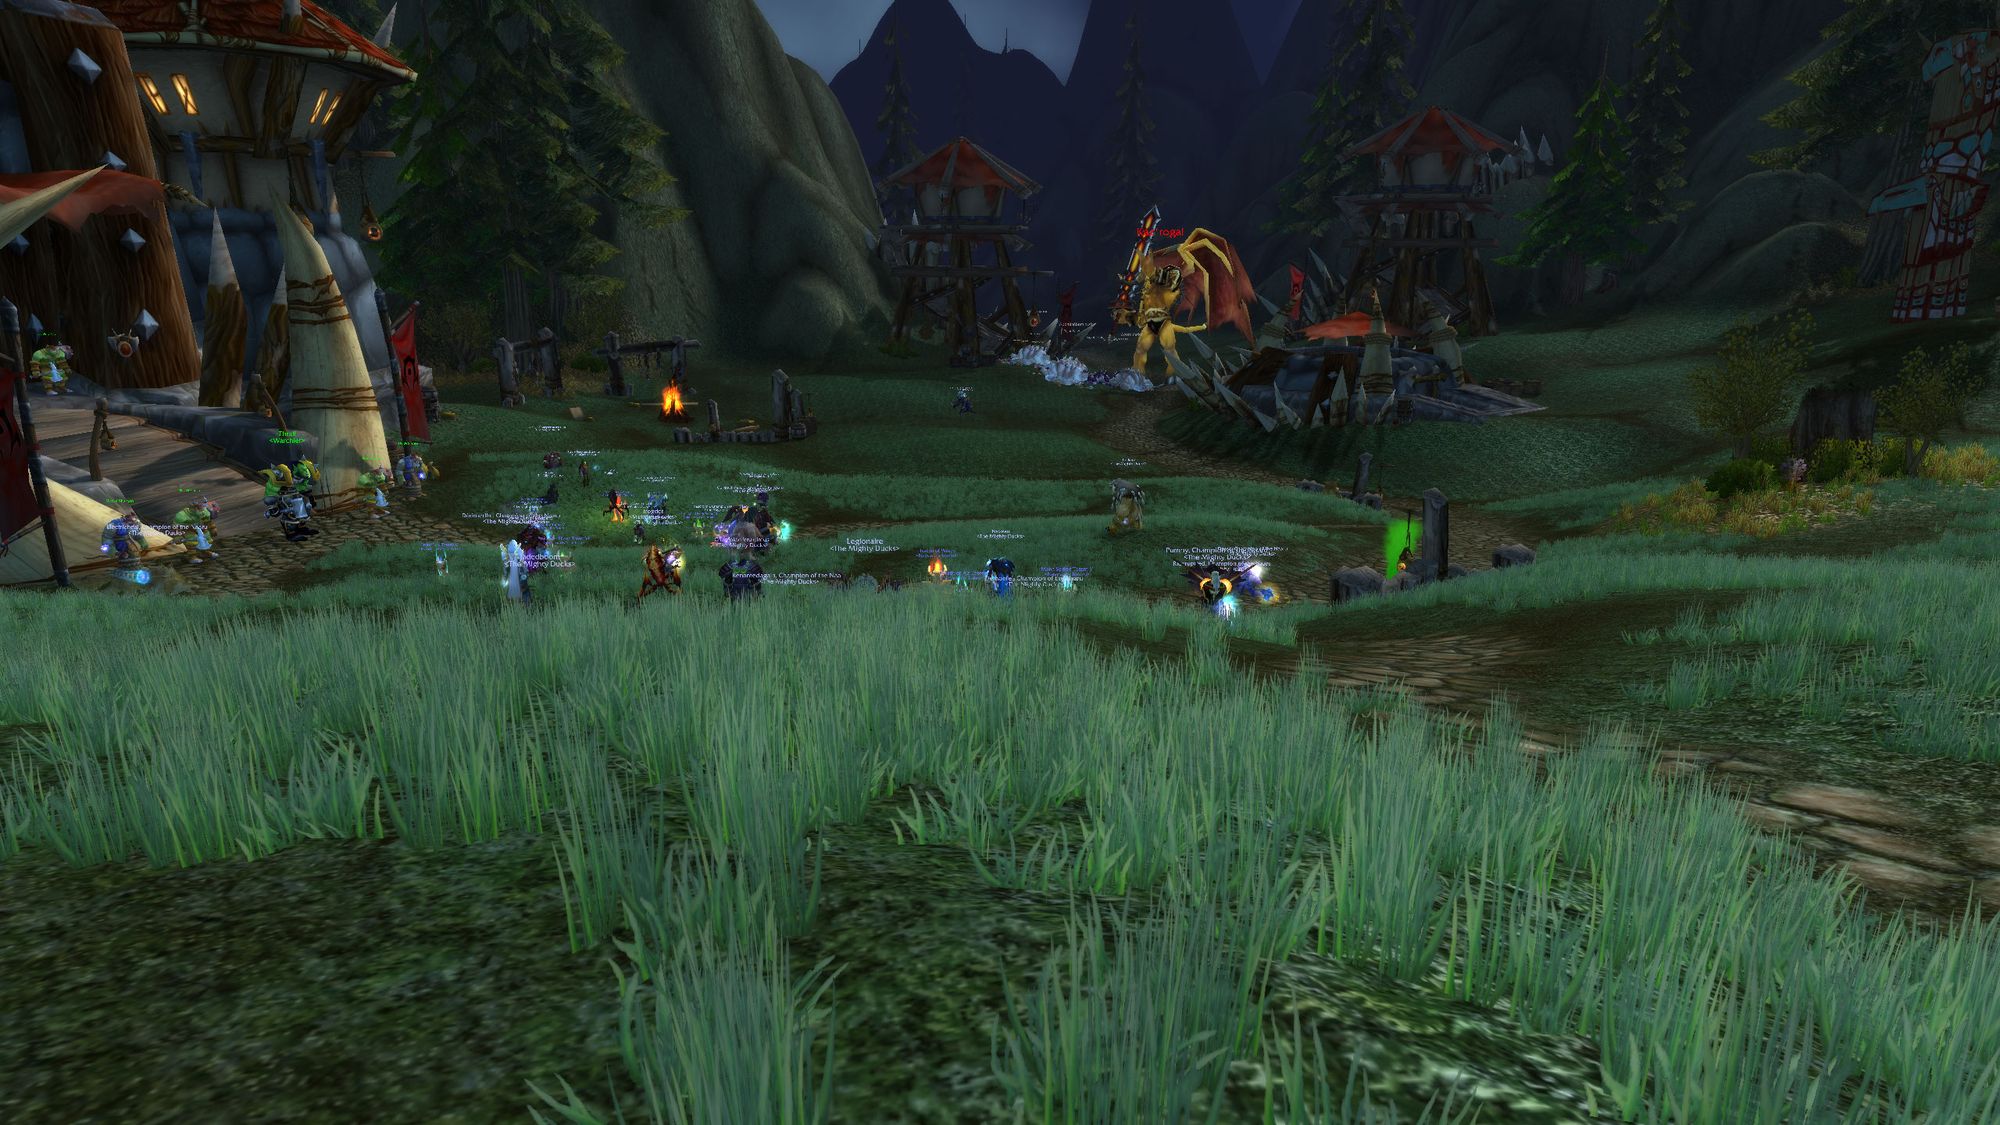
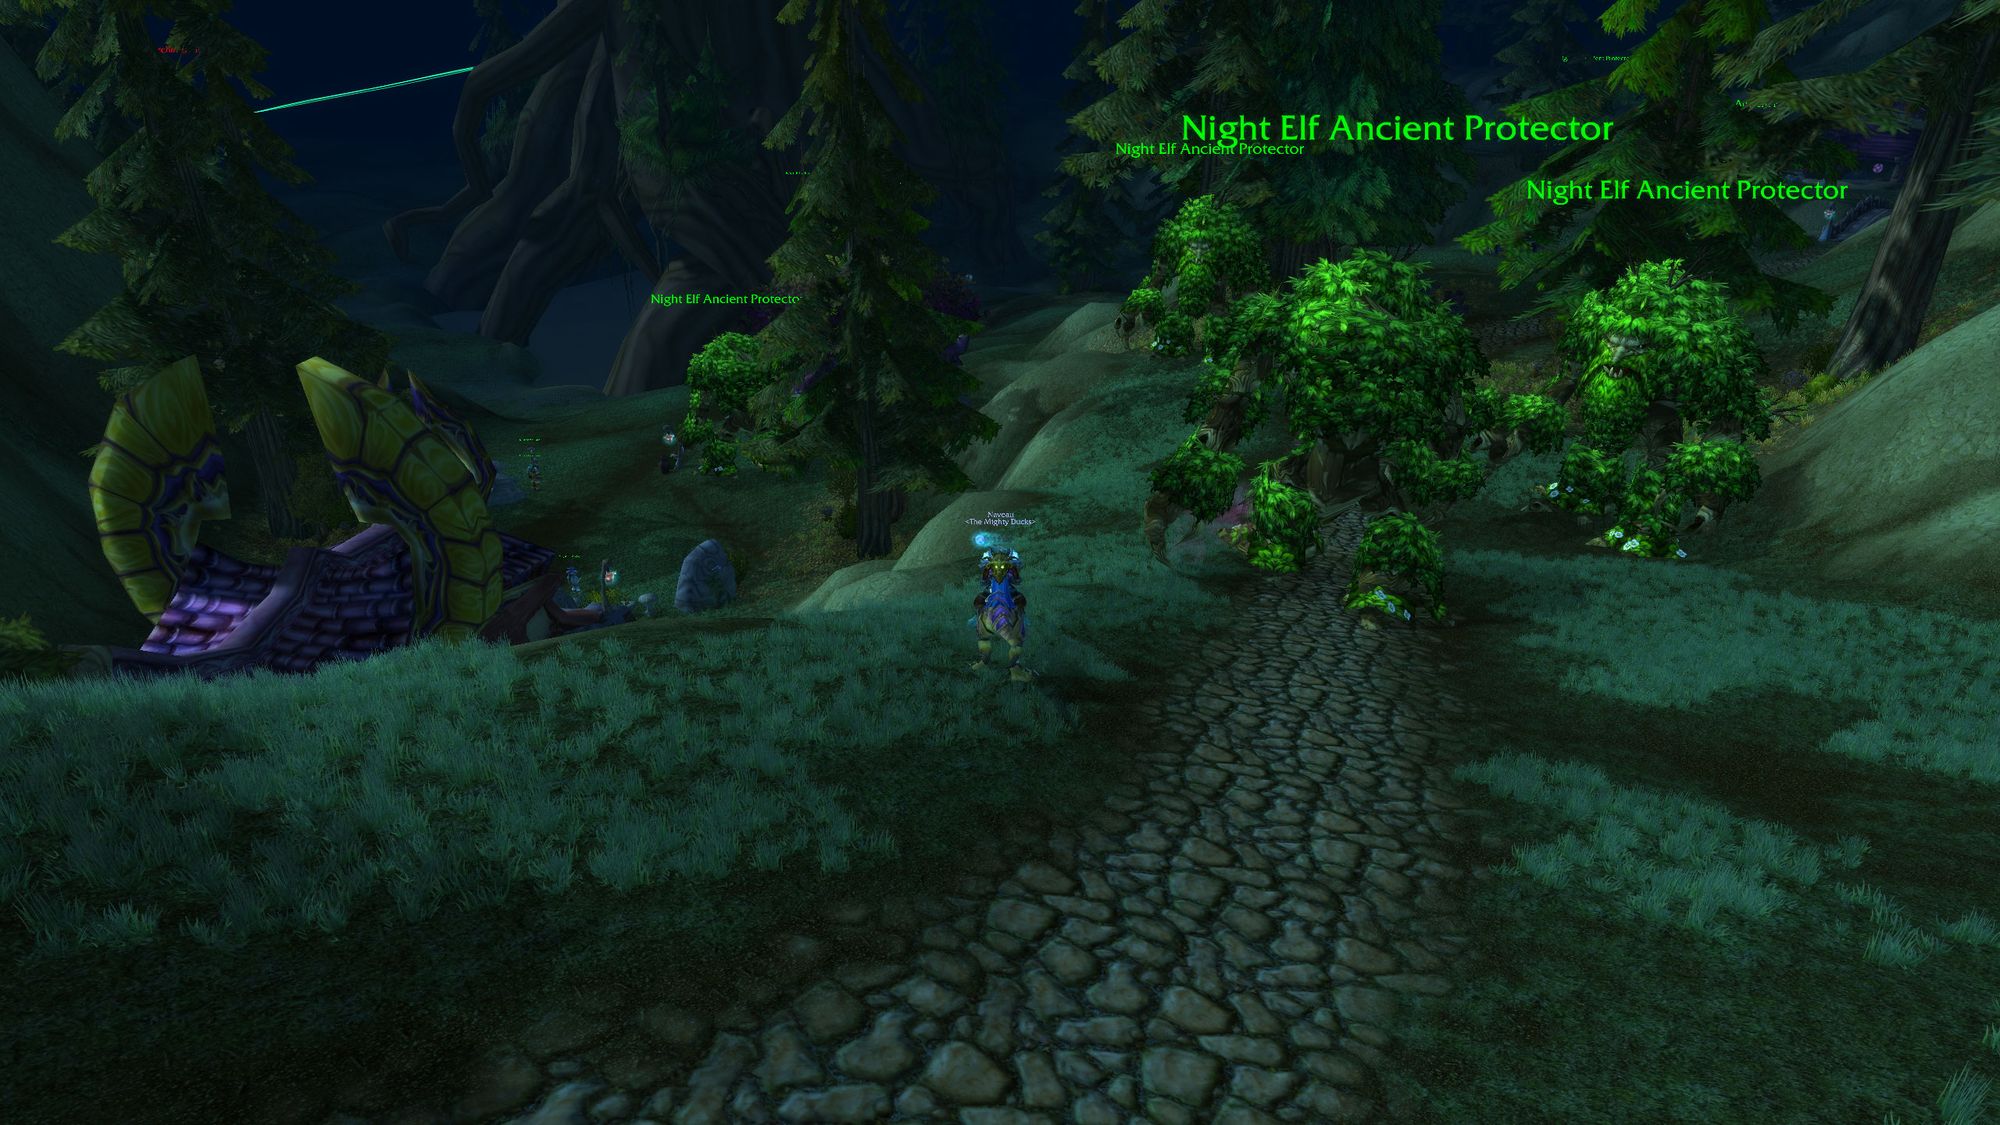
This raid is intended to be a tribute to the final mission of Warcraft III, where you hold off waves of Scourge, slowly falling back and buying time until you have to battle Archimonde. To that end there are three camps: human, orc and night elf, and your enemies are almost exclusively either undead or demons.
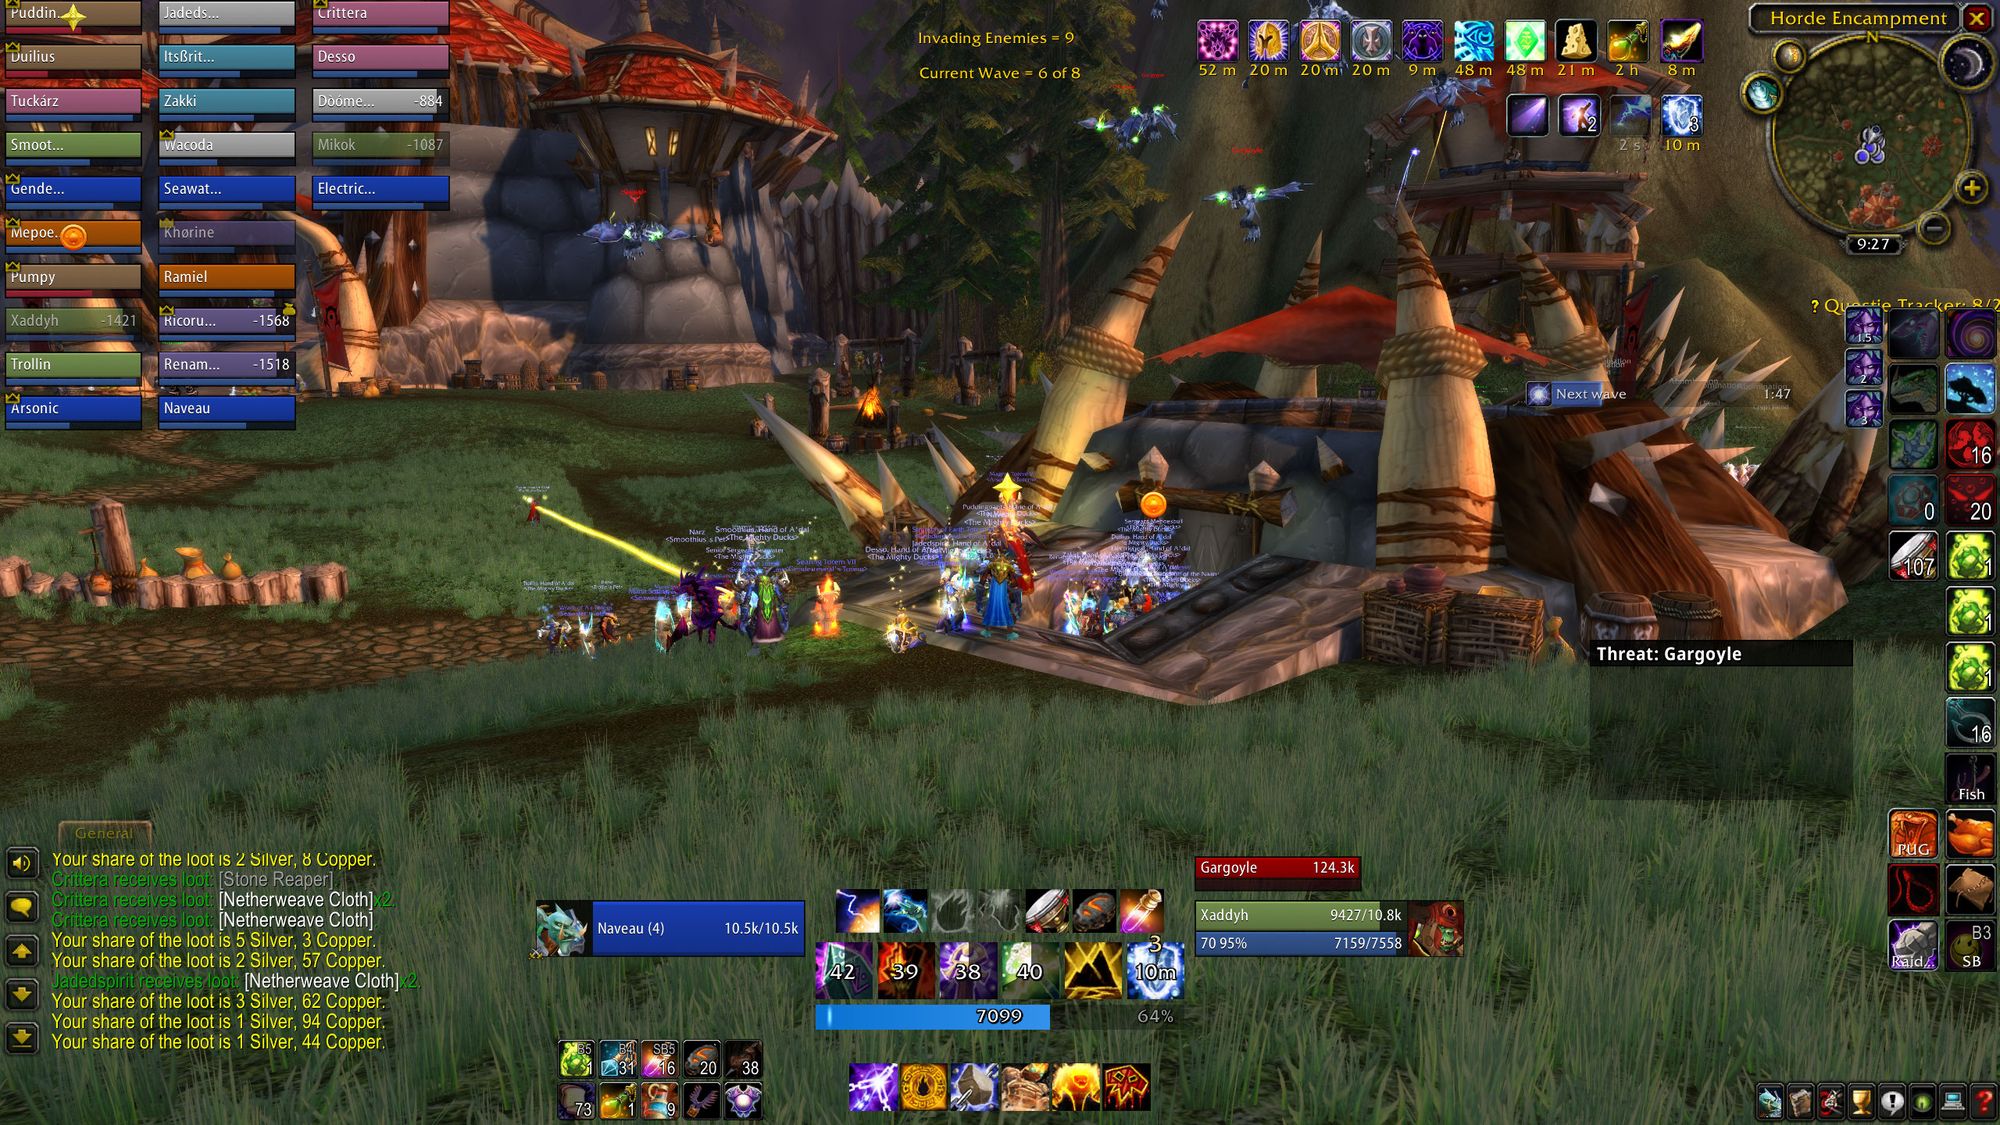
You will fight two bosses at the human and orc camps for a total of four. The catch, is that before each boss you have to fight eight waves of trash. If you wipe on trash, or the boss, you have to do all eight waves again before you can have another attempt at the boss. There are some waves that are powerful enough to wipe a group, and the bosses are always capable of wiping a group, particularly at the orc camp.
The enemy waves don't start until you speak to the personality at either camp - Jaina and Thrall, respectively. Depending on where you position your raid, you may also recieve assistance from NPCs at either camp, but this is not reliable. If either camp leader dies (which is highly unlikely, but we're talking hypotheticals here) the group will wipe, and it'll take eight minutes for the leader to respawn to reinitiate the "encounter".
Shocking no-one, the first four bosses and their respective waves of enemies are a test of endurance. Players need to take advantage of gaps in combat to recover mana and health, tanks need to manage multiple high-threat targets, classes that are capable of interrupting and disrupting enemy spellcasters need to coordinate with each other. Blood Elves and engineers should take full advantage of their AoE silence abilities (Arcane Torrent and Arcane Bombs, respectively), and the entire raid should be aware of danger waves that can wipe the group.
Despite how grim and draconic I'm making it sound, Mount Hyjal, particularly with a solidly geared group, is not particularly difficult. The first three, even four bosses, even with an undergeared group, are absolutely gettable, with only Archimonde being the real test.
One last thing to be aware of, is that once you've gone through the lobby and entered the raid instance properly, there's no way to leave. If for any reason everyone needs to exit the instance, the only way out is to die.
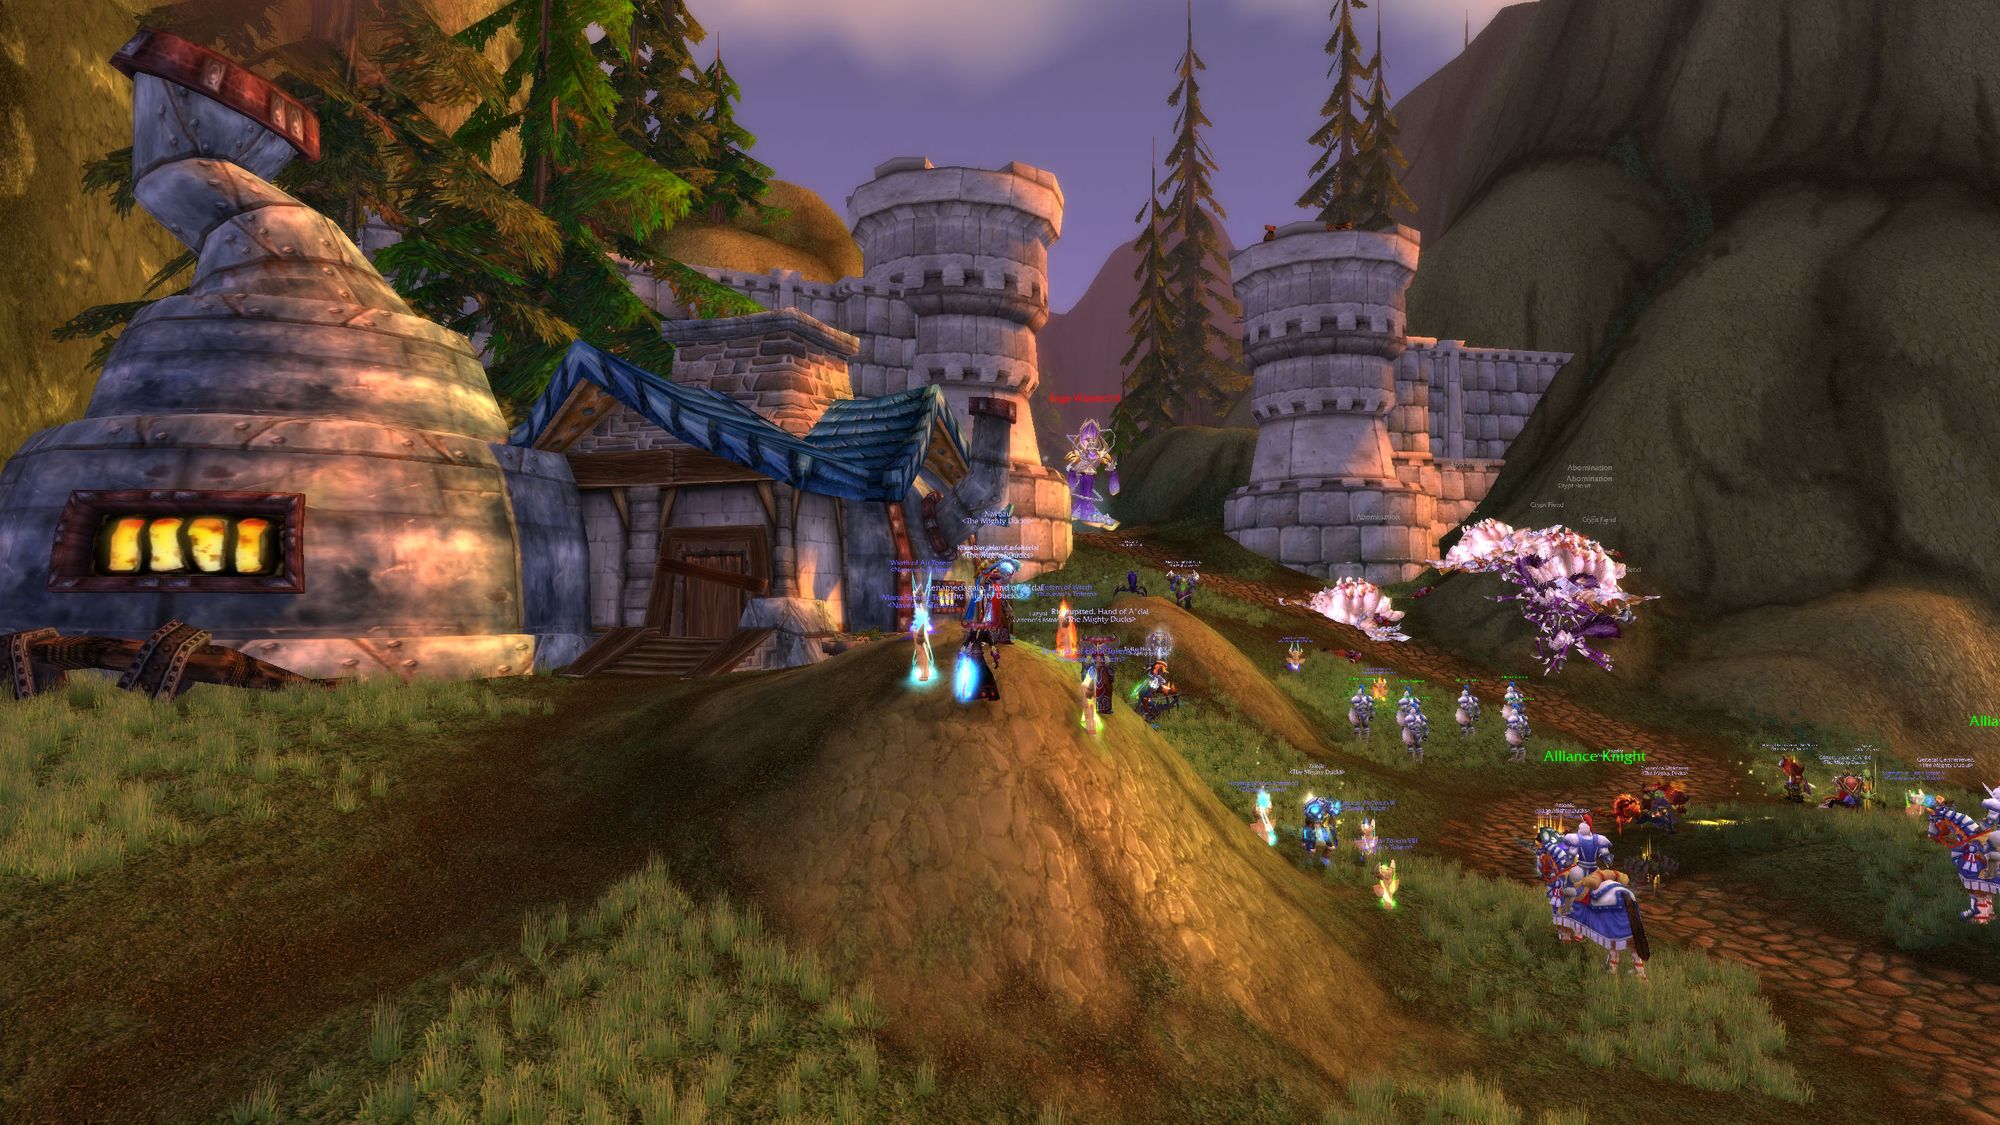
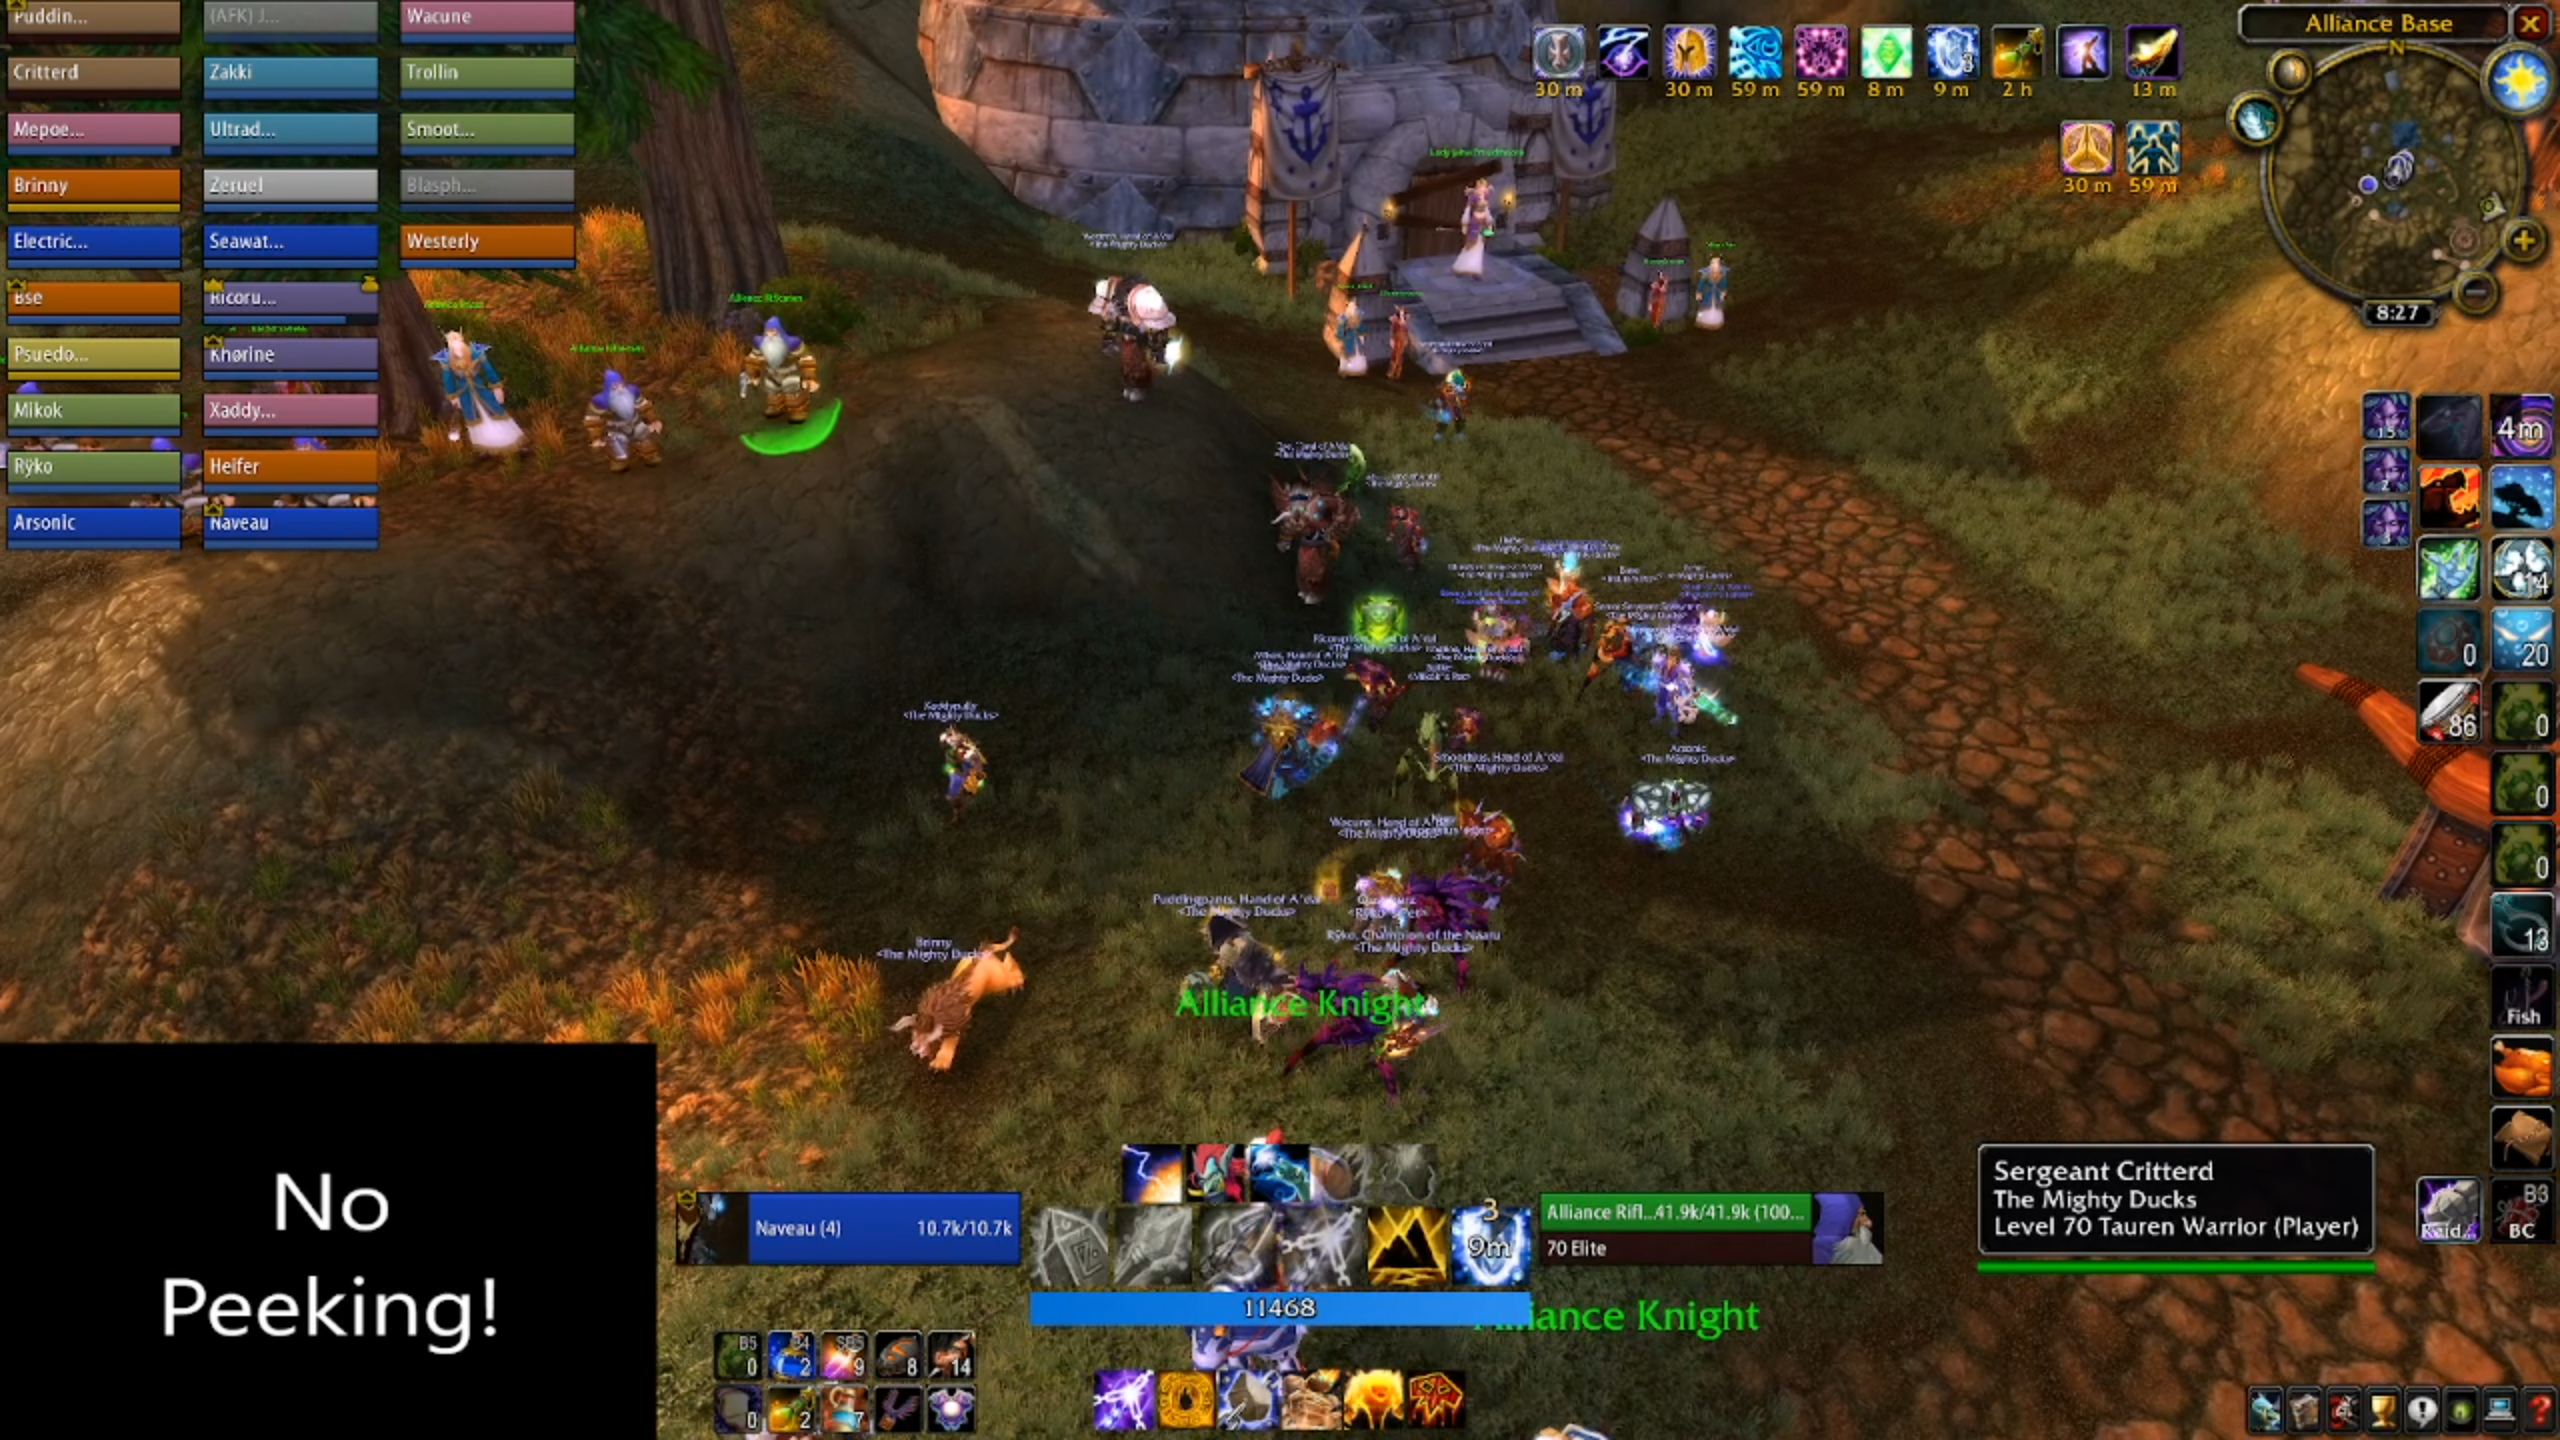
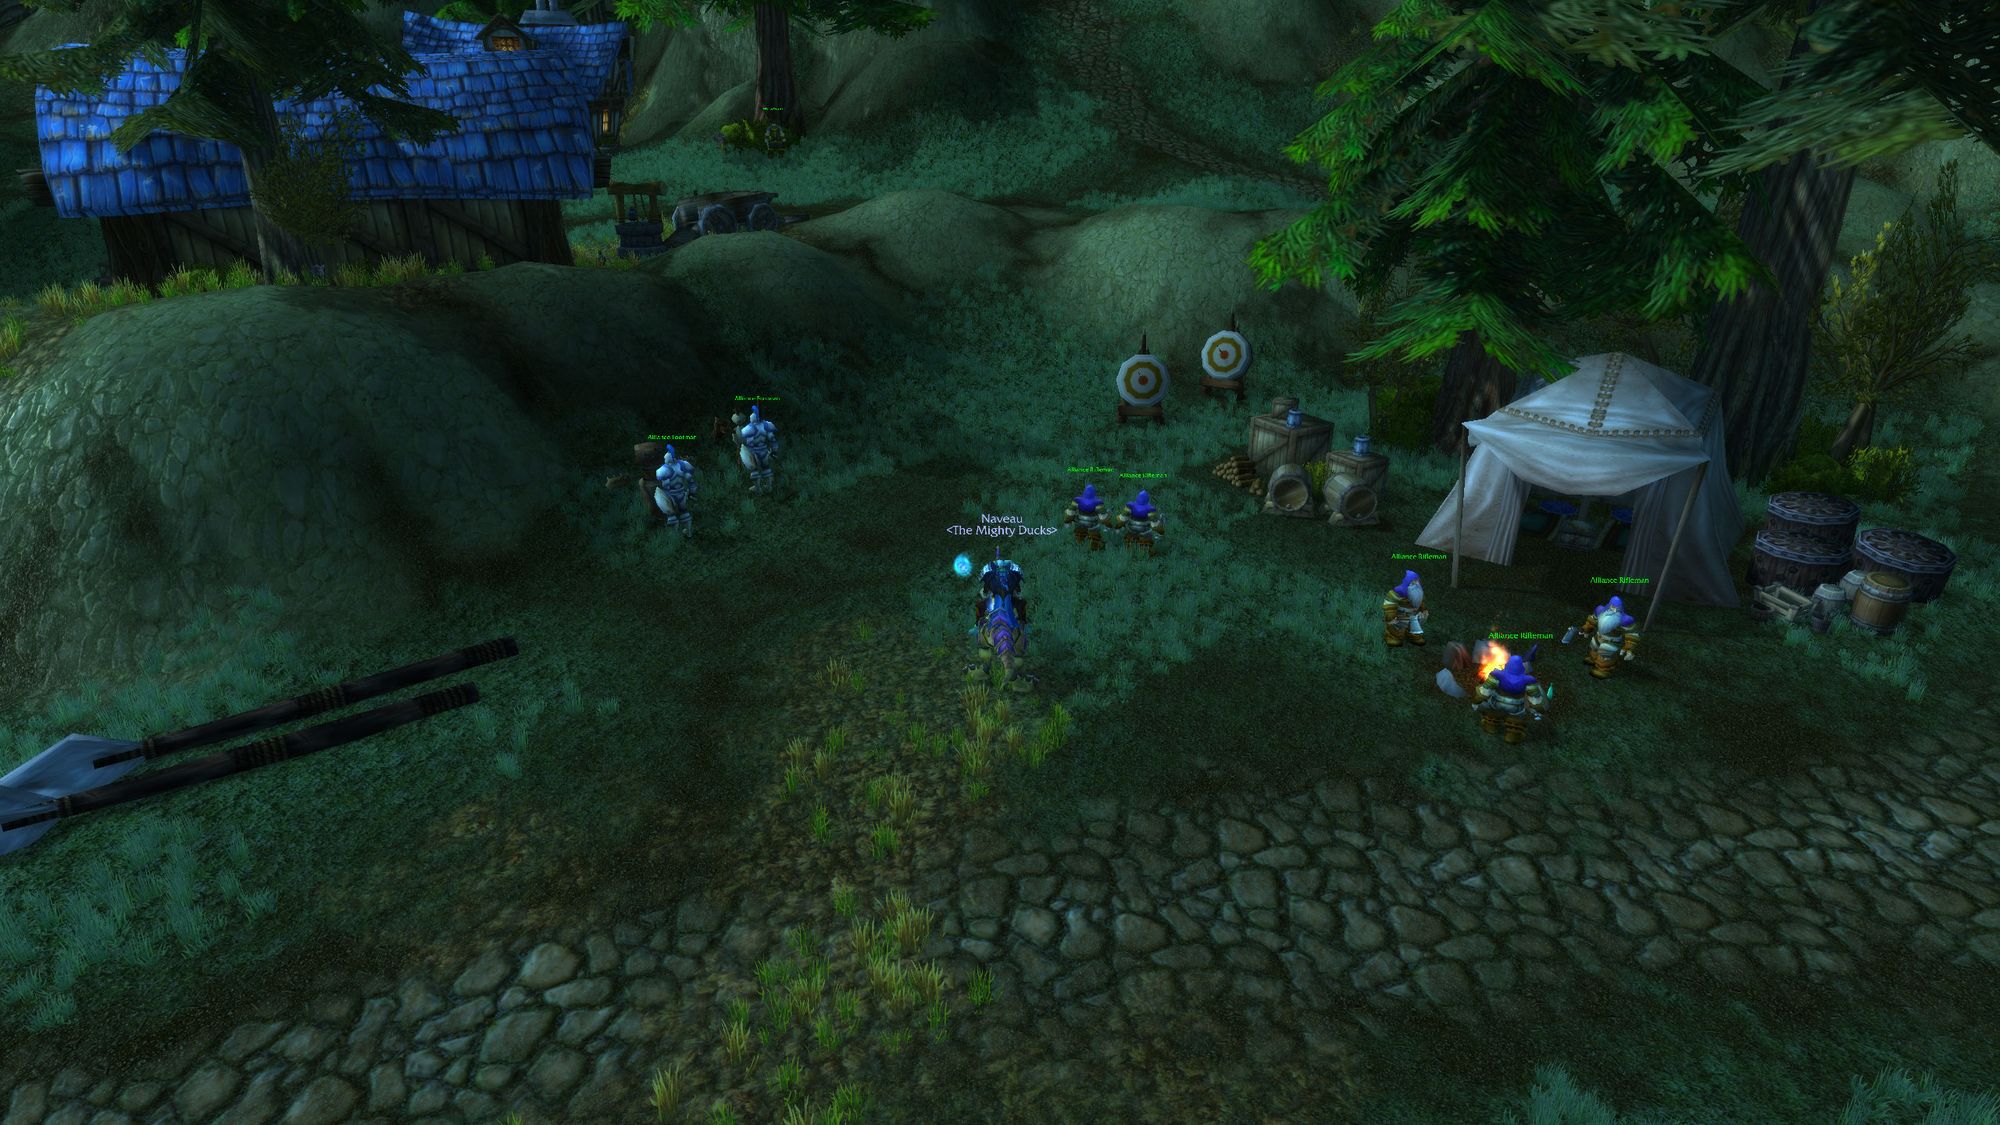
Regardless, once everyone's assembled at the human camp, buffed, briefed and buckled down, talk to Jaina to get the first set of trash going.
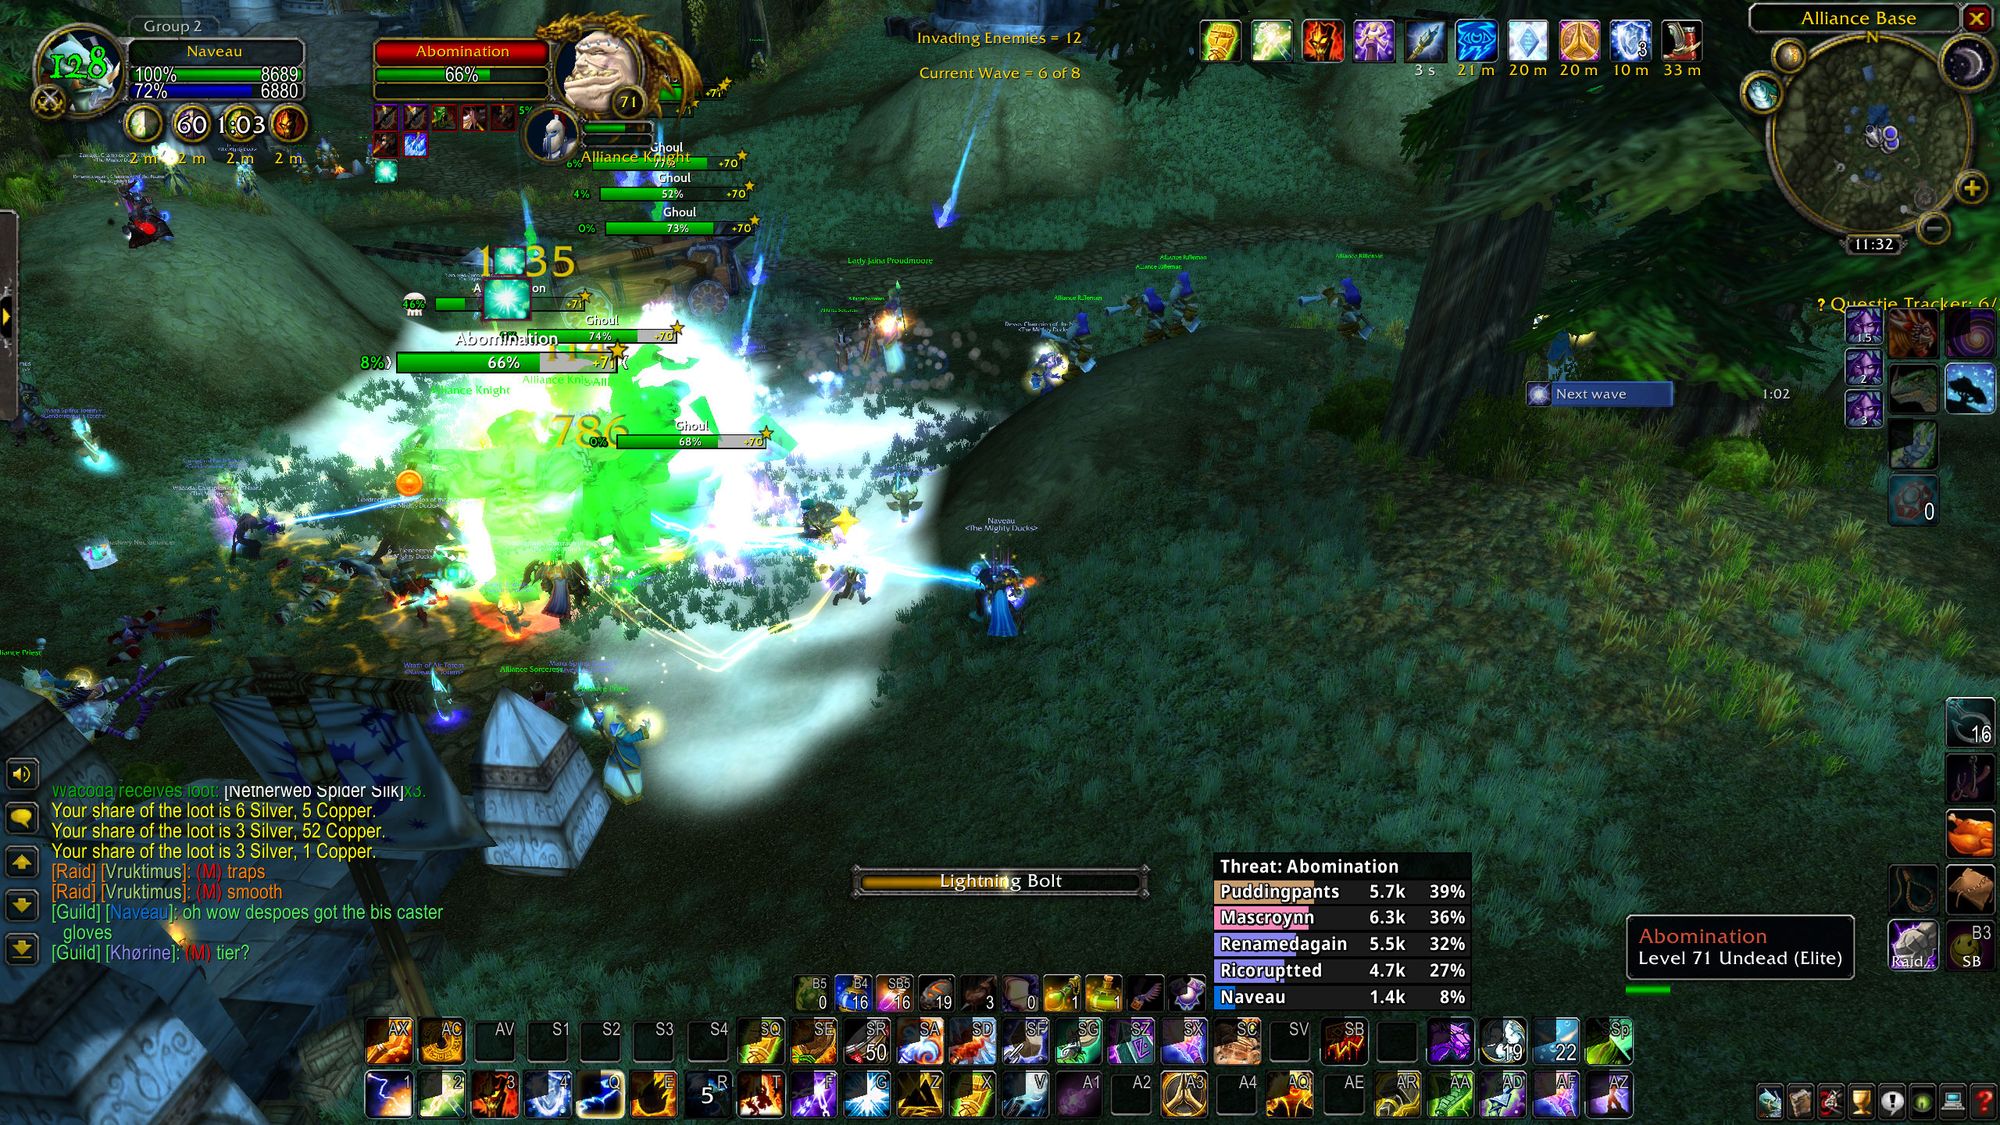
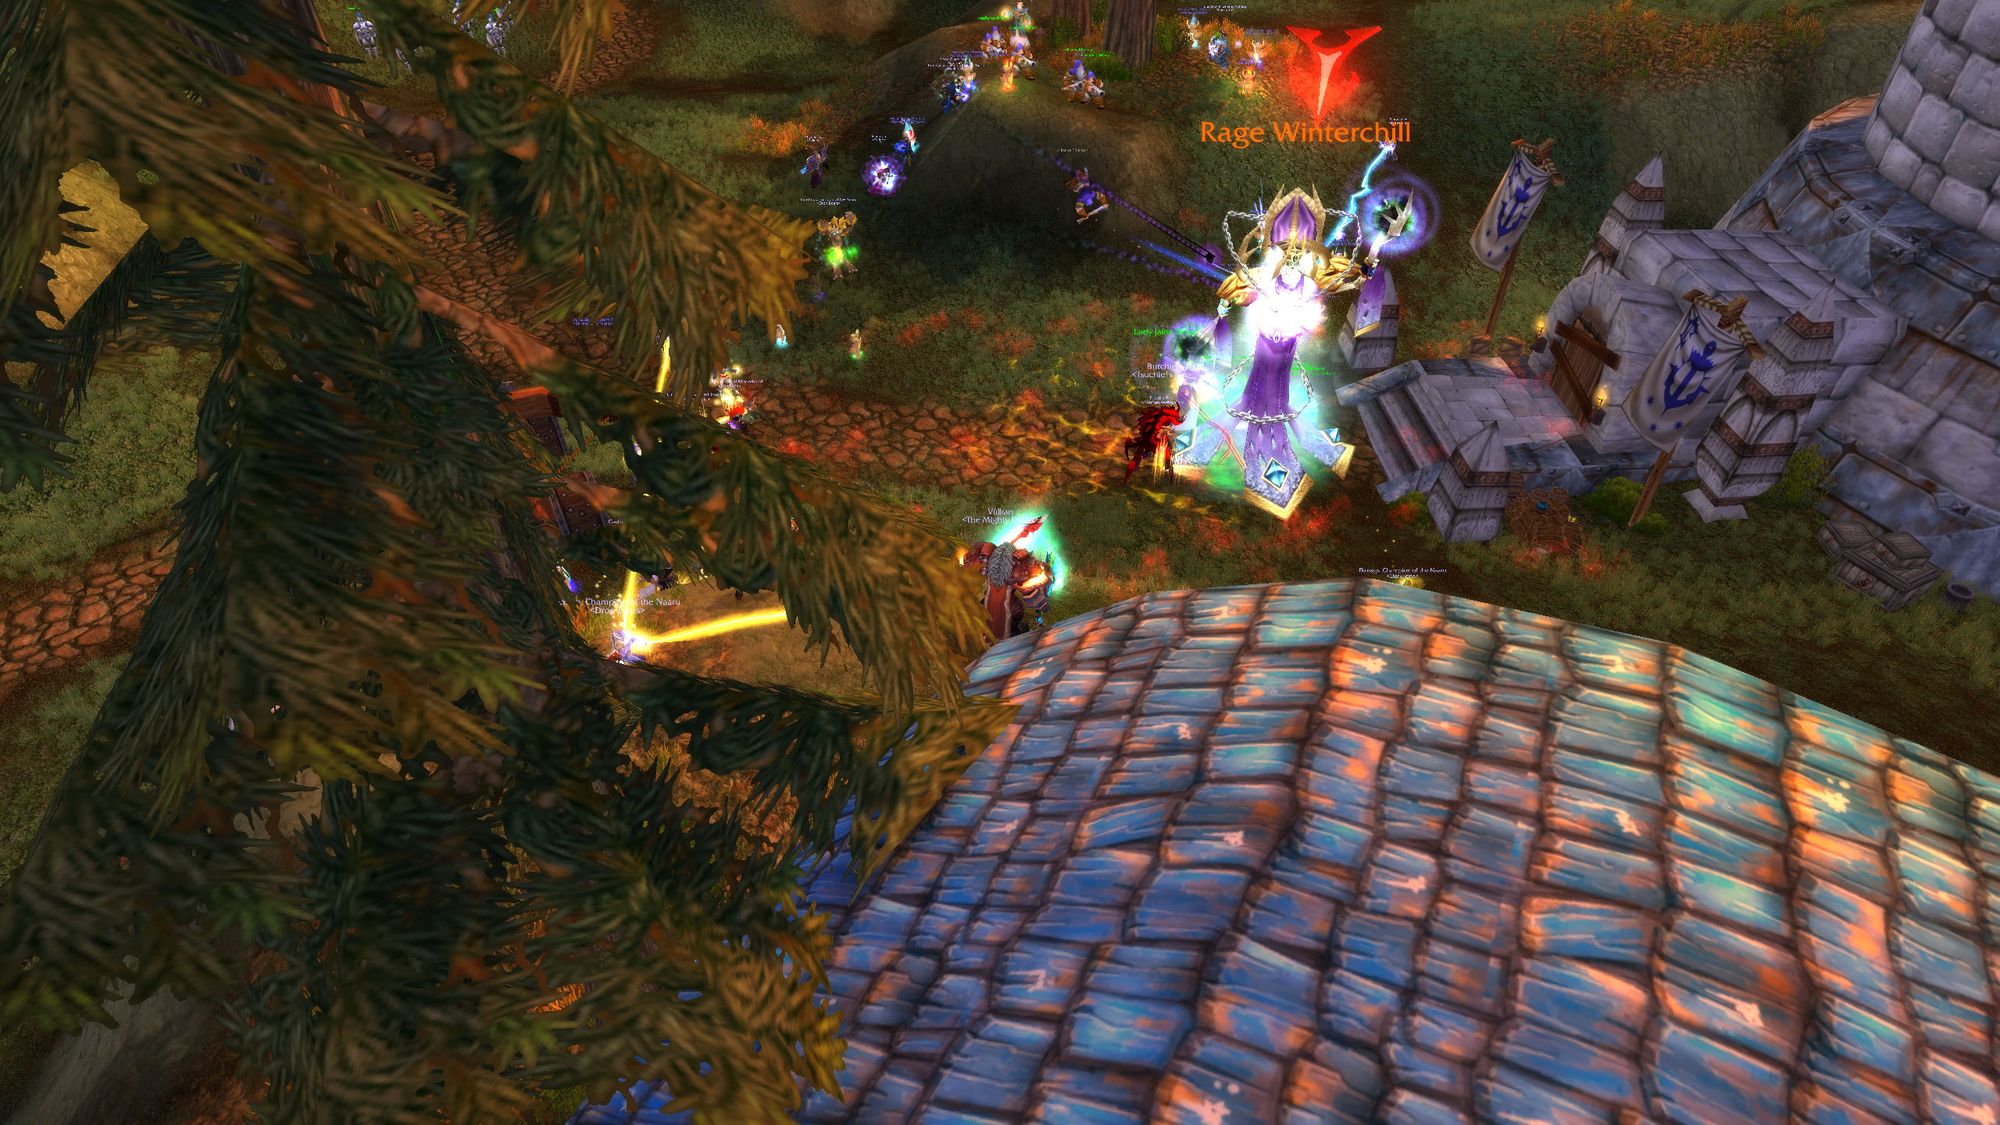
Boss One - Rage Winterchill
To be clear, a paladin tank is not optional for this raid. Each trash wave is comprised of twelve enemies, and both the warrior and druid have their AoE abilities hard capped. Most waves will consist of low damage, high health targets and so being able to make use of spell cleave from spells like Seed of Corruption and Arcane Explosion is vital to make good pace through the trash, particularly after a wipe.
Without a paladin to hold the lion's share of enemies with consecrate, you will lose access to these tools, and the raid's progress will be impossibly slow as a result.
Additionally, because paladins are able to generate so much threat on an wave of trash, it's not uncommon for a bear and warrior to just pick a single mob and pray they can hold it off the paladin. This means your warrior and druid need to be searching for the mobs that present the biggest danger (such as abominations) and your healers need to be prepared to baby the paladin.
Because the trash is part of each raid boss, I'll go over the types of enemies you can expect in each wave, and potential danger waves, rather than arduously writing out what is in each wave, because that's boring, and if you really want, you can find that information here, among other places. It's a five second google search.
In terms of positioning for the human camp trash, you'll want to use the nook just inside the gate. You'll be able to stack your entire raid up on the rocks, and your paladin will be able to draw mobs over multiple consecrates to generate threat.
It's also worthwhile using slowing abilities, such as blizzard, freezing trap, and earthbind totem, for better control of mobs. This is very relevant on really dangerous packs with four or more abominations. Don't be afraid to have your paladin run packs of enemies around over consecrates whilst slowed, in lieu of tanking them traditionally, as a wipe will set you back anywhere from fifteen to thirty minutes, and it's not worth being a hero.
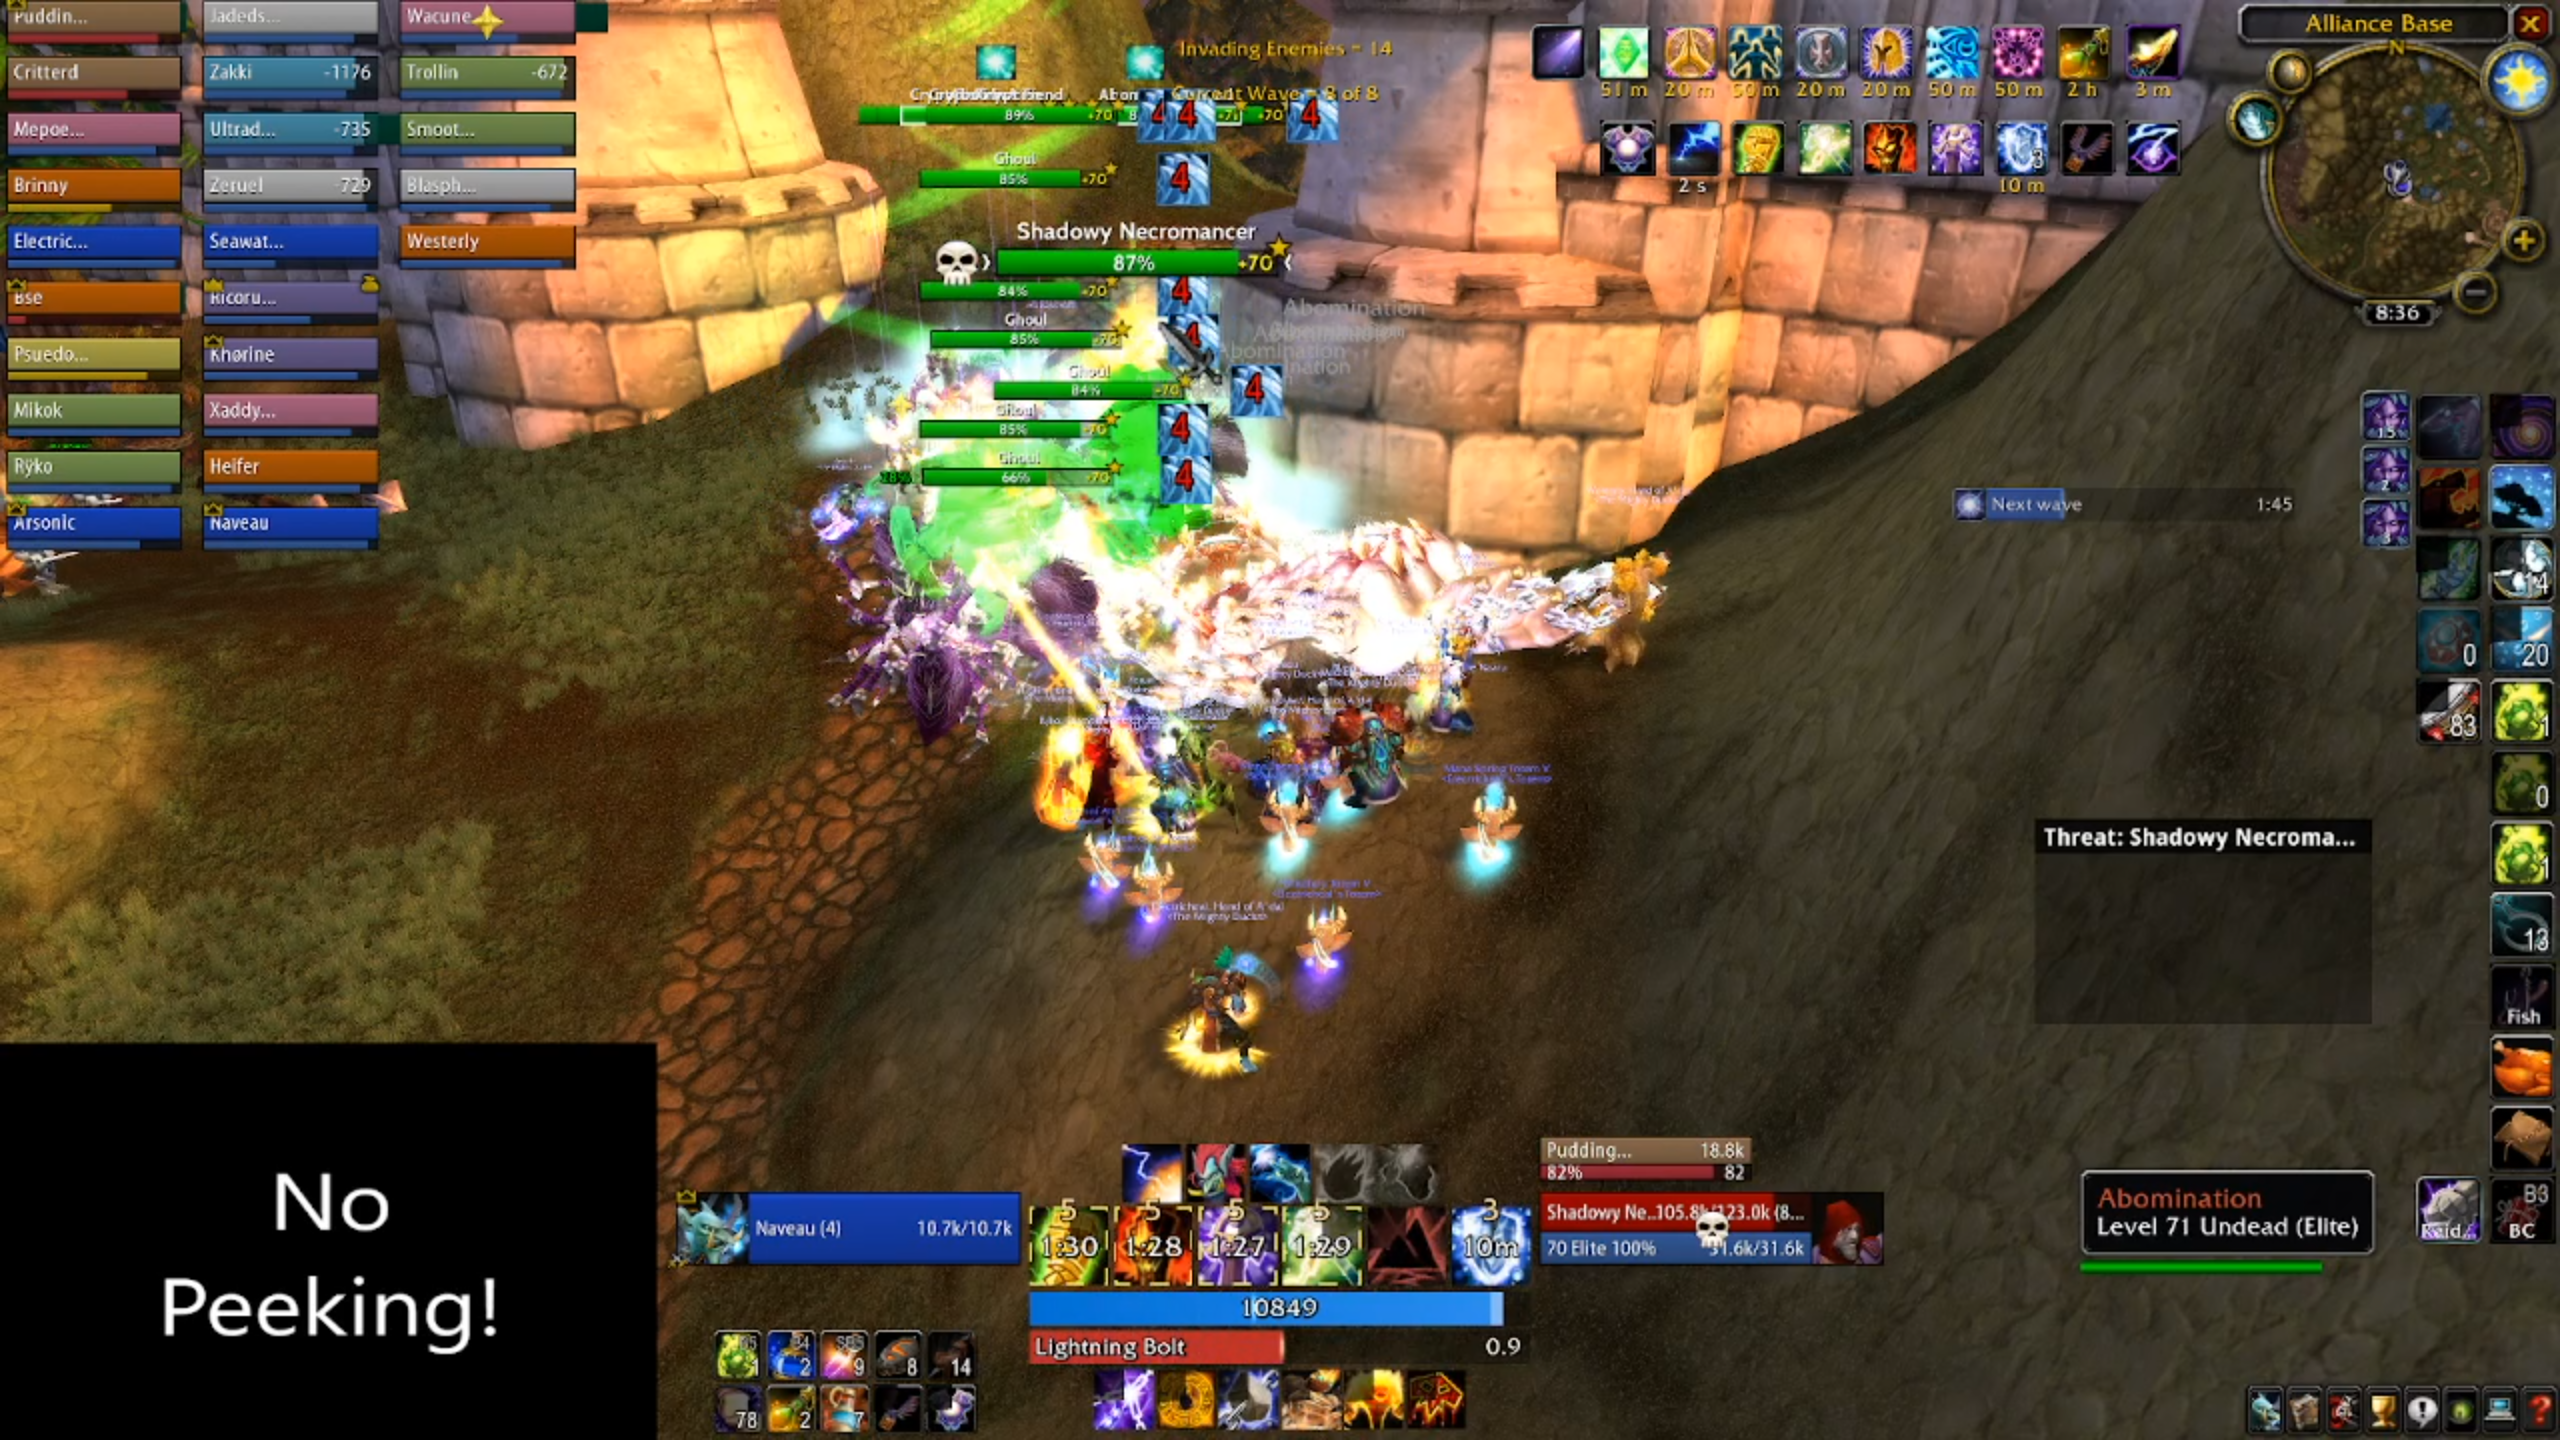
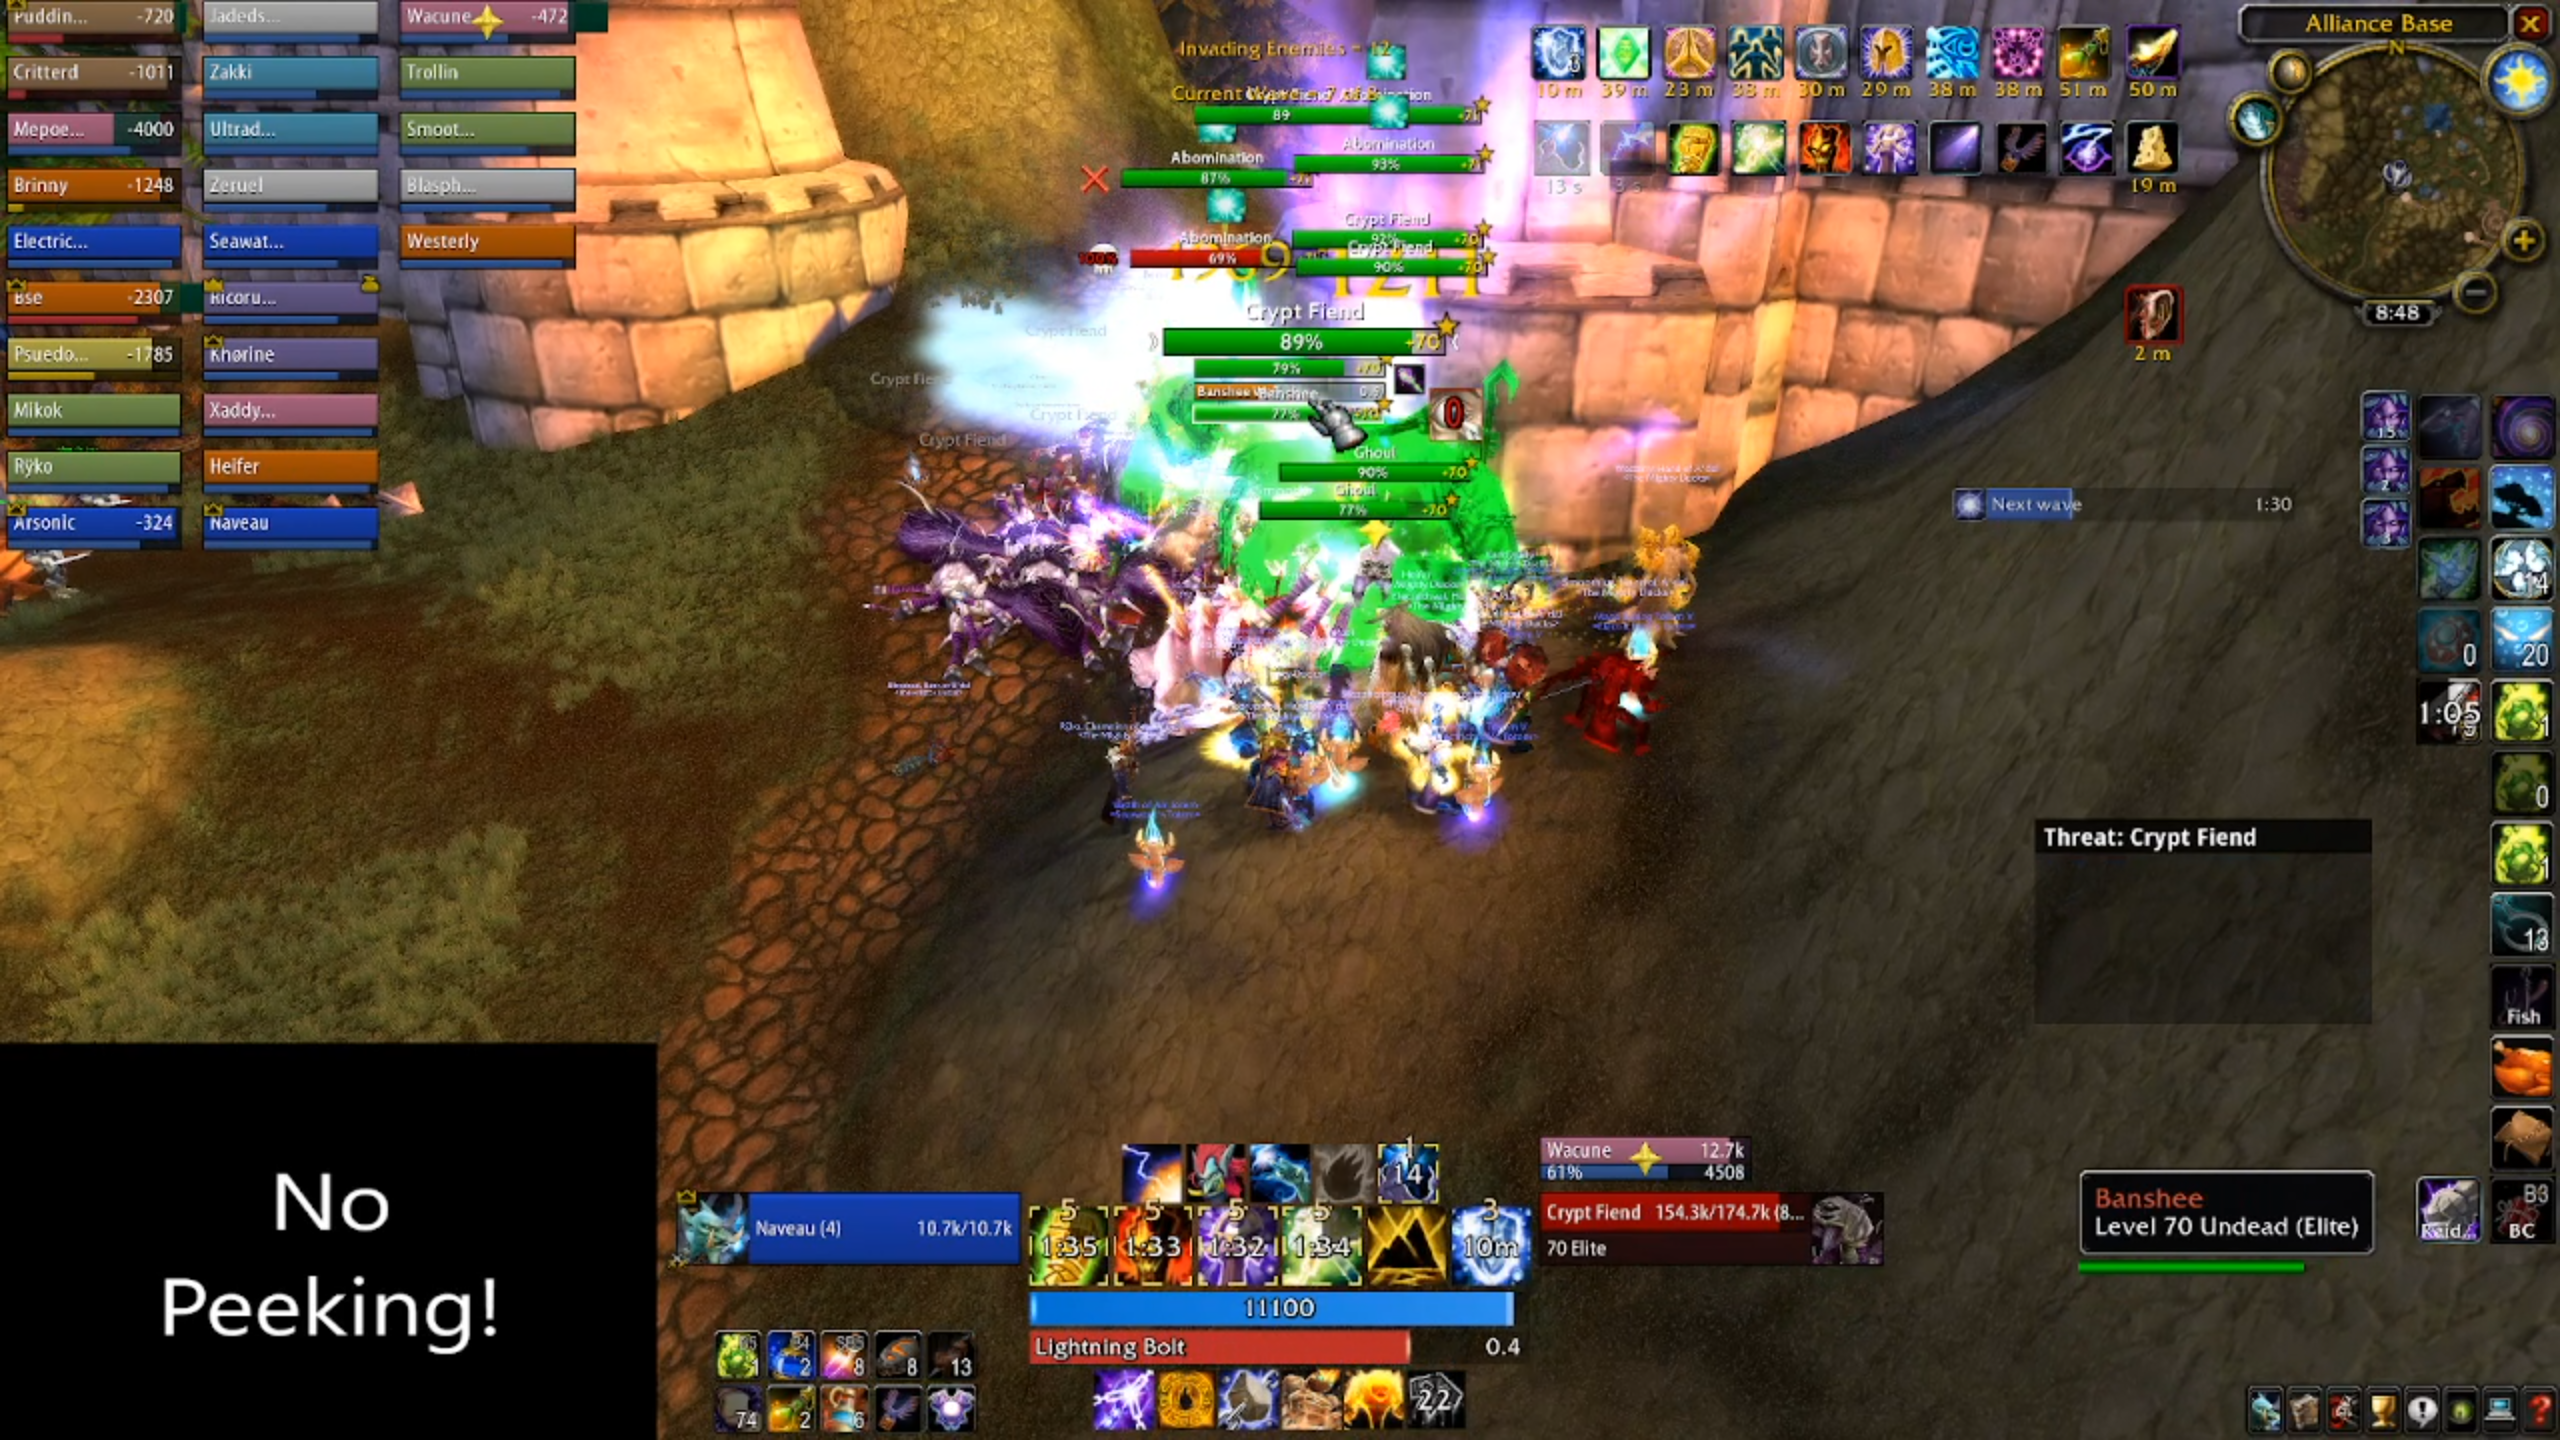
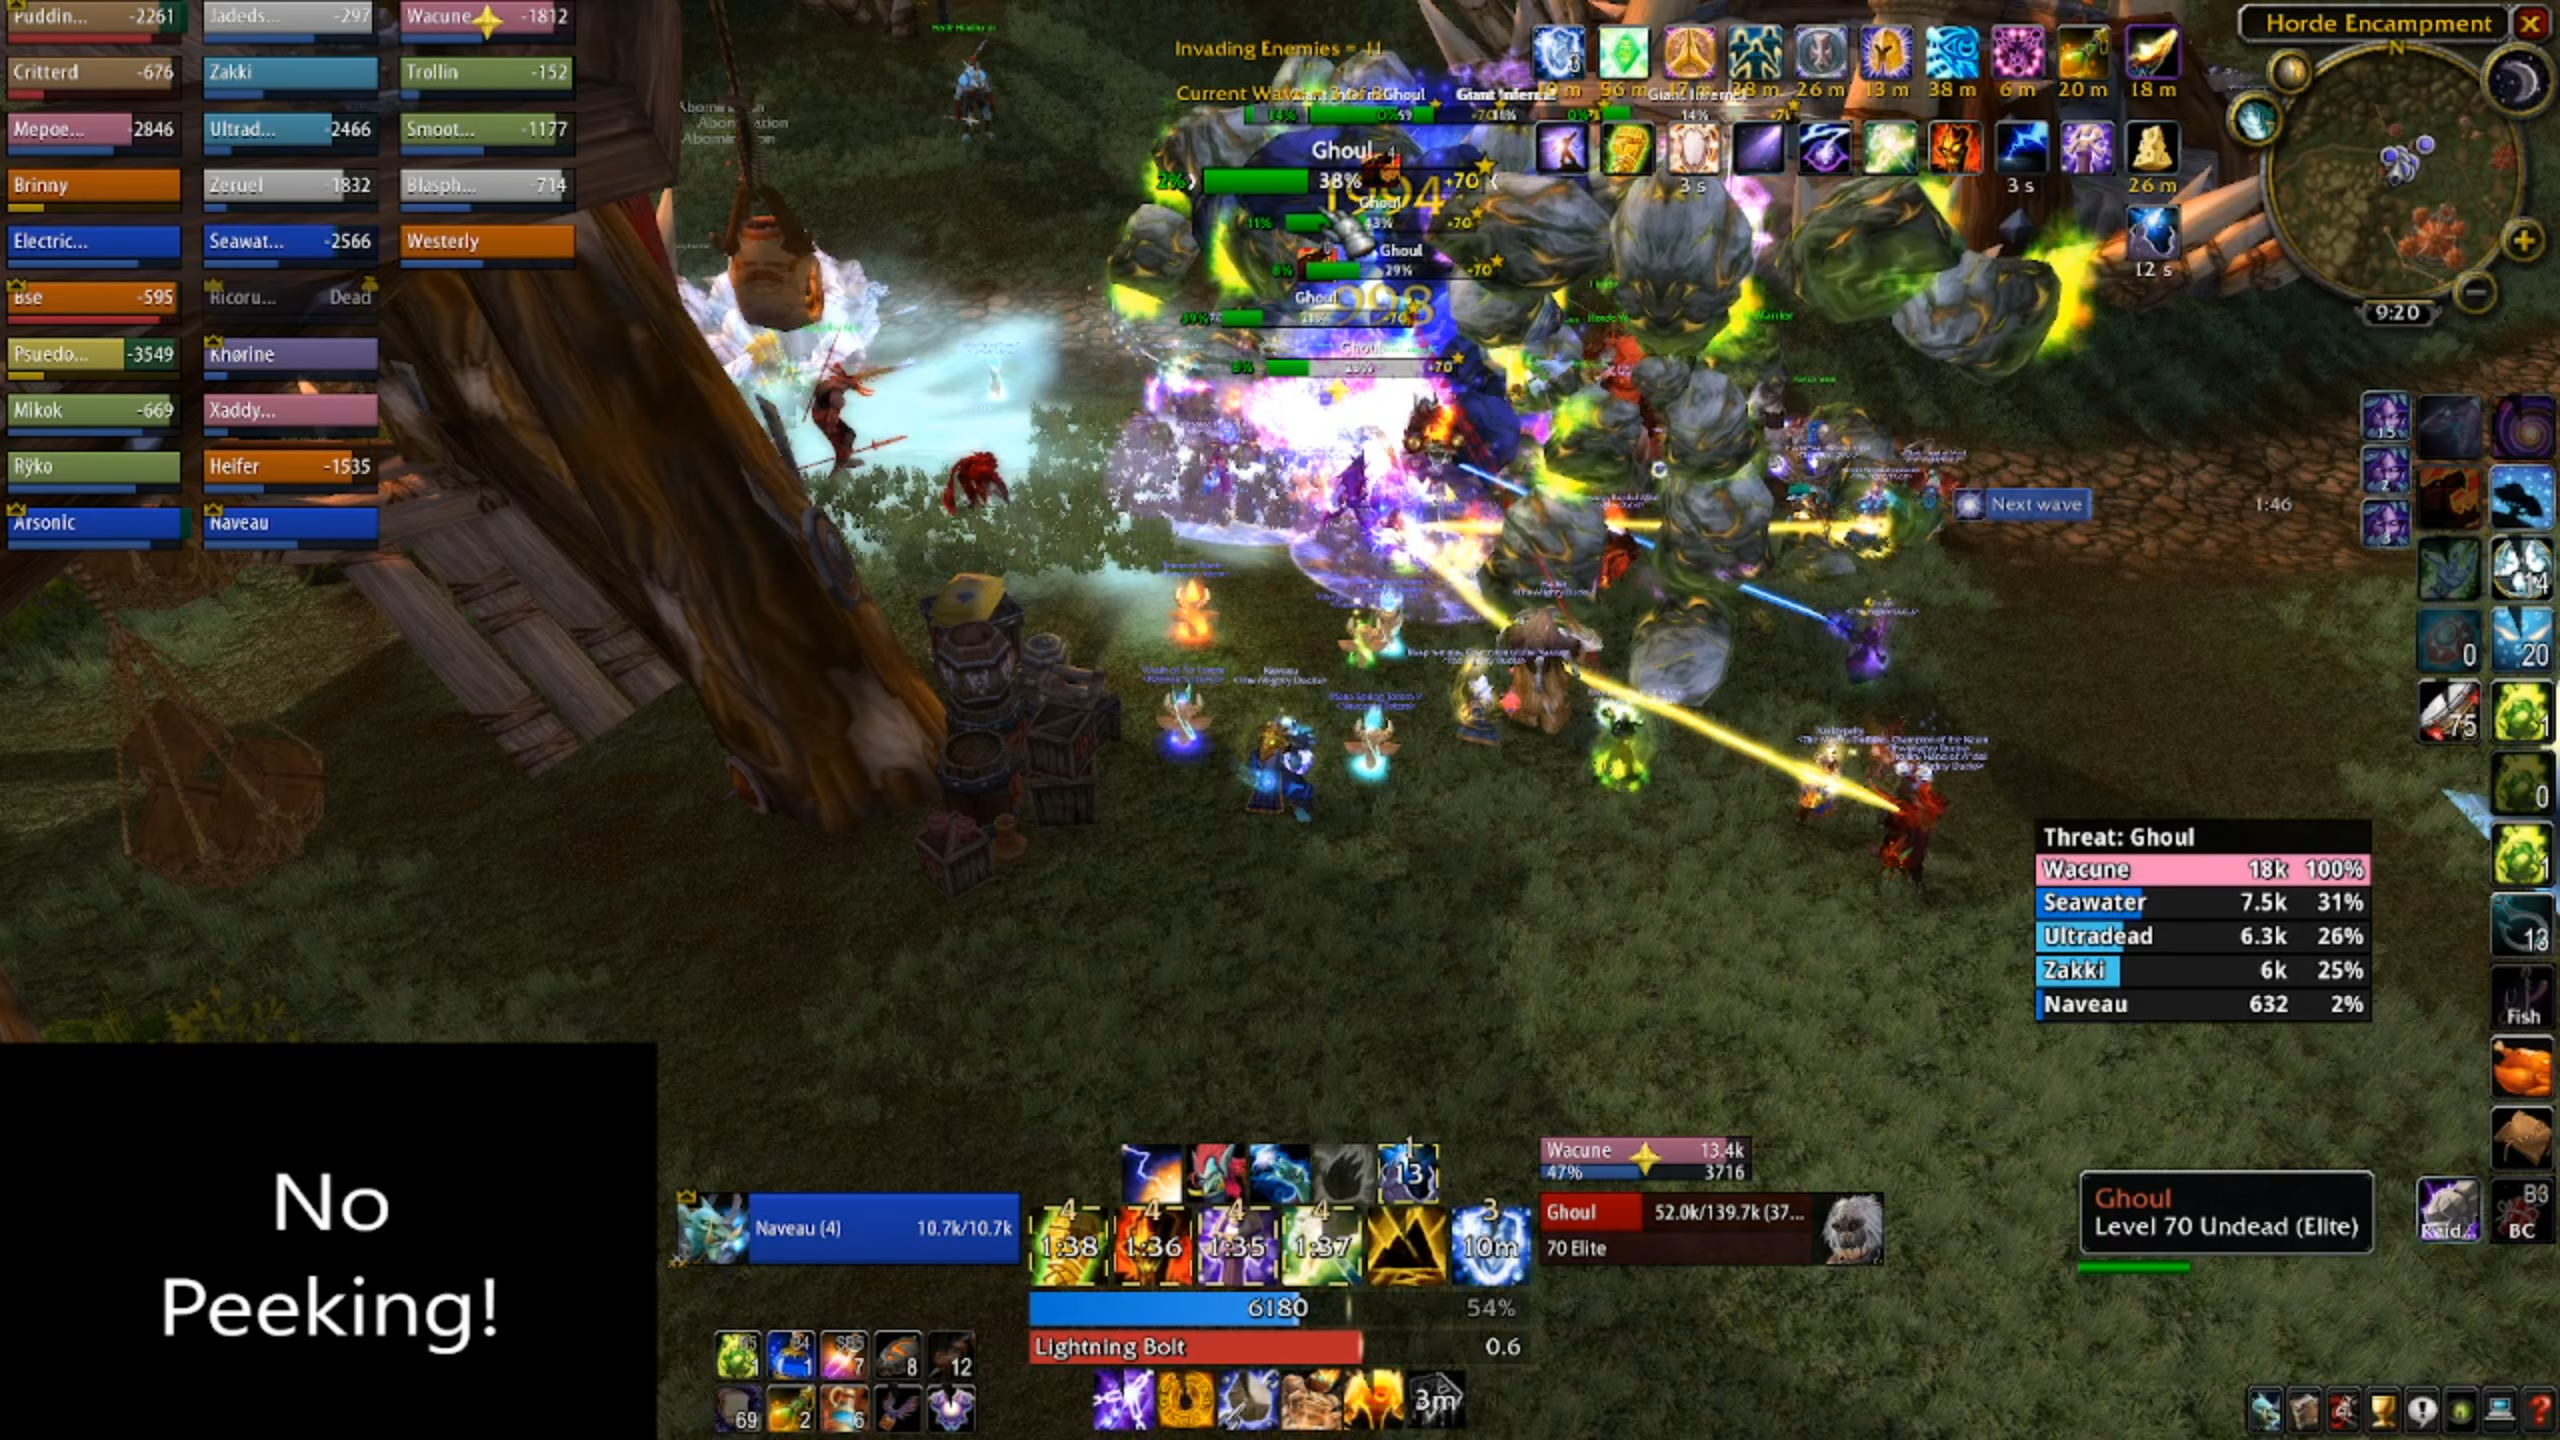
For the first set of waves, you start off slowly. You deal with Ghouls and Crypt Fiends (units in the undead army for WCIII, get used to reading that) which present little threat to your raid and are good practice for positioning. Your paladin will easily hoover them up, and your warlocks and mages can pad the meters.
Wave 6 represents the first significant threat, as it contains 6 abominations. Abominations are the primary threat across all four waves of trash. They hit the tank for a high amount, have a hefty five second stun and a ticking damage aura. You'll want your off-tanks trying to pull at least one away from the main tank, but try not to get greedy - if you spread your threat too thin as an off tank, they'll both go back to belting the paladin.
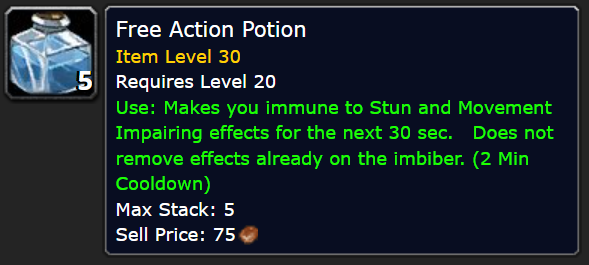
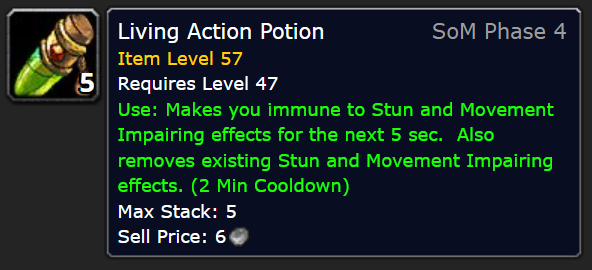
Best practice is to have your paladin move the abominations around, having off-tanks taunt and drag an abomination away. Your off-tanks will take negligible damage, so stacking up two, three, even four healers onto your main tank is the play. Your paladin should also make use of free action and living action potions to mitigate being stunned by an abomination, to keep moving.
Don't be surprised if your paladin dies at least once whilst trying to learn this technique. Be supportive, help them improve, and try not to seethe with hatred.
Wave 7 can also be a bit spicy, blending ghouls, abominations and necromancers. Necromancers (another unit in WCIII) cast shadow bolts that deal heavy damage, and cast "cripple" on players, a debuff which reduces their chance to hit by 50%. You should dispel cripple from tanks as soon as possible, as it'll compromise their threat generation. You shouldn't need mass silences yet, but melee classes (particularly those with no AoE, such as rogues) should make interrupting and dealing with necromancers their sole priority.
This will come up a lot, and I cannot stress this enough - do not wander out in front of an incoming caster wave. You will want to use line of sight to draw them in close and start controlling them. As soon as a player enters shadow bolt range, all the Necromancers will target them and start casting. With a one second cast time, you have approximately seven tenths of a second to move out of range. You'll almost certainly die, and feel like a goose afterward. Be. Careful.
The last pack of all four sets of waves has at least one necromancer in it, and there's a good reason for this. You can use mind control to buy some time for your raid to exit combat and fuel up. When you're ready, you can drop the mindcontrol, smash the necromancer, and trigger the boss.
Ready or not, here comes Rage Winterchill. Make sure you've put on your PvP trinket before you engage the boss, or be prepared to die an icey death.
Tactics
You'll want to position the boss in the middle of the camp, just down from where Jaina's tower is. This allows the raid to surround him and blast from all angles. It also opens the area up significantly, allowing freedom of movement for when Winterchill casts Death and Decay.
Periodically, Rage will cast a frost nova which locks players in place and does a chunk of damage. This isn't too bad by itself and the immobilizing effect can be dispelled.
Where the encounter gets hairy, is when Frost Nova is paired with Ice Bolt. A random player will be targeted, taking a chunk of frost damage, and then taking enough damage to kill them over the course of about three or four seconds. It is possible to heal players through this, but it puts immense pressure on the healing group, and requires multiple healers working in tandem.
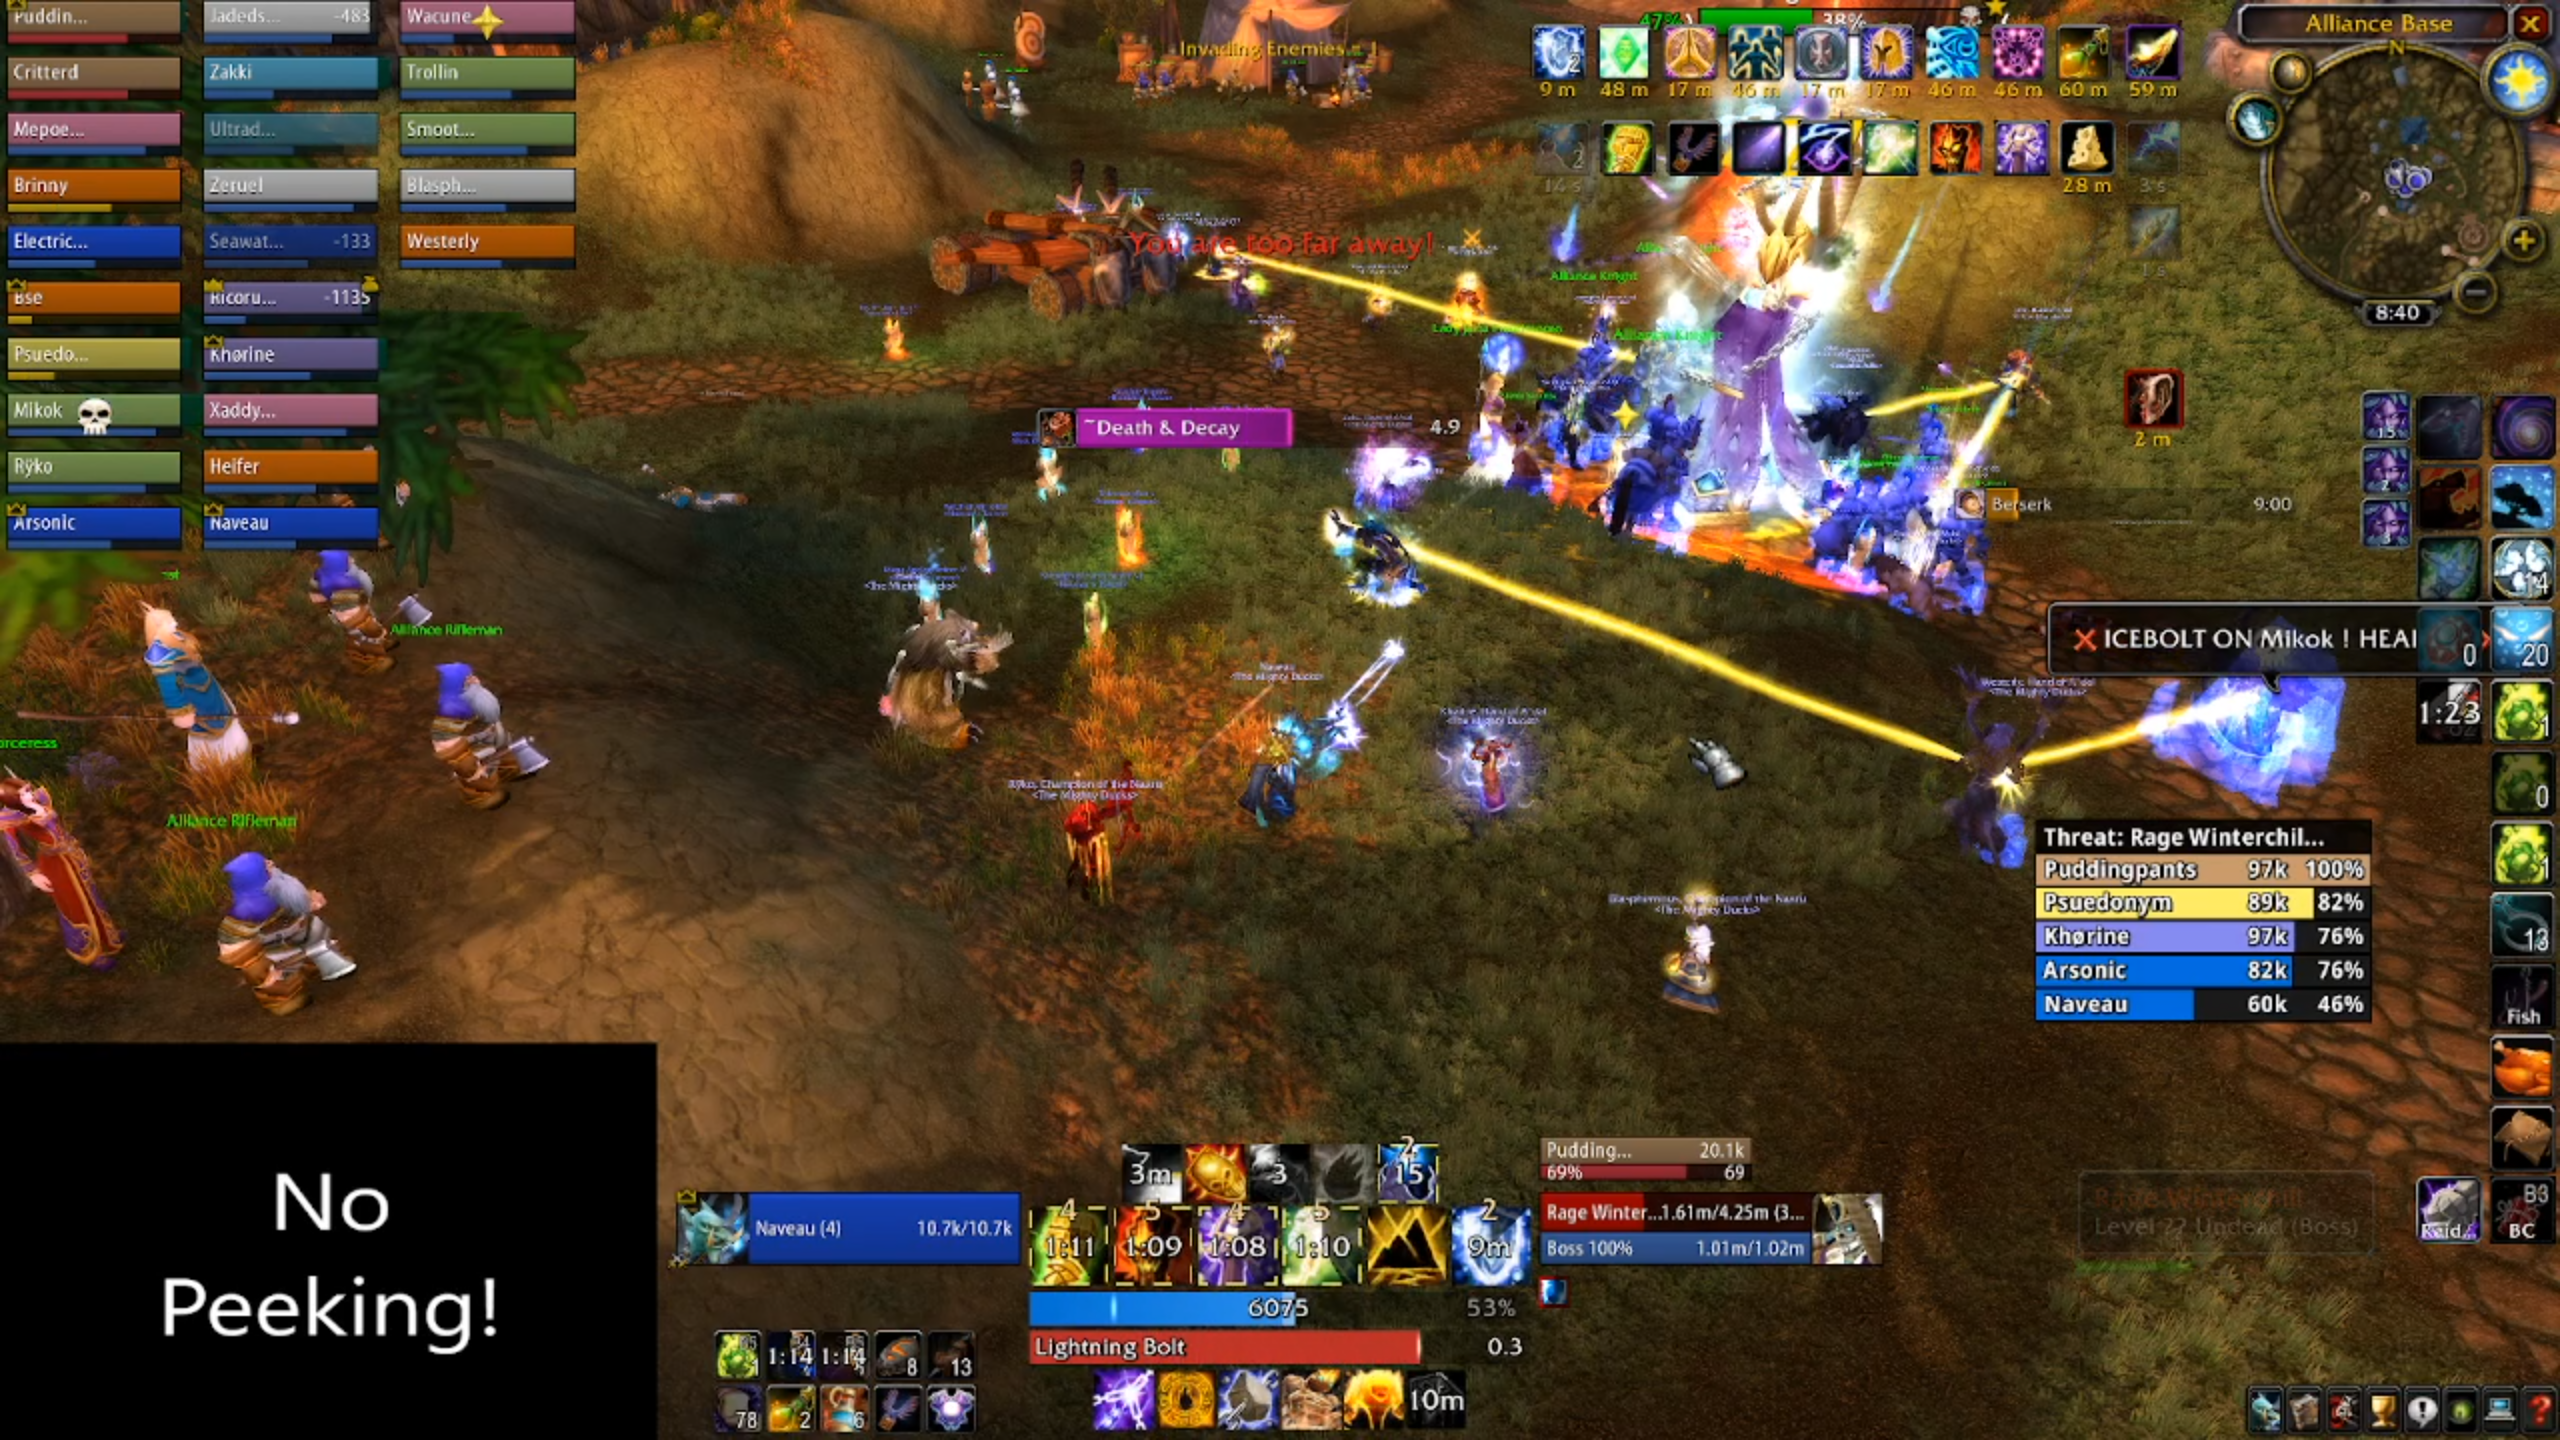
This is where your PvP trinket comes in handy. You can use your trinket when targeted by Ice Bolt, which will clear the stun and the damage over time effect. The second one will clean you up, but unless RNG hates you in particular, you're not likely to be targeted again, and you should be ok.
I wouldn't set foot in a casino if it keeps happening to you every week though.
Once your raid starts to get suitably chunky, your healers should have enough time to top off players, allowing you to stack on more damage to pad the meters for warcraftlogs. You can very much still be instantly killed when Ice Bolt immediately goes off following a Frost Nova, however, particularly classes with low base stamina, such as priests, warlocks, and mages.
The second ability is Death and Decay, which is cast "every so often" by the boss. I don't know why, but when the developers decided what particle effect to use for this ability, they picked one that blends in perfectly with the ground. It does chunky ticking damage (15% of maximum health), and takes about four or five seconds to kill a player.
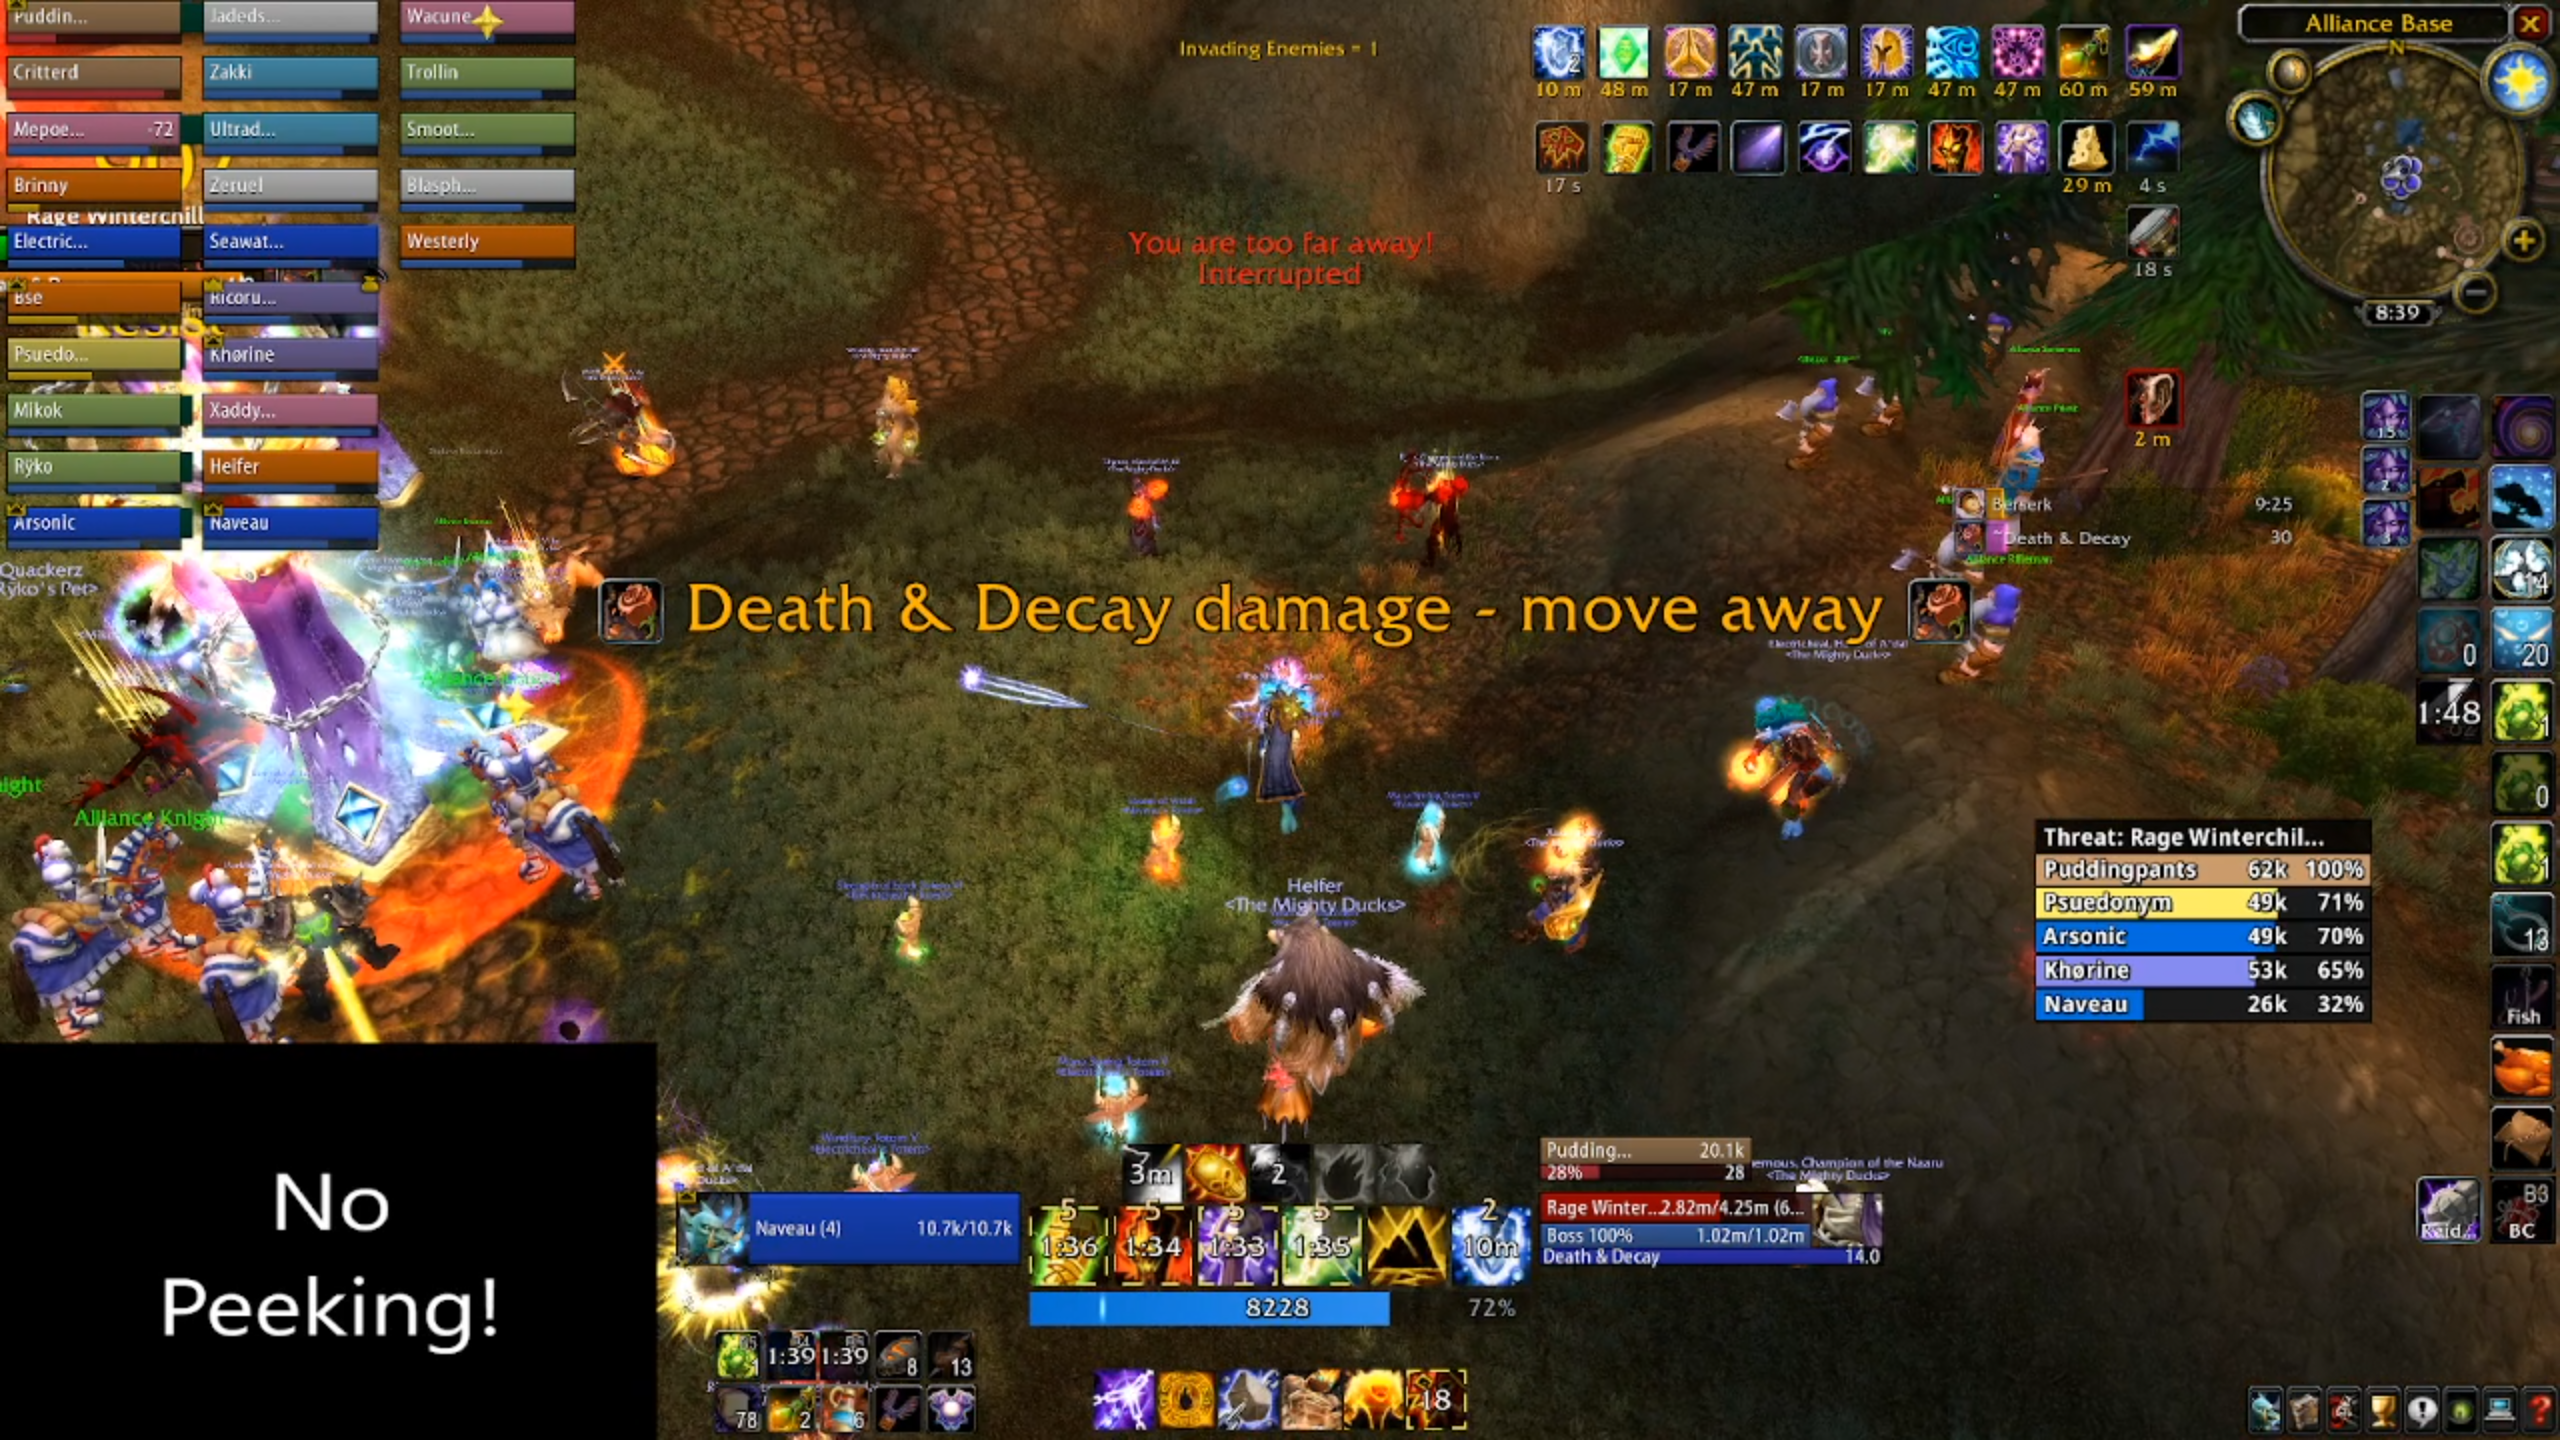
It's recommended to get an addon to help hold your hand through this one. Many members of the Ducks swore by GTFO, a helpful addon that played industrial warning klaxons if you stood in deadly fire. The key to surviving death and decay is to start moving as soon as you start taking damage, heading away from the boss, and use a healthstone if you get low.
If you can avoid losing too many players to Ice Bolt and Death and Decay, you should get past this boss without much difficulty. I would consider Winterchill to be easier than almost all phase two bosses, with the exception of maybe Void Reaver.
Toward the end of P3 and early P4, it wasn't uncommon to get a kill in under two minutes. Use bloodlust and DPS cooldowns on the pull, and maximum attack.
Once you've put down the boss, the next set of waves won't start until you talk to Jaina again. Take the opportunity to resurrect players, reapply buffs and consumables, and put your non-PVP trinket back on if you switched it out.
When your raid is back in position, have another chat to Jaina.
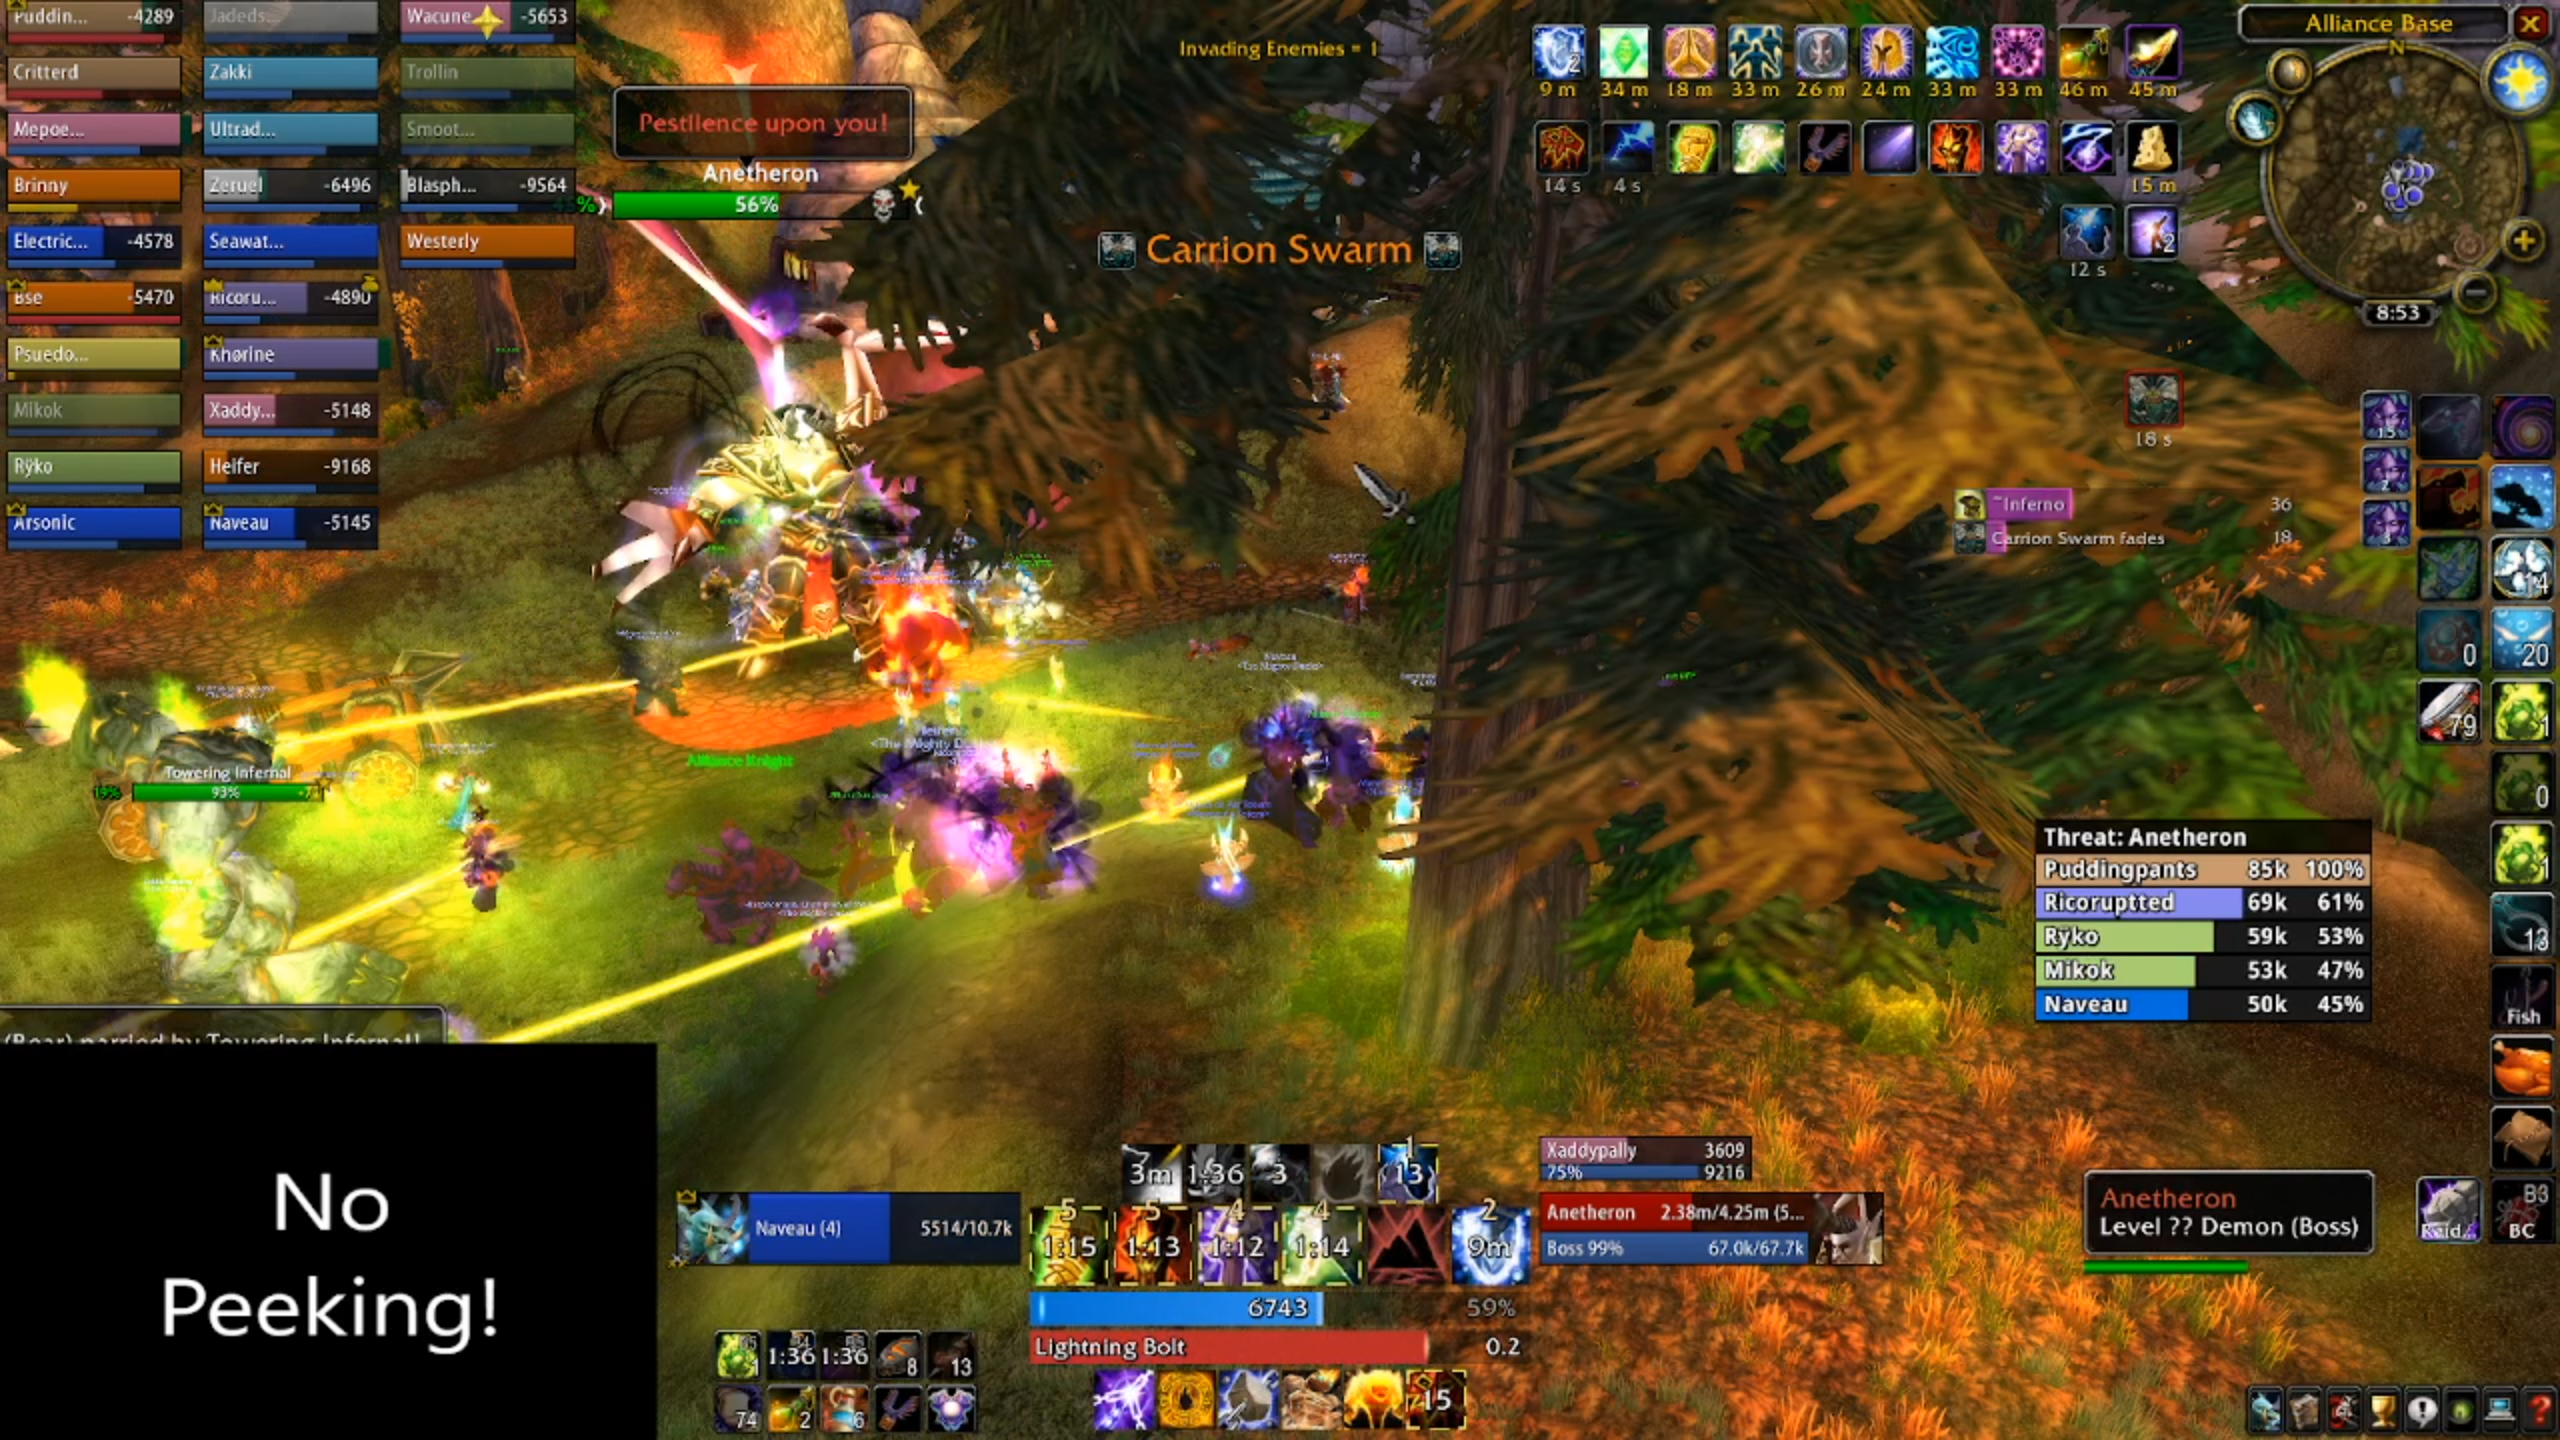
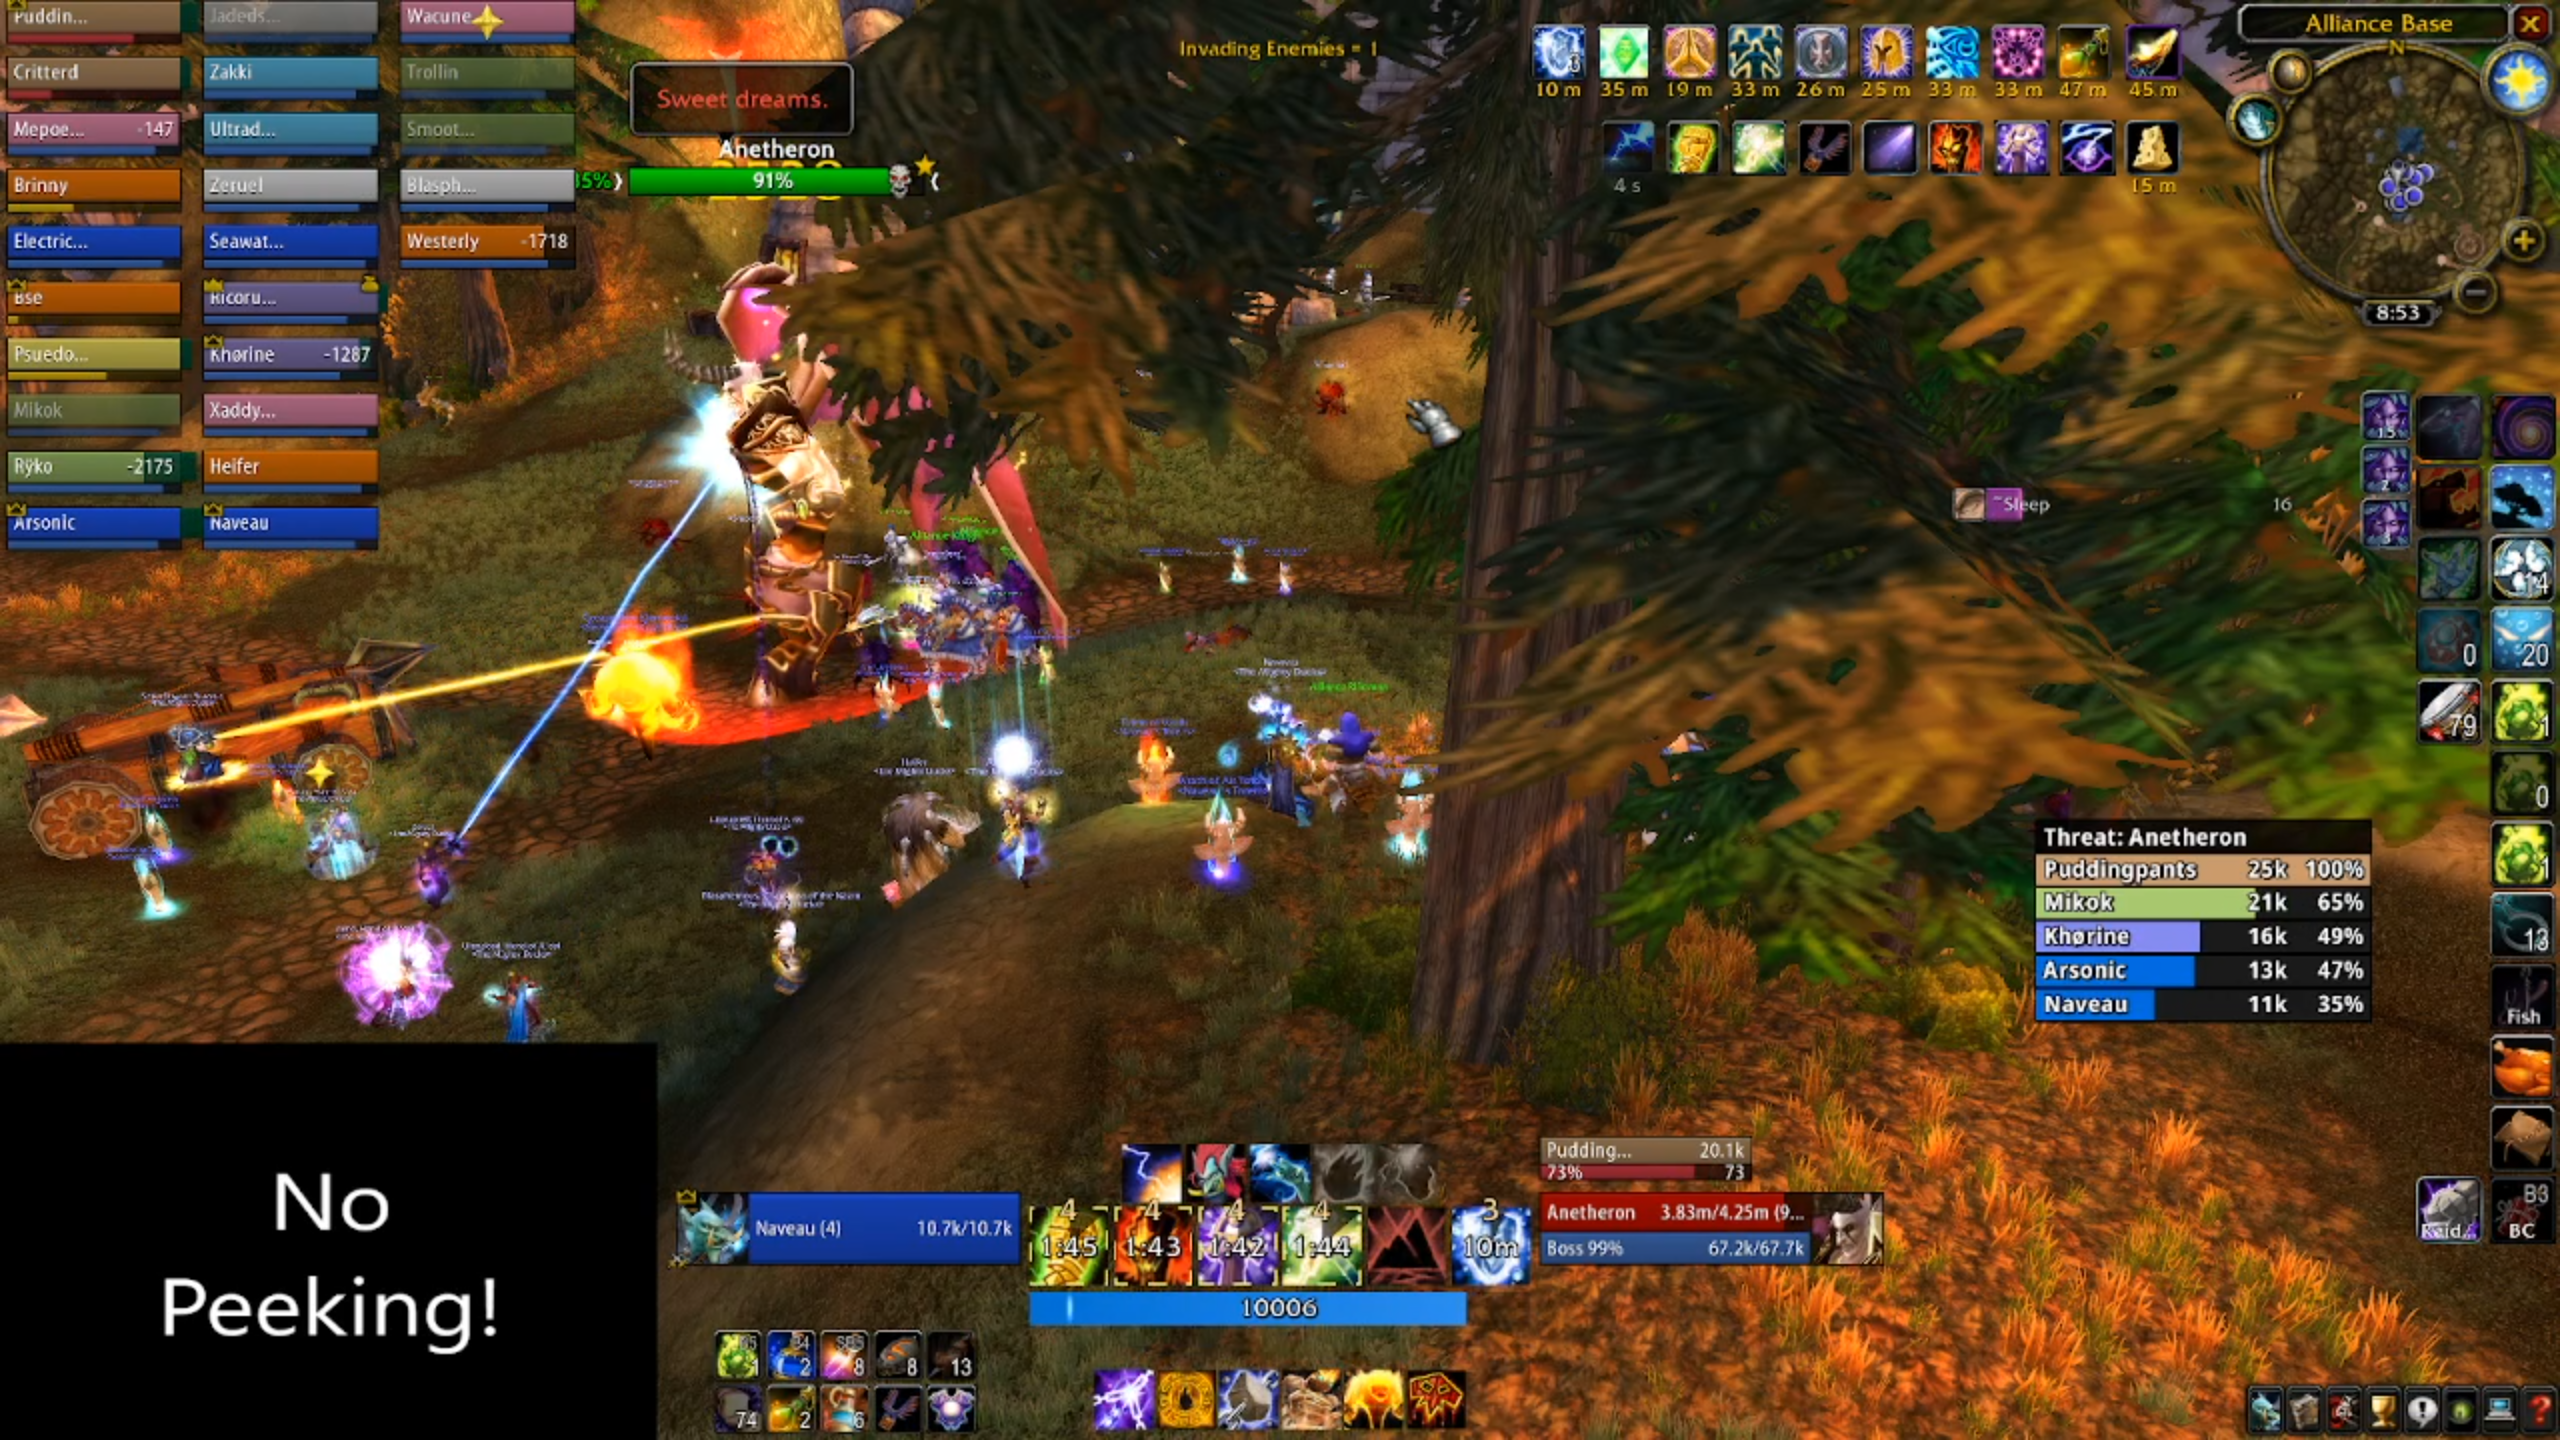
Boss Two - Anetheron
Just like Rage Winterchill, you'll want to use the nook near the gate in the human camp to take advantage of line of sight. Make sure the ranged stack nice and tightly and melee are positioned to engage once any casters are around the corner.
Anetheron's trash starts slow and sends dangerous mobs in quantities that can be controlled. Waves 2,7 and 8 have 4 abominations, so you want your offtanks to practice picking up and holding an abomination each off the paladin. Wave 3 and 4 have necromancers and introduce a new type of enemy: the banshee.
Banshees are a pain to deal with and should be handled in the same way as necromancers. Draw them in close using line of sight, and engage them with melee players who can interrupt and stun them. Apart from a single target damaging spellcast, they also buff themselves with Anti-magic Shell, which absorbs a fixed amount of spell damage. It is interruptible but cannot be dispelled, so either catch it early, or let your physical DPS pick them off.
Otherwise, it's business at usual. Your paladin hoovers the trash wave up, then your mages and warlocks blast them down as quick as they can. Again, at the end of wave 8, if you need some time to get your raid ready, mind control a necromancer until everyone's set to go.
For Anetheron, you want to be in the same positions as Rage Winterchill, but your heal team should spread out, instead of clumping in their groups.
Tactics
Much like boss one, Anetheron is a simple encounter. You can get stung if your healers muck up their positioning, so make sure they're coordinating with one another where they're going to be. Otherwise, have your big number classes do big numbers, and the boss won't be long for this world.
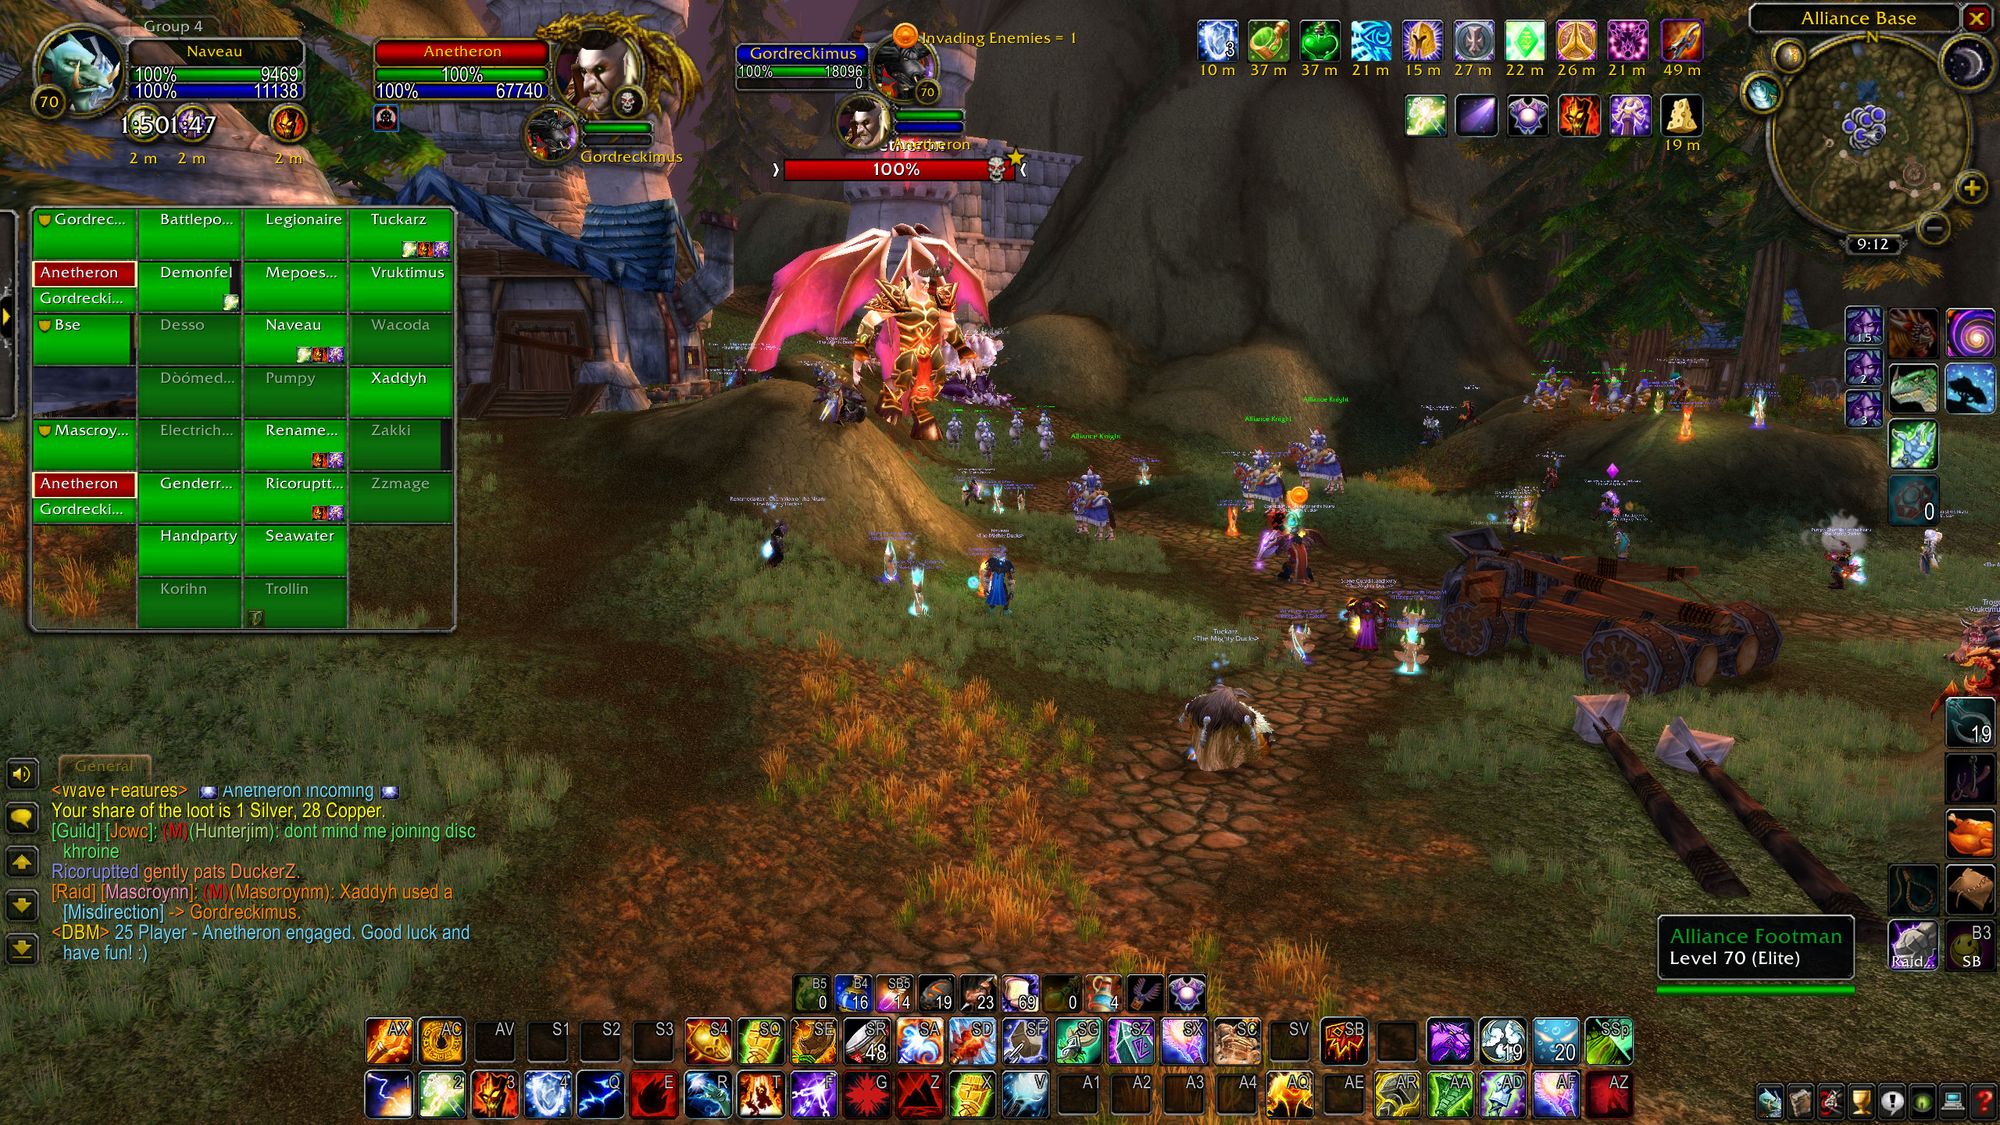
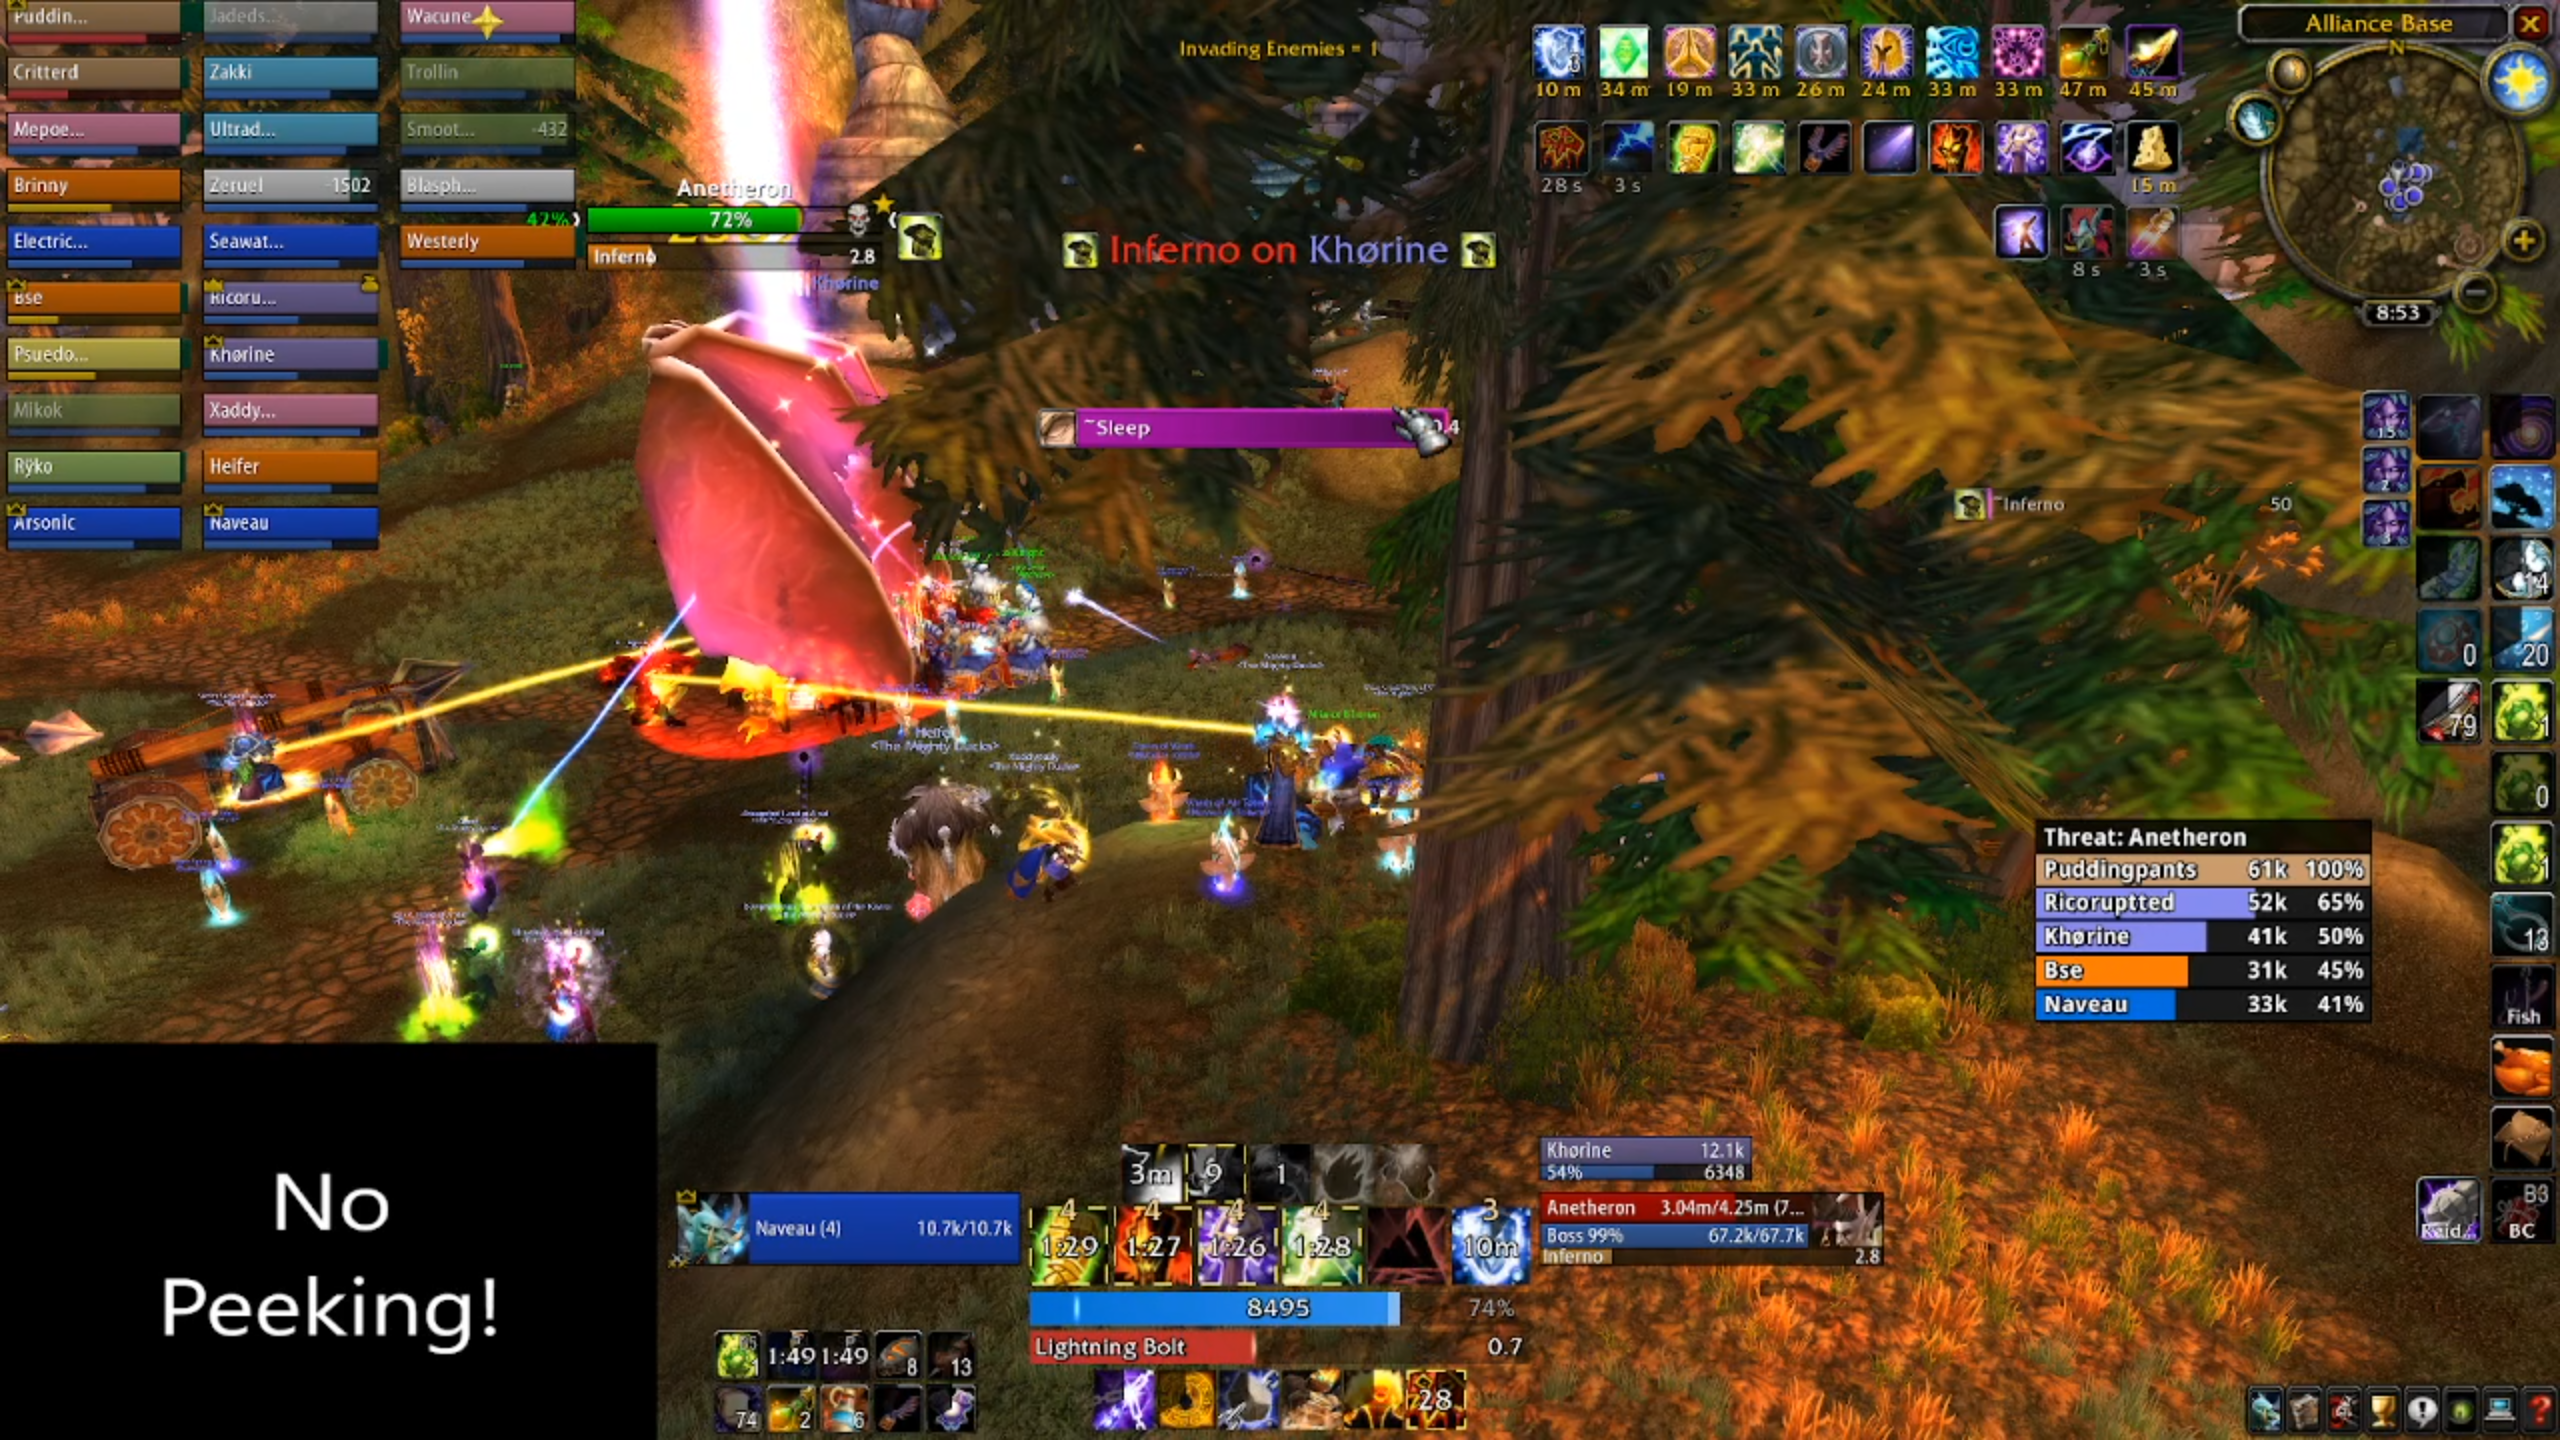
You'll also want both of your offtanks to be on standby for Anetheron's first ability, Inferno. Every minute or so, the boss will target a player, stun everyone in a small area around them for 2 seconds, and spawn a Towering Infernal on that player. Your offtanks will want to position just outside the radius of the stun, then dive in, pickup the infernal and drag it over to Jaina, out of the way.
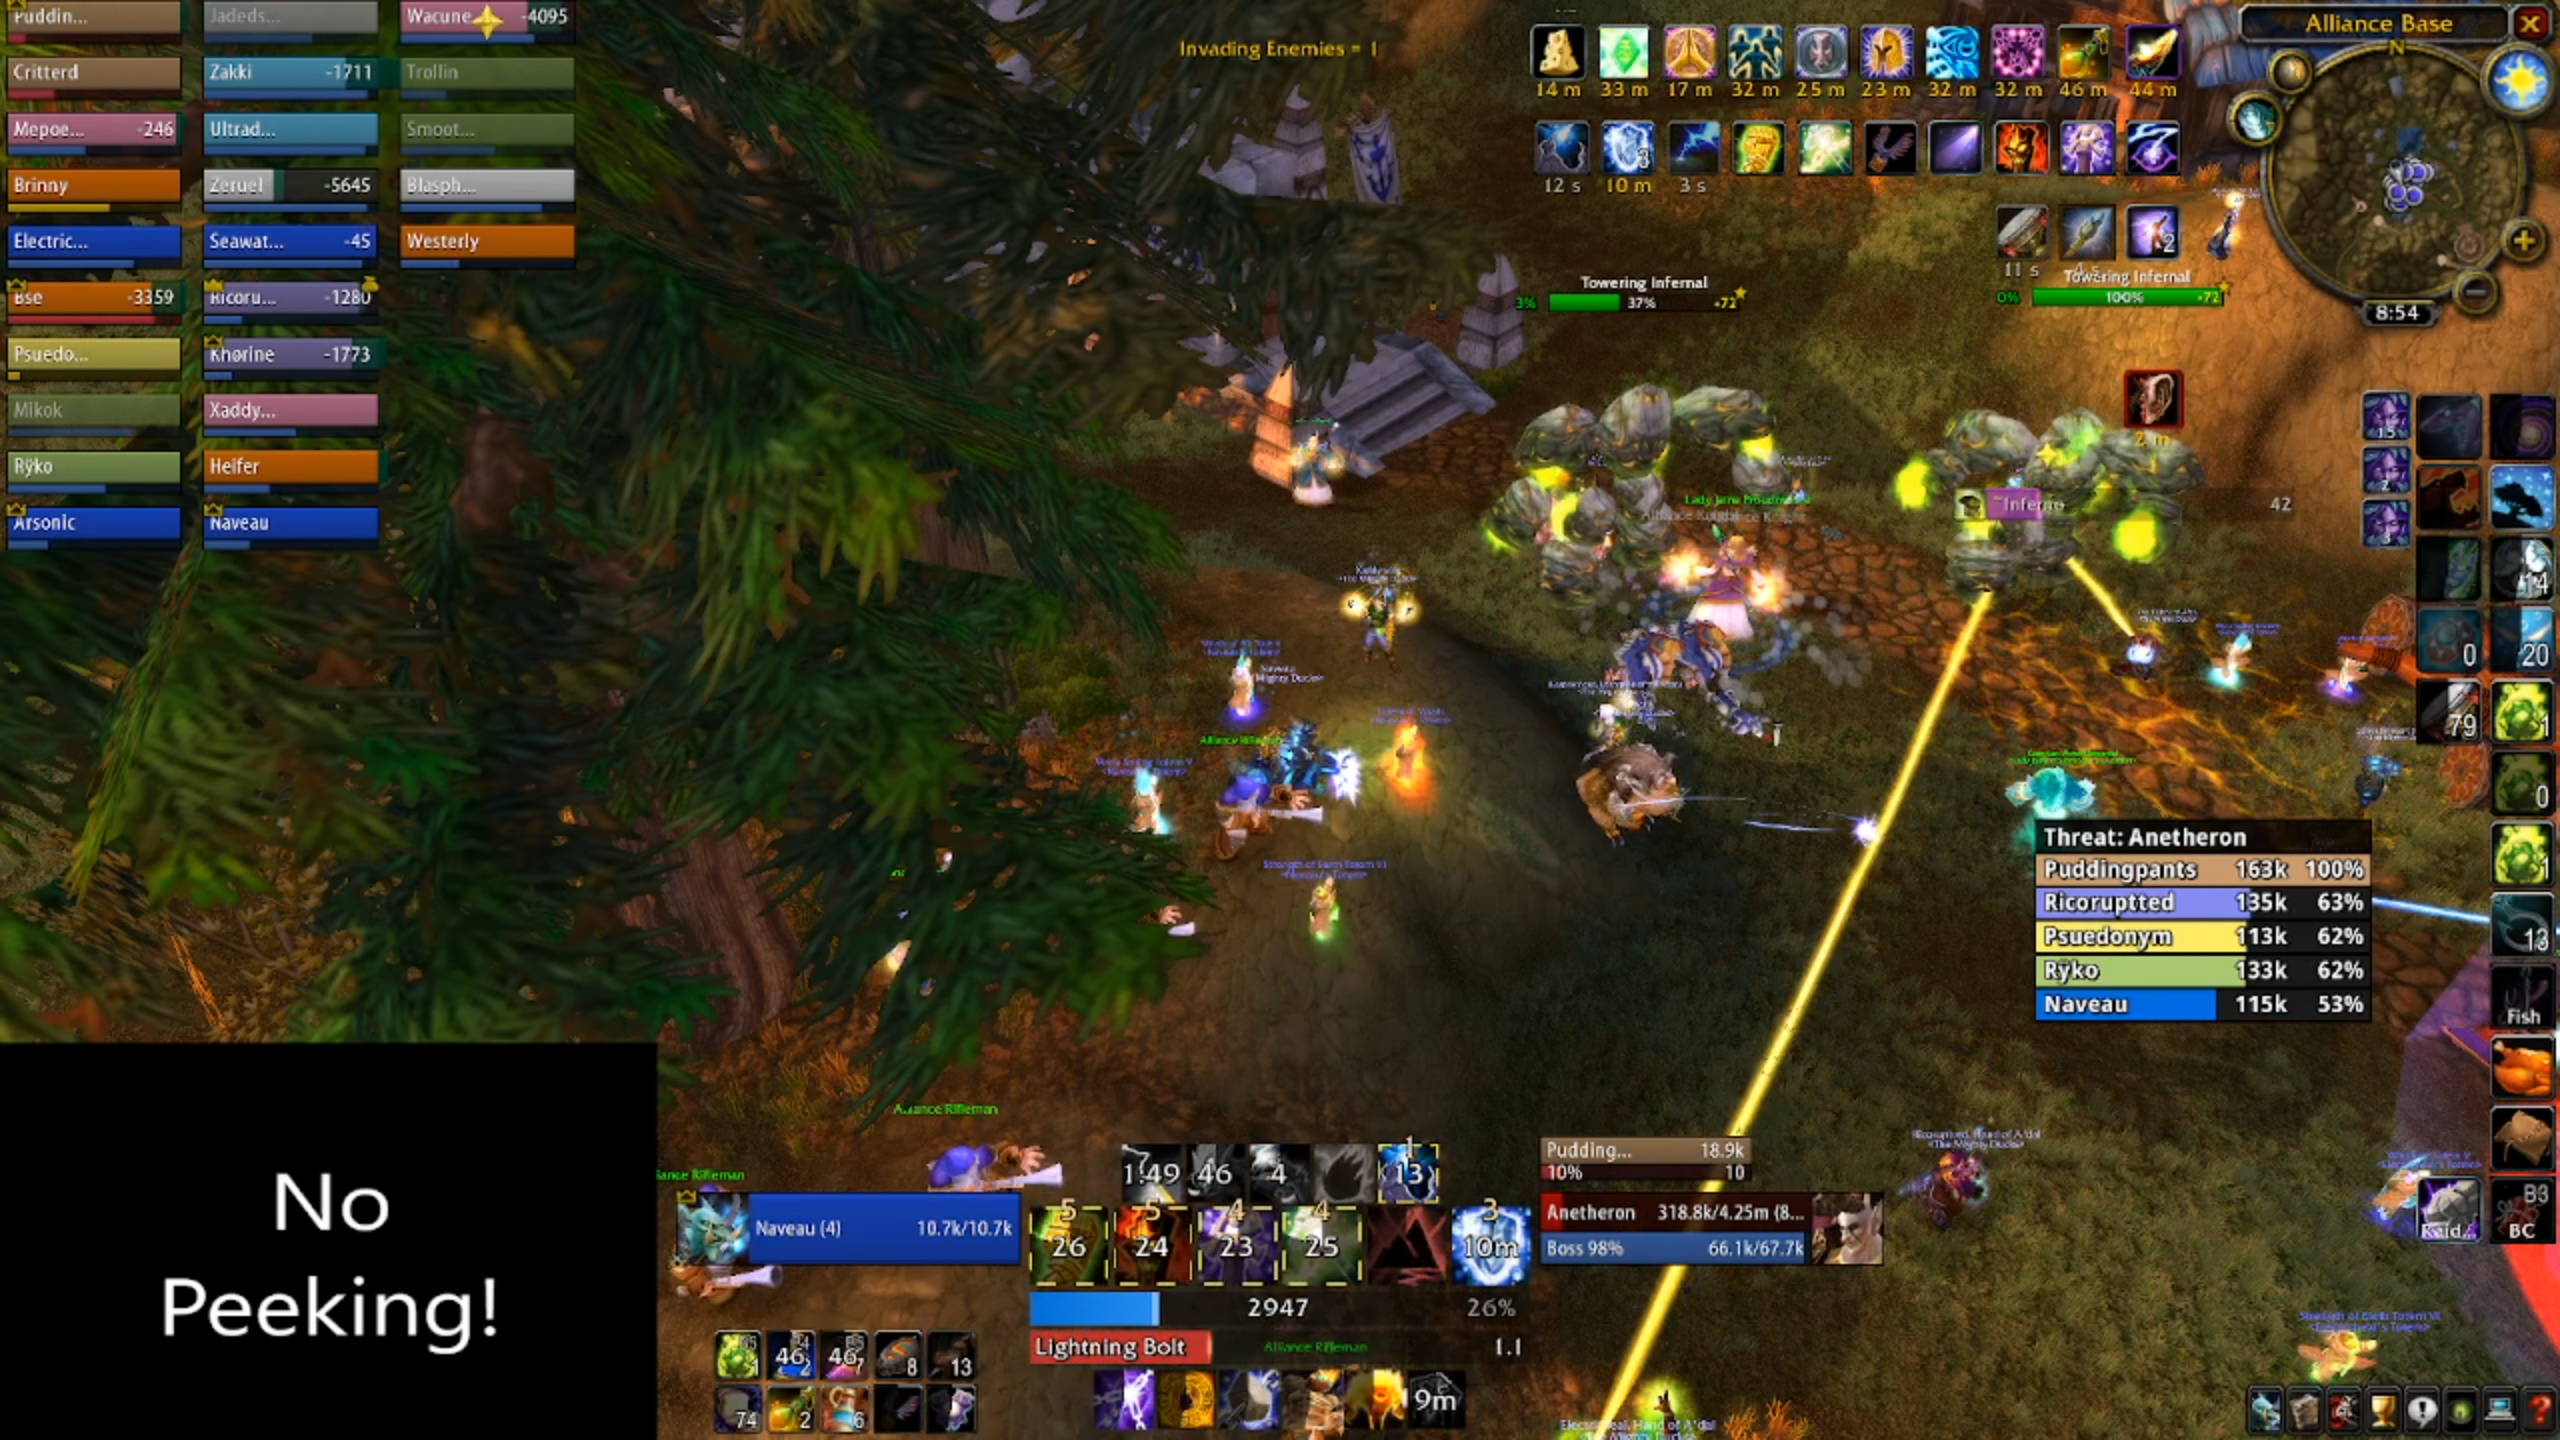
It can also help if a group is clumped up to maximise drums, or to be in range of totem buffs, for the targeted player to move away from the group once targeted. There is a short window for the player to move, however players should be careful not to move from one clumped group into another, as the AoE damage, plus the Infernal Aura, and the boss' next ability can rack up damage quickly, and the heal team can find themselves limited in their capacity to handle it.
So that next ability. Every fifteen seconds or so, Anetheron will cast Carrion Swarm in a random direction. This ability hits players in a cone in front of the boss, dealing damage and applying a debuff that reduces healing done by 75%.
The cone is narrow, so provided your healers have done the right thing, and spread out, this ability should be easily mitigated. It doesn't matter how chunky your healers are, that reduction makes them almost completely ineffective, and so trying to helmet your way through this boss once you have fat enough gear is inadvisable.
There are two more minor abilities the boss has. The first being a targeted sleep, which is cast on three random players, lasts for 10 seconds, and is broken by damage. The odds of three healers being slept and three more healers being hit by Carrion Swarm is only plausible if your healers are not spread properly, so try not to think about it. Of course if a key healer (such as a tank healer) gets slept, they should call out, so their target doesn't get cleaned up.
For those sweaty players who wish to maximise their damage in this fight, try Sulfuron Slammers from the bar in Blackrock Depths. These deal periodic damage when consumed, which breaks the sleep effect. It does also causes spell pushback, which can break your rhythm.
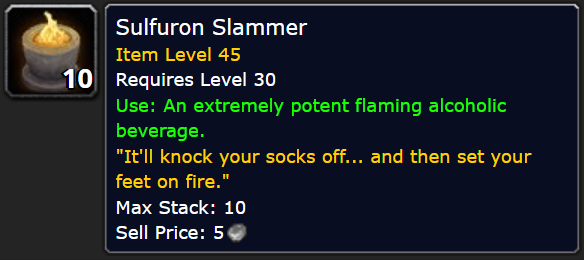
(Editor's note: This was hotfixed approximately four weeks into the phase. Sulfuron Slammers will still be useful later in the expansion, but not on this boss.)
Finally, Anetheron has a vampiric aura, meaning he heals for 300% of the damage inflicted from his melee hits. As with any boss healing mechanics, healing debuffs such as mortal strike should be used. 300% sounds like a big scary number, but even if it's not reduced at all, assuming Anetheron hits the tank for the average amount (approximately 4500 damage), he'll recover 13500 health every two seconds or so, which is, comparatively, a drop in the bucket.
Provided your tanks can keep control of the infernals, players don't stun the raid when targeted and your healers have spread effectively, your raid should breeze past Anetheron.
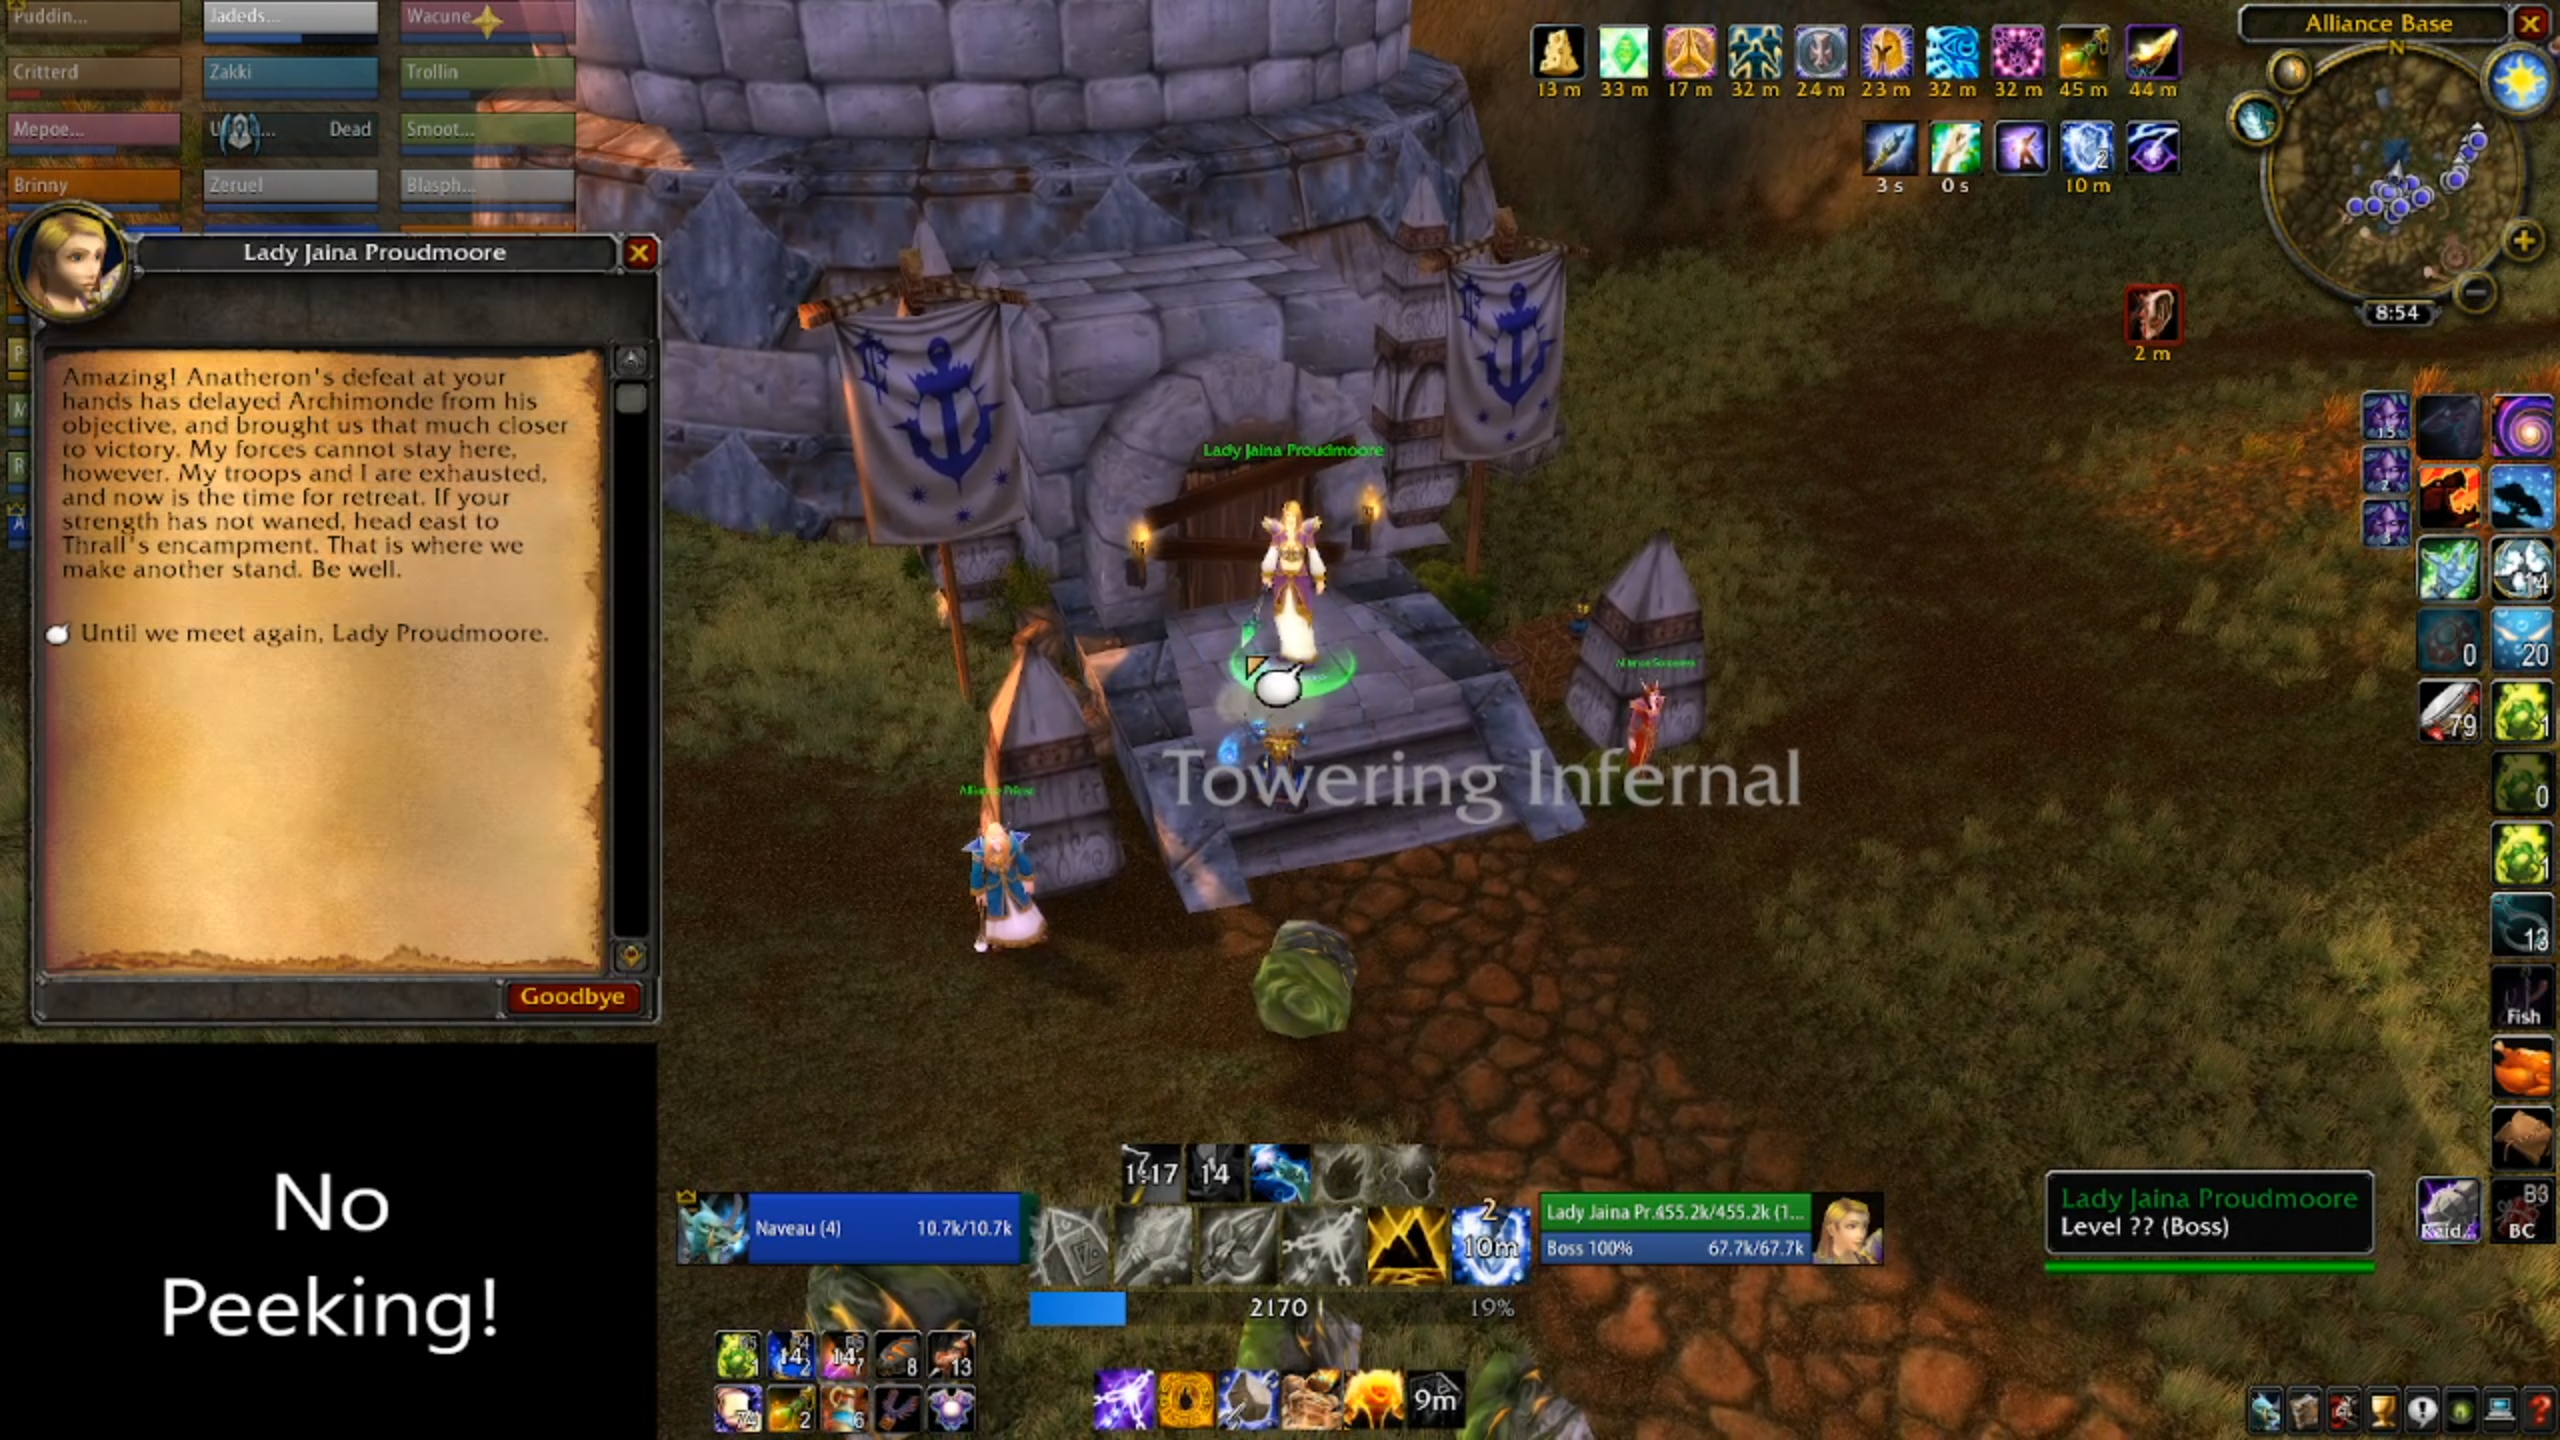
At the conclusion of the boss-fight, Jaina declares the camp is about to be overrun by scourge. If you talk to Jaina one more time, she will spawn mining nodes along the path to the orc camp, which give epic-quality gems.
Anything left behind (mostly shaman totems) will pull aggro on the mobs that appear in the human camp, so make sure no player or pet is left behind.
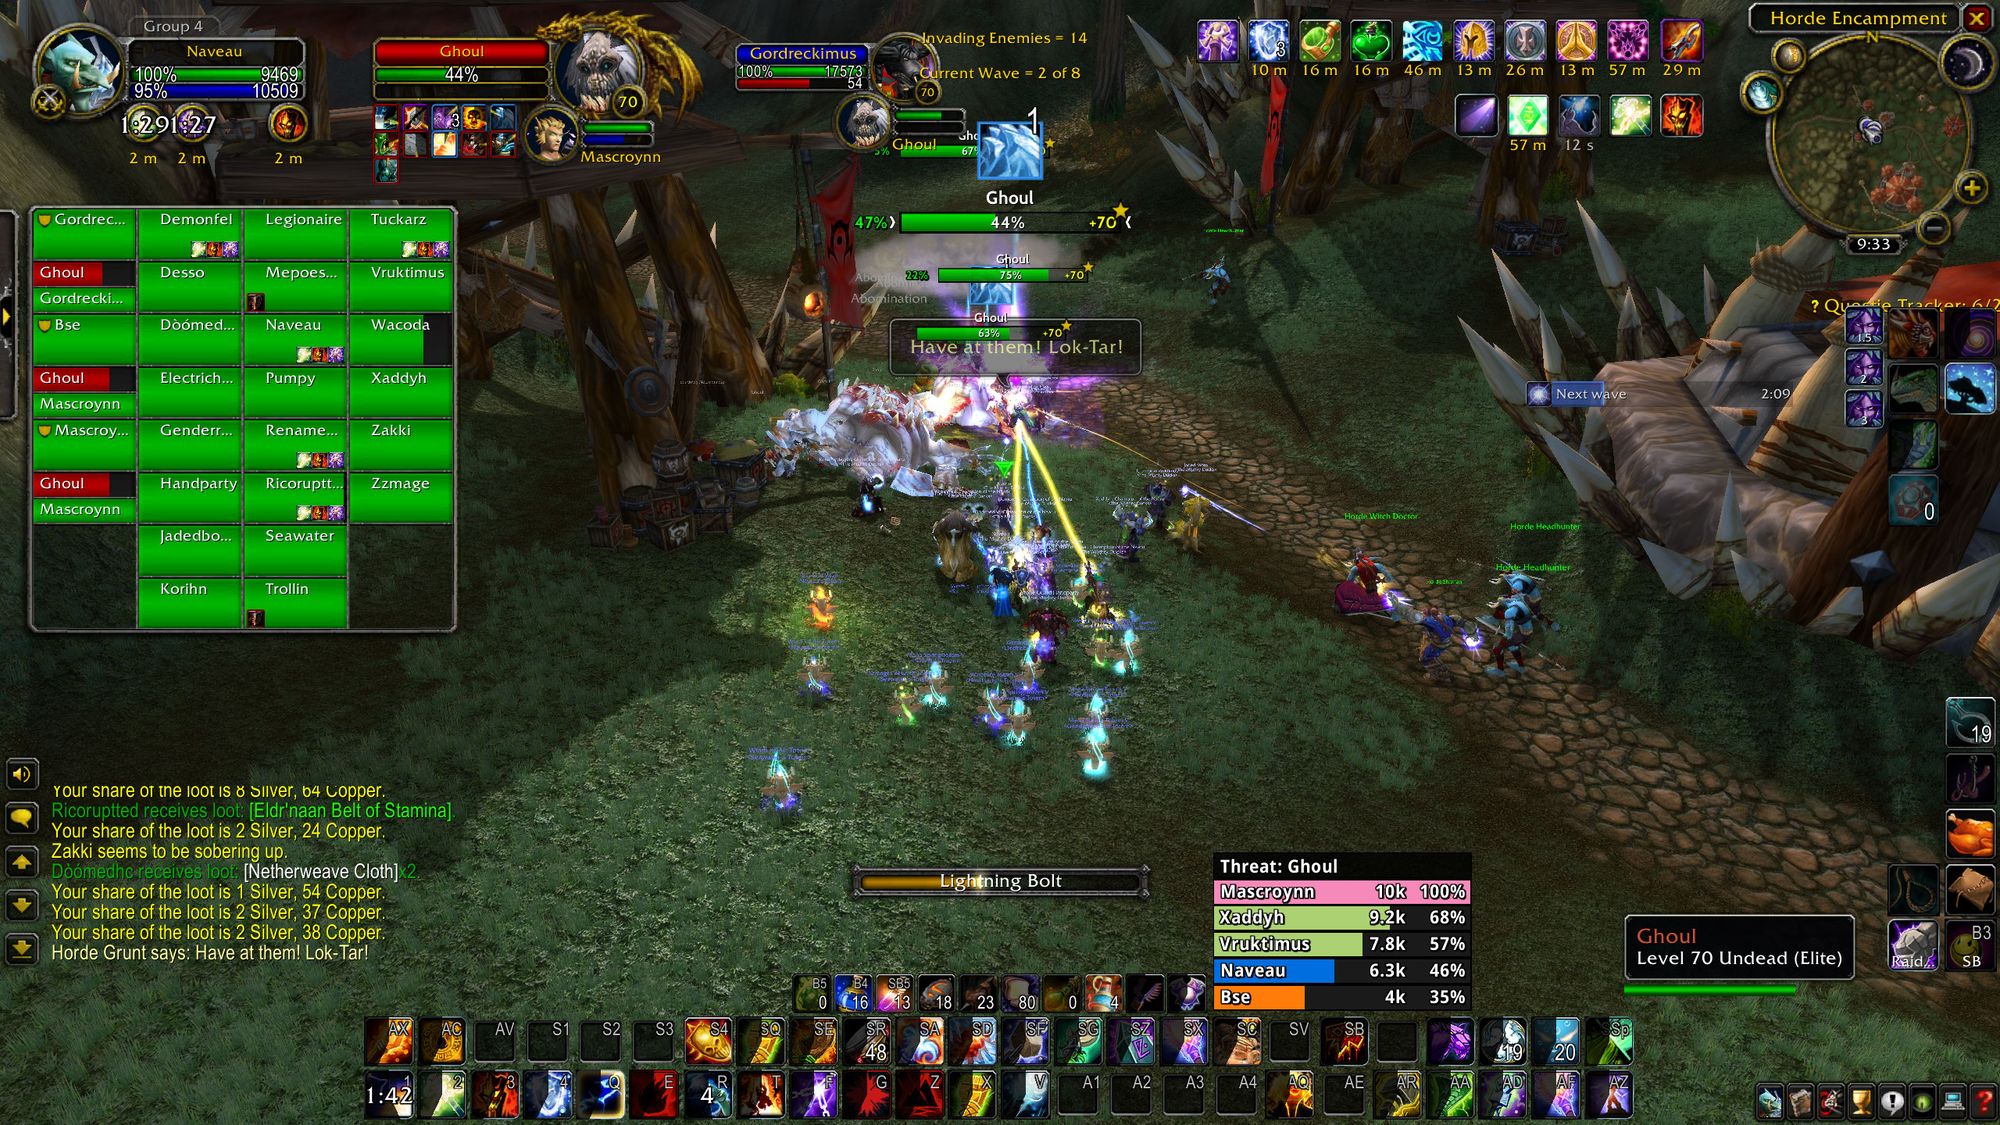
Once you get to the next camp, the next wave won't start until you talk to Thrall, so take the time to re-apply buffs, consumables and recover health and mana. Once you're ready to take on the next set of waves, you'll want to use the watch tower and wooden palisade.

Before you initiate the next wave, make sure players are not standing on the crates in front of the wooden palisade. This can cause issues with the orc camp waves evade-bugging, or not spawning. If this does happen to you, don't panic, but the entire raid will need to die to reset the encounter, then talk to Thrall after he respawns.

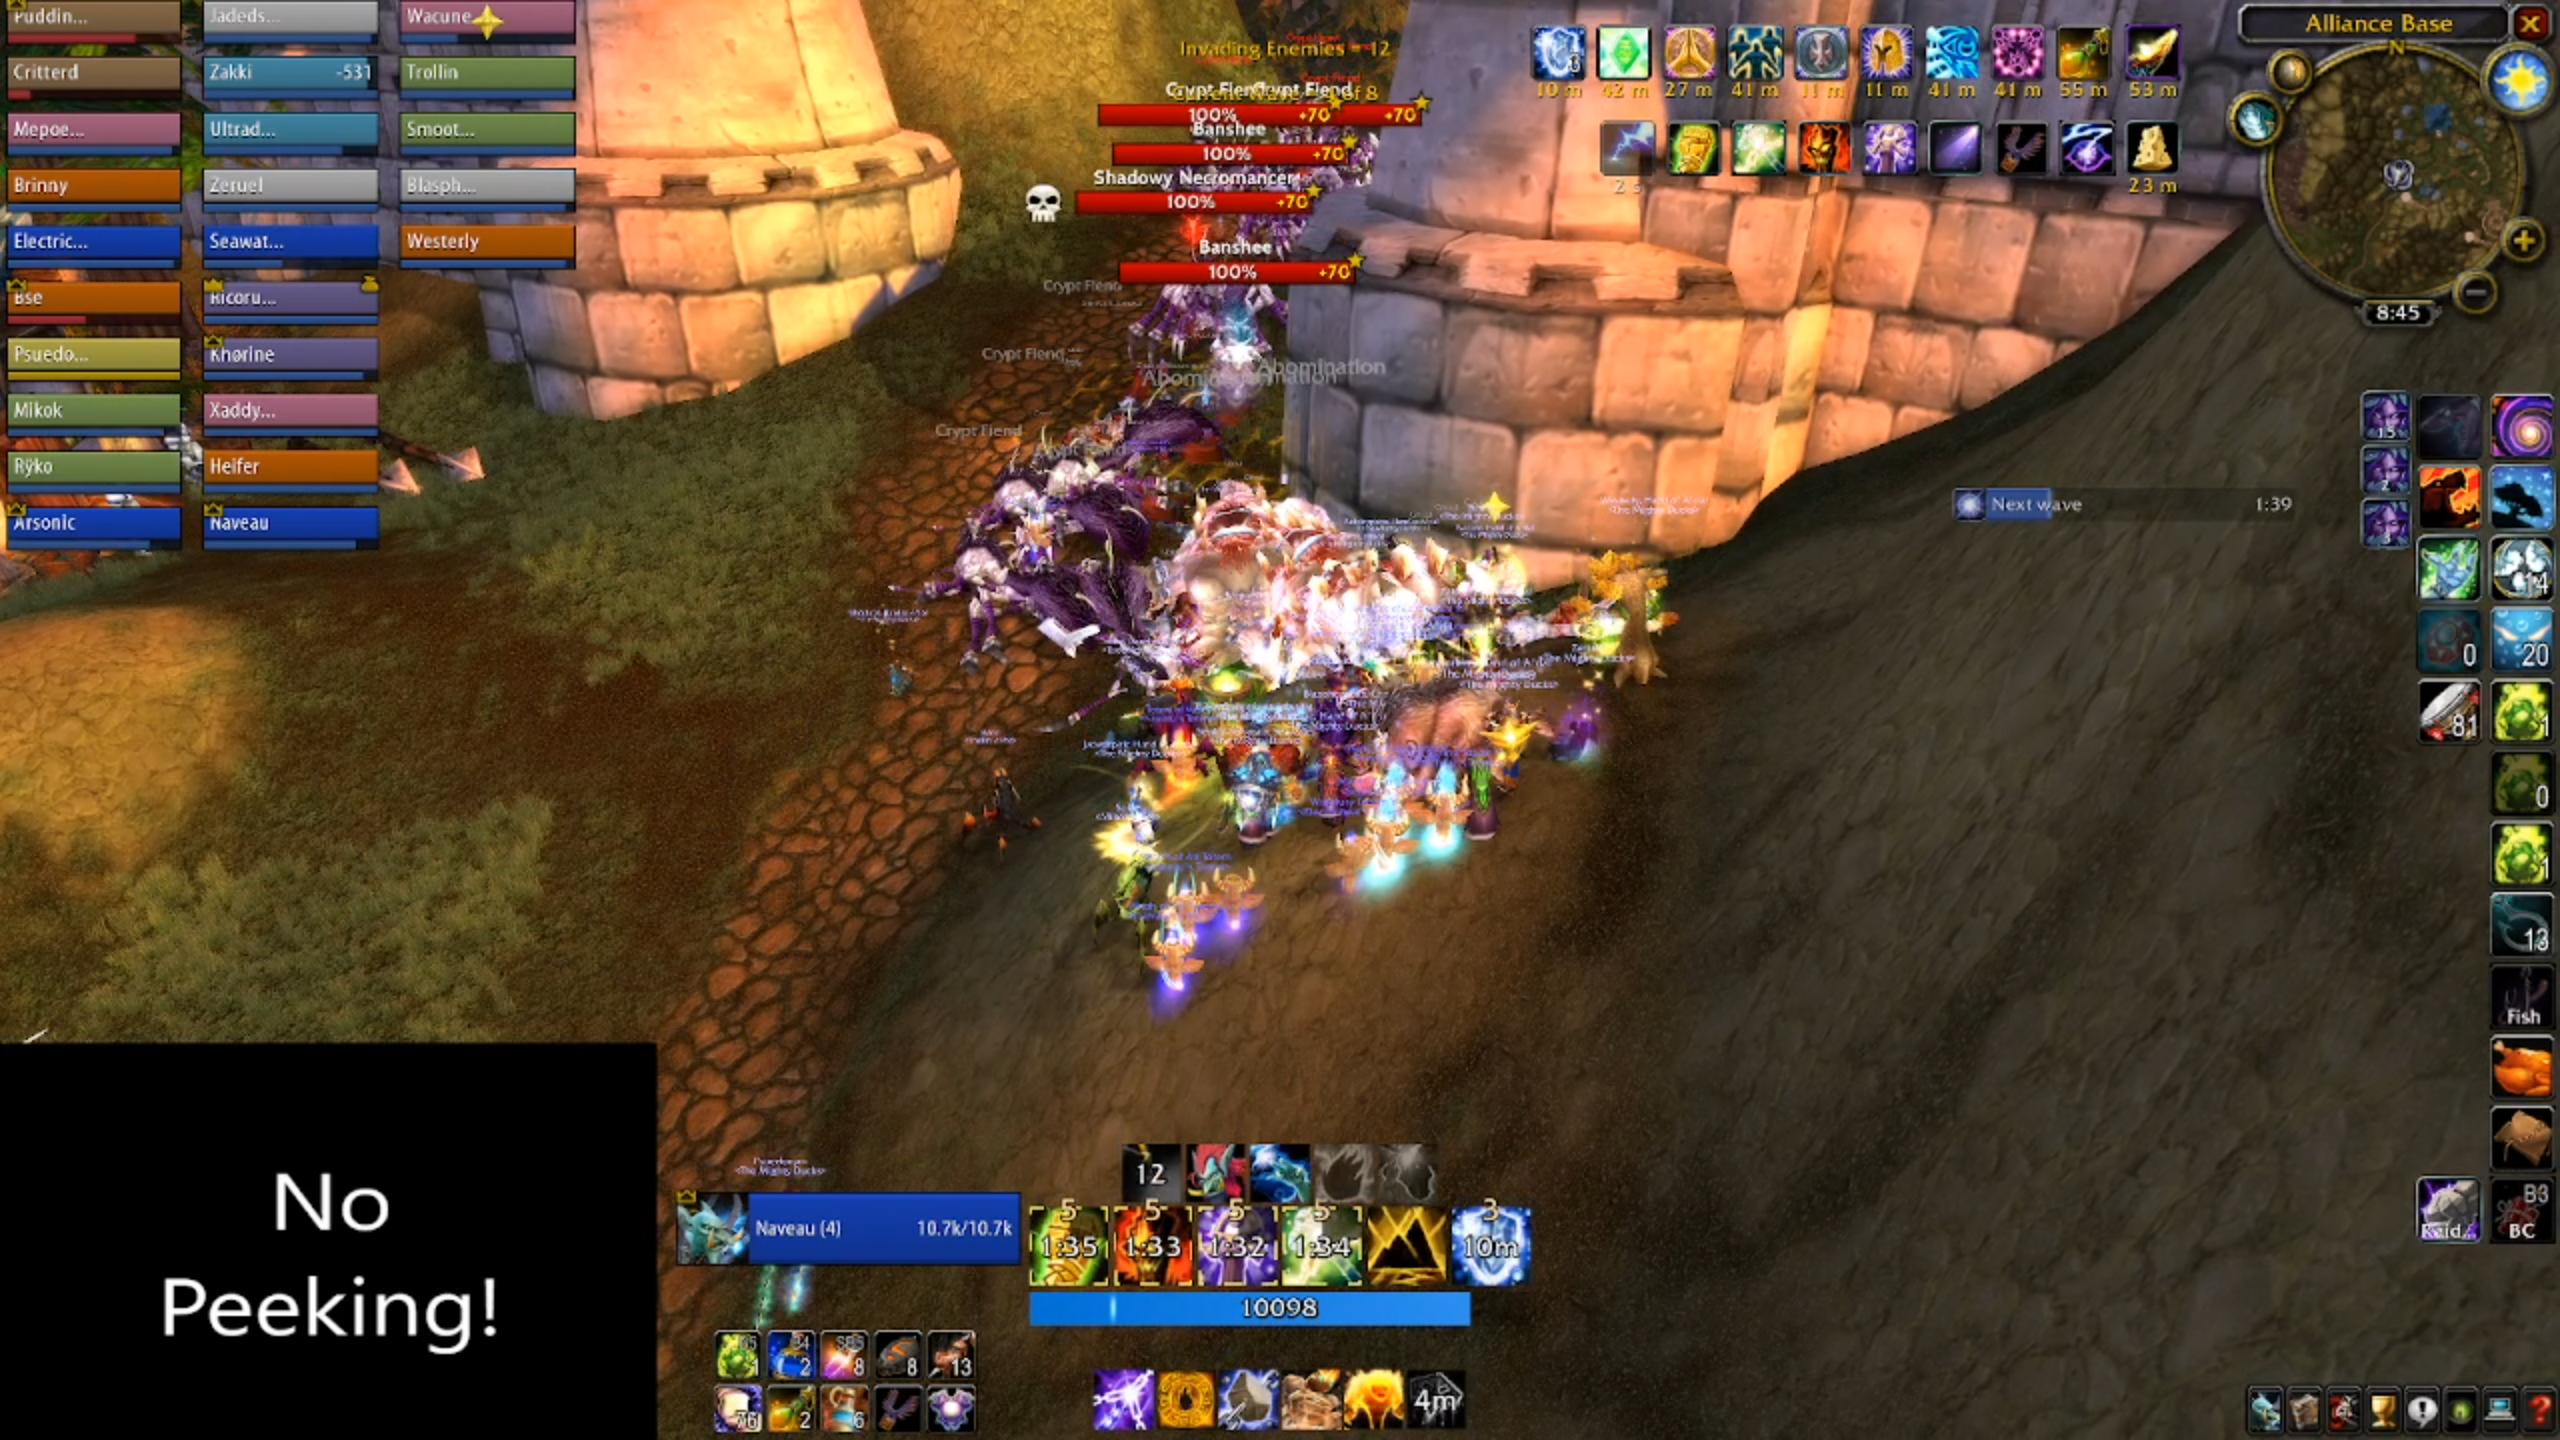
Boss Three - Kaz'rogal
Kaz'rogal's waves of trash have a lot of spellcasters in them, so players need to be aware of their positioning and take advantage of line of sight to drag banshees and necromancers as close to the raid as possible. As with previous waves, melee should prioritise interrupts and leave padding the meters to warlocks, shamans and mages.
One trap for new players - the casters cannot see behind the supply crates or the wooden palisade, but they do have line of sight on the top of the watchtower looking out over the gate. If you want to look cool and climb on top of it, you will be target number one when heavy caster waves spawn.
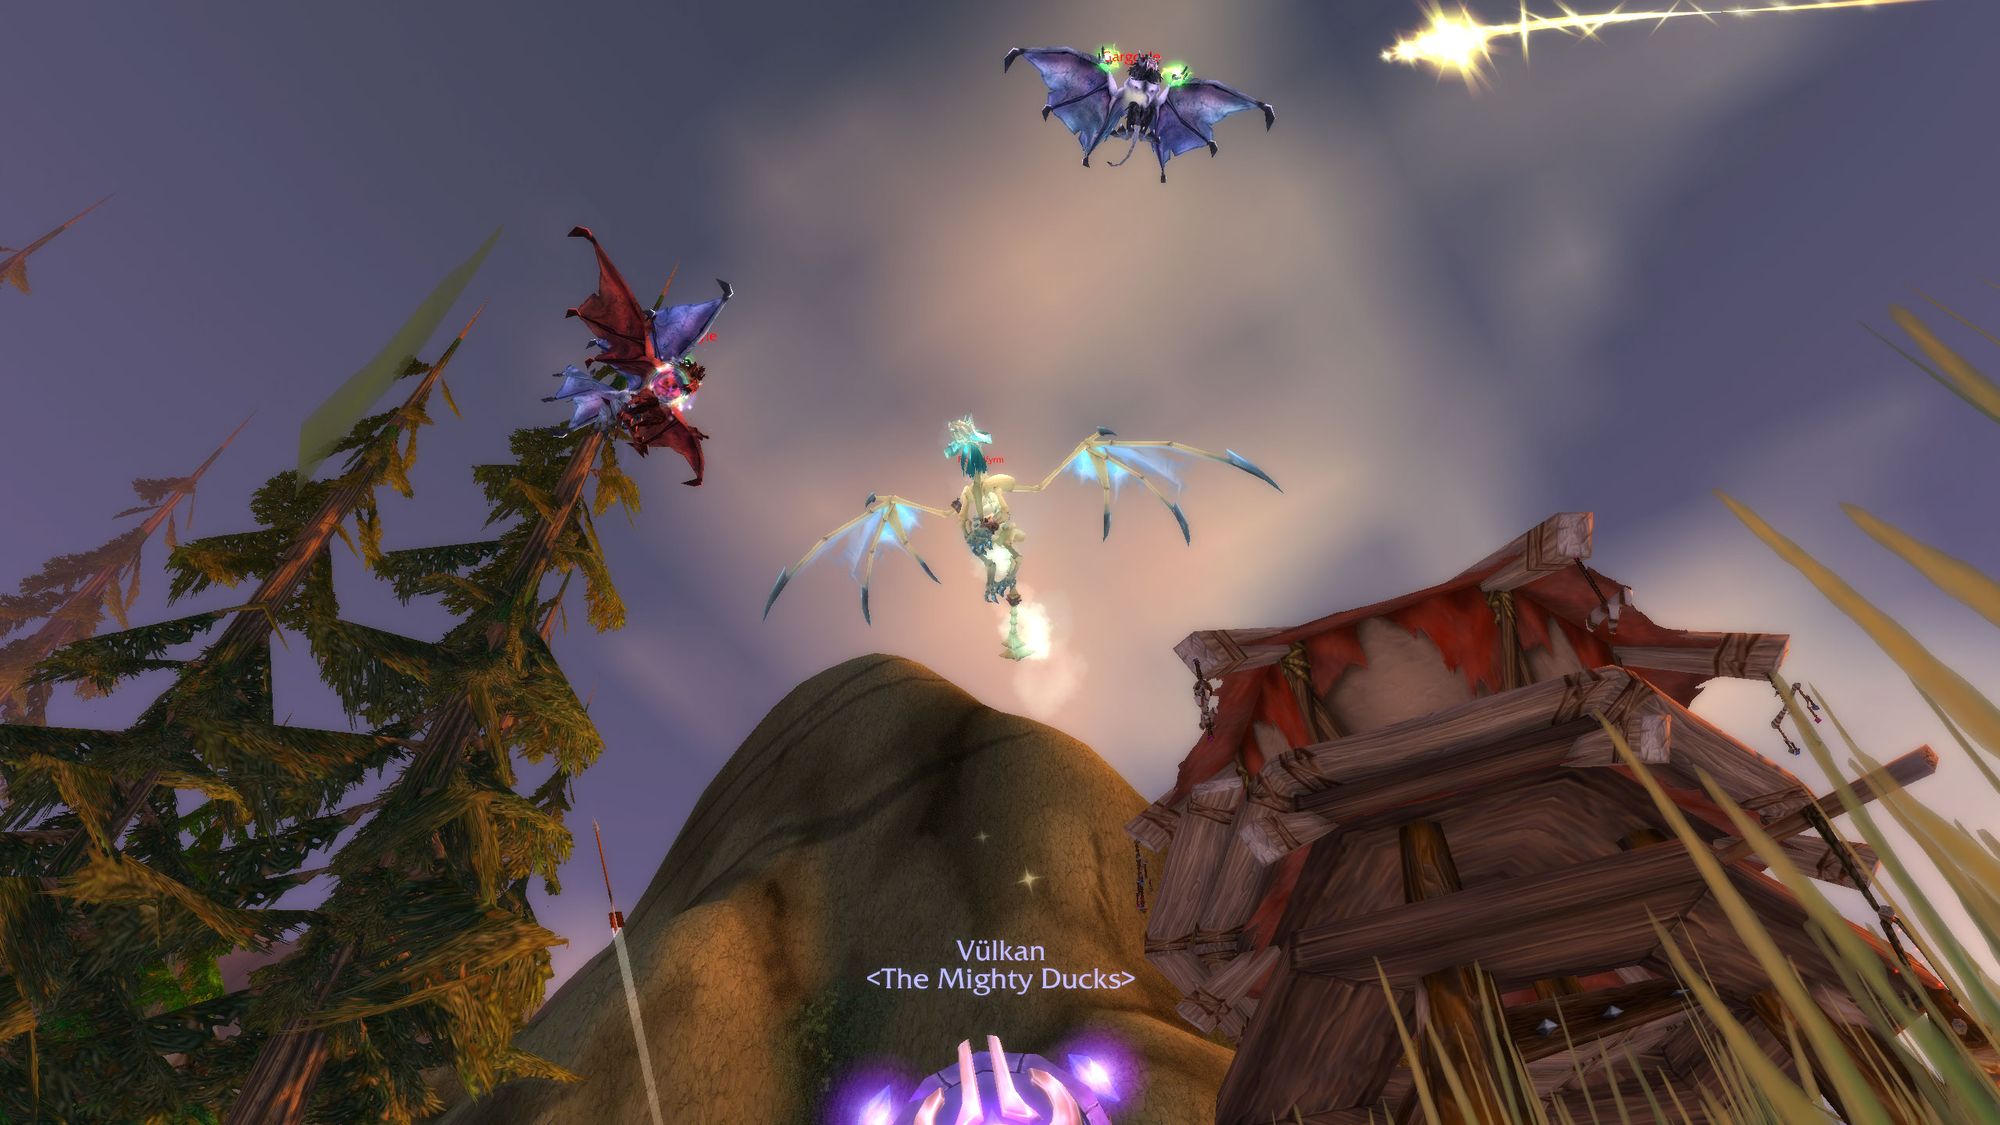
In addition, waves 2, 4 and 6 have gargoyles. These flying rats have low health, do little damage, but are a pain to wrangle up and kill. It's also very difficult to pull aggro from the troll headhunters, so you'll want an off-tank, a healer and a ranged class with an interrupt like a shaman, to peel off toward the back of the camp as the wave spawns to gather them all up, and pull them into the tent in the main area to shoot them all down.
The only exception to this is wave 6, where the gargoyles will spawn in the middle of the camp. The raid should pile into the orc burrow nearby to break line of sight on the gargoyles, thus gathering them all up and allowing them to be AoE'd down.
Wave 6 also has a new enemy type - a Frost Wyrm.
Slow and easy to see, you'll want a high armor ranged class such as a boomkin or hunter draw aggro and then move away from the raid, as the Frost Wyrm's primary attack is an AoE around the player with the most threat. Deal with the gargoyles first, then turn and burn it down.
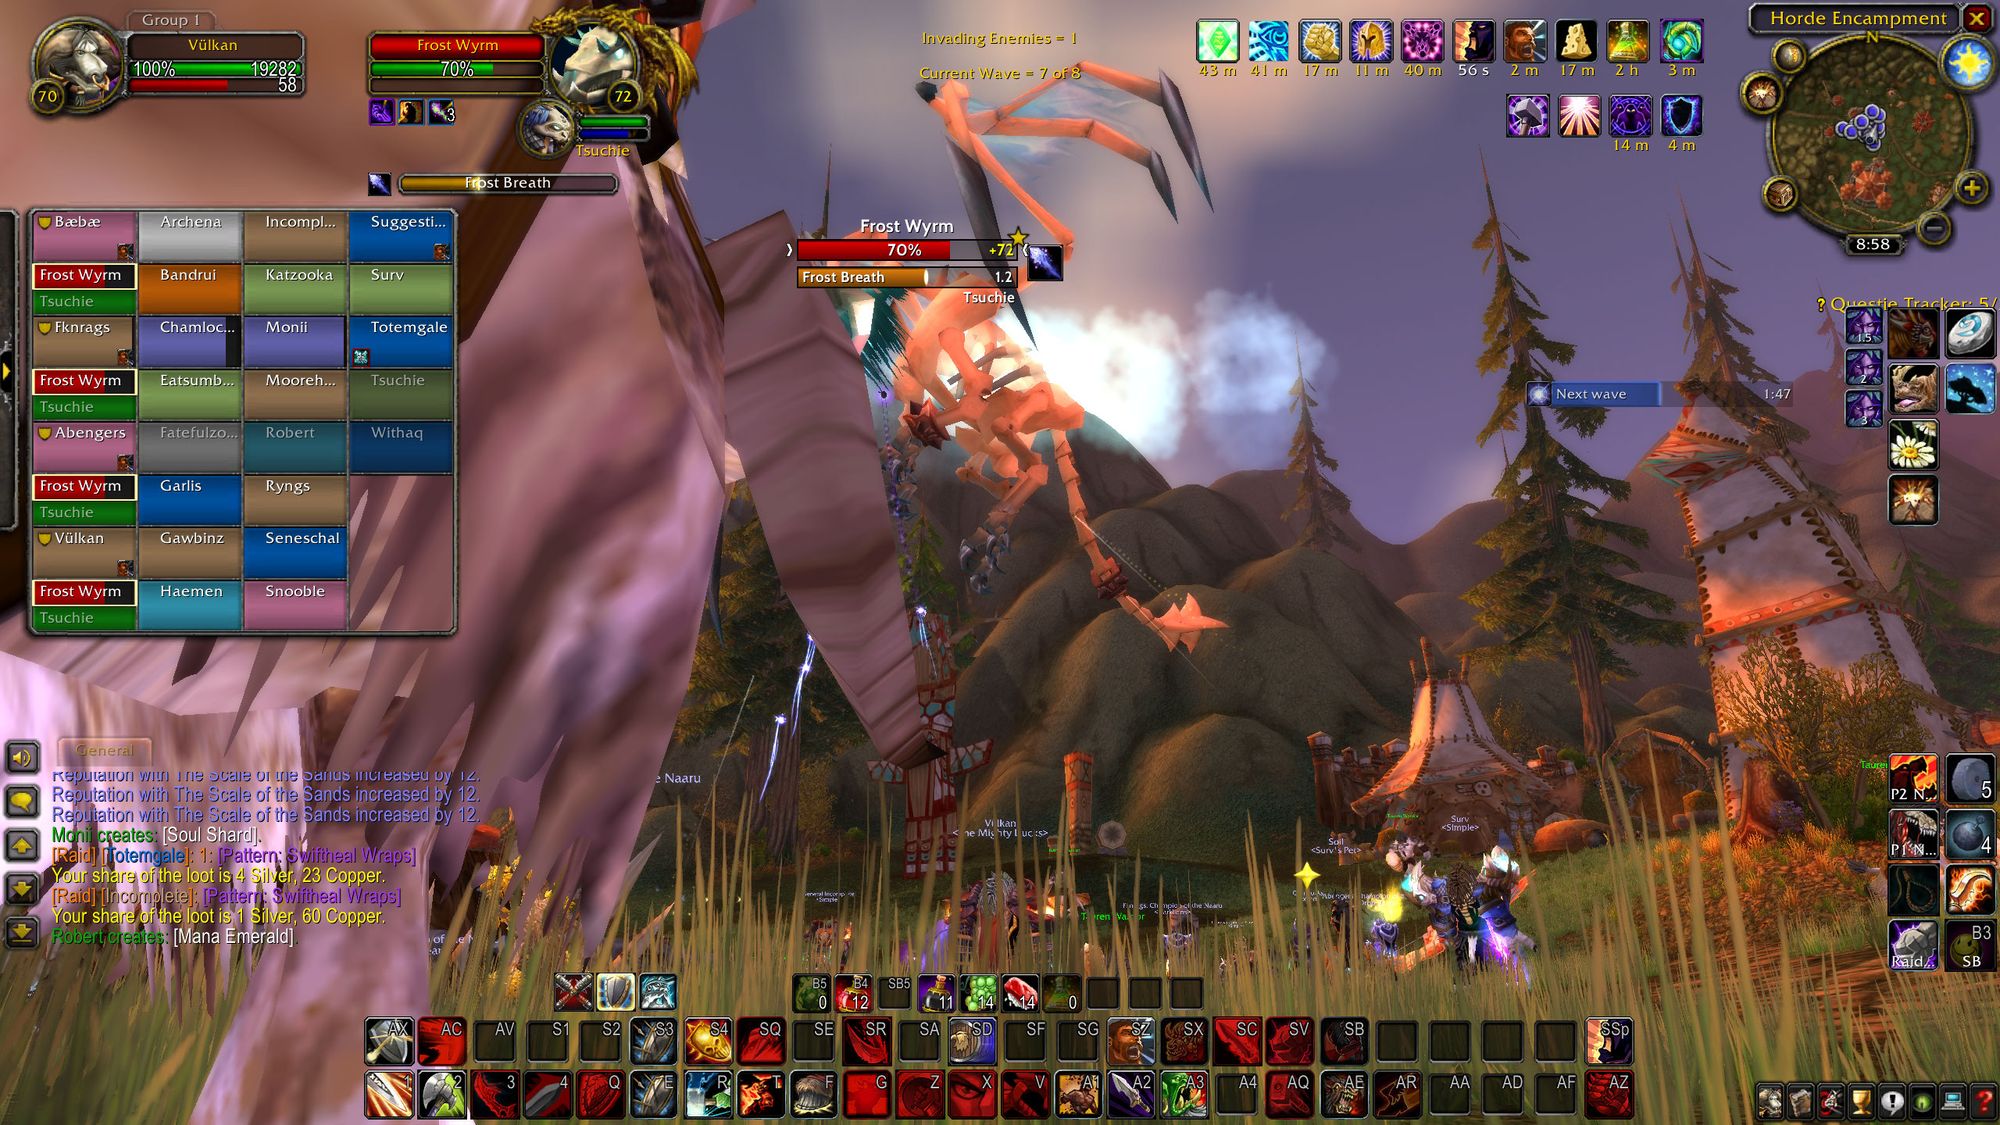
So melee aren't totally helpless, if they stand under the Wyrm, they'll be able to hit it, regardless of its height from the ground. It does look a little silly, though.
Outside of new flying annoying enemies, the big danger wave is wave 5. Four necromancers, six abominations and ghouls to fill seats on the party bus. Your offtanks should be picking and holding an abomination each, preferably two, as there's less room to move the pack around. Melee need to make sure they're engaging the casters as soon as they come in to line of sight, but don't be dumb and run out into the middle of the road, they'll kill you with shadowbolt casts.
Wave 8 can also be a little bit tricky, with four casters (two banshees and two necromancers) and four abominations. Mind controlling a necromancer here to reduce overall load on melee interrupters can help, as well as give you breathing room if you lose your paladin.
Players will want to make sure they're topped off on mana before starting the next encounter. Either you can hold the mind control on the necromancer until ready, or give the boss plenty of lead-in time up the road before engaging.
When you're ready (or three minutes has passed) the boss will come marching up the road.
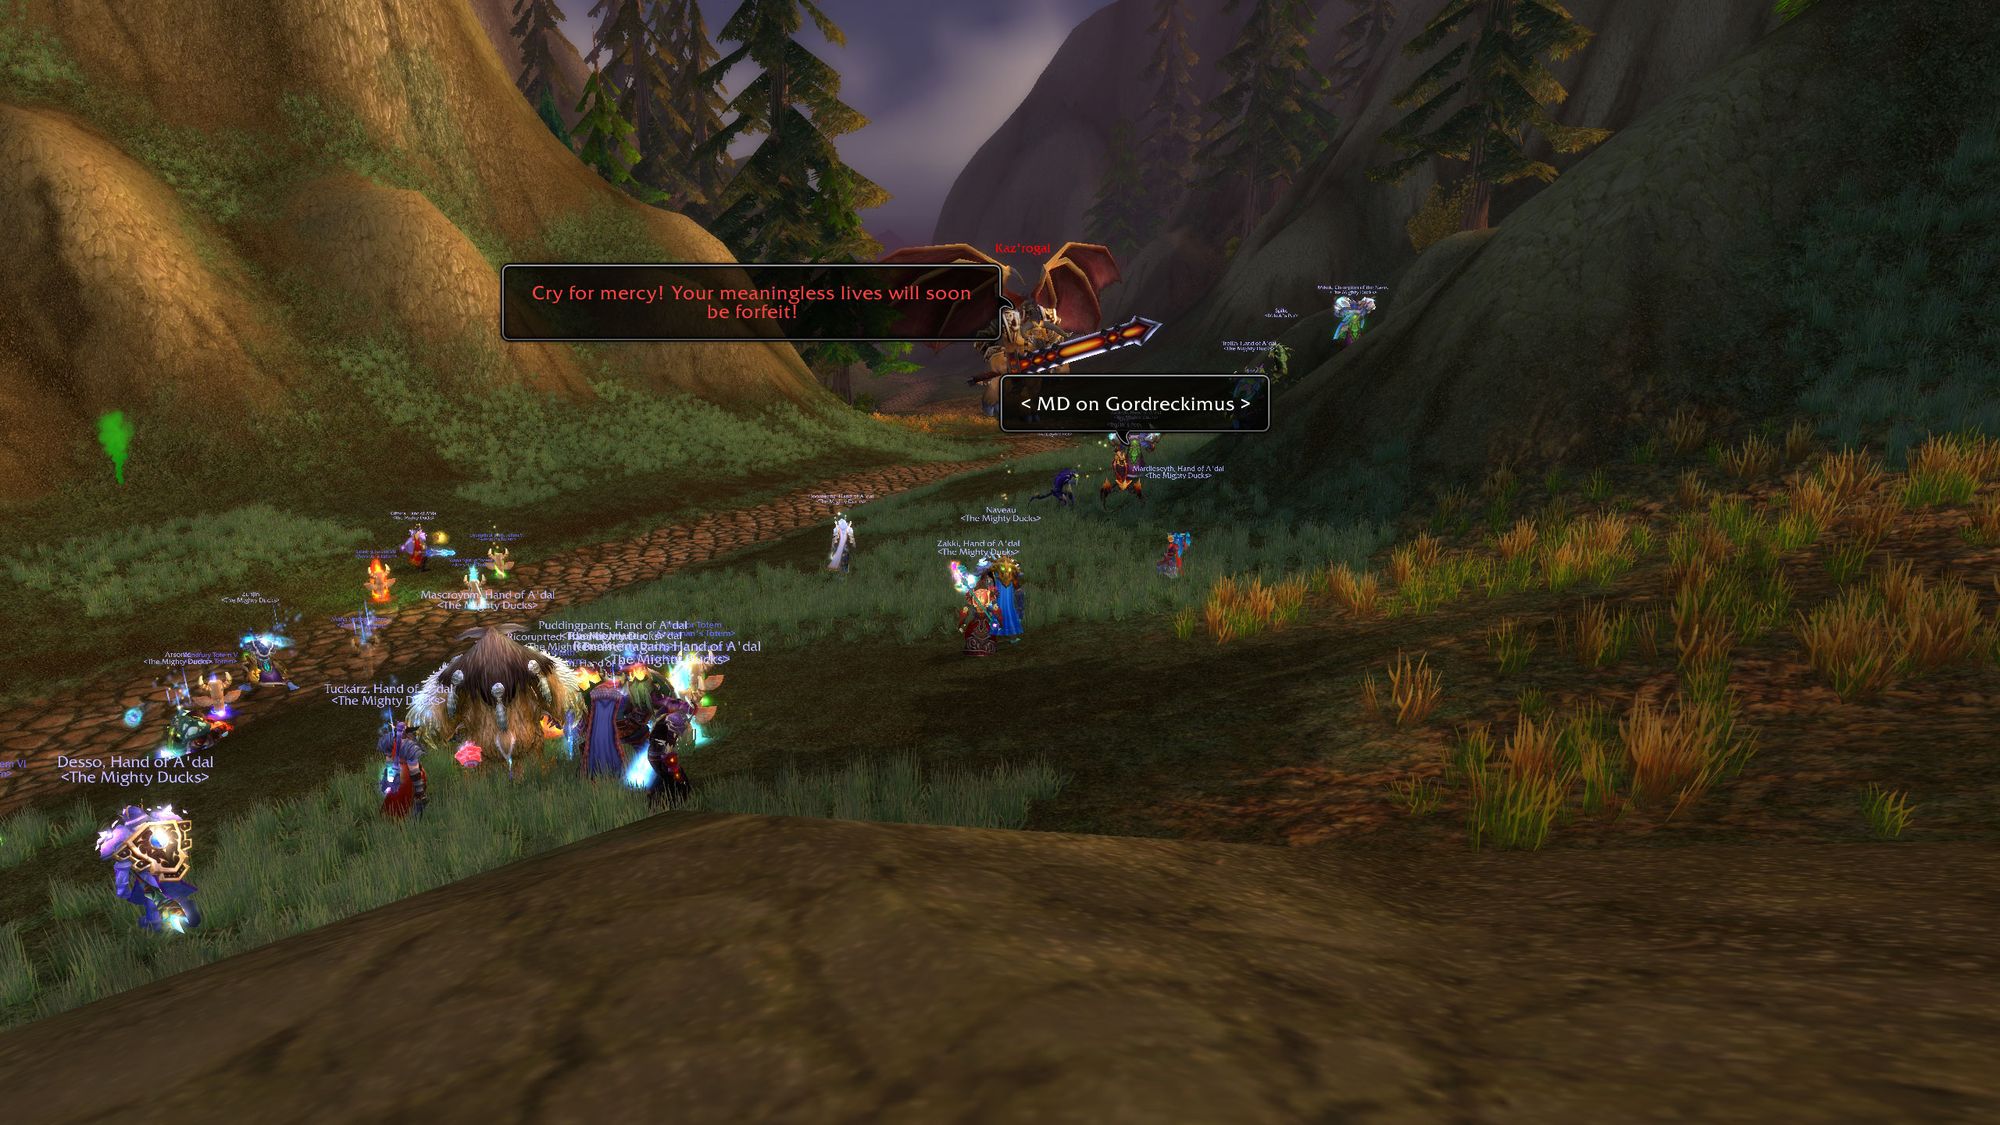
Tactics
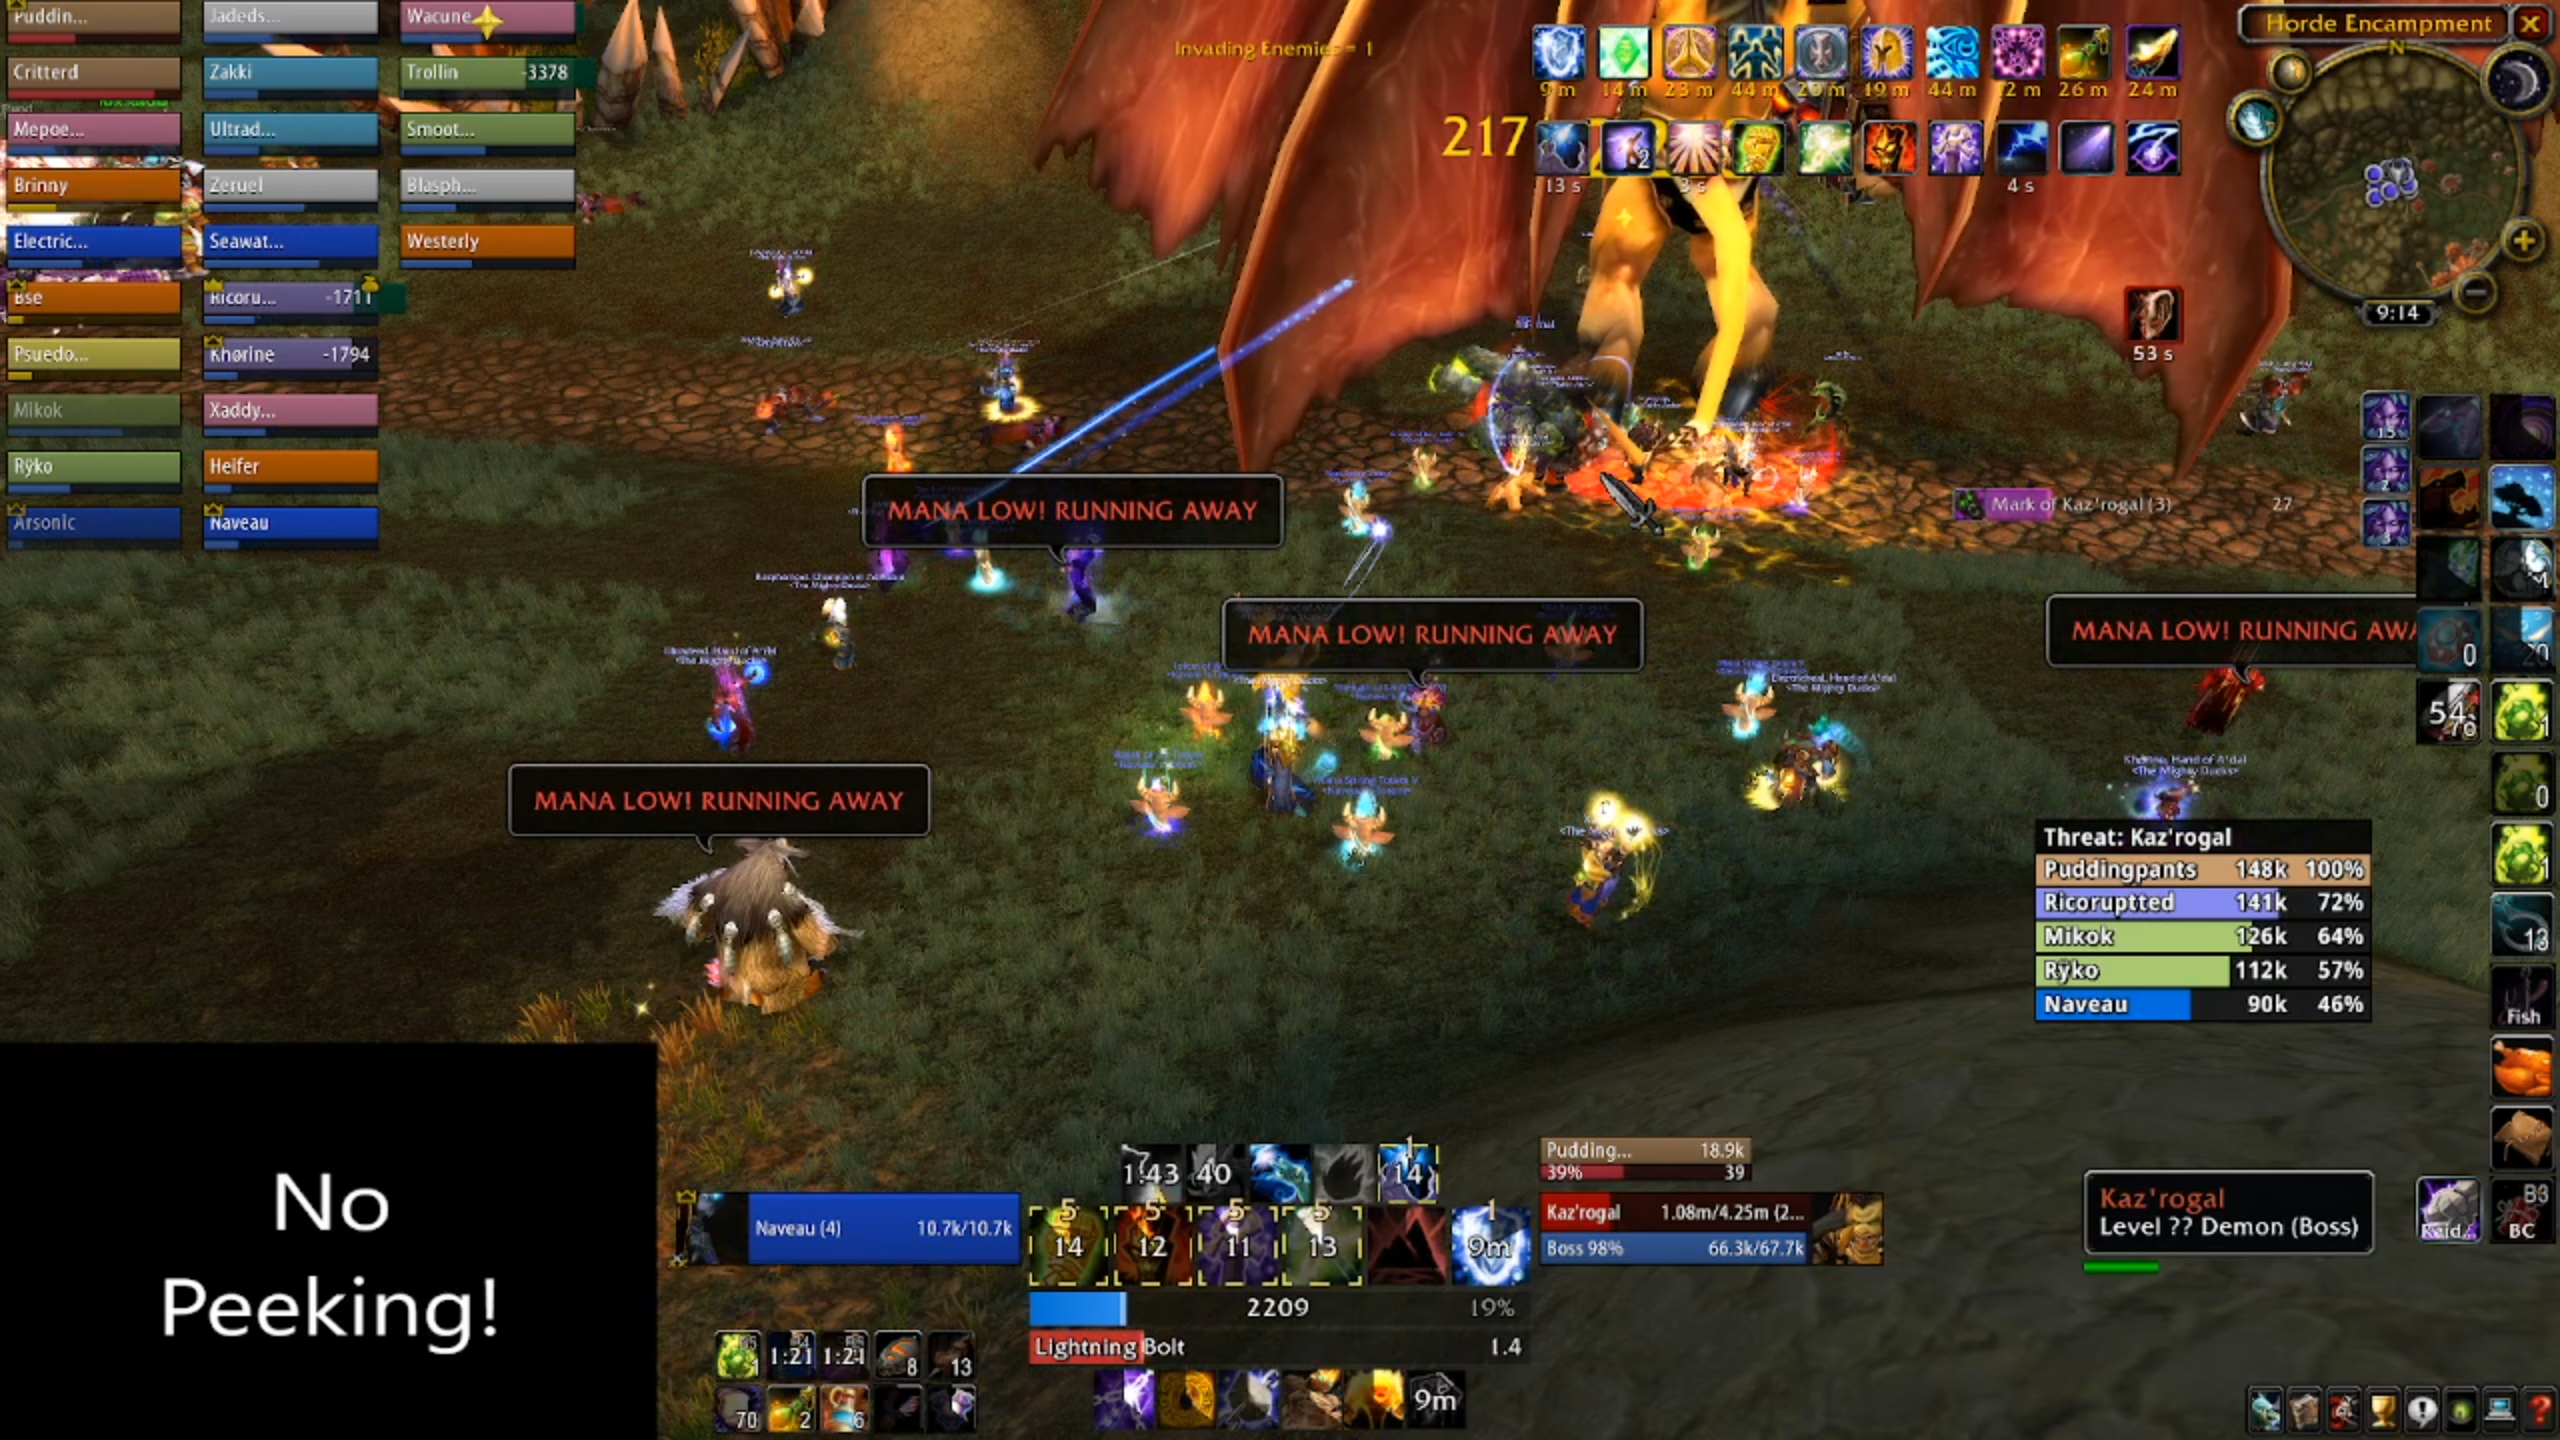
Kaz'rogal is a DPS race. He cast a mana burn, called "Mark of Kaz'Rogal" on the raid, which drains mana, and causes players to explode when they have no mana remaining.
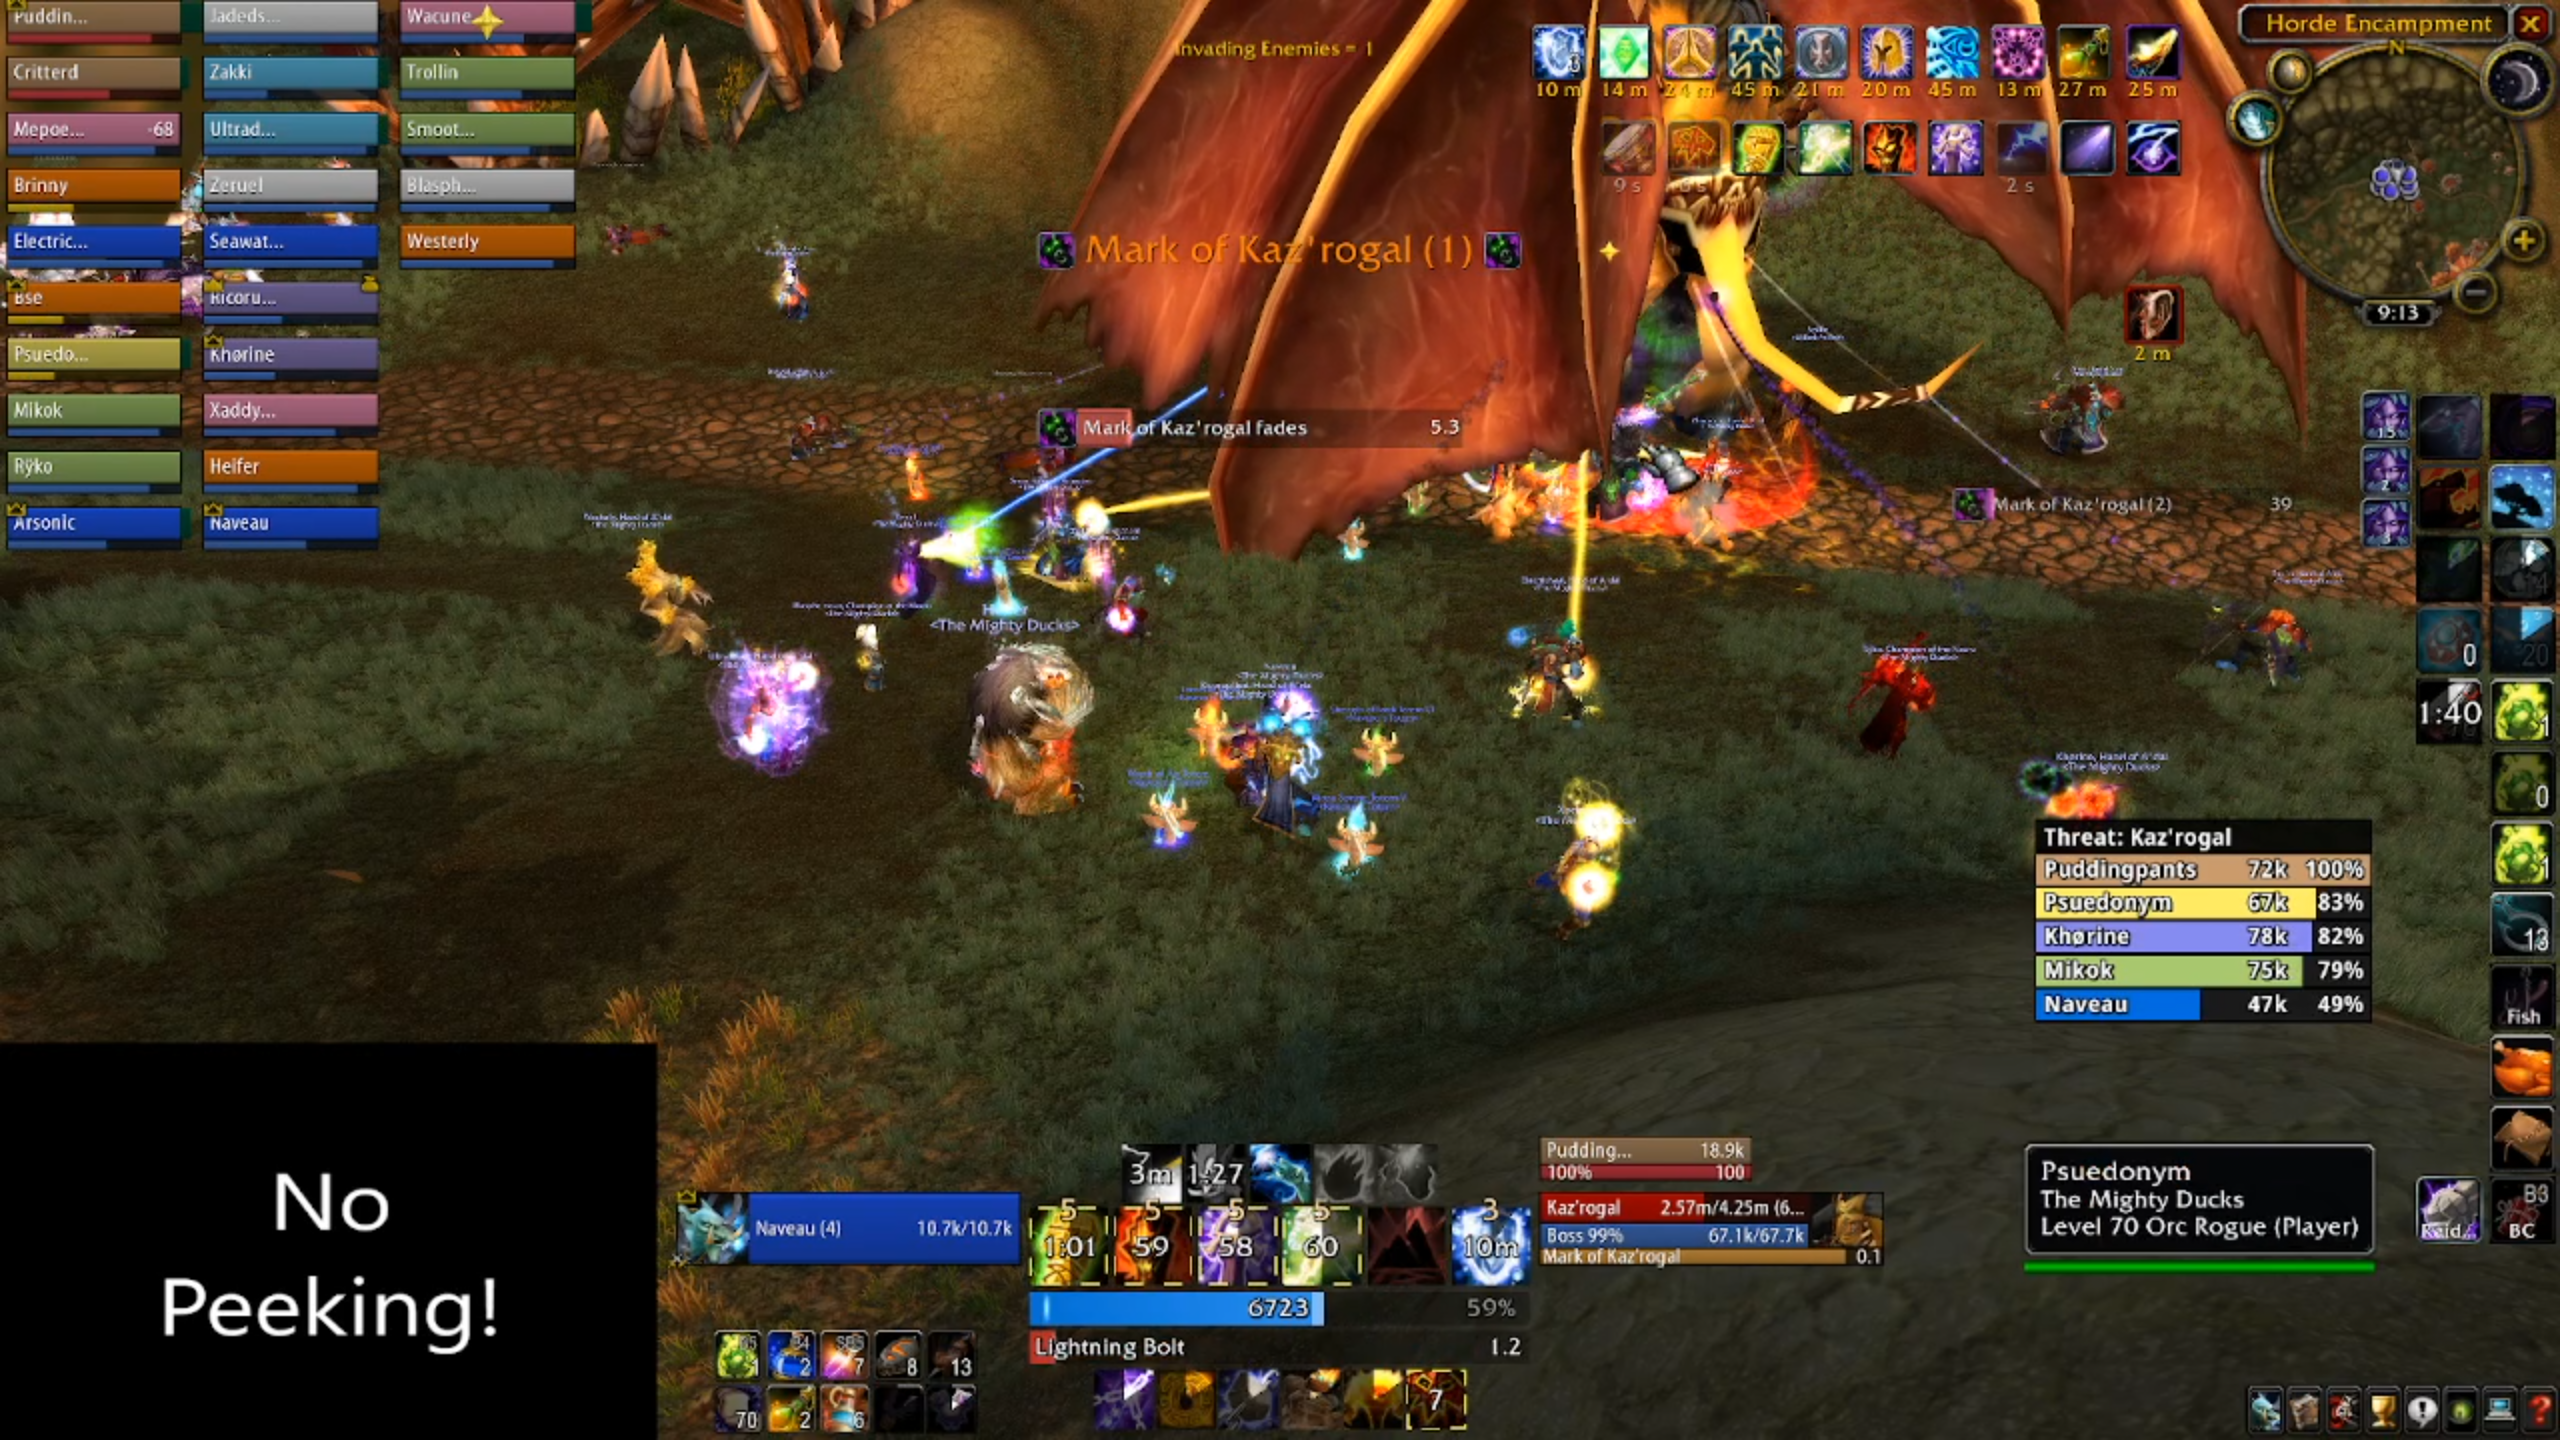
This debuff will be placed on the raid with increasing frequency until he casts it non-stop, effectively making it a hard enrage. Obviously, players will want to be conservative with their rotations (except warlocks, who can life tap, and paladins, provided they're tanking) and try to maximise damage with limited resources.
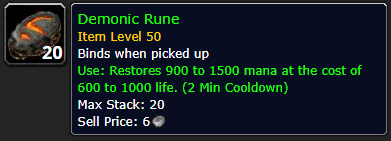
It sounds obvious, but players will want to make sure they're using mana potions and if they're proper sweaty raiders, they'll want to use dark or demonic runes, farmed from the old world. (Scholomance for dark runes, the Hinterlands and Dire Maul for demonic runes.)

The boss also has a cleave that is split amongst players tanking him, so all three tanks should position themselves in front of the boss. It is possible for a single, overgeared chad to tank this without help, but this is not recommended, as it is so mana intensive for the healers.
Kaz'rogal will also stomp the ground, stunning players that are close to him - this prevents stacking, and gives your melee players the shaft. As per usual.
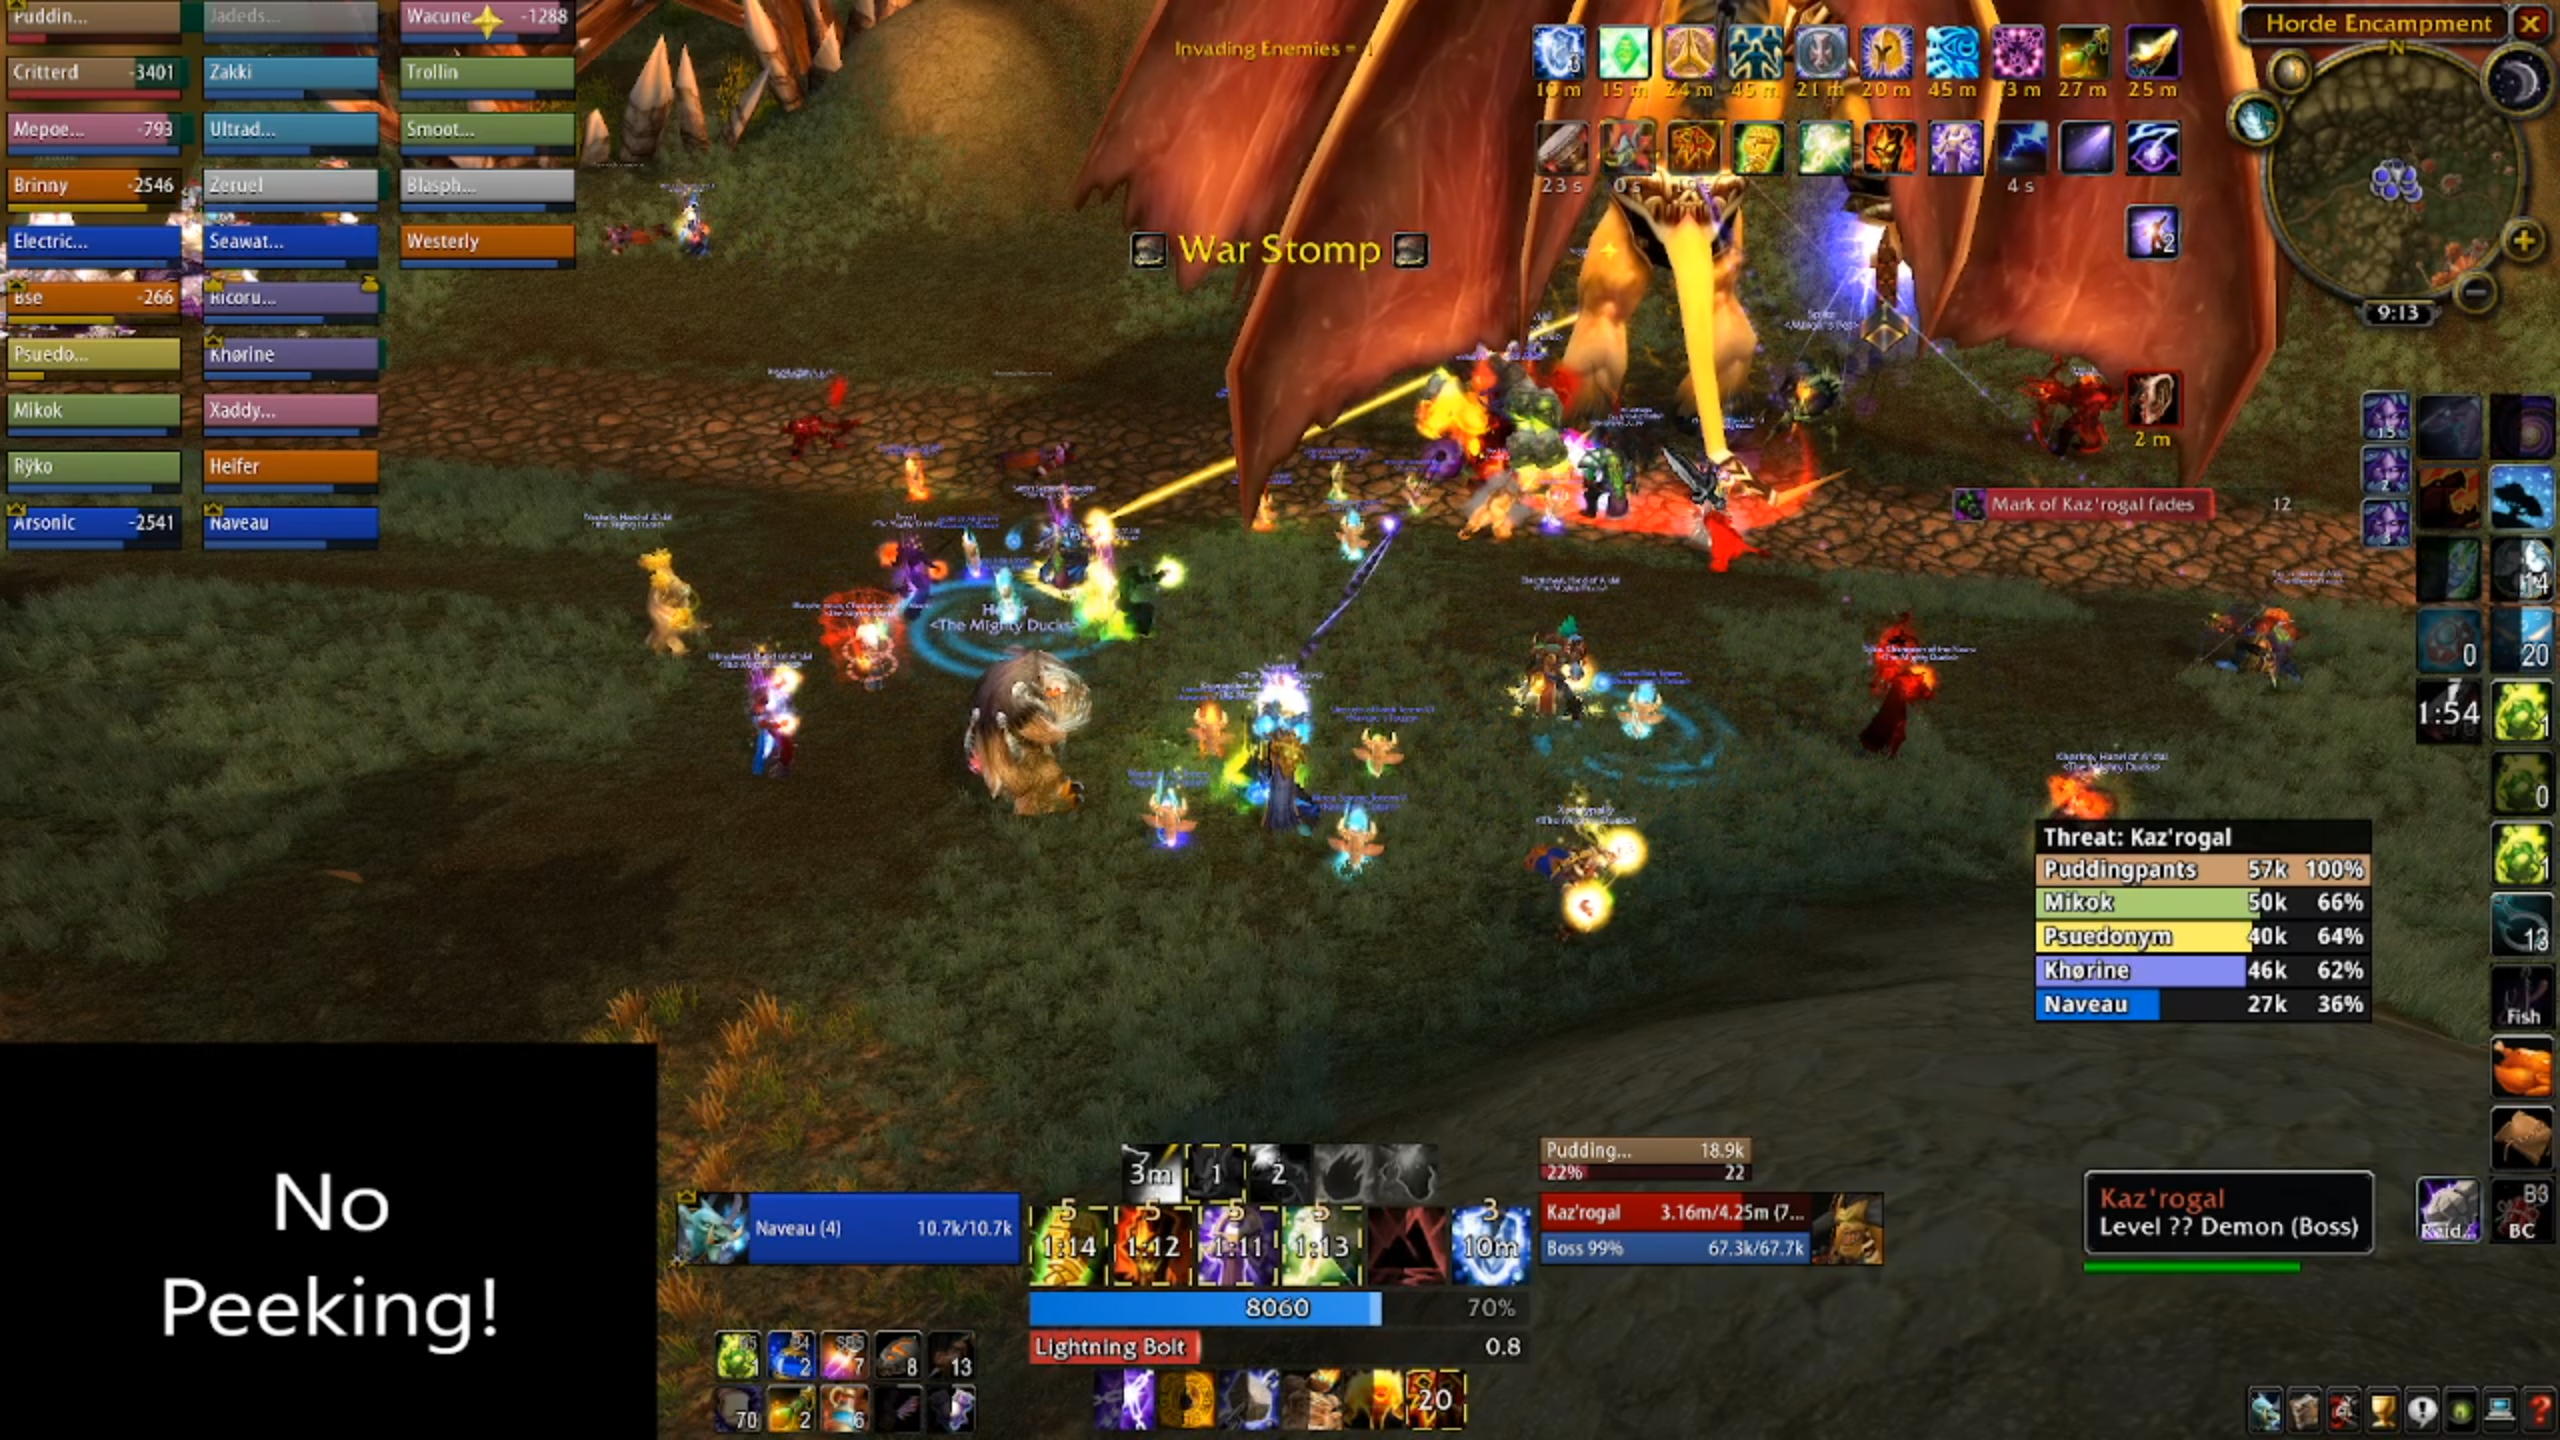
One thing to be aware of - the cooldown for Mark of Kaz'Rogal starts ticking as soon as the boss is engaged. This means if one of the NPCs at the orc camp (there are headhunters and orc grunts at the front gates) face pulls Kaz'rogal, you will start losing time on the next mark cast, regardless of when a player engages and moves the boss.
To counteract this, you can stand outside the camp and remove the NPCs from the equation entirely. This means that you won't get the questionable benefit of their damage, but even a modestly geared group should be able to clear the DPS check provided players who are out of mana are responsible, and don't bomb their group.
Otherwise, this isn't an exciting fight. Bloodlust and cooldowns should be used on the pull, your hunters should roll misdirects onto your primary tank to build a big threat lead, standard stuff.
Just make sure that when you get low, you move out of the group if you're expecting to run out of mana. It happens to everyone, it's ok, just don't wreck it for the raid. If you're a melee class that uses mana, such as an enhancement shaman or a retribution paladin, move nice and early so you don't blow up the tanks.
After killing the Kaz'rogal, as with the first two encounters, you'll get a chance to top up, buff up, etc. The last set of trash can be pretty spicy, so don't skimp.
When you're ready for the last stretch of trash, talk to Thrall again.
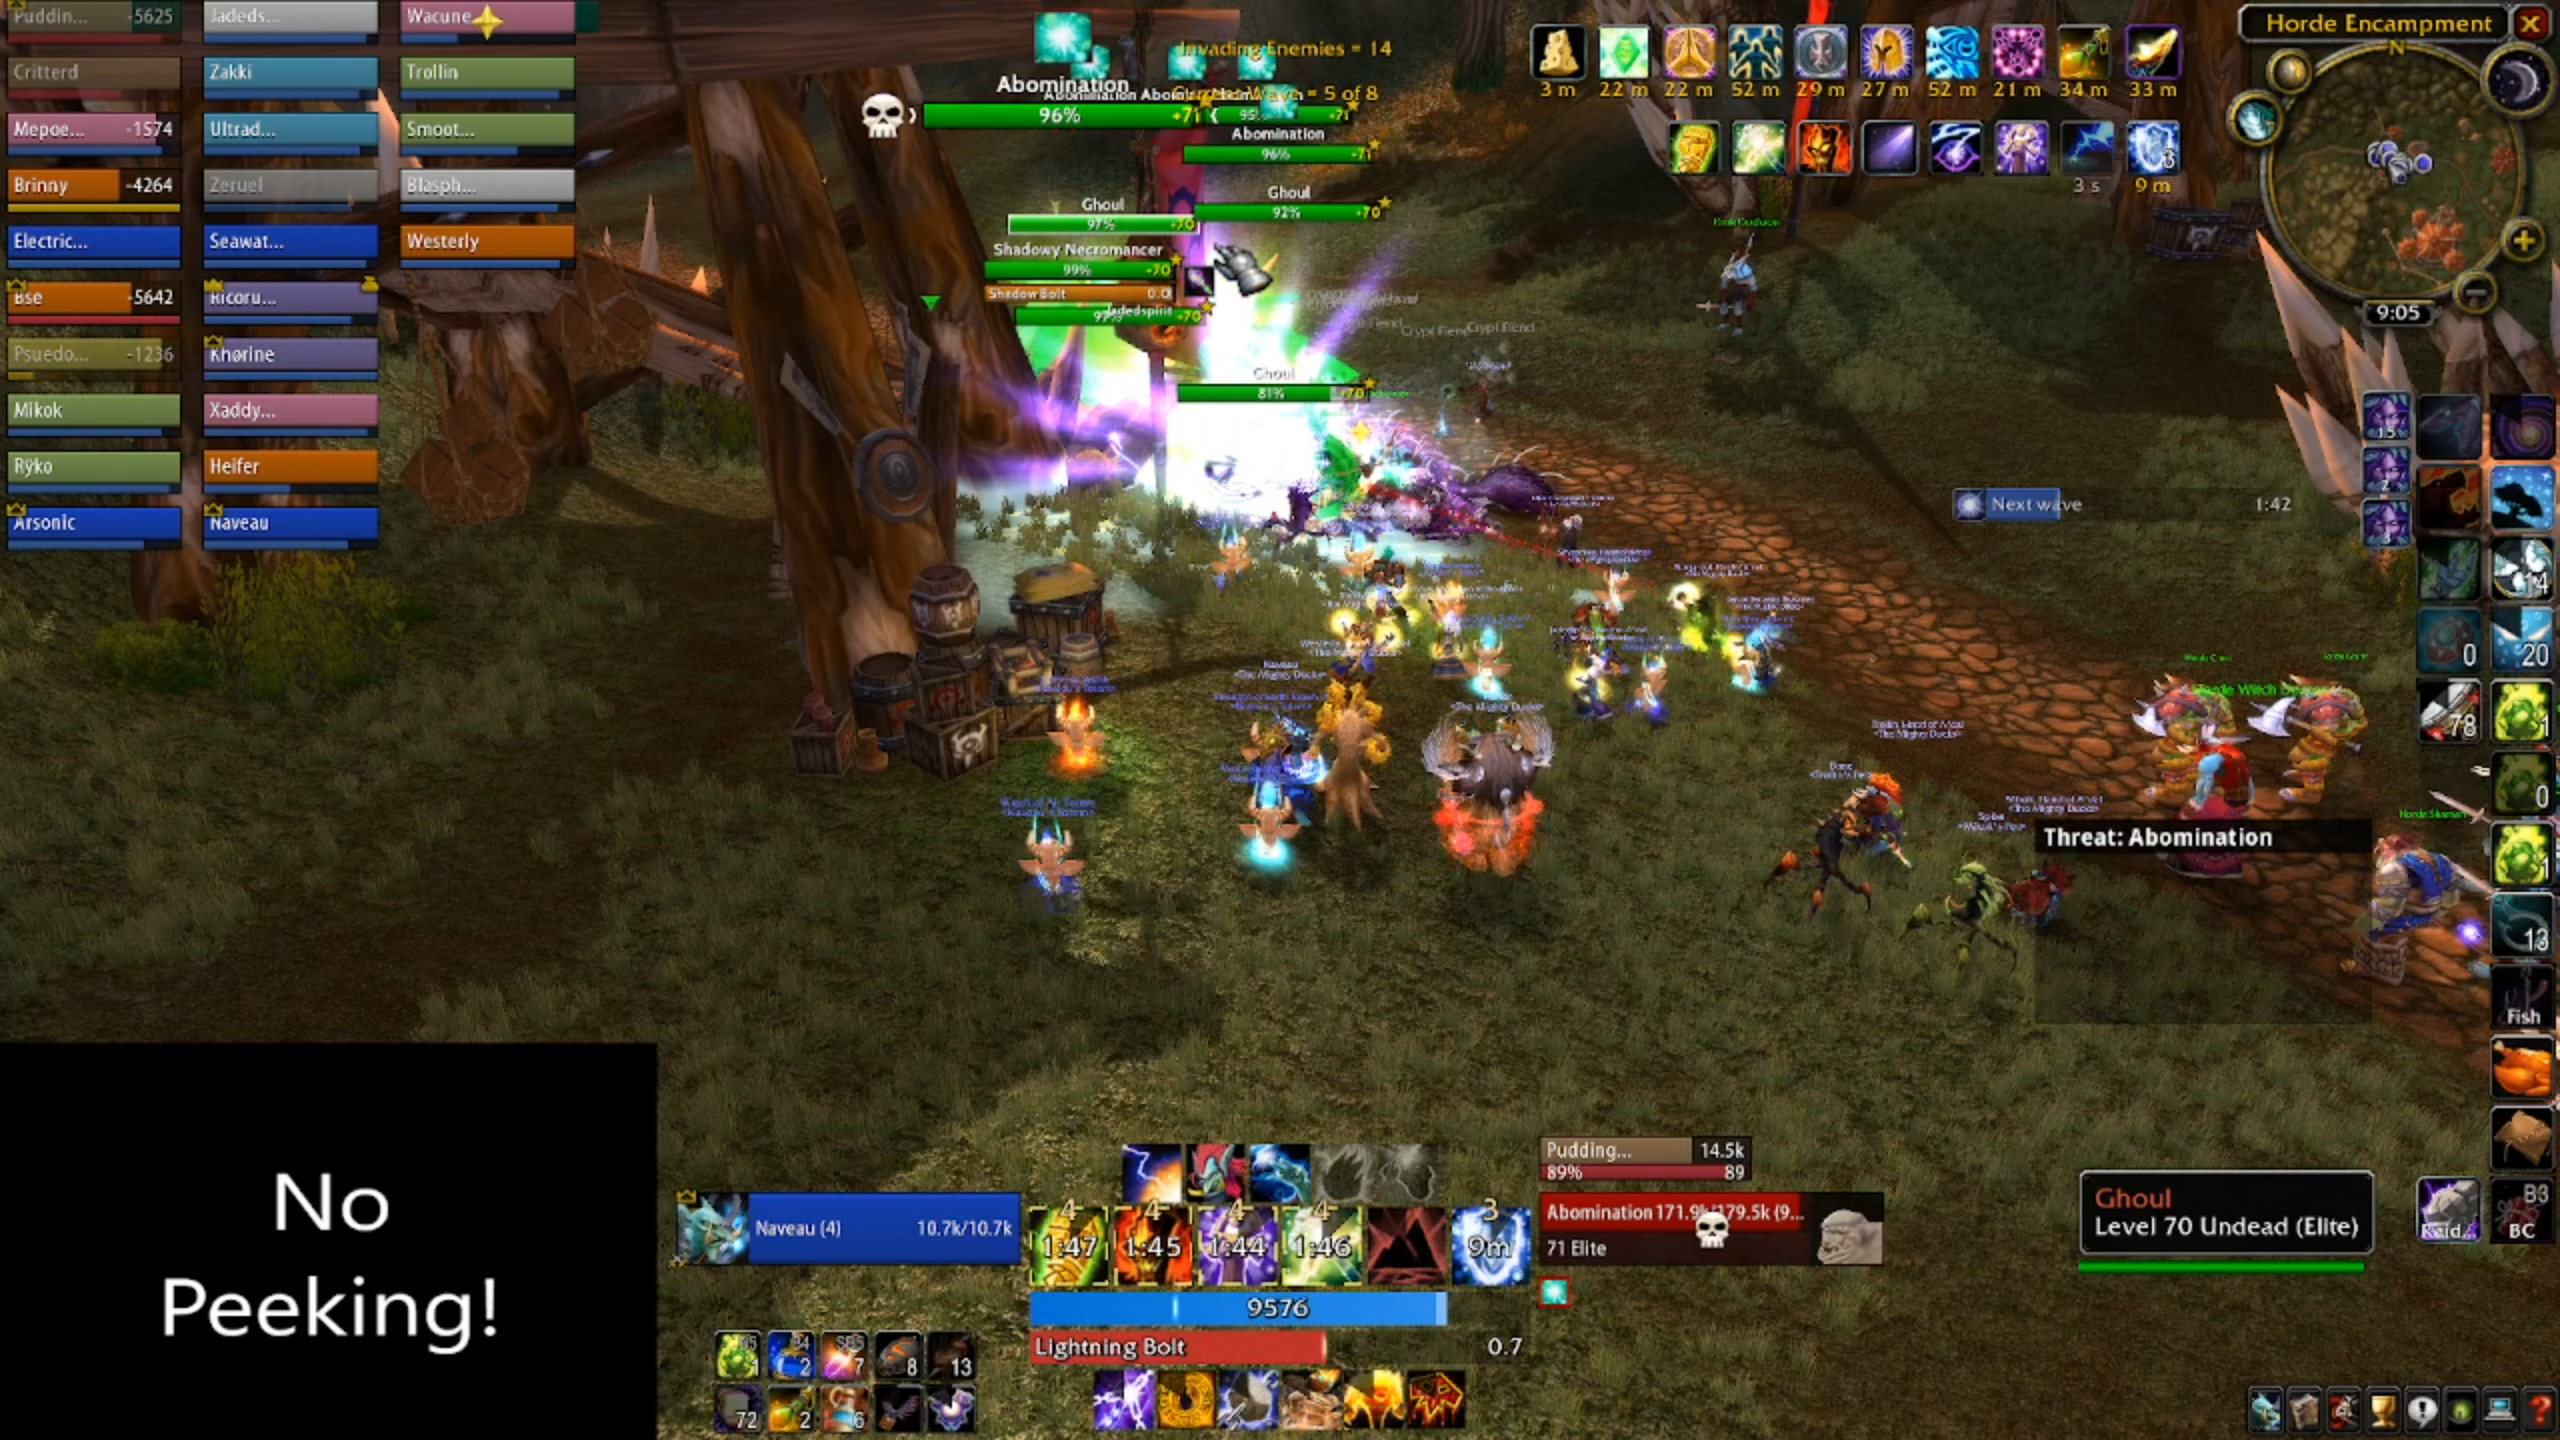
Boss Four - Azgalor
Azgalor's trash doesn't muck about. From the get-go, you have to deal with 6 necromancers and 6 abominations. Engineers and blood elves will want to coordinate using arcane bombs and arcane torrents to keep them suppressed. The paladin should still drag the abominations around as much as possible, even using a free action potion prior to the wave to keep mobility.

Melee should abandon any idea of getting close to the abominations, however, and concentrate on keeping as many necromancers disrupted as they can. Ranged interrupters, such as shamans and even mages, should assist as well.
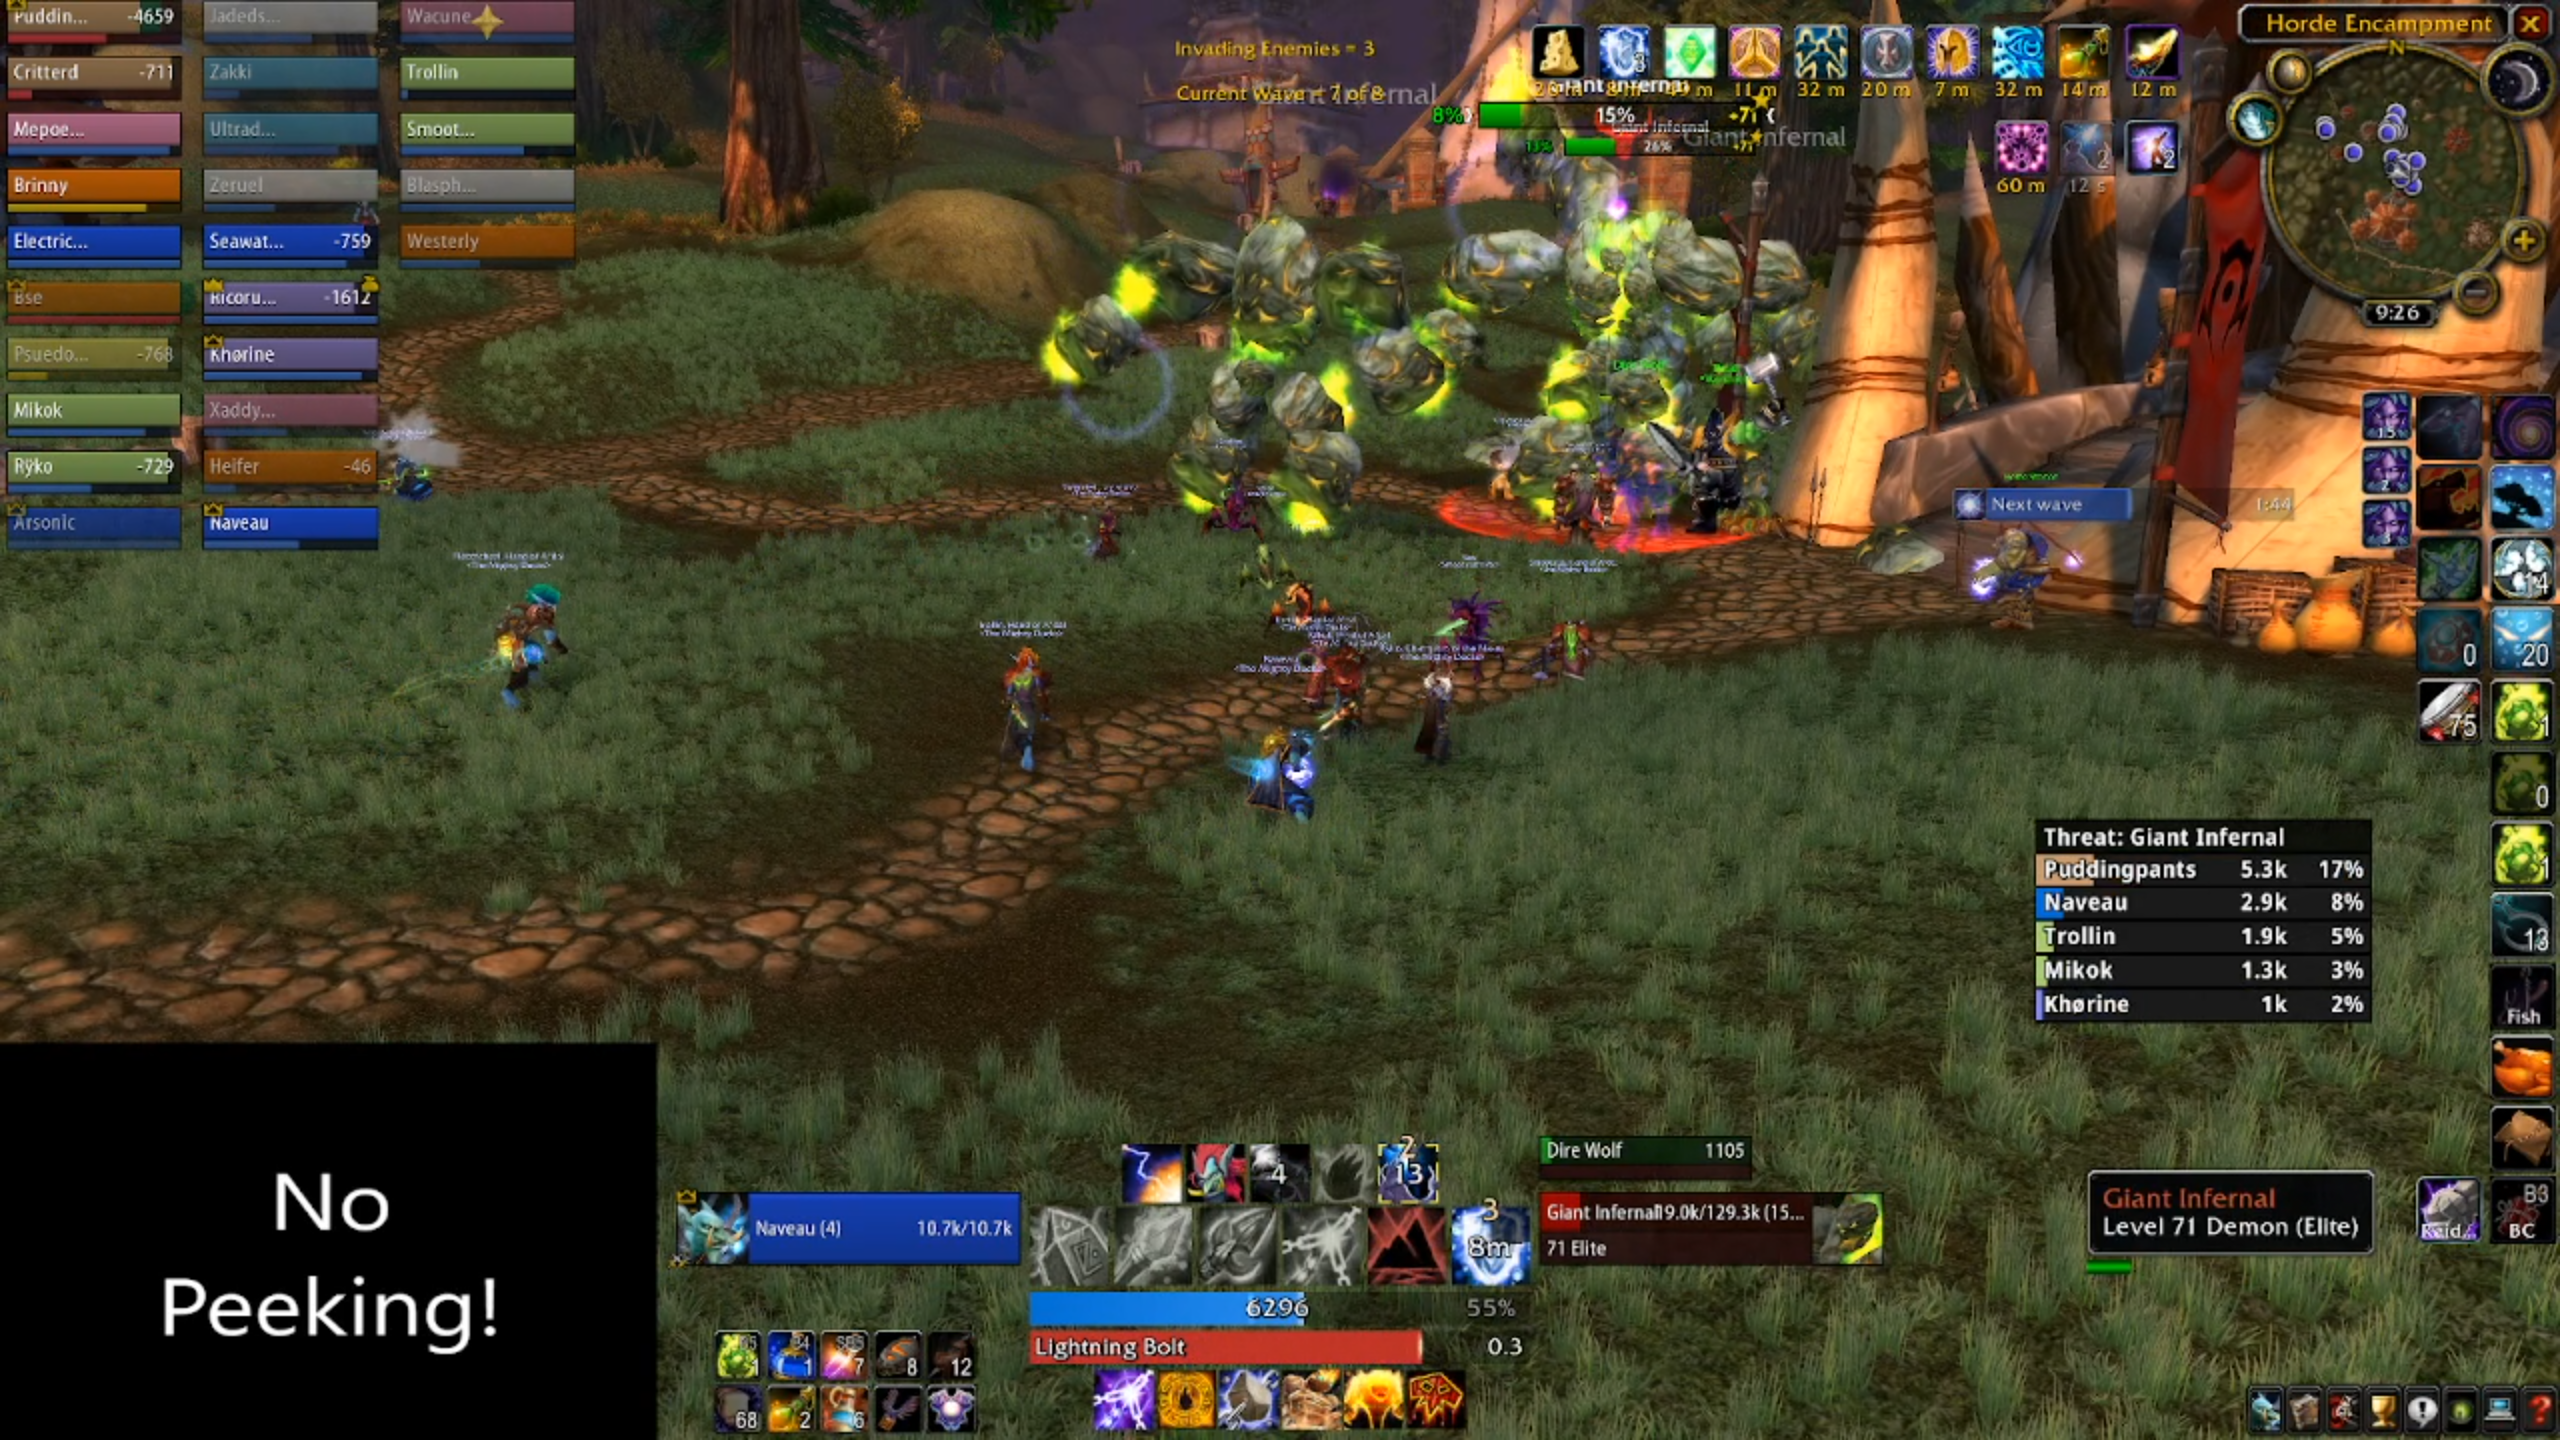
Wave 3 is where things start to get a little different. The raid will be greeted with 8 giant infernals that drop all over the camp, along with six ghouls. Some will drop close, others will drop at the back and aggro onto Thrall and the other NPCs all over the camp. Remember, the only condition for failure is if Thrall dies, so don't do anything silly trying to save a random orc camp NPC from an infernal.
Your paladin will need to hold the ghouls, so your offtanks will need to split up, and keep the infernals from picking off soft targets like healers and casters. You shouldn't have to deal with too many at one time, but the infernals' fire aura can make things a little hectic. Pick off the infernals that are an immediate threat and then deal with the rest of the infernals about the place after cleaning up the ghouls. Don't be surprised if you think you've dealt with all the infernals, and then find one tooling around at the back killing unsuspecting NPCs.
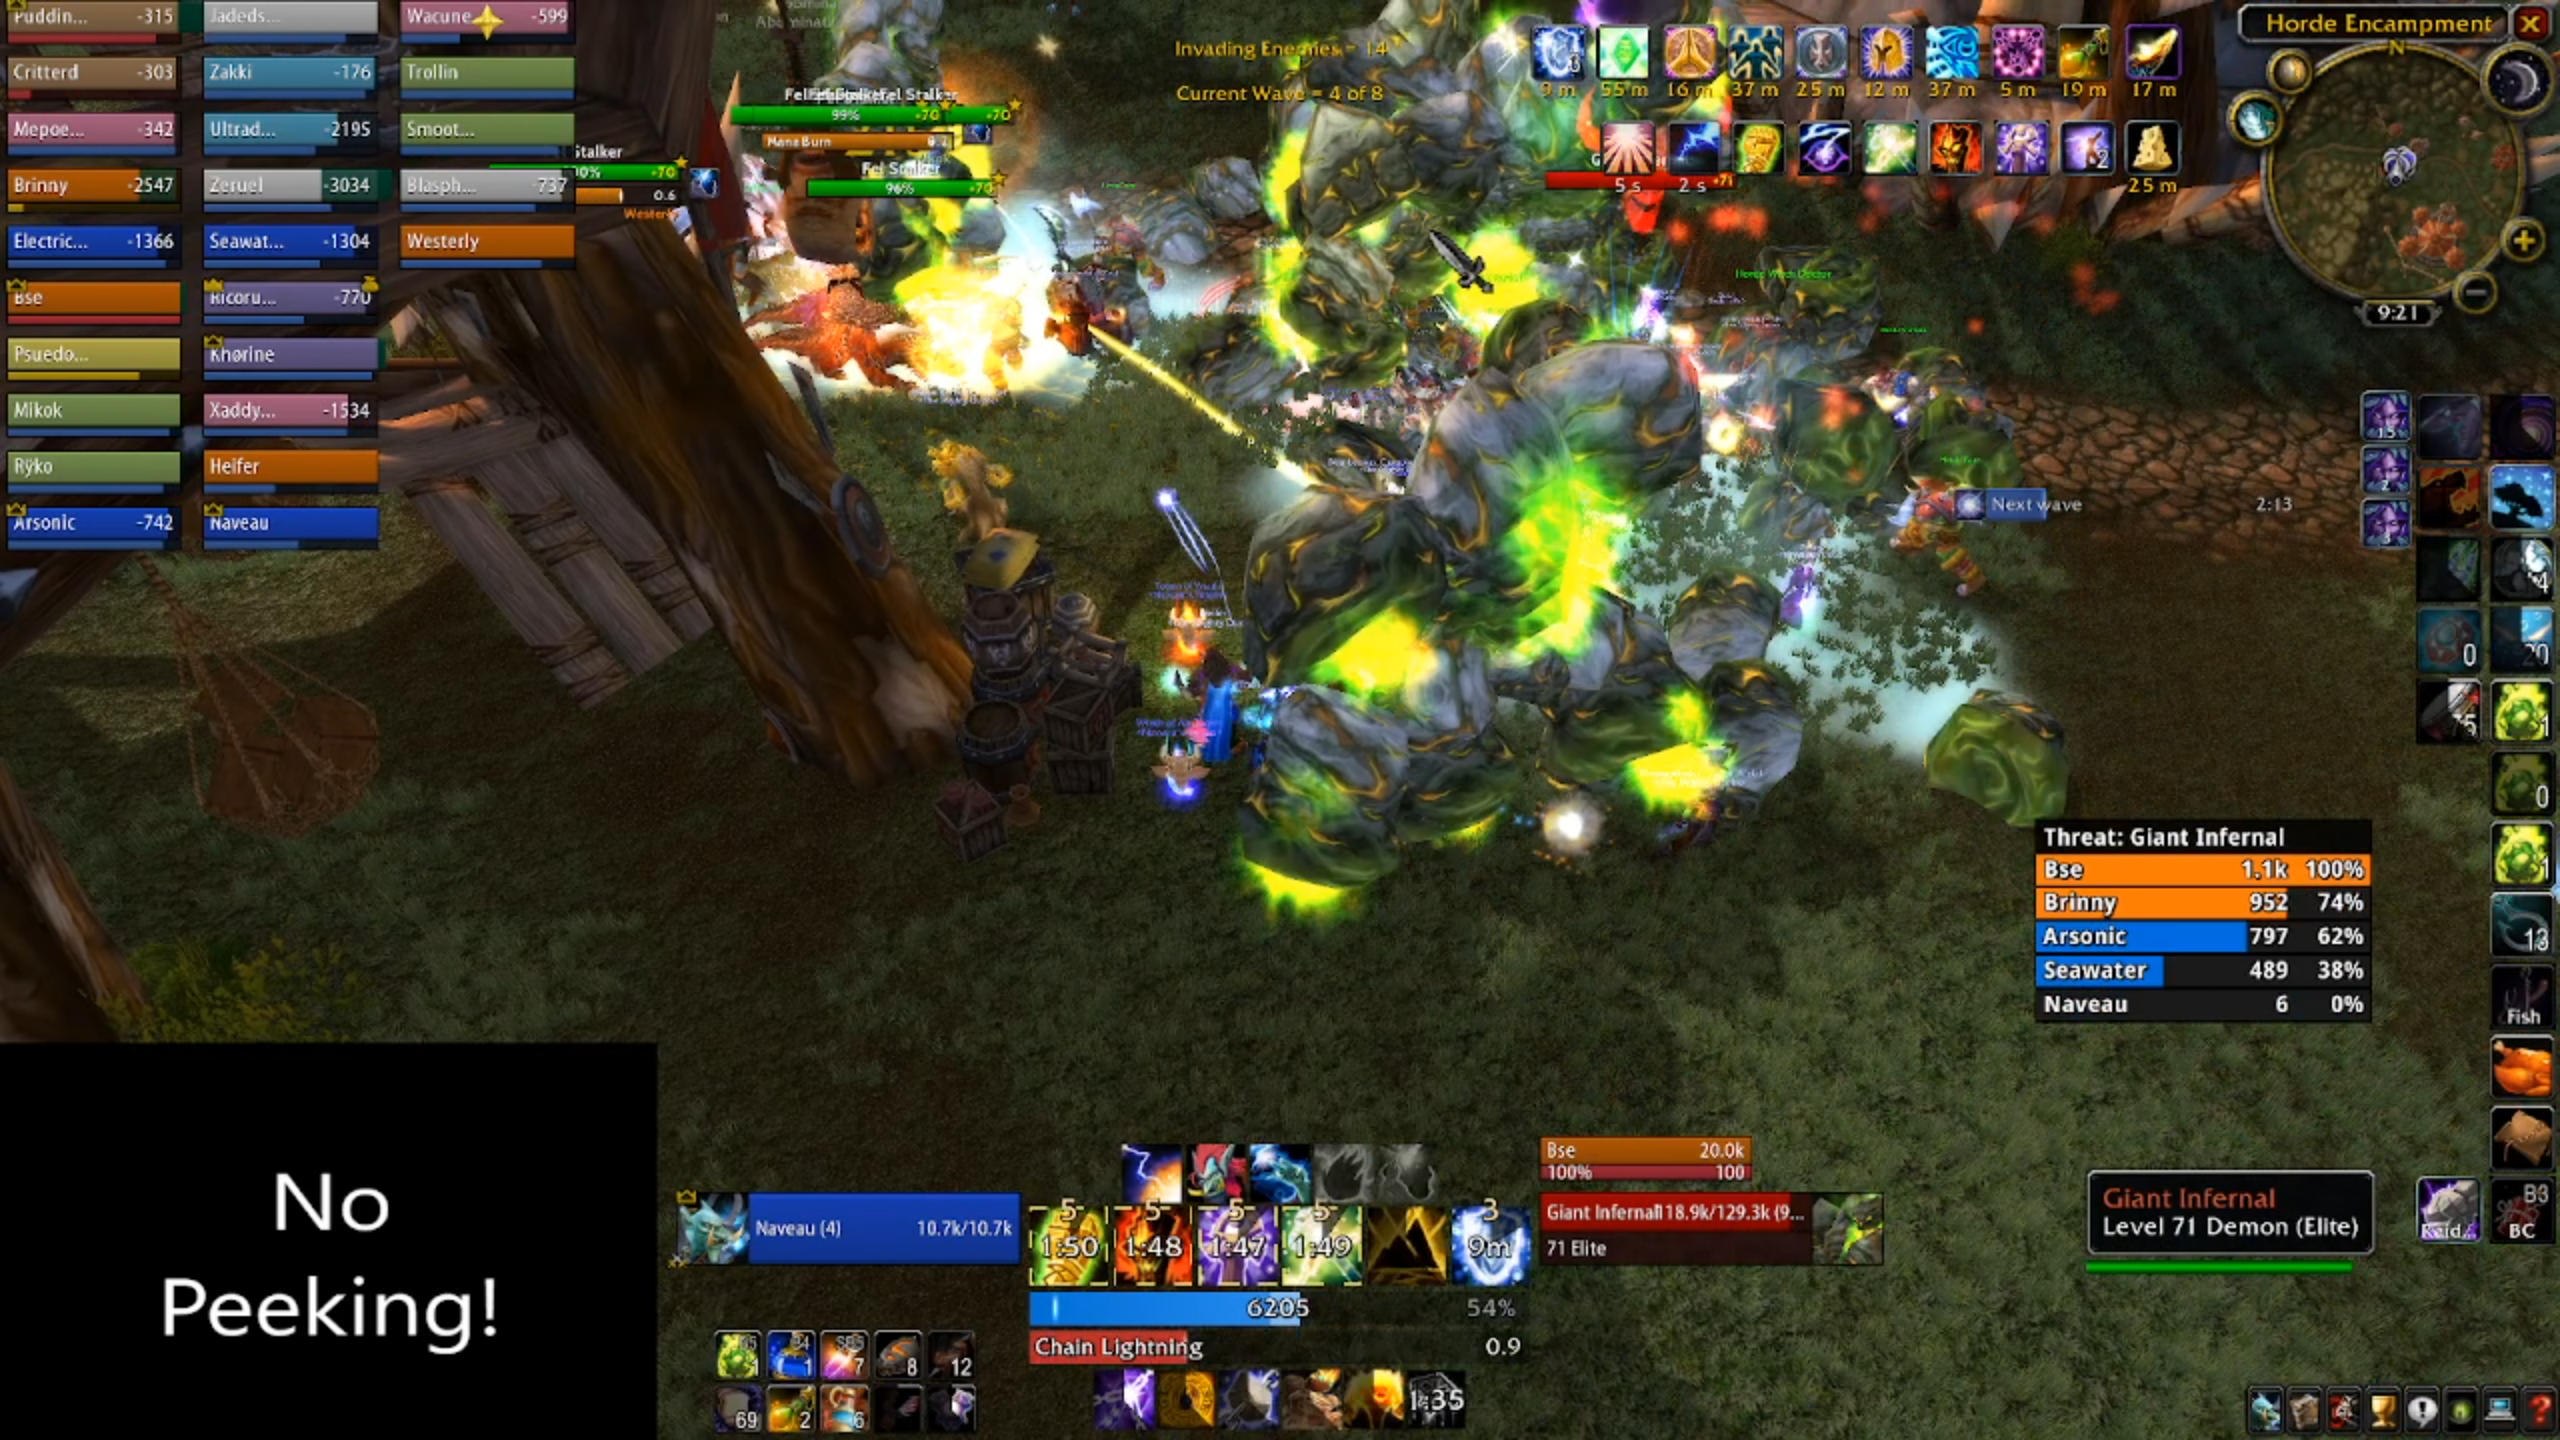
Wave 4 replaces the ghouls with another new enemy: Fel Stalkers. These demon dogs cast an interruptible mana burn, and should be hoovered up and killed first. This wave also has eight infernals in it, but your healers are just going to have to suffer until you can clean up the demon dogs that suck their mana away.
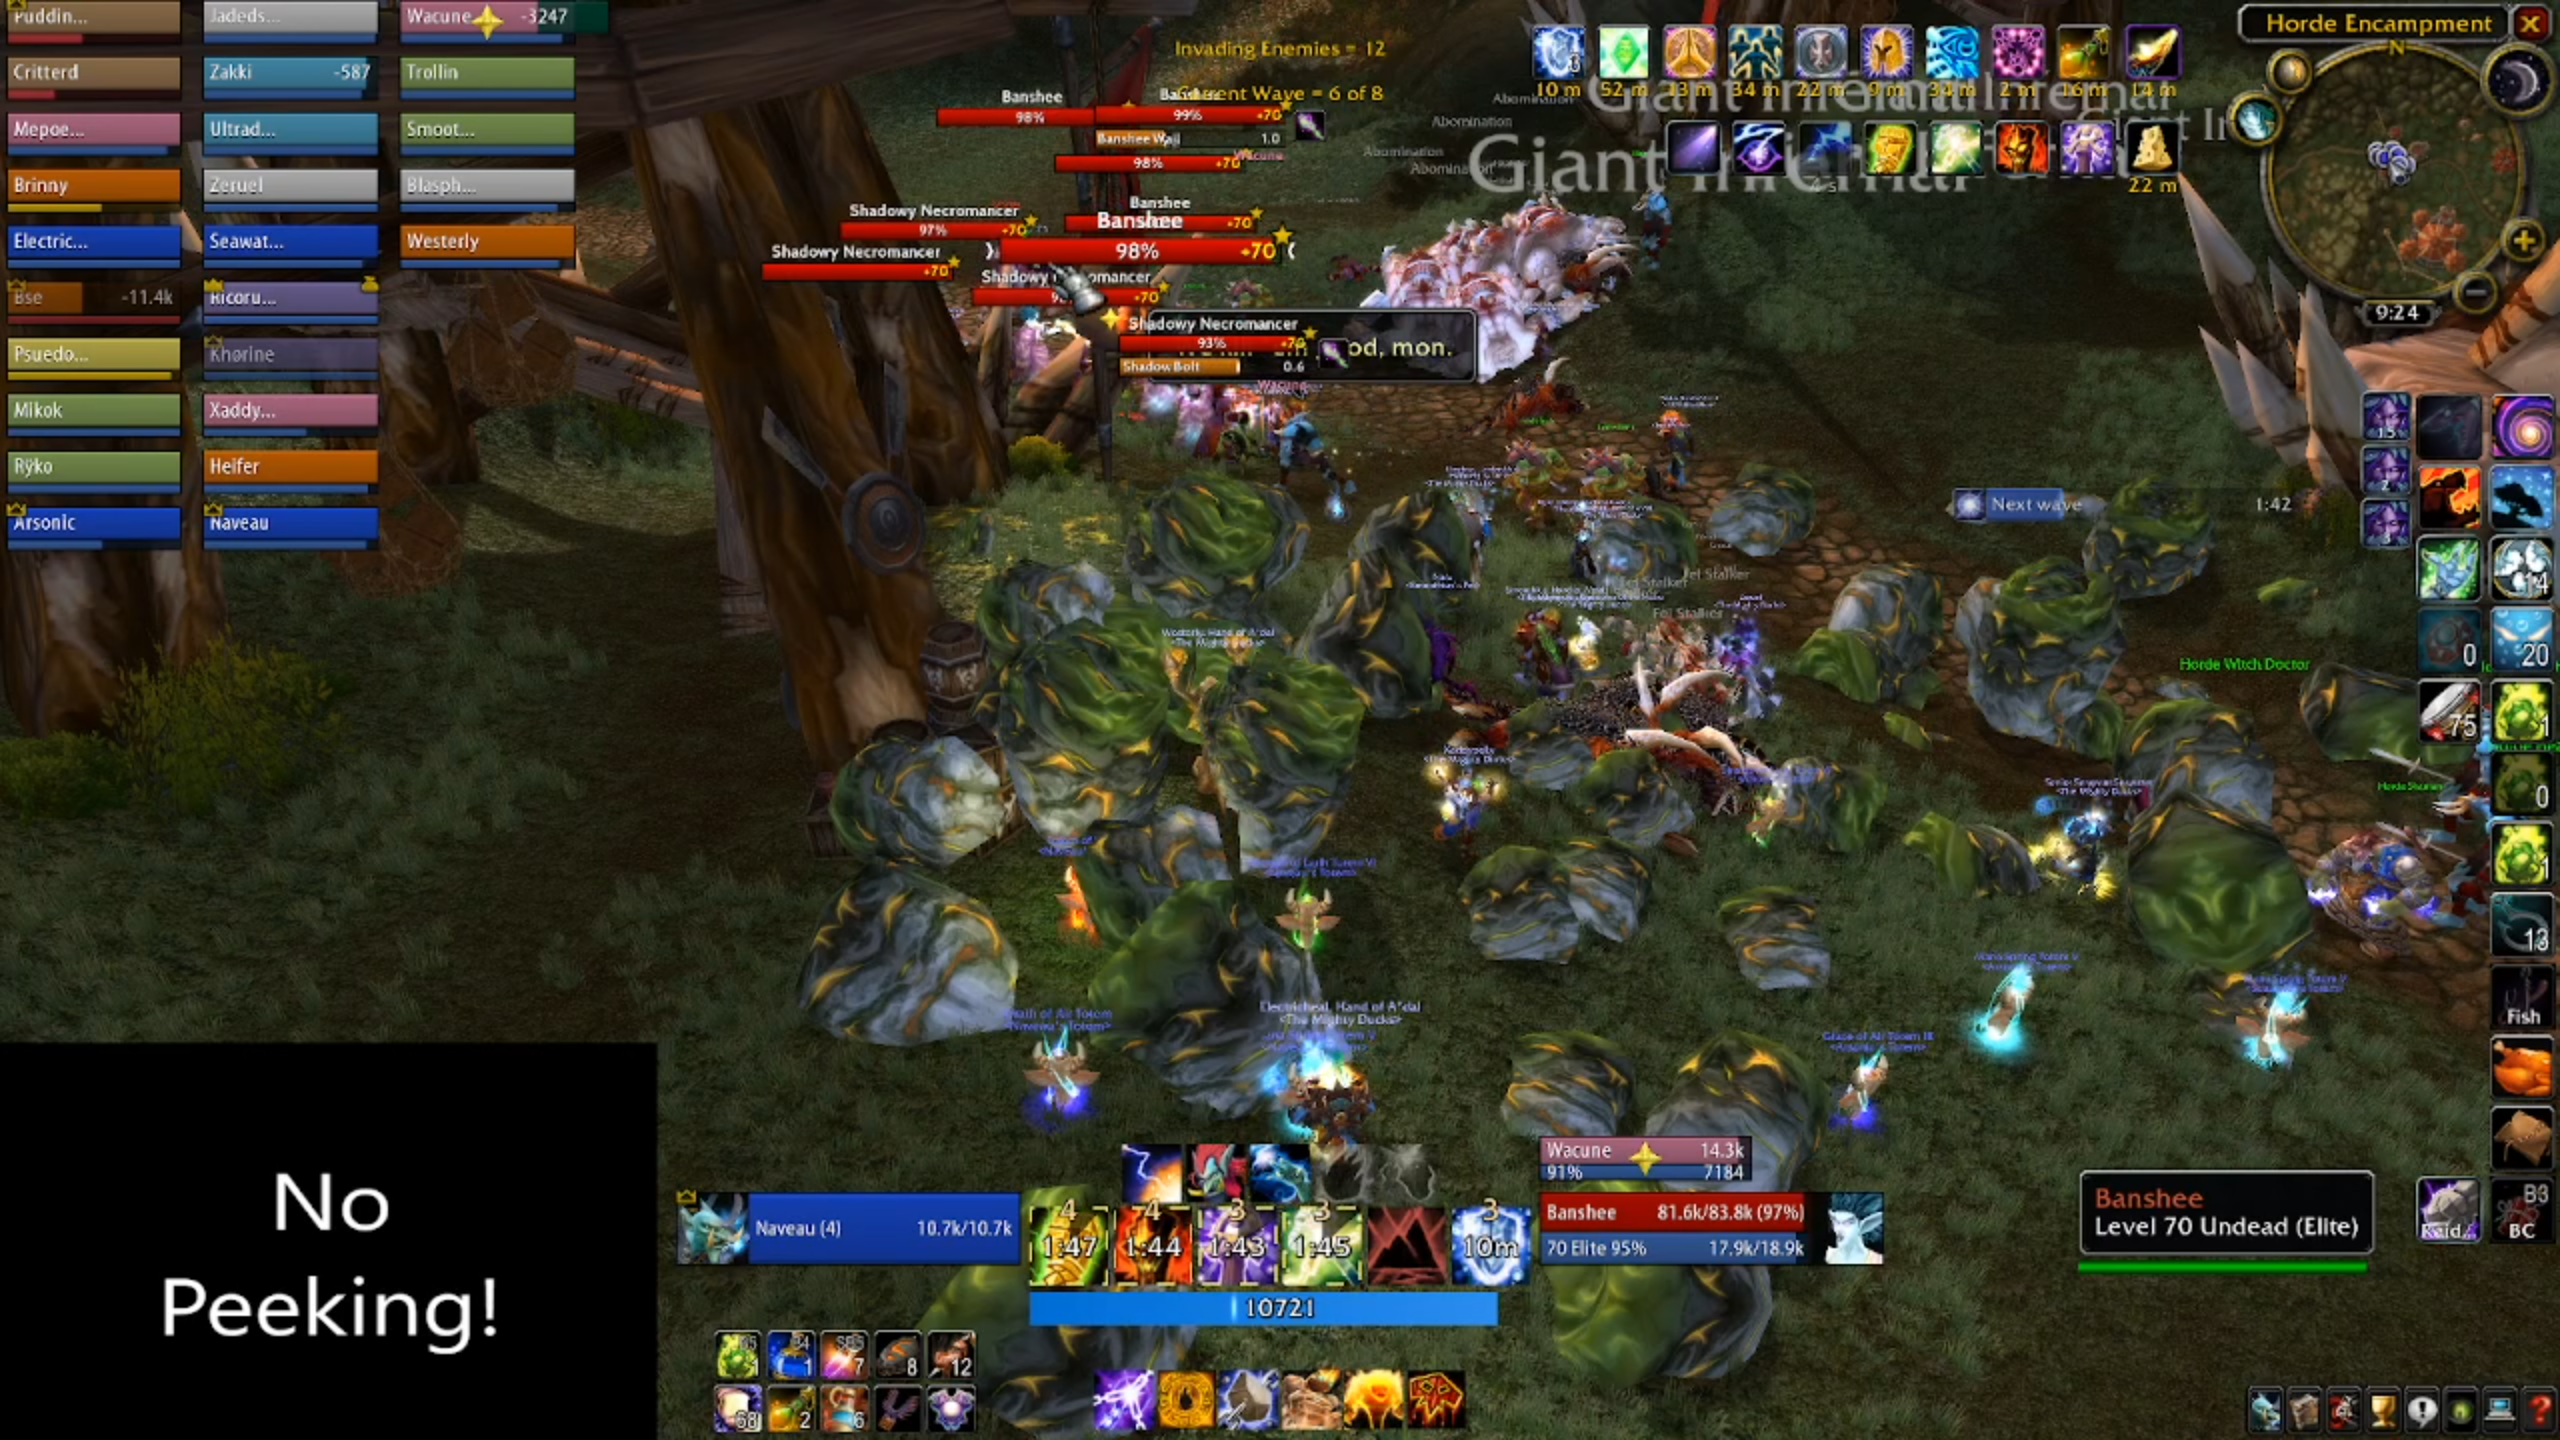
Wave 6 is the big threat wave - 6 necromancers and 6 banshees. Arcane torrents and arcane bombs are required here, the sheer volume of casts will quickly kill any individual player. Melee need to keep those mobs that don't get caught in an AoE silence under control, and you might even want your warlock group to cast Curse of Tongues on all the mobs to reduce the number of total casts. If you can get past this wave, you're pretty much home.
Wave 8 is a smorgasbord all of the previous enemy types, but not particularly threatening. Again, you can hold up a necromancer if you need time, but this boss doesn't have a mana drain.
Whoever is main tanking Azgalor should make sure they've piled on the mitigation gear. And if you're planning to make use of Thrall, you'll want a hunter ready to misdirect the boss onto your main tank, and then drag him into the middle of the camp.
Tactics
Azgalor flogs your main tank for all he's worth. The boss does a high amount of damage, in a short period of time, and your healing team needs to be on high alert the entire time. A feral druid is pretty much mandatory for Azgalor, as they'll have the defensive base stats to stand up to the belting.
Where it gets complicated is that Azgalor will use the Howl of Azagalor, A five second raid-wide silence. For those who can put two and two together, this leaves a seven-second window where Azgalor gets to put a hurting on your tank that cannot be filled by overgeared healers. Priests and restoration druids will want to make sure they've got healing over time effects stacked up on the tank, and make use of shields wherever possible.
Azgalor will also cast rain of fire within 20 yards of his position. The area of effect can spread beyond 20 yards, so don't get too clever and think you cannot get hit if you stand exactly 21 yards from the boss. Melee in particular need to be ready to move when they see it, as the boss will prioritise casting rain of fire closer to him.

Azgalor's last key ability is doom. Every 45 seconds, Azgalor will mark a player for death. After 20 seconds, they'll die and a lesser doomguard will spawn. There's no way to prevent this. You will want your off-tanks standing to the side, ready to pick up the doomguard, and you will want your warlocks assigned to use soulstones on doomed targets.
The doomguards hit your offtanks hard, but despawn when Azgalor dies. Your off-tanks should be able to handle two doomguards at once, but any more than that and the damage will be too oppressive. As with other bosses, your gear level determines the strategy you use.
If your group's DPS is too low, you will want ranged DPS to pick off doomguards once your off-tanks are fully engaged. What "fully engaged" looks like will depend on your tanks.
The real risk here is the main tank getting squished whilst a silence is up. If your healers and tanks can manage that, you will get through this encounter fine. Having your tank get demolished by Azgalor and wiping has happened to every group, so be kind to your tanks and healers, sometimes RNGesus just hates your raid.
Once you put Azgalor down, that's the defence part of the raid done. No more waves of trash when you wipe. But there is one final test for you...
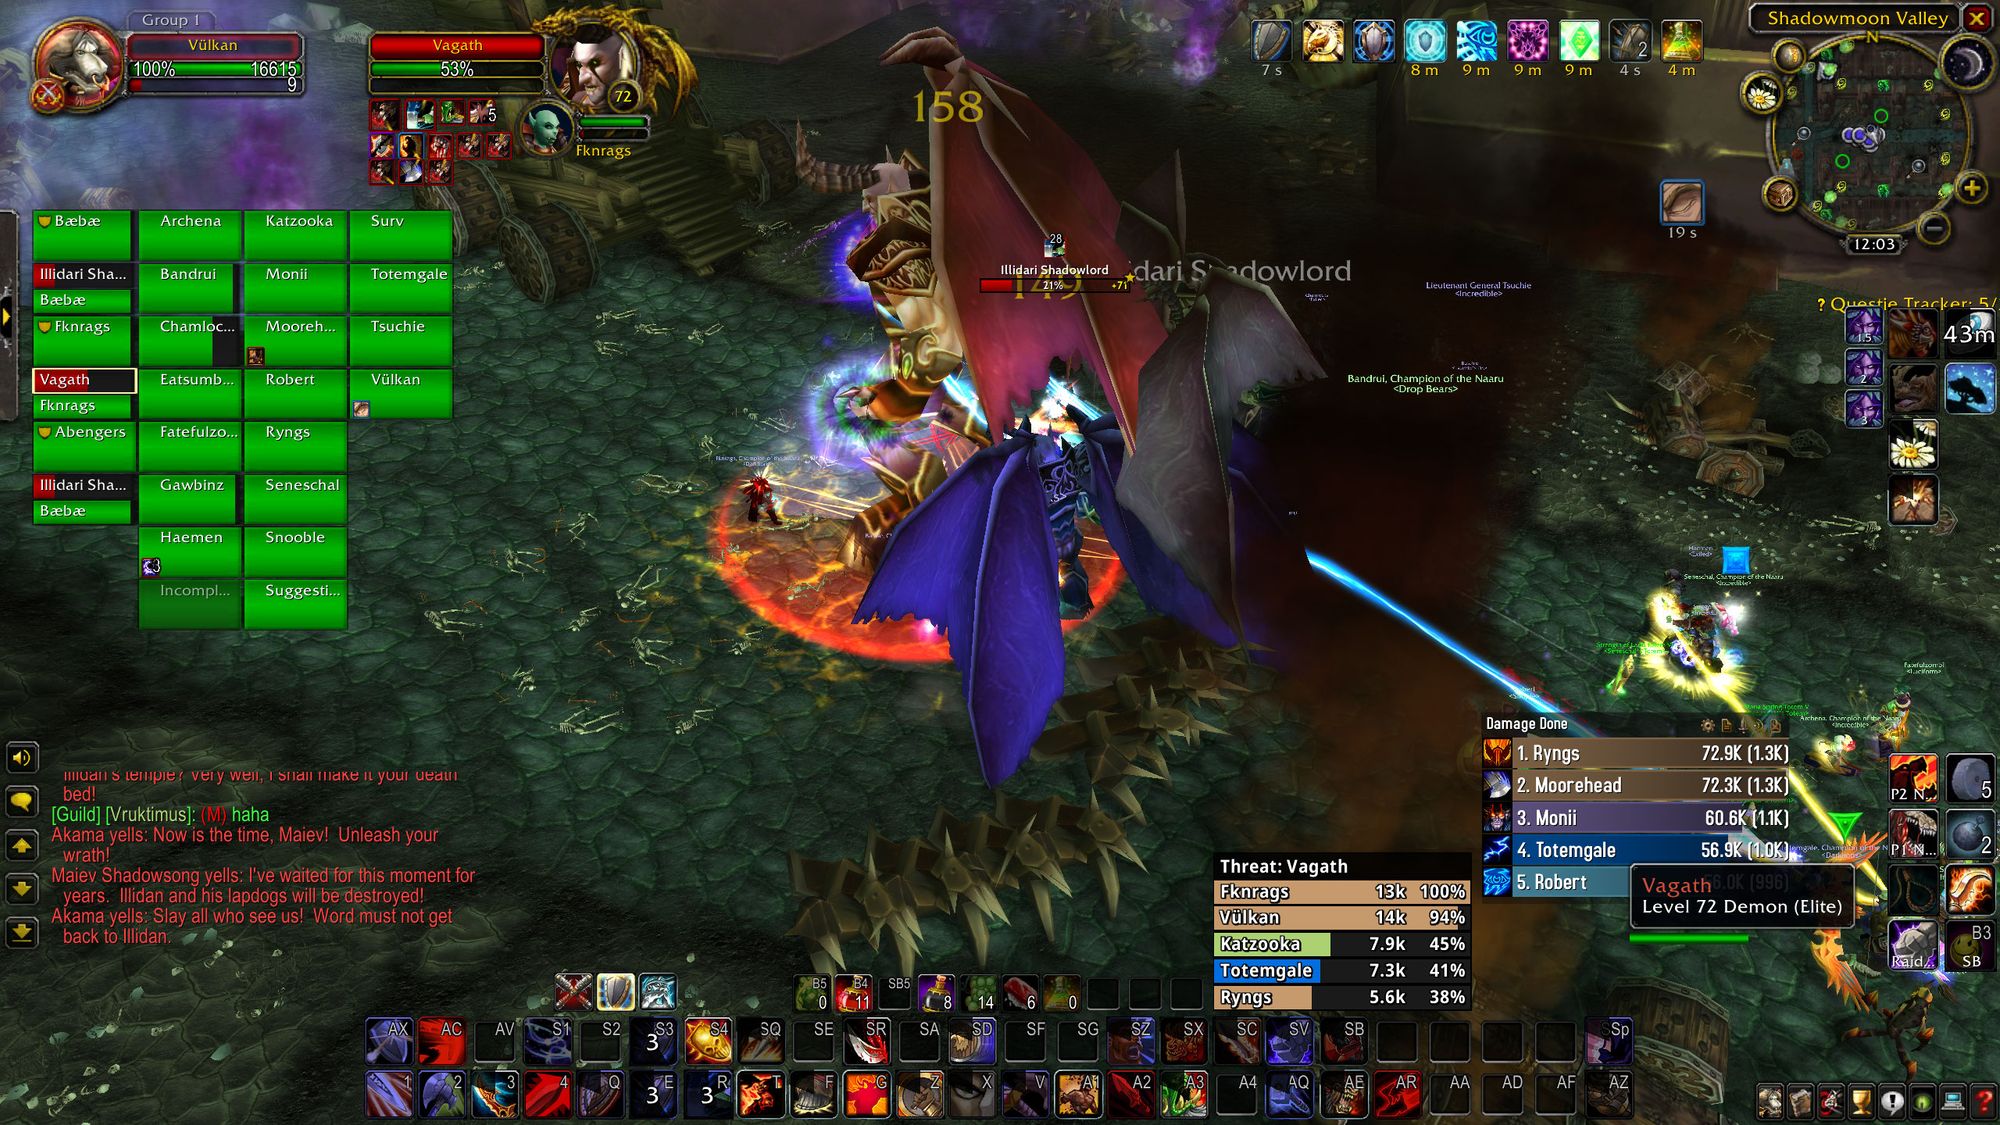
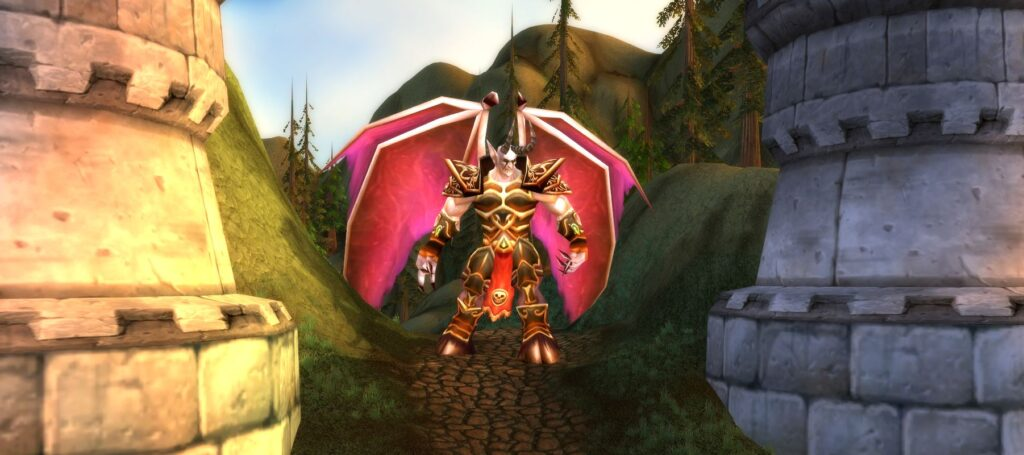
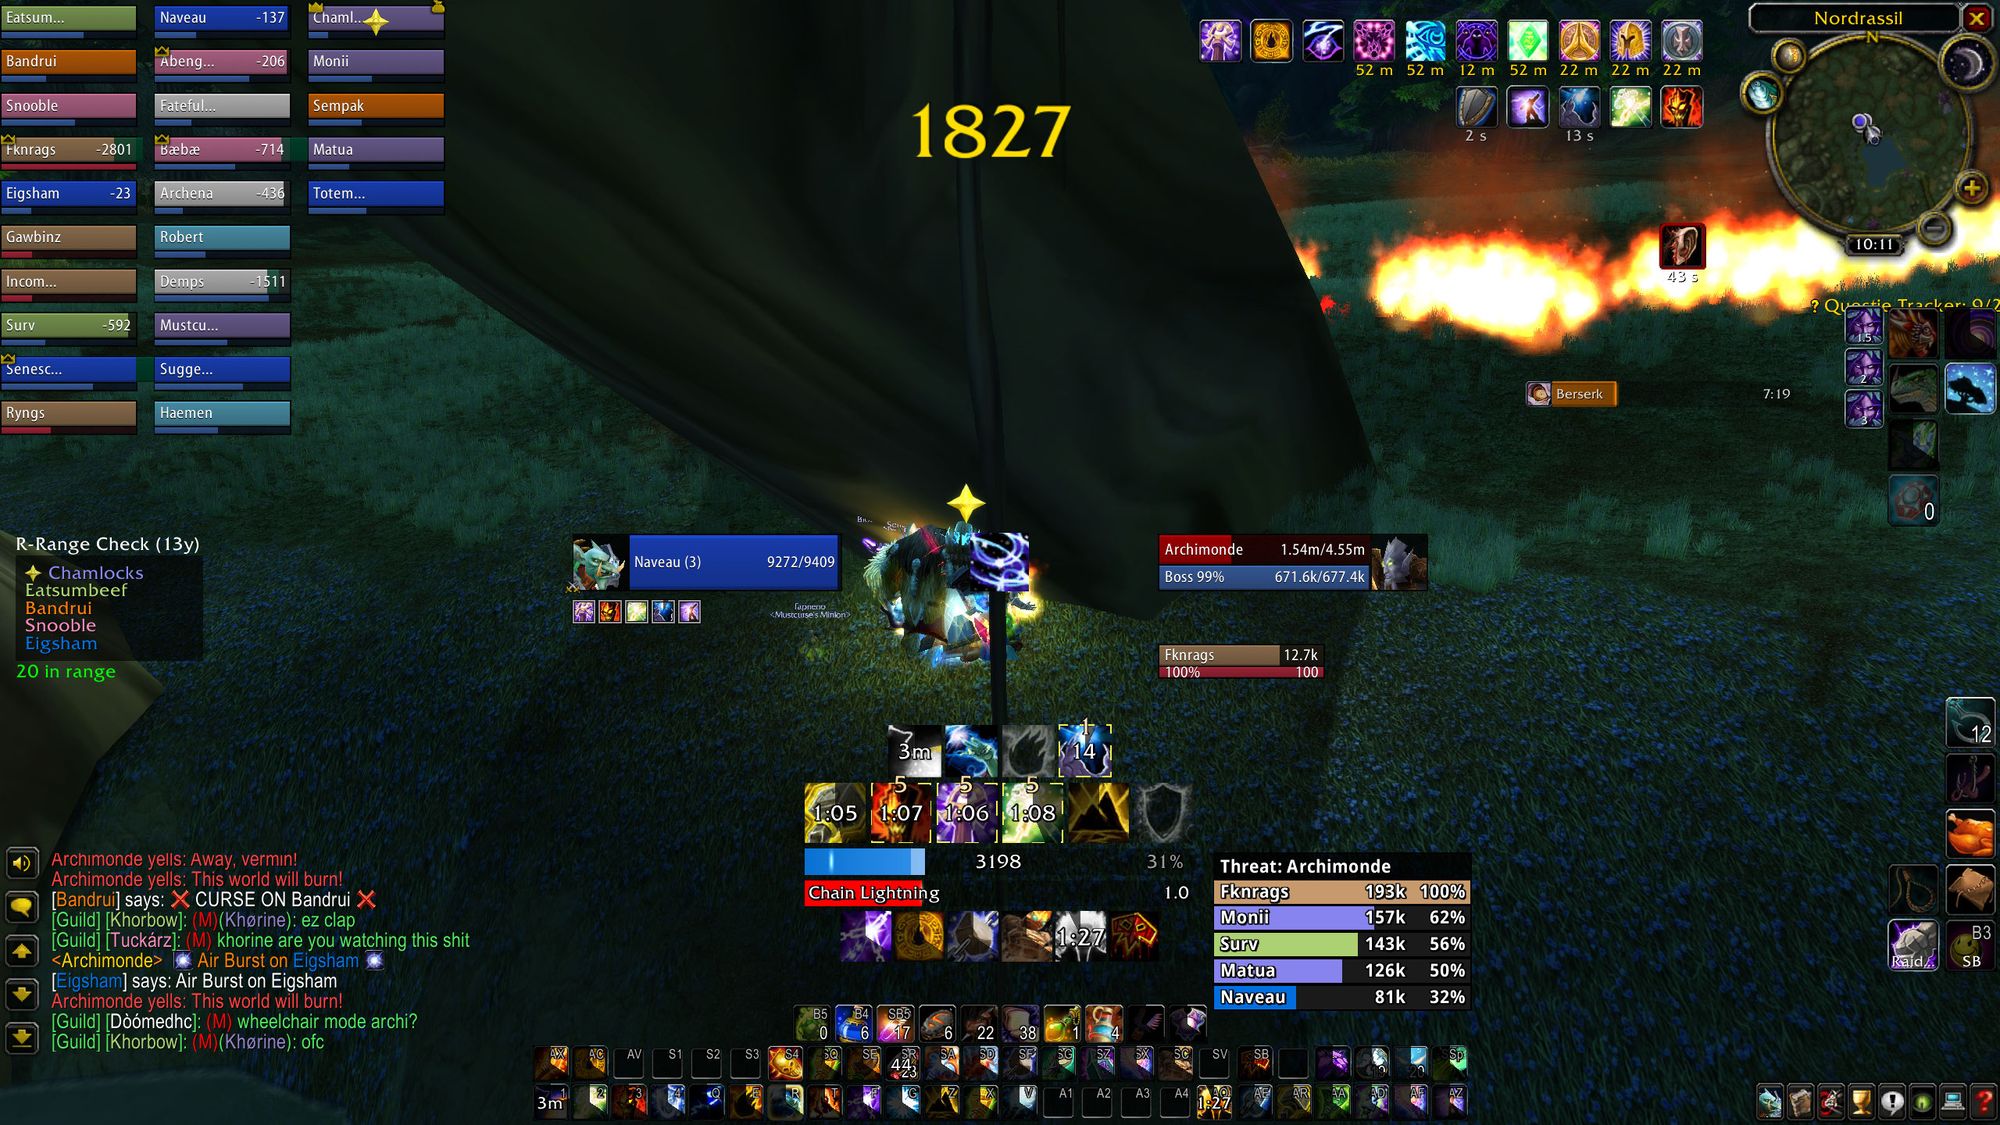
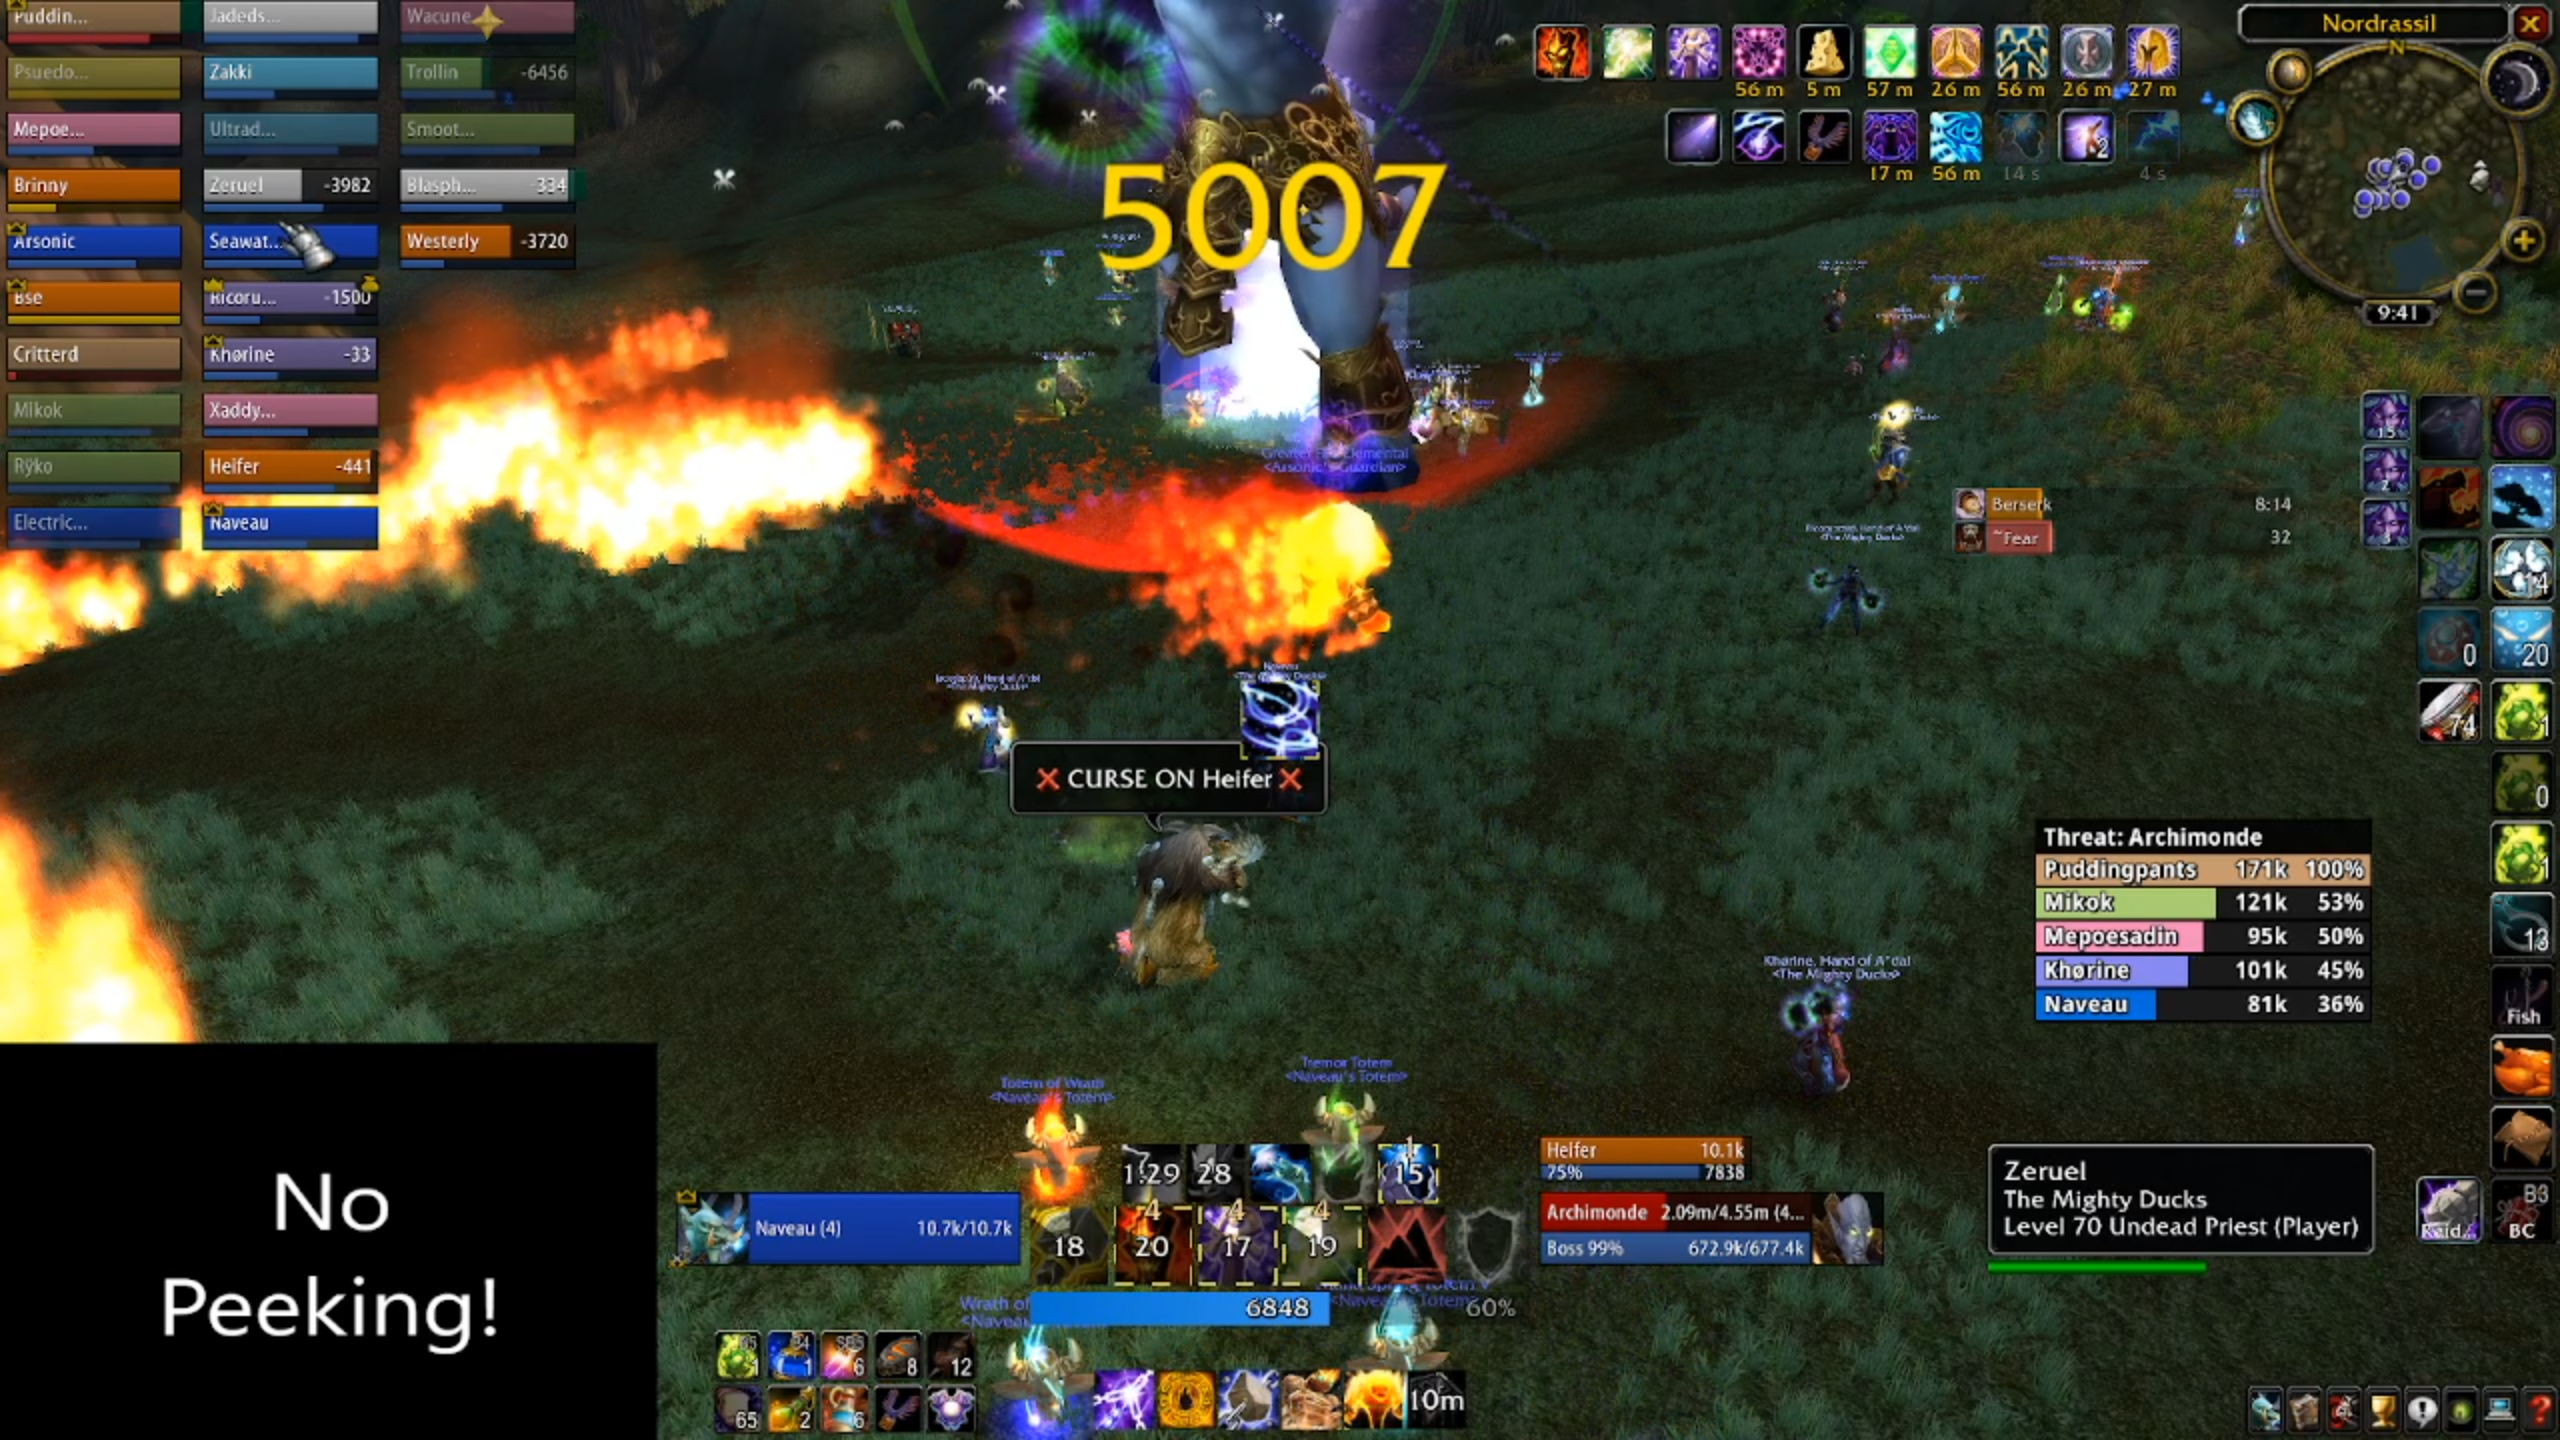
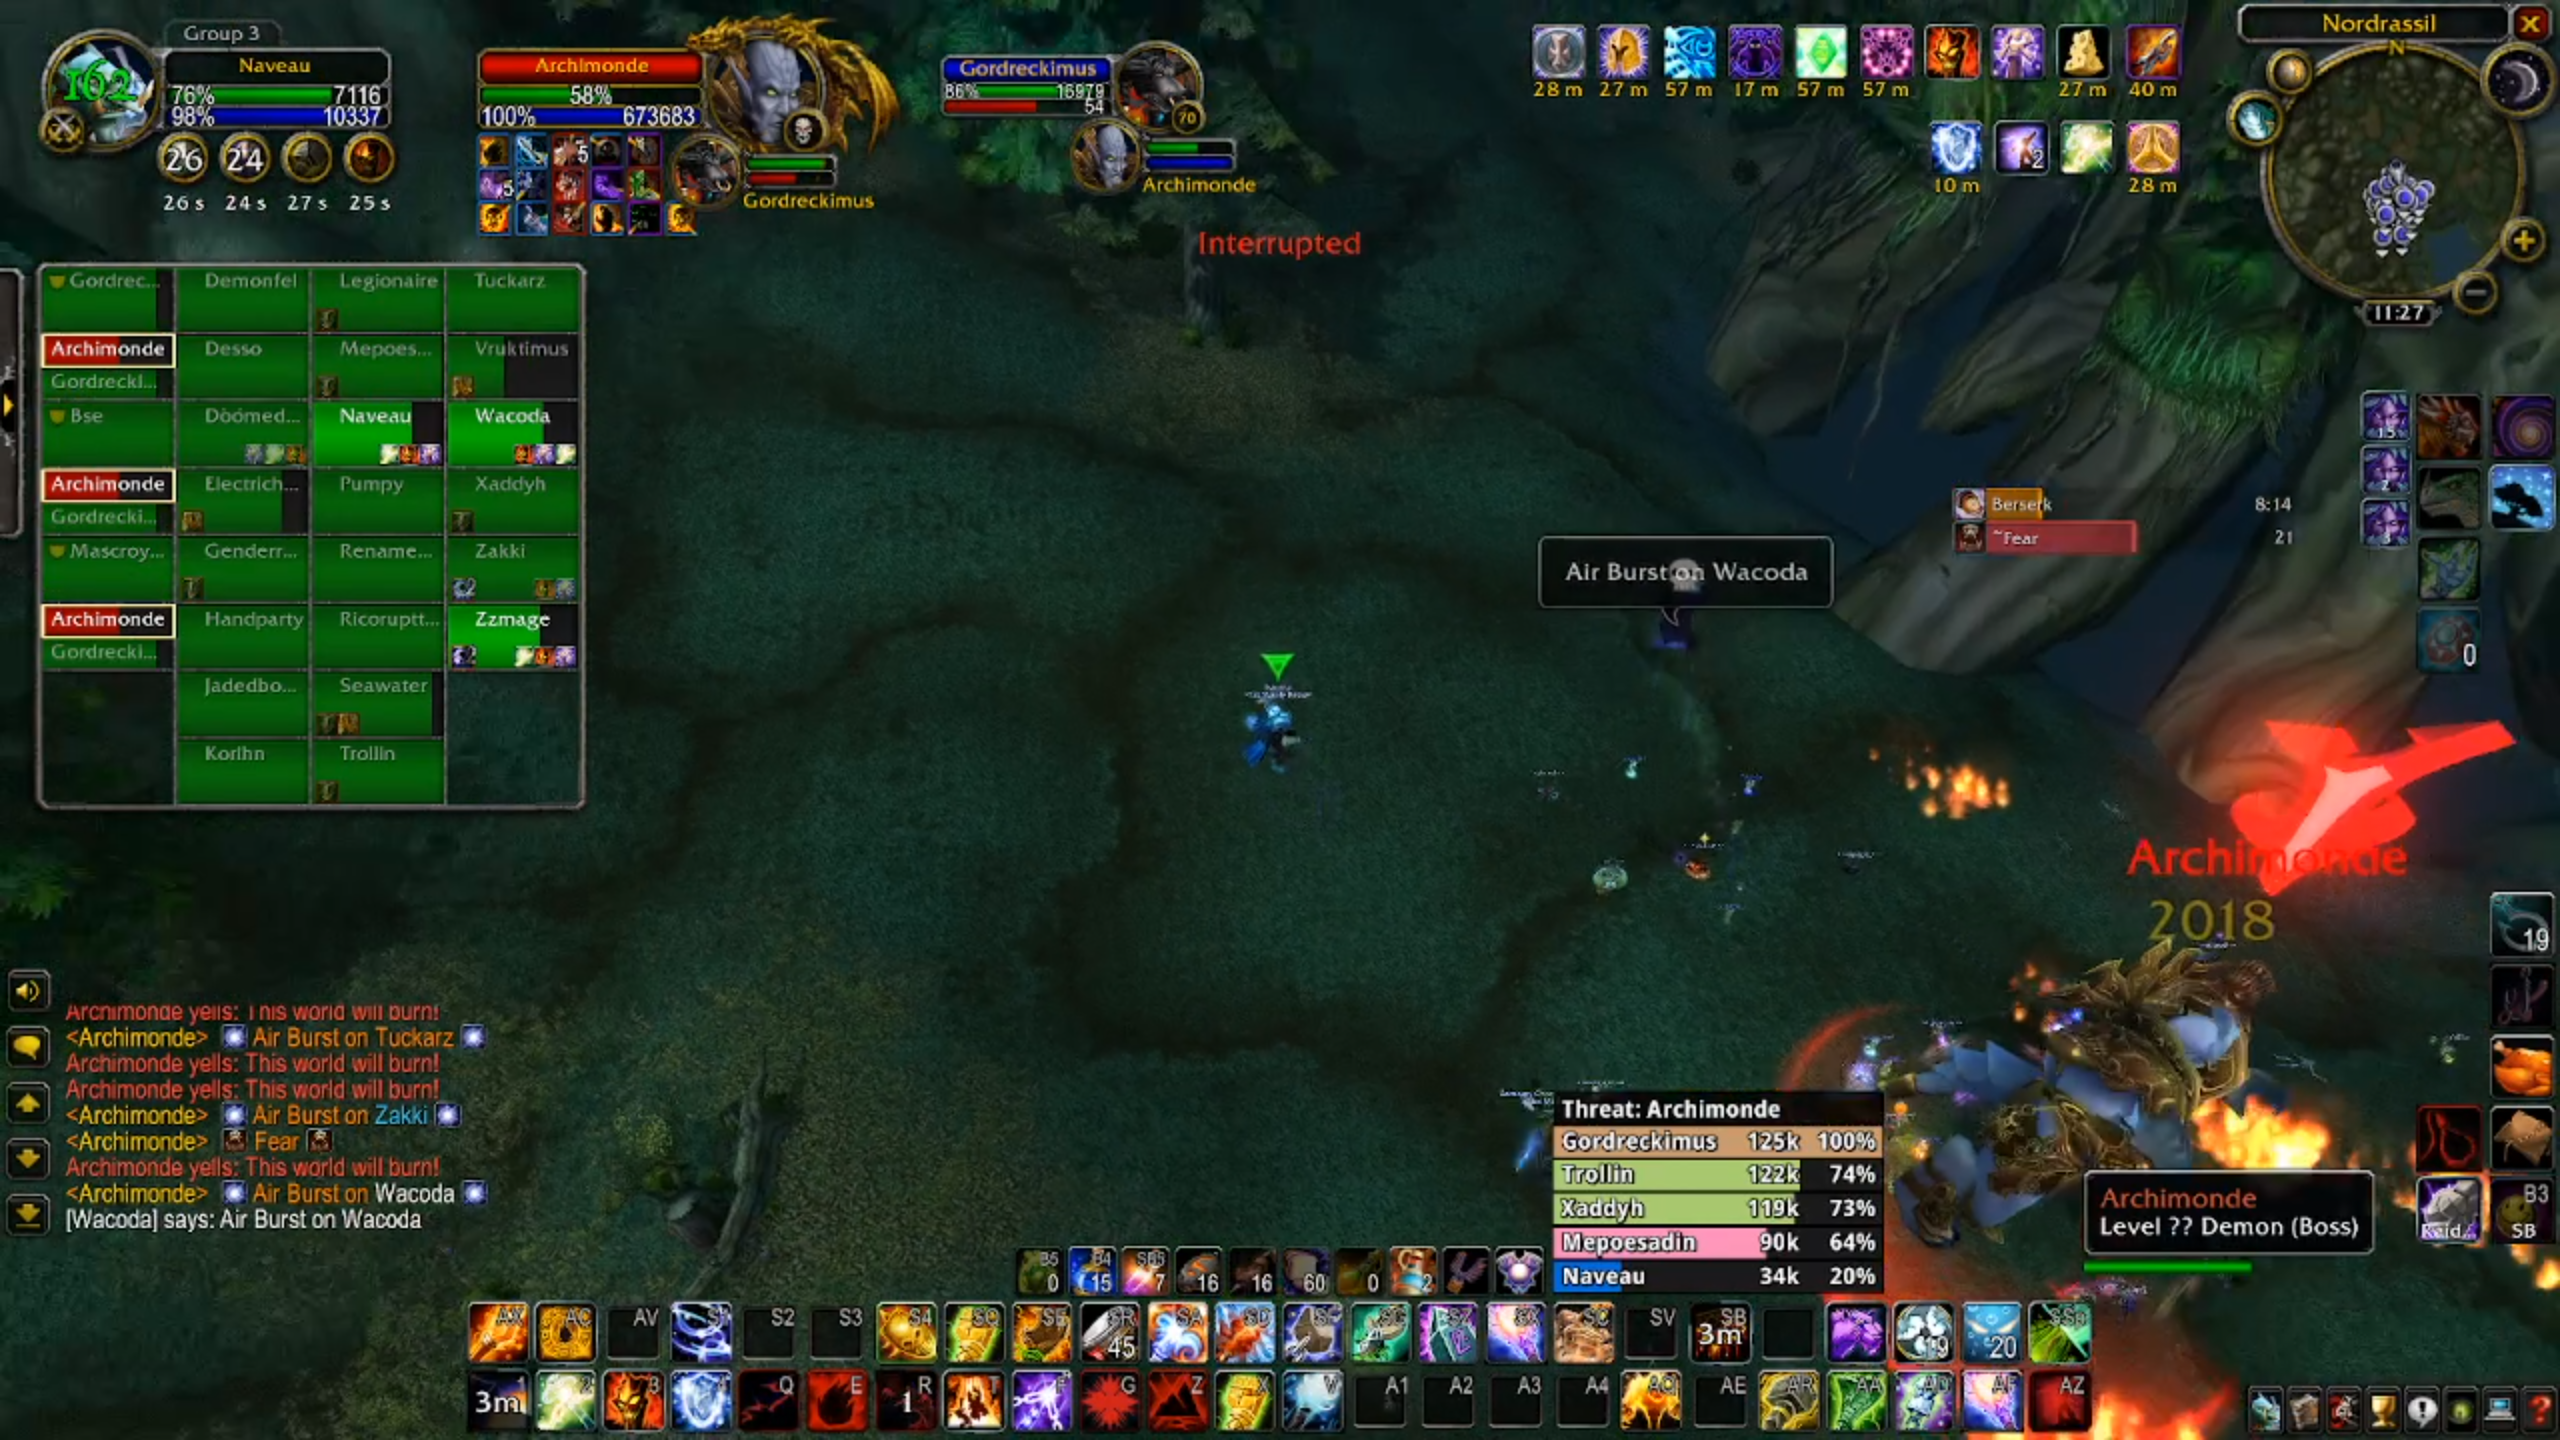
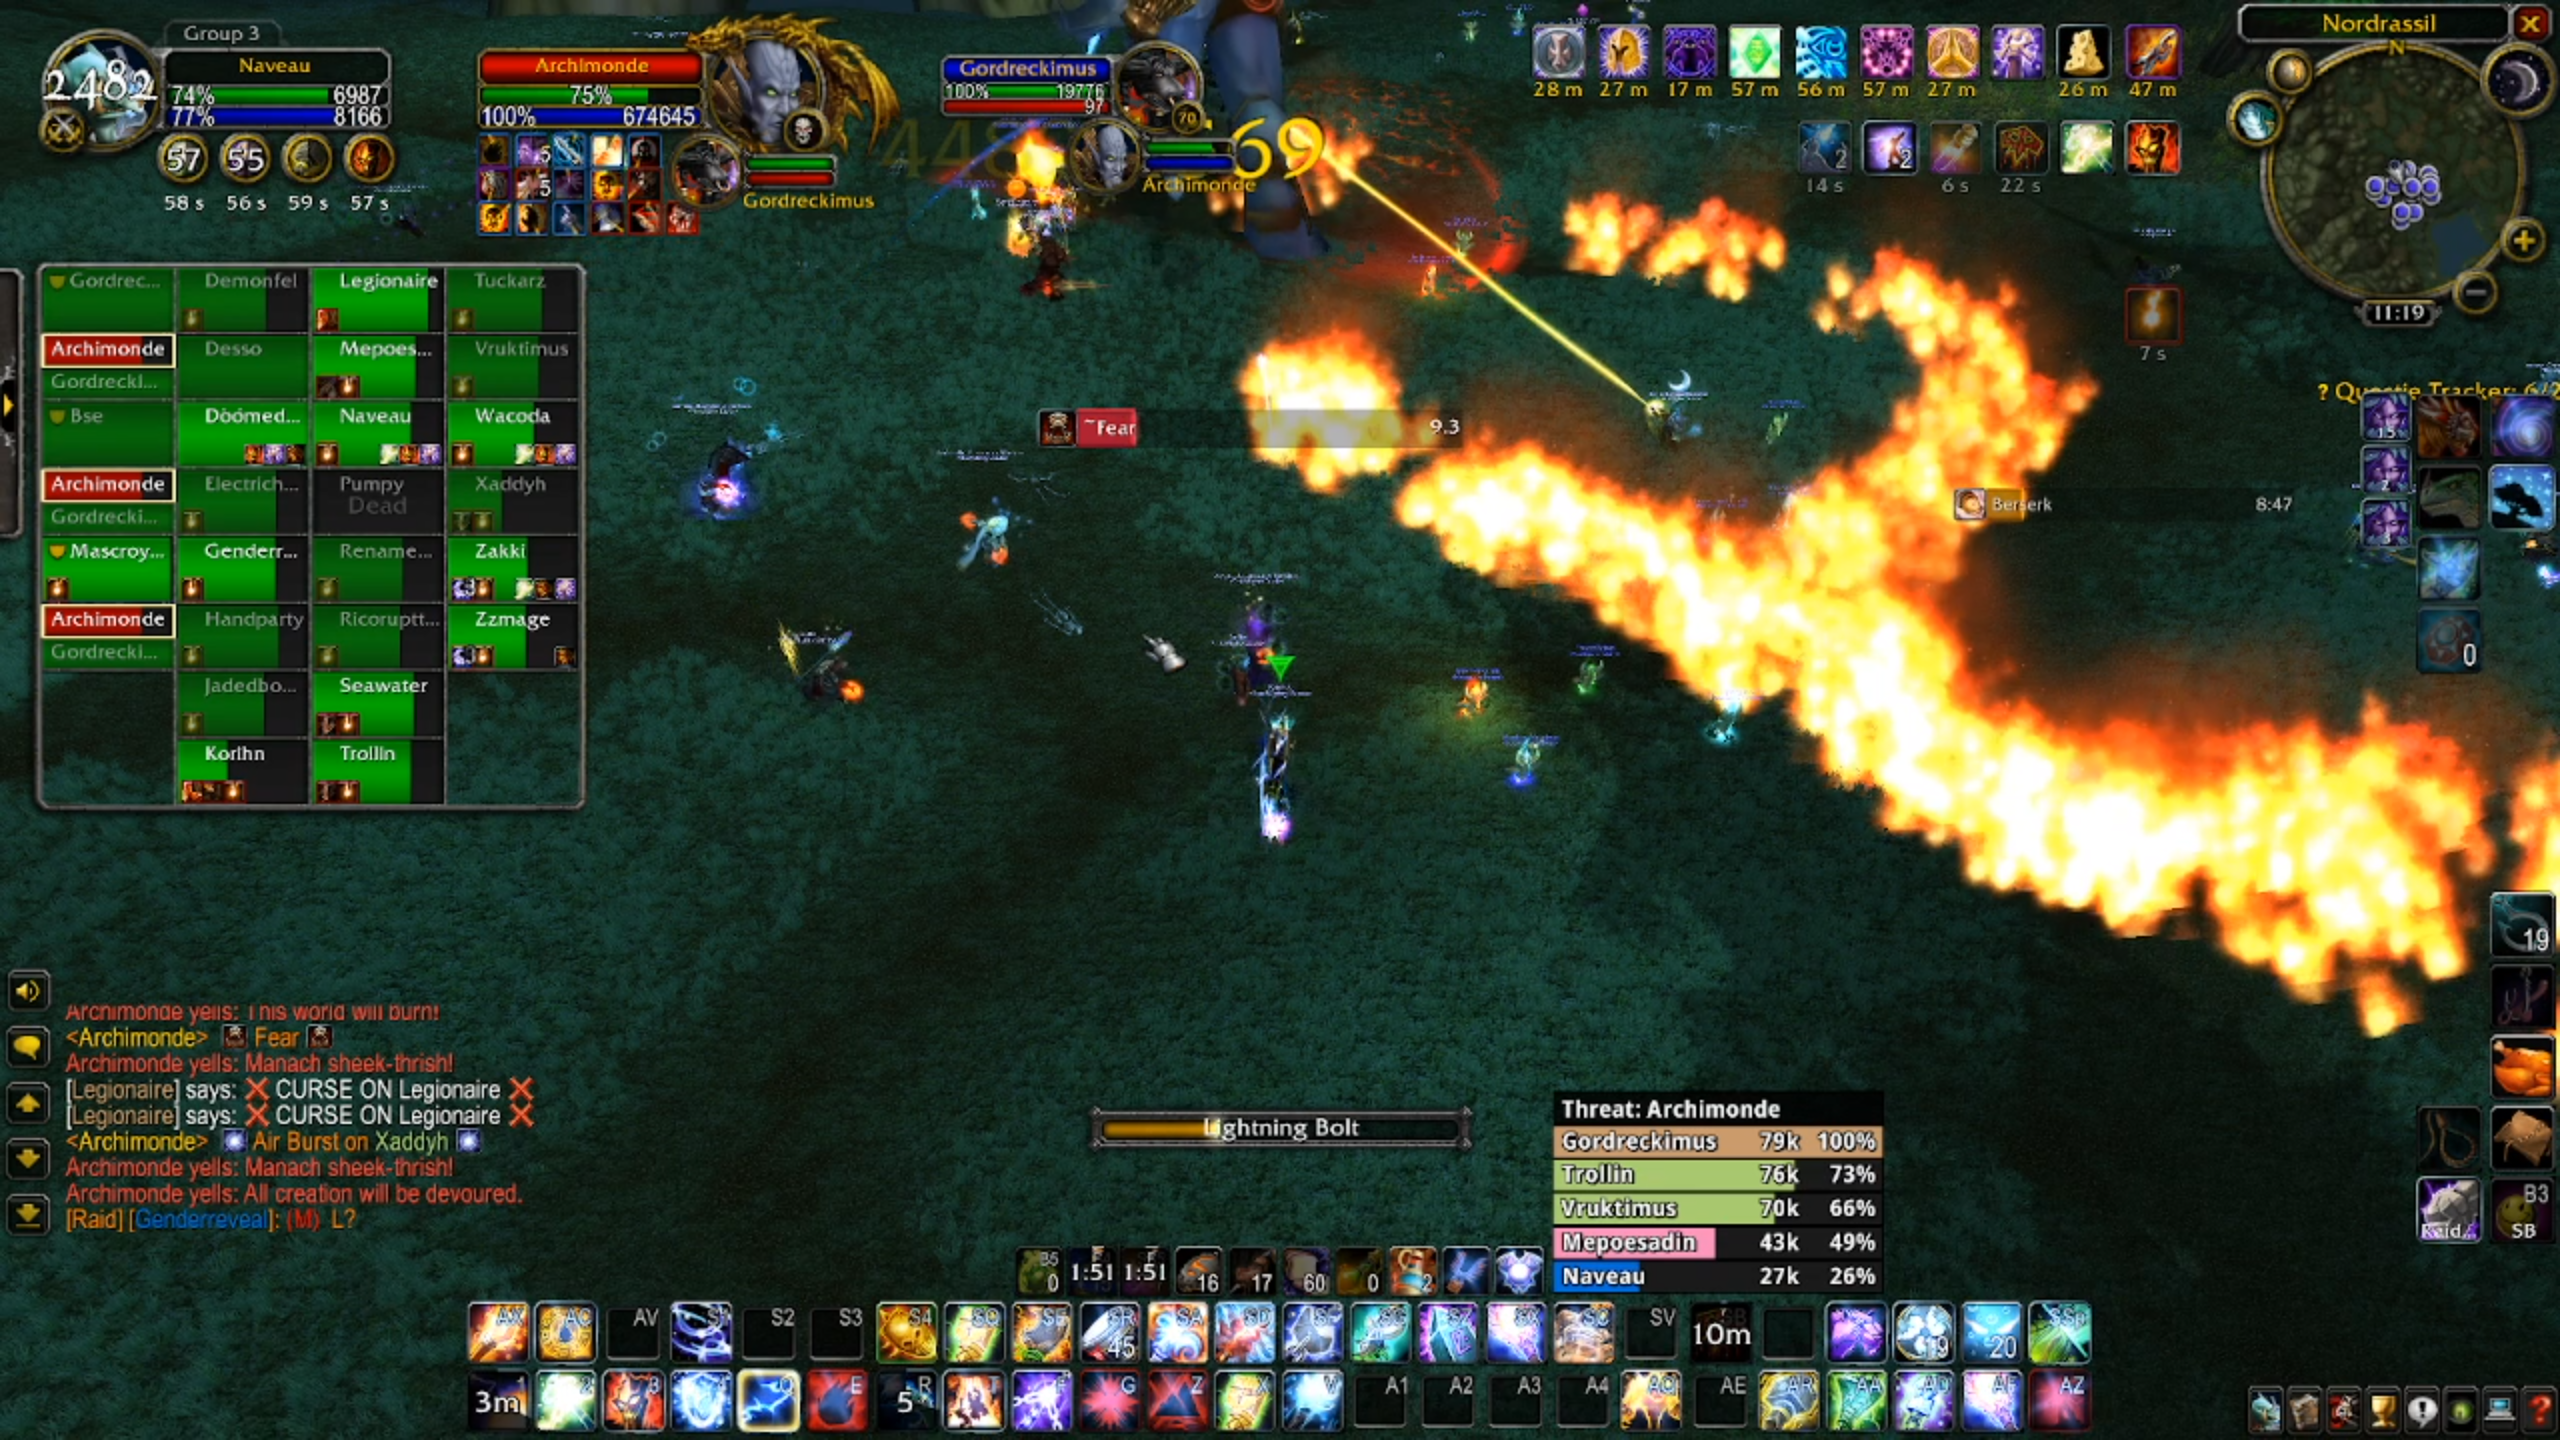
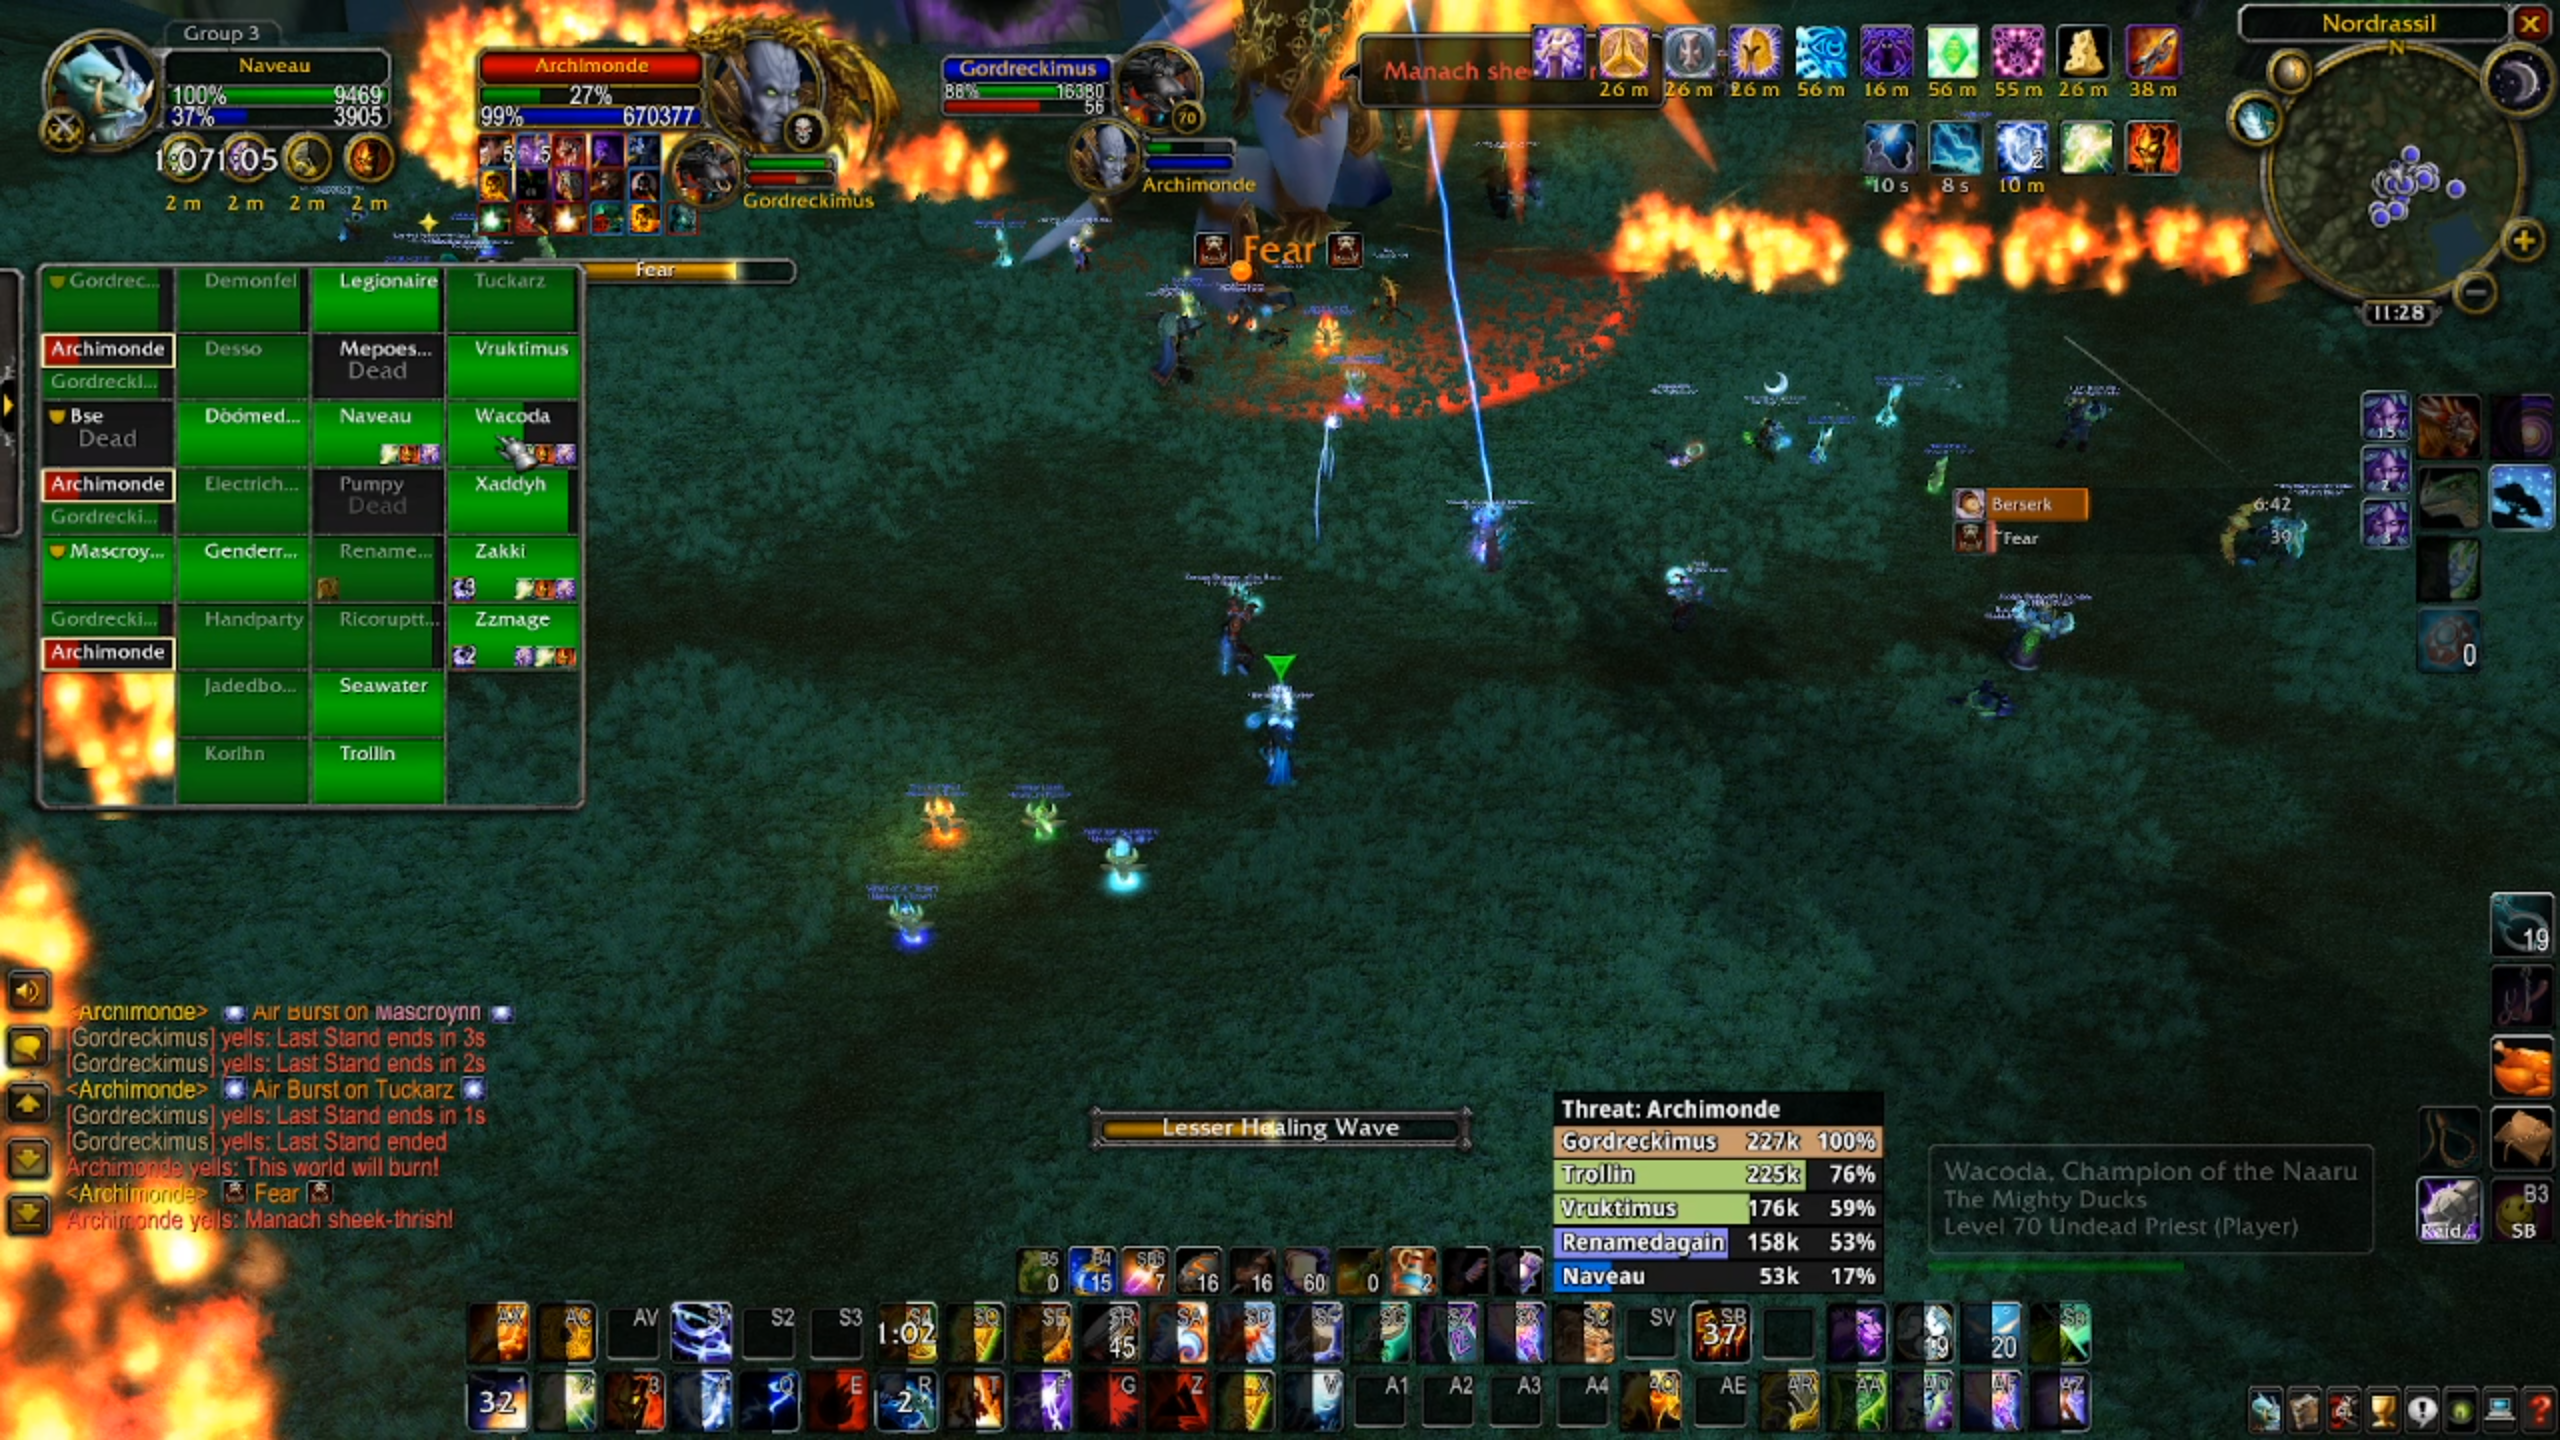
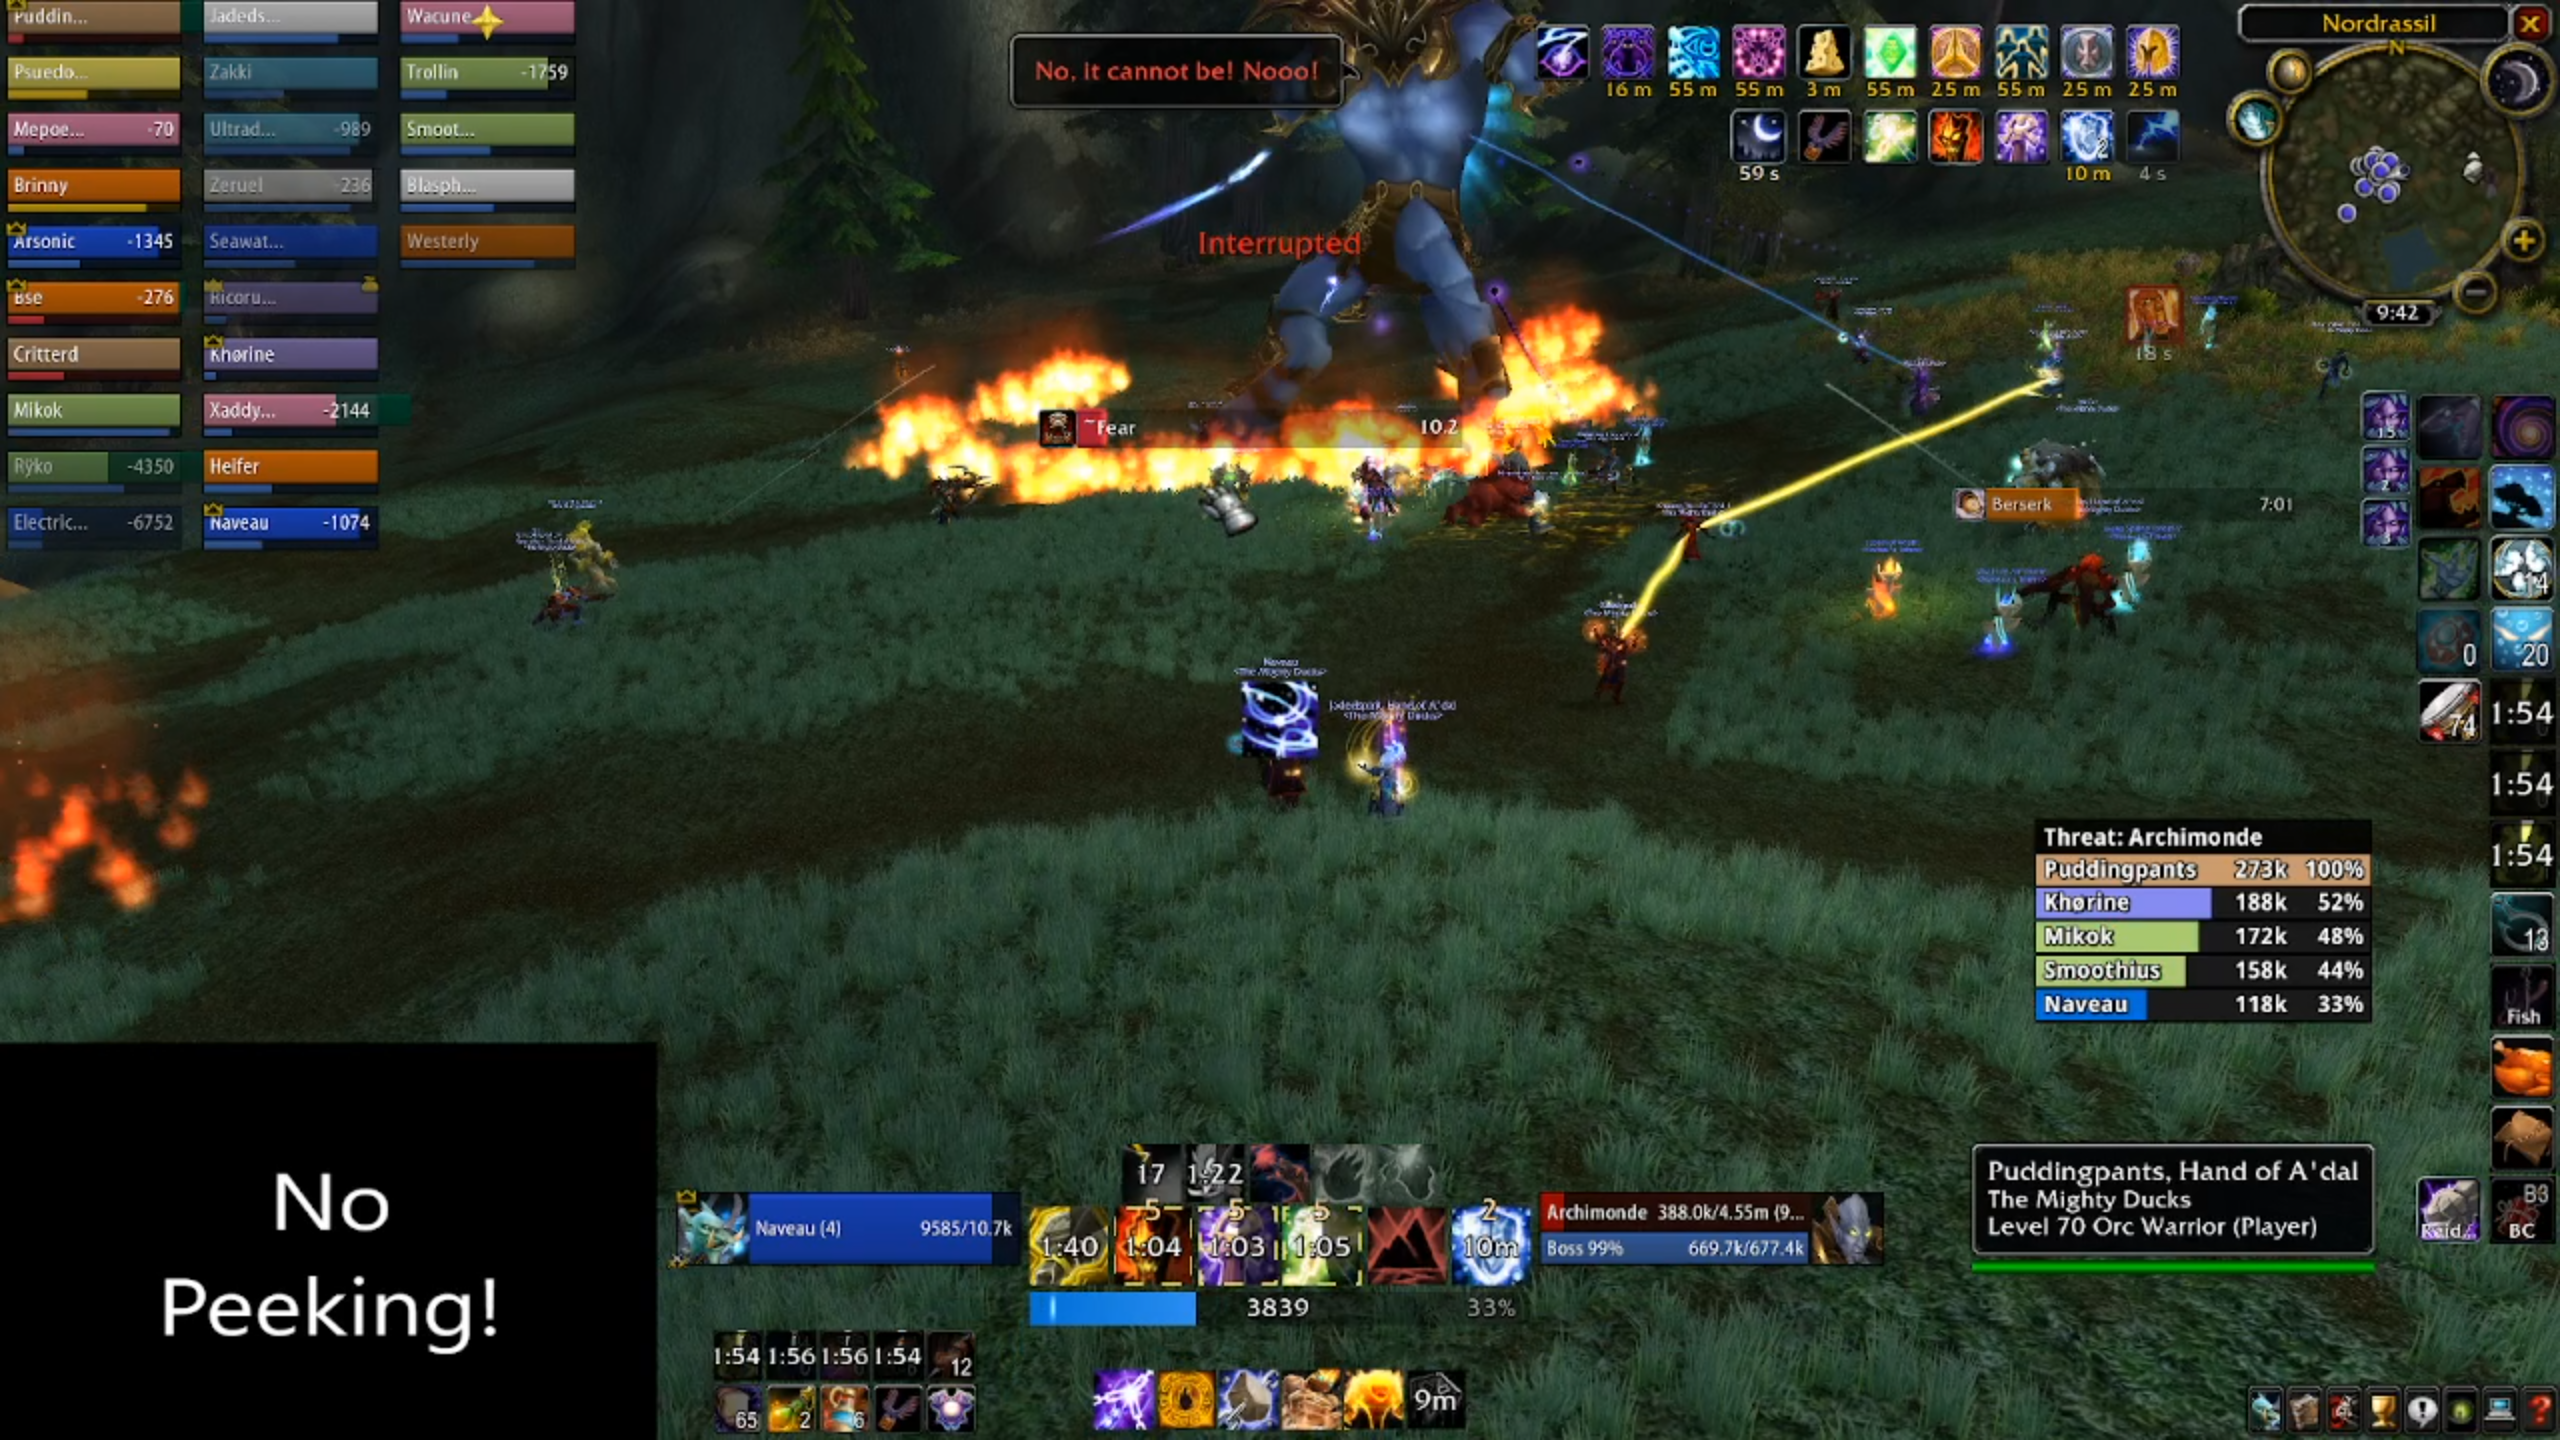
Boss Five - Archimonde
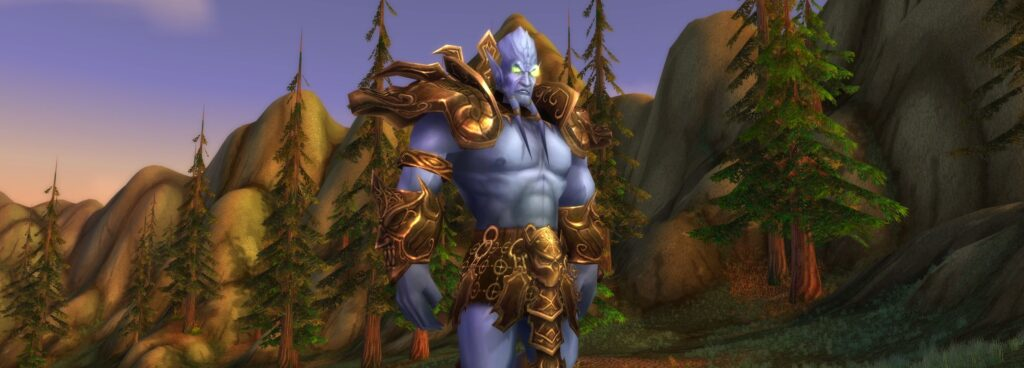
Archimonde, being the final encounter of the raid, is the most difficult. But, if you can get past Azgalor, your raid should have the skillset to defeat the big supervillain of Warcraft III.
Archimonde is a very unique encounter in a very unique raid. It is a hardcore battle for survival, where the aim is to avoid dying at any cost, as the damage requirement is very low. Archie has a number of mechanics to make this as excruciatingly difficult as possible. As nasty as it sounds, you will very quickly find out which players have the neccessary situational awareness and peripheral vision to keep themselves out of danger, and who is a potential liability.
All players need to make sure they've got their PvP trinket equipped. Raid leaders should not take no for an answer on this one, because a single player mistake, particularly with a rookie group, will wipe the raid. Classes that have ways to break fear, such as Will of the Forsaken, should still equip their trinket for redundancy, and be glad they can.
Archimonde only requires a single tank for the entire encounter. If you choose to tank Archie with your warrior, this will free up your paladin and druid to equip healing gear off-pieces to assist with decurses and spot-healing players about to die from various hazards. This is highly recommended if your healers and warrior tank (which not all raids have) can handle the incoming damage.
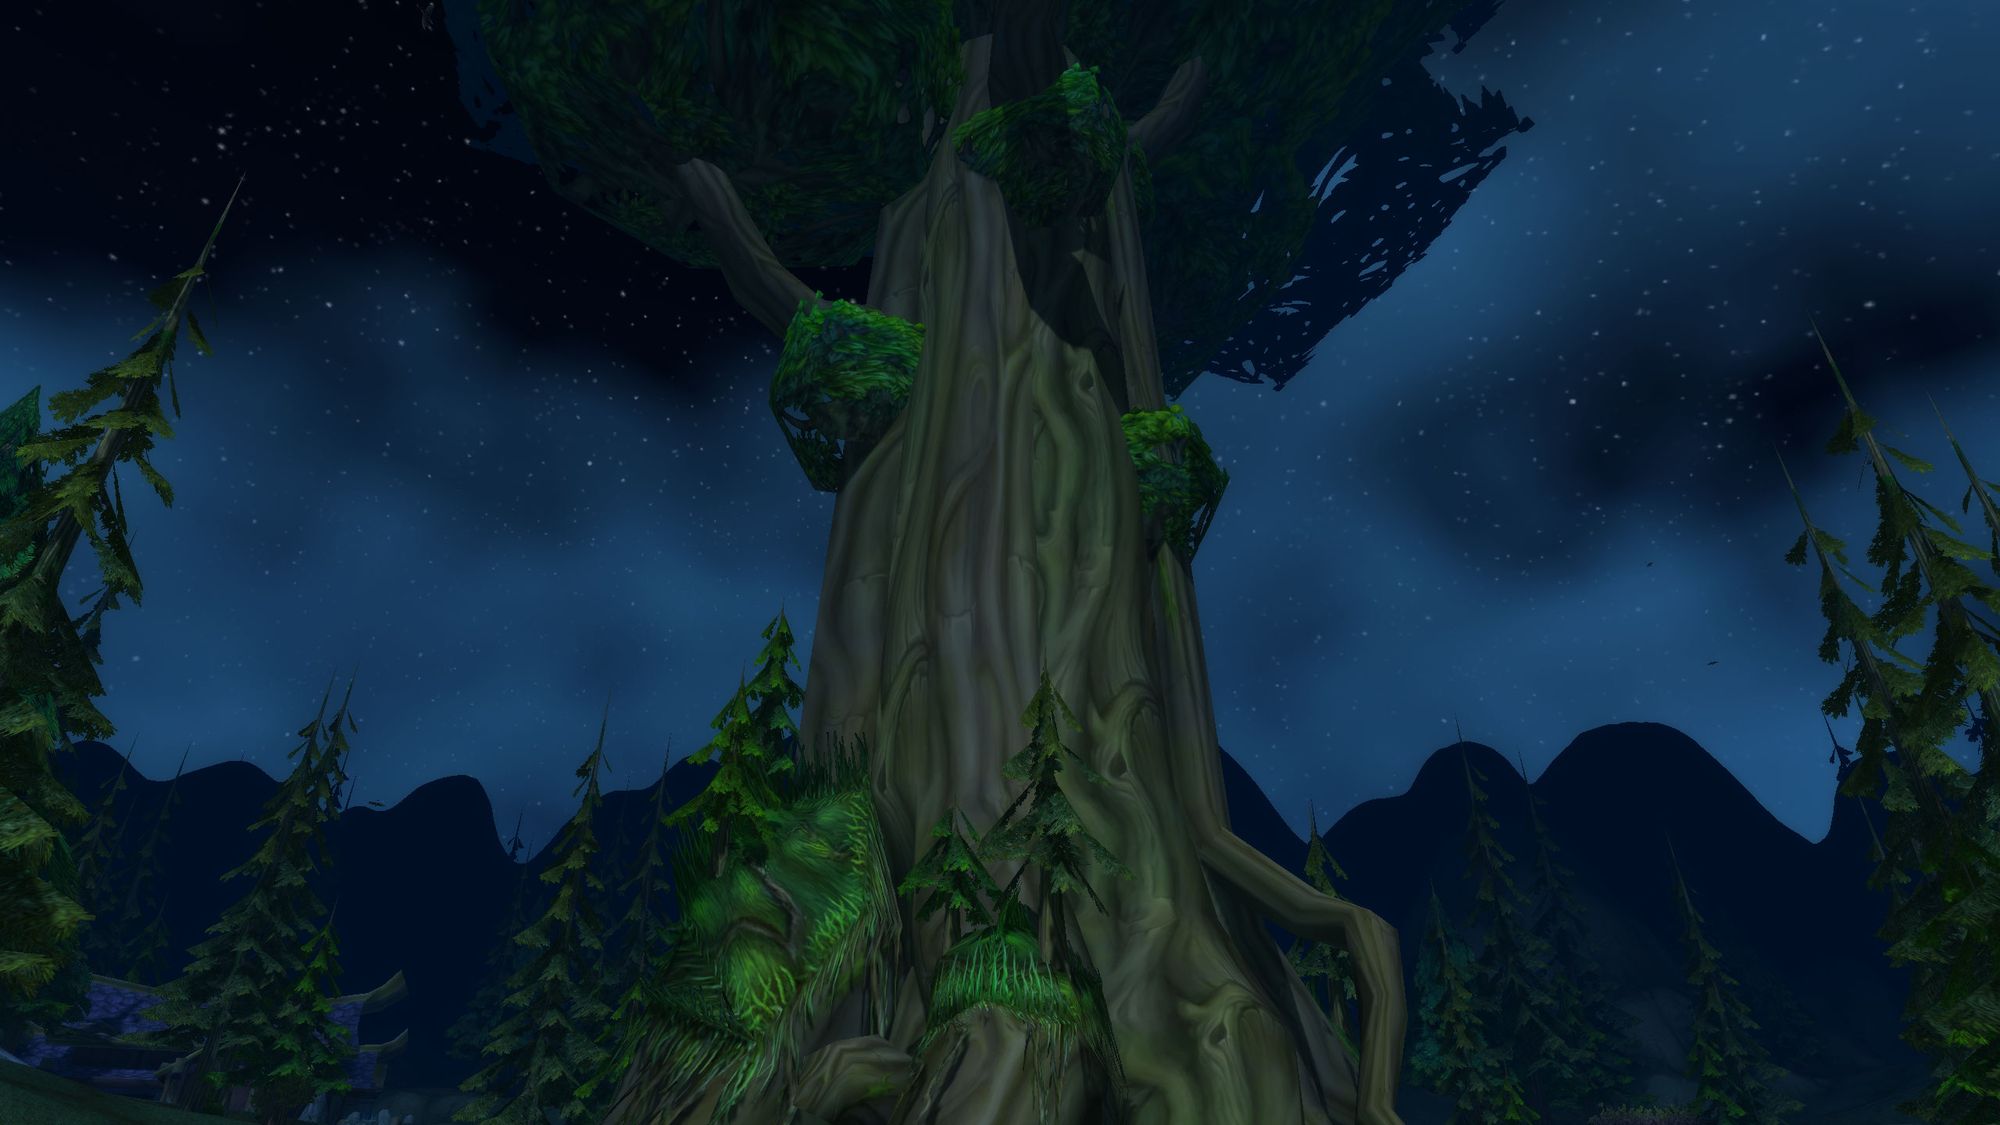
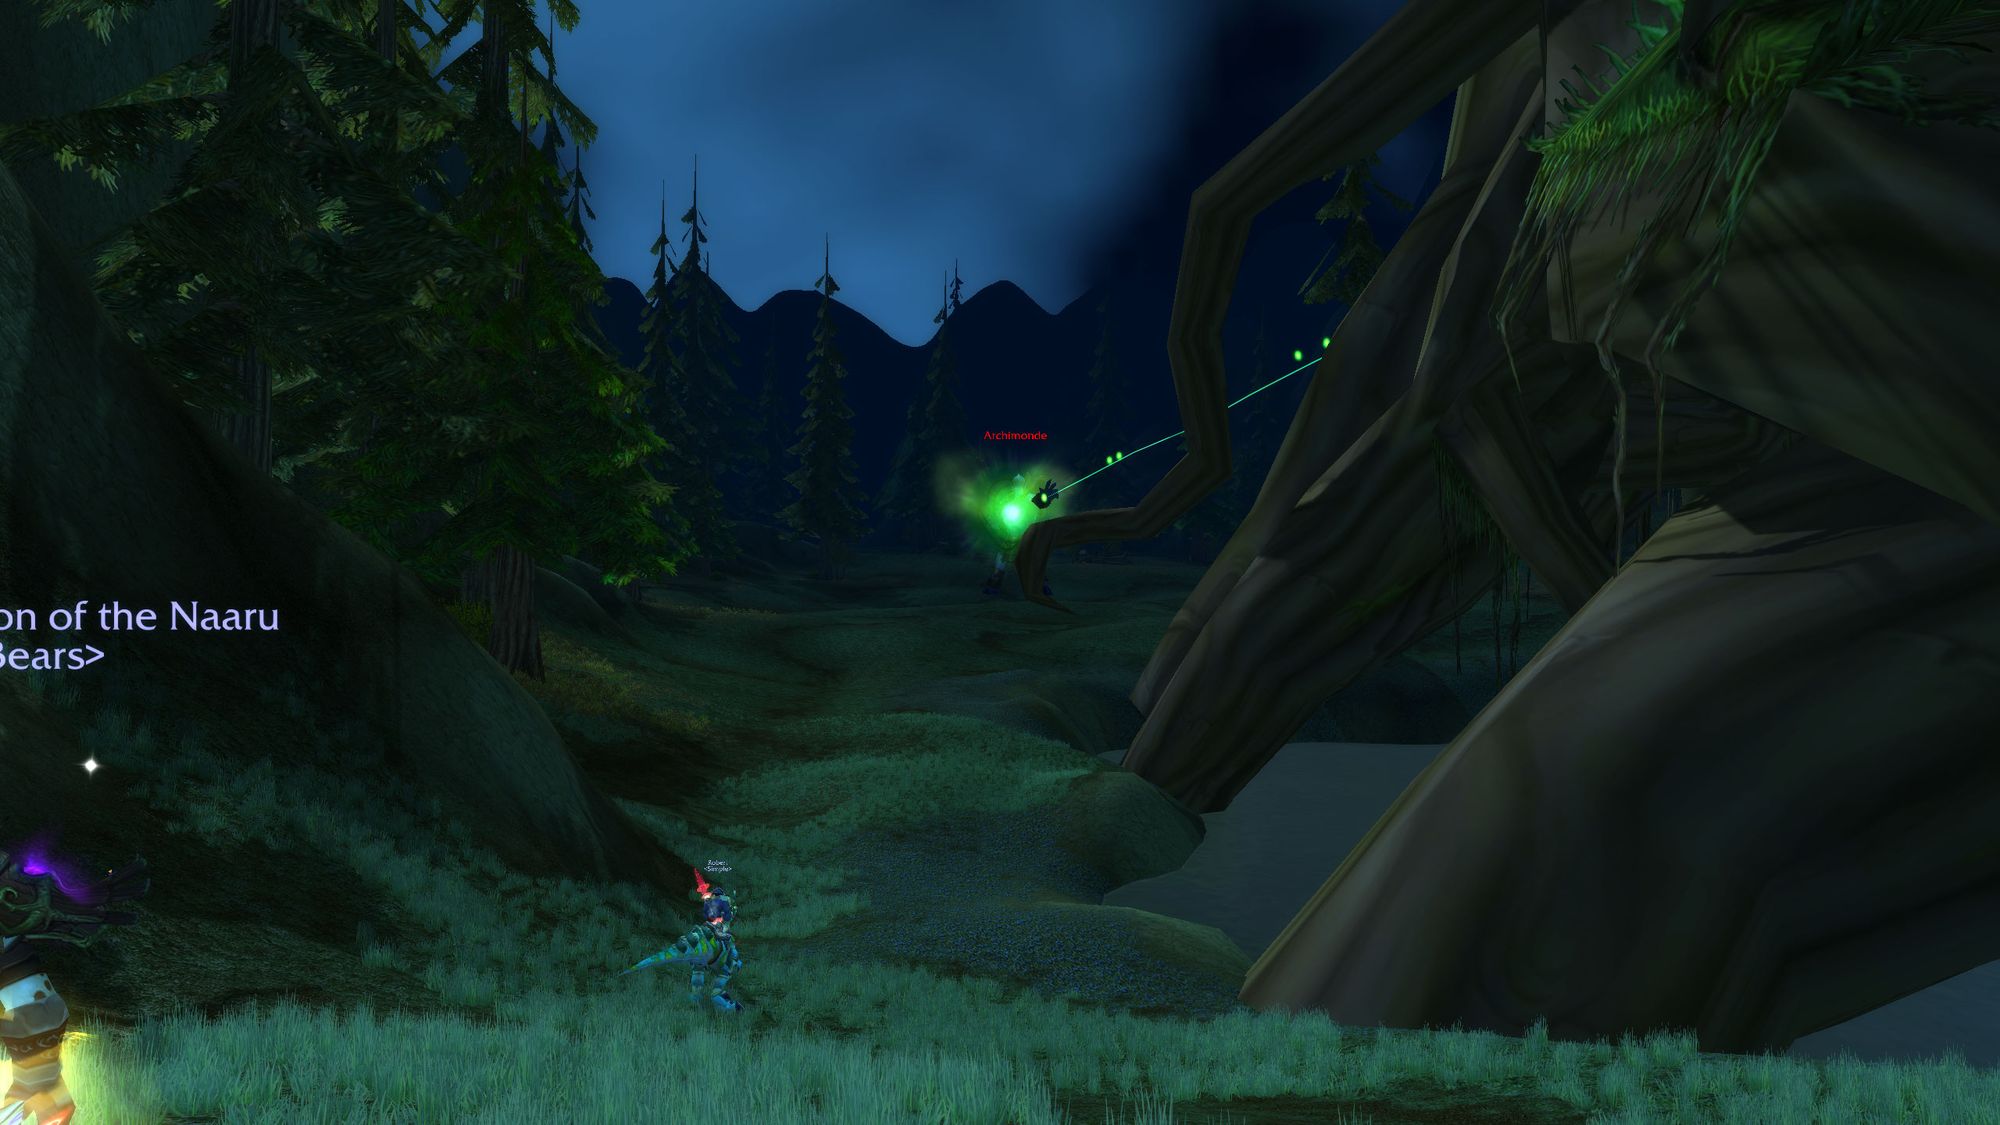
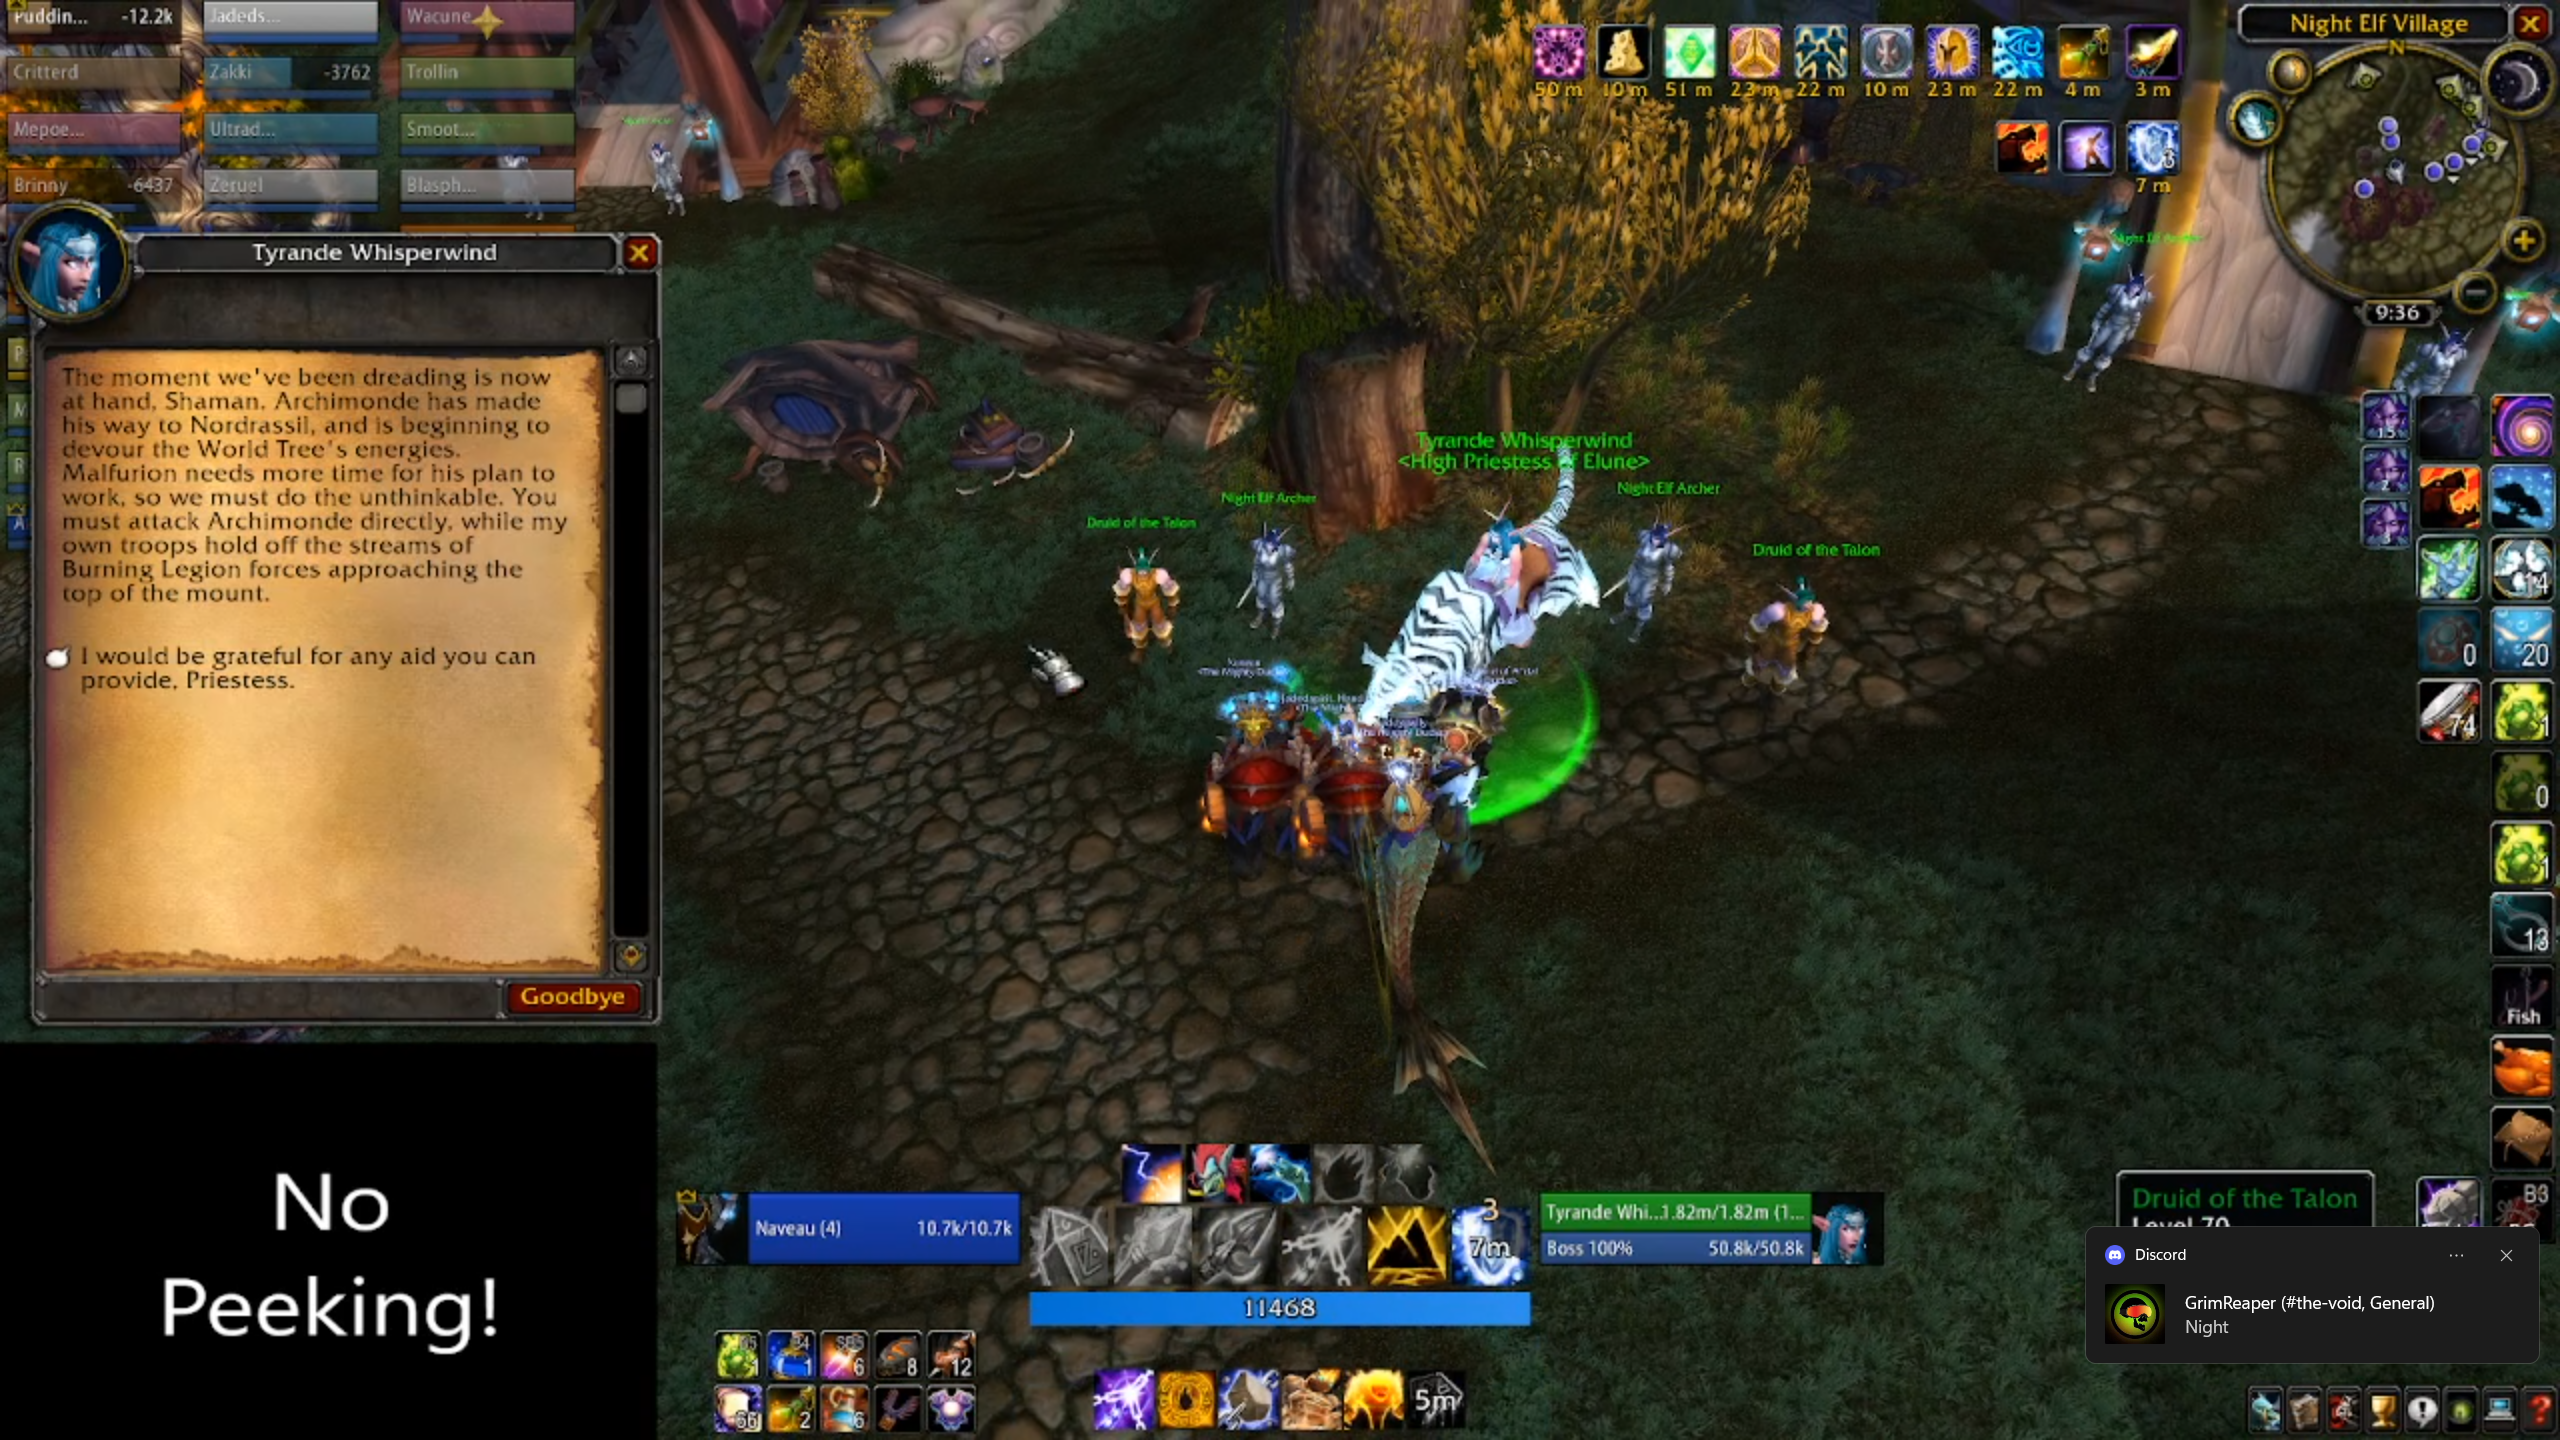
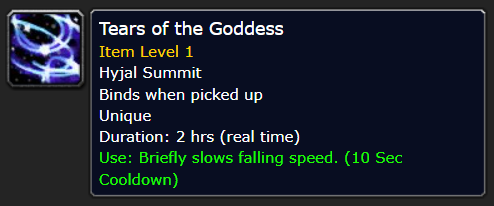
Players will also need to make sure they have an item called "Tears of the Goddess", which is obtainable from Tyrande Whisperwind at the Night Elf camp. This item, activated from your bags, is used to slow your fall speed and is critical to mitigate damage and/or death from Air Burst, which we'll cover later. It's recommended to have an addon, keybinding, or Weakaura to manage using this item, it's that important to the success of your group.
Players will also notice that if they enter the water around the world tree, they'll be silenced for thirty seconds. This will dictate where you will need to engage Archimonde, which is in the flat uphill area where he's standing. His aggro range is enormous, so let him come to you.
(Editor's Note: Early in phase three, there was a soft-exploit discovered where if you positioned your raid in a certain position under the world tree, you wouldn't be silenced, could still see the boss and his abilities couldn't reach you. Blizzard's fix was to extend the range of the silence effect to a large area in front of the world tree. It is entirely possible to be ejected into the range of this silence by Archimonde's "Air Burst" ability (see below). There's nothing you can really do to mitigate or control this, apart from putting plenty of distance between you and the world tree, and praying to RNGesus.
As for positioning during the fight, players will want to split into groups around the boss, anchored by each group's Shaman (you DO have five Shamans, right...?) for their tremor totem to try and mitigate the boss' fear. You'll also want a decurser, such as a mage or druid to be in range of everyone in the raid. Note that a restoration-spec'd druid can do this, but you'll compromise their healing output, as casting the druid decurse spell cancels their shapeshift.
Here's the Remulos Horde GDKP sample map for Archimonde:
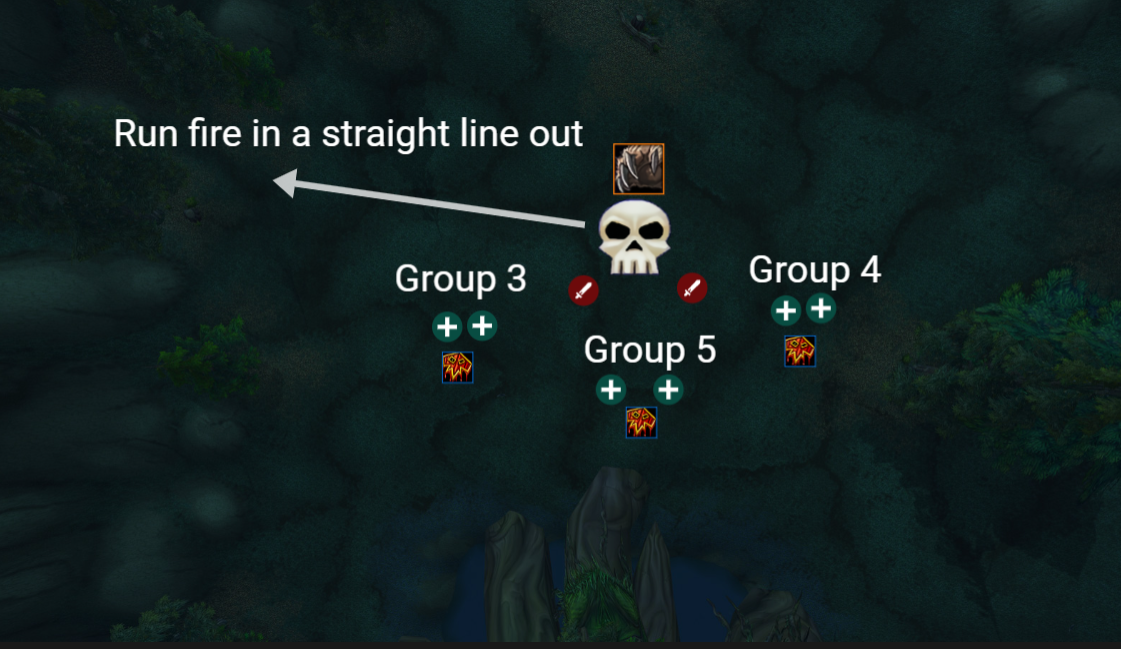
Because the area is open, players can mount up and should ride into their positions around the boss. There's plenty of time before Archie's mechanics start occurring, so take the time to make sure you're in the right spot. It is critical that players, especially the Shamans that form the anchor for these groups, are in the correct position.
Once everyone knows what they're doing, it's time to mount up and ride into battle.
Tactics
Archimonde knocks the stuffing out of your tank, but also does a periodic fear. You can have a warrior tank for berserker rage, but it can be cast too quickly for your tank to react unless they have the mental acuity of esports gamer guy Faker. I used a cast-bar addon and set Archie on focus, to see when the fear was being cast.
You can have a bear tank the boss, which will reduce tank damage, but you'll need to keep a fear ward up, which will put pressure on your priests, particularly healers.
Archie's second ability is a curse called Grip of the Legion. It's a ticking damage over time spell, which does a truckload of damage and needs to be removed as quickly as possible. Any optimised raid composition has a hard lock of two mages and one boomkin, so if your feral druid is tanking, you're going to be stretched pretty thin for decurses. Because the damage check requirements are so low, as much as it'll infuriate your chad pumping arcane mages, it's best to put one on either side of the raid and have their sole focus be keeping this debuff off of players.
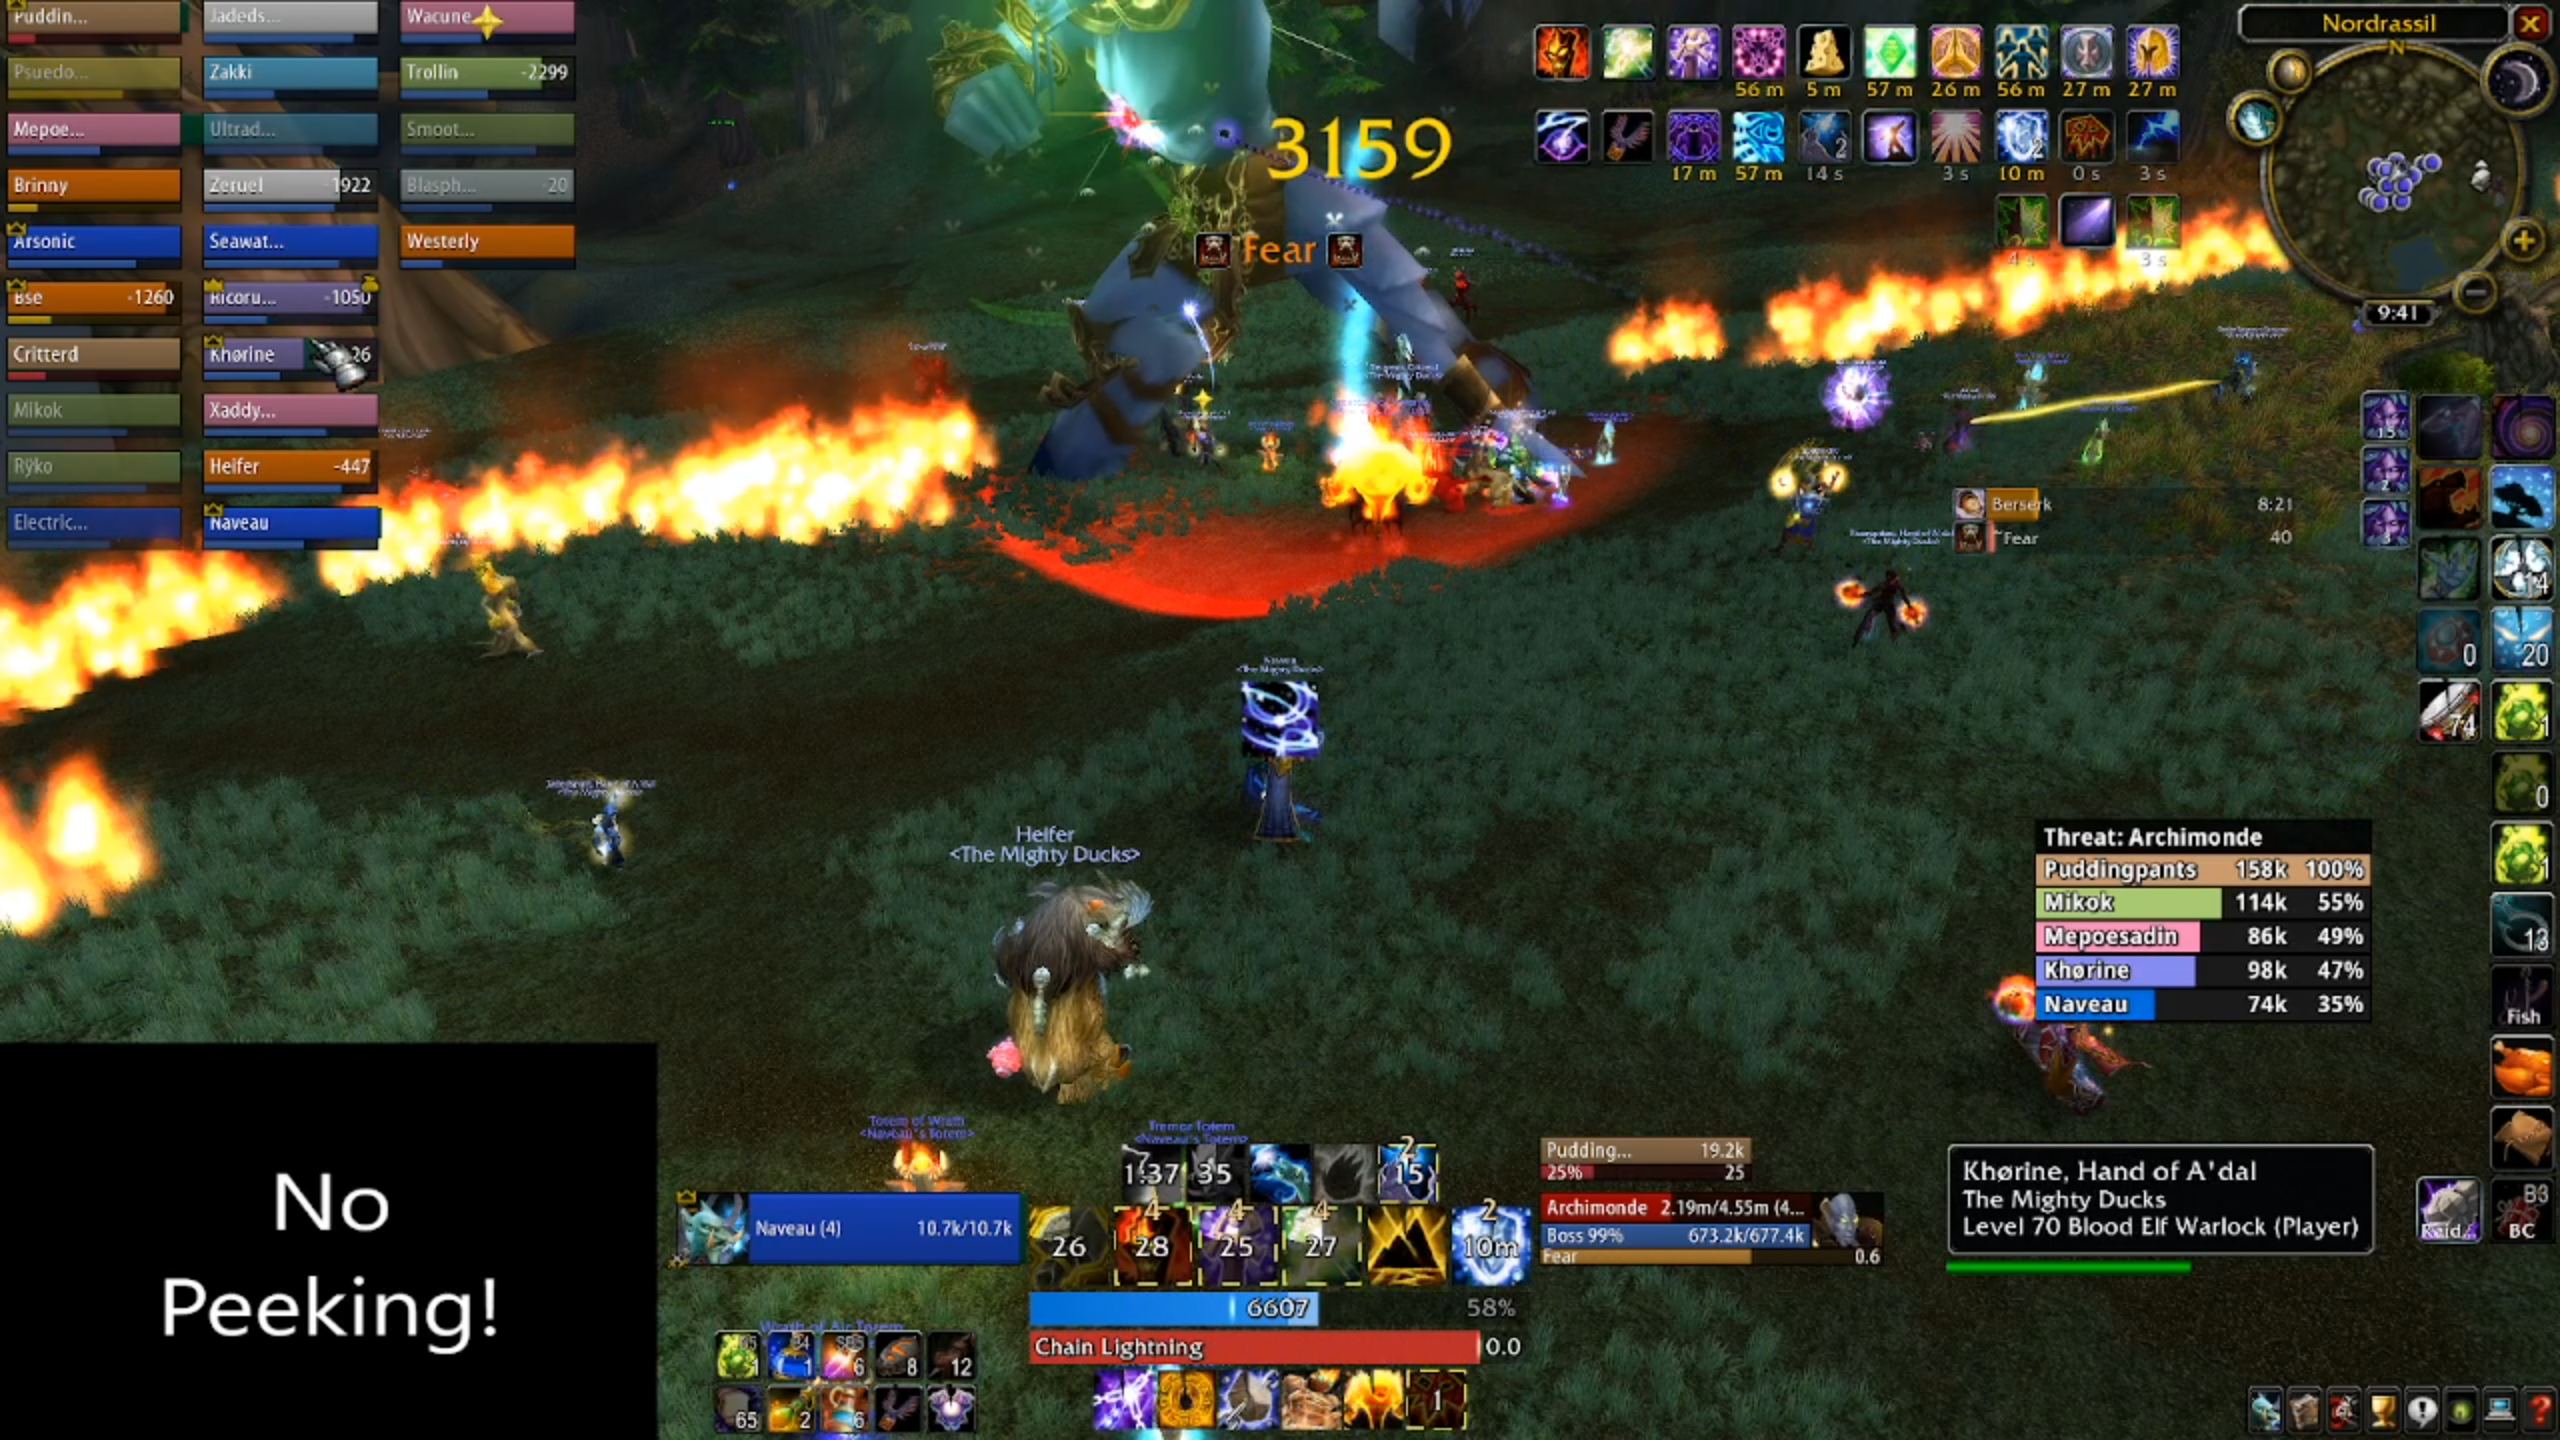
The next ability, Doomfire strike, is the big killer for players. During the fight, Archimonde will target several players, and a fire particle effect starting from the boss will chase them. This inflicts damage when a player stands in it, and also puts a debuff on the player which continues to do damage. To make matters worse, the Doomfire effect will randomly switch targets, making the path unpredictable.
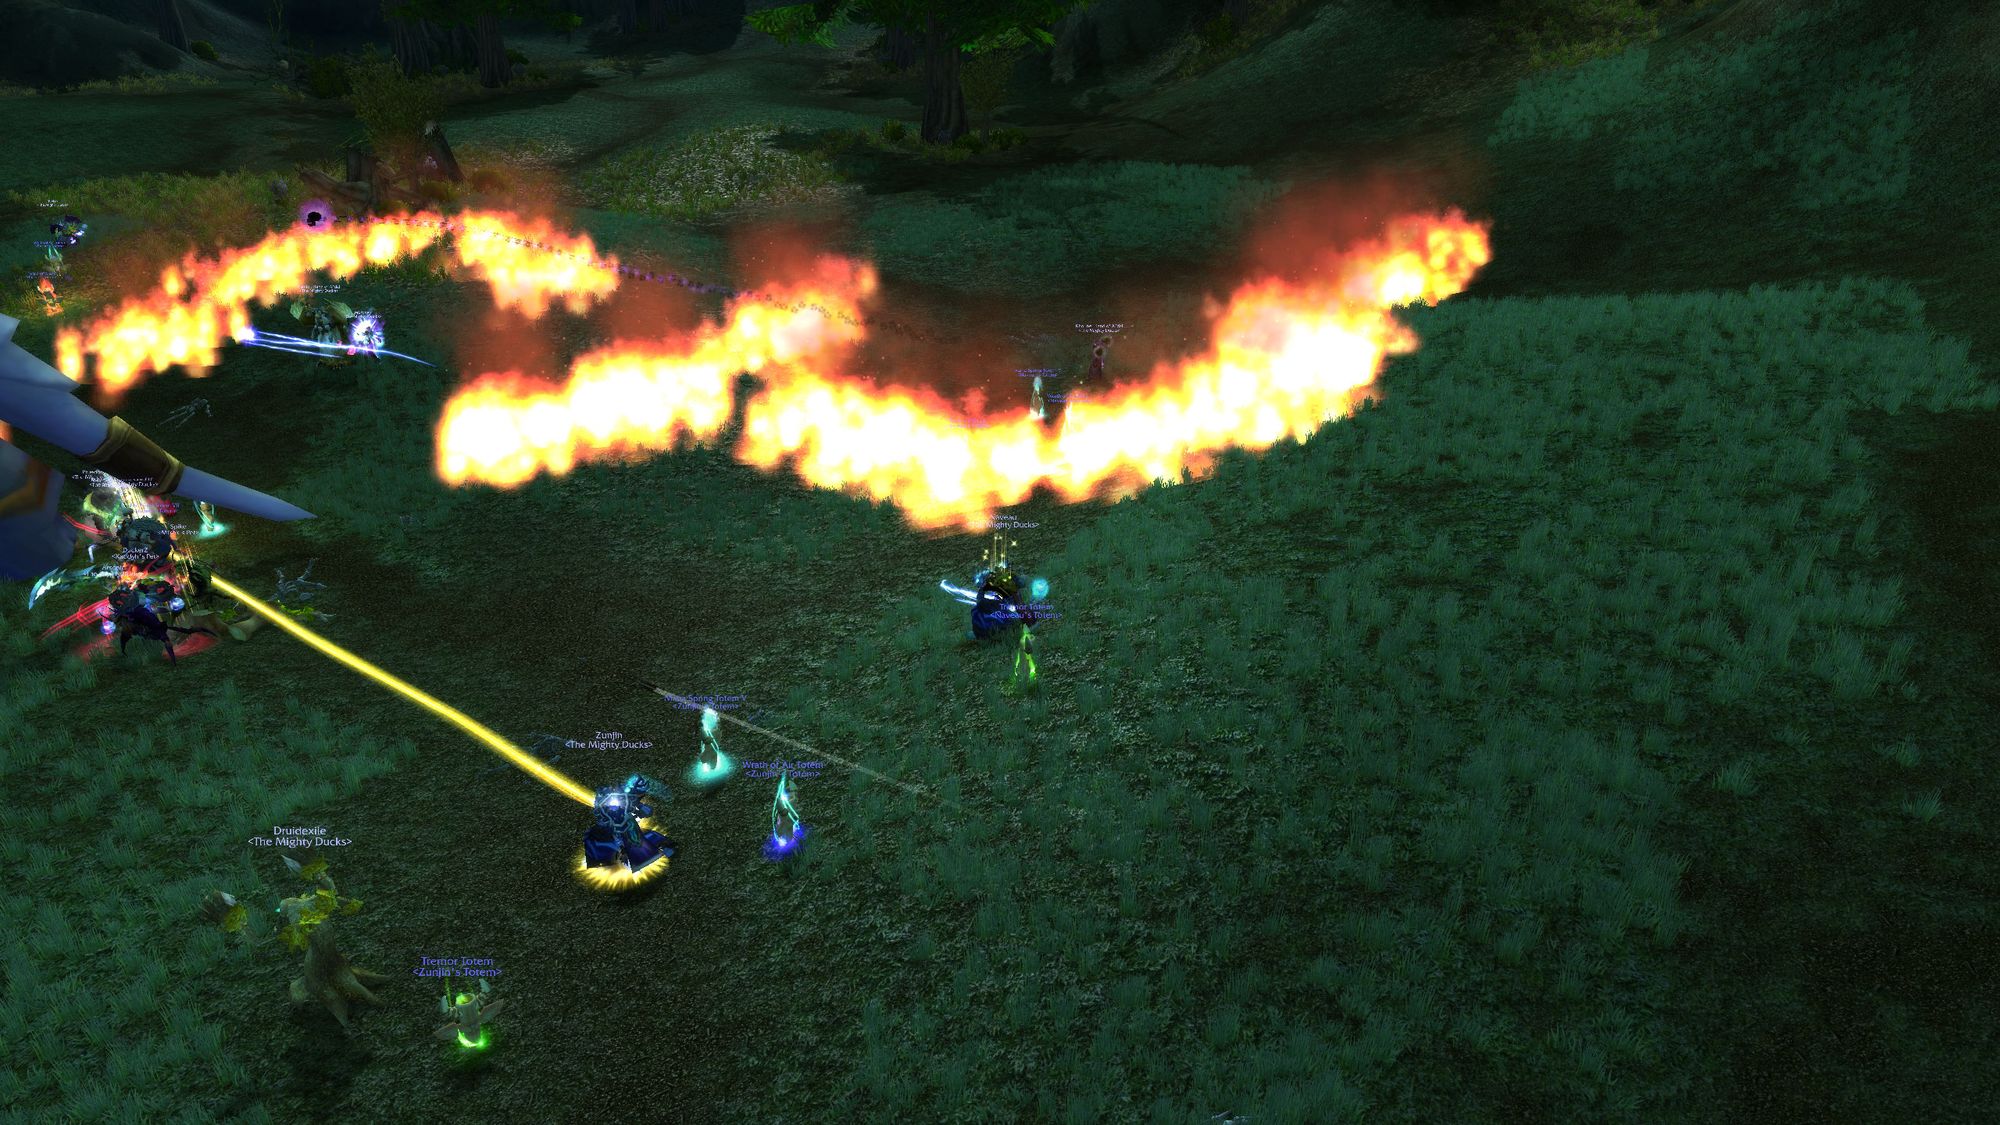
Healers can keep up if one or two players stand in the fire, but where it starts to get wild is when lots of players get hit. This is where everyone in your raid needs to be on their toes and prepared to move way ahead of time away from the fire. Don't wait for casts to finish, just haul ass. This is particularly true for melee, who have the smallest time to react and will be most affected. They will need to be hyper aware of new fire spawns, and be prepared to walk out of melee range entirely if the situation demands it.
Lastly, Archimonde will target players with Air Burst. Back in the day this was a nightmare to deal with, because everyone was playing on potatoes with 200-250 ping and so they had to mentally shift gears to be two or three seconds ahead of what was happening. Thanks to modern technology, this ability will still kill plenty of players because they didn't wait long enough to use their Tears of the Goddess, or didn't get them at all.
Vitriol aside, what this ability actually does is target a player, and shoot them and anyone else in a close radius around them into the air. Your raid will need to spread out as best they can, whilst staying in range of your Shaman's tremor totem and dodging doomfire strikes, to reduce the amount of players punted by Air Burst. If more than one or two players get hit, that's ok, provided the players are aware of what's happening and what to do.
The height a player is ejected to by Air Burst is enough to kill them from fall damage. The item given to you by Tyrande will prevent the damage entirely if you use it at the right time. There are Weakauras you can use that will do the mental calculation for you, but it's not hard to manually predict if you can spare the brain power. The key is not to get killed by it, because it's super awkward.
Now we've talked about all the abilities that kill players, let's talk about the consequences for failure. After all, I made it very clear that this encounter was a battle for survival, didn't I?
Soul Charge is Archimonde's final, and fatal, ability. Everytime a player dies, depending on their class, Archimonde will put a debuff on the raid. None of these are good. Two debuffs deal 4500 damage to the raid and either silence for 6 seconds or increase damage by 50% (likely fatal for your tank) and one does 4500 damage over time, but immediately sucks away 2200 mana.
Considering the average health pool of a well geared and raid buffed player is around 9000 health, I'm sure I don't have to explain to you why the entire raid taking half of their health in one chunk or over eight seconds, plus an additional silence or damage increase is bad. What's even worse is that these Soul Charges can trigger off each other - so a player dies, then Soul Charge kills another, and then from there it's a chain rout of damage, silences, and dots.
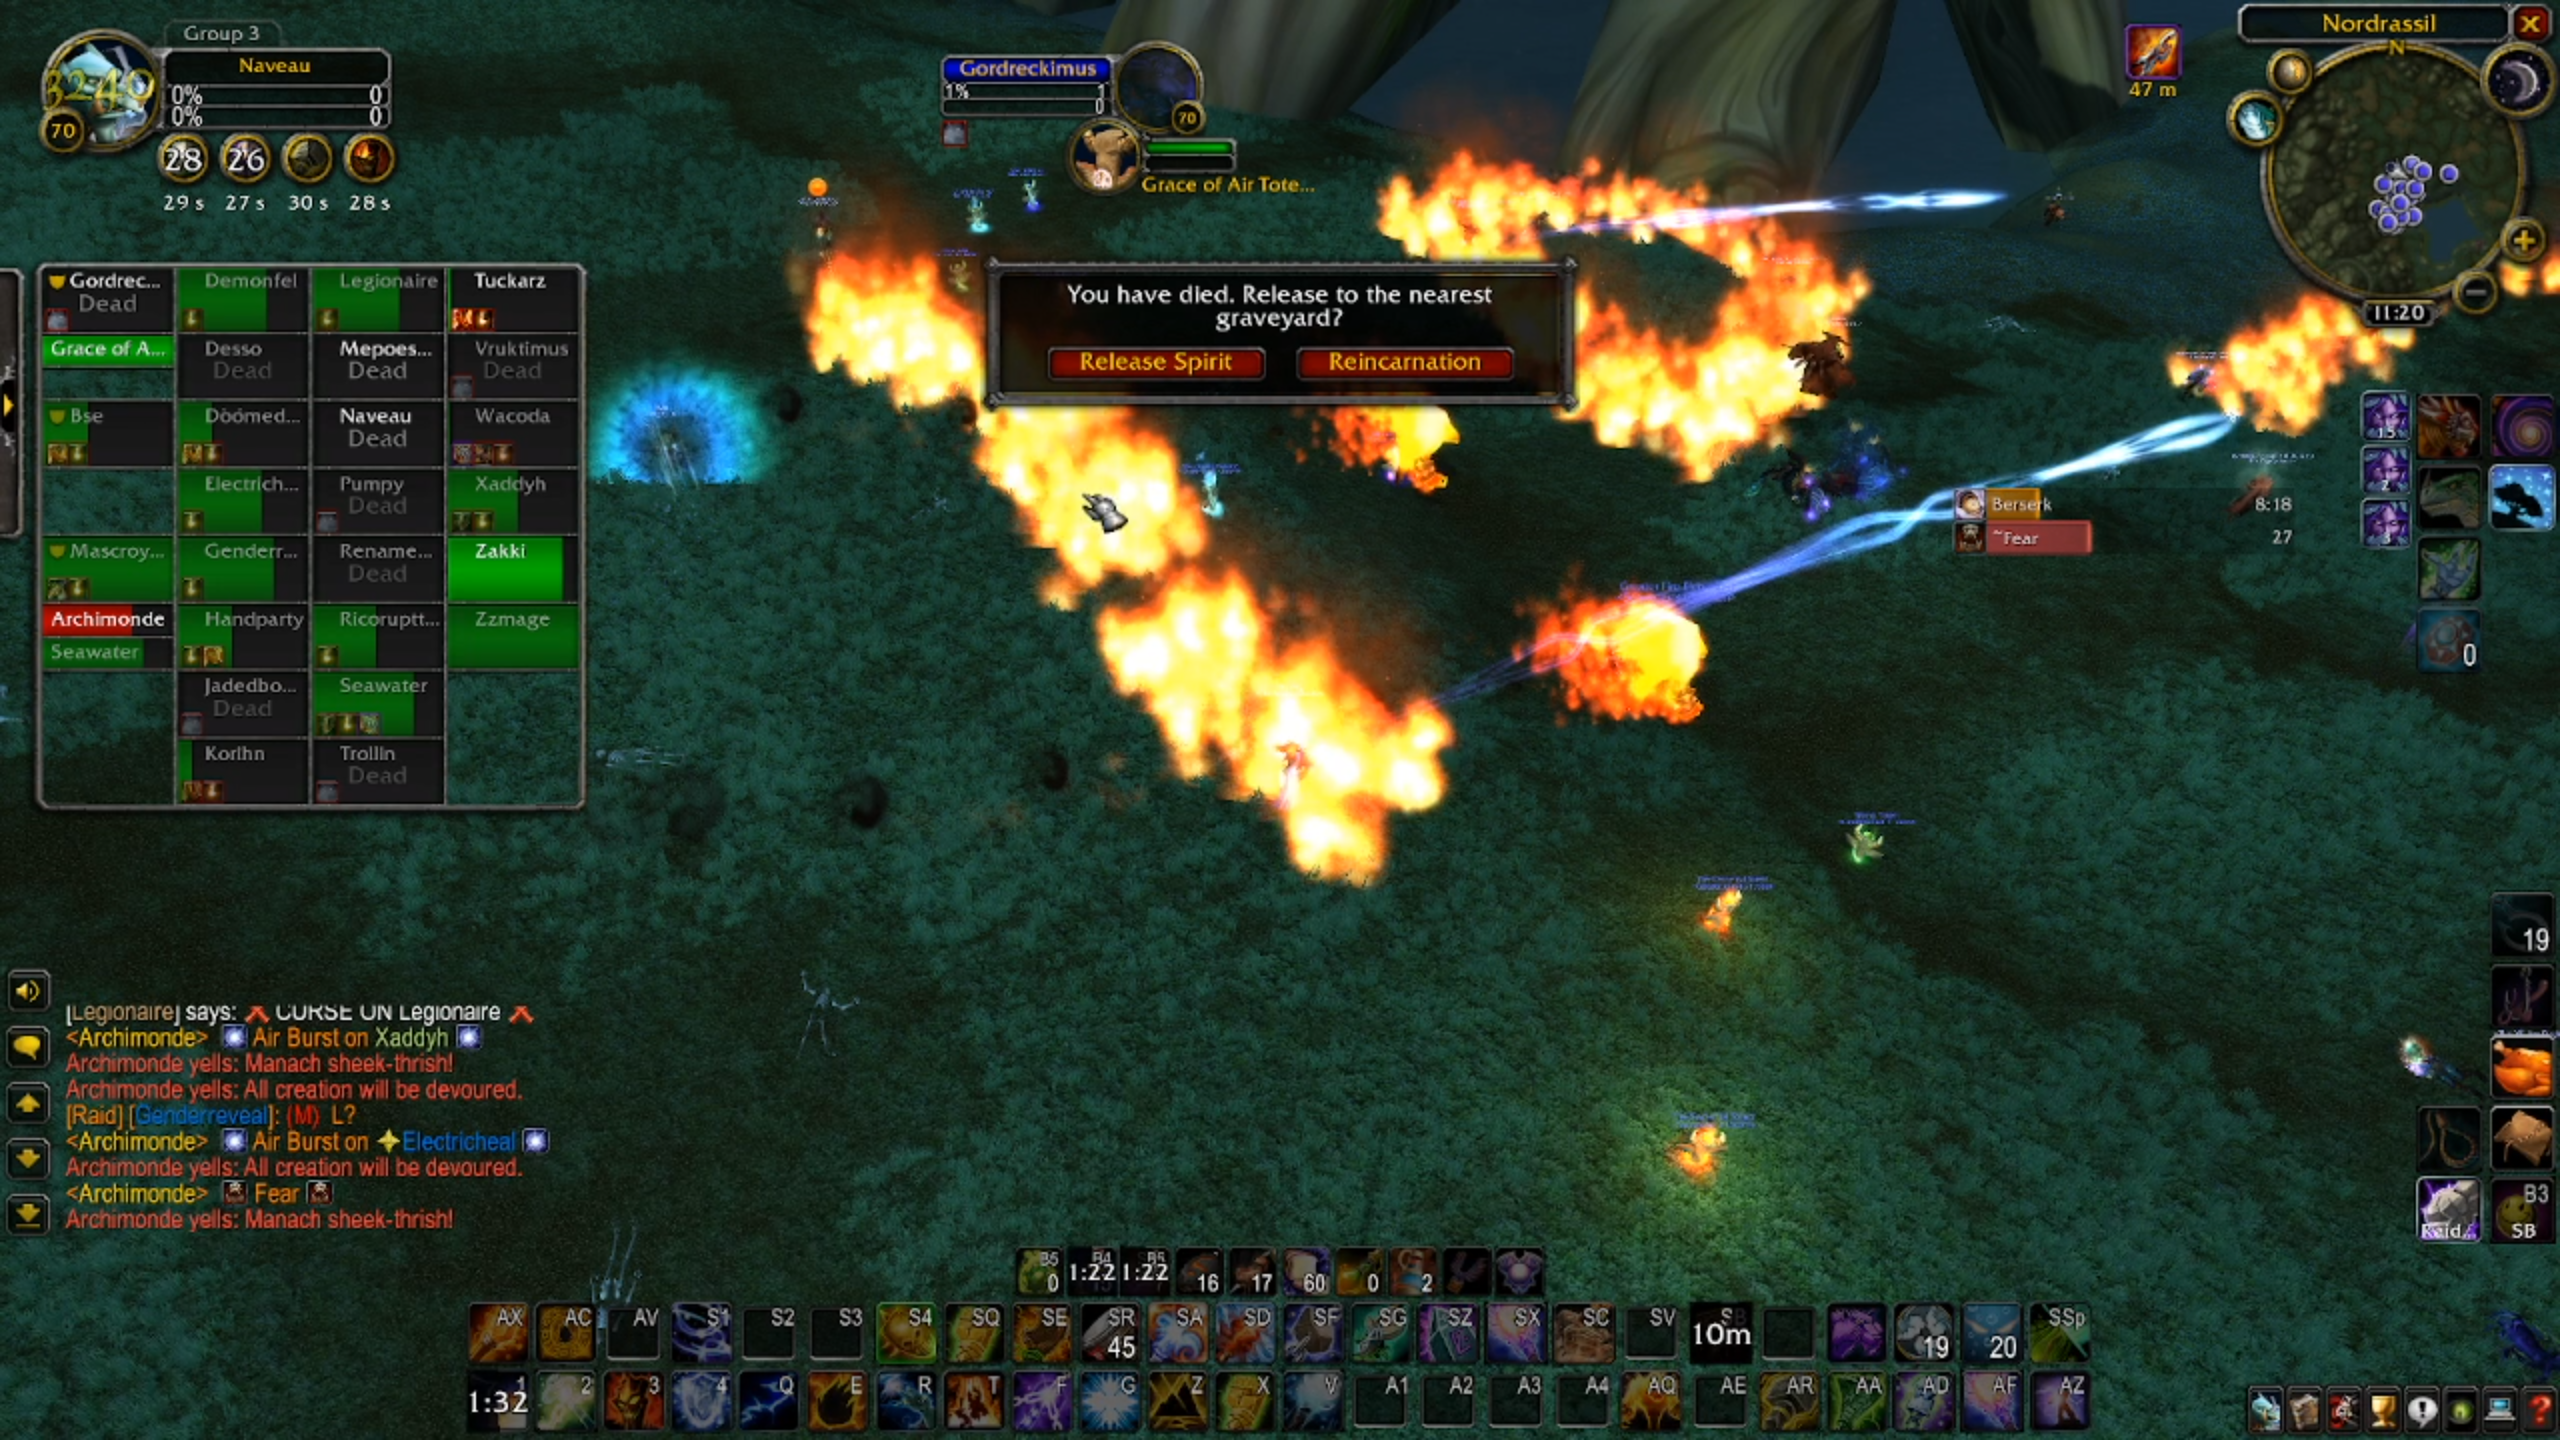
A single player death, particularly in the middle of a fight, will wipe the raid with very little provocation. And there's a ton of ways to die. Falling damage from Air Burst, Grip of the Legion not being dispelled, and standing in Doomfire strike will be the primary causes of death.
Players can also be feared by Archimonde into the fire. This is why having your PvP trinket, and being near your Shamans is so critical. You should save your trinket and excercise judgement in when you need to use it, to make sure you have it at a time when you won't be able to save yourself waiting for tremor totem to activate.
Your raid needs to make sure they're taking full advantage of healthstones, healing potions if they're available, and, if times get absolutely desperate, classes who can offheal, need to offheal. As I've previously stated, the damage check is modest - dedicated damage classes such as warlocks and hunters can easily bridge the gap left by shamans, priests and paladins offhealing when times get really tough. It is that critical that players don't die, or if they die, they don't then cause a chain of Soul Charges which wipe the raid.
It can be helpful for the Raid Leader to call if a chunk of damage is incoming, but players should not rely on that and be prepared to use their own judgement. Which could really be used to describe this entire encounter. Each player needs to look after themselves, and cannot be bailed out by other players. Serial offenders who die to Air Burst, get hit by Doomfire Strikes, and don't have the situational awareness to keep themselves alive with Healthstones and Health Potions, will frustrate the raid, so be kind and help each other.
If the raid can keep itself out of trouble, Archimonde should go down - he actually dies at 10%, so once you get there, the fight ends. Wisps come out, and despite his best attempts, he cannot kill you or the friends of the forest, and so he keels over.
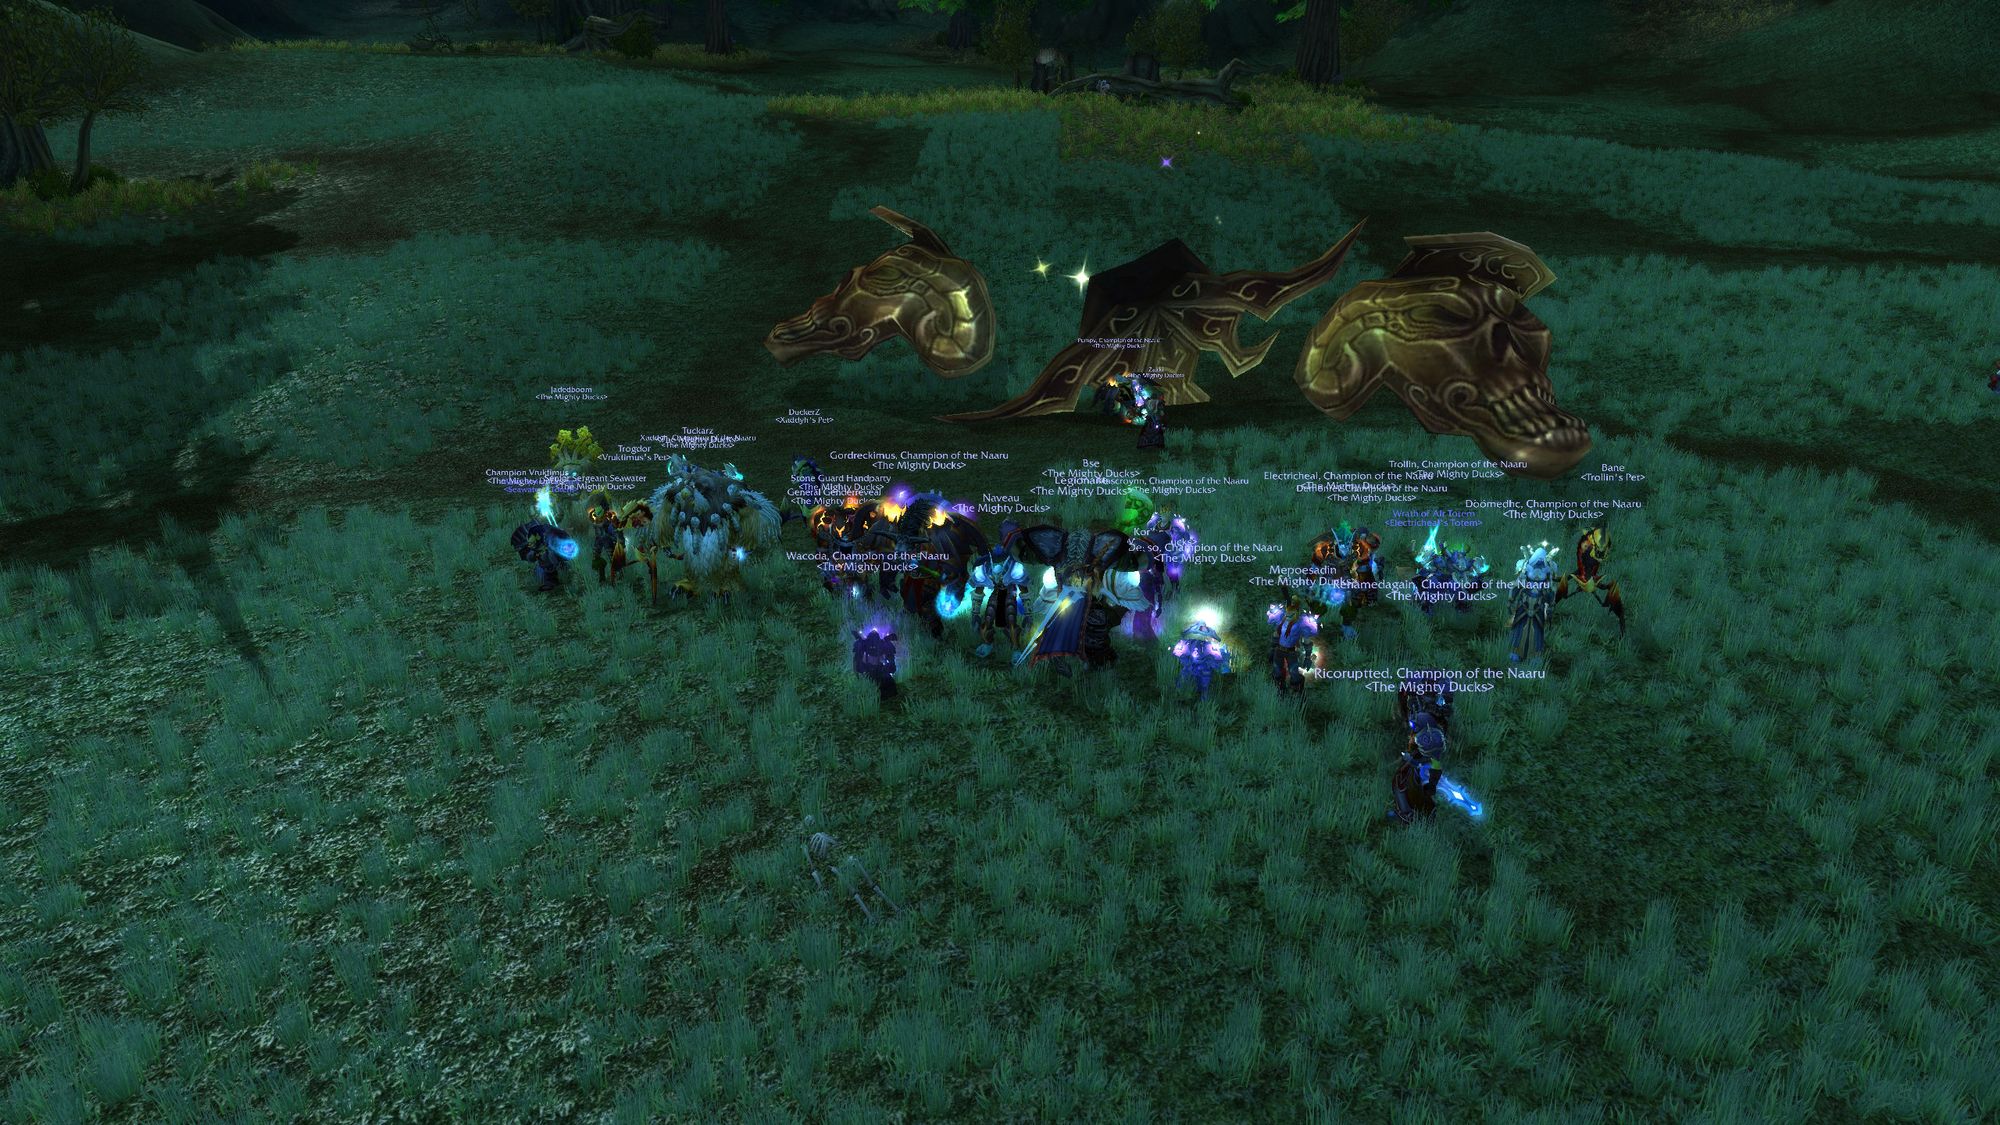
And with that, you've cleared the first half of phase 3. Enjoy it, the experience can be quite bruising.
Conclusion
Mount Hyjal sits in that strange experimental part of Blizzard's design. It shares the core of its design with Black Morass. Both instances featured waves of enemies, followed by a boss.
Popular opinion dictated that Mount Hyjal was the worst raid of TBC (and thus, by extension, TBC classic.). This is because of the amount of time lost when a wipe occurs, and the requirement to handle an additional eight waves of trash, which takes upwards of half an hour, to have another attempt at the boss (with the exception of Archimonde, obviously.)
This is somewhat counteracted by the initial low difficulty of the bosses, however it's easy to put a foot wrong on bosses three and four and find a run that is supposed to take no more than an hour, take more than two or even three hours. Mount Hyjal is also home to more than its fair share and bugs relating to player positioning. On more than one occasion, a wave of trash wouldn't spawn, or not enough waves would spawn, or the boss would reset, wasting precious time.
For this reason, both Black Morass and Mount Hyjal are completely unique, as they represent a design dead-end that was not repeated. There's a feeling of being a part of history, and seeing first-hand why the concept was abandoned.
Inevitably, all the little frustrations with Mount Hyjal this led to the raid being abandoned by the server's teams far ahead of its time, meaning that much of the best in slot items were not widely available. Not that it mattered much when phase 5 came around.
As someone with rose tinted glasses, who enjoyed the way the early game tied back to Warcraft III, I really enjoyed the aesthetic of the raid. I really enjoyed it initially, but eventually that feeling was replaced by cold apathy, and then frustration when someone would inevitably bug out a wave of trash, and a feeling of relief when we finally gave it away.
But we're only halfway through this phase. The big raid of phase three is yet to come, and boy howdy, it's an experience.
Additional Resources
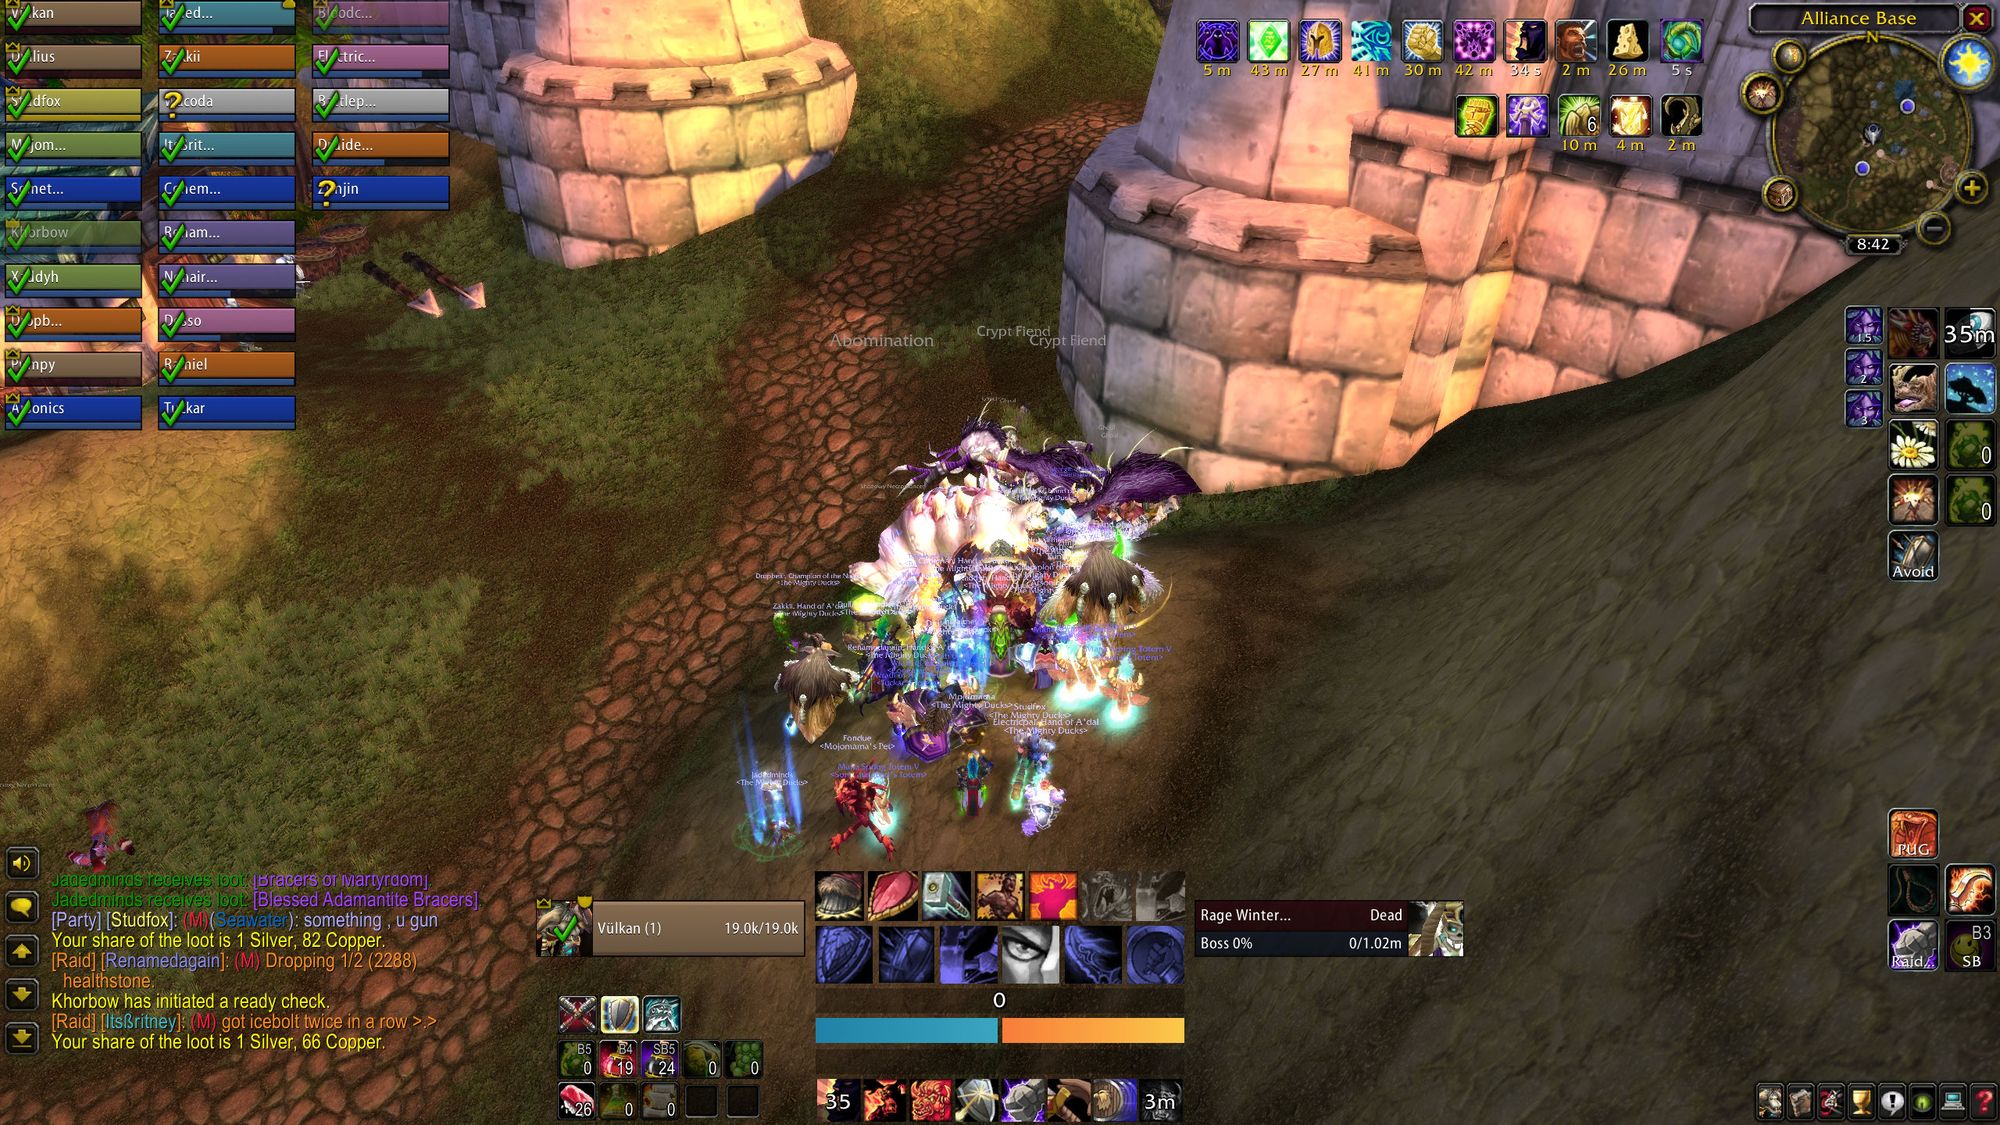
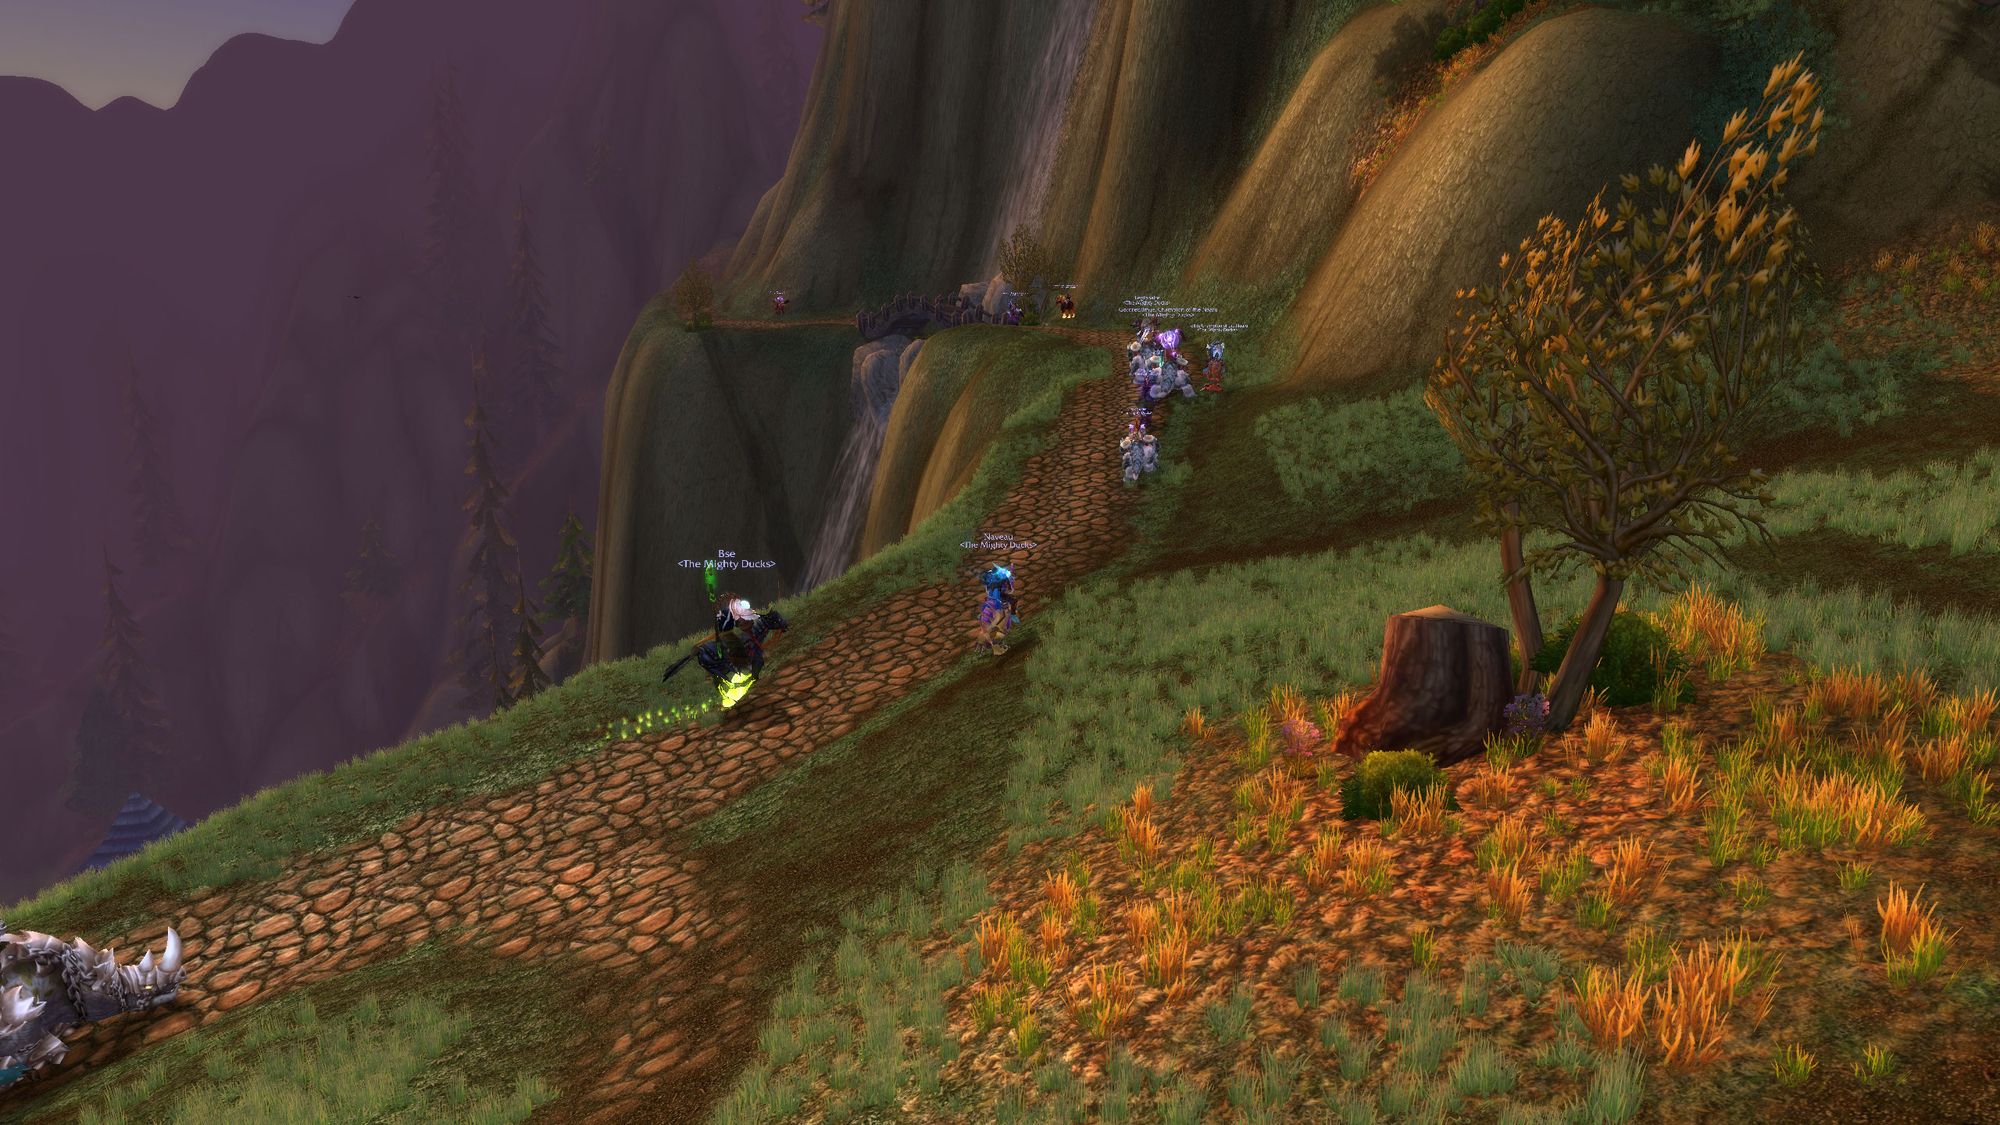
Just one of the many, many runs of this place I did on my Elemental Shaman.
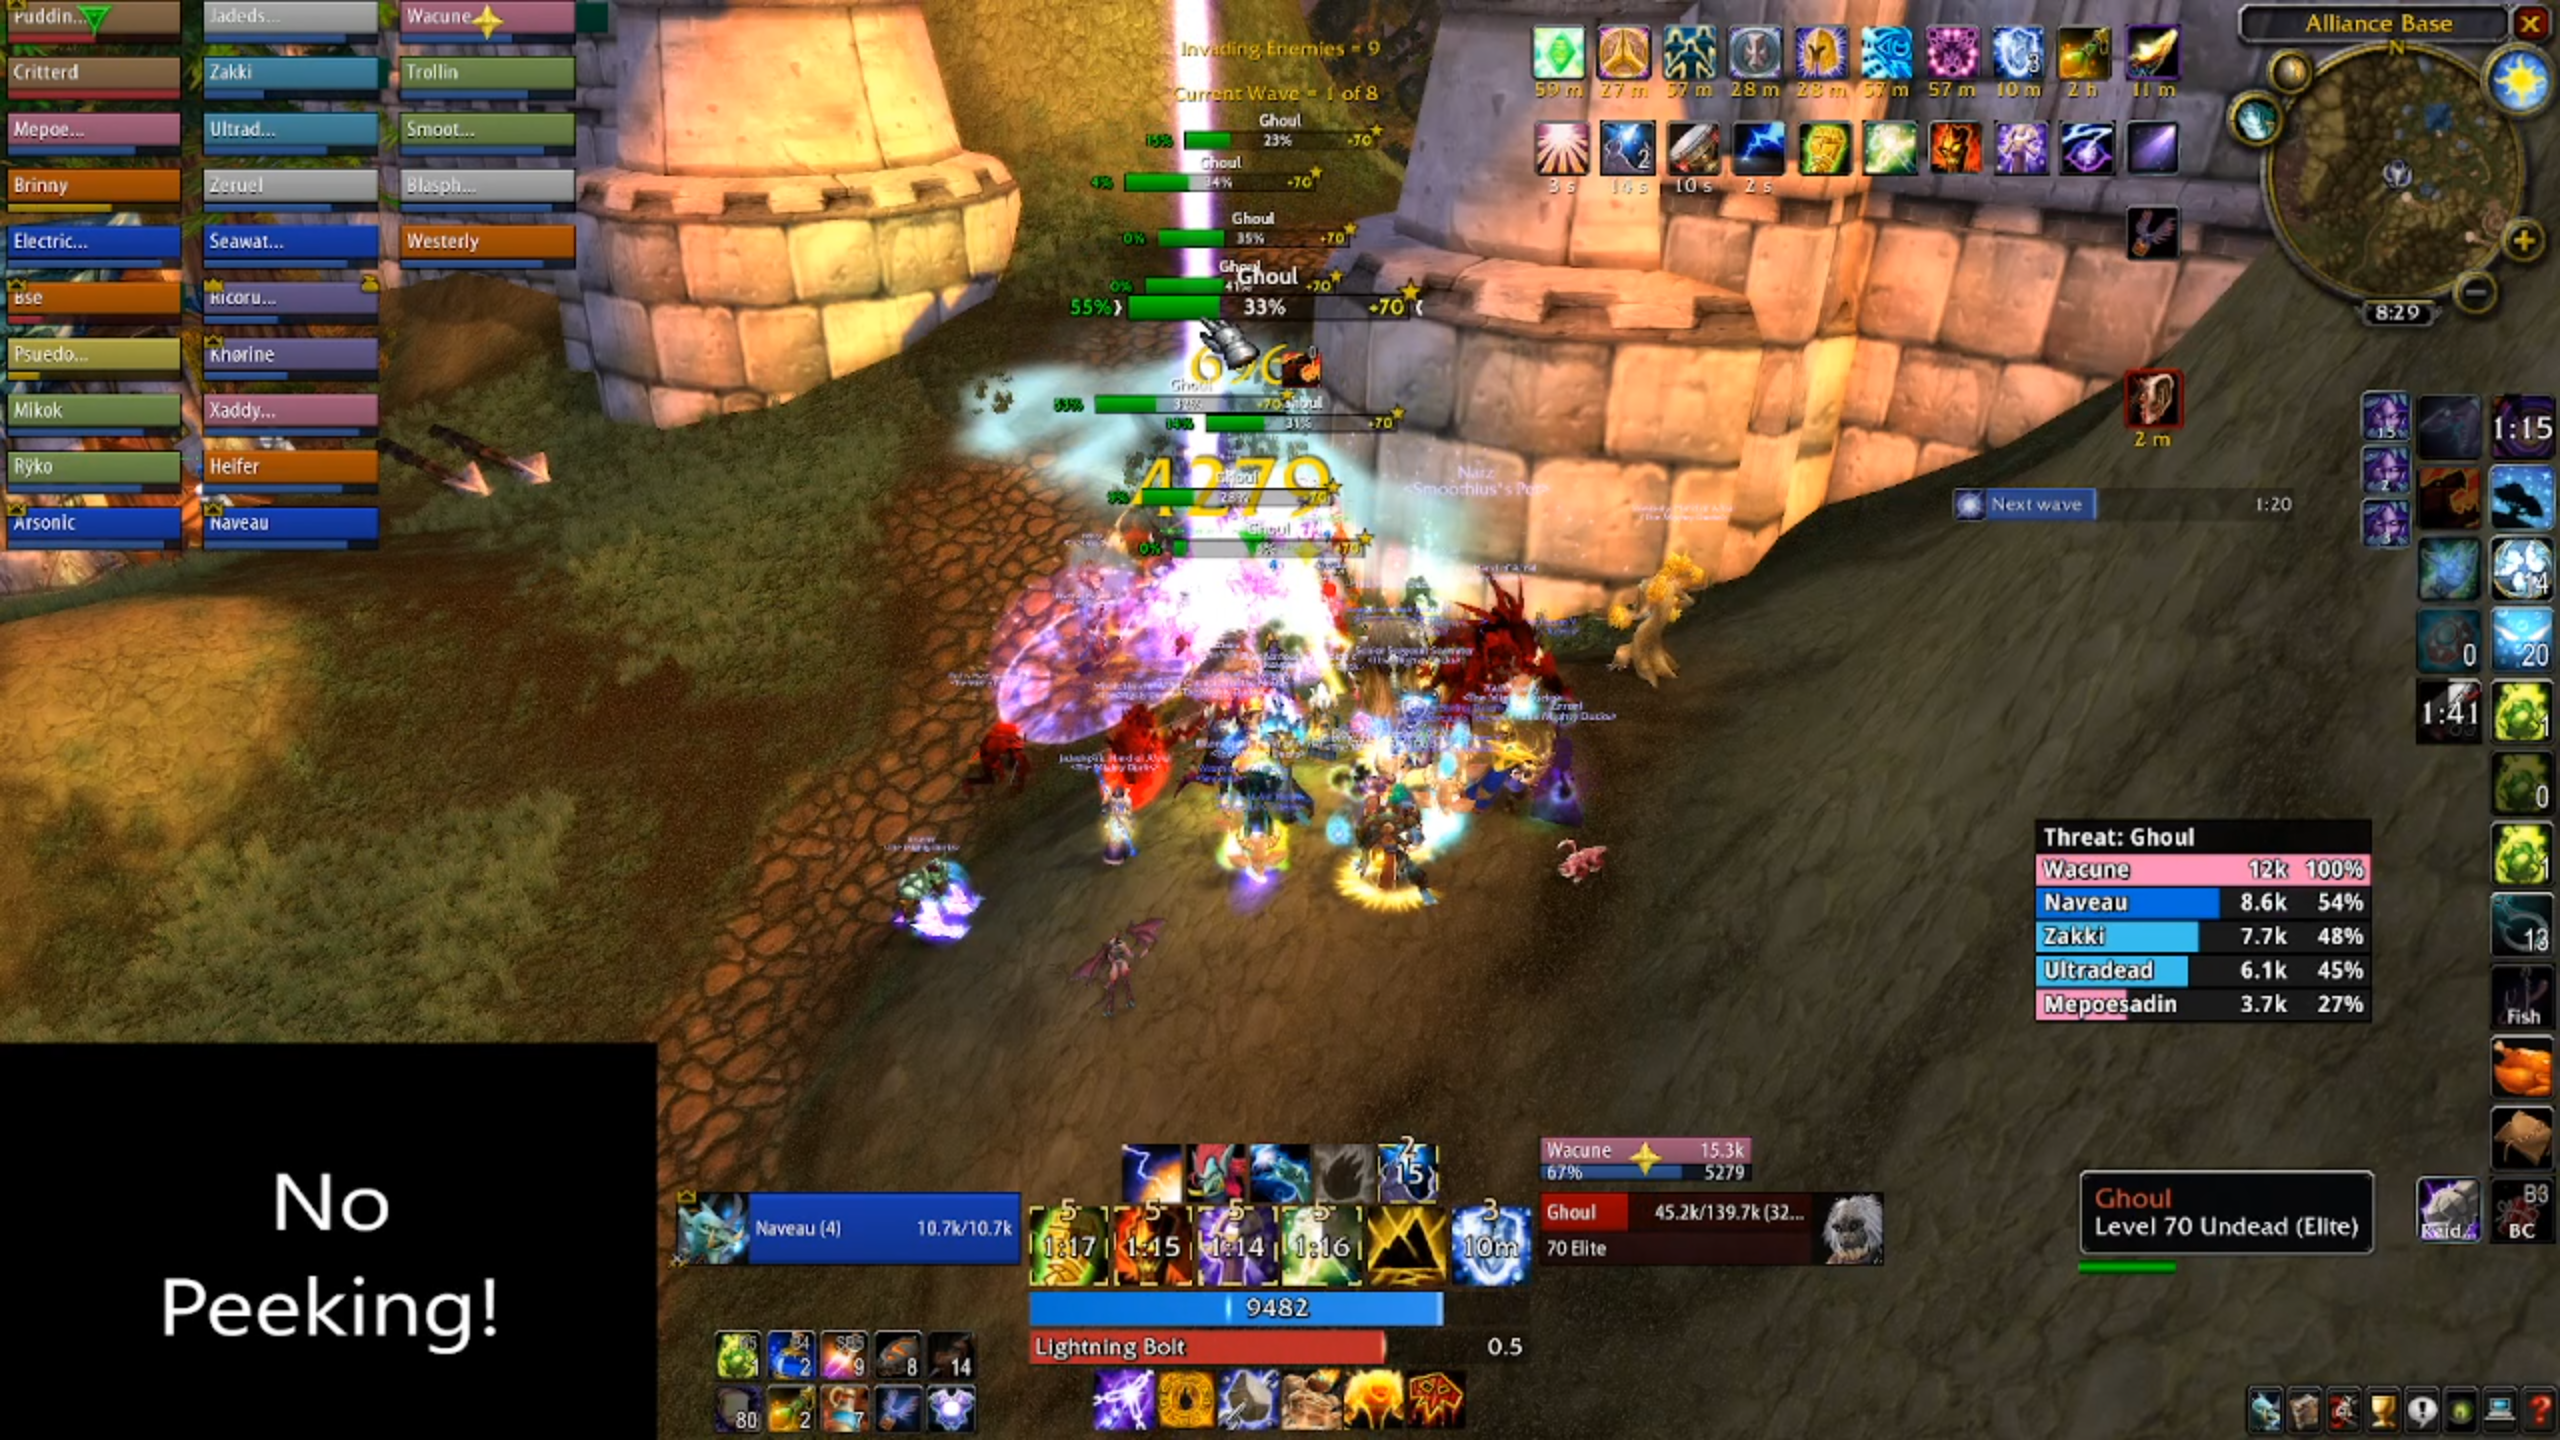
And another on my warrior.
Catch you next time,
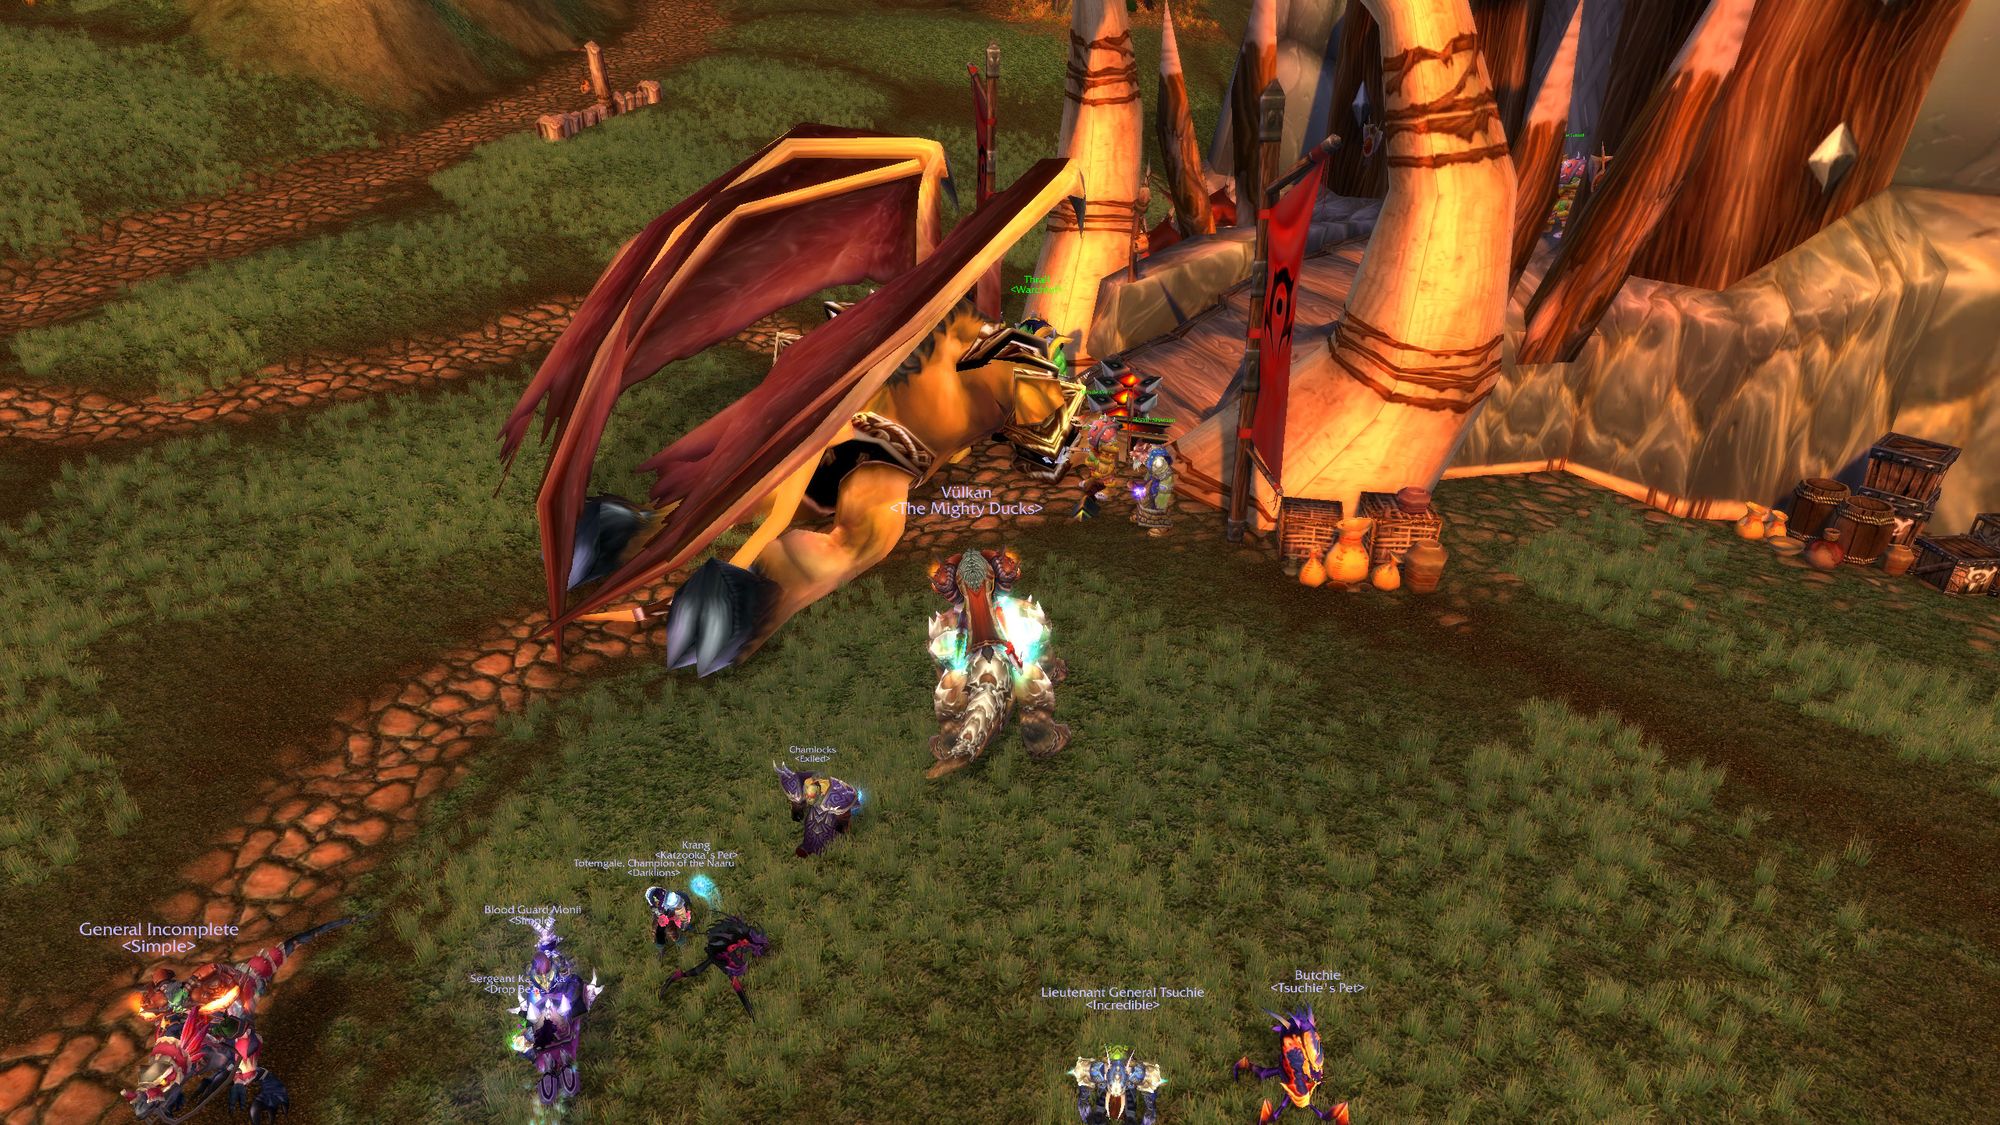
Vulkan
Did you like this article? Did you hate it? Go over and keep the discussion going on the official Vulkan's Corner facebook page! - whilst you're at it, leave a like!
