If Serpentshrine Cavern was the raid I always wanted to experience whilst playing Classic World of Warcraft, then Tempest Keep was the enigma. The only thing I knew was that it existed. I knew nothing about its place in the world, the raid attunements unlocked by clearing it and that it held a strange set of seven legendary weapons. What were they for?
Turns out Tempest Keep is pretty critical to the lore of the expansion and is a generally high-value instance to clear, especially during phase 2. It also drops the infamous Ashes of A'lar, the only 310% mount until the next expansion.
Of the two raids, I preferred the aesthetics of SSC, but Tempest Keep gives off a cool, spacepunk vibe. Plus you get to kill Blood Elves, which is always a good thing. No-good pointy-eared dicks, with their magic addiction and hard-on for reincarnating birds...
Before we get into Tempest Keep, we have to complete the attunement process - and this one is not a walk in the park.
Attunement Process
The first stop is to complete a long quest chain called the "Ciper of Damnation". Most of this can be done individually, but some of the harder parts of the end will require a proper group with a tank and a healer.
Depending on your faction (I played on the Horde side, if you played on the Alliance side, go find a blue blog to talk about your precious buildings and societies and lack of violence, wuss.) You need to speak to a member of the Earthen Ring in Shadowmoon Valley who sends you on a quest called "The Hand of Gul'dan".
This quest sends you to the middle of the zone where you'll meet Earthmender Torlok. You'll hear all about how Gul'dan conducted a ritual to break the bond between the Orcs and the land, making the spirits angry and turning Shadowmoon Valley into the blasted hellscape we enjoy today.
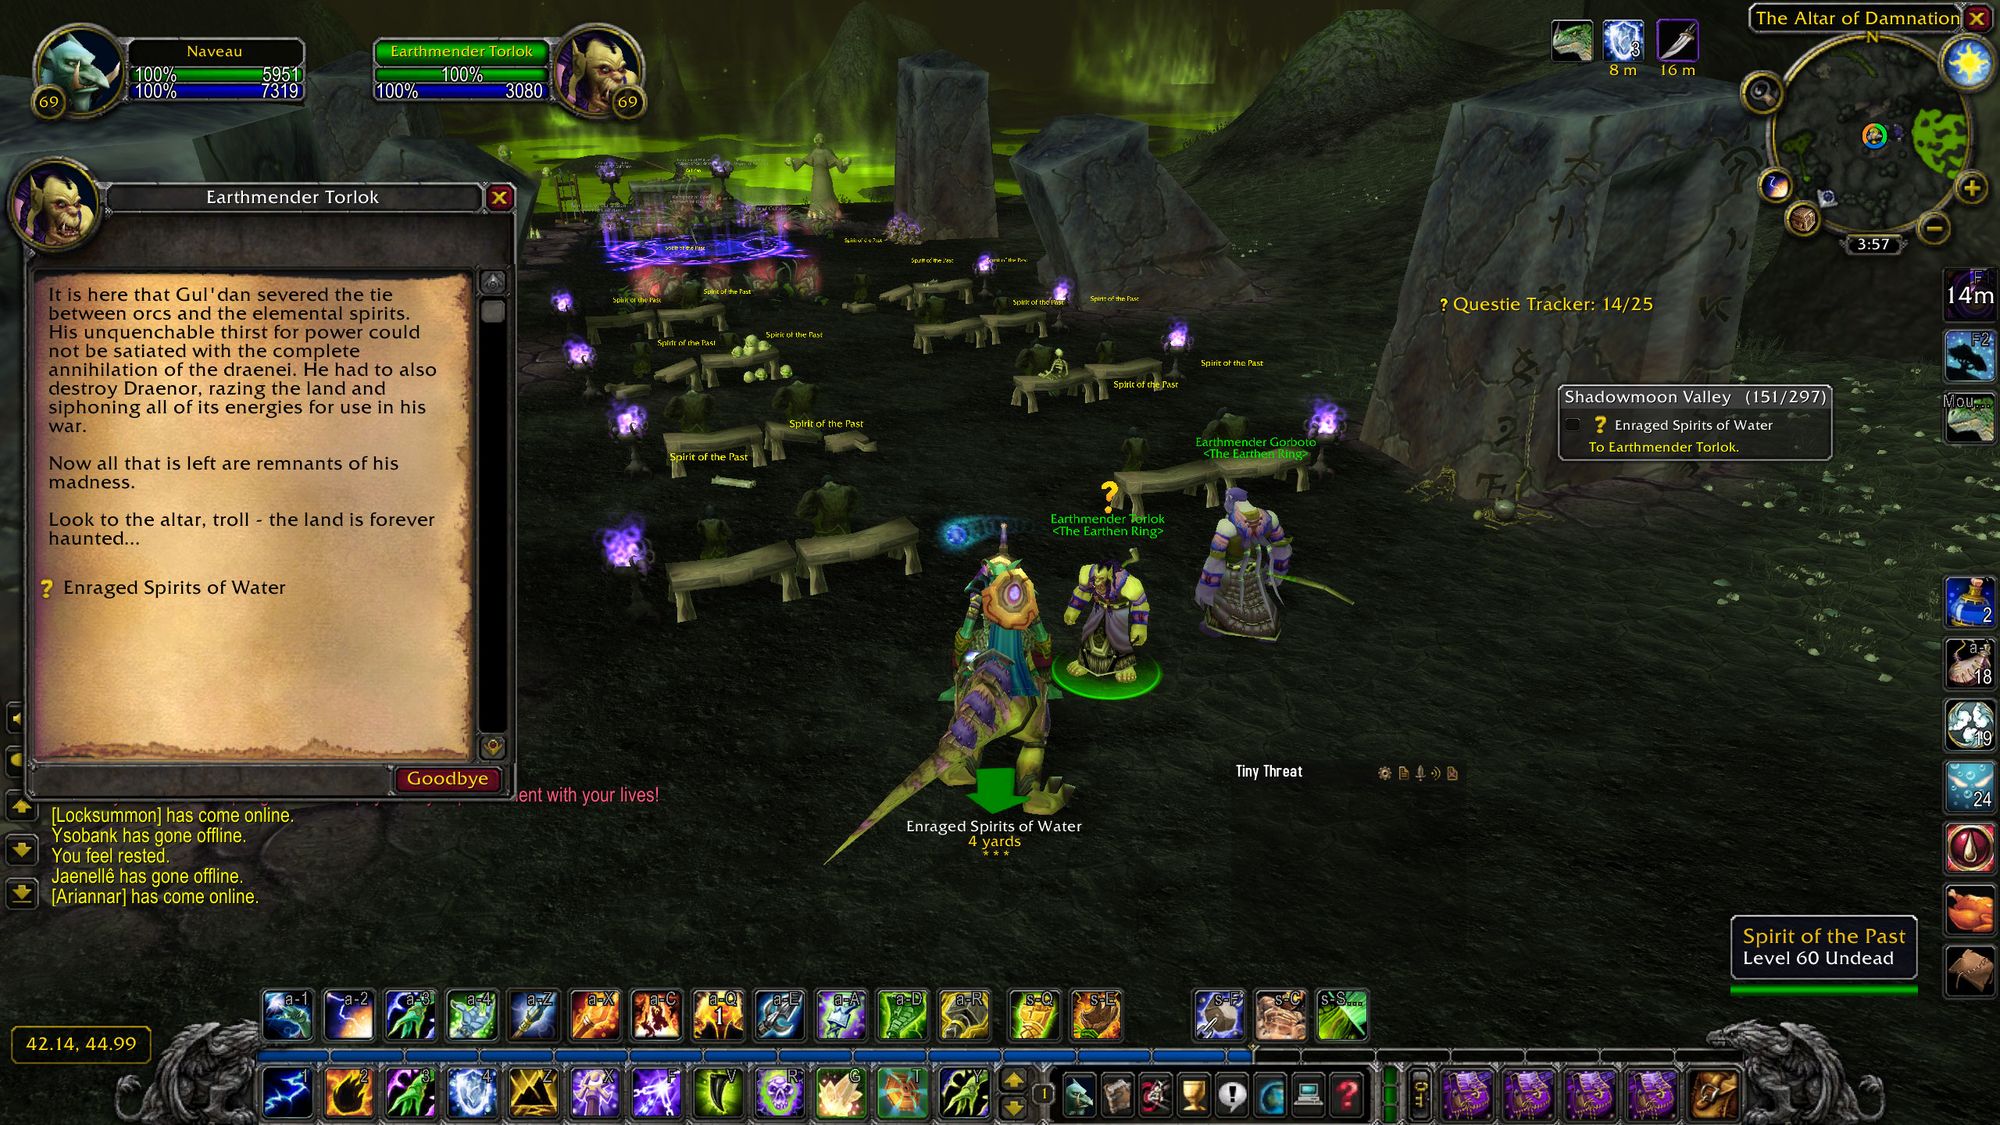
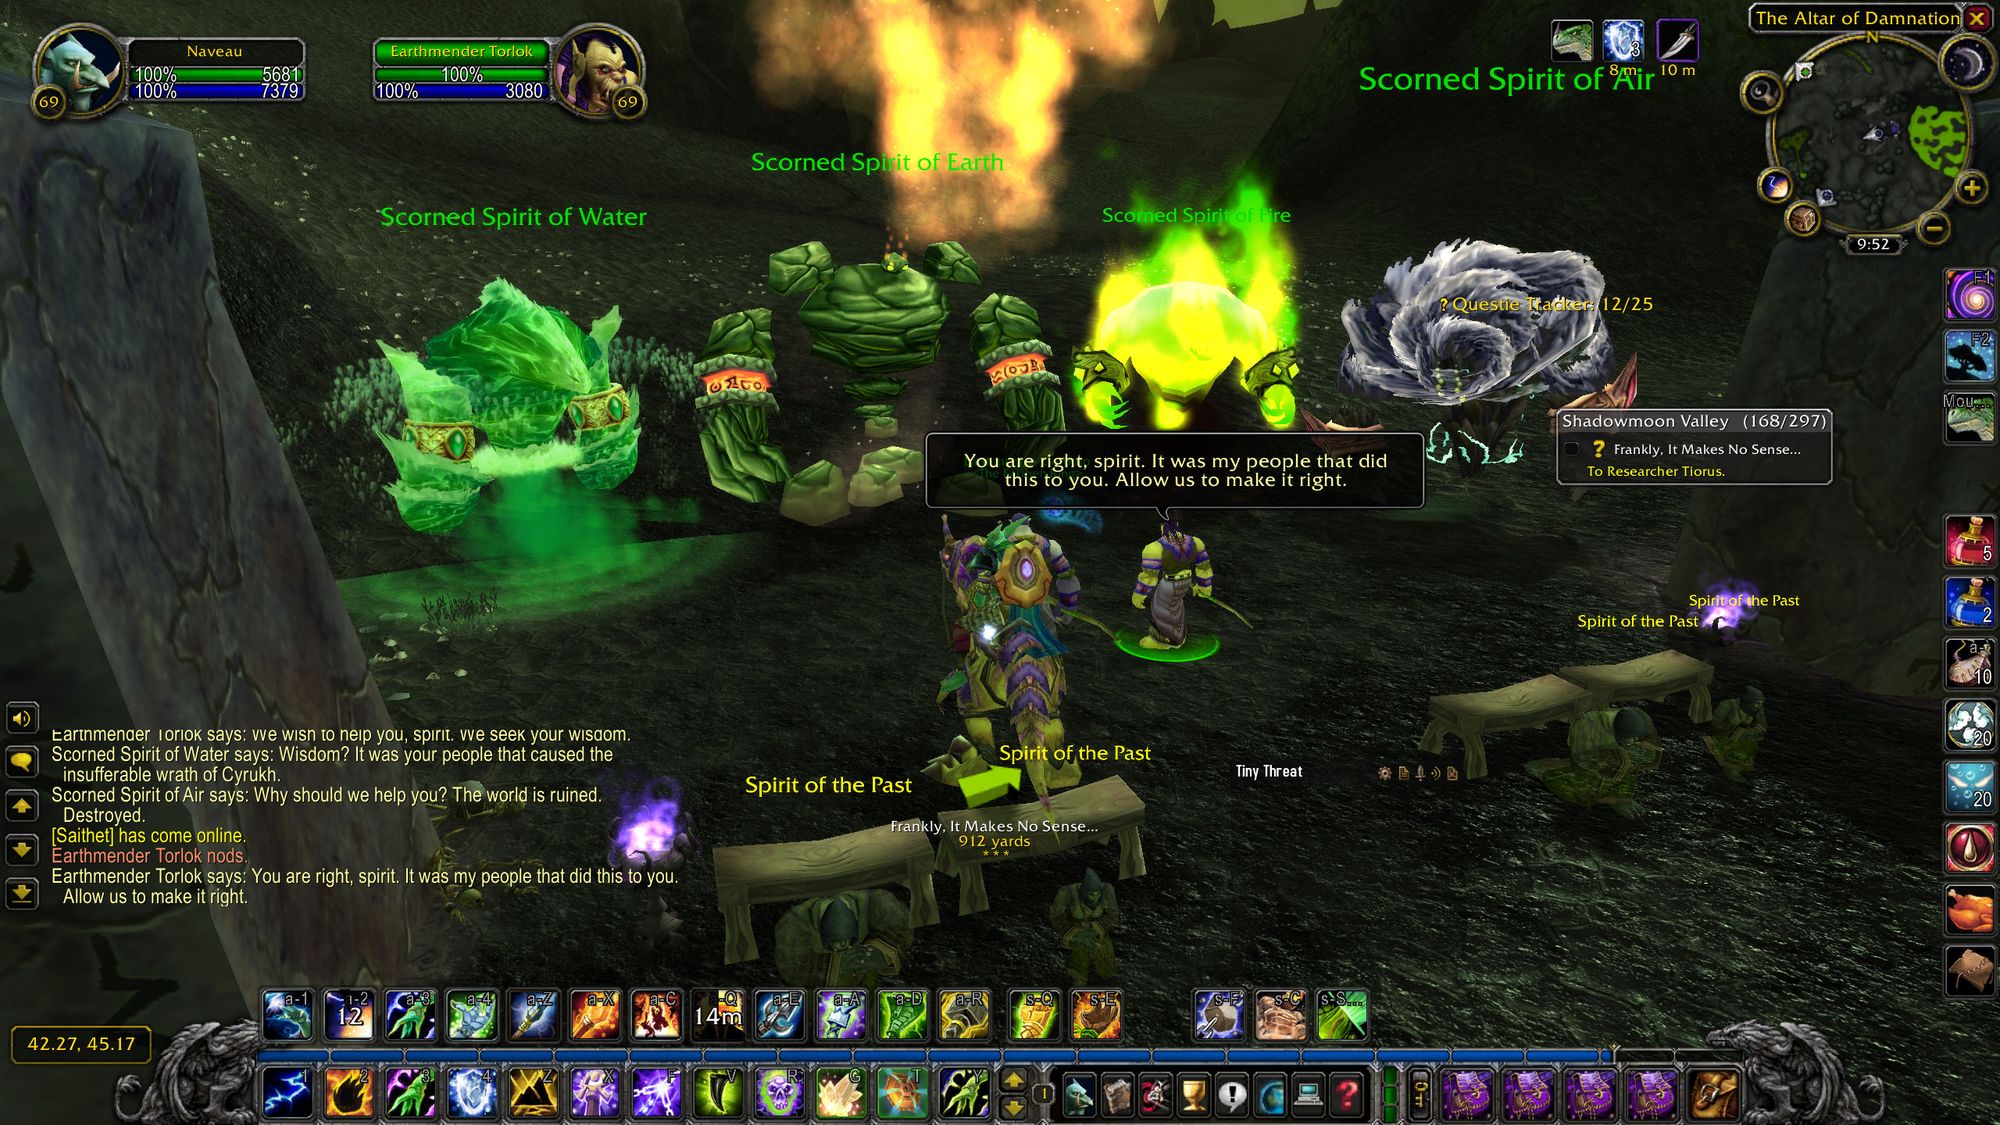
He gives you a totem of each element - fire, water, air and dirt (fuckin' magnets, how do they work) to capture angry spirits. Once you've captured them all, they appear and inform you that the only way to calm the spirits is to reinvoke the Cipher of Damnation.
Once you've done all that, you'll be given a quest to go see a Orc called Oronok Torn-heart, who helped Gul'dan destroy the world. He's all upset because Gul'dan destroyed the world. Go figure.
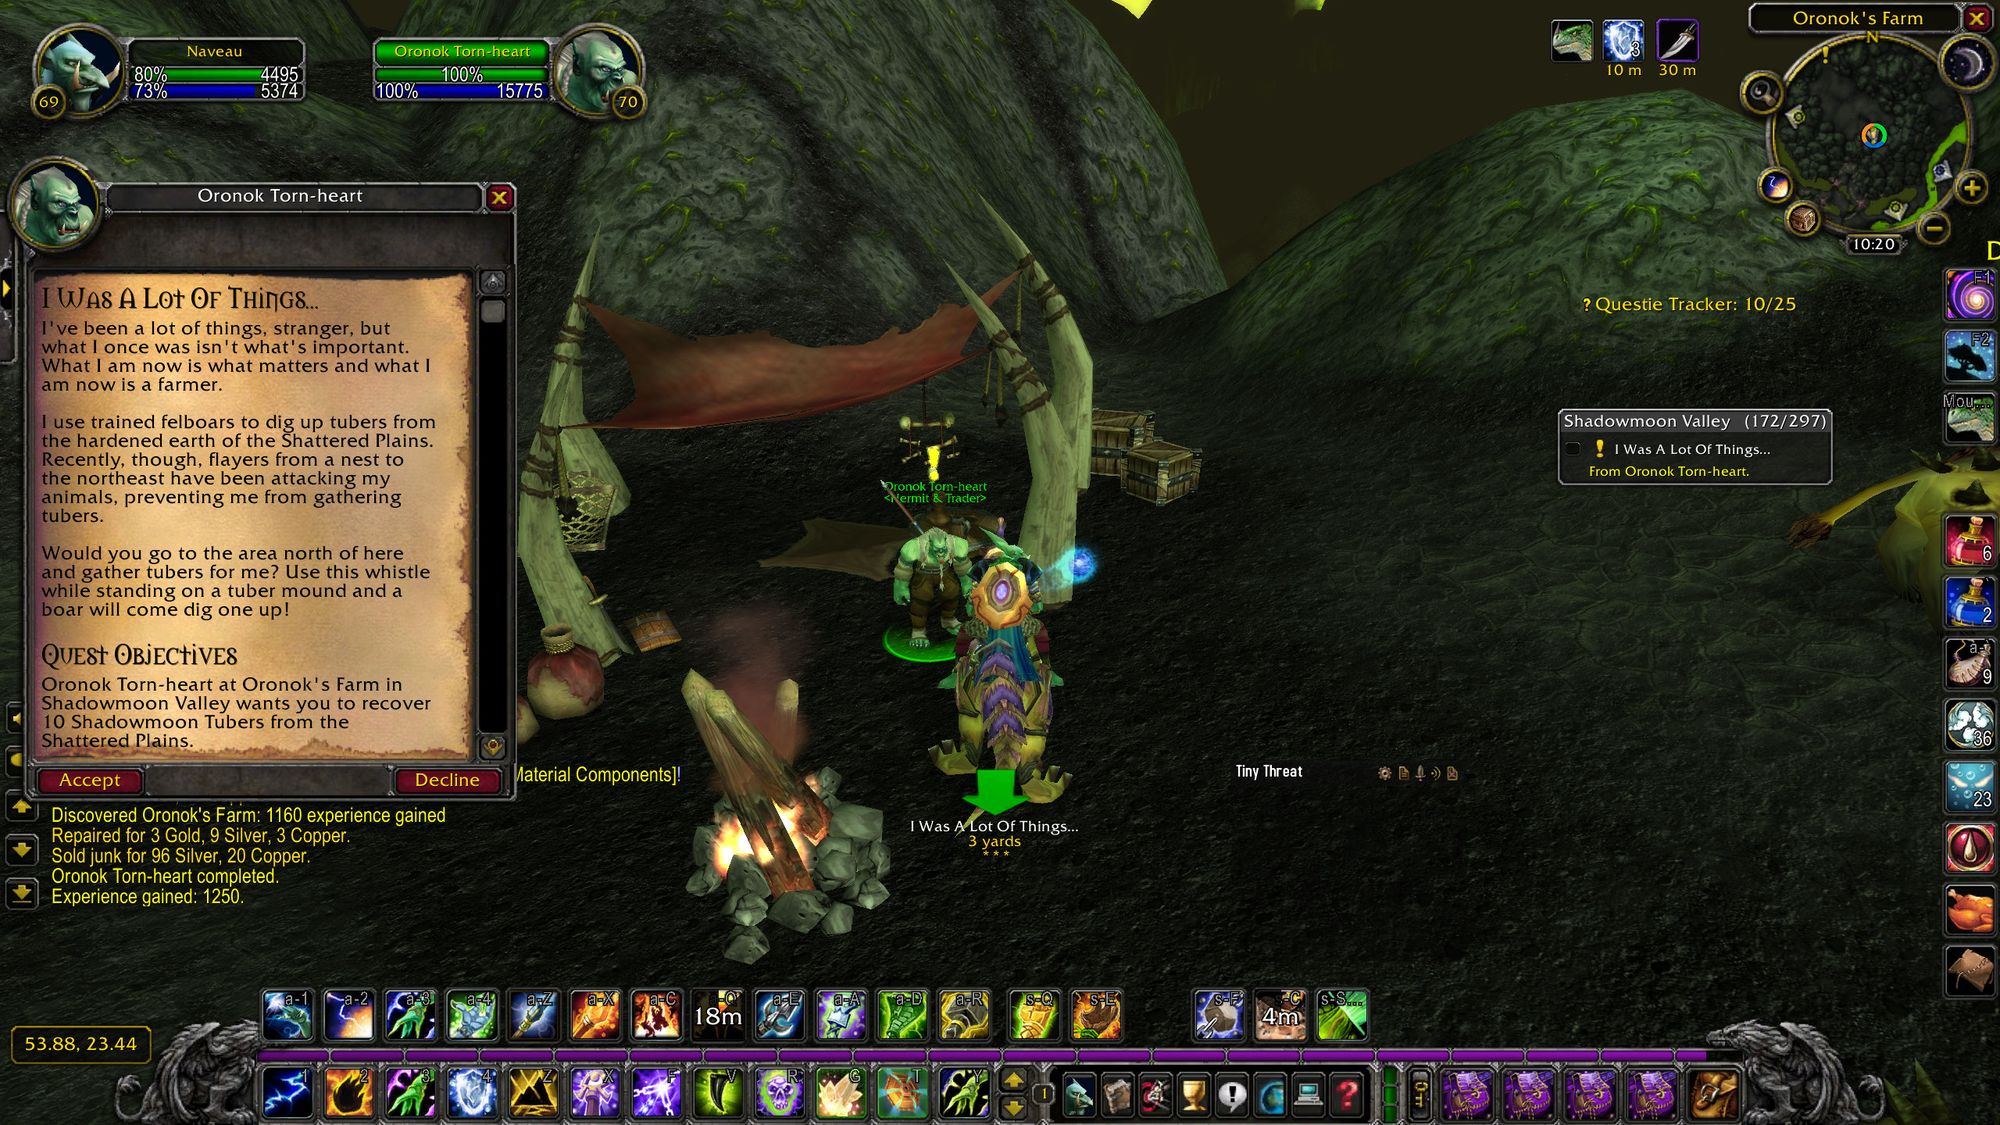
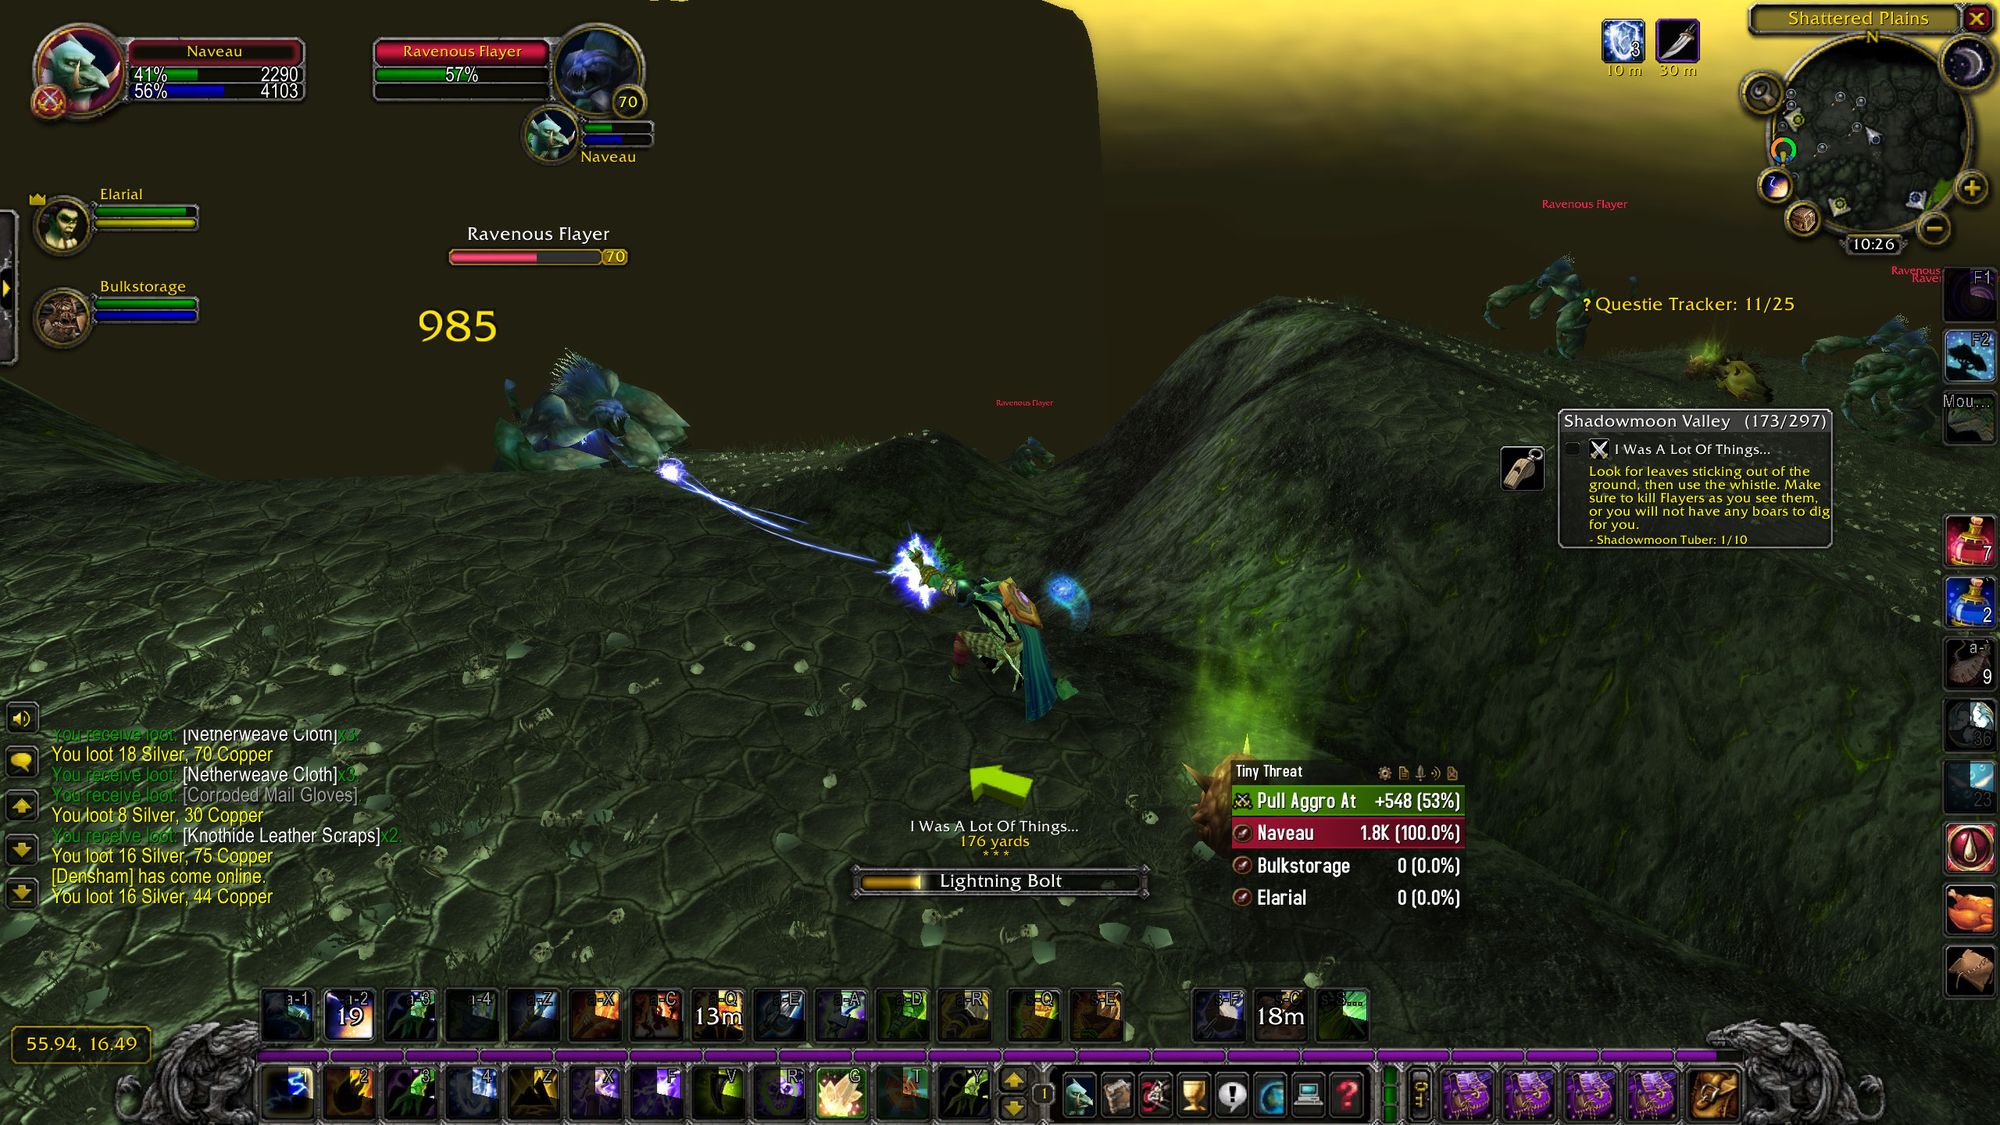
He sends you on two tedious quests - the first involves using a whistle to attract helboars to dig root vegetables out of the ground. Be careful though, because you can attack them and kill them. If there aren't any helboars around when you blow your whistle, nothing will happen.
Also there are flayers around who also attack the helboars, meaning if you have any rotational cleave, you've wasted your time and made the quest harder for yourself.
After that absolute bullshit, he then sends you on a quest to crack flayer eggs. After THAT, he then tells you a cool story about the Cipher of Damnation. Turns out, that's what Gul'dan used to rip what *was* Draenor apart. Boo-hoo, genocide is bad, hot takes only on this blog.
Anyway, Gul'dan kept the Cipher in Karabor - what we now know as the Black Temple. When the plot moved along (hurr hurr) Illidan found the Cipher and split it into three pieces and provided the pieces to his minions. Otherwise getting it back would be too hard.
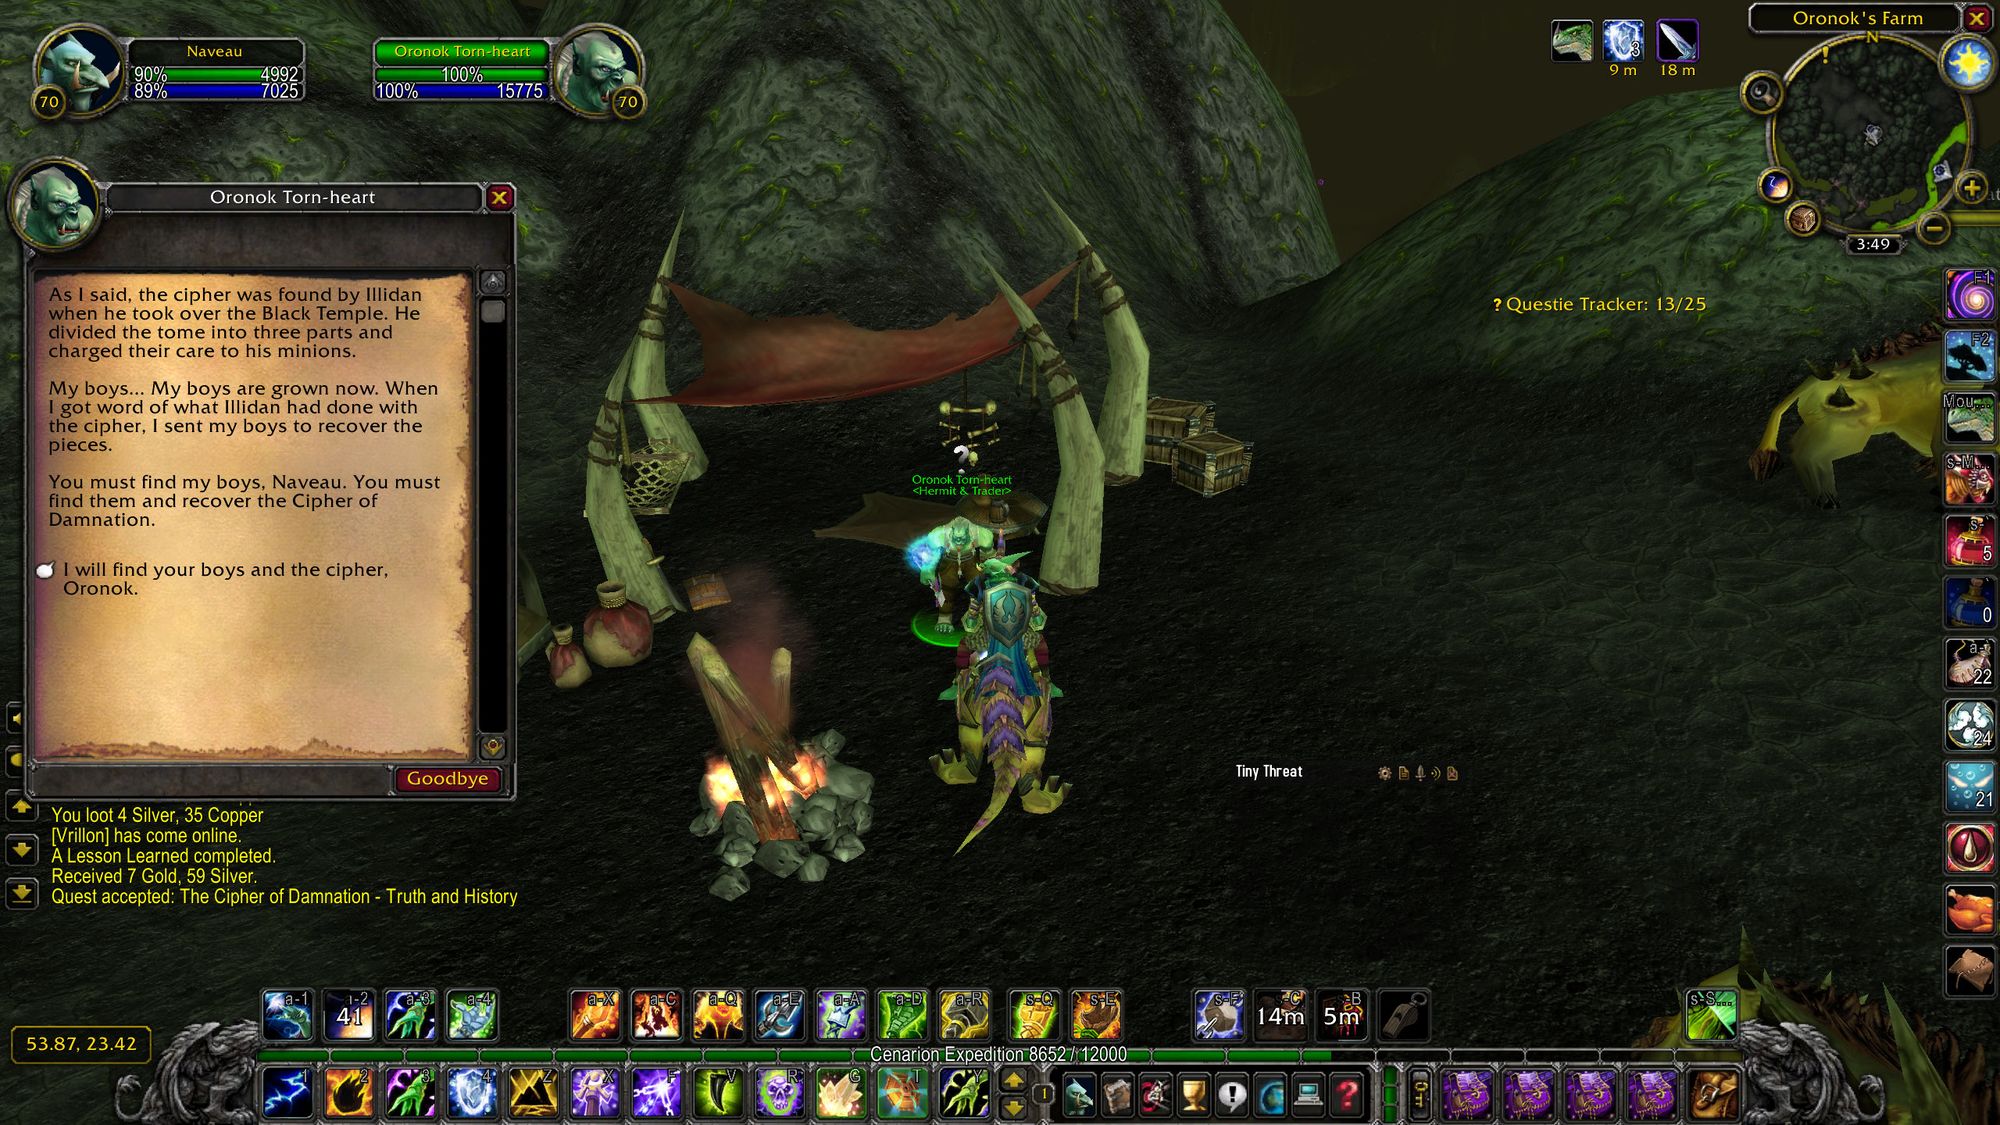
Oronok found out about this and sent his three sons to go and get the Cipher back. Shocking no-one, all three are out there somewhere and you need to go and help them.
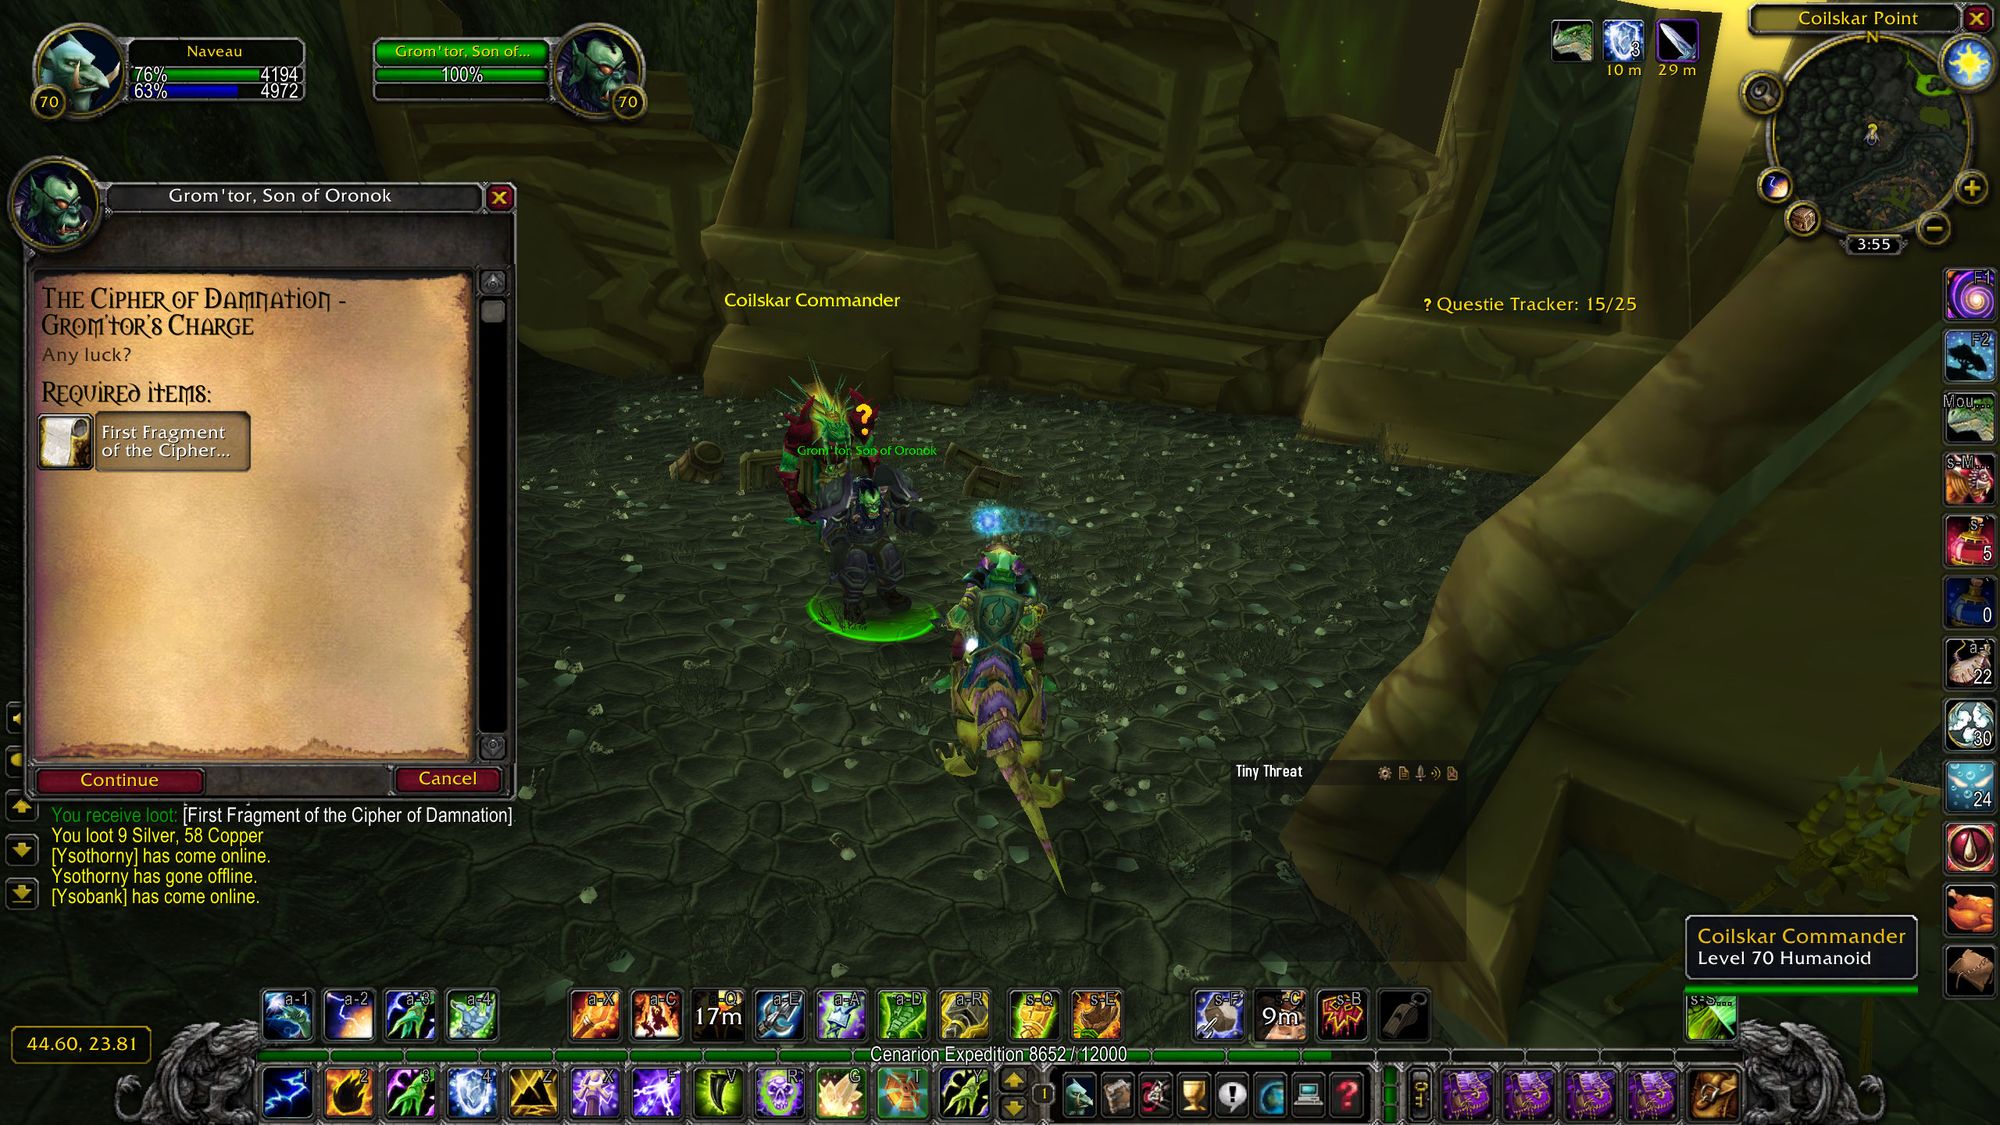
The first one is relatively simple - the first son, Grom'tor, has identified the Coilskar Naga have the first piece. All you need to do is murder wave after wave of bad guys, find enough keys and crack enough chests to find it.
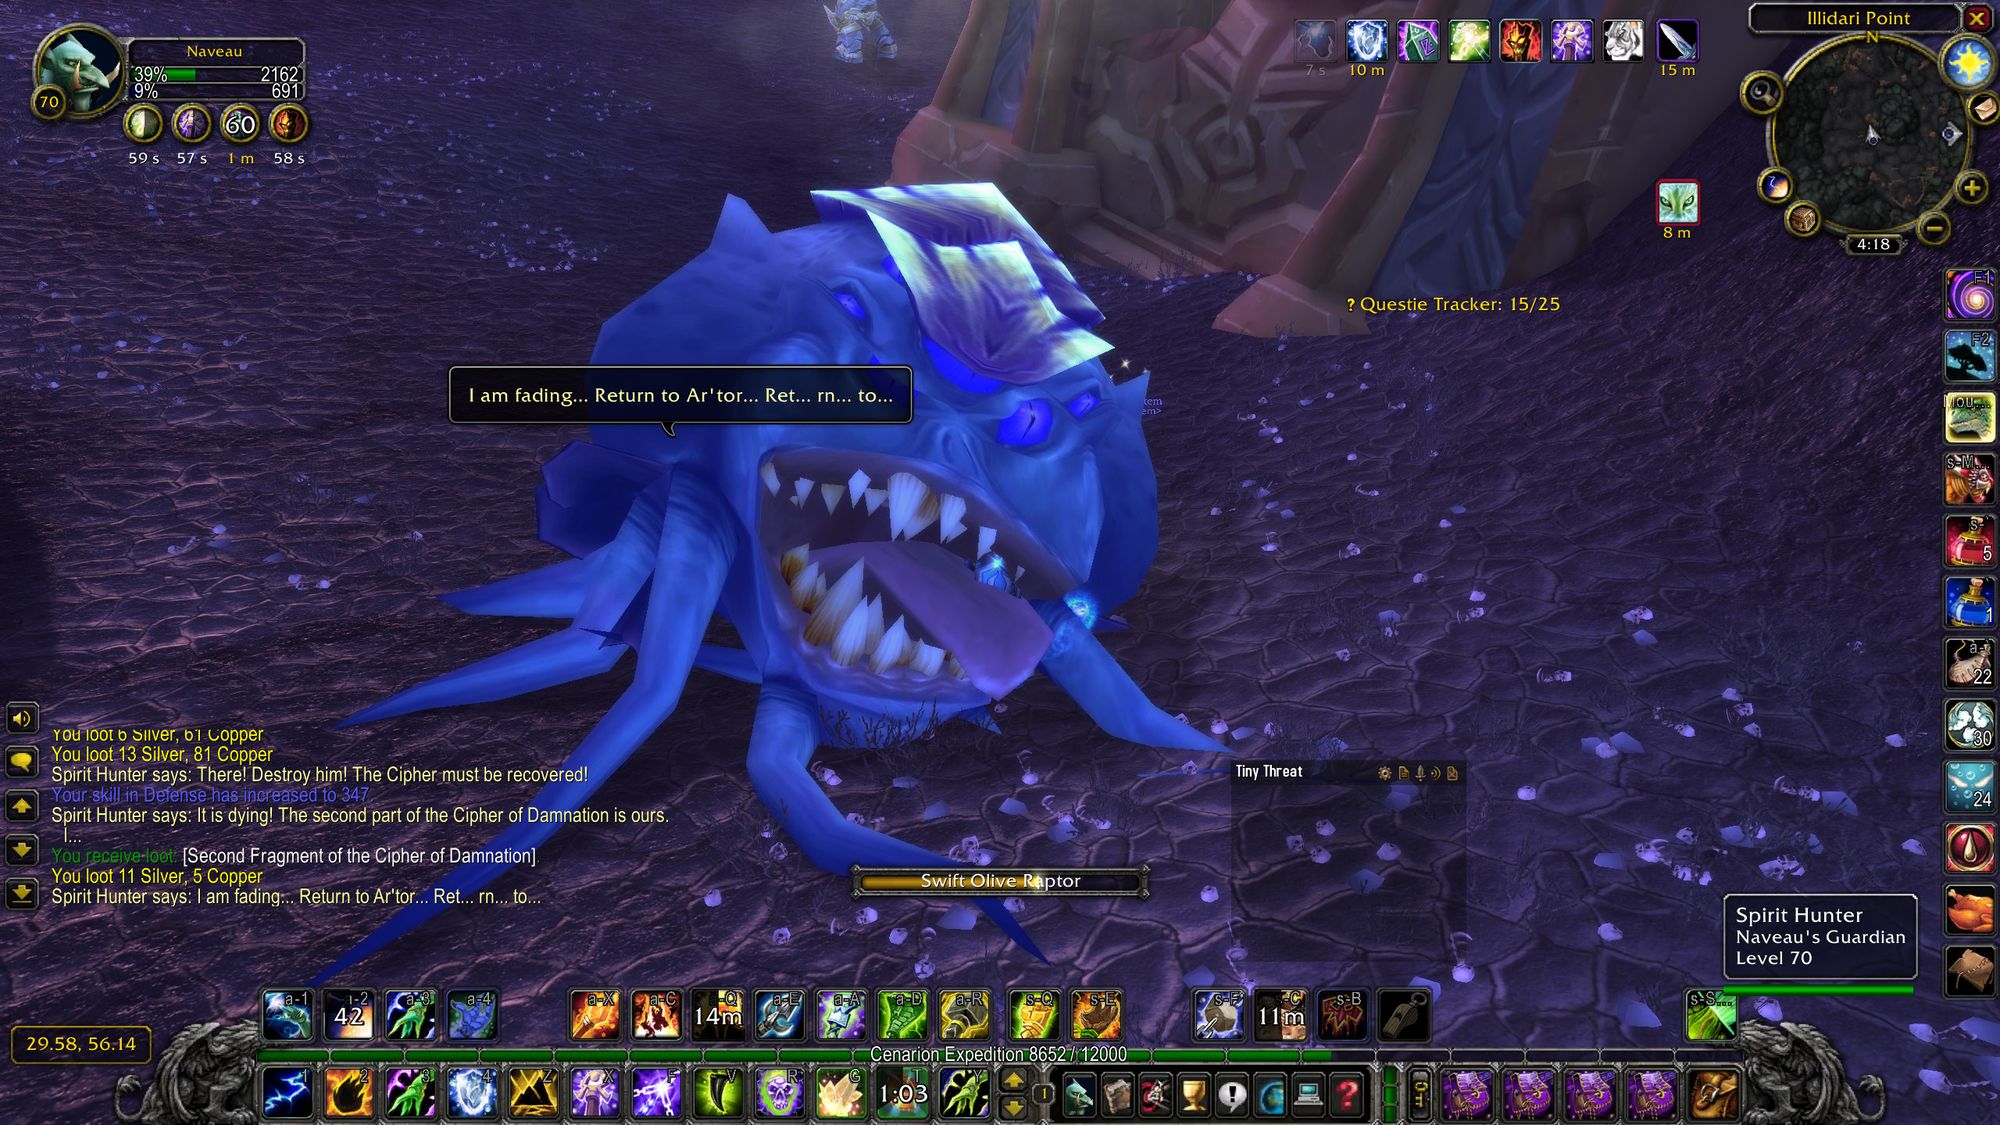
The second one is a little more involved. Ar'tor, the second son, failed in his task and his spirit was imprisoned by various minor character demons who are conveniently still hanging around, waiting to be murdered.
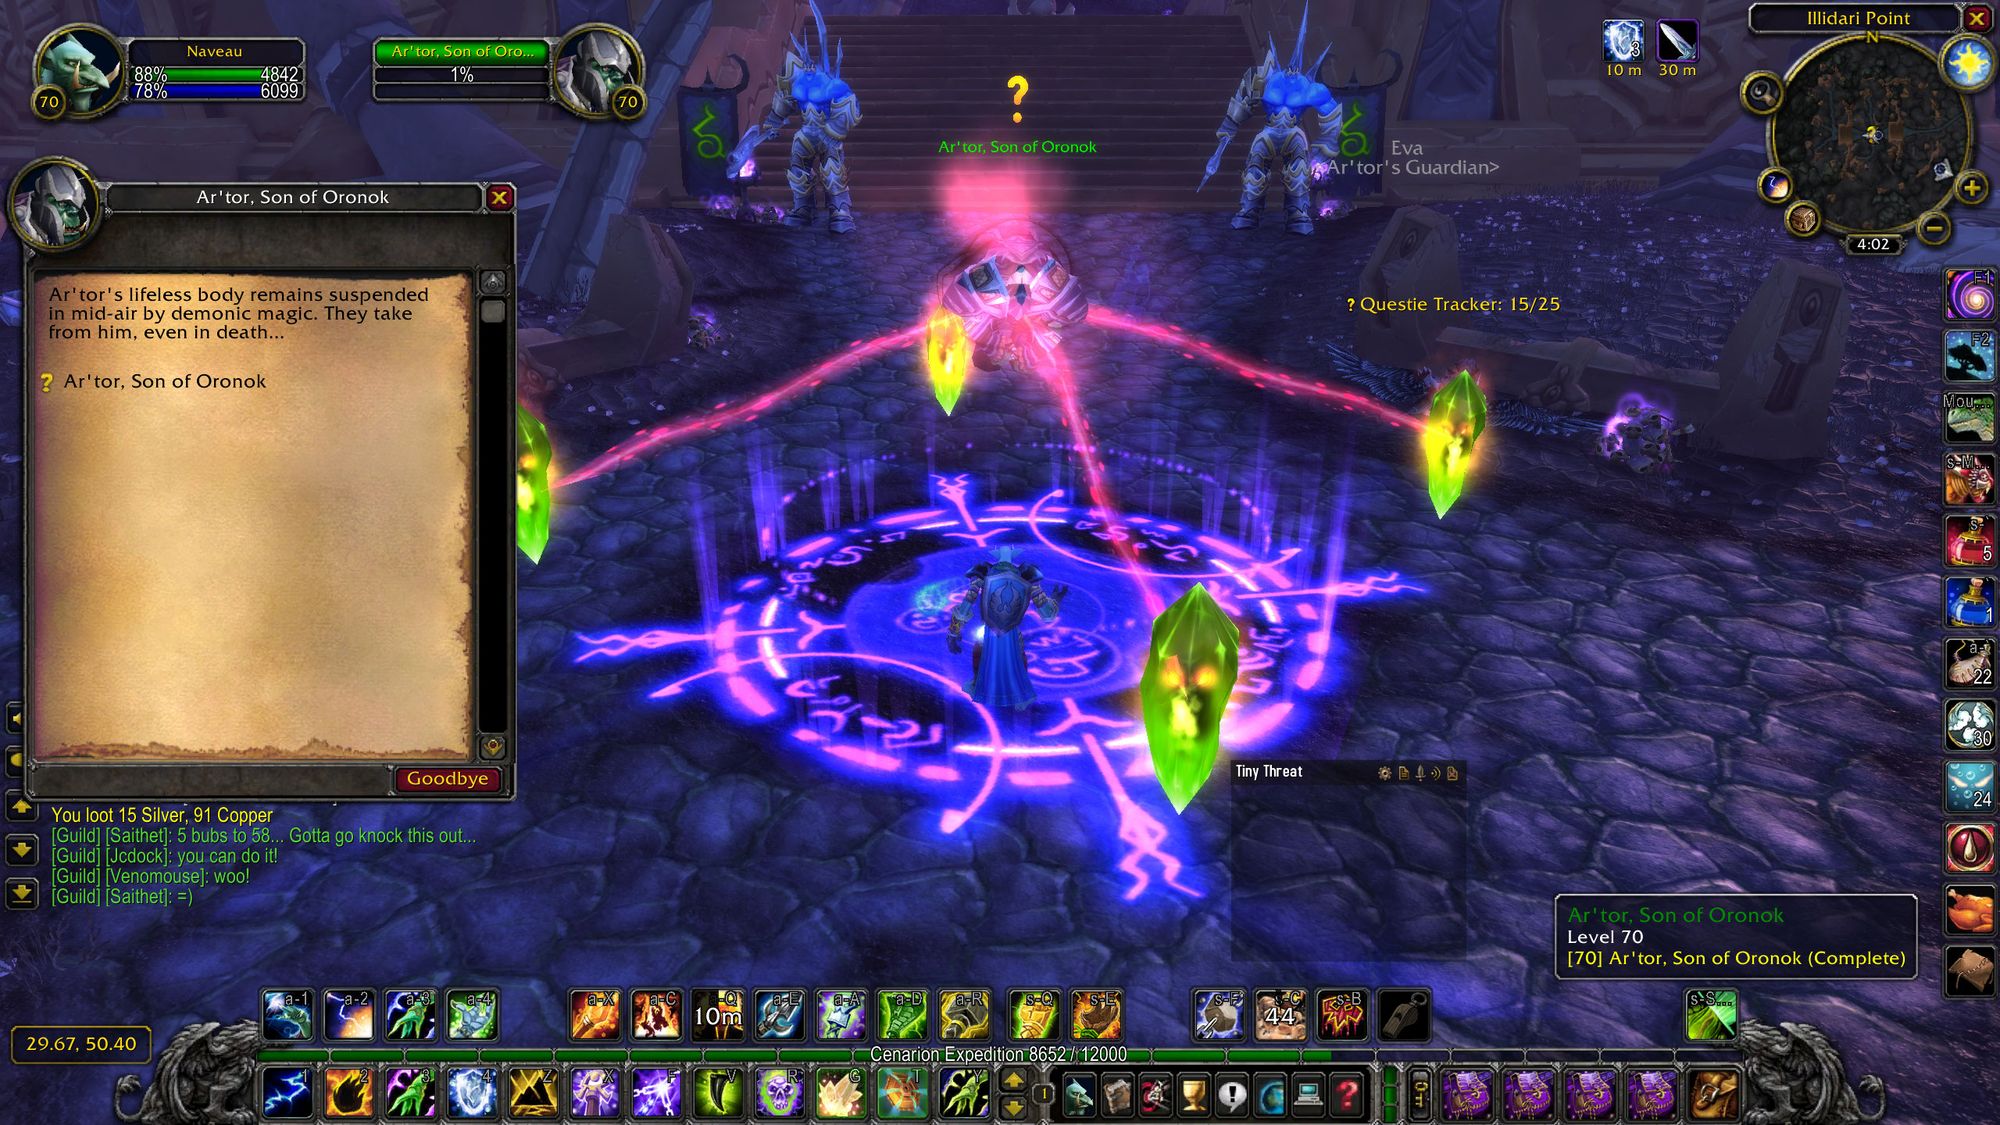
First you kill the demon who imprisoned his spirit to speak to his spirit, then you kill wave after wave of demons (sensing a trend yet?) until you find Oronok's bow, which was given to his son. Then you use it to kill a demon and recover the second fragment.
The third one is the most involved and the most annoying. The last cipher is in the possession of the Sunfury and no-one knows where it is. But the good news is that the last son, Borak, has an idea of how to find it.
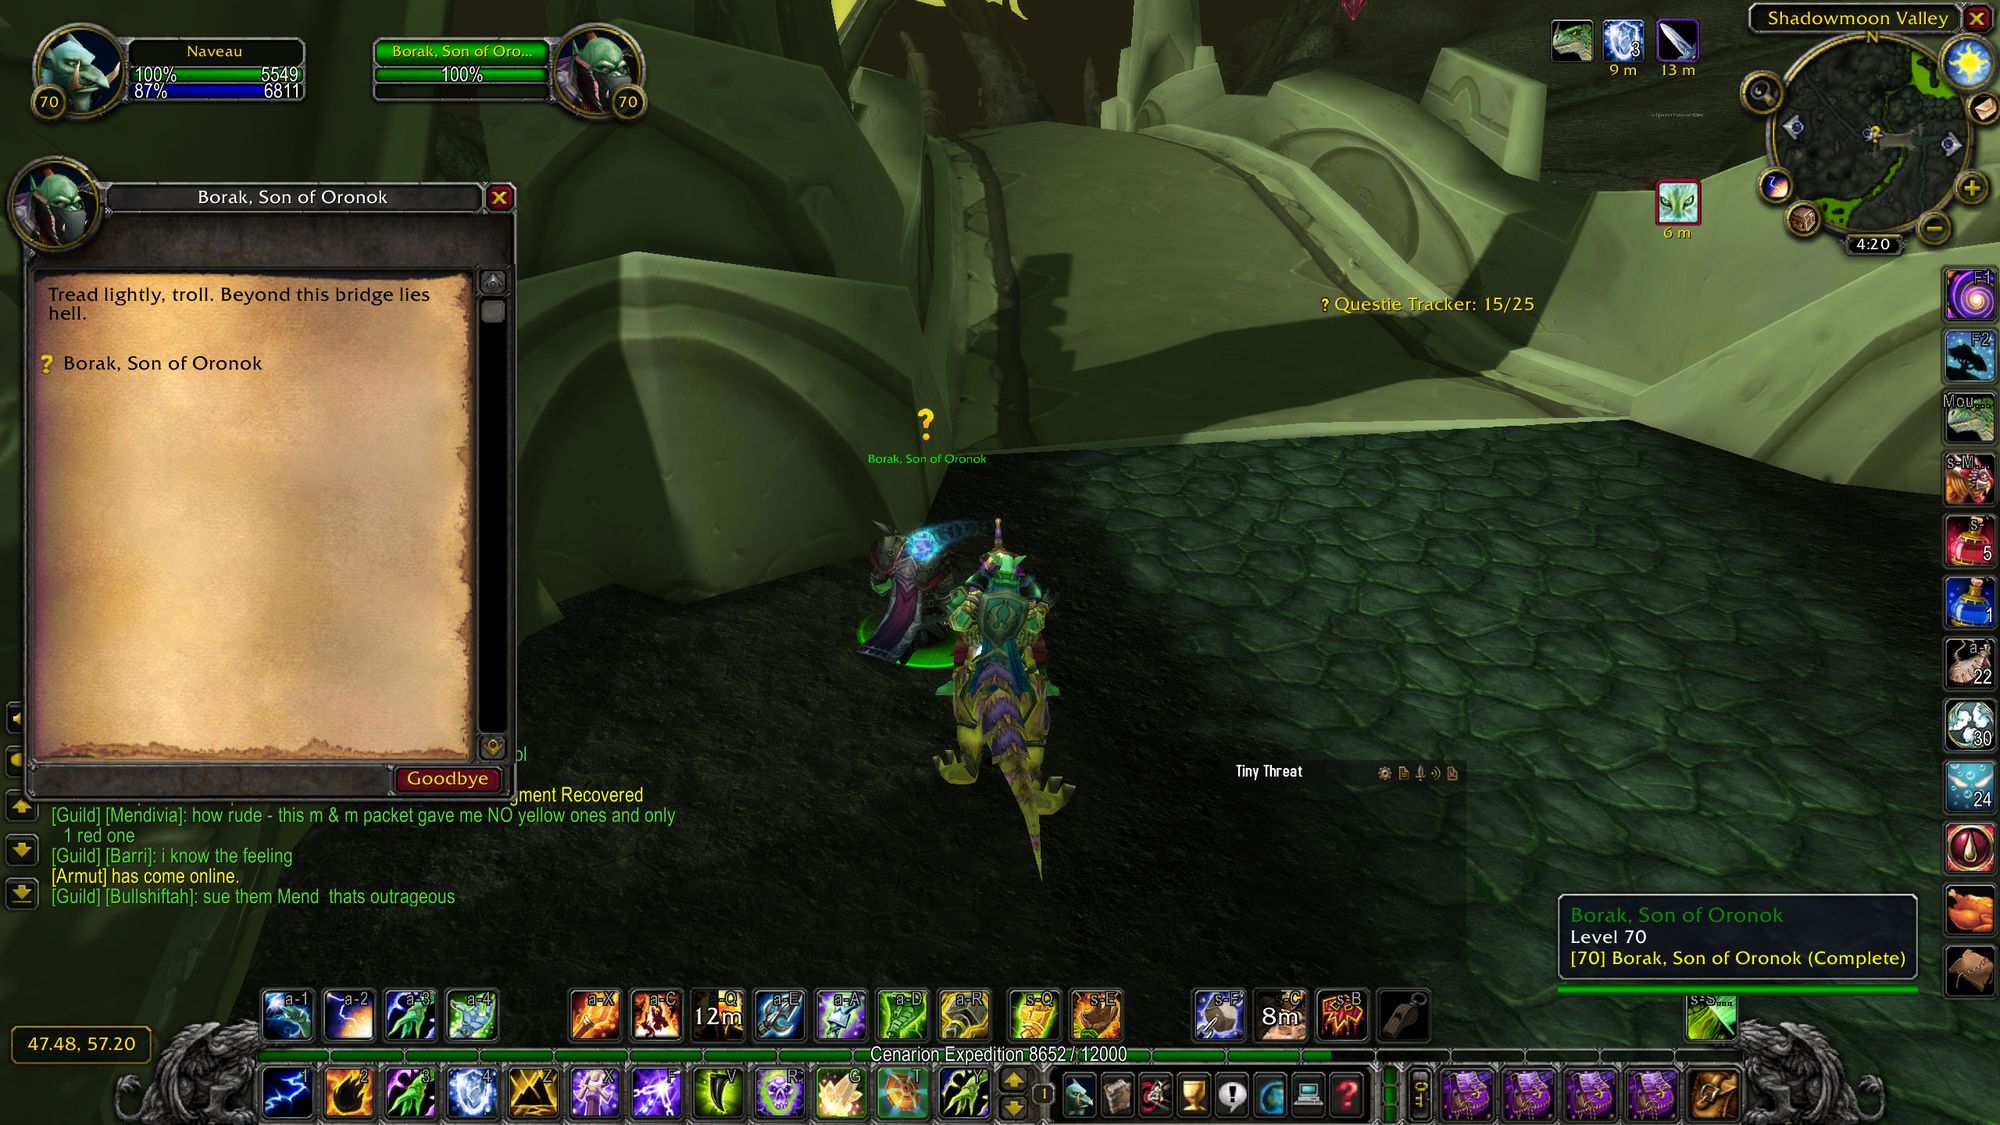
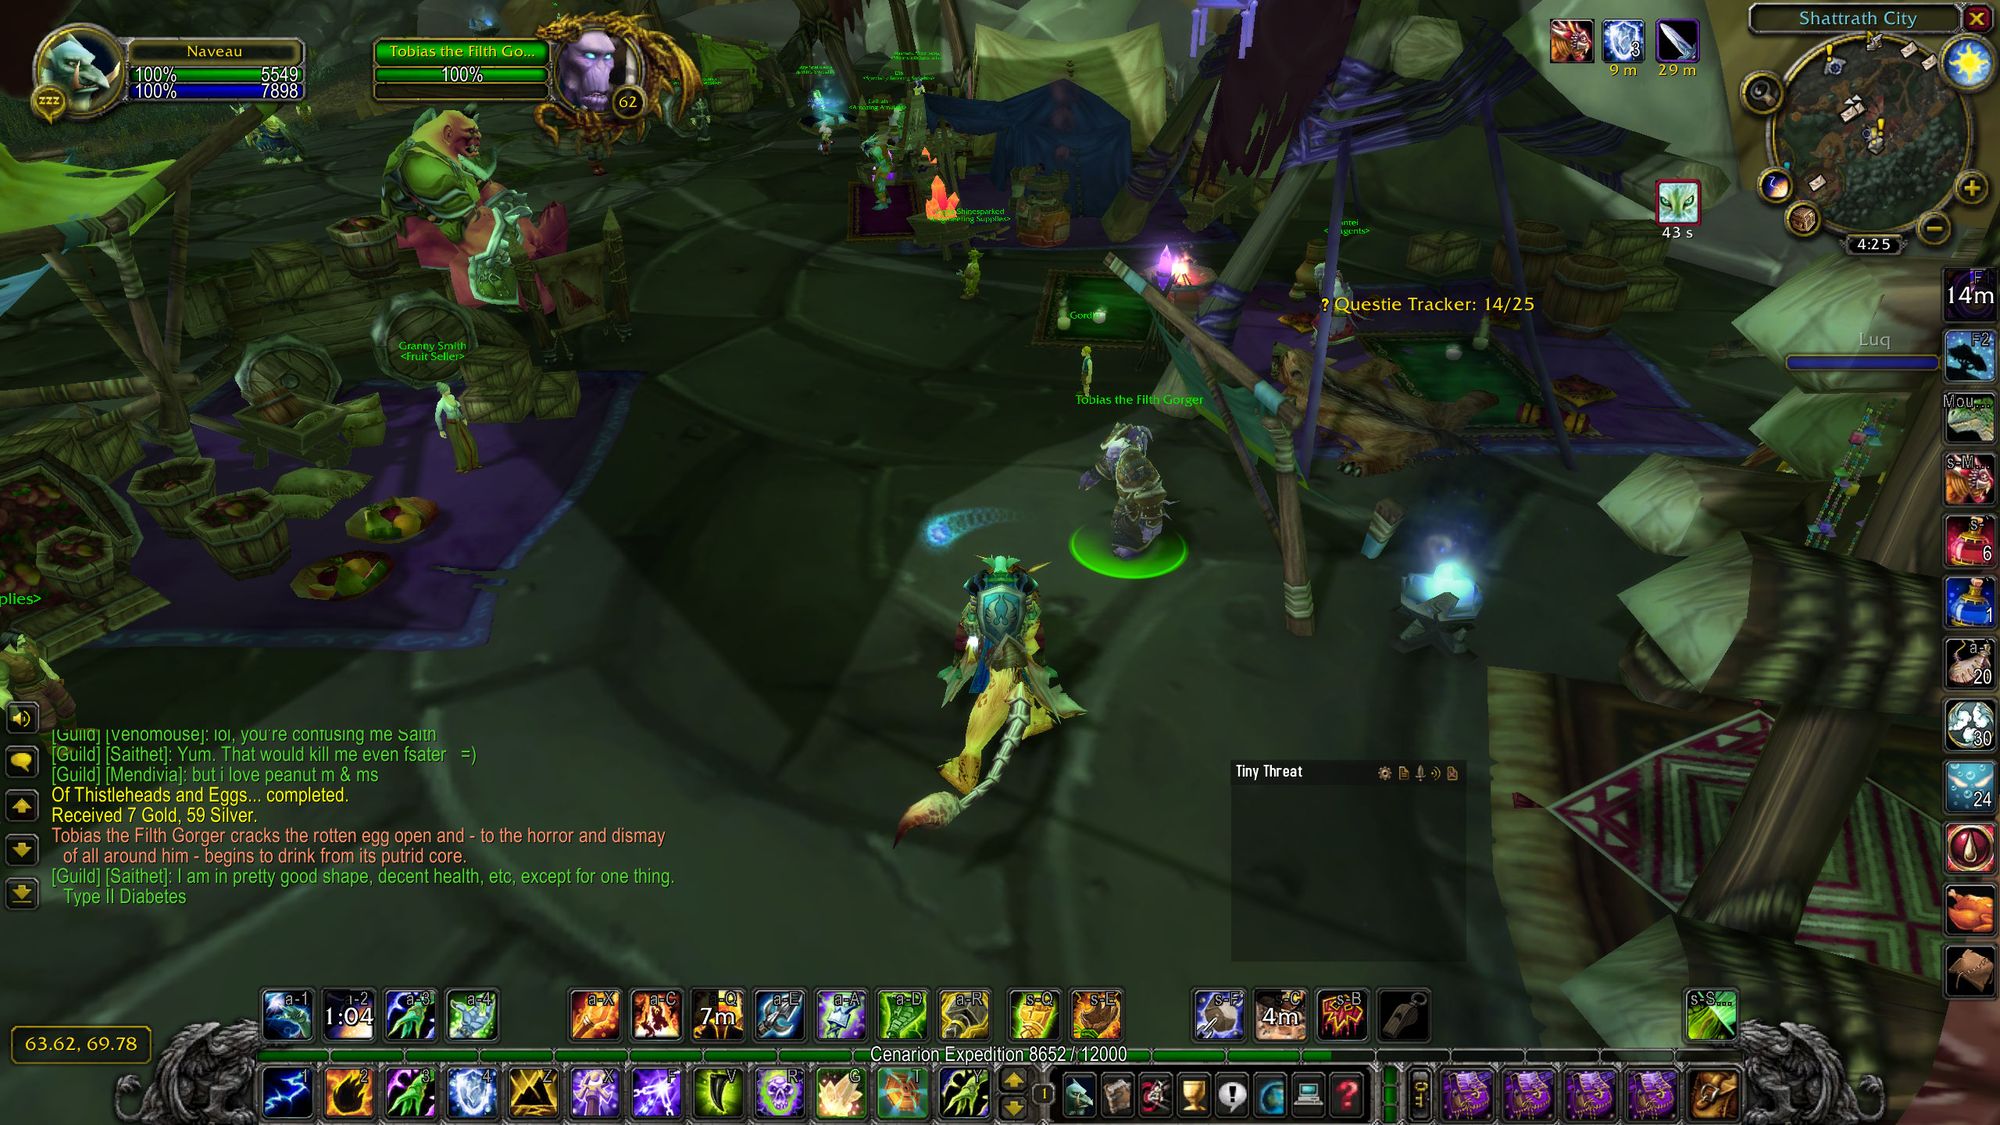
Turns out there's a messenger en route... somewhere with a message from Illidan himself, accompanied by a bodyguard with plot armor. The messenger has a vice, however. He loves bloodthistle, which we need to acquire. You do this by getting a rotten bird egg and giving it to a Broken in Shattrath City called Tobias.
From there, you plant the bloodthistle, bait the messenger, kill him, get the Stormrage Missive, kill some more blood elves and nick their uniforms. You'll pretend to be a Blood Elf (don't question it, 'tis a video game after all) and double bluff the commander of the Sunfury garrison in Shadowmoon Valley, Commander Ruusk.
He gets spooked by the idea that the Cipher is at risk and somehow believes that you, a complete stranger in mismatching Sunfury armor, has the authority to rat him out to Illidan. He takes the bait hook line and sinker and informs you that the third piece of the cipher will be moved to safety.

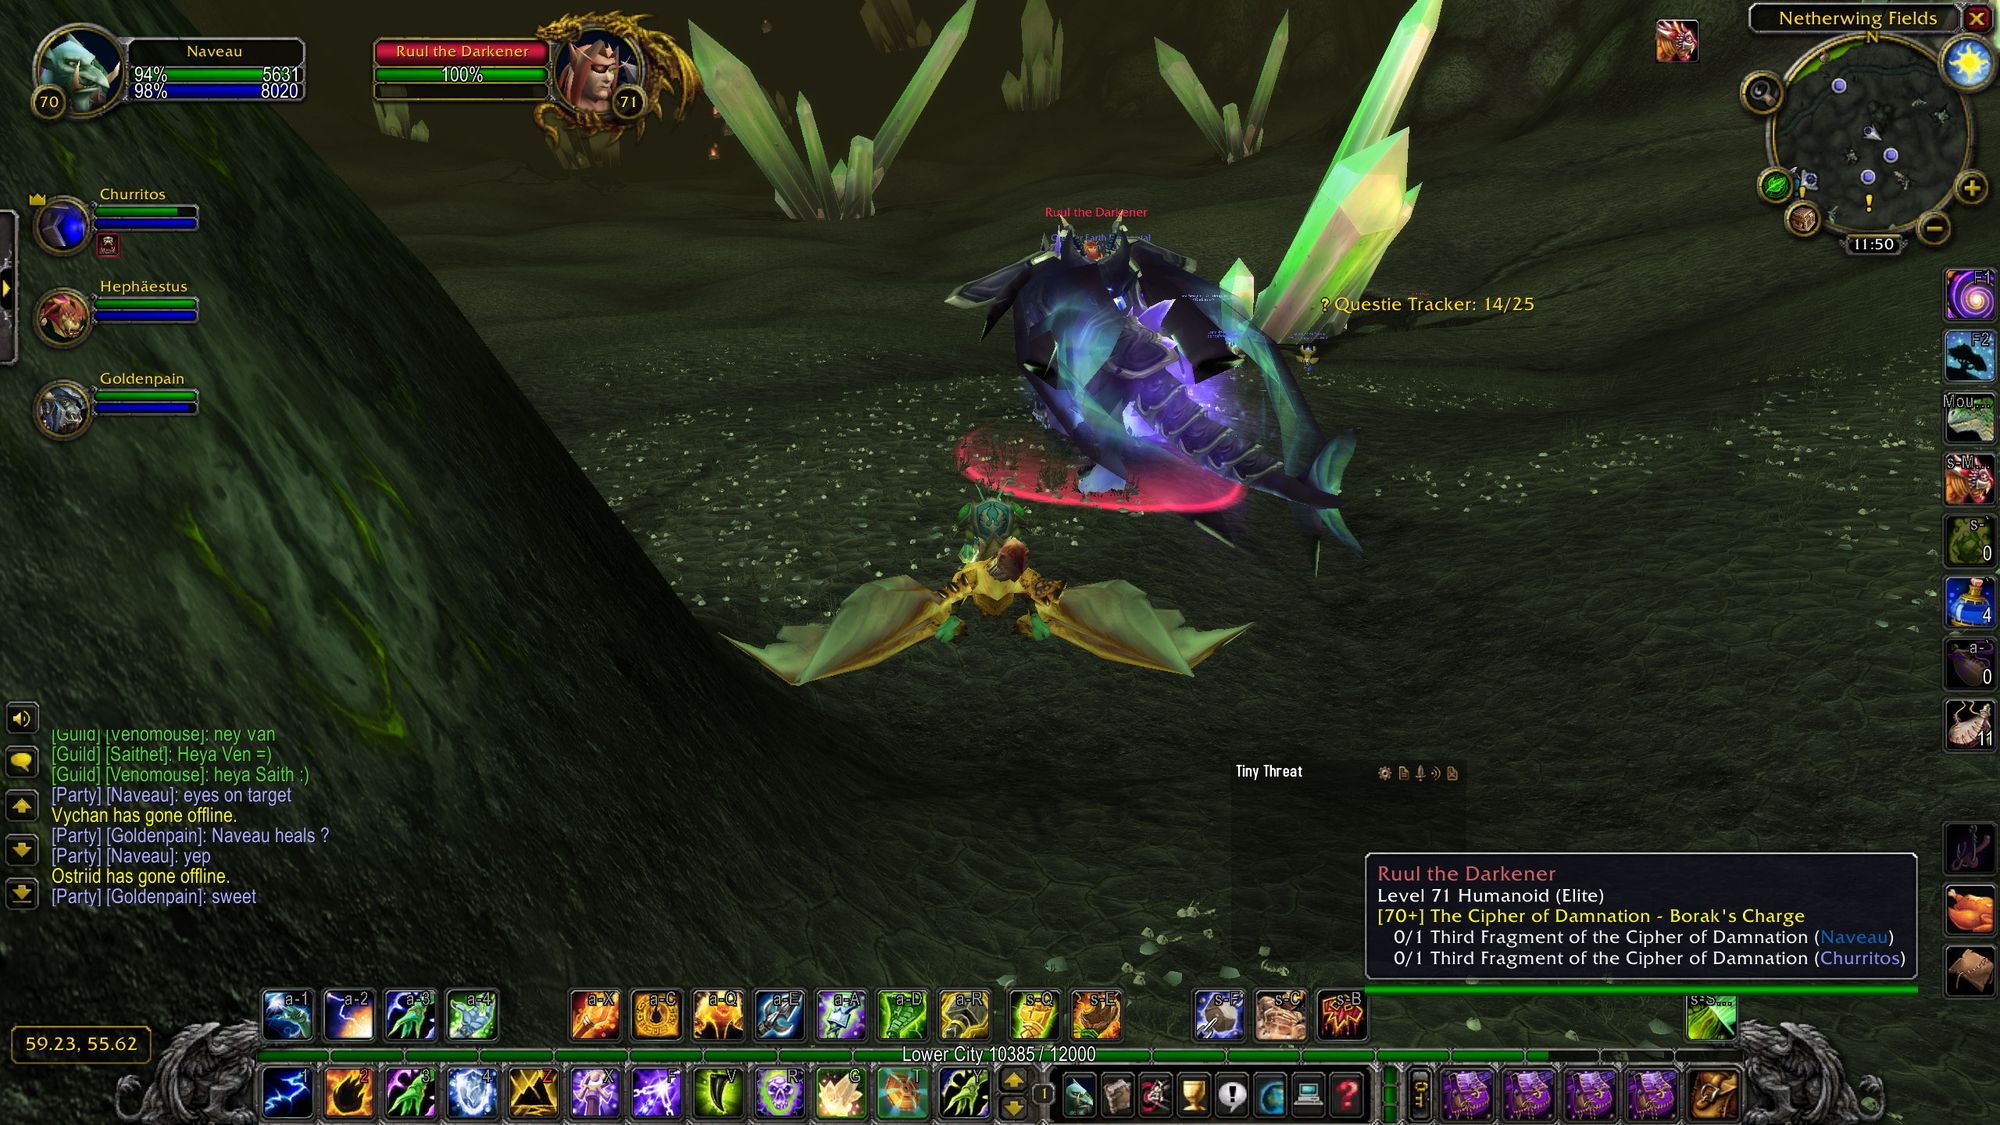
Now all you need to do is "ambush" a level 72 elite Blood Elf called Ruul the Darkener. Just that easy, huh? Anyway, after waiting half an hour for a tank, healer and maybe a second or third DPS, you kill Ruul and grab the last Cipher piece. Nice job.
You'll want to keep your mates around for the last part.
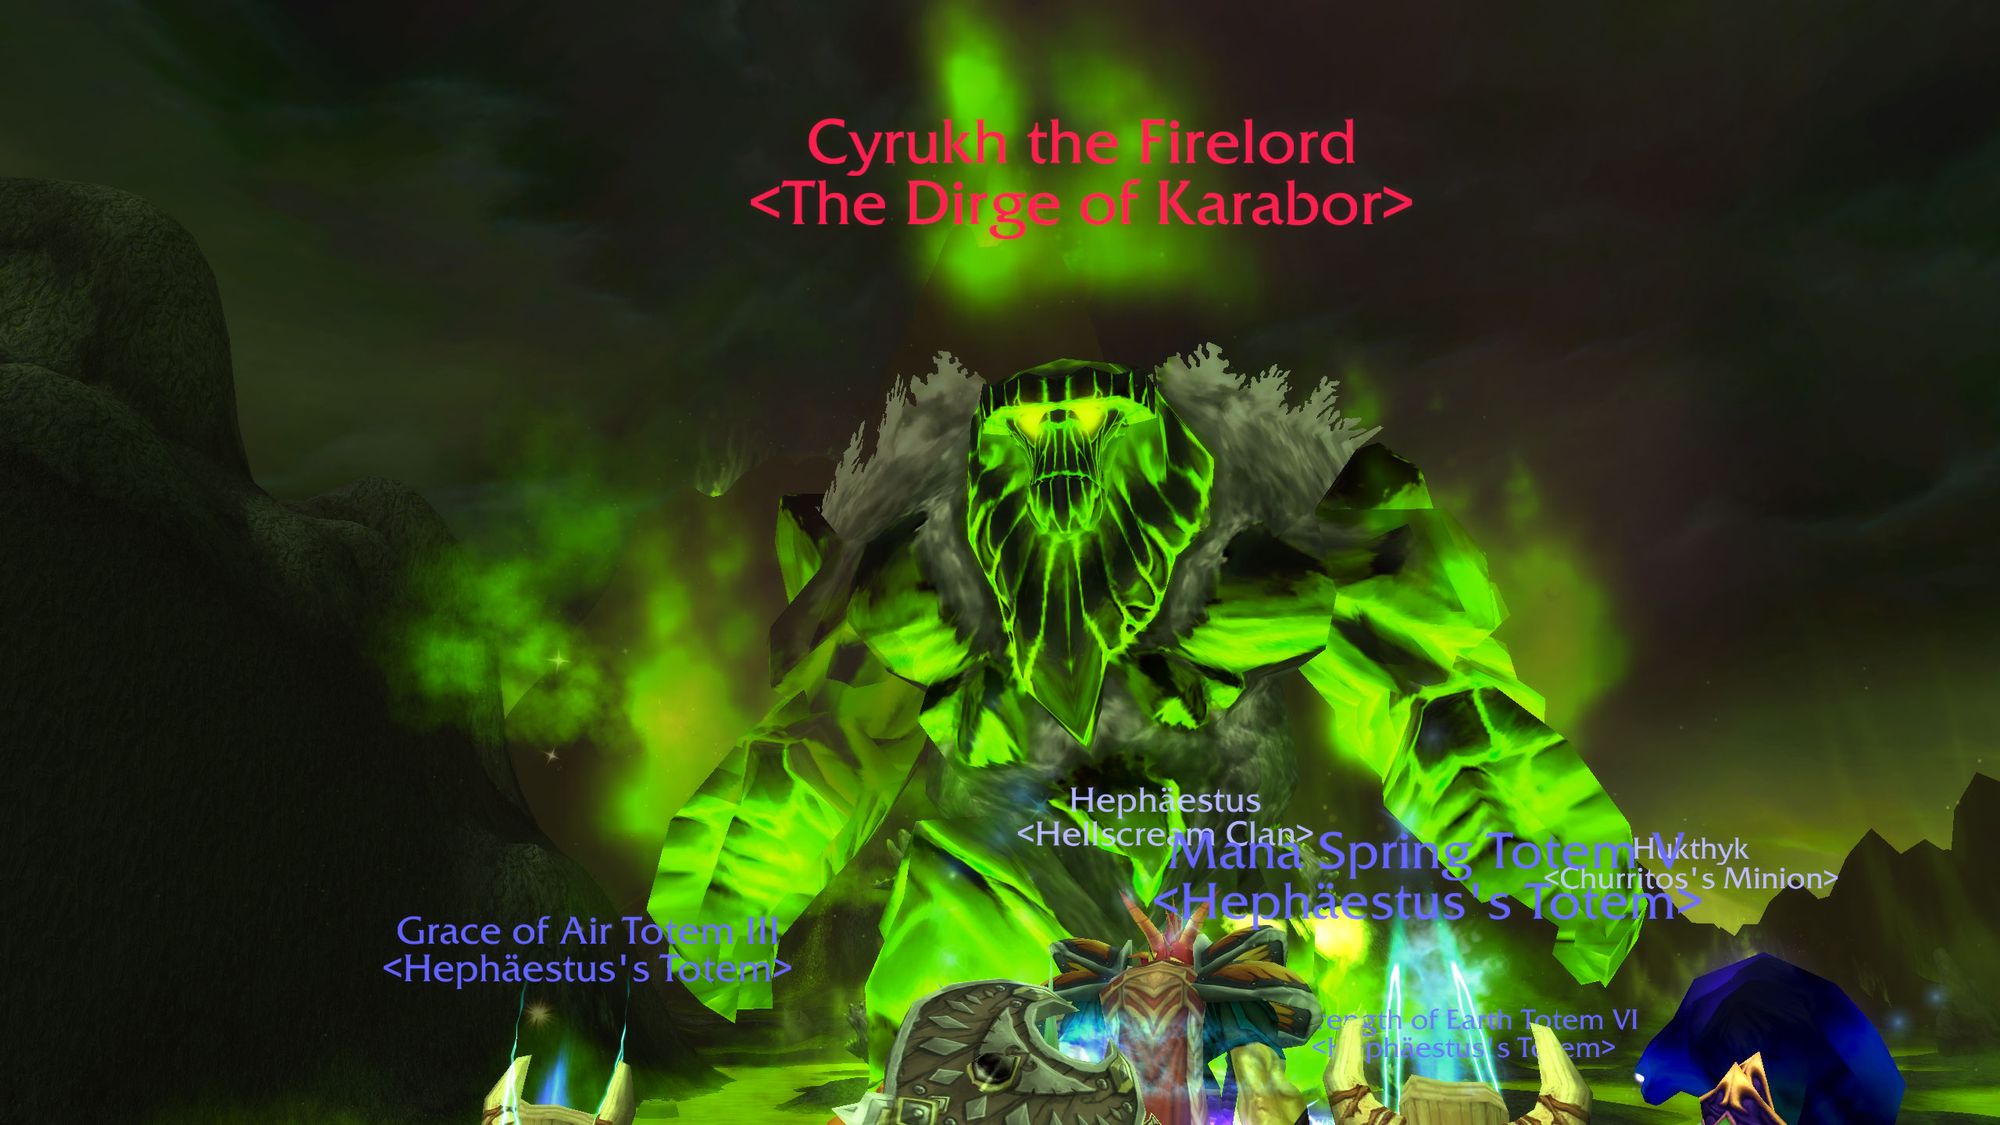
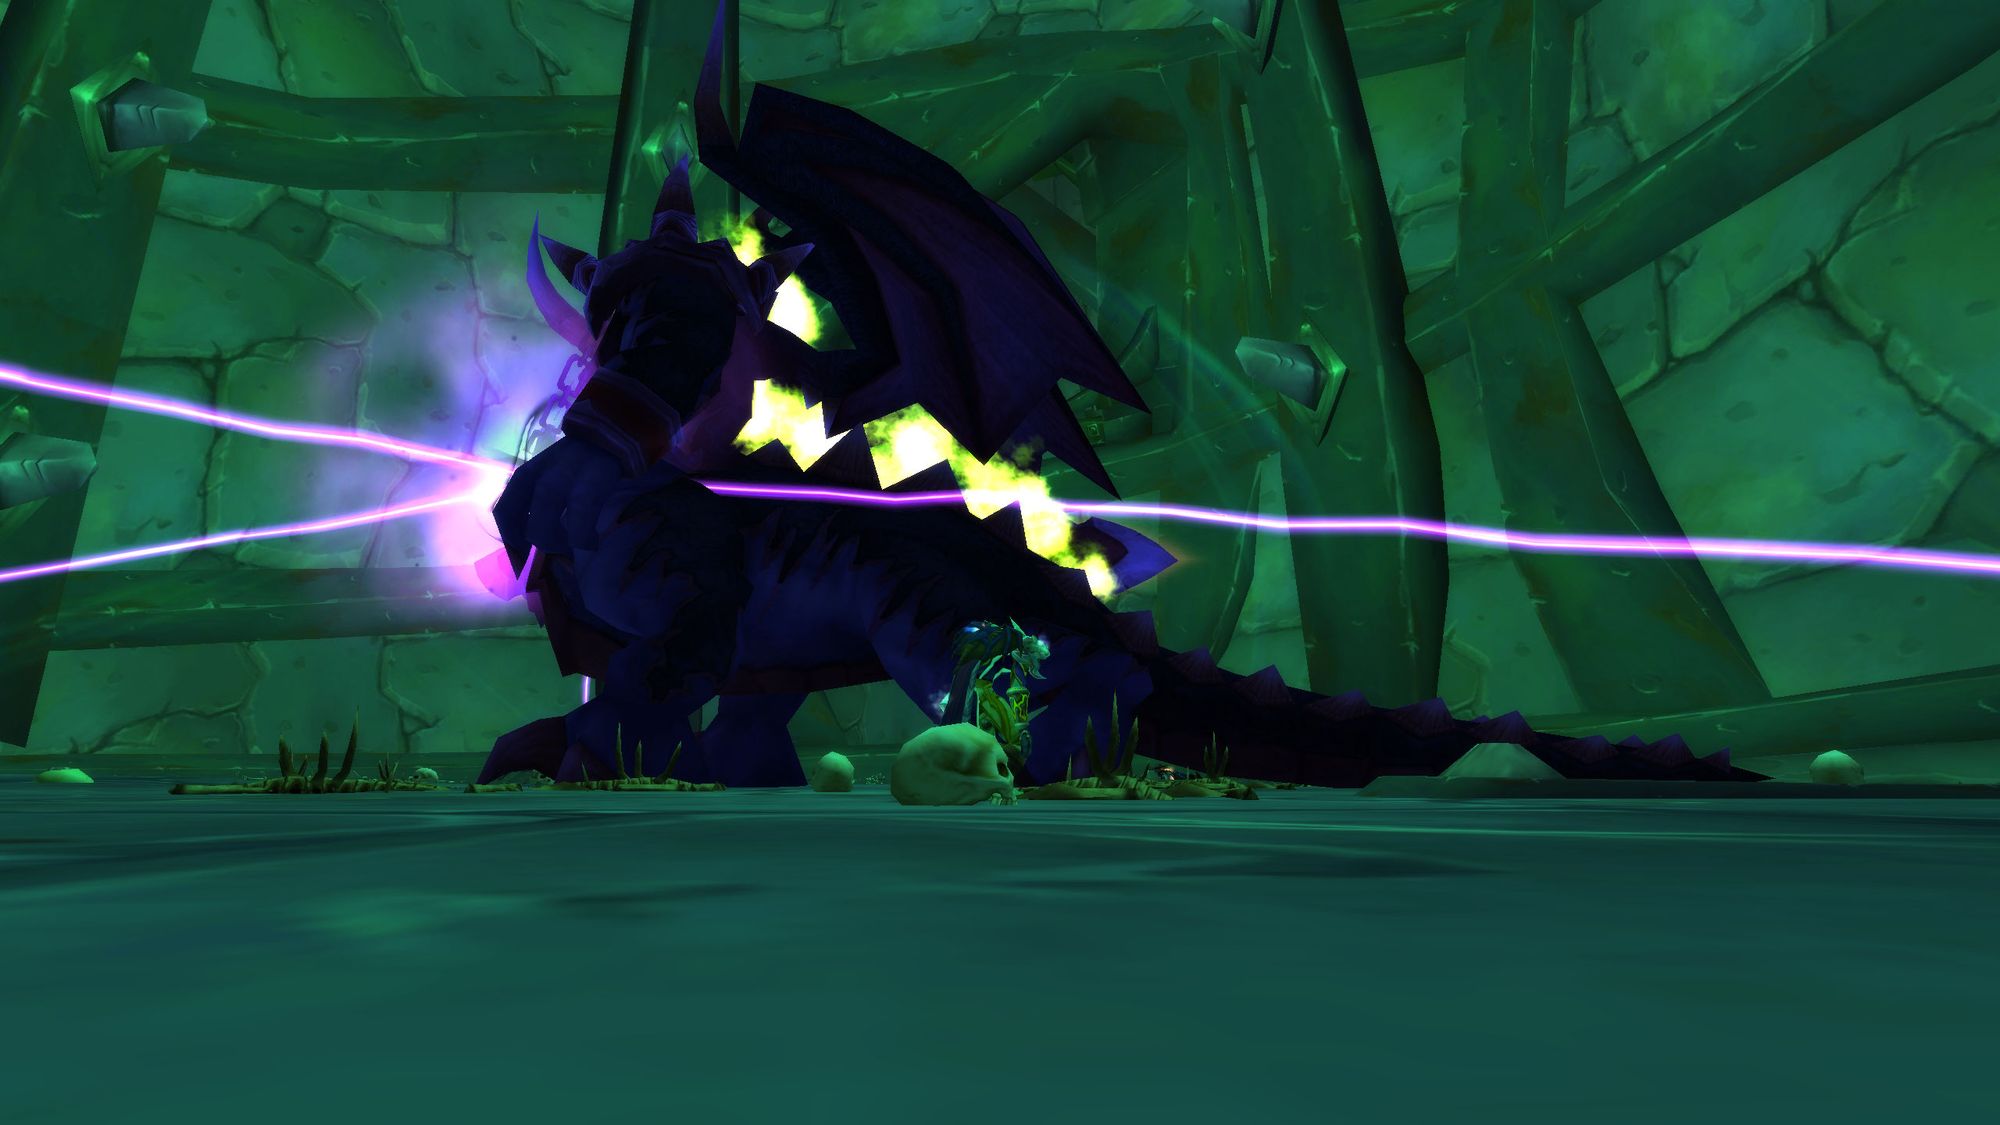
Turning all the cipher pieces in to Oronok gives you some phat lewt and a ton of experience. It also gives you one last quest to complete. You need to return to the ghost of Gul'dan and his orc friends and read the Cipher again, summoning Cyrukh, an elite dungeon boss who needs a proper tank and healer group to kill.
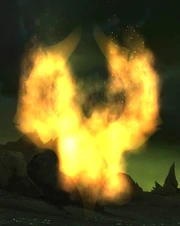
After killing Cyrukh, a "mysterious mark" appears in the sky. It's the mark of Kael'thas' forces, the Sunfury. Turns out he also knows the Cipher, which is a cute way of tying in this quite arduous quest chain.
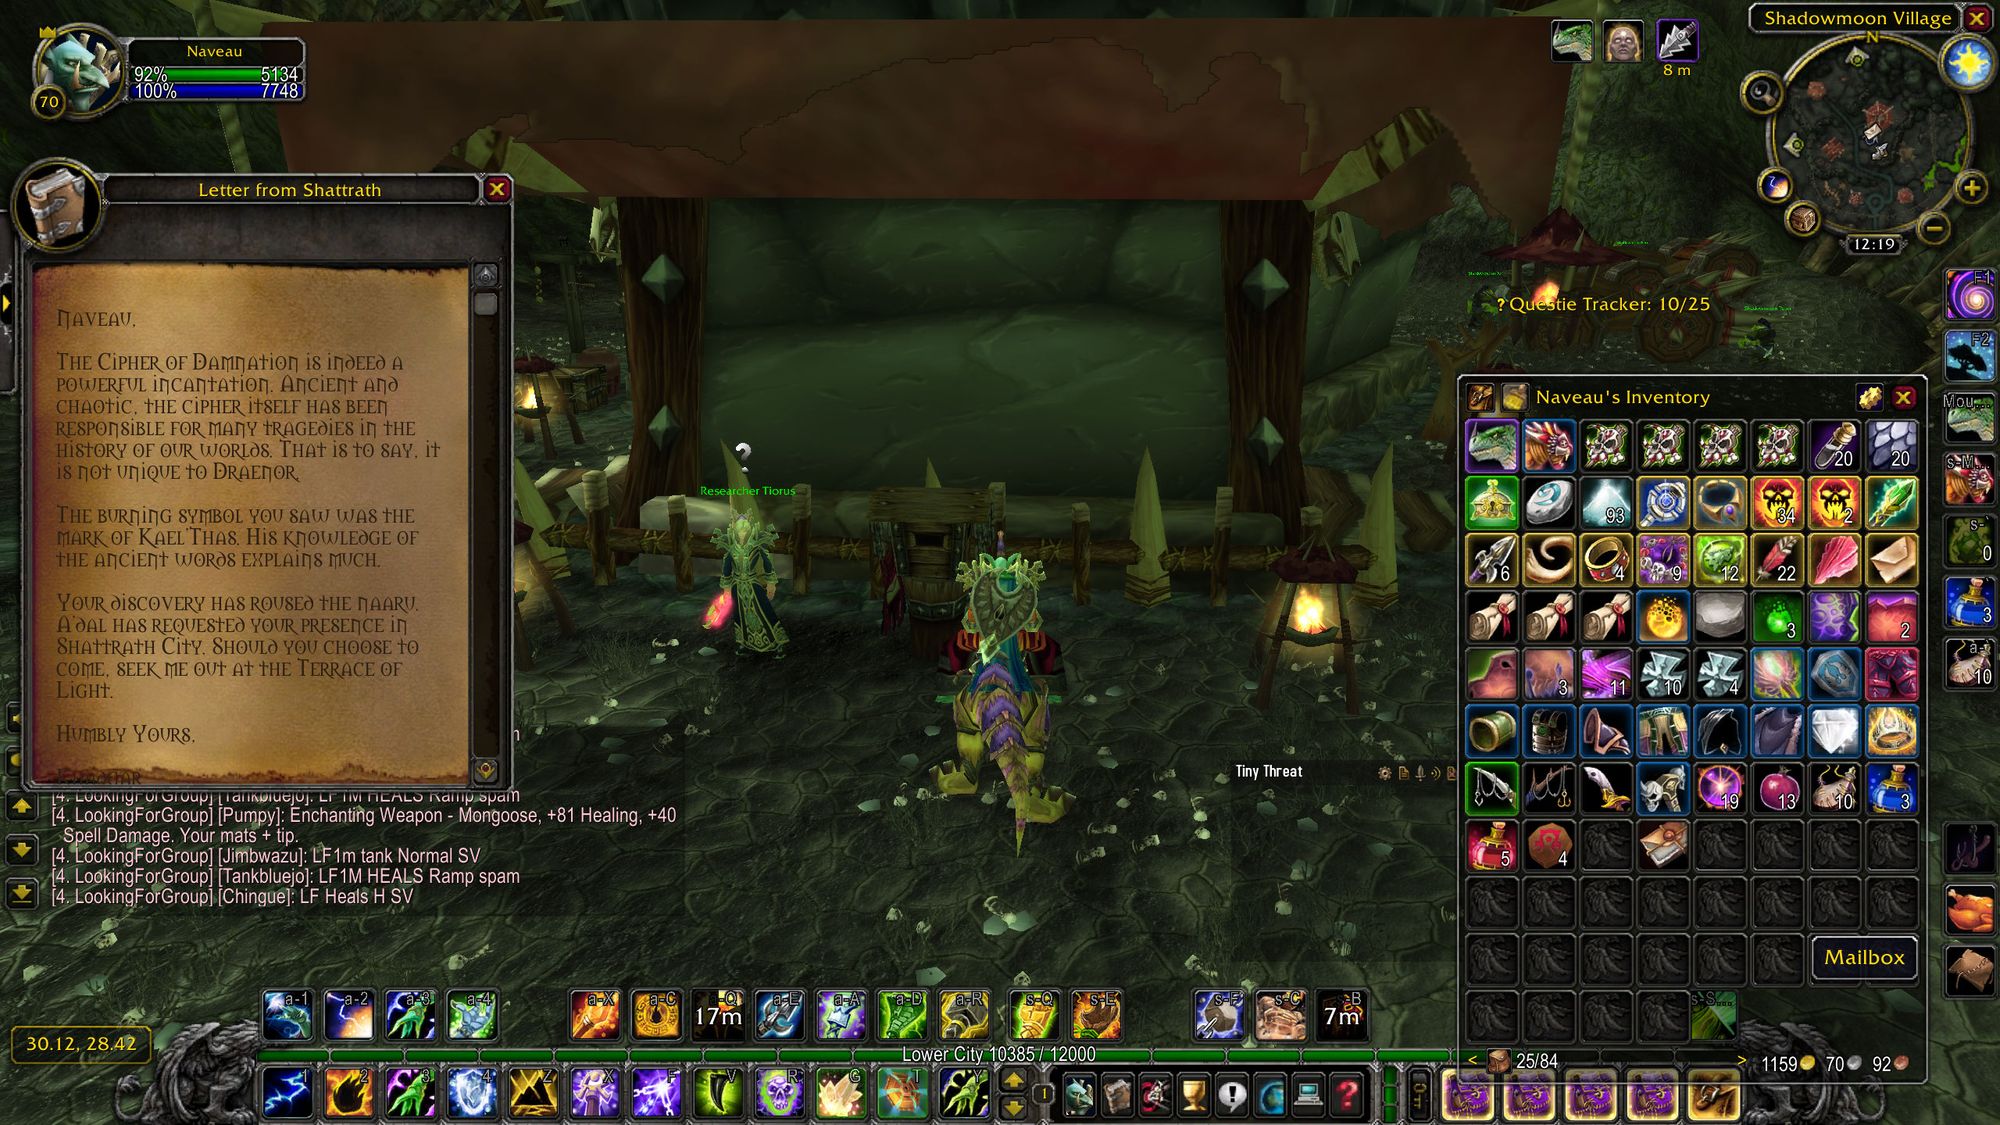
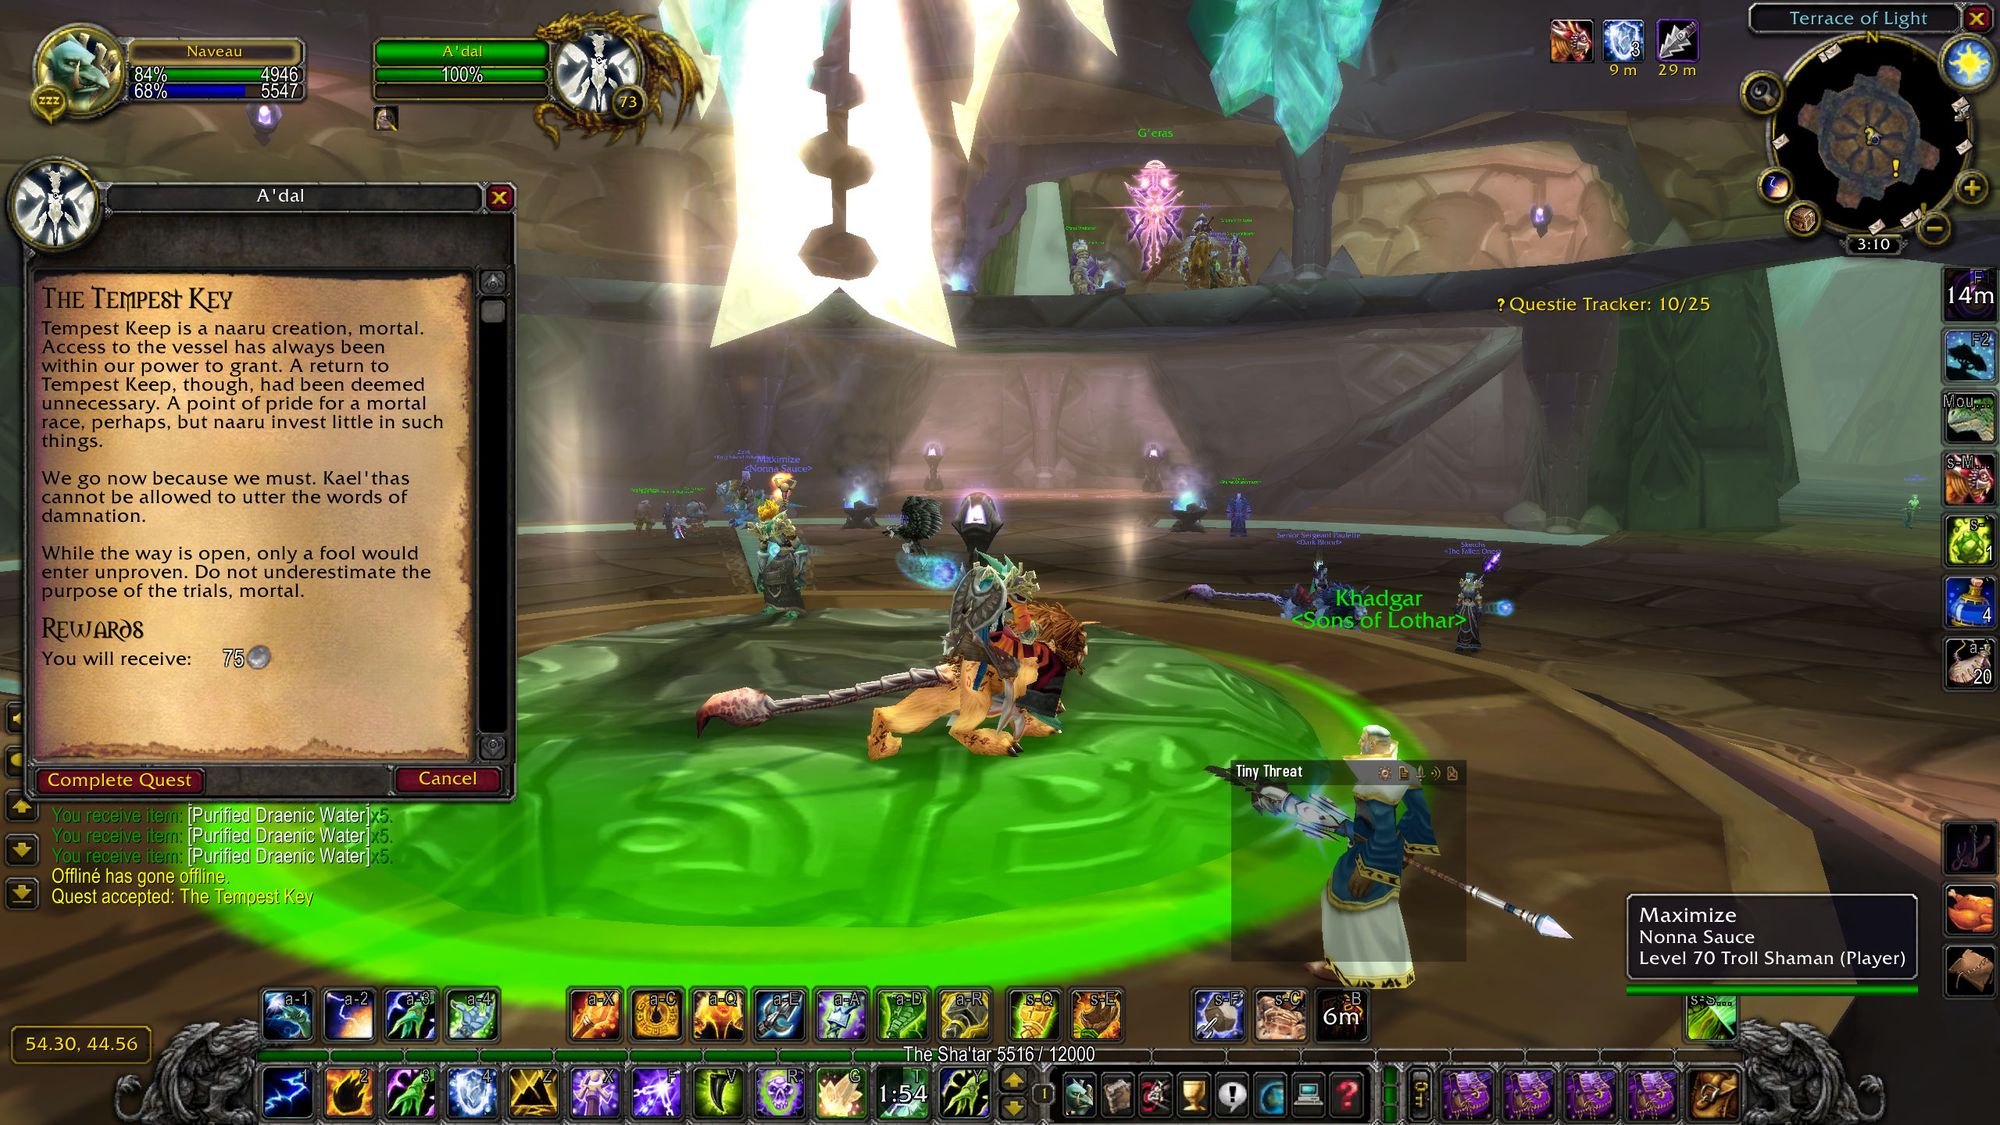
After completing this quest chain, you'll get a letter from Khadgar in the mail, which confirms that the mark belongs to Kael'thas. He also confirms that the Naaru aren't just going to let you walk into Tempest Keep, because that would be too easy.
If the previous set of quests was painful and annoying, the next four quests are straight up and down difficult.
To prove yourself, A'dal sends you to complete four heroic dungeons across three quests. But it's a bit more than just completing these dungeons.
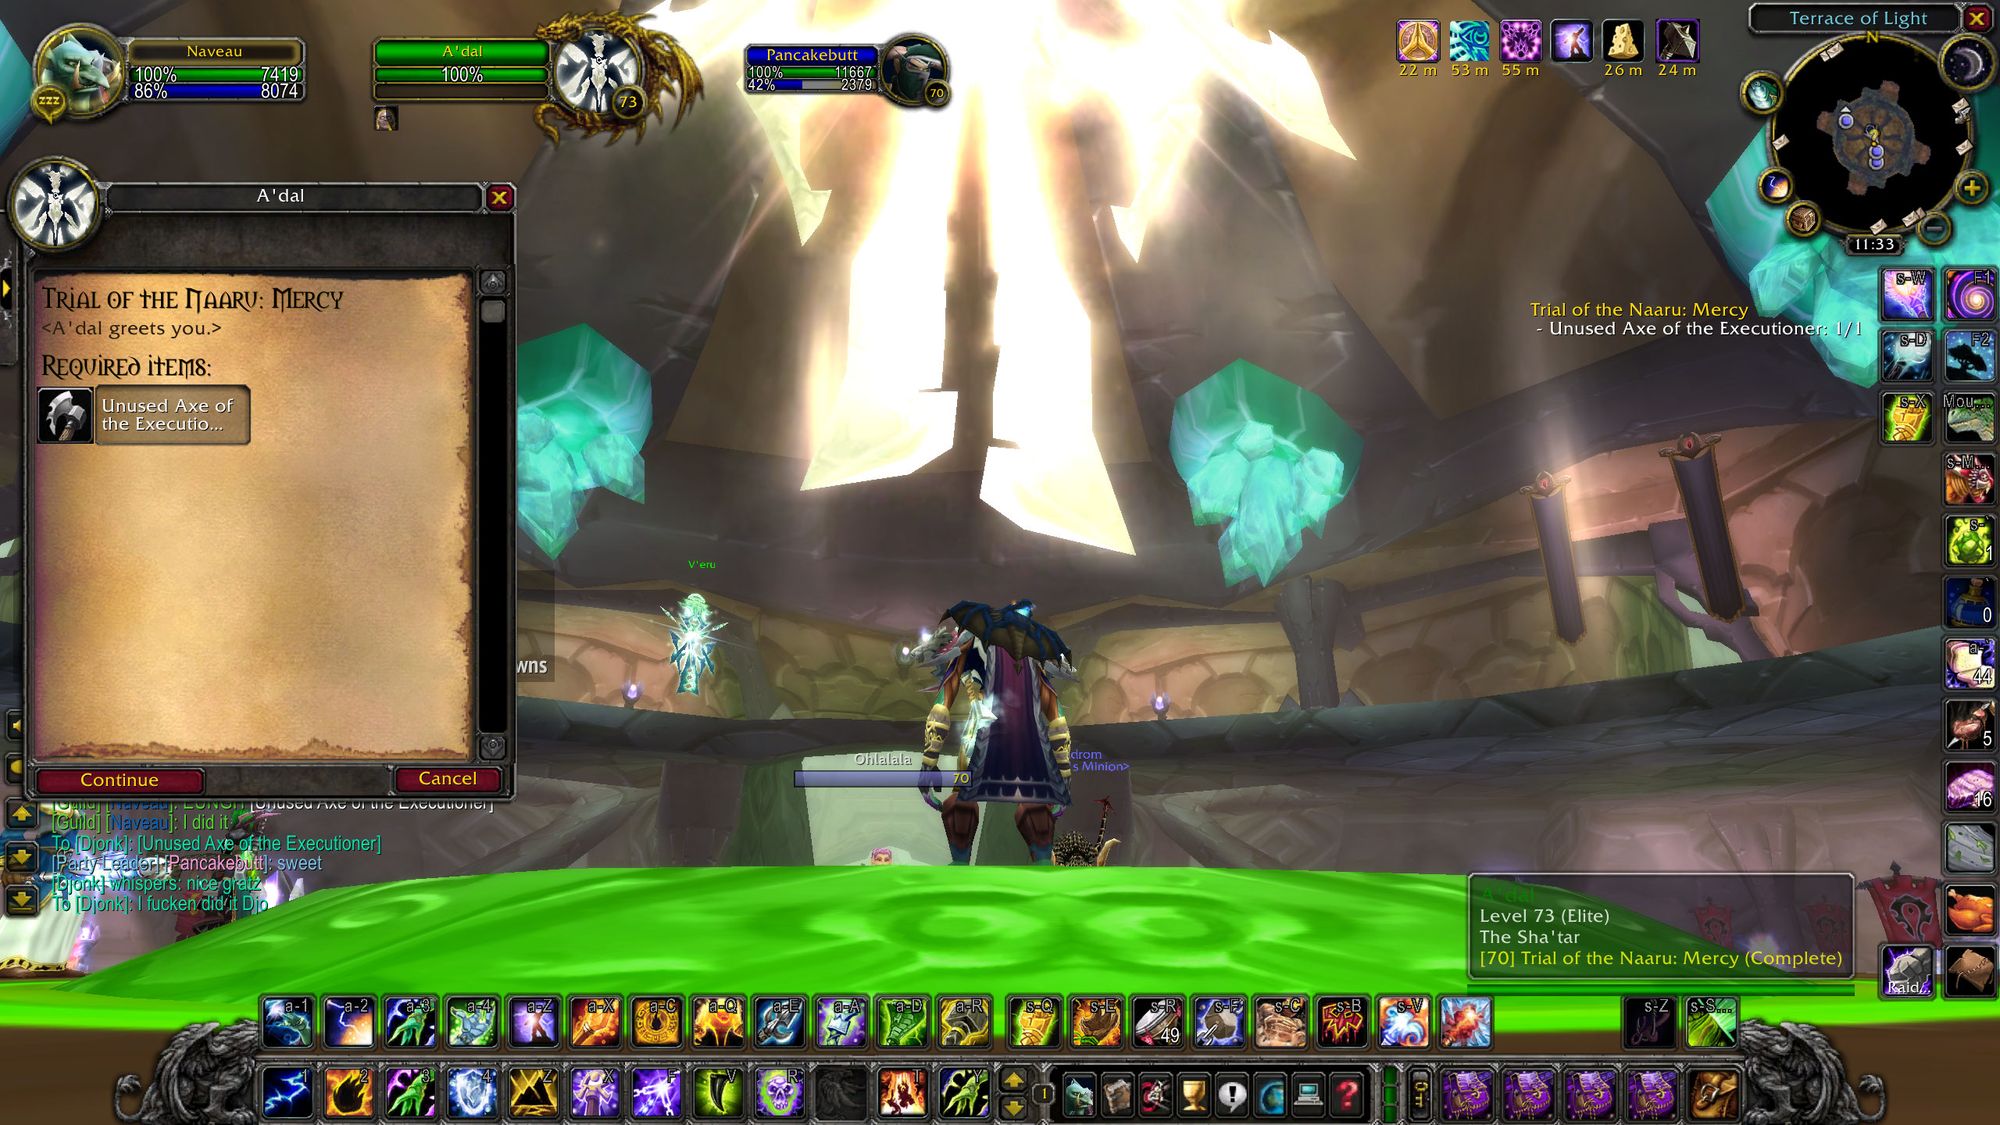
In Trial of the Naaru: Mercy, you need to complete the hardest heroic dungeon of the expansion, the Shattered Halls, in less than 55 minutes. The damage output of some of the packs is insane, having up to eight enemies in a single pull. Crowd control, or a Paladin, is mandatory, and in most cases, both.
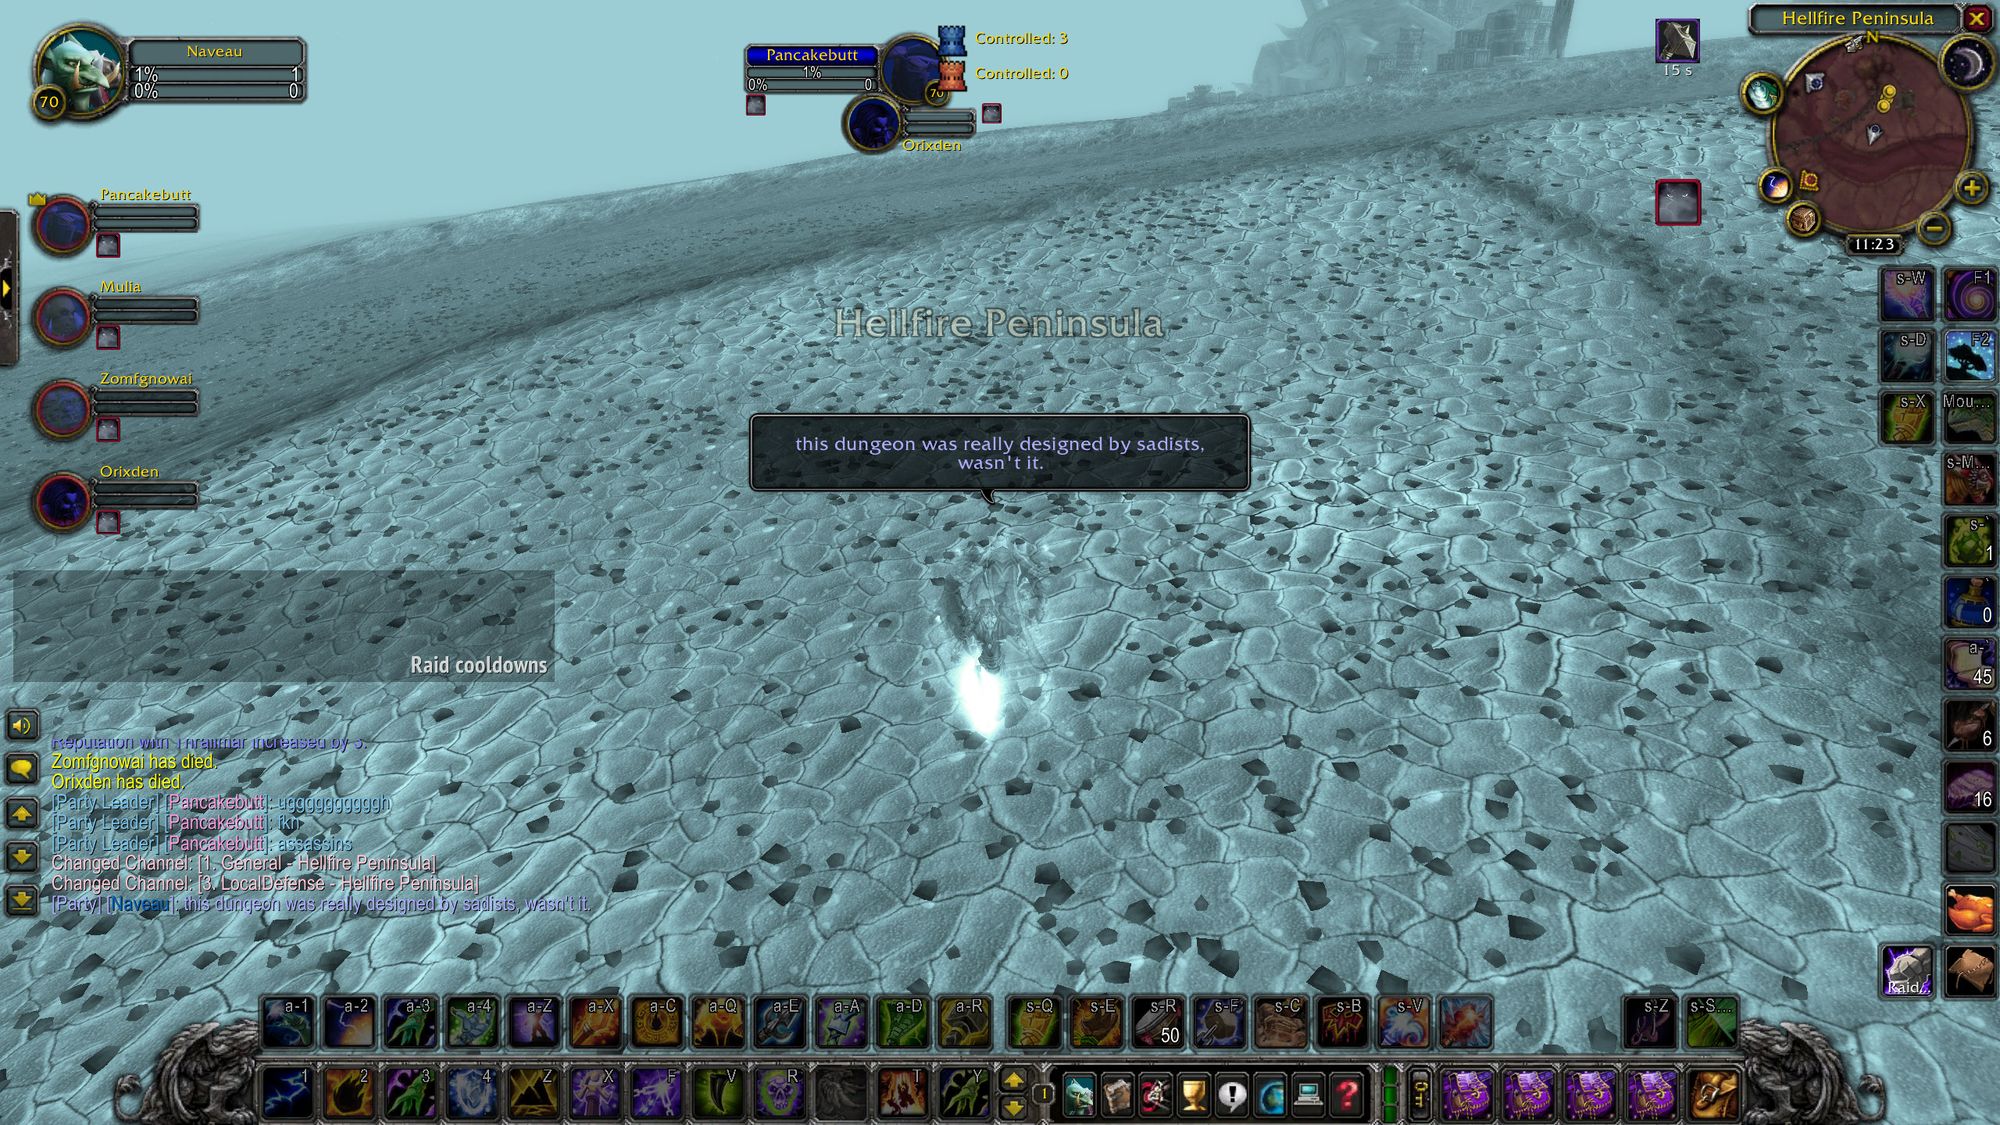
For some tanks, it's impossible without a very specific combination of classes. I did it on my warrior with three mages. It's probably the hardest non-raid content I've ever had to do.
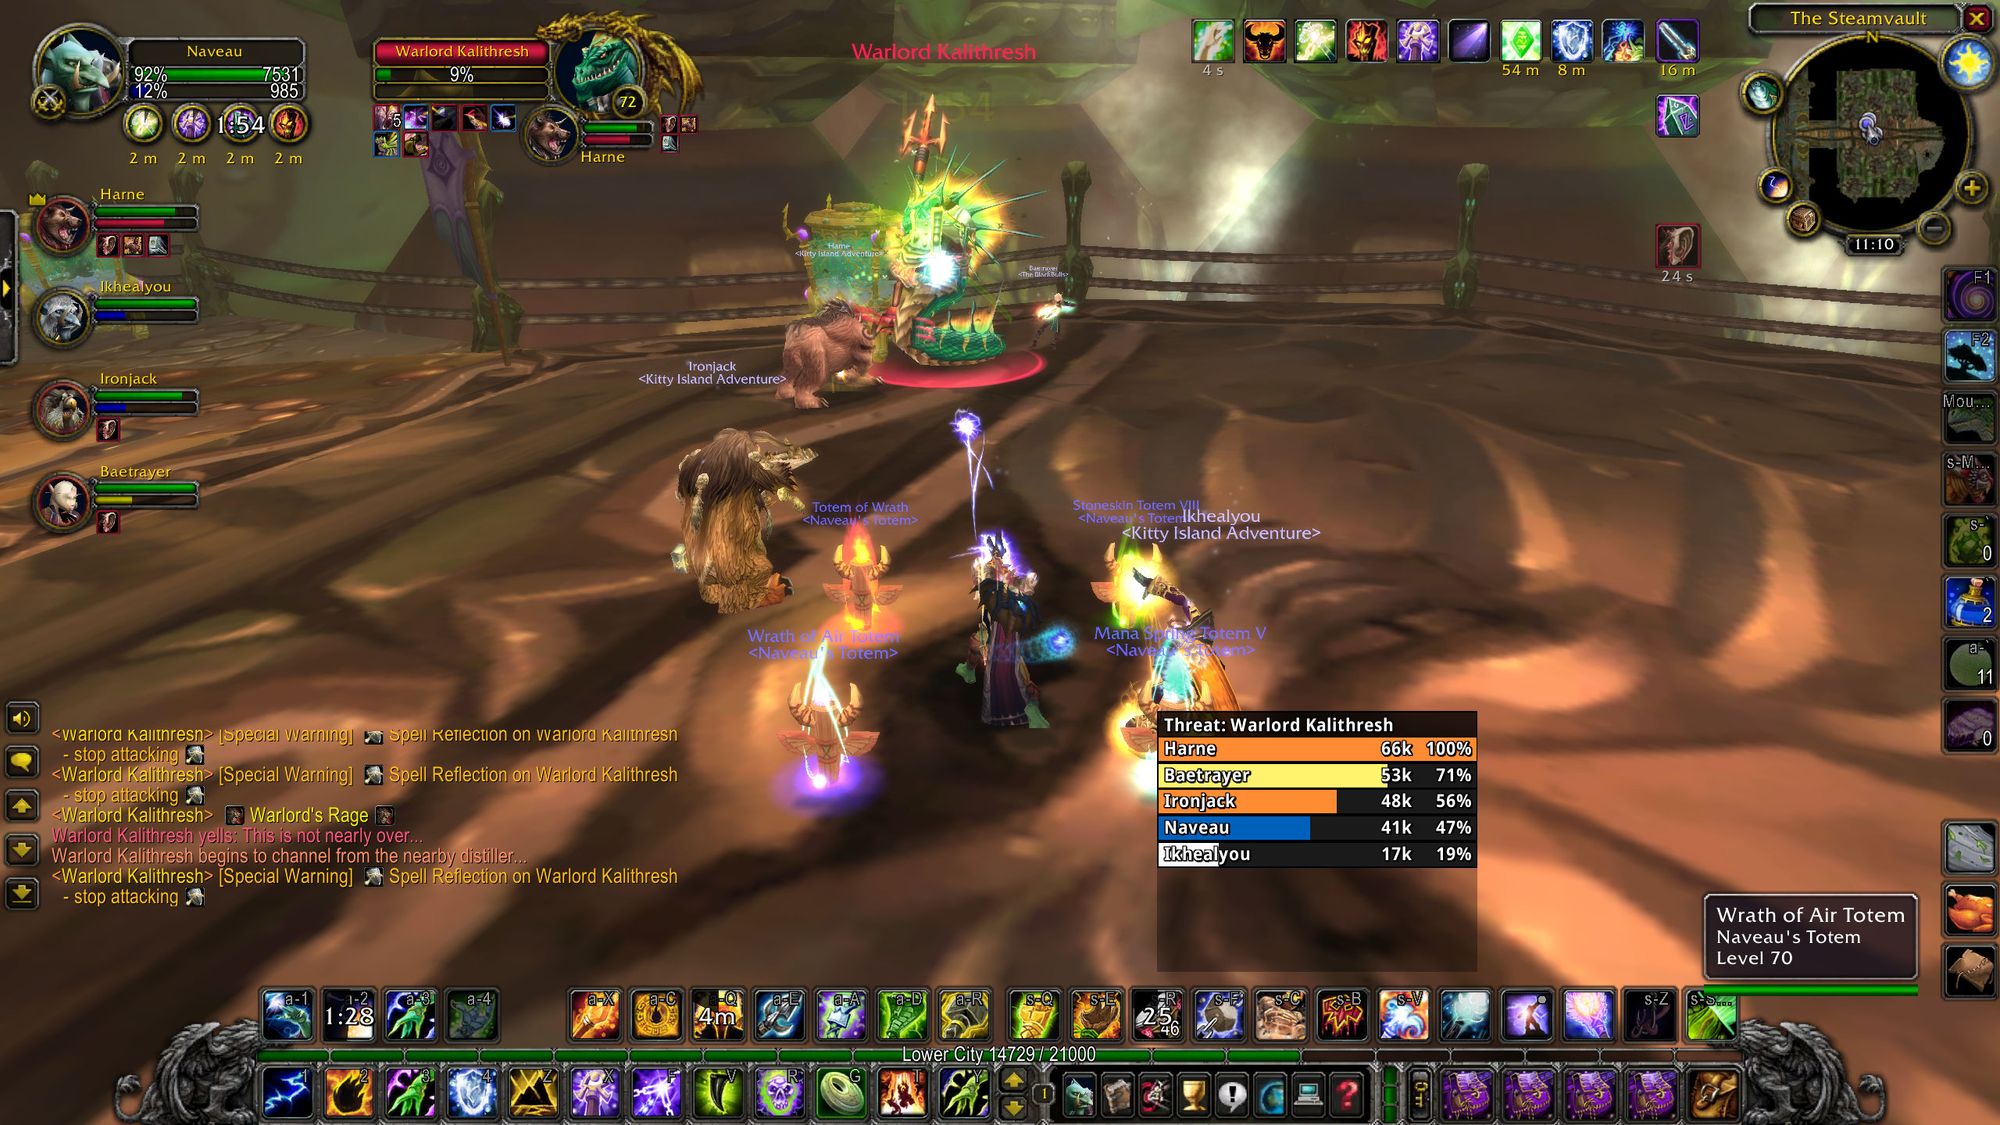
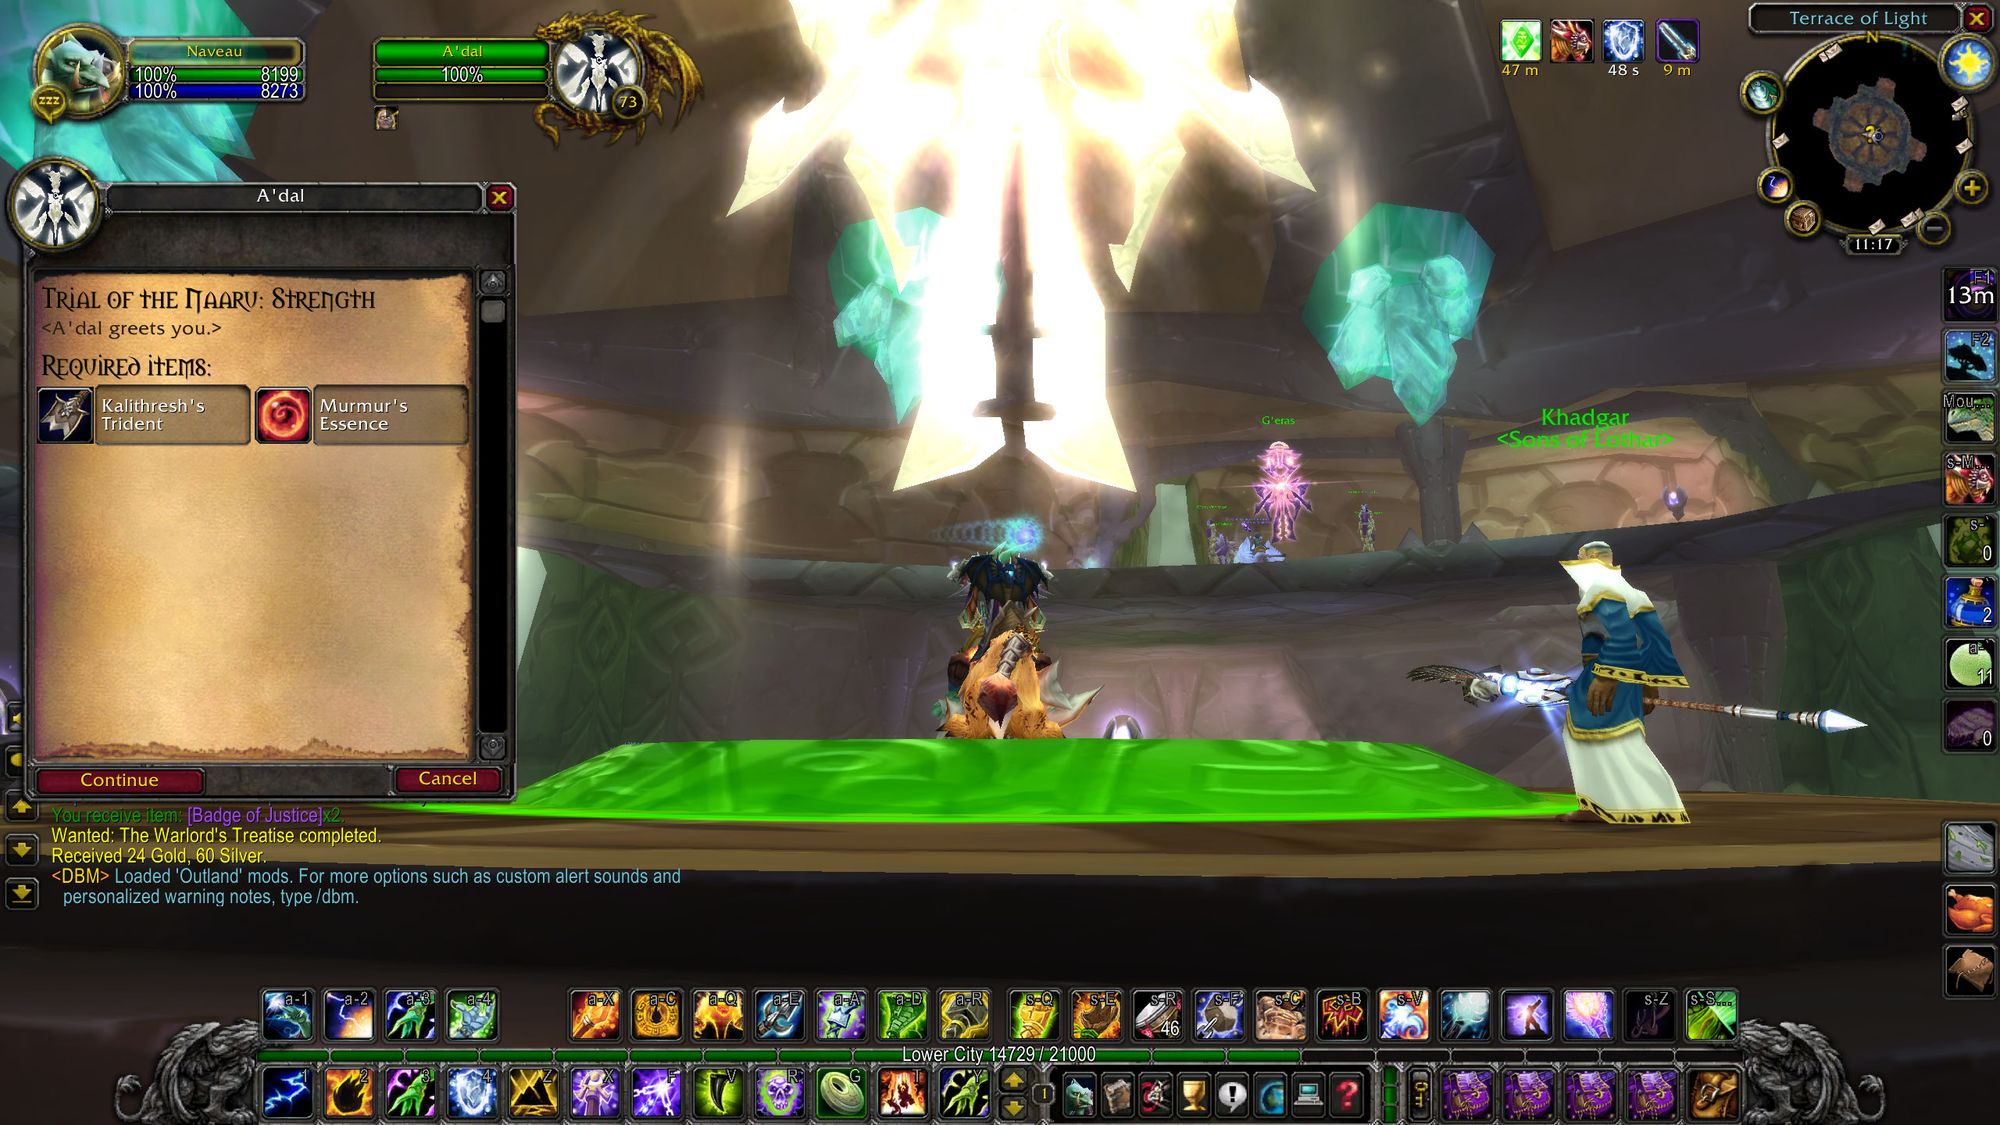
The second quest, Trial of the Naaru: Strength, isn't so bad. You need to do two heroics without any strings attached. Steamvault is quite easy and straightforward - undergeared groups can struggle, but that can be said of all heroics.
Shadow Labyrinth isn't particularly difficult either, but some of the packs before the second boss can be nightmarish, combined with stealthed mobs that can instantly kill your healer or a soft-target hanging at the back. The second boss is also a nightmare for unprepared groups, as every forty-five seconds he'll mindcontrol the entire party and have them fight each other. After this he'll clear his threat table and charge random players, kneecapping the tank's capacity to keep the fight under control. But if you can get past the second boss, it's all downhill from there.
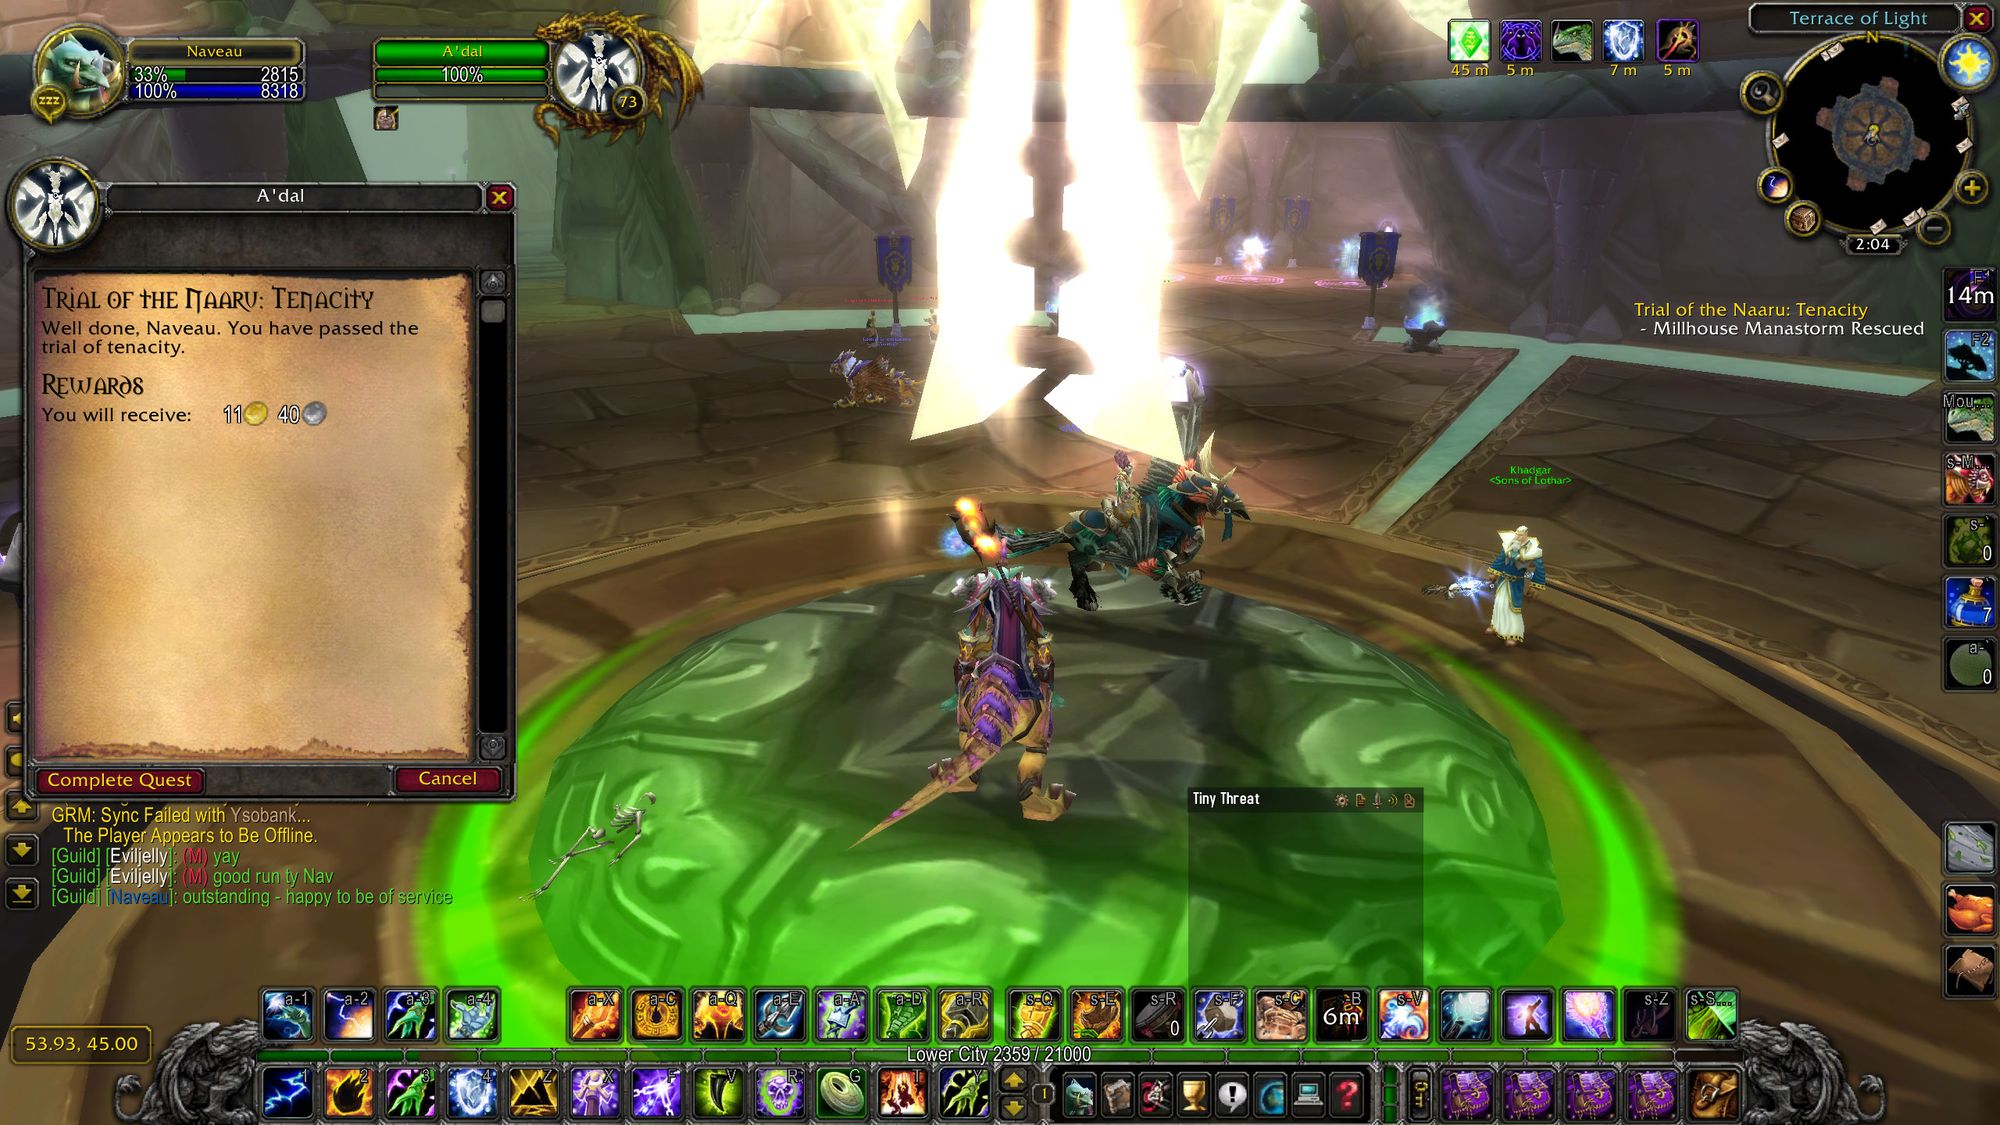
Lastly, in Trial of the Naaru: Tenacity, requires you to complete the Arcatraz - no mean feat in phase one gear, or partial SSC gear. But not just that, it requires you to save Milhouse Manastorm from being killed by the last boss of the instance. In early phases, the last boss of the Arcatraz on heroic can one-shot anyone with less than 8,000 health, even through shadow resistance. Milhouse essentially becomes a sixth healing target that does nothing. Have fun. Early on, having a DPS that could offheal was pretty much mandatory or you'd be coming back tomorrow to get the job done.
Eventually, I got that one done too.
Of course, we're also talking about having to make groups to do all of these dungeons. If you're lucky you can do it in a guild group, but that requires your tanks to be available and the right class, or it'll be a mess. As an aside, having to get 25 players to do all of these heroics was what drove me over the edge. Seeing some people work hard to get them all done, but other people not give a shit, broke me a little inside and was the sealer in my decision to move to the Ducks.
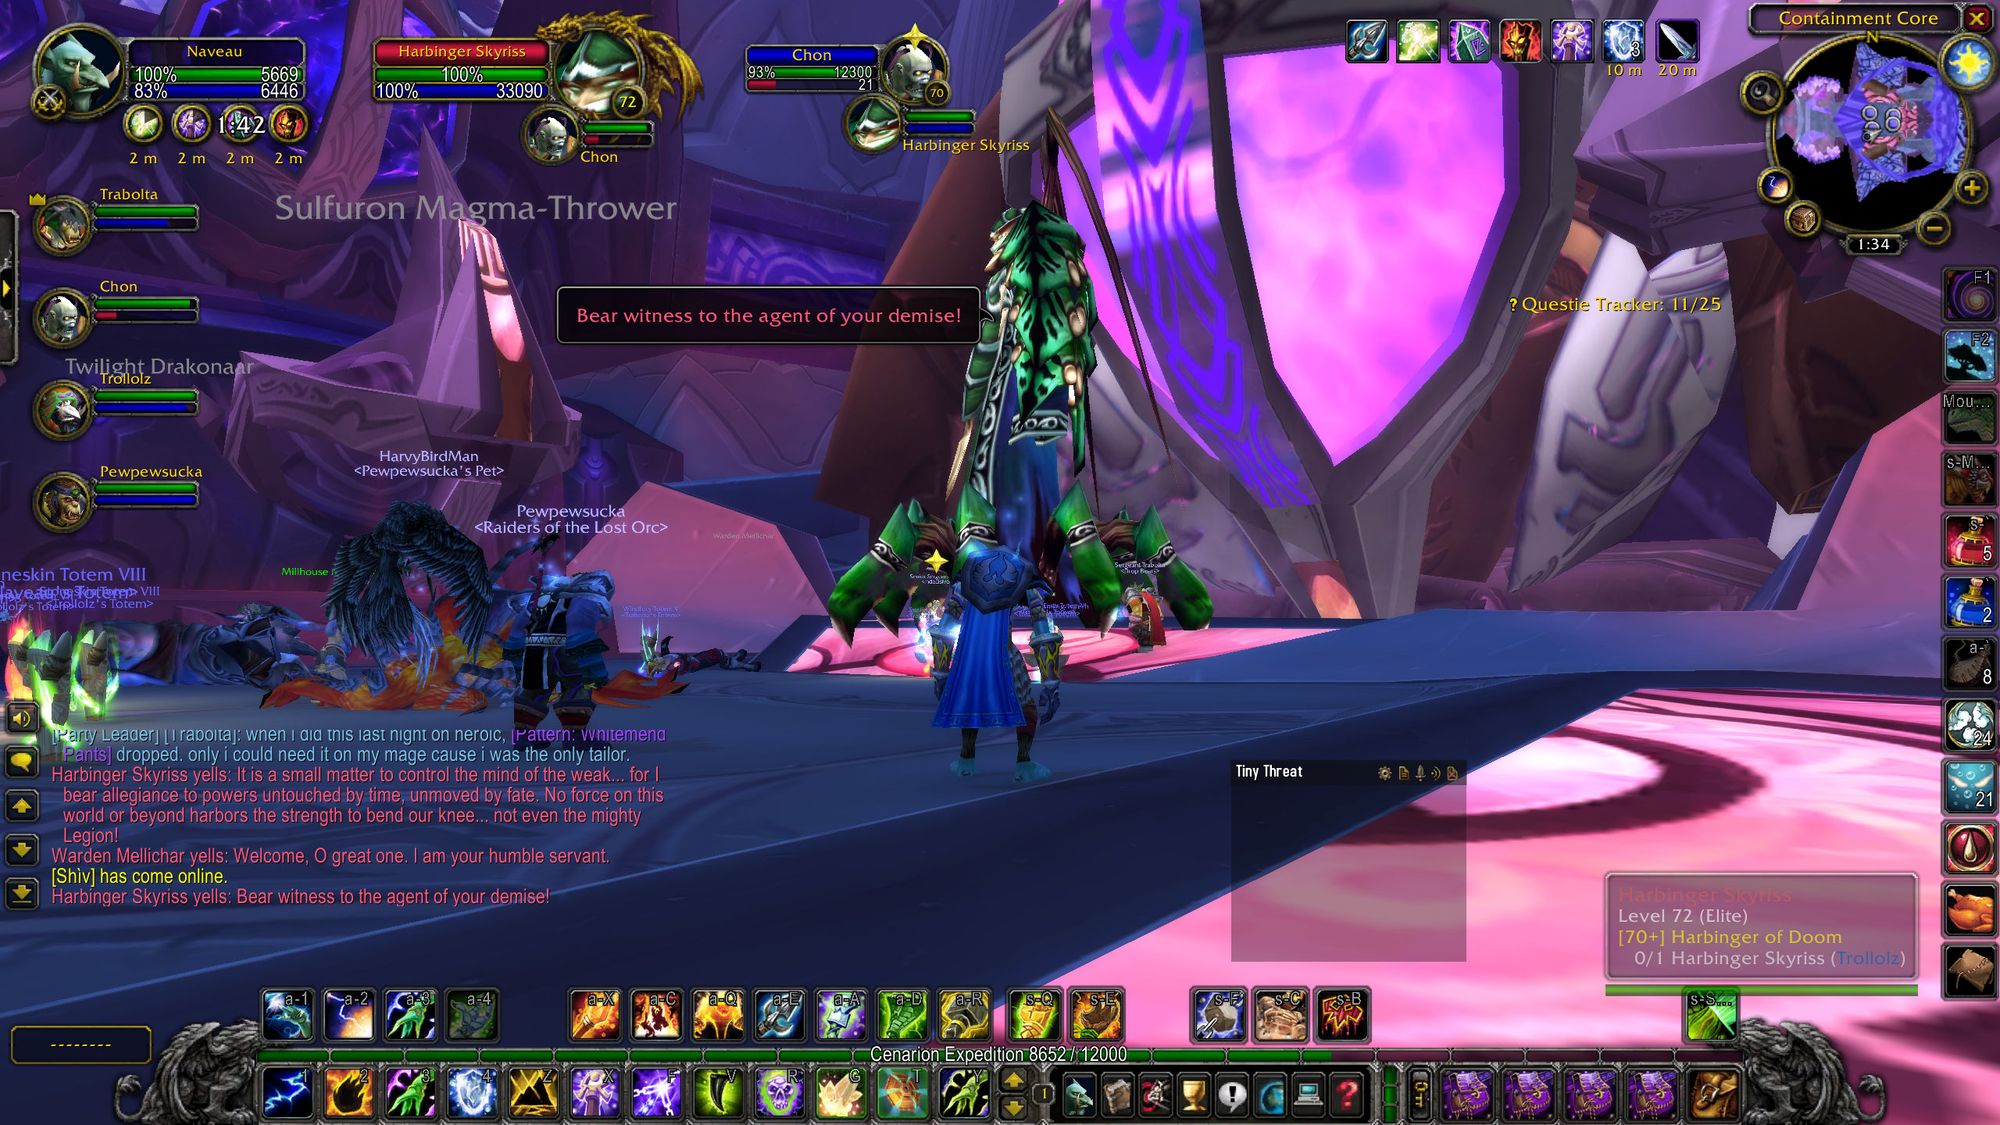
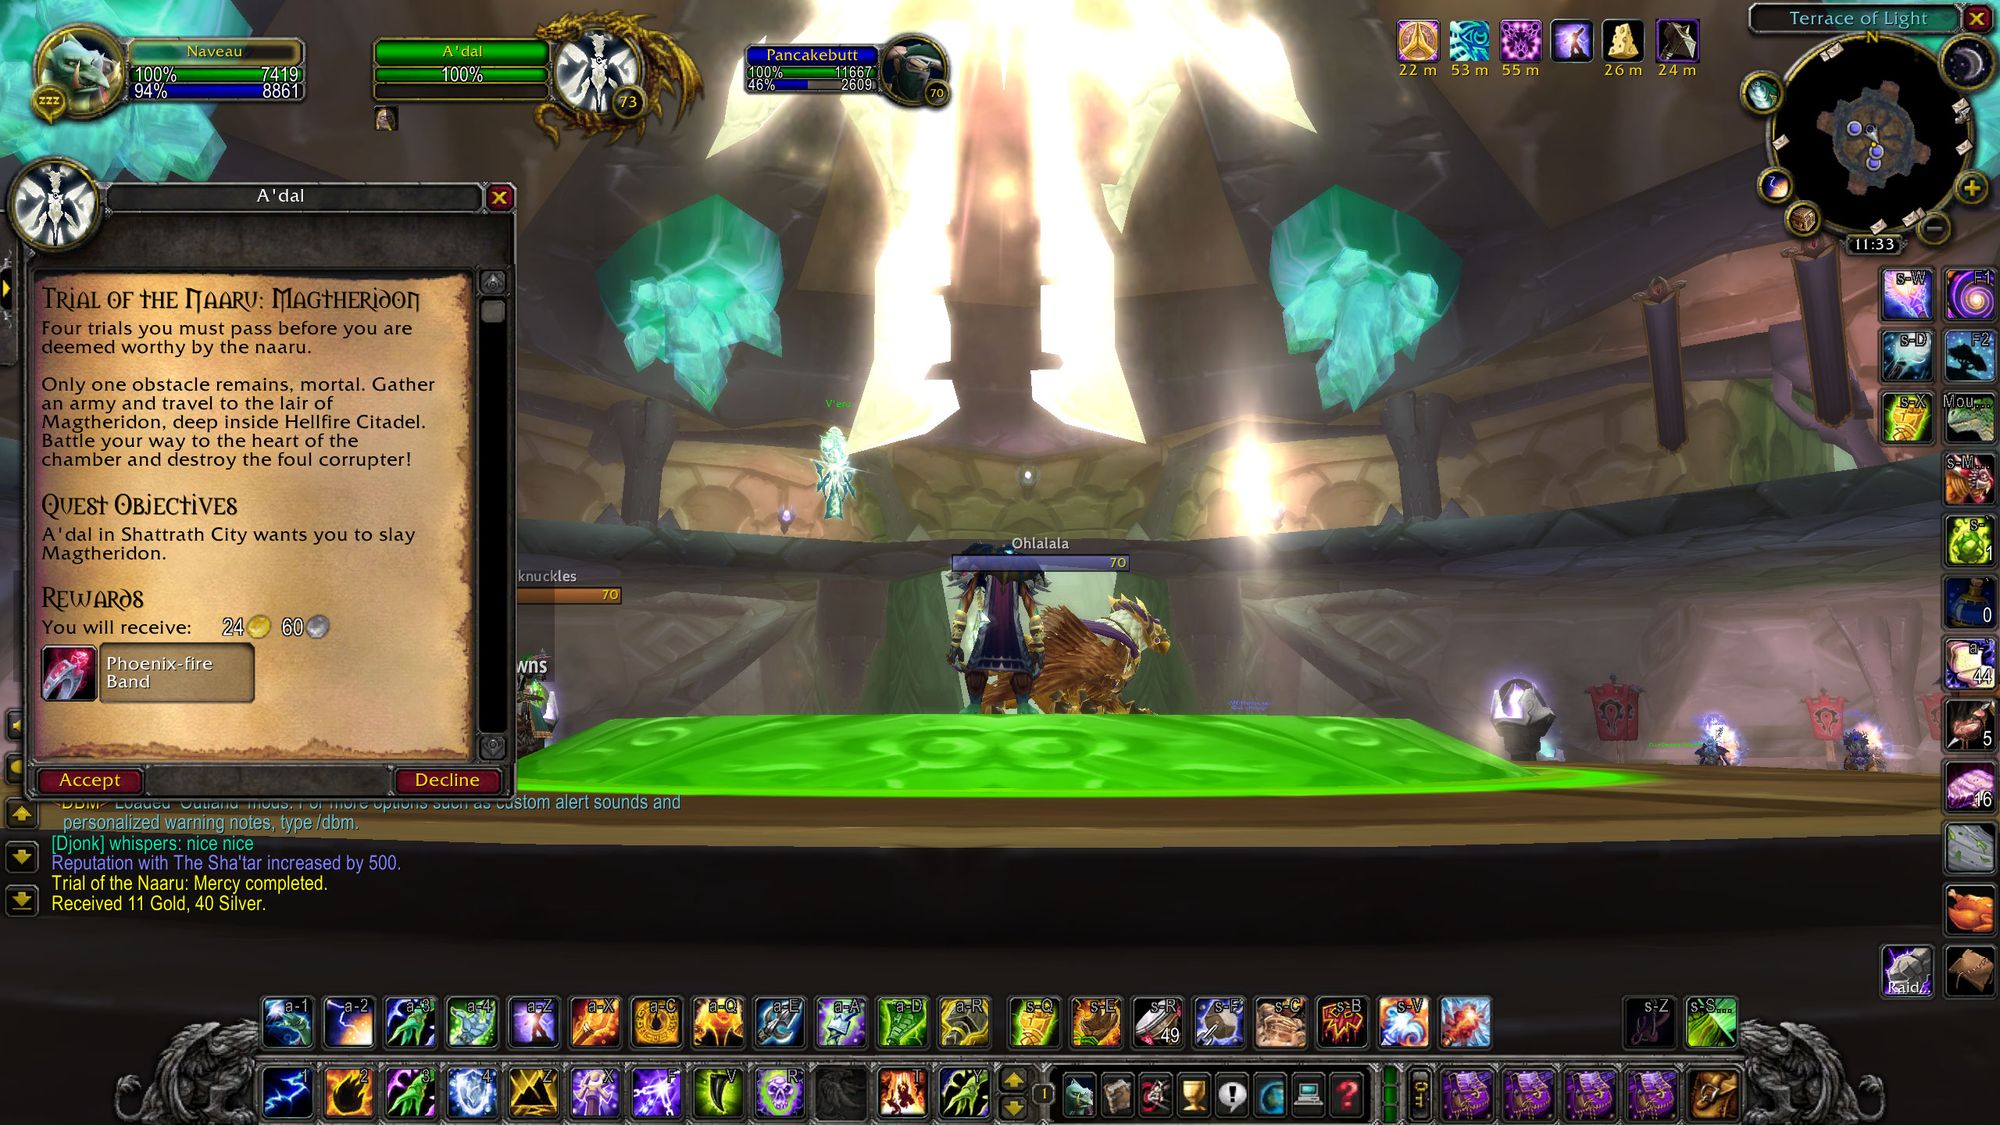
But we're not done. Oh no - finishing those quests just gives you access to the last quest. Trial of the Naaru: Mag'theridon.
Yep, that's right - after all the garbage with the Cipher of Damnation, and dragging your heavy ass through three of the most difficult heroics (plus Steamvaults), you still have to kill the hardest boss of phase one. Which, as you'll recall, most guilds were simply unable to do. Only a small number of horde guilds killed Mag prenerf, and Marbles was not one of them.
Of course, once Mag was nerfed, this became far and away the easiest part to do, because there was still high demand for his gear. The heroics remained difficult until they were nerfed in phase 4, however this entire attunement string was removed in phase 3.
But in the heat of late phase one and early phase two, it's still very much required, and difficult, and your reward for completing it, is the Tempest Key, which gives you access to Tempest Keep: The Eye.
(Editor's note - it also gives you the Pheonix-fire Band, which is a very useful fire resistance ring for a small number of classes, mainly warlocks and off-tanks.)
So go ahead - if you think you're hard enough, that is.
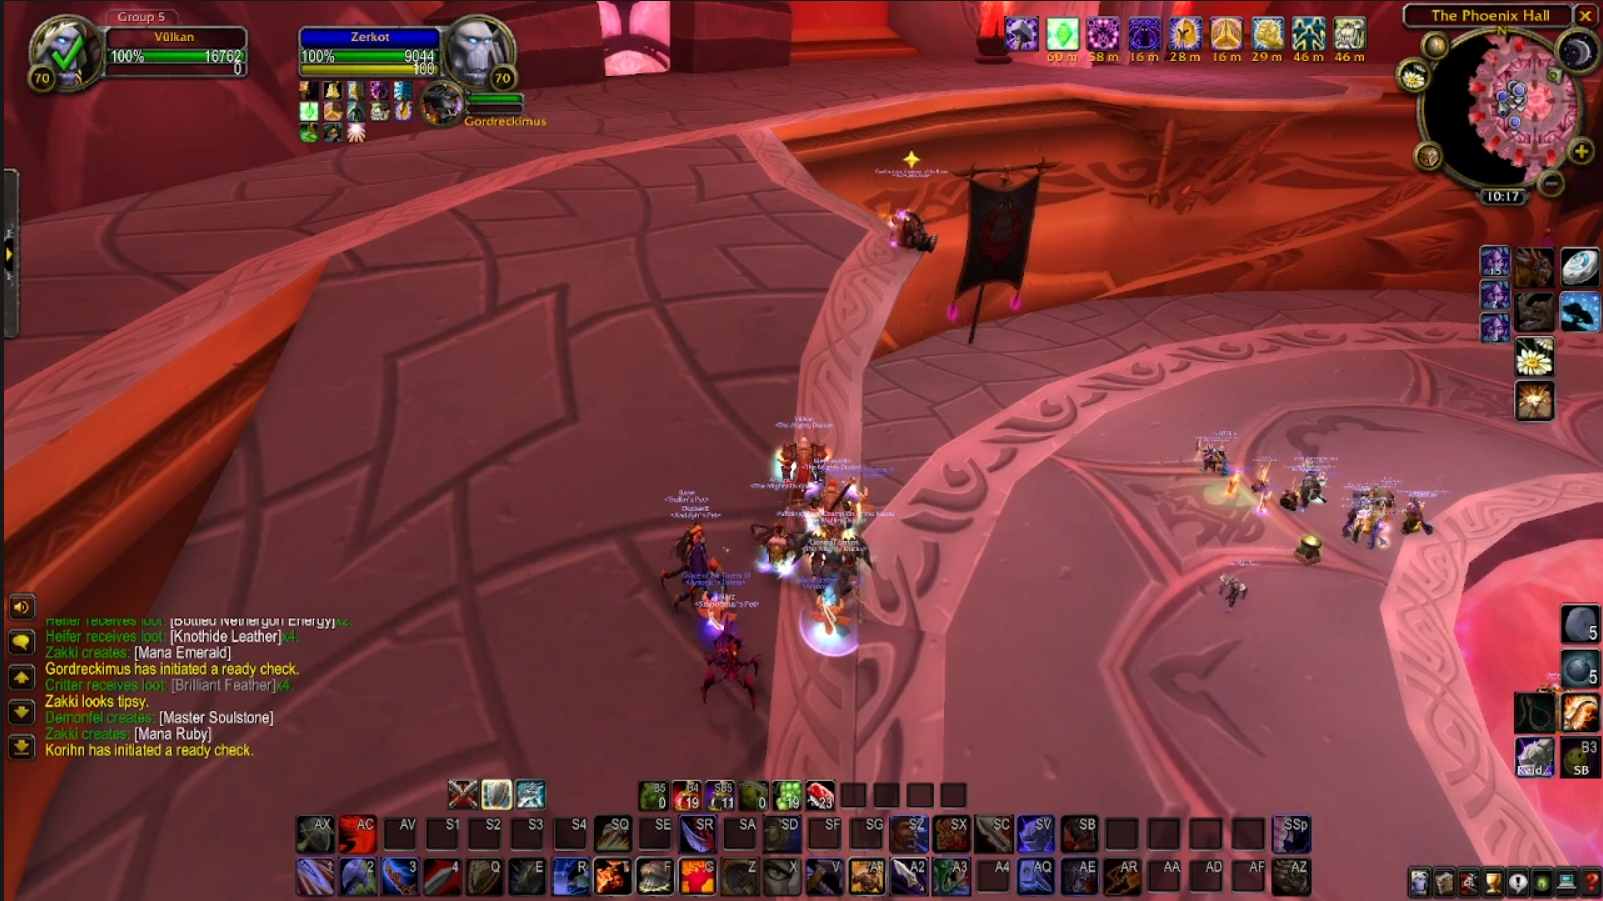
Overview
Tempest Keep is a *relatively* short instance. There are four bosses, of which the first three are mandatory to face the last one, just like SSC. Again, this was removed later.
There's less trash, but the trash, with a very small number of exceptions, is deadly. You can wipe on just about every pack in here, so your raid team needs to be on the ball. Or you can just die a lot, that is also an option. You'll want to make extensive use of misdirects, crowd control (in particular polymorph) and pre-assigning targets to ease confusion can help.
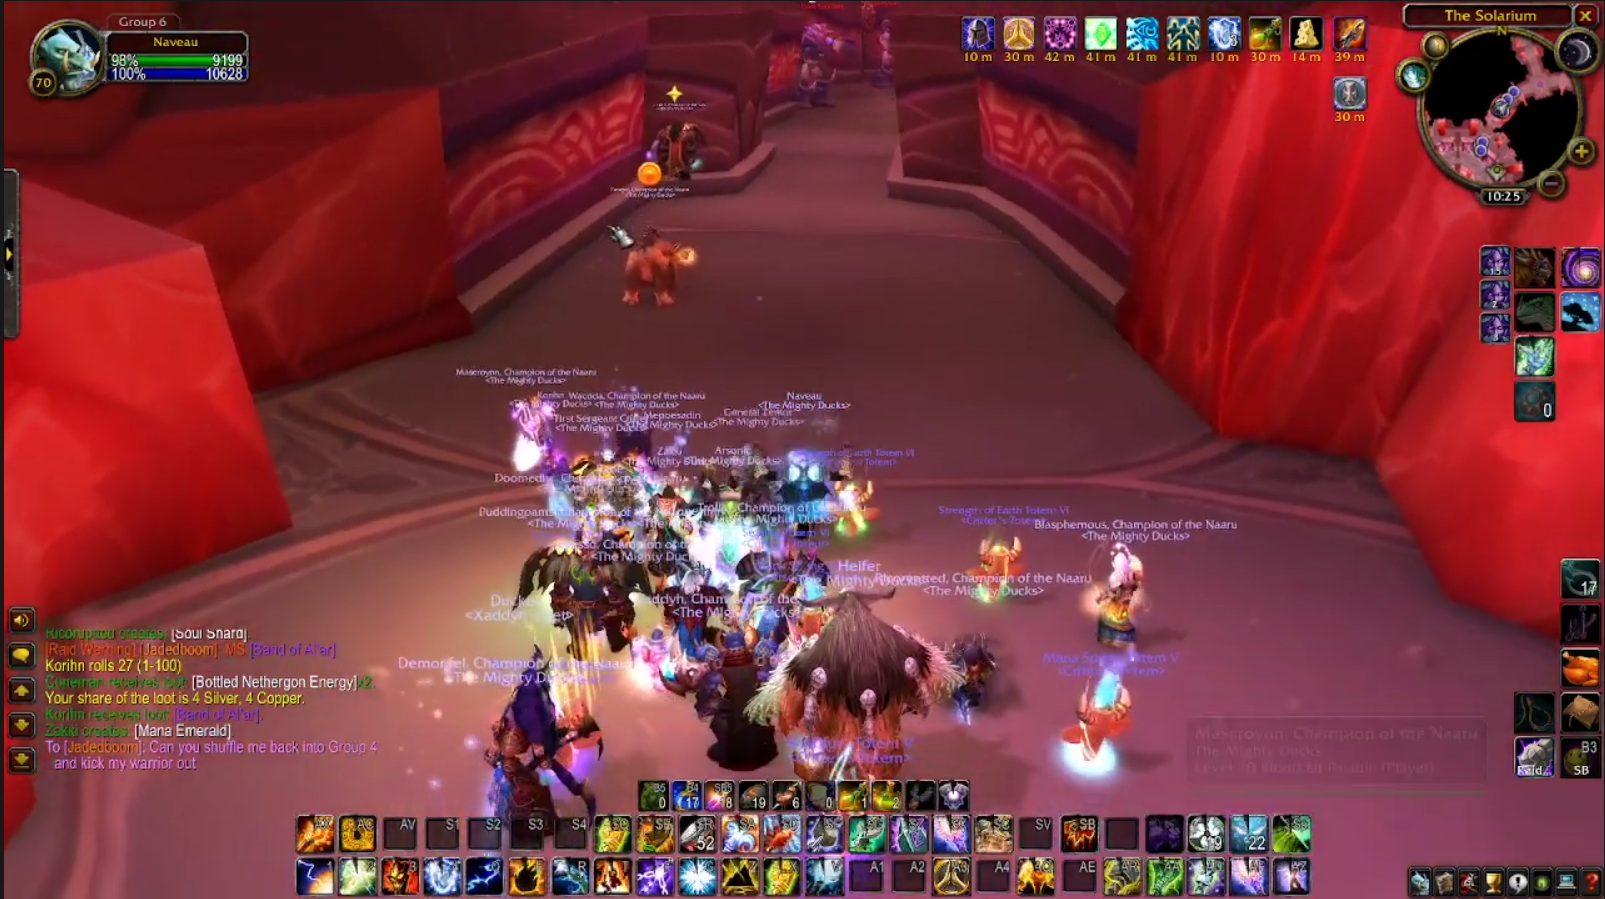
The first corridor is very close to the entrance, which is in turn close to the graveyard. During the first four or five pulls, those that get killed should run back back into the instance unless a wipe is called. This will help early on when your gear is thin and people drop like flies.
It's also pretty obvious when you wait for the fight to end and be resurrected, and you should expect to cop a bit of flak for that decision.
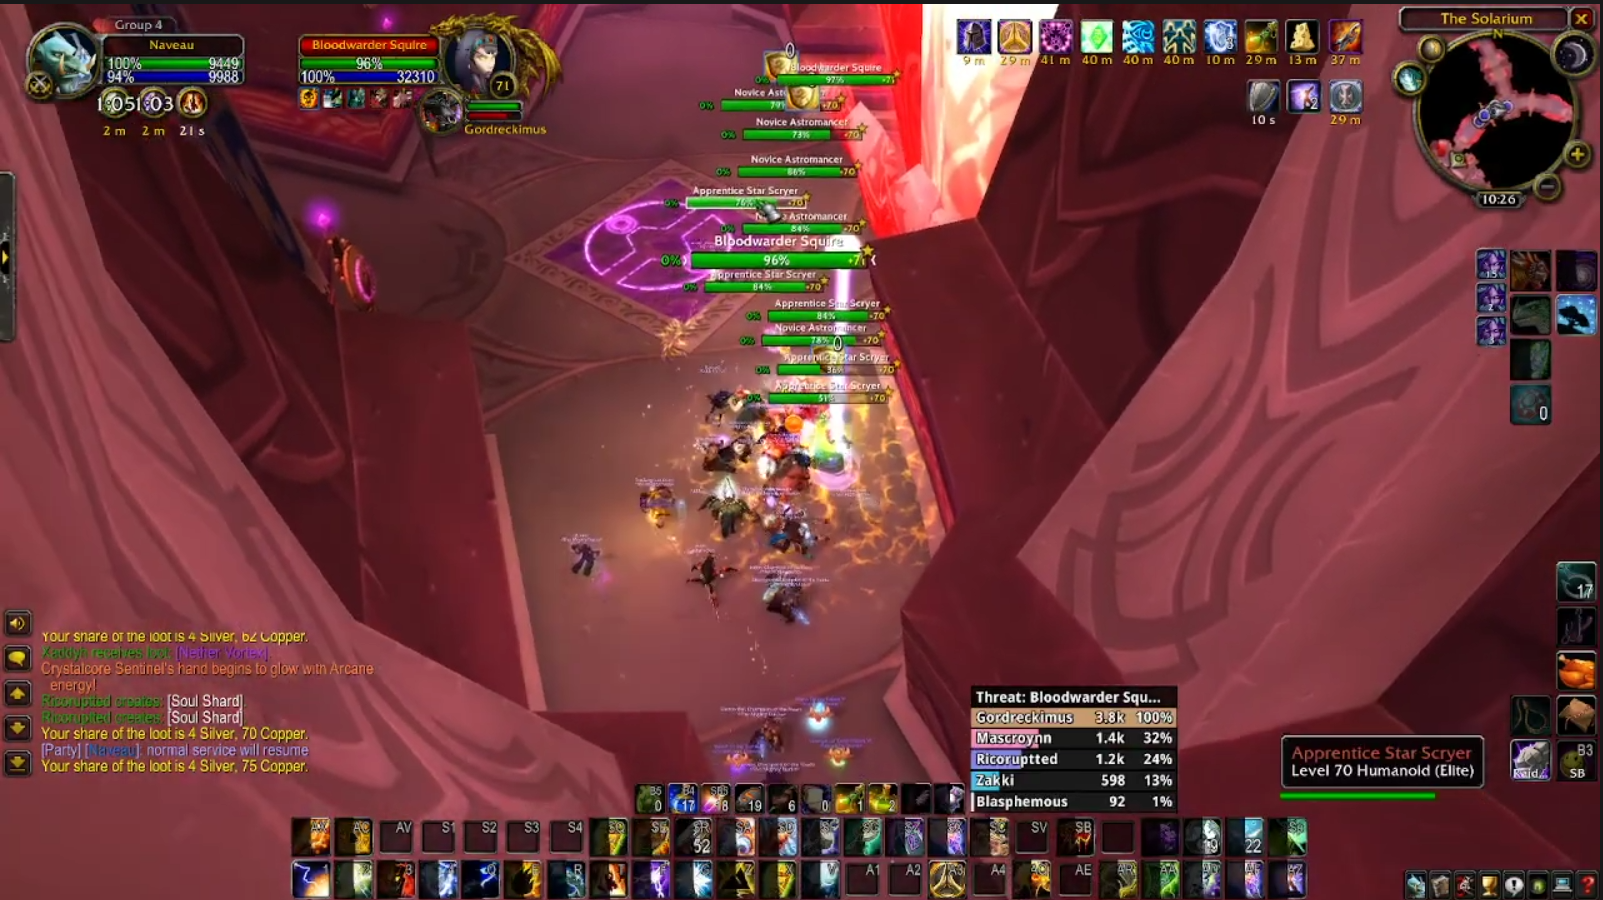
There are three identical packs and a patrolling extra pack. Each pack contains a vindicator, two legionnaires, two star scryers and an astromancer. The vindicator and legionnaires can all instant cast whirlwind, so melee need to be ready to step out and use healing cooldowns and healthstones.
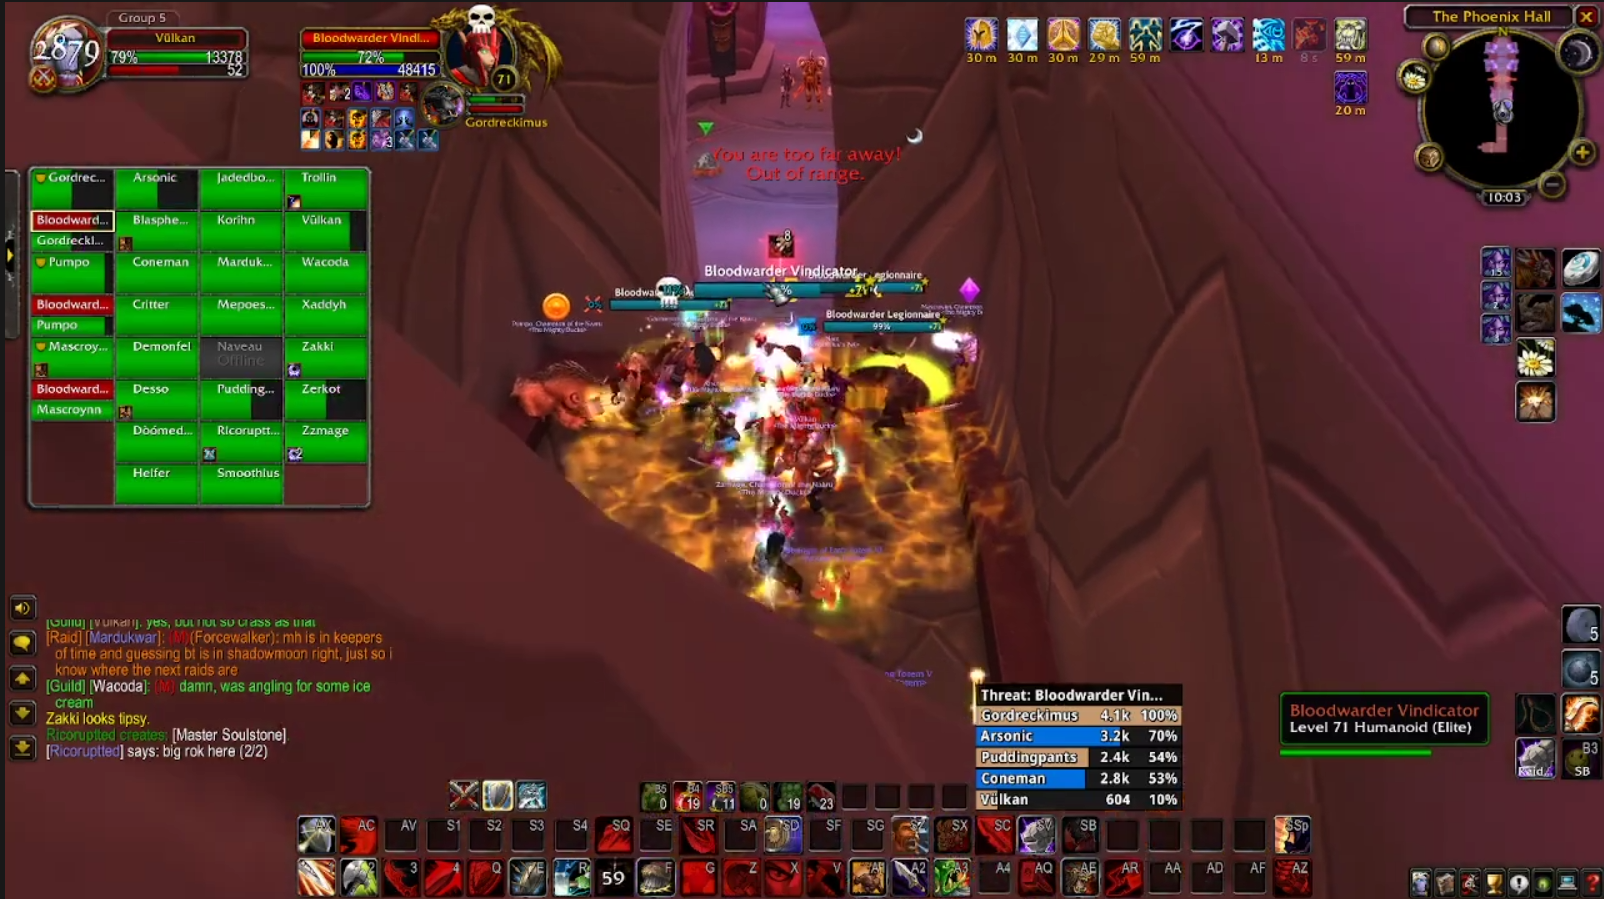
You'll want to use your crowd control on the Star Scryers, which mind control random targets and on the Astromancer, which does various nasty fire AoE spells. If you find yourself lacking in crowd control (you DO have two mages, right...?) your best bet is to crowd control the two Star Scryers, then kill the Astromancer.
Tanks should call out if they're mind controlled - everyone else can just die. Ideally if you're dealing with the Star Scryers, you'll want to use single target spells, particularly because the melee are already vulnerable from whirlwinds.
So your melee players don't instantly get mowed down by consecutive whirlwinds, the vindicator should be tanked away from the legionnaires. If you have enough crowd control to cover all three of the spellcasters, you'll want to deal with the vindicator first, then the legionnaires, then the above caster kill order.
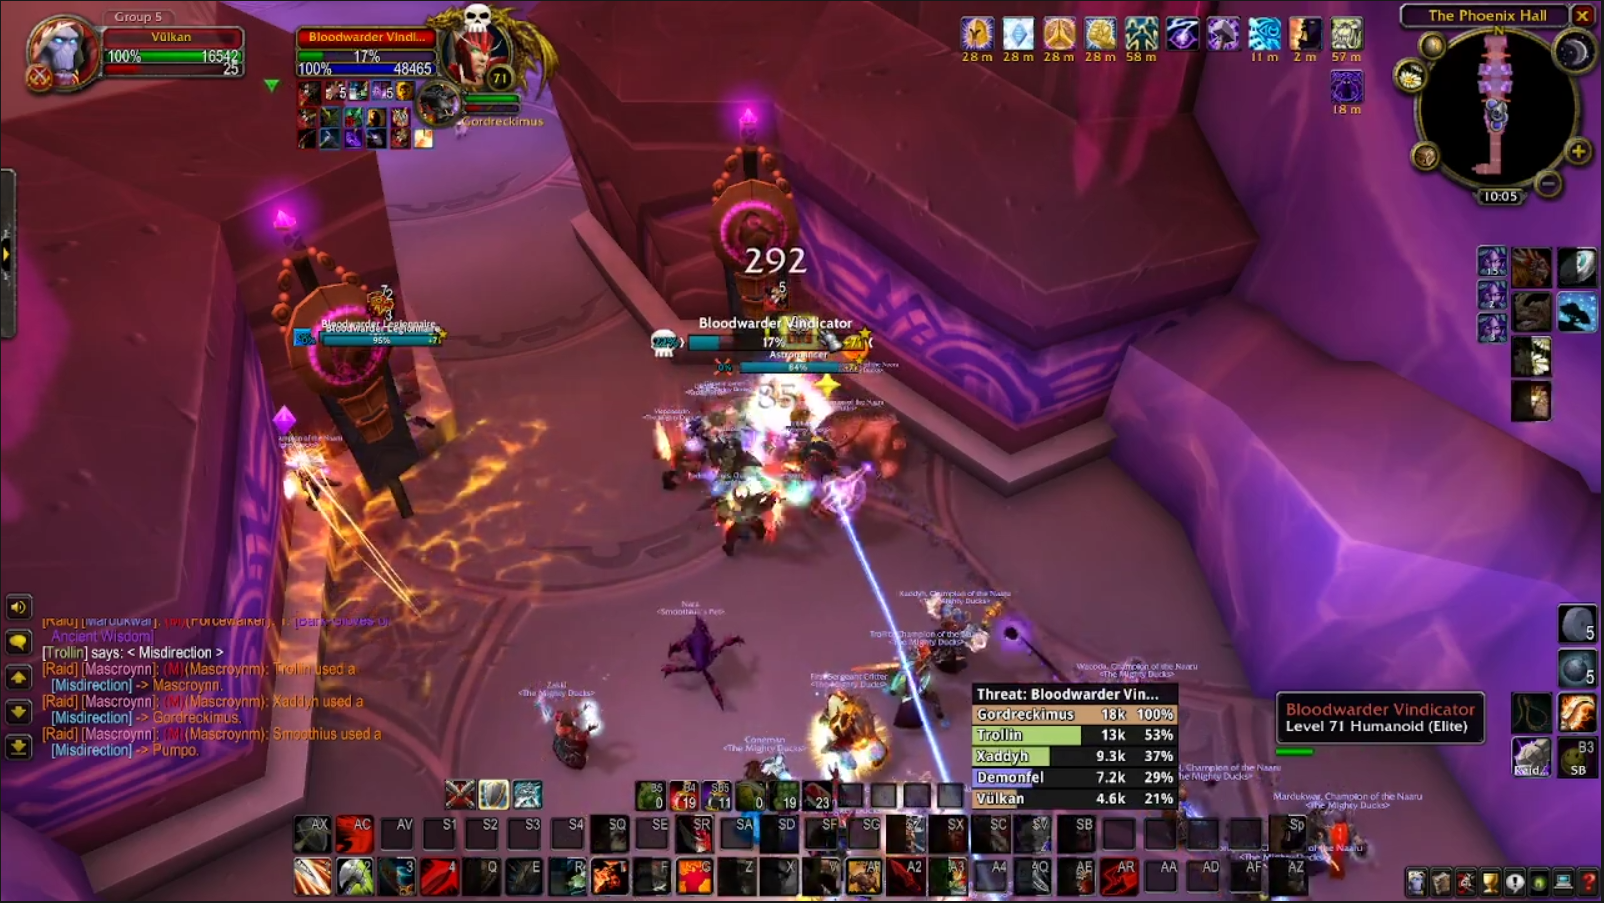
The first pack in particular is the most challenging, because the pack is designed for you to fight it in the room they're already in. However, to mitigate the risk of pulling the patrol, you either have to time your engagement so you kill them before the patrol returns, or pull the un-polymorphed enemies into the staging room, which can be perilous due to the sheer volume of AoE damage the pack puts out. DPS target discipline is critical, particularly around crowd controlled targets and mind controlled players.
DPS target discipline is critical, particularly around crowd controlled targets and mind controlled players.
Don't get disheartened if this first pack wipes your raid, or kills three quarters of it. It's happened to everyone - Tempest Keep really marks a big step-up in coordination and teamwork to deal with it effectively.
Assuming you have got your timing right and engaged the first pack as the patrol is moving further down the corridor, you should now be safe to wait until the patrol, consisting of two Squires and a Marshal, can be safely pulled and dealt with. Again, you'll want to move the Marshal away from the Squires, as stacking whirlwinds can and will instantly delete your melee players.
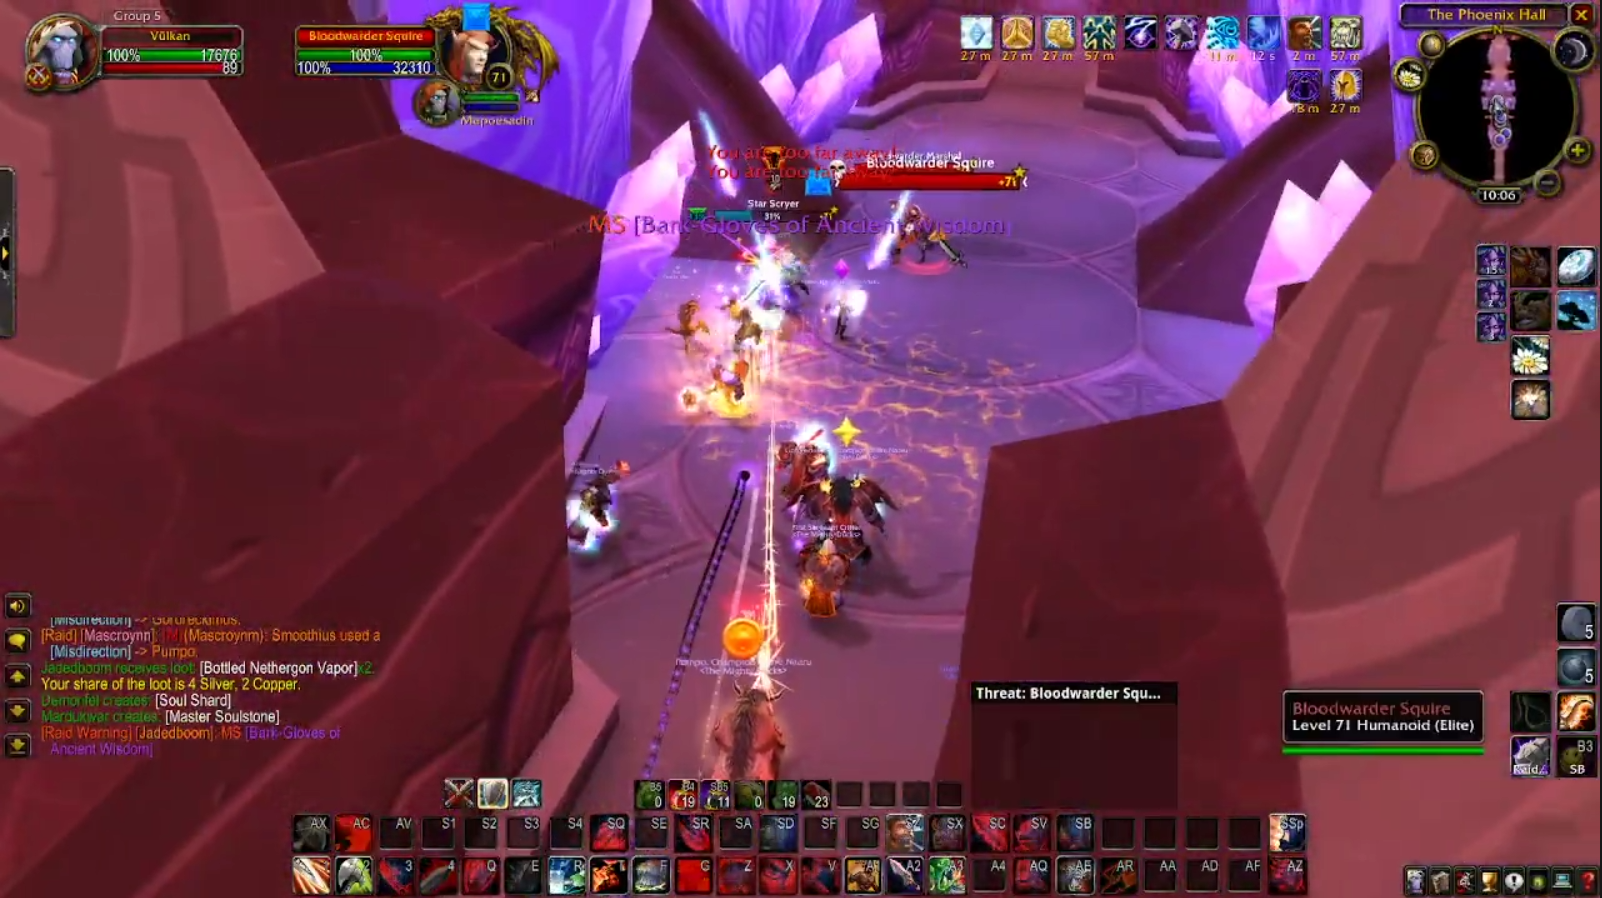
(Editor's note: This expansion is dominated by ranged classes, and melee, with very few exceptions, get the short end of the stick. So if you remember playing a melee class through this content, just remember, you were the toughest of all of us.)
The next two packs in the corridor can be dealt with in the same way. Pull the pack back, crowd control casters, prioritise non-controlled casters, then vindicators, then legionnaires. Melee DPS need be prepared to die or step out when you get too low thanks to whirlwinds. Don't demand the healers baby you through these packs, or you'll have a really bad time and waste consumables.
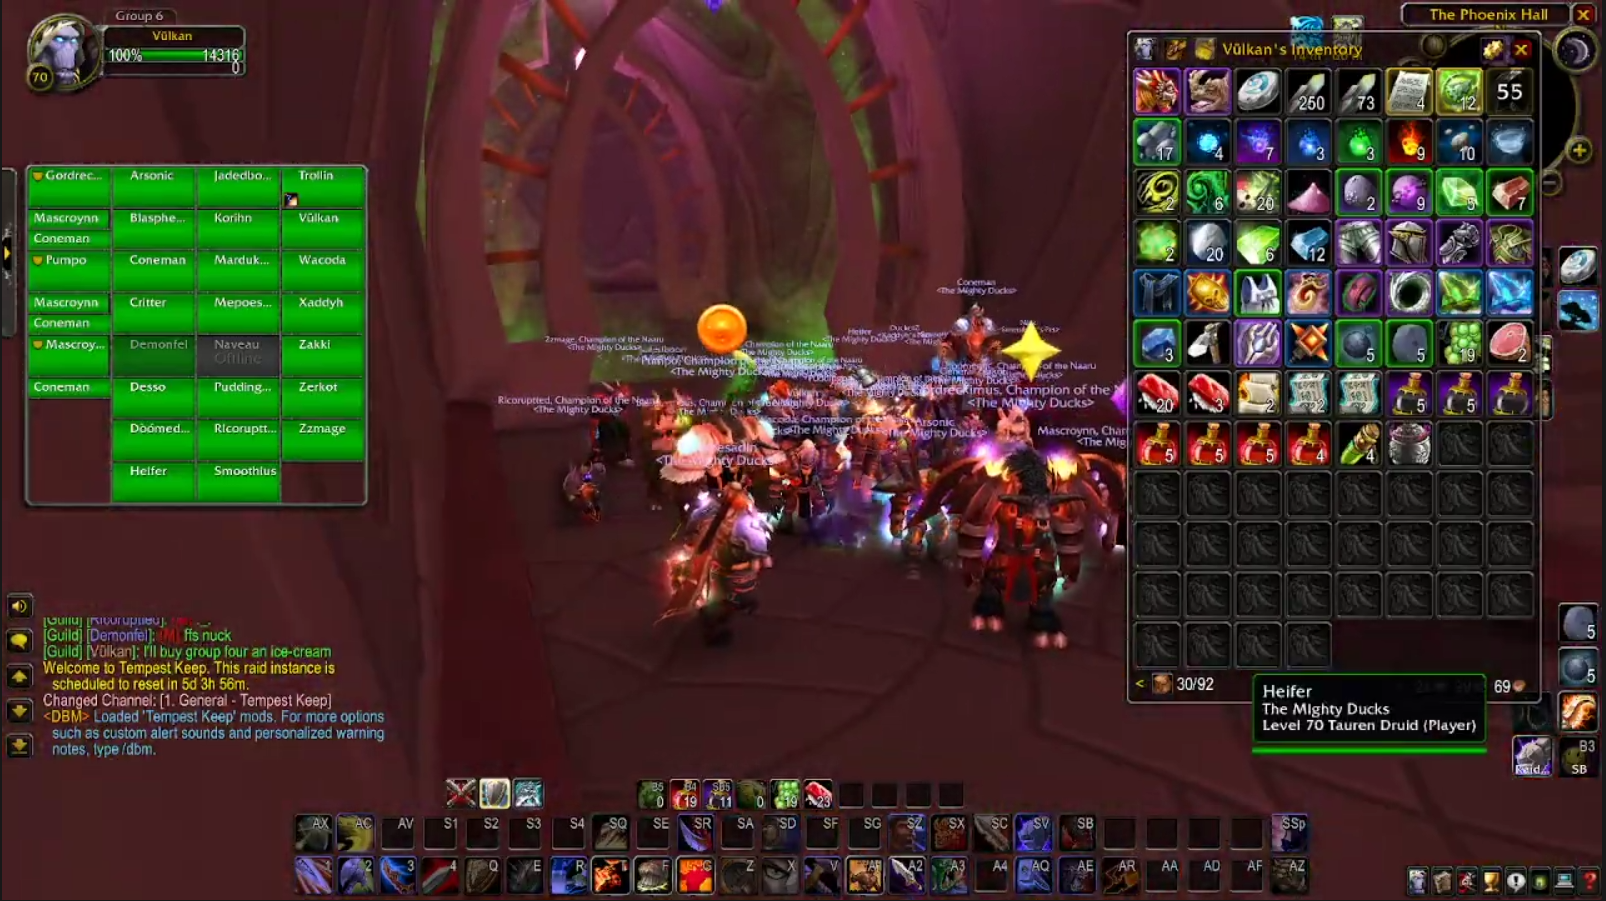
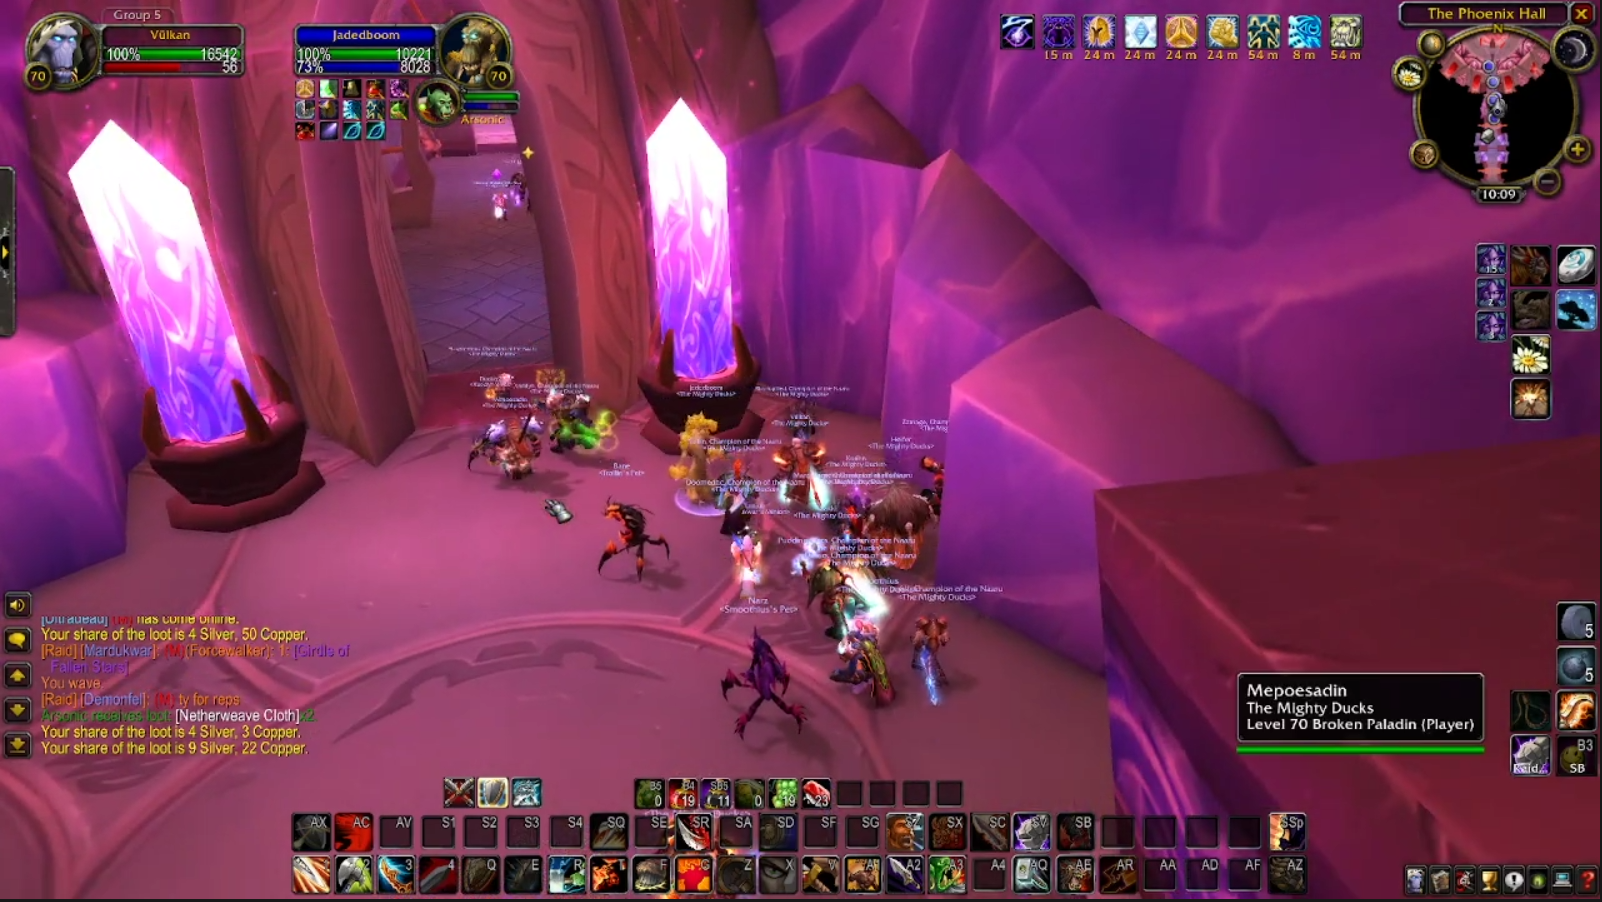
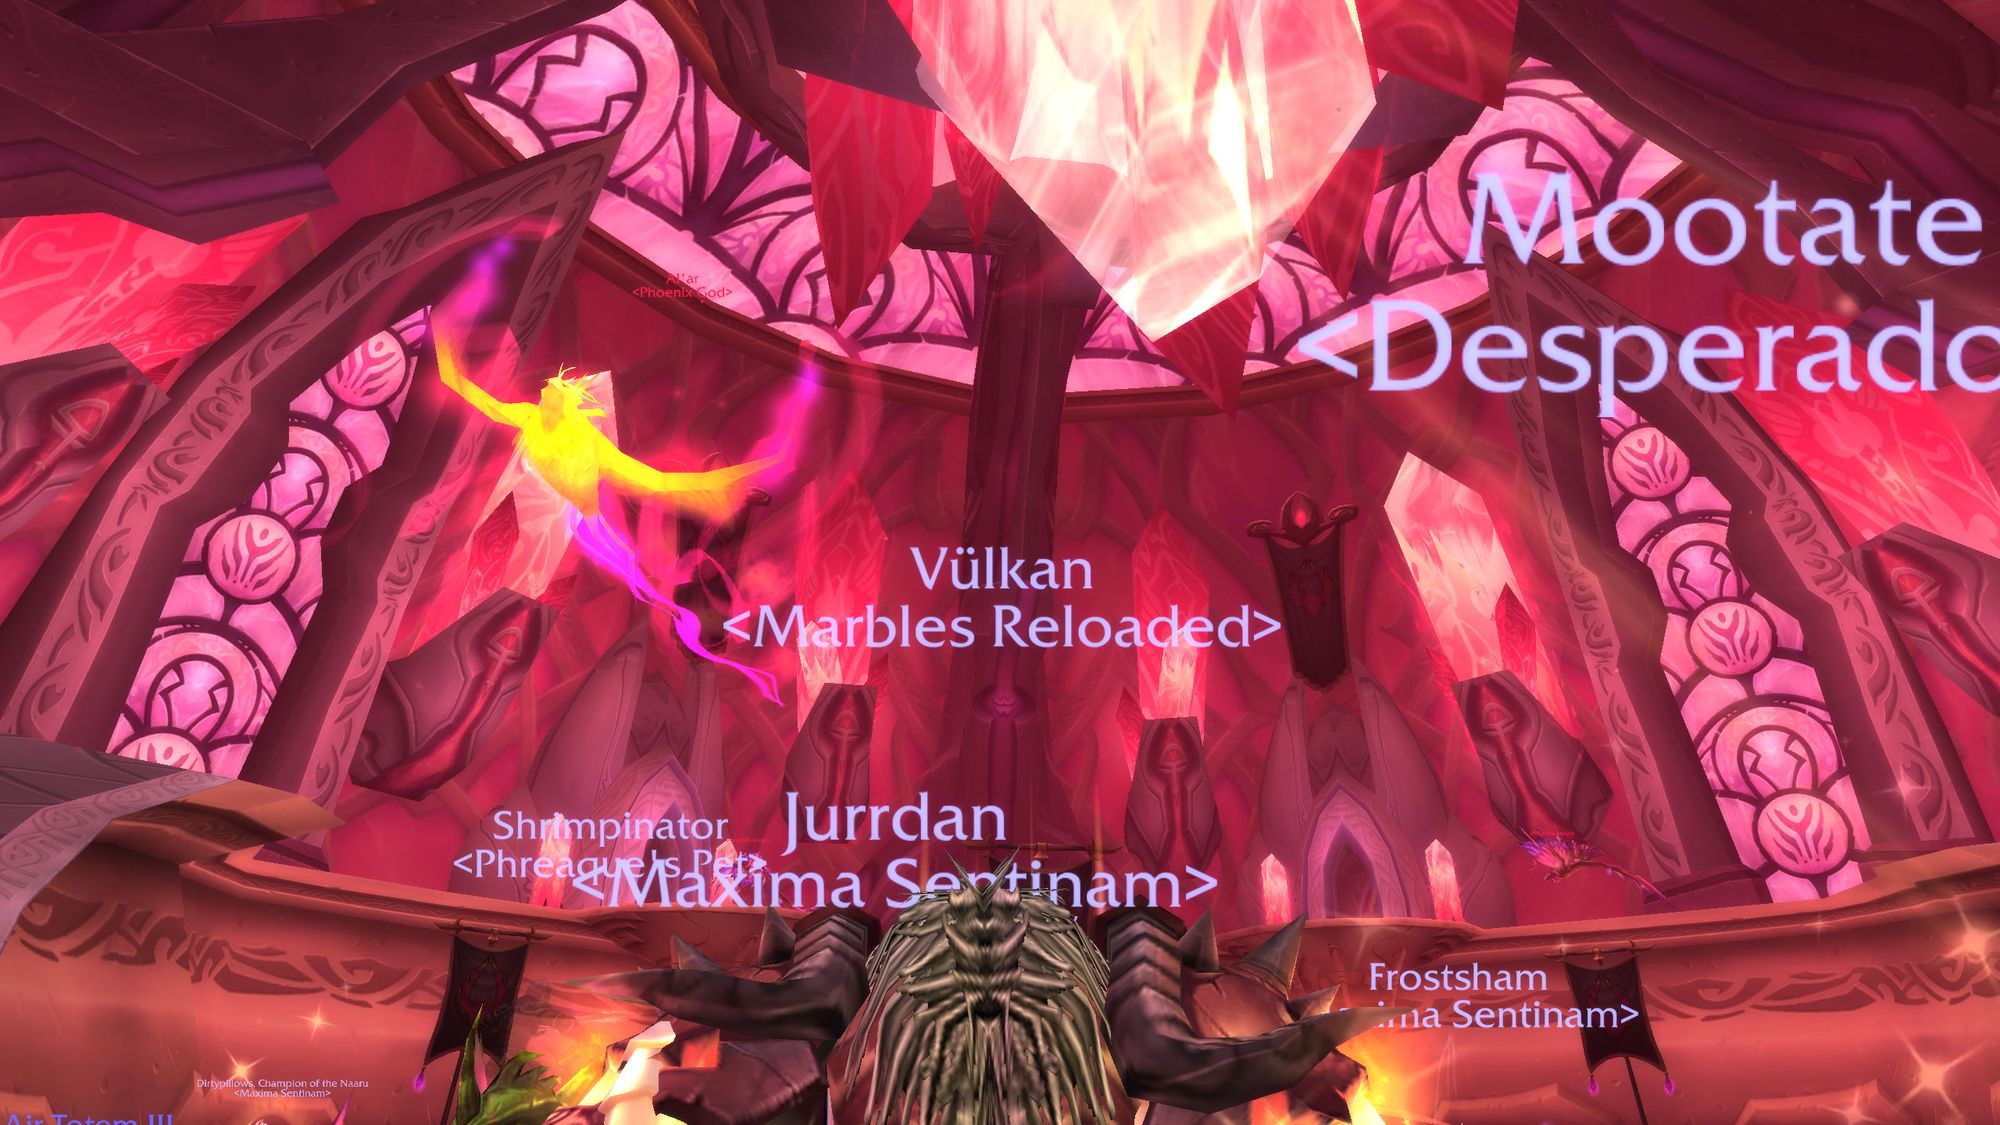
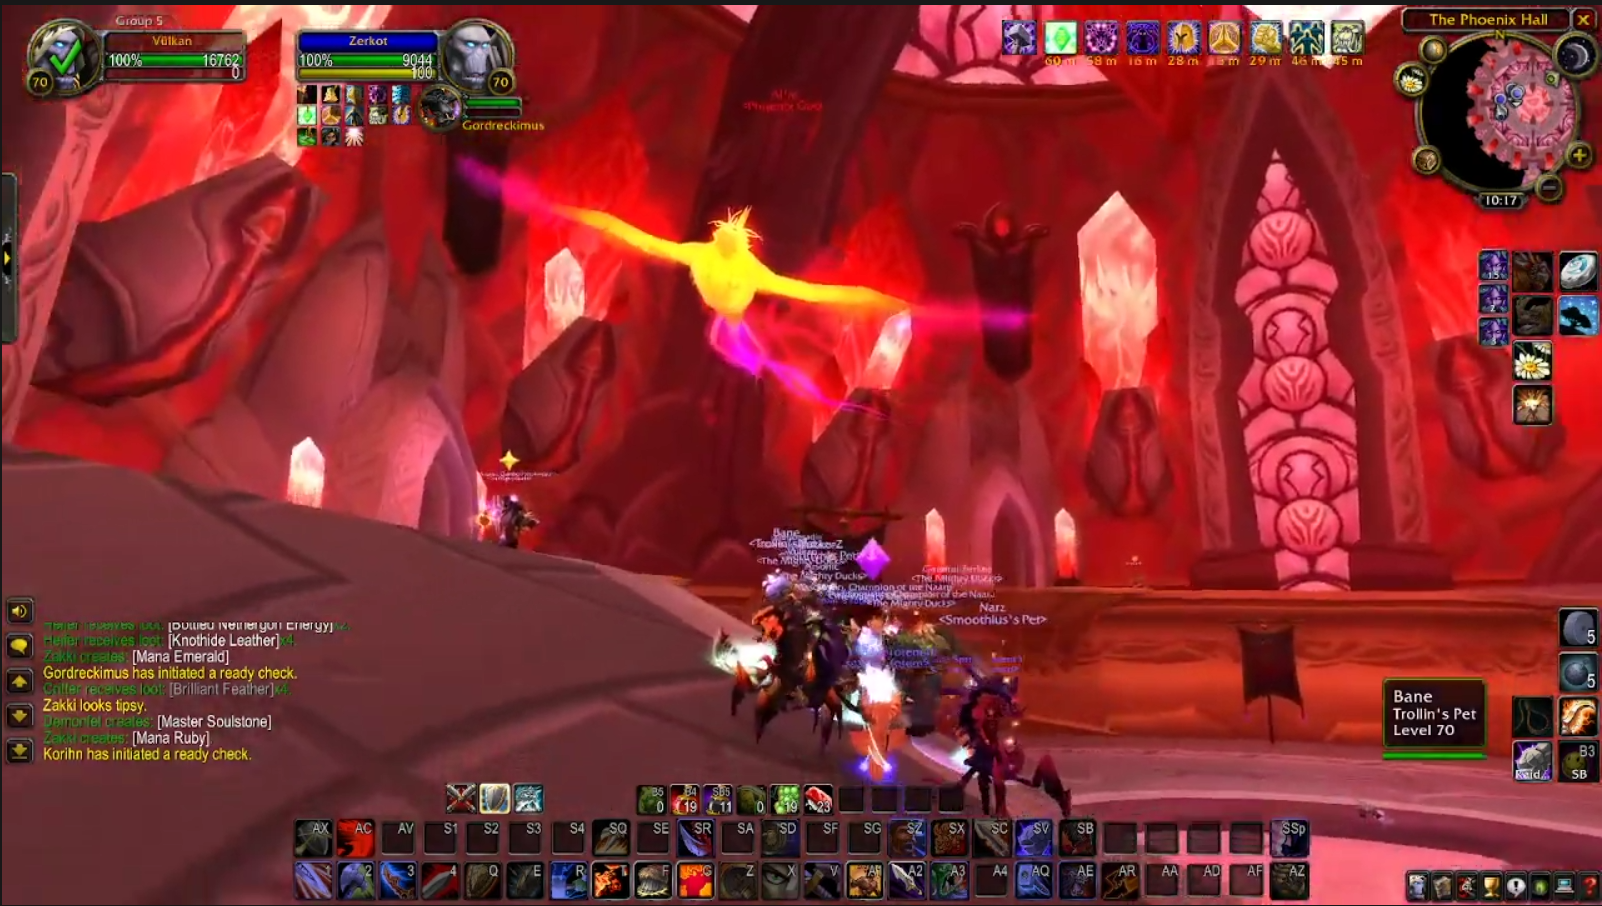
You'll now emerge into an open area where the first boss, Al'ar, is obliviously circling. He'll wait for you to attack him and he'll graciously let you kill his children and their masters first.
The first two packs are a flock of Phoenix-hawk hatchlings, being led by two Tempest Keep Falconers. You'll want to use at least one, preferably two misdirects - one for the Falconers and one for the hawks.
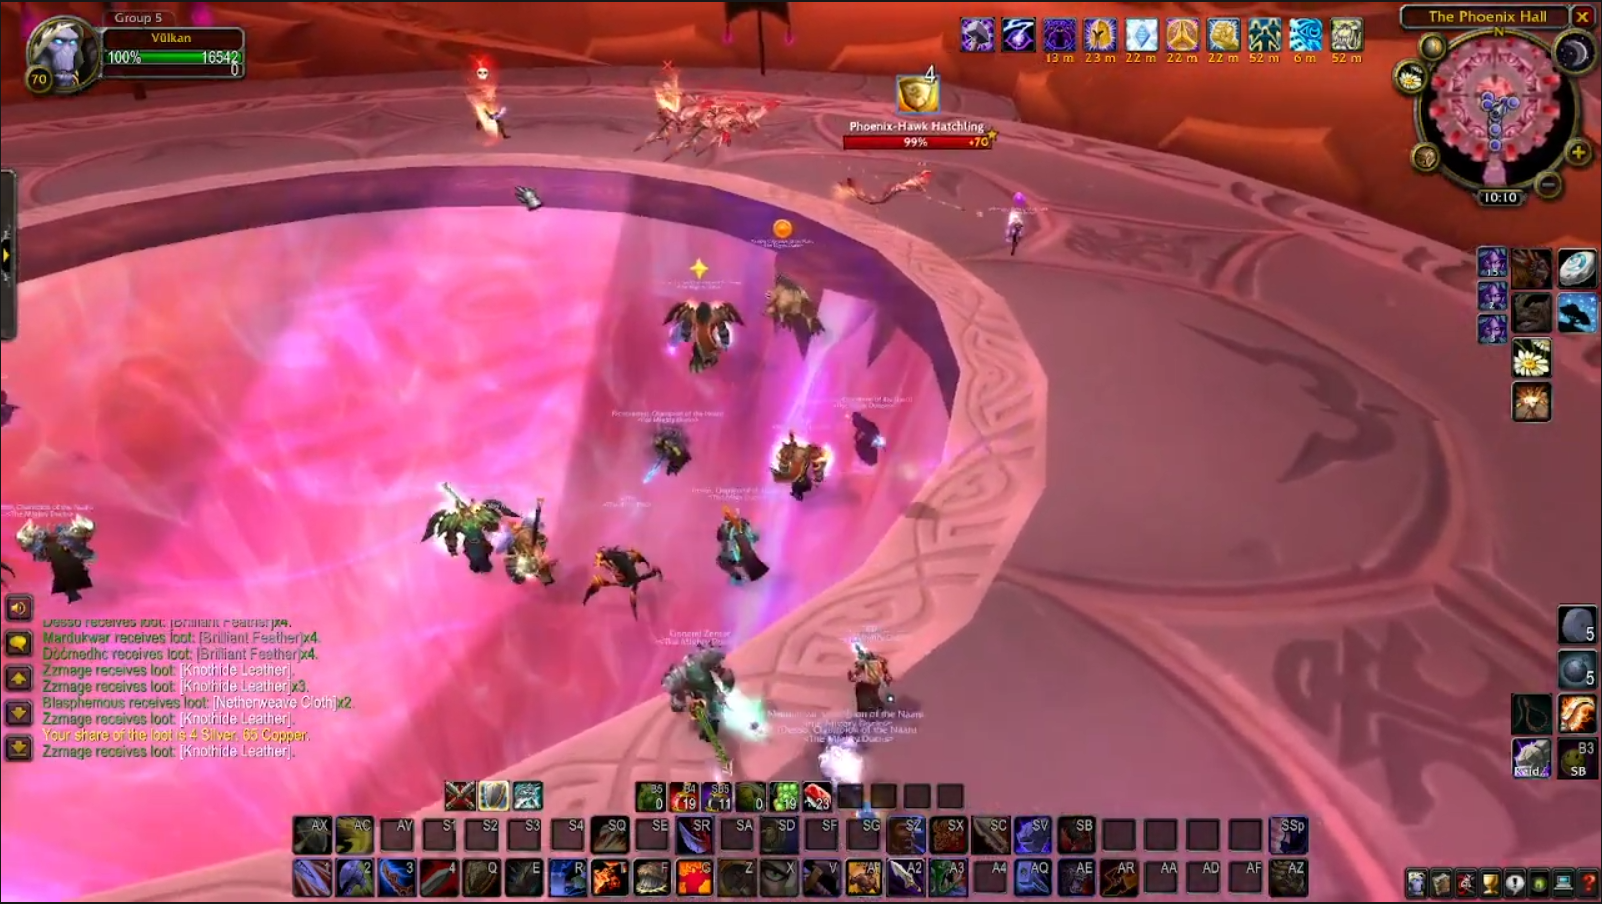
The Phoenix-hawks do a charge with a mana burn, so what you'll need to do is misdirect them to your Paladin (you DO have a Paladin, right...?), who will then generate threat on the pack using staggered consecrates, steering them into the corridor where you fought the first four packs, tanking them against a wall to reduce knockback.
The Falconers can shoot through walls for... some reason, so you'll need your two off-tanks to aggro them in the hallway as they run after the Paladin. Your raid should kill the Falconers first to allow time for sufficient threat generation on the Pheonix-hawks. The Falconers also put a small lingering fire effect on the ground. No guesses as to what you should do with that.
You'll pull the next pack in the same way, then you'll need to clear the walkways above Al'ar.
(Editor's Note: An important historical footnote here is that whilst killing Al'ar is mandatory to accessing Kael'thas, if your raid is very skinny, you can bypass Al'ar and head toward Void Reaver after you clear the walkways. This is significant because Void Reaver is not particularly hard to deal with and rewards you with T5 shoulder tokens, which can help gear up your raid in a hurry.)
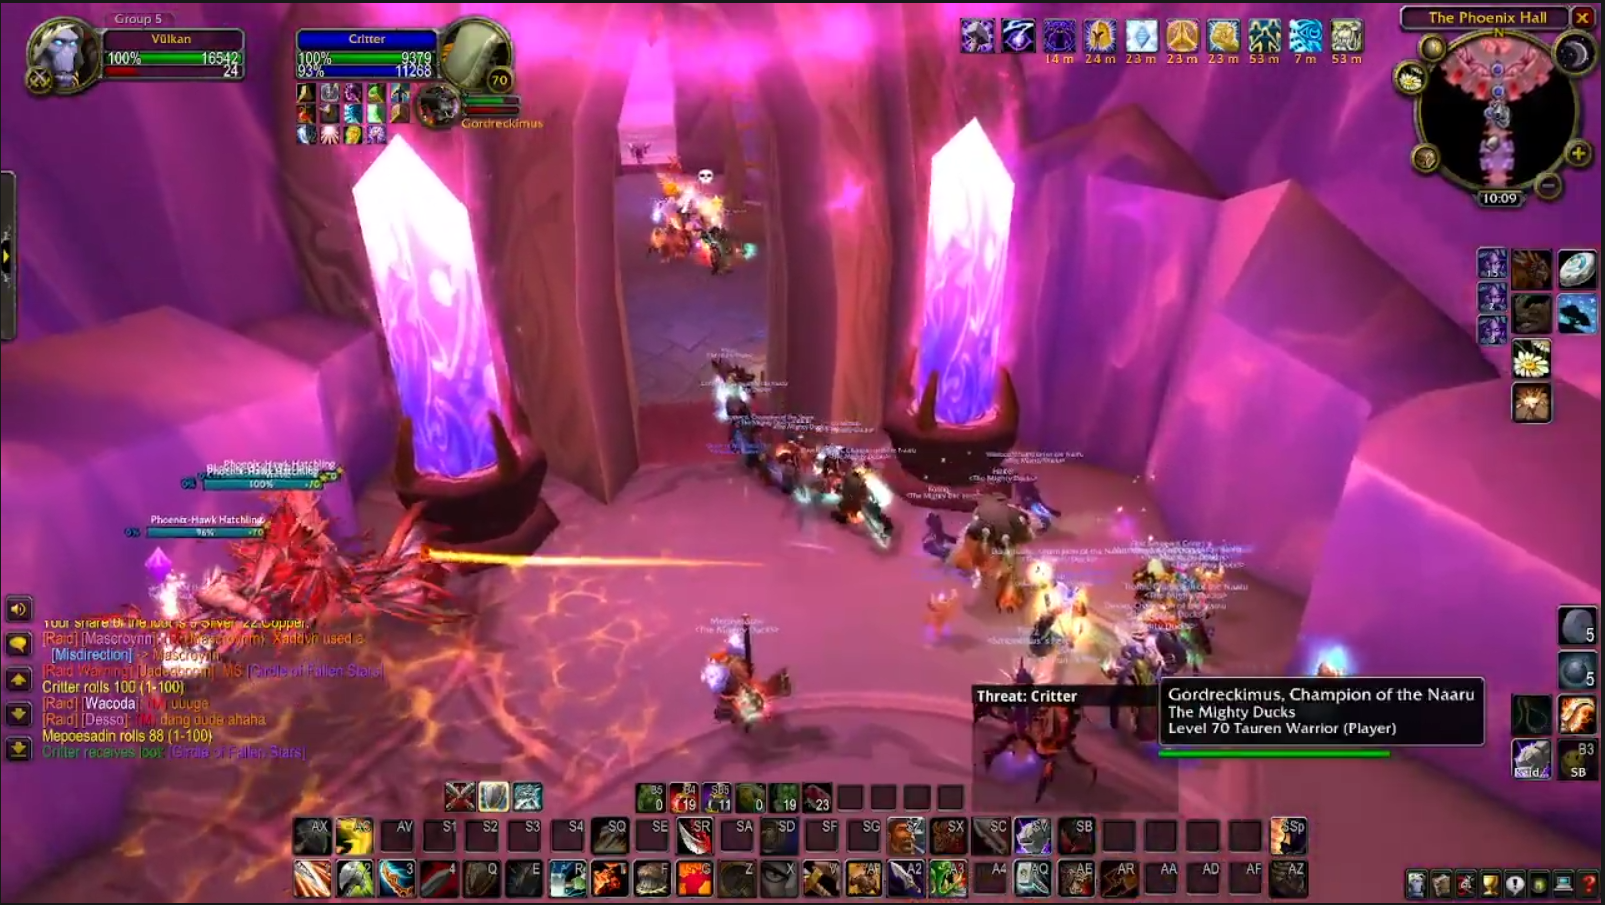
The Phoenix-hawks charge, which hits an AoE around the charged target, and also mana-burn targets periodically. This part can be slow going as they'll often suck your raid dry before you die. This also means accidentally pulling two will most likely result in a wipe.
There's lots of ways to deal with these mobs, from breaking line of sight, to all jamming into the corner of the room. Ask three different raid leaders you'll get three answers. The Ducks' method is to have everyone stack under the ramp leading up, immediately behind the Phoenix-hawk.
You then have an off-tank stand out, much like the Shield-bearers in SSC, to soak charges. In the same way, the off-tank must make sure to attack the Pheonix-Hawk once to appear on the threat table, otherwise he'll be ignored. Druids can use Faerie Fire, Warriors can use their ranged weapon, etc. etc. The charge also sends you flying, so make sure you're backed up against a wall if possible.
There are six Phoenix-hawks in total, two on each side and two that roam from side to side. My advice to the tank responsible for pulling is to be decisive and don't hesitate, which will keep the pace up.
Now you're ready for your first Tempest Keep boss. You'd best hope your tanks have Boar's Speed.
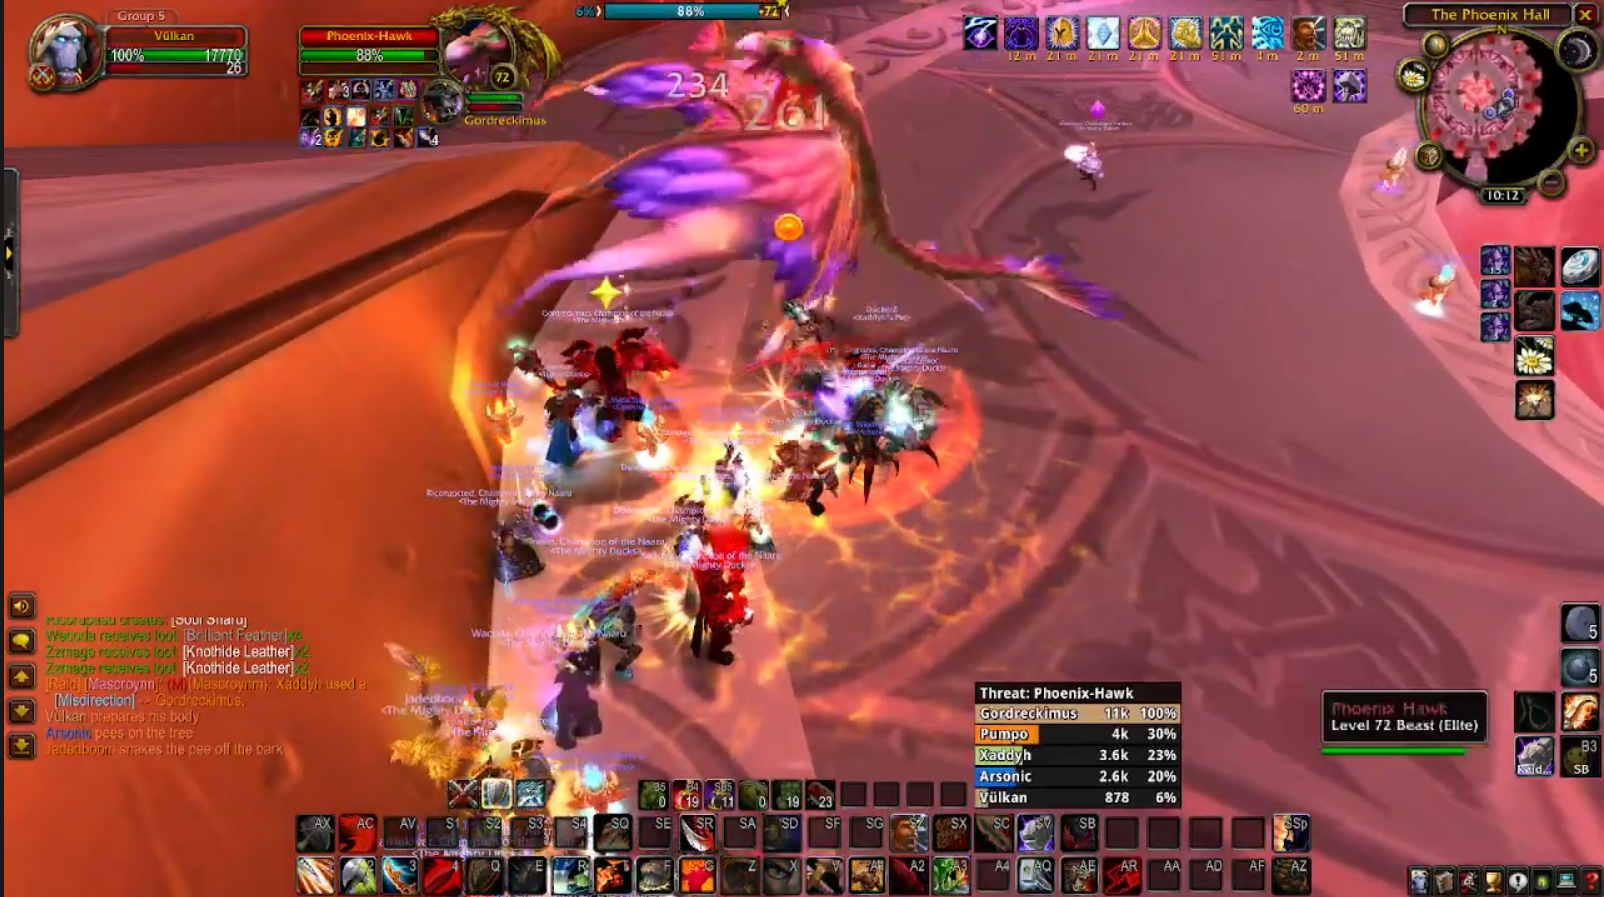
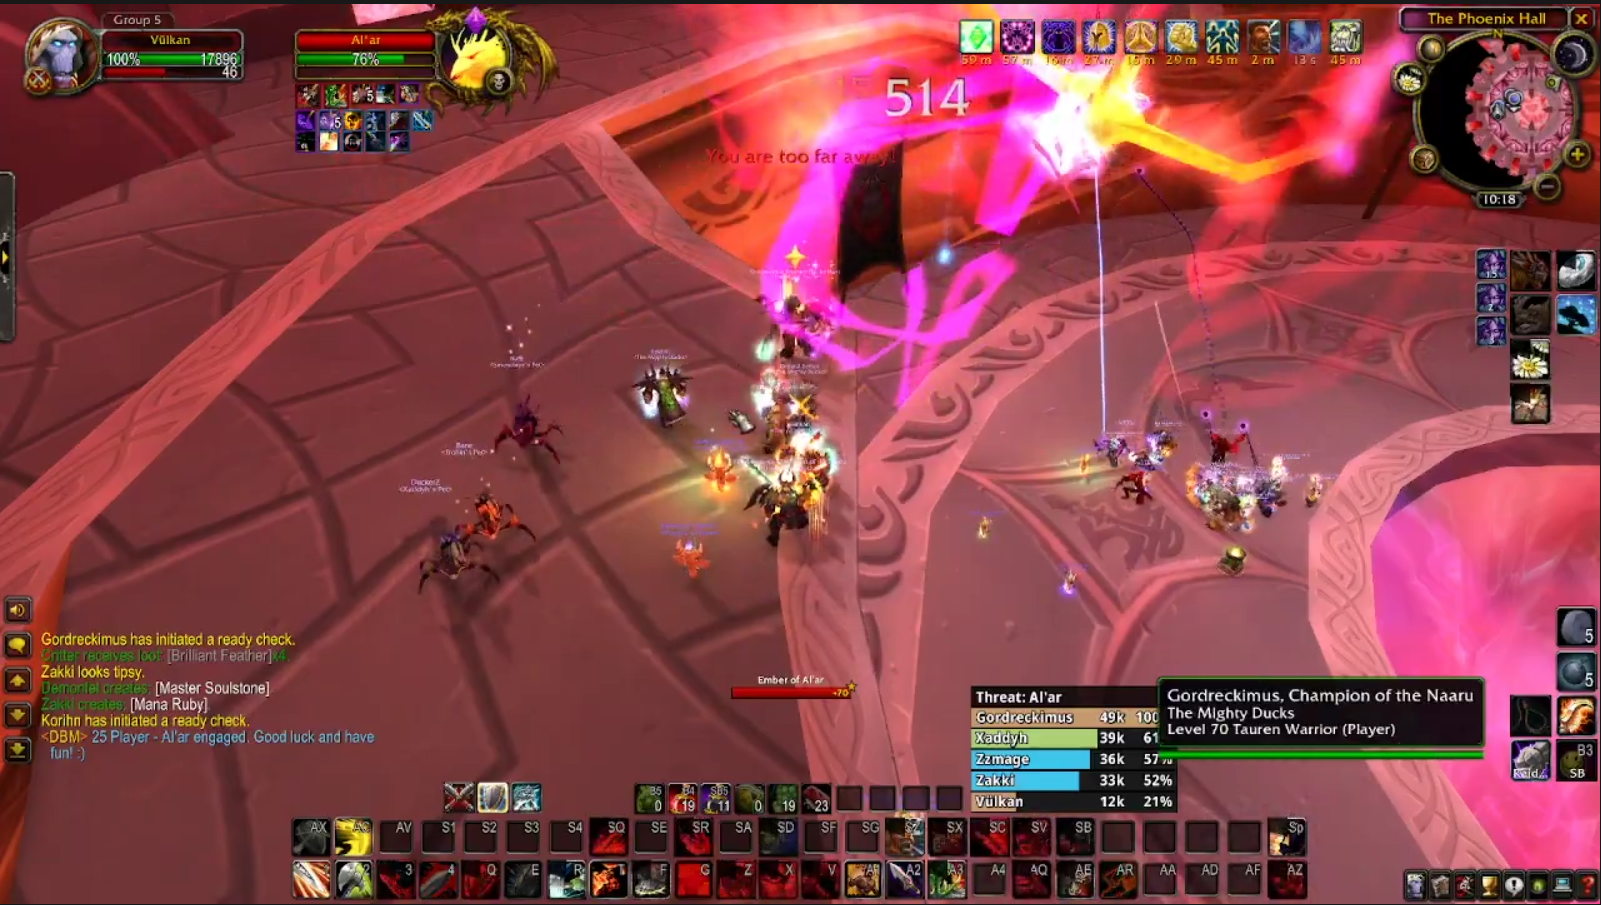
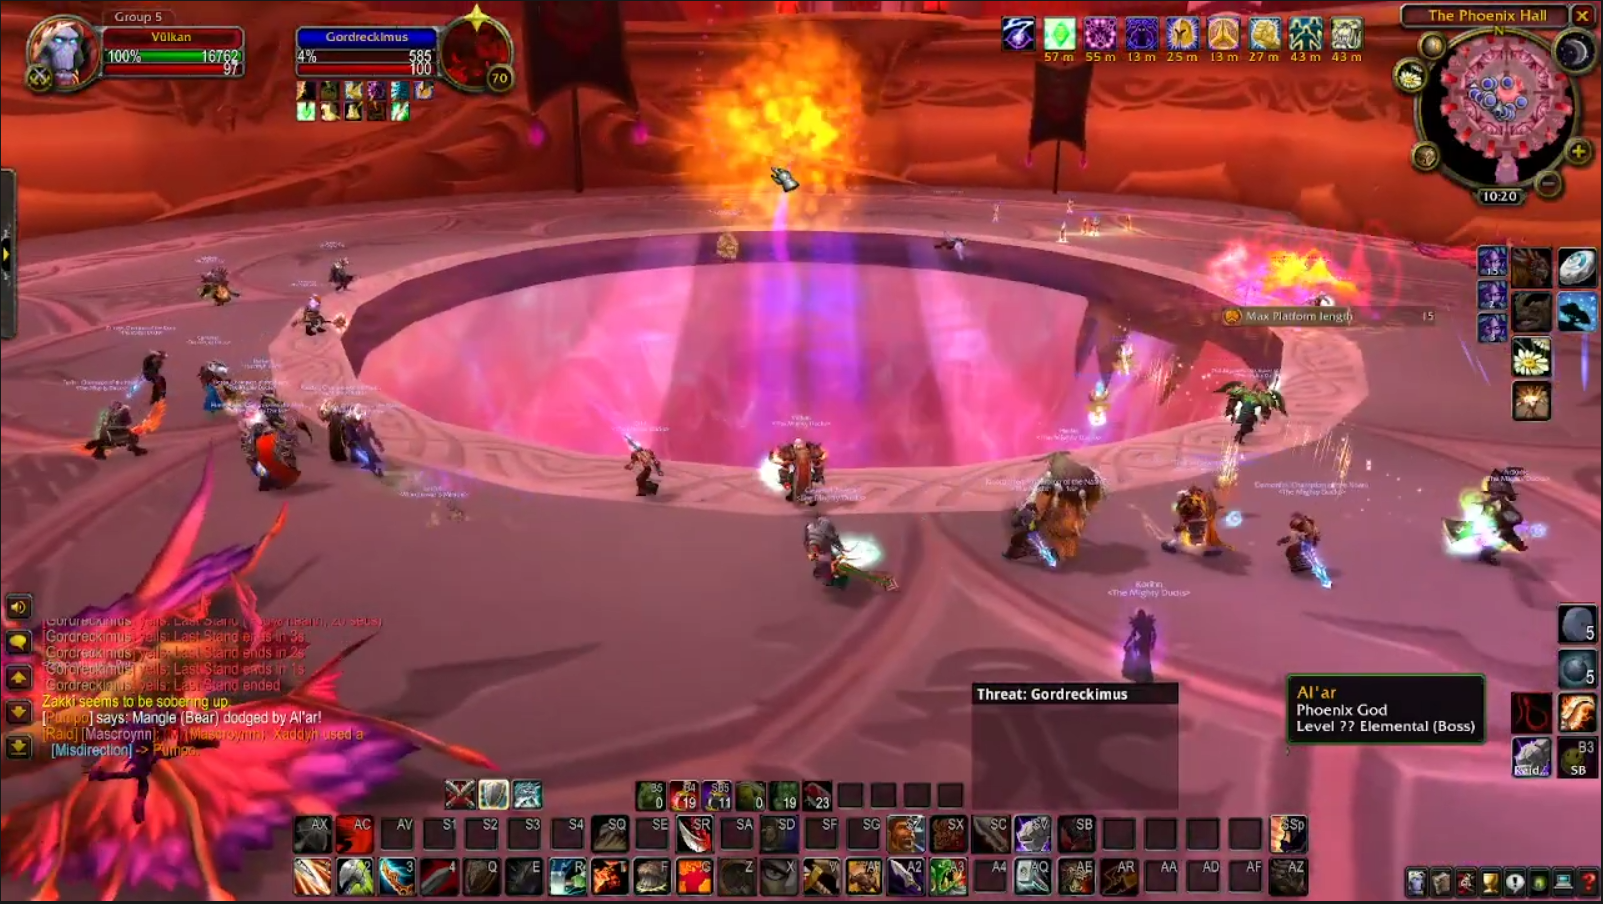
Boss One - Al'ar
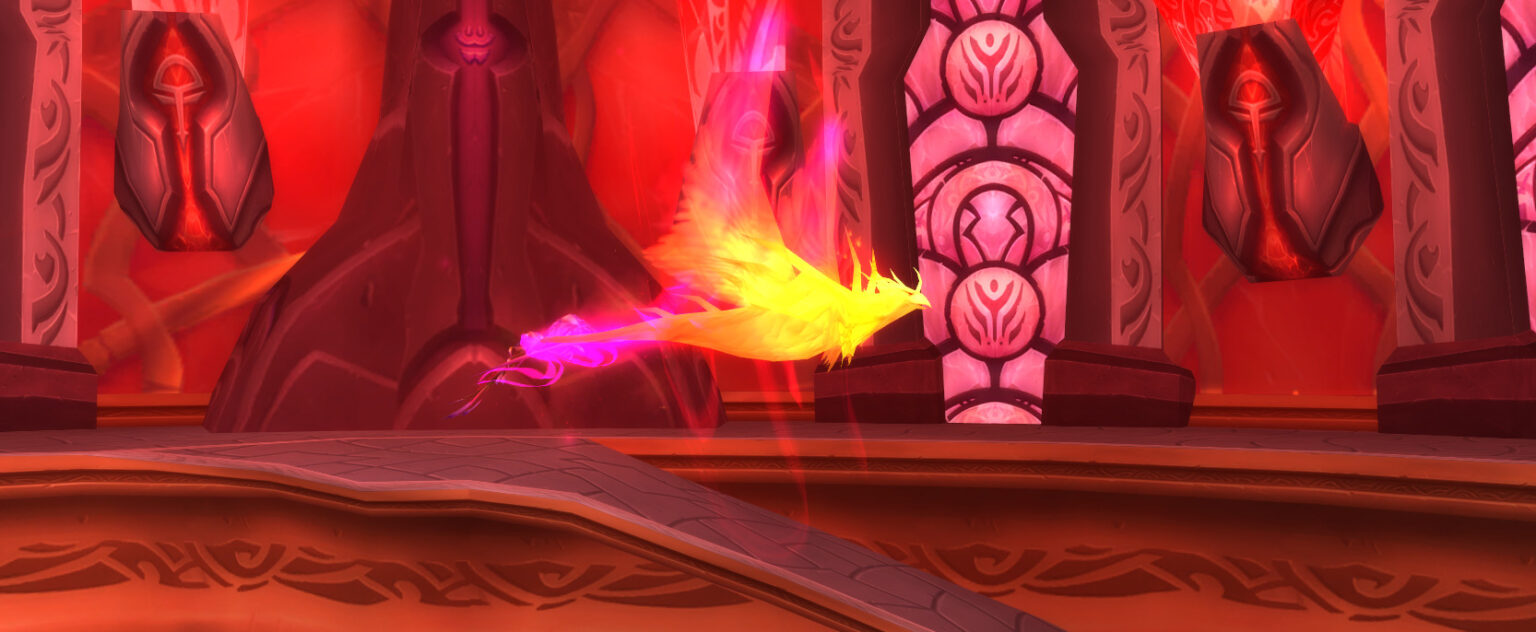
Al'ar the phoenix god is a two phase fight. The mechanics are not complicated, but the boss and the damage output is tuned very highly.
As a quick aside, I will never forget the feeling of seeing Al'ar the first time with Marbles. We were no match for him and were skipping to Void Reaver (more on that later) and so as we cleared out the room, I remember the feeling of seeing that huge boss, lazily drifting around the center of the room. A mixture of awe, dread and hopelessness. Quite a powerful evocation of emotion for some pixels in a video game.
There's no resistance requirements for this fight, but like everything else in this expansion, it's impossible without a Paladin tank. This is because the boss will periodically spawn Embers of Al'ar, which need to be picked up and controlled. Only the Paladin has the ability to hold threat on more than four targets, so they get that job.
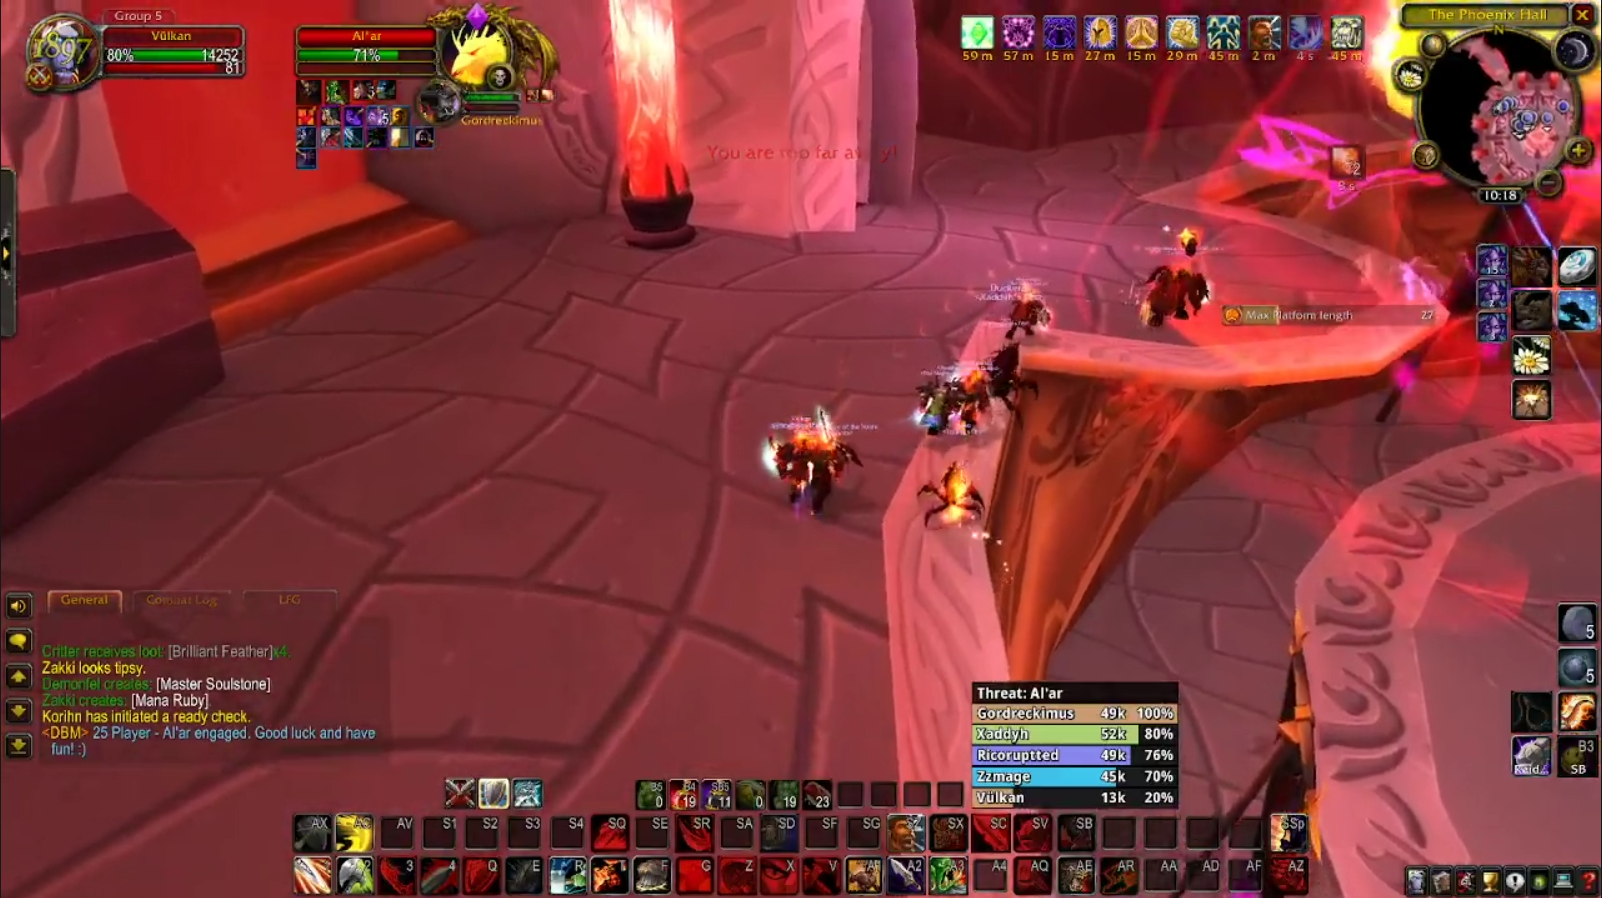
Before you pull the boss, you'll want one tank on the left side of the room and one on the right. You'll want your melee to be on the ramp leading up to the side where you'll pull the boss and you'll want your ranged and healers in a loose stack close to the platform where you'll engage.
Just to add a layer of spice, tanks need to be very specific with their positioning when tanking on the platforms around the room. It's very easy for the healers to lose line of sight, and Al'ar hits like a truck, which can very easily cause a wipe. You almost want to position yourself to where you're falling off the platform. It's not a sin to practice this a bit before you pull the boss, as it's embarassing to do it mid-fight.
Again, Al'ar won't touch you until you engage him, so you have plenty of time to check positioning and make sure everyone knows what they're doing.
When you're ready, signal the raid, and grab him on the next pass.
Tactics
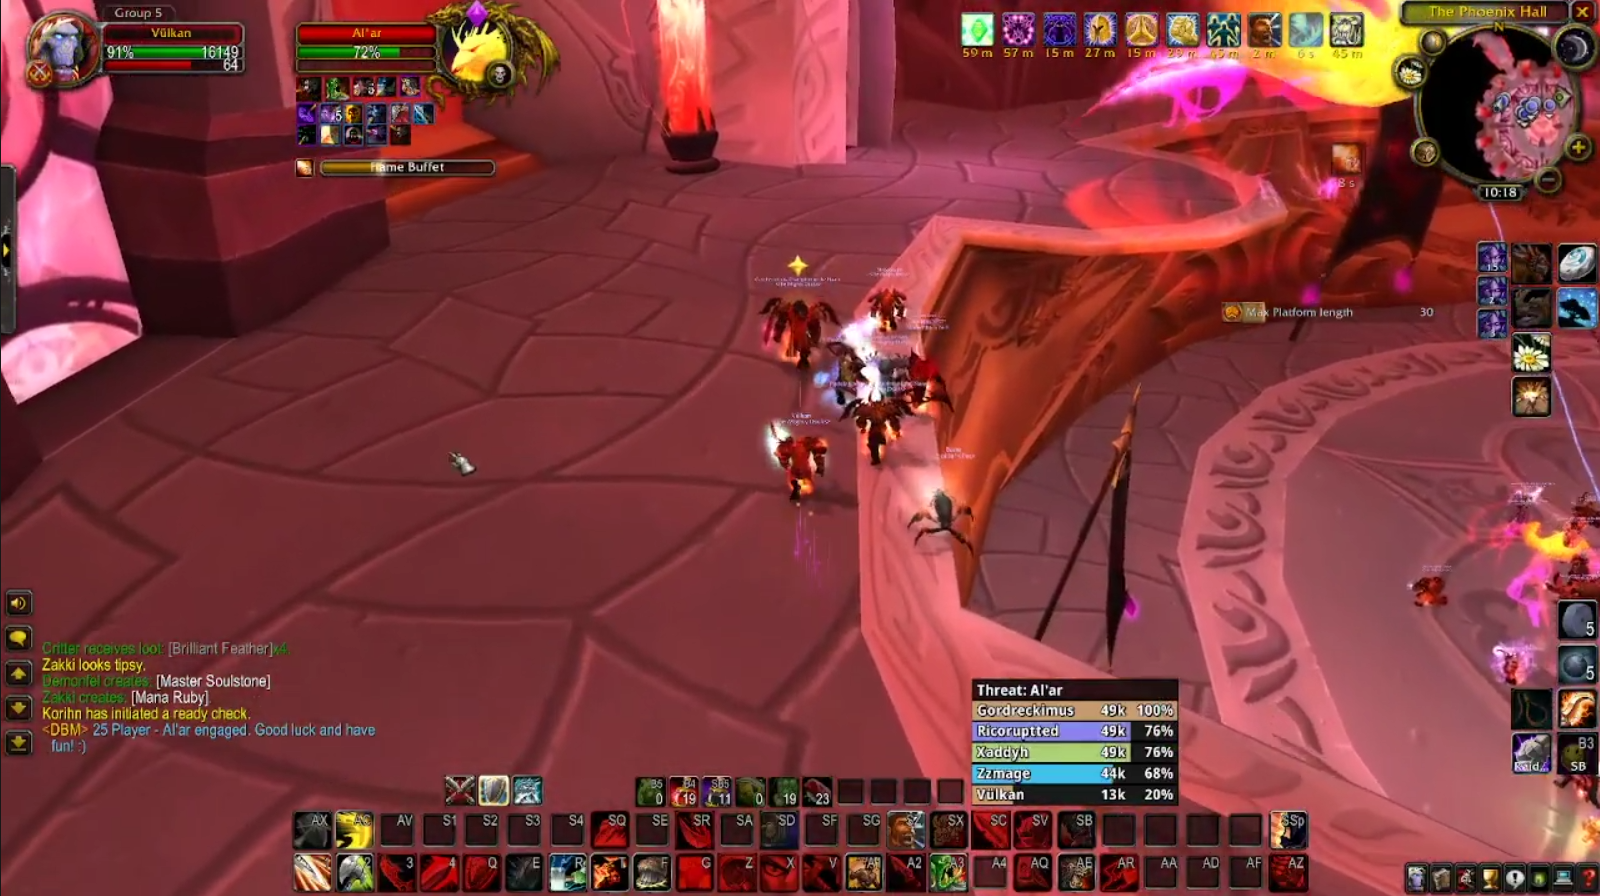
Phase one of Al'ar is a race, which revolves around maximising uptime on the boss. Every 25 seconds, Al'ar will move to another platform around the room. Sometimes this can be the next platform over, other times it can be across the room. This is why it's important your tanks have a speed enchant on their boots and be ready to move early.
(Editor's note: When Tempest Keep and SSC were nerfed, this was changed - the boss now travels between the same four platforms in a clockwise order.)
It's impossible for ranged to pull threat here, so the stack just wants to position themselves to cover as many platforms as possible, so they spend as little time moving as possible.
When the boss moves, until he's engaged, he'll passive-aggressively cast flame buffet on the raid, which increases their fire damage taken. This will wipe the raid if it stacks up too high, so be prepared to use whatever tricks you can to engage the boss to buy time. Priests in particular can use their Shadowfiend to take a hit or two from the boss.
When either tank engages Al'ar after moving to a new platform, it's imperative that they taunt the boss. If they don't do this, Al'ar will immediately turn and slap the first high-threat melee DPS that walks into range. Conversely, it's important that melee players wait until the tank gives the all-clear before walking in, to avoid the above scenario.
Each time Al'ar moves, two things happen.
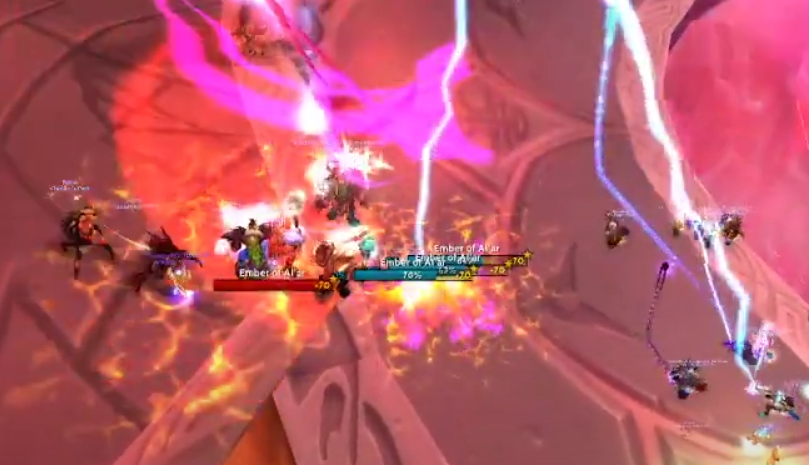
Firstly, he will always spawn an ember of Al'ar that will need to be picked up by the Paladin tank. They're not particularly threatening but once they start to reach sufficient numbers, they'll kill your Paladin and the raid will wipe. However, it's not as simple as killing them - each ember you kill chunks the Paladin tank for a big amount of damage and knocks them back.
To control these, ideally you'll want your Paladin calling when an ember is low on health from consecration damage, so it can be picked off by your ranged DPS. This also alerts the healing team that the Paladin is about to take a chunk of damage, and to be ready with cooldowns if required.
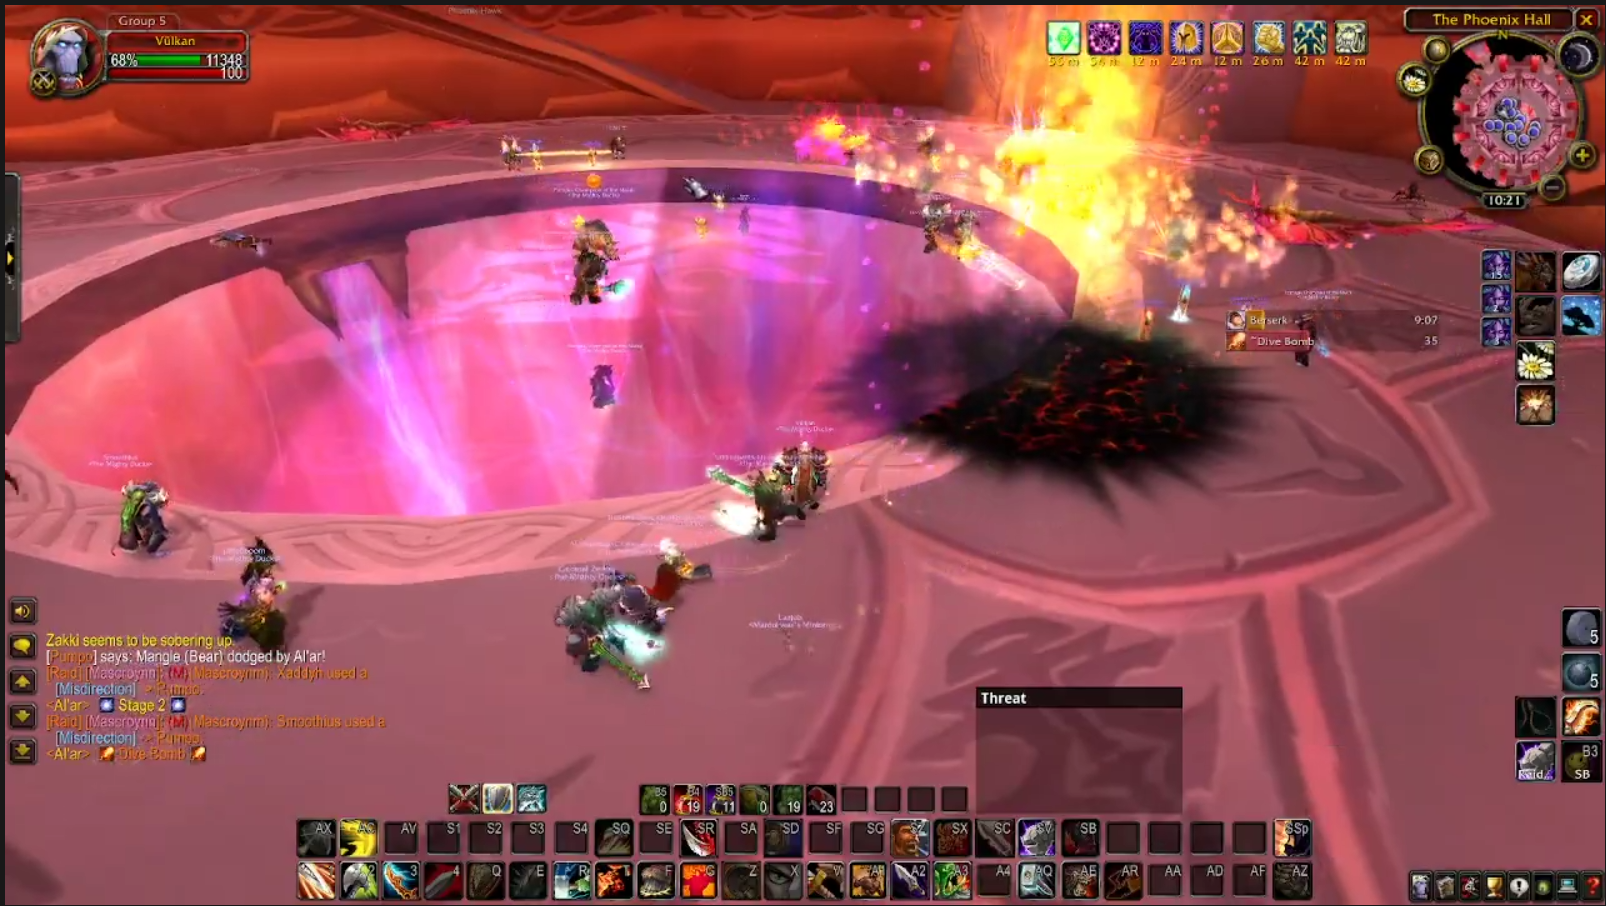
Secondly, every time Al'ar moves platforms, there's a chance for the boss to use Flame Quills. This does huge damage to anyone on the upper level of the room, normally killing them in two seconds. This is the melee awareness tester.
Al'ar will signal his intent to cast Flame Quills when he moves between platforms, based on the direction he flies to the next platform. The boss flies down, continue as normal. When the boss flies up, that's your queue to get down.
An important thing to note here is whilst common parlance is to "jump" down, you will want to walk off the platform, not jump. This is because flame quills checks against the player's height, not where they are. If you jump, you're extending the amount of time you're at the height where you can be hit by flame quills, which can result in your fiery death.
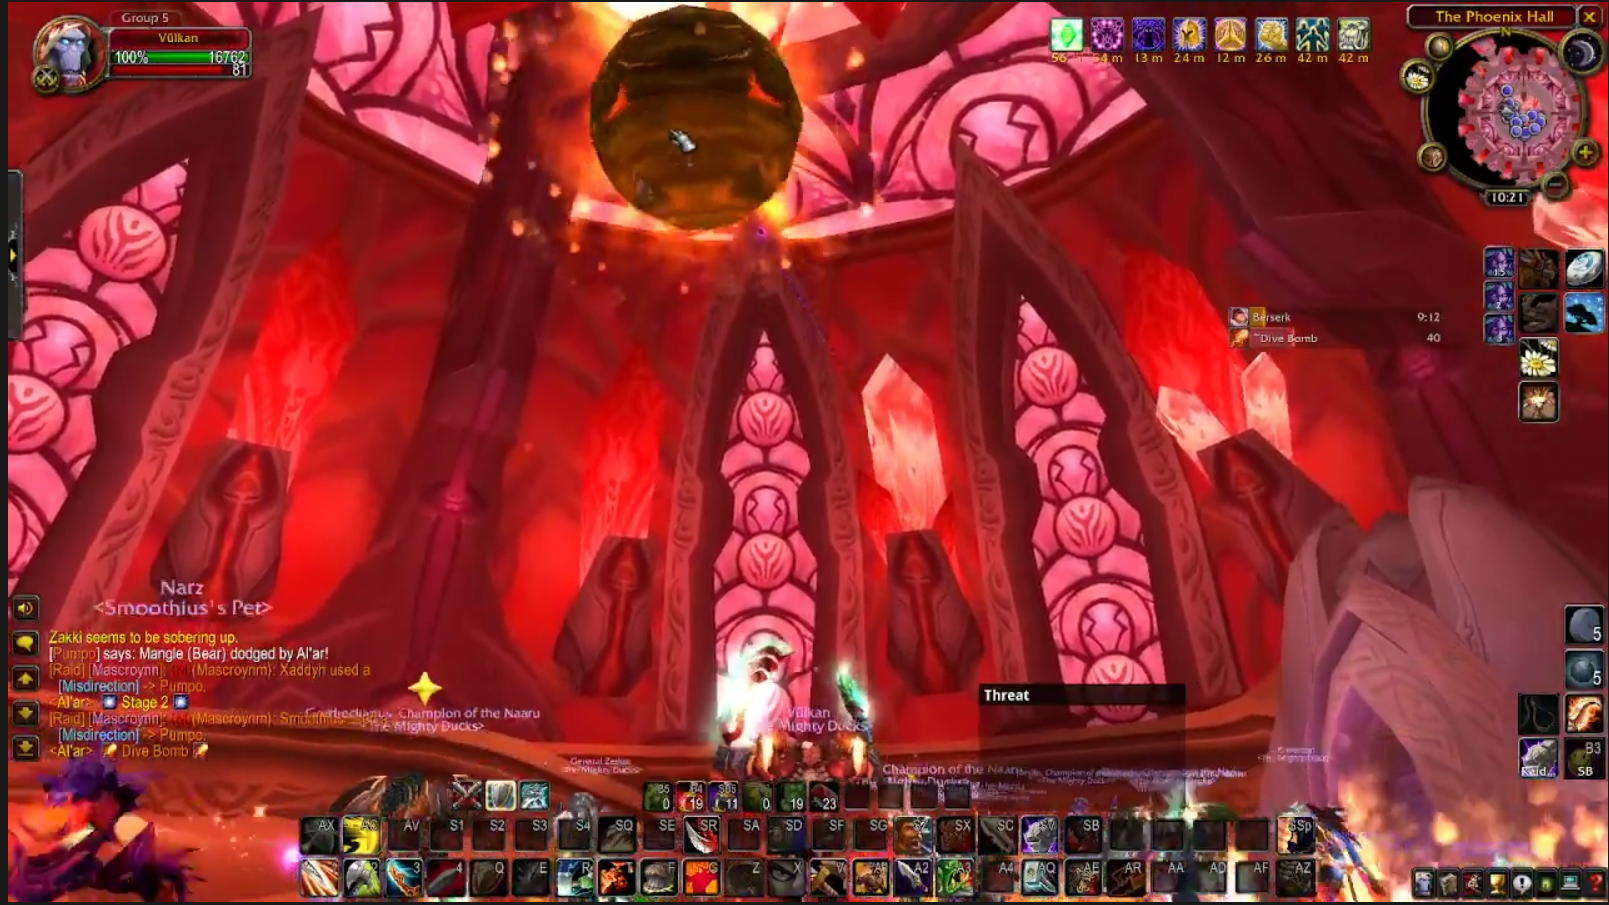
This process repeats until Al'ar runs out of health. When the boss starts getting low, melee and tanks will want to "jump down" from the upper platform, as Al'ar explodes at zero health, knocking everyone back and dealing heavy damage.
Now begins phase two. It might be helpful at this point to pick off an ember or two at this point (not at the same time, mind you) to reduce pressure on your Paladin.
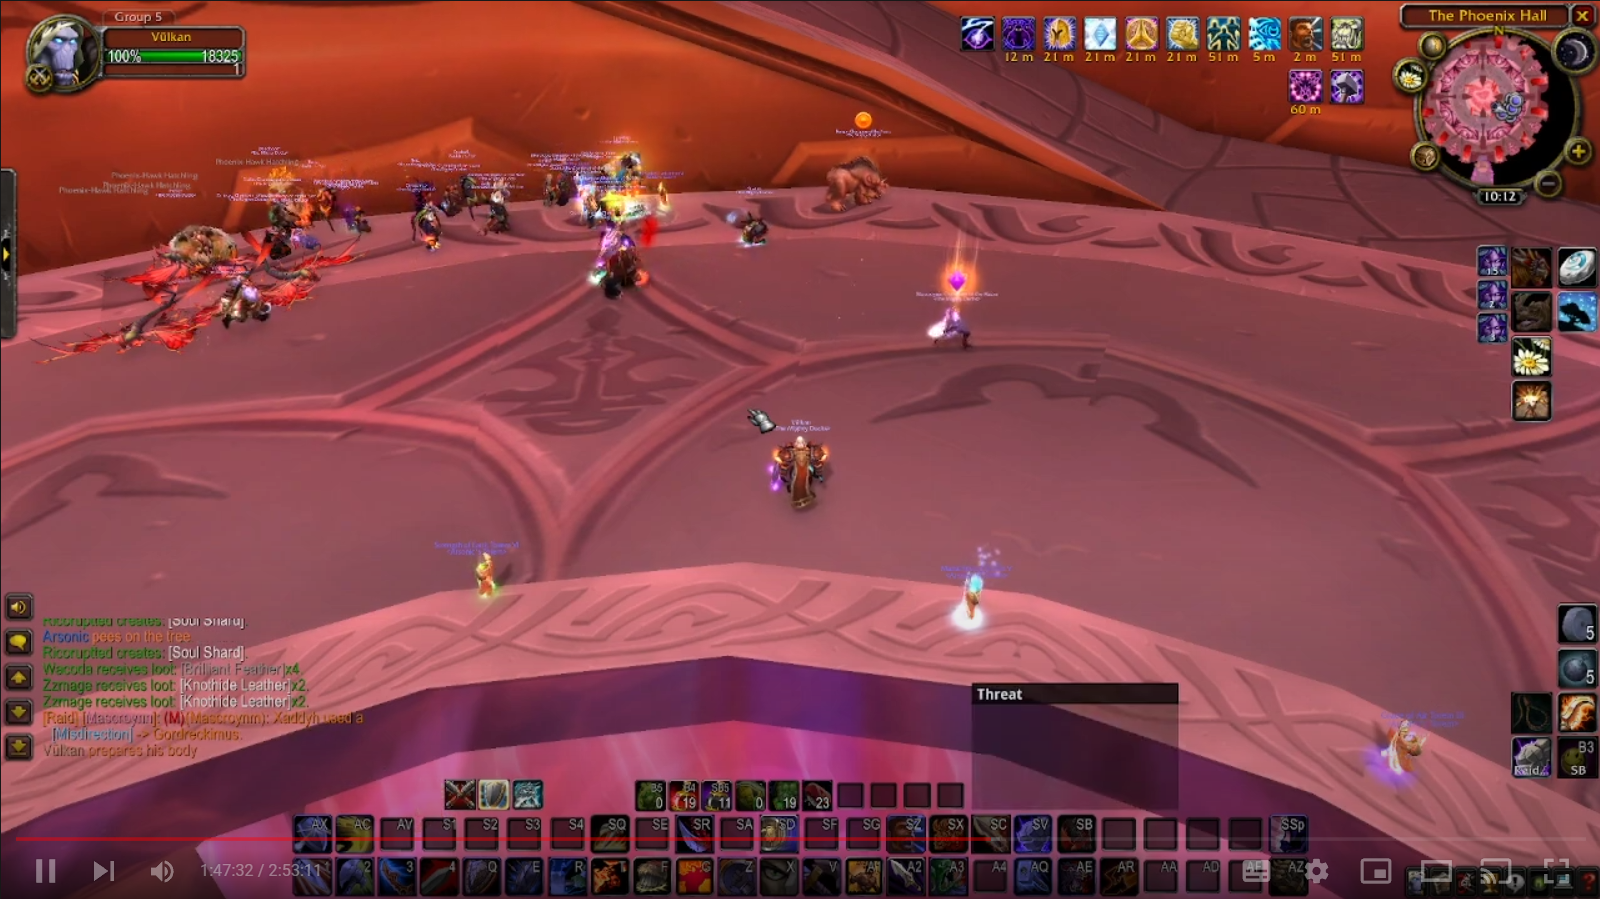
Al'ar will reincarnate in the middle of the ground floor. He'll knockback anyone in the centre of the room, so players should stand out to avoid this, even tanks. The way to determine if you're safe, is the ring decal, which marks the inner and outer parts of the arena. Stand beyond the ring, and you'll be sweet.
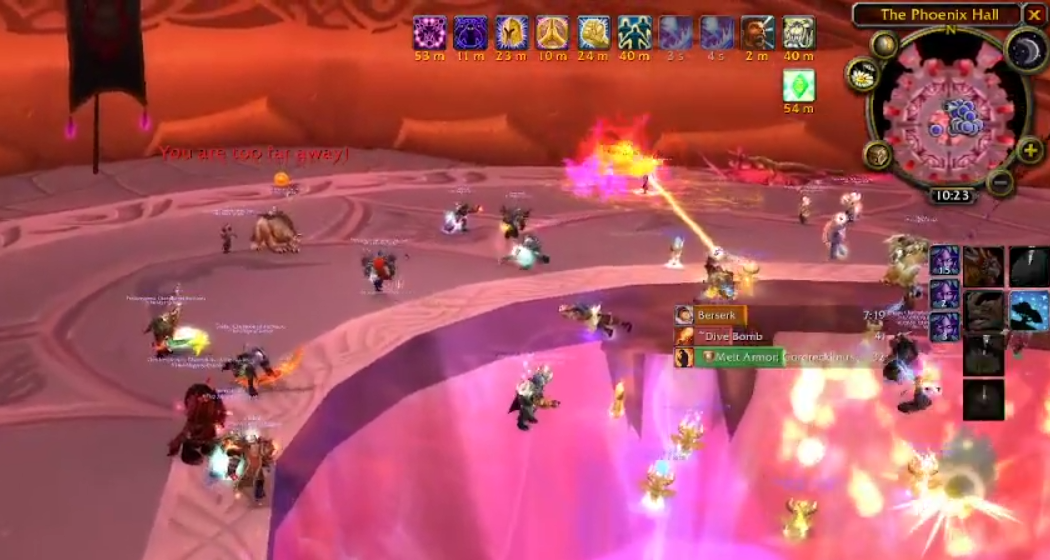
Through all of phase two, Al'ar will cast flame patches under players. Addons like GTFO and DBM will help you not stand in the fire. Because these are cast on players, it's recommended that the raid loosely spreads in one quadrant of the room, they can move to other relatively clear areas of the room as the fight goes on.
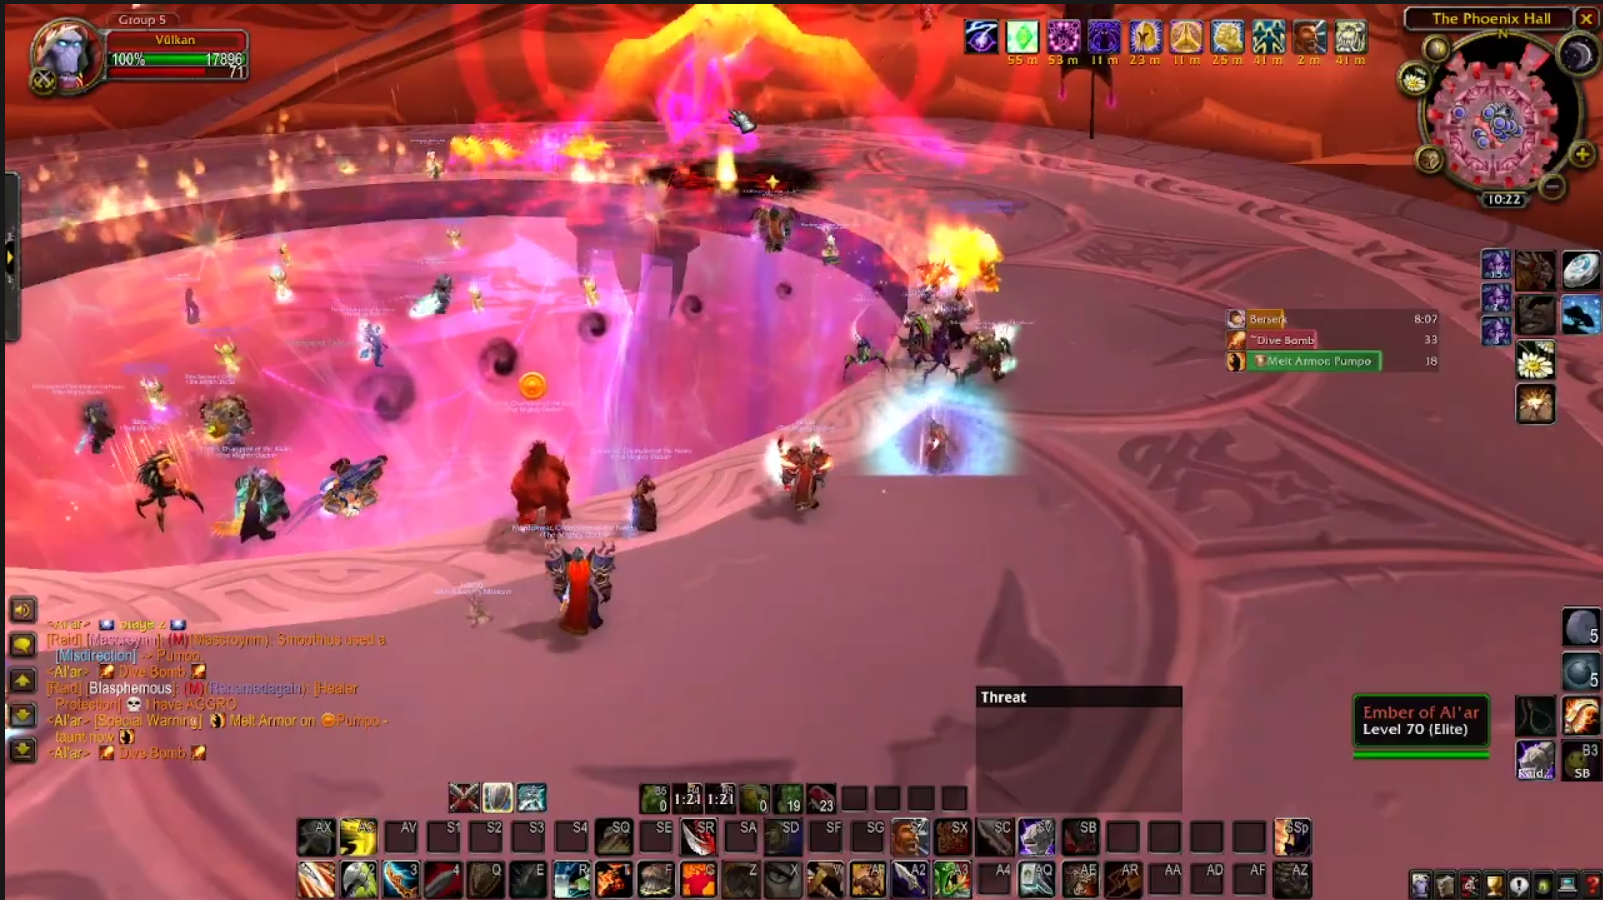
After re-appearing, the boss should be tanked in the middle of the room. Every 60 seconds or so, Al'ar will cast "Melt Armor" on his primary target, which, as you would expect, makes tanking impossible. At that point, your tanks will need to taunt swap. If one tank is particularly better geared than the other, it's a good idea to stop attacking entirely to prevent another target change.
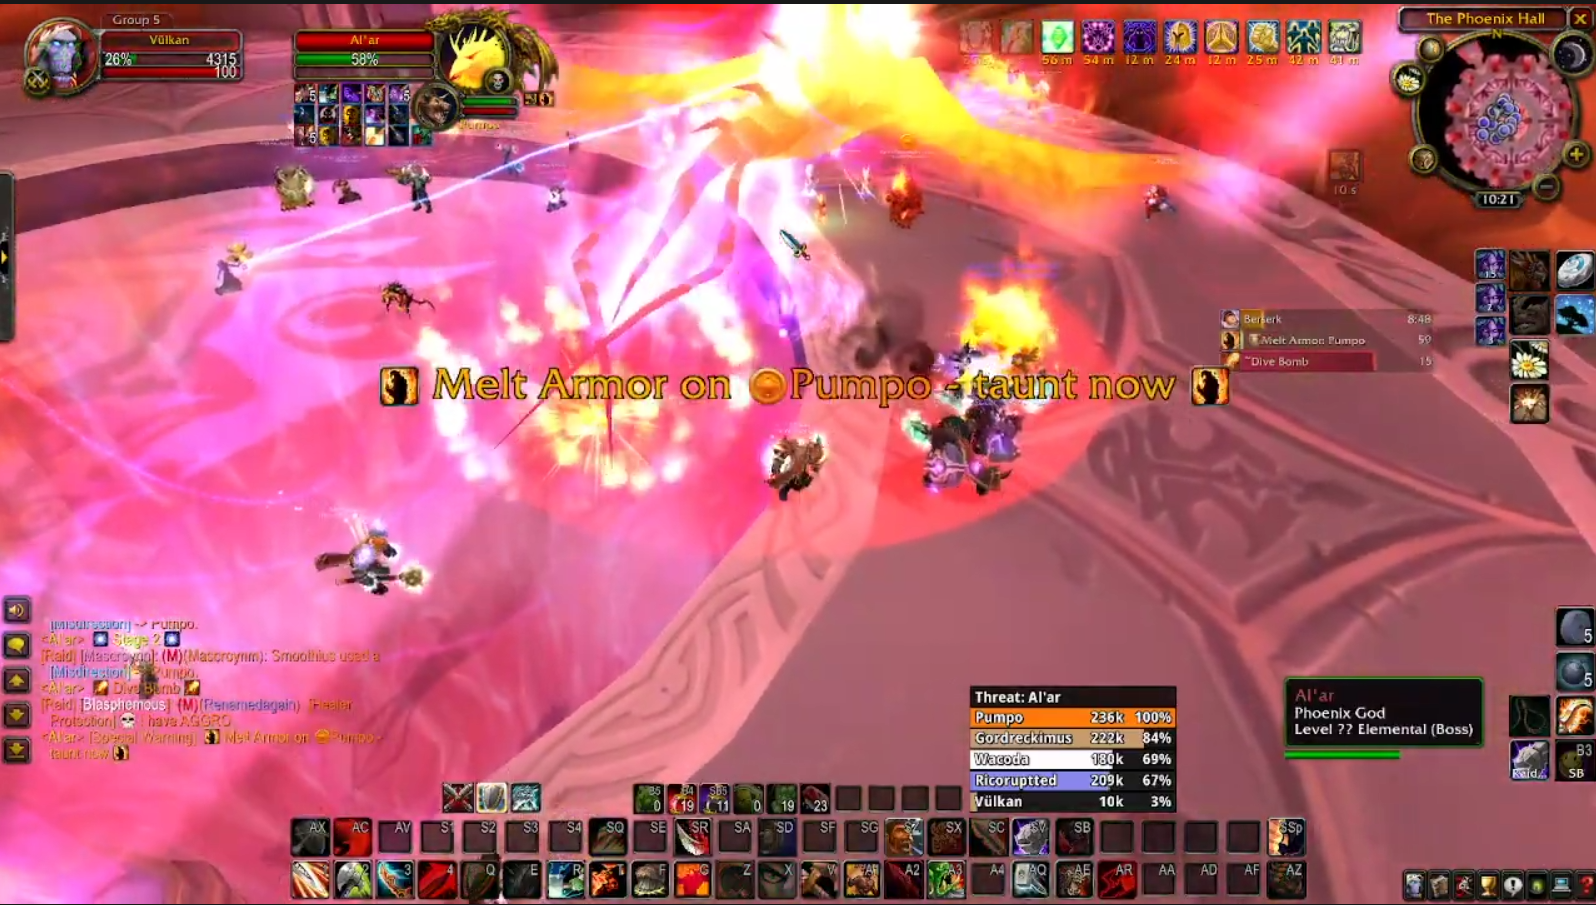
At a random interval, Al'ar will turn into a meteor and fly up into the air. The raid needs to stack to spread the damage out. Hunters can use snake traps to further mitigate this damage.
(Editor's Note: This mechanic was changed after the nerfs - the damage is no longer split between players. You should instead spread out for dive bomb.)
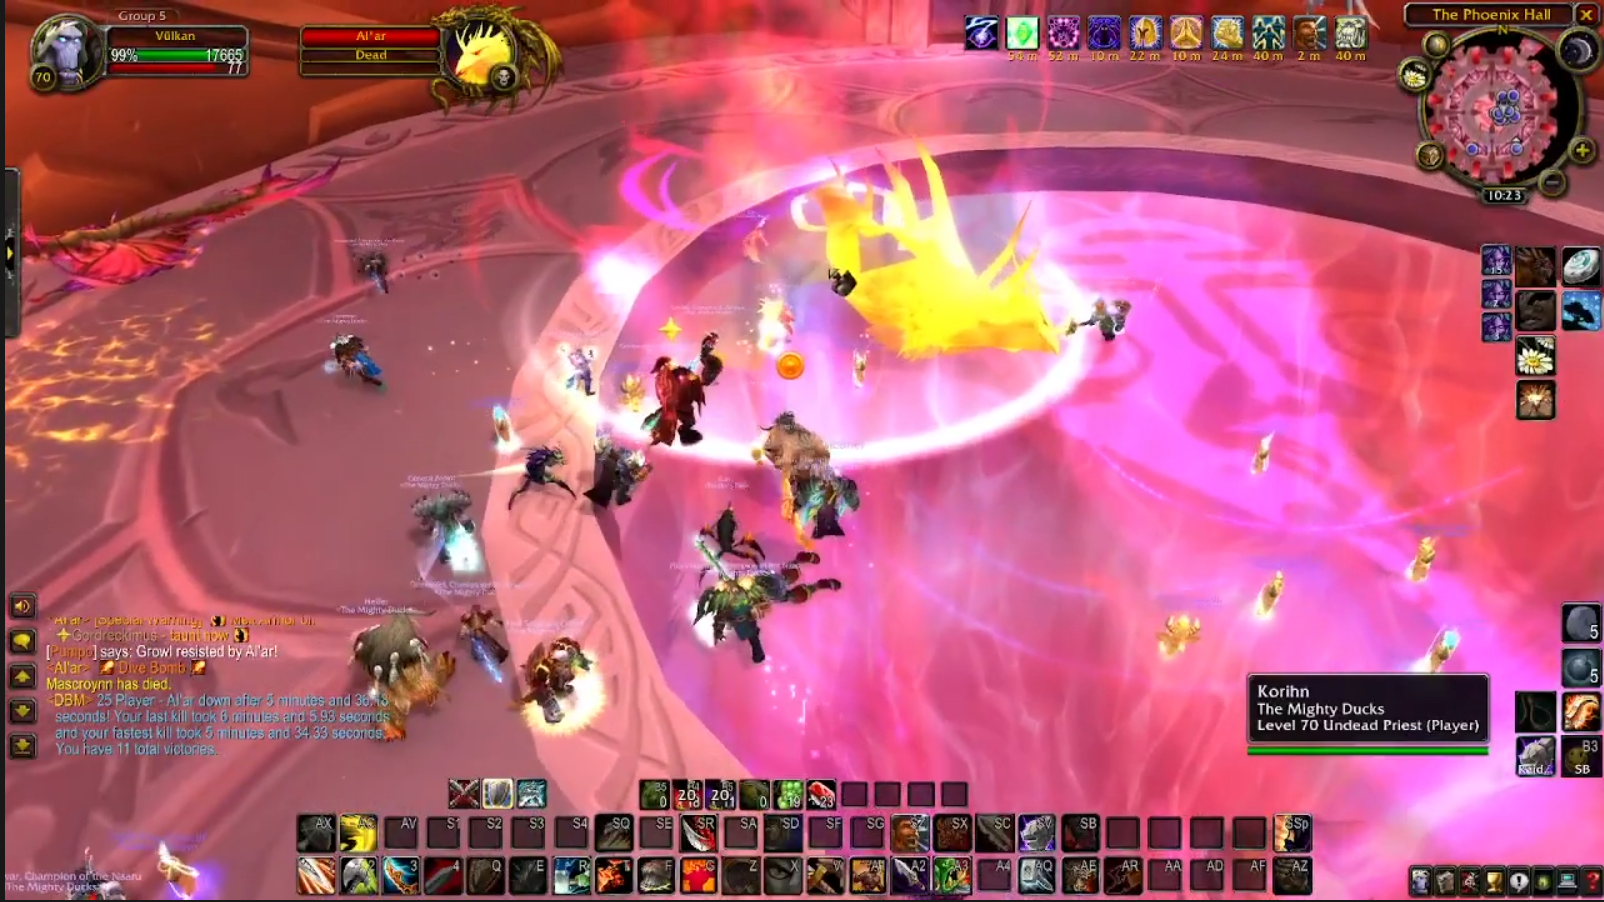
Tanks should be ready to engage after the landing, but must ensure they're not standing too close to the boss. When Al'ar reverts to Phoenix form, he'll knockback anyone in a radius slightly larger than the meteor impact decal. The boss will also charge a random player, then return to the tank. You'll want to use your big cooldowns, such as bloodlust, after the first dive to push the boss.
Embers of Al'ar are contiuing to spawn, they should still be picked up by the Paladin and you should still call out when they get low to be killed. Each ember does take a small portion of health from the boss, so if you've got the firepower, it can make the phase go quicker to kill an ember periodically.
Once Al'ar hits zero for the second time, the Phoenix god dies for real and the phat lewt is yours. Not Ashes, though, you've got to kill the big boss for those.
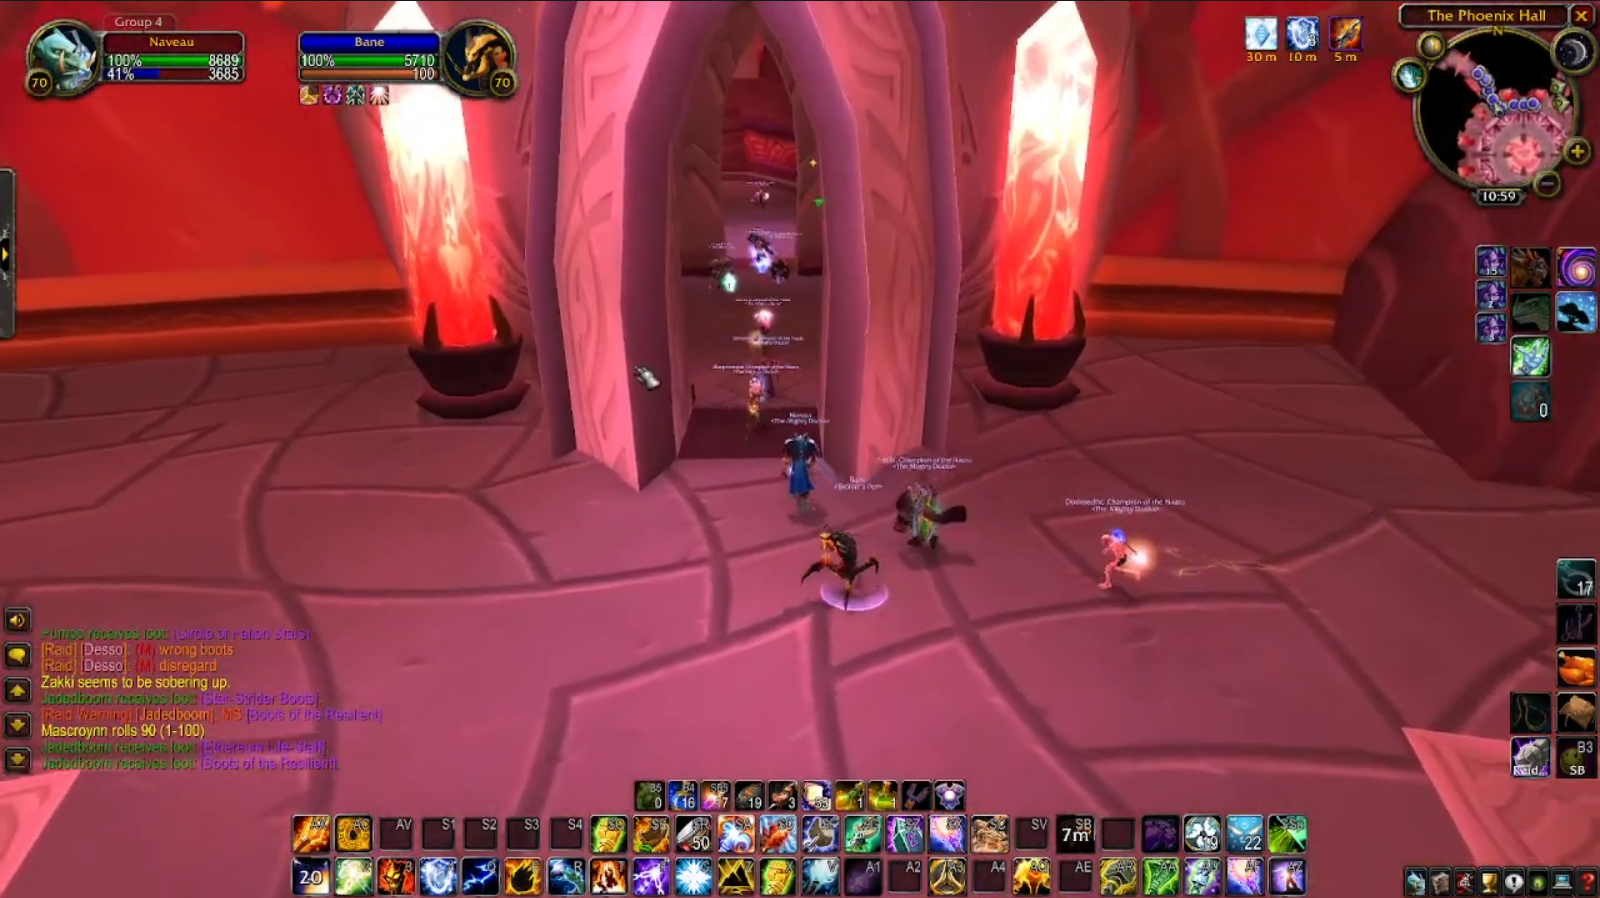
After dusting yourselves off, you can head in two directions. You can head toward Void Reaver (if you haven't killed him already) or you can head toward High Astromancer Solarian.
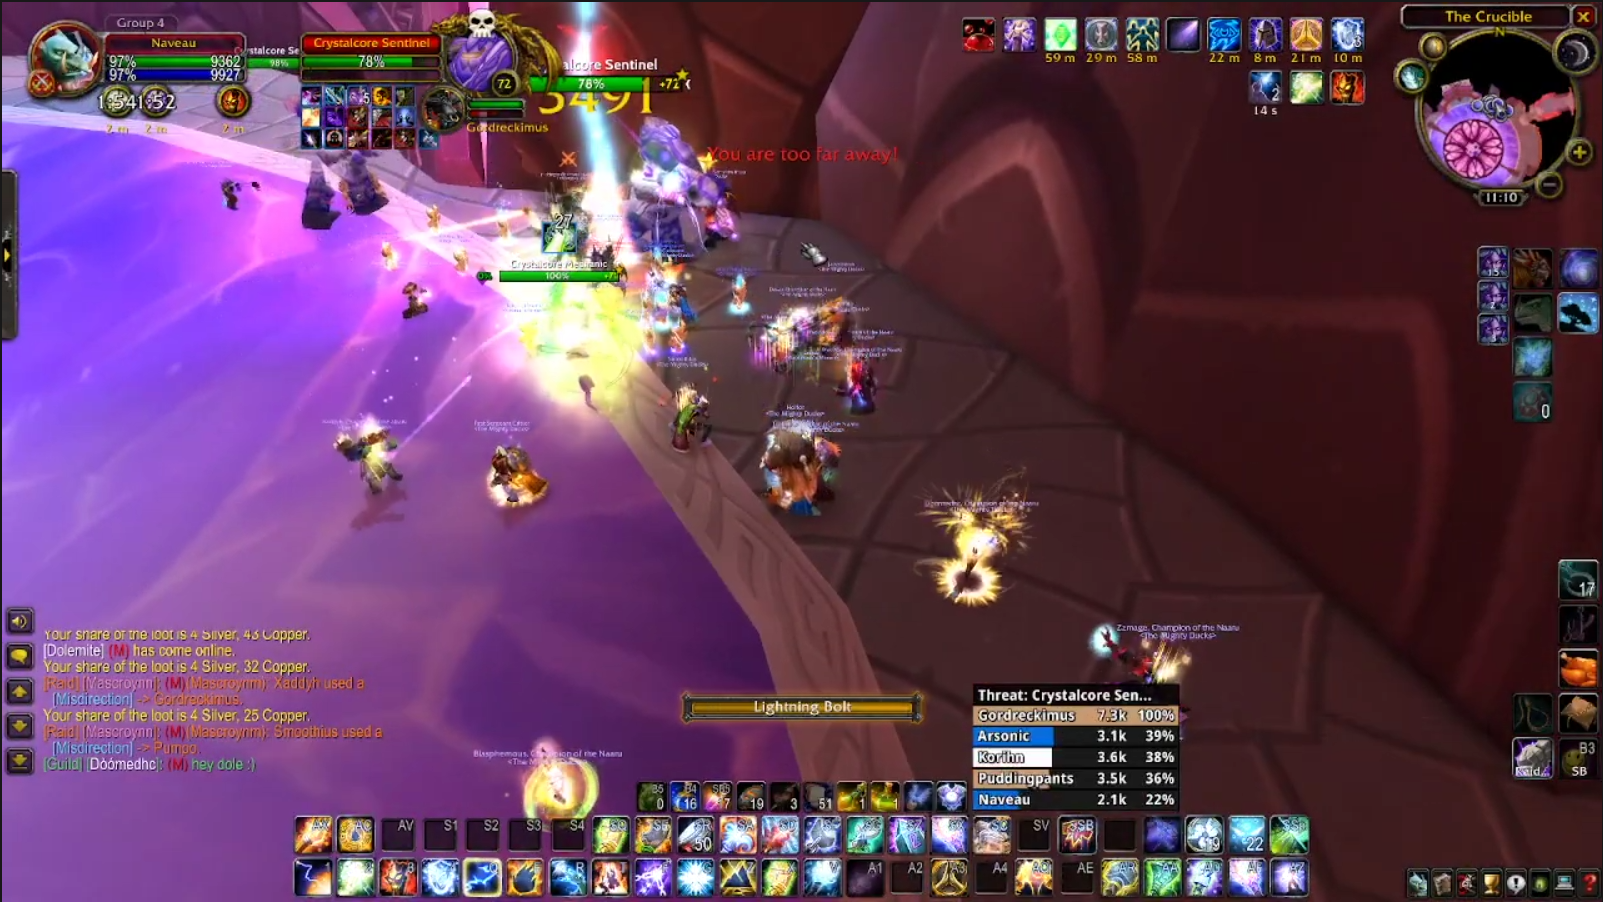
For the sake of this writeup, we'll cover the next two bosses in sequential order. To get to Void Reaver, you'll need to head up and to the left. The first pack you deal with is a single Crystalcore Sentinel, which isn't much of a threat.
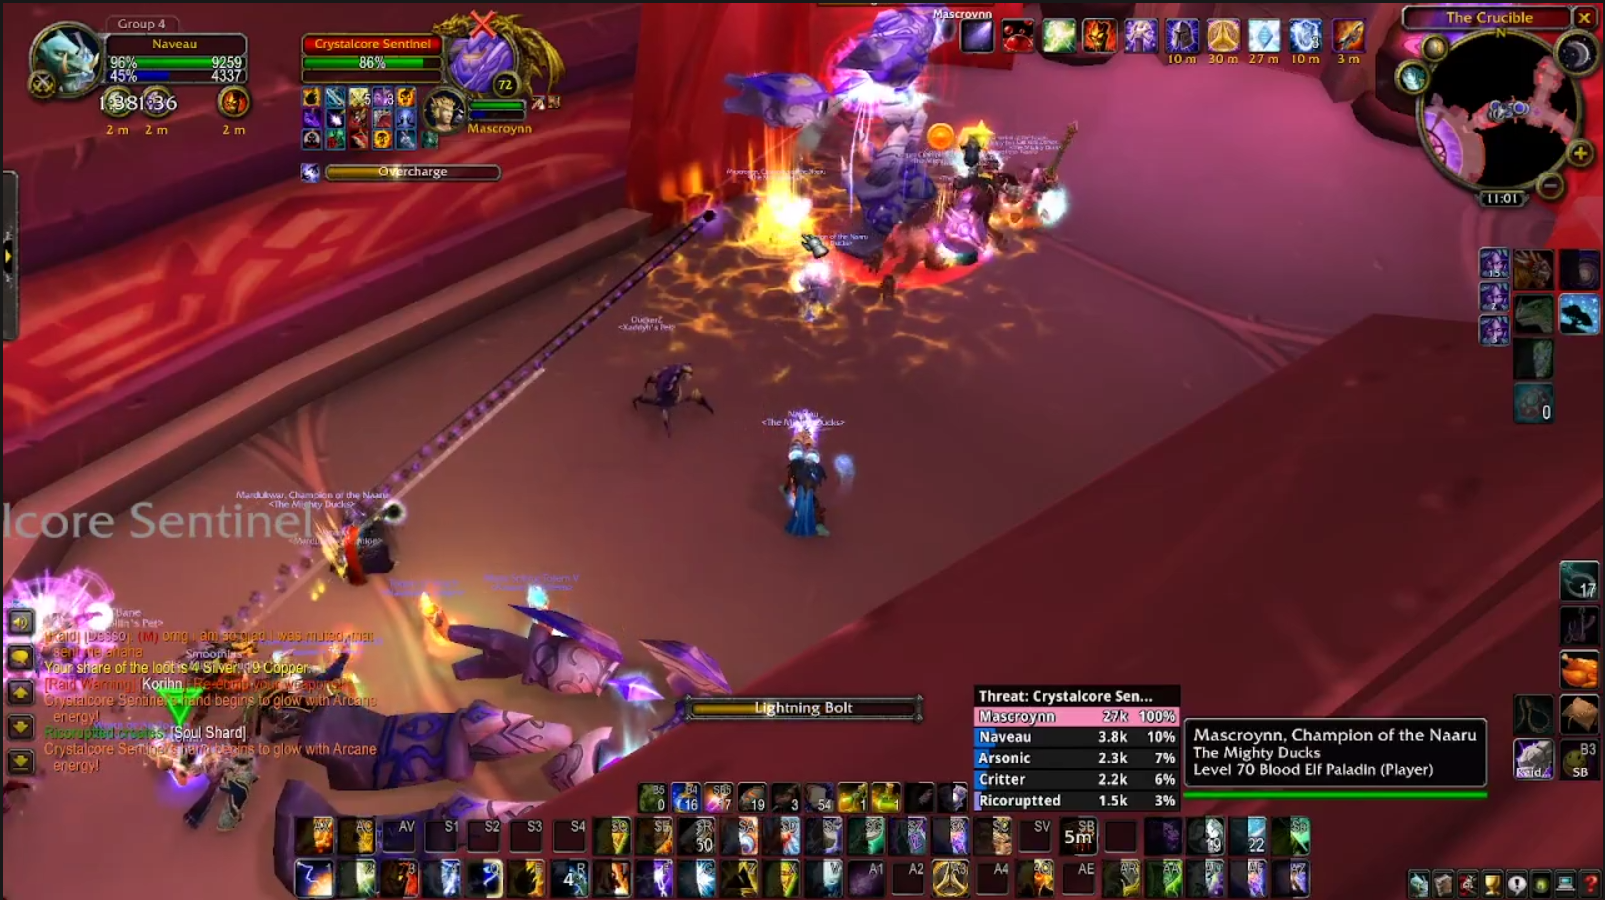
The next two packs consist of two Sentinels. What you'll want to do is tank them diagonally opposite each other. This is because both Sentinels can cast a charged arcane explosion - an uninterruptible AoE which deals heavy damage. Tanking them together means the AoEs can overlap and wipe your raid.
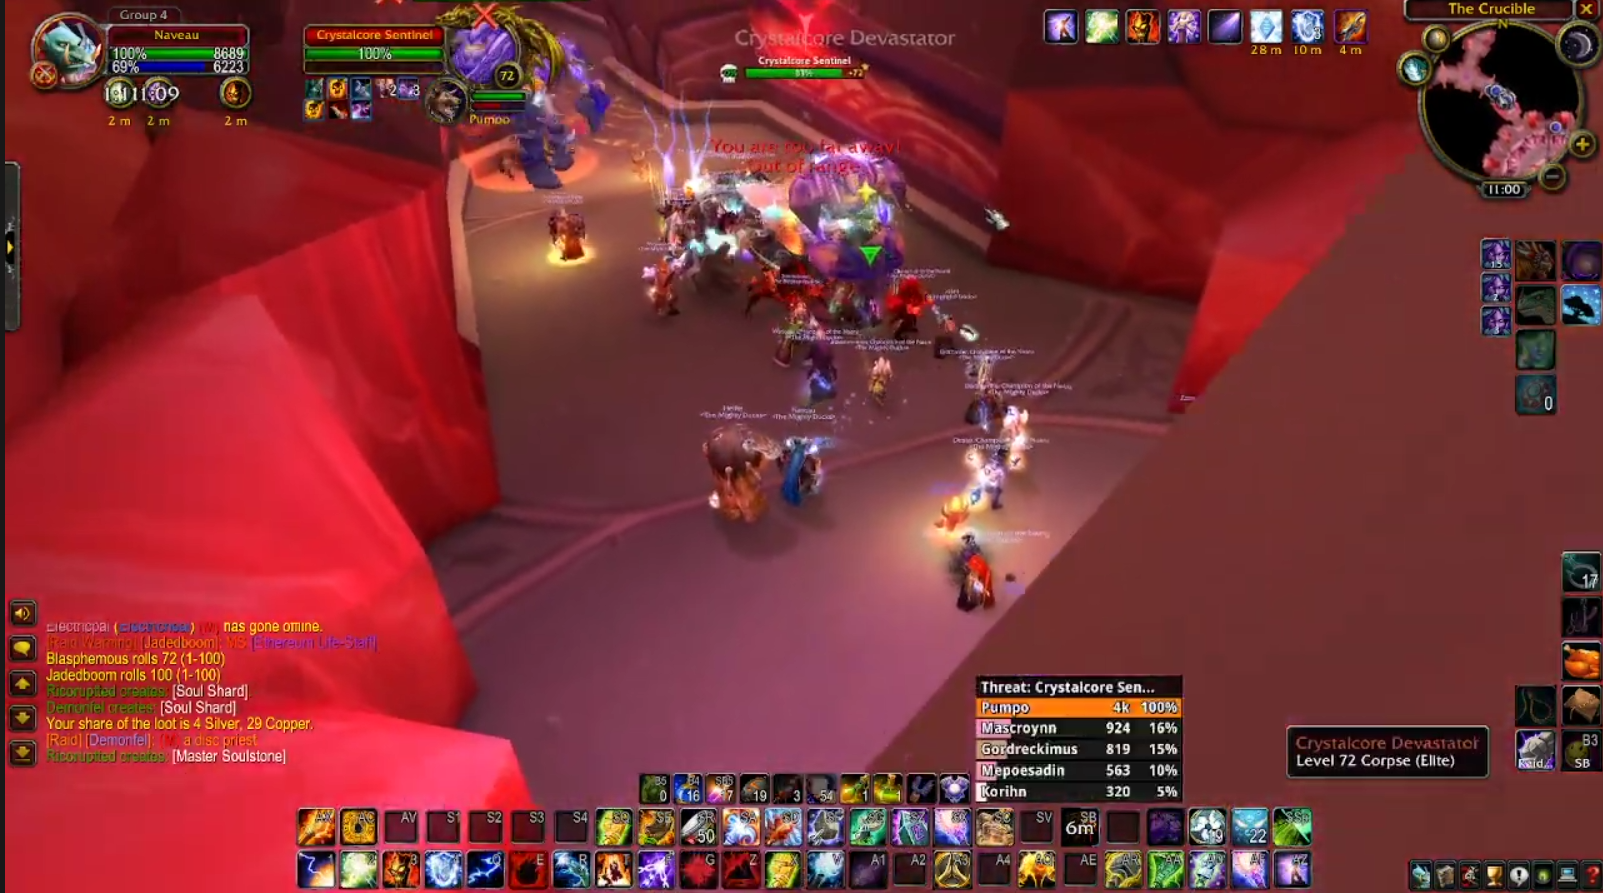
The Sentinels will also cast Overcharge, which is a big chunk of damage onto the highest threat (i.e, tank) target. Warriors can spell reflect this and then take a nap for the next thirty seconds, as no-one will catch that amount of threat. Druids and Paladins can just get chunked, whatever.
Proceed down the corridor, you'll emerge in a large room with the boss in the middle. We've got some trash to clear first.
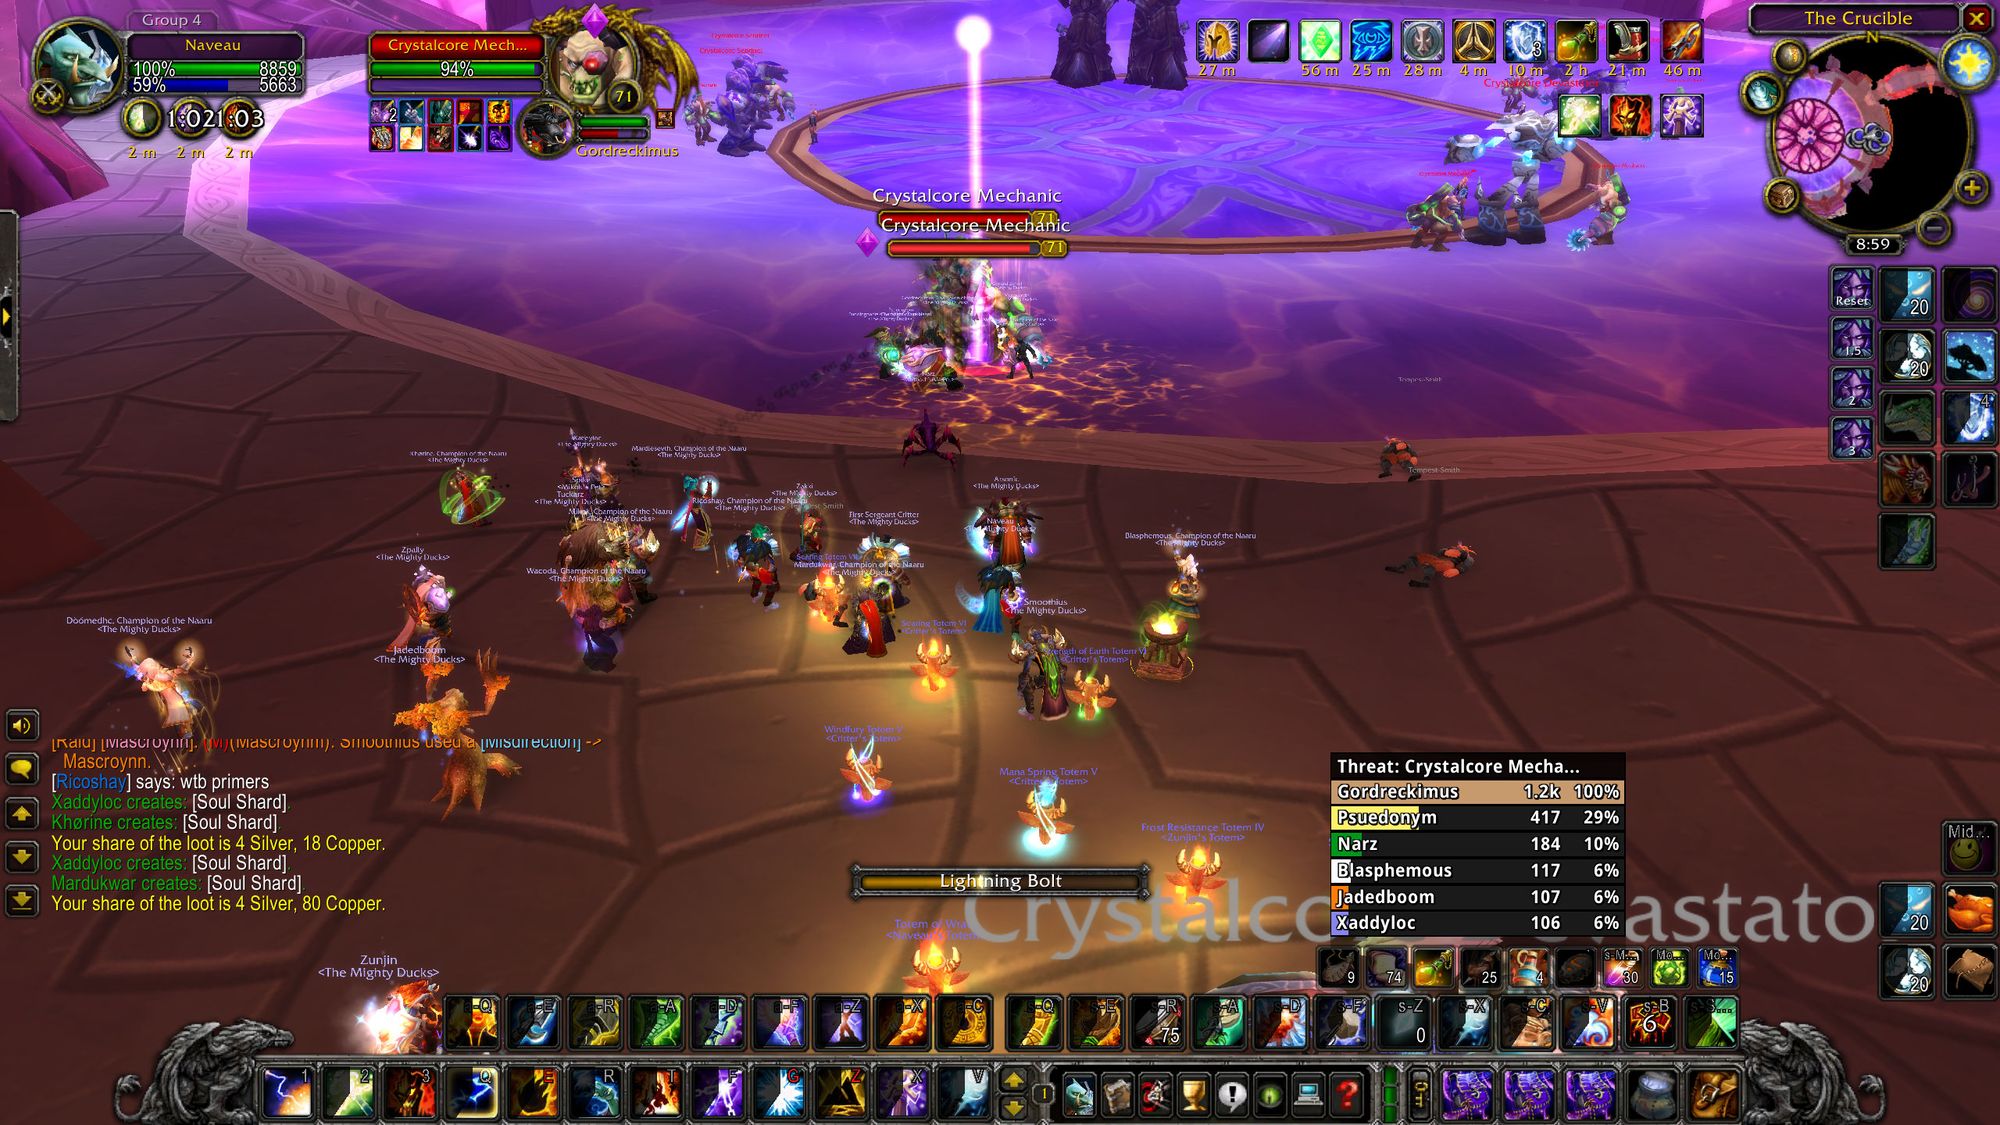
The first pack is the patrolling pack around the outer edge of the room. Consisting of a Crystalcore Devastator, a Crystalcore Mechanic and a Tempest-Smith. You'll want to banish the mechanic, polymorph the Tempest-Smith and drag the devastator into the corner near where you entered. Make sure everyone stacks nice and tight, as the devastator can and will knock players back, which can aggro additional packs. This is, you guessed it, normally a wipe.
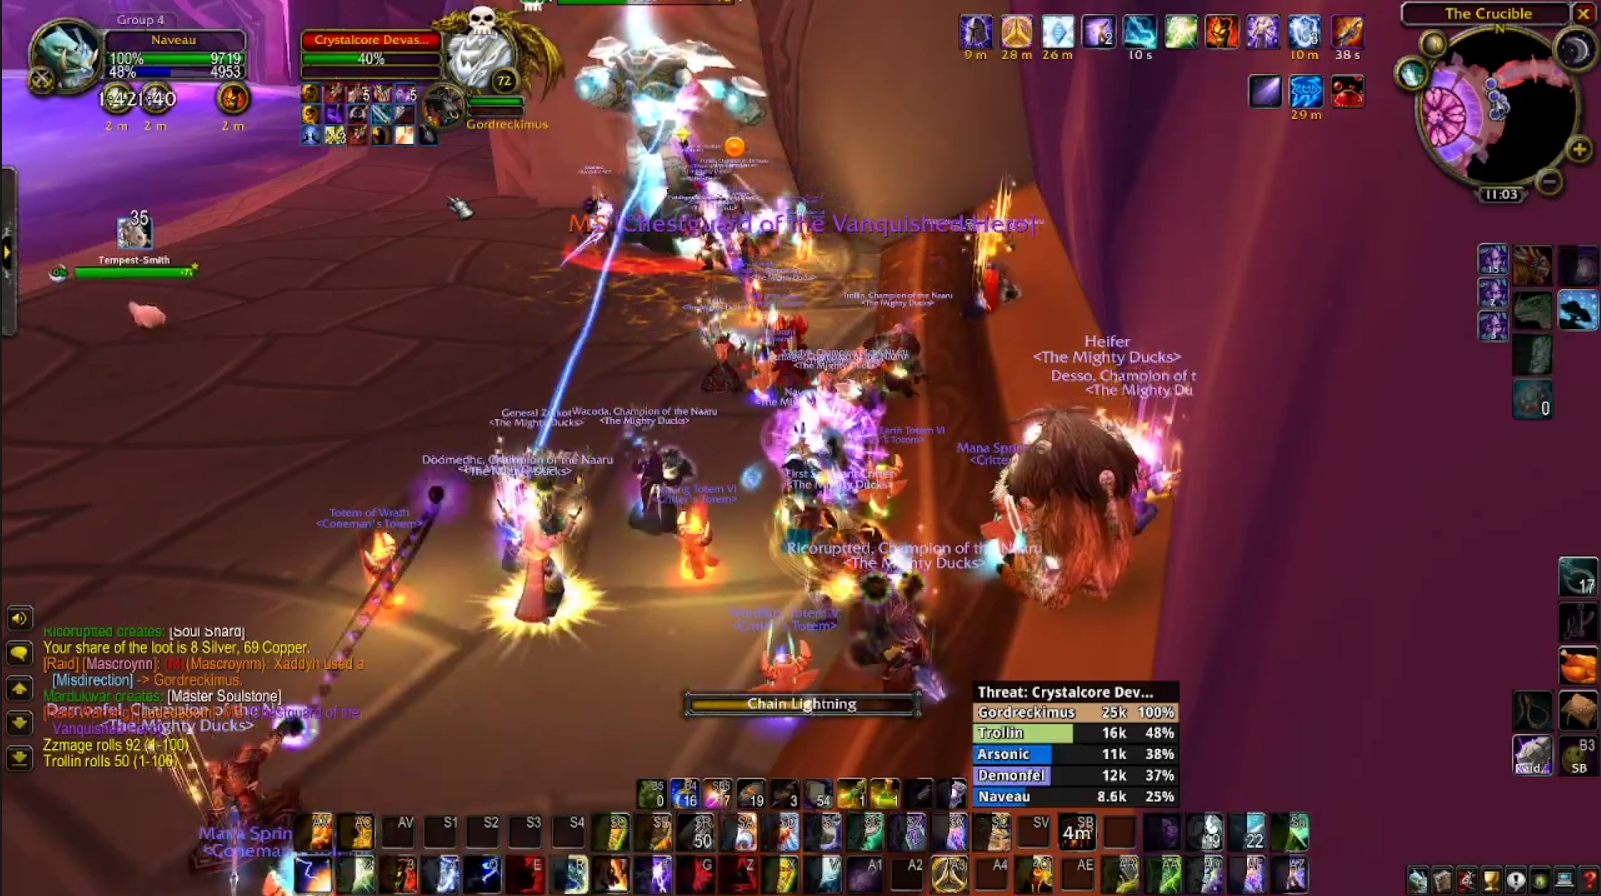
In terms of kill order you'll want to kill the mechanic first, then the Tempest-Smith. The mechanic casts an aoe bleed in a random direction, but doesn't hit very hard. The Tempest-Smith throws stunning and damaging grenades, but also isn't a threat in isolation.
What's important here is that you cannot leave the mechanics or Tempest-Smiths alive or uncontrolled whilst trying to kill the Devastator. They'll either give it a large damage buff, or heal it - if you've left both up at the same time, it will get both. It also stacks with each uncontrolled mob - so multiple mechanics can provide multiple buffs. If you're running light on CC, your main tank can handle a buffed devastator whilst you deal with the uncontrolled mobs.
The next two packs in the middle of the room are the same - they'll consist of one or two mechanics, one or two Tempest-Smiths and a Devastator. Using misdirects, you'll want to pull these packs right back to mitigate getting knocked into aggro range of other enemies. Banish the demons, polymorph (or frost trap) the Tempest Smiths and kill the Devastator, then the Tempest-Smiths, then the mechanics.
To the far left and far right are two identical packs - two sentinels, two mechanics and one Tempest-Smith. Next to each pack is a small alcove, into which you should pull these packs and kill them in the order described above, making sure to split the sentinels so they don't wipe the raid with overlapping arcane explosions. Warriors should remember to spell reflect Overcharge.
And with that, it's time to take on our next boss:
Boss Two - Void Reaver
Void Reaver is the easiest boss in the instance. In fact, historically it was known as "Loot Reaver", due to its comparative low difficulty. If you can manage the AoE damage this boss puts out and can manage threat and Arcane Orbs, this fight will be over very quickly and you'll be on your way either across to Solarian, or back to Al'ar with your T5 shoulder tokens cashed in.
Positioning prior to the pull is simple. Any and all hunters will want to spread out around the outer ring of the room. It'll be their job to attract the boss' Arcane Orb ability. More on that later.
You'll also want to start the pull with a misdirect and have everyone in what I have termed the "pain train" formation. Everyone stacks on the tank and uses a /follow command to make sure everyone moves at the same pace (relatively, accounting for things like movement speed talents and boot enchants.)
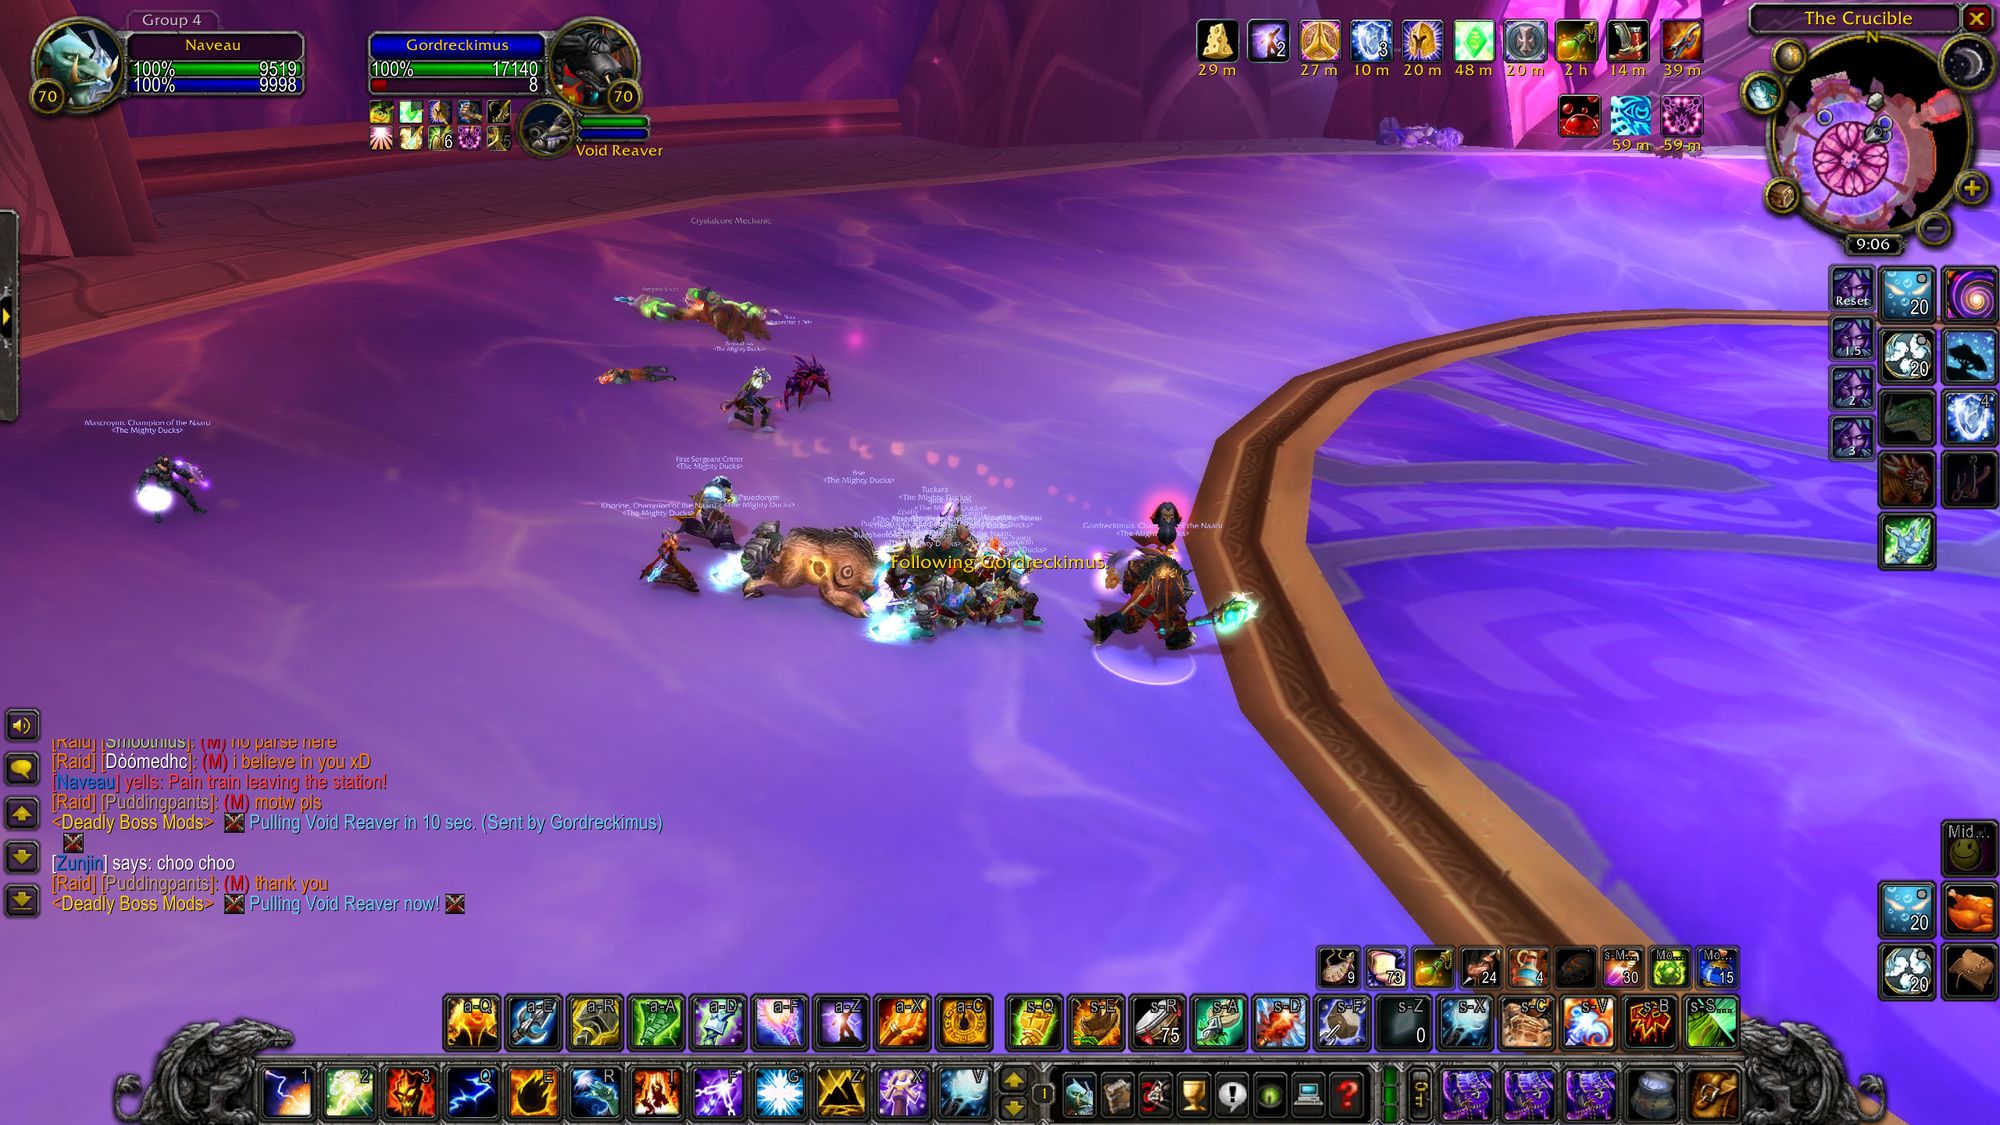
When the pain train leaves the station, it's time to take on Void Reaver.
Tactics
First things first - your final position as a DPS class is stacked tight behind the boss. A good rule of thumb is to be inside the boss' unit ring when you have it selected. You'll want to stay that tight for the duration of the fight.
This is because the primary ability of the boss, Arcane Orb, has a minimum range, provided there's a valid target. By having hunters stand out and avoid arcane orbs, this mechanic can be mitigated entirely.
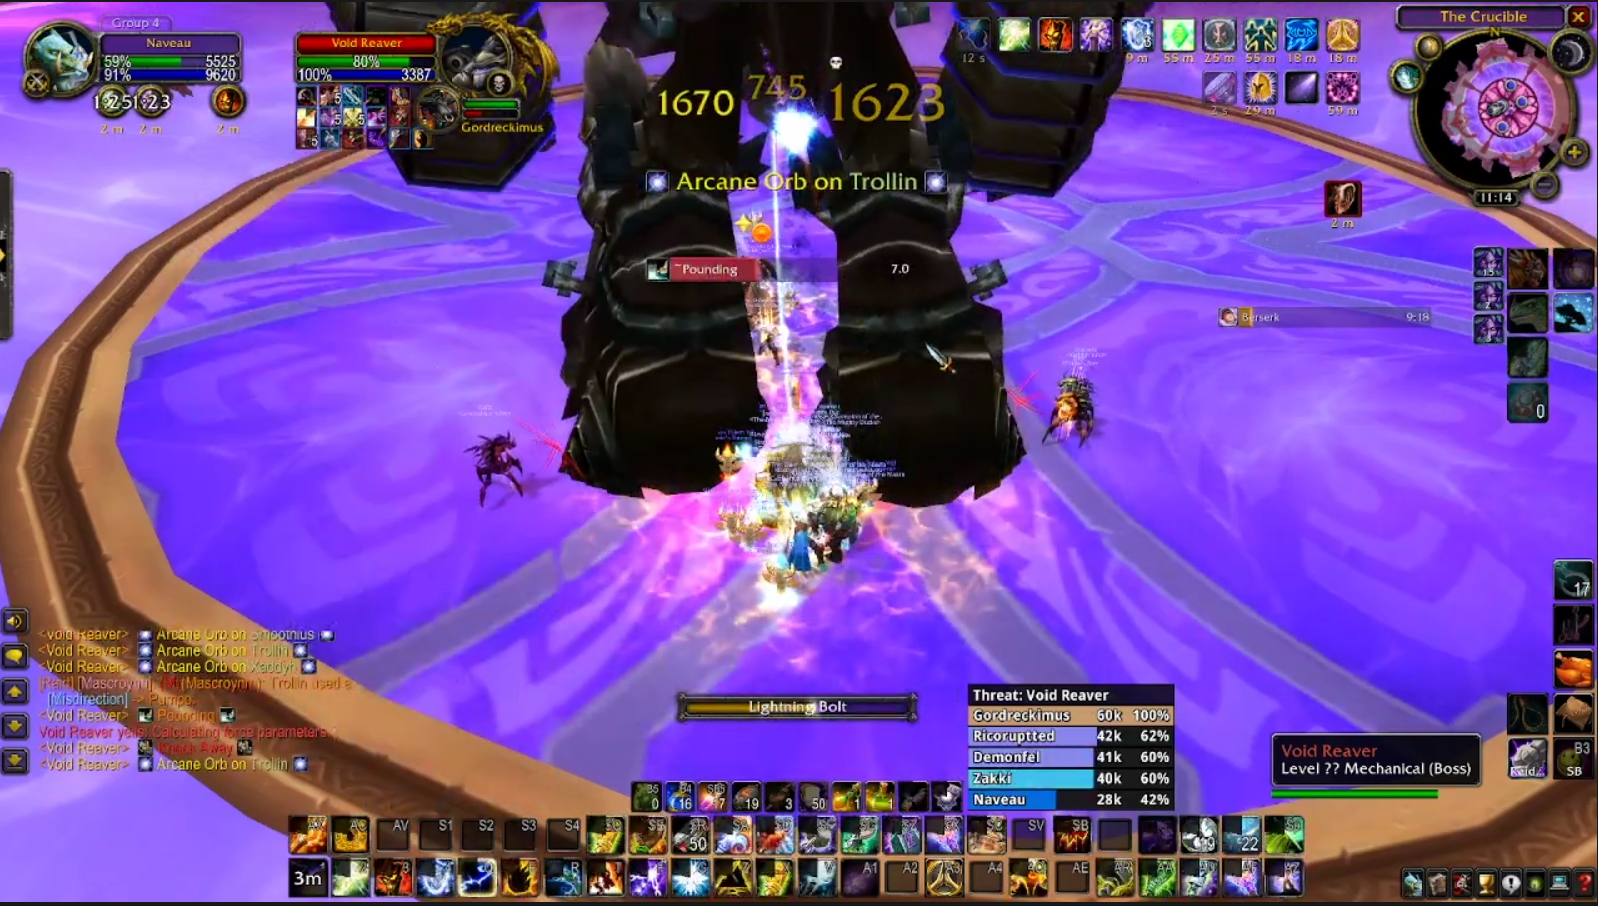
Otherwise, your three tanks will need to fight for threat. Because paladins don't chase very well, your druids and warriors will need to chase. They'll get their time to tank eventually. Periodically, the boss will knock away the highest target on threat and reducing their threat by 30%. If your other tanks have been chasing effectively, the boss should switch to your off-tank, most likely your druid.
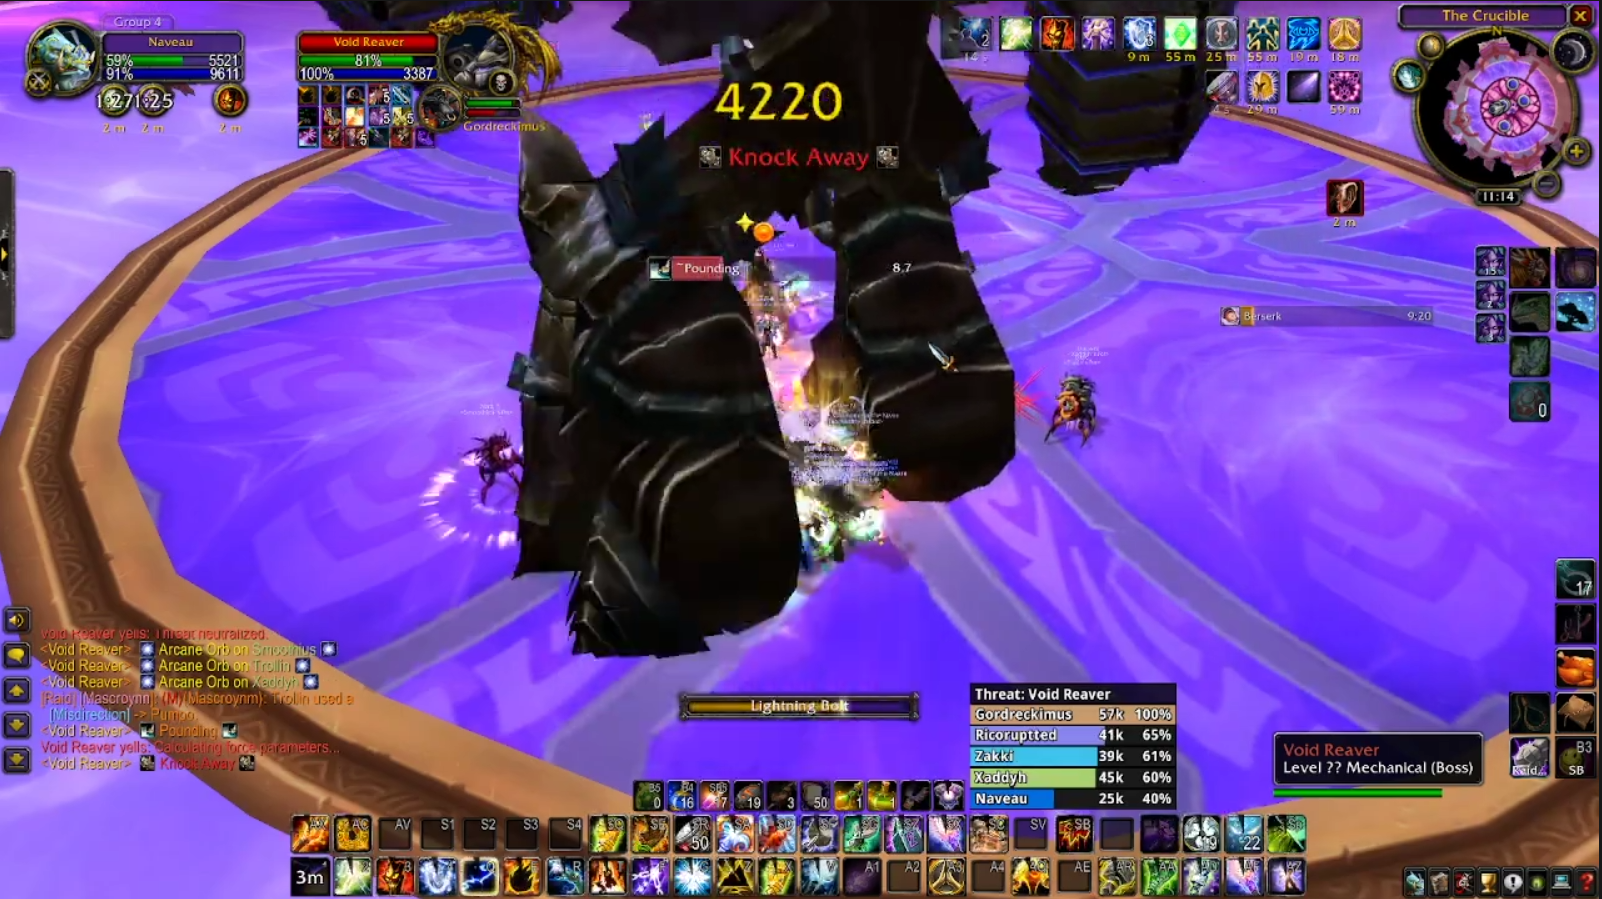
Try not to get too cranky at your DPS when they pull aggro and get stomped out by the Void Reaver. Often it's a matter of RNG, rather than big damage, as the boss gets punt happy and drops your tanks' threat through the floor. It can help to make use of tranquil air totems where appropriate, to further reduce threat.
During the fight, Void Reaver will pump out tons of AoE damage, so having lots of AoE healing classes and providing them with mana recovery (such as innervates) will go a long way to keeping the raid topped off and firing on all cylinders. Spell knockback is also a pain here, so if you're a caster class that doesn't have a chance to resist spell knockback, well, welcome to hell.
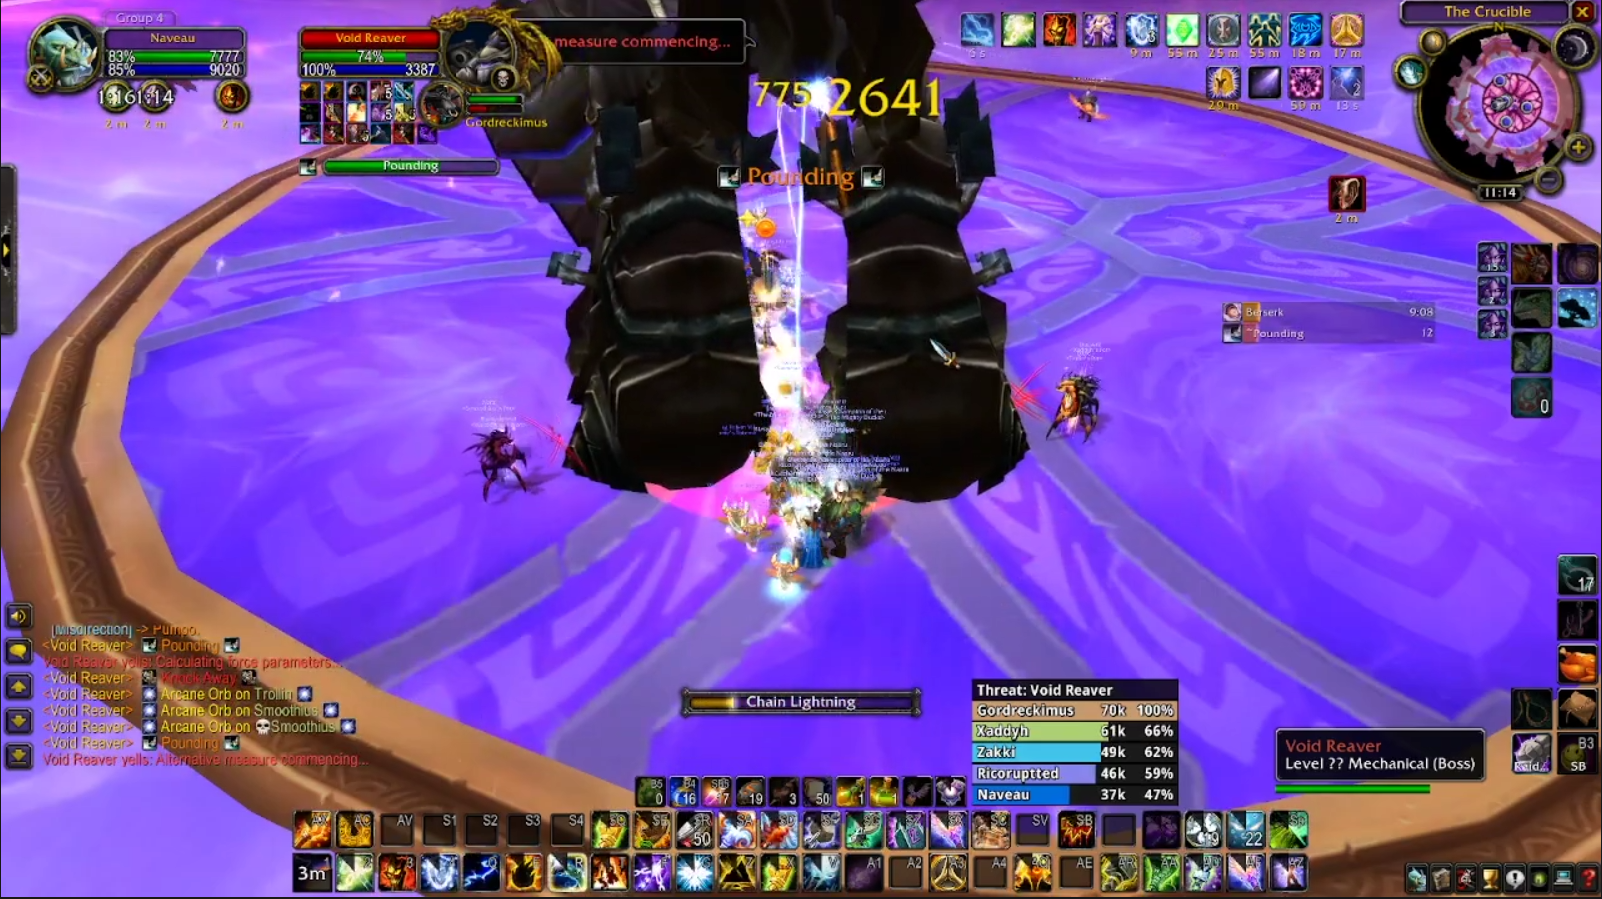
and that's... pretty much it for Void Reaver. Do big damage, avoid getting your head punched in, attract arcane orbs, try to use big DPS cooldowns at around 50% and enjoy your loot. It truly is a straightforward, easy fight.
We're two bosses down, we just have one more to go before we gain access to Kael'thas. Head back the way you came and gather up in front of the right-side entrance in Al'ar's boss room.
There'll be an Astromancer Lord and two legionnaires that patrol into the hallway beyond. Use a misdirect or a face pull, and drag them back into the boss room. You'll want the squires on the right, lord on the left, to mitigate issues with whirlwinds.
The next two pulls can be a little tricky and require some finesse. You'll want your main tank (normally a druid) to hug the corridor wall on the left hand side, creep forward and ranged pull the two Crystalcore Sentinels. Do this right, and you will avoid aggro on the big pack of Novice Astromancers. As per usual, pulling both will result in a wipe.
Treat the Sentinels like the previous pair you tanked - diagonally opposite from each other in the same room.
You'll want to pull the pack of apprentice star scryers, astromancers and squires back into Al'ar's room like you did with the first pack on this side. As they come through and get picked up by the consecrate, smash them with AoE. They will deal high raid-wide damage with arcane volleys, rain of fire and whirlwinds. It's like a high-speed DPS race - kill them all before they kill you.
The next pack is pretty much the same - more novices to stomp out as quick as you can before they wipe your raid. You'll then emerge into the third boss' room. Much like Void Reaver, we have to clear up the trash around the outer part of the room.
You'll want to clear the patrolling packs. There are three packs in total, consisting of a Nether Scryer and two legionnaires. The Nether Scryer mind controls five members of your raid at once and can target tanks, so it's important the Nether Scryer dies first. The two legionnaires can be grouped up and cleaved down as per previous encounters.
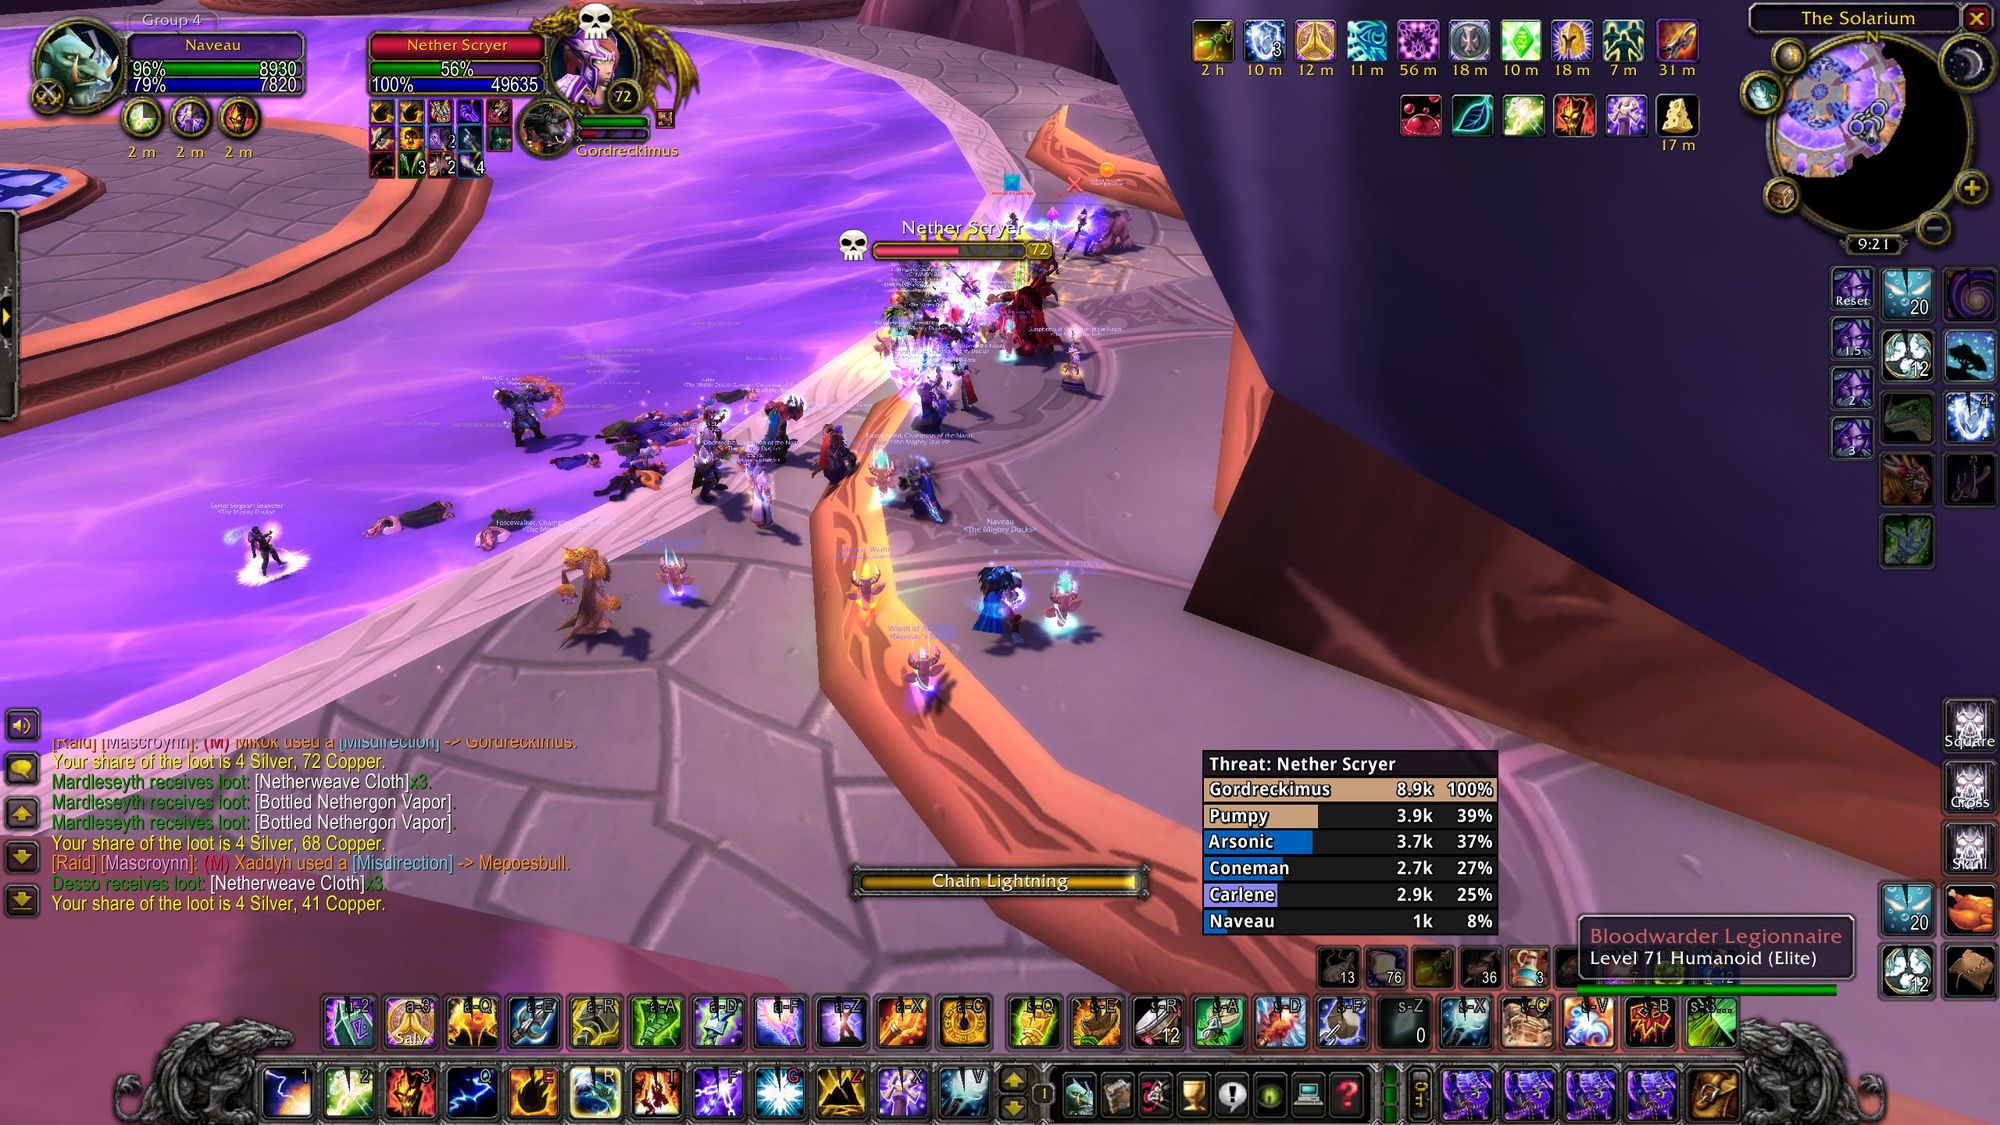
The three packs have overlapping patrol routes, so either you'll need to pack in a corner, or have high enough single-target damage to clean up the Scryer before the next one shows up. Provided you're not having to deal with multiple scryers, you can survive an extra pack.
It can also help for those classes which have AoE fears, such as priests and warriors, to use them prior to the pull, so they don't end up being used on he raid, sending players running into additional packs, or, even worse, the boss.
Once you've cleaned up the patrolling packs, you can make your way around the room cleaning up the larger but less threatening groups of novices which are split into linked groups across two platforms. Depending on how built your Paladin tank is, they can drift in towards the boss and then run in so the novices collapse, reducing the time for consecrate to generate threat. Otherwise, you'll need to instruct your raid to wait for a small amount of time to allow for the mobs to be gathered up and nuked down.
With the room cleared, rally up at the entrance to the room. It's time to take on boss three.
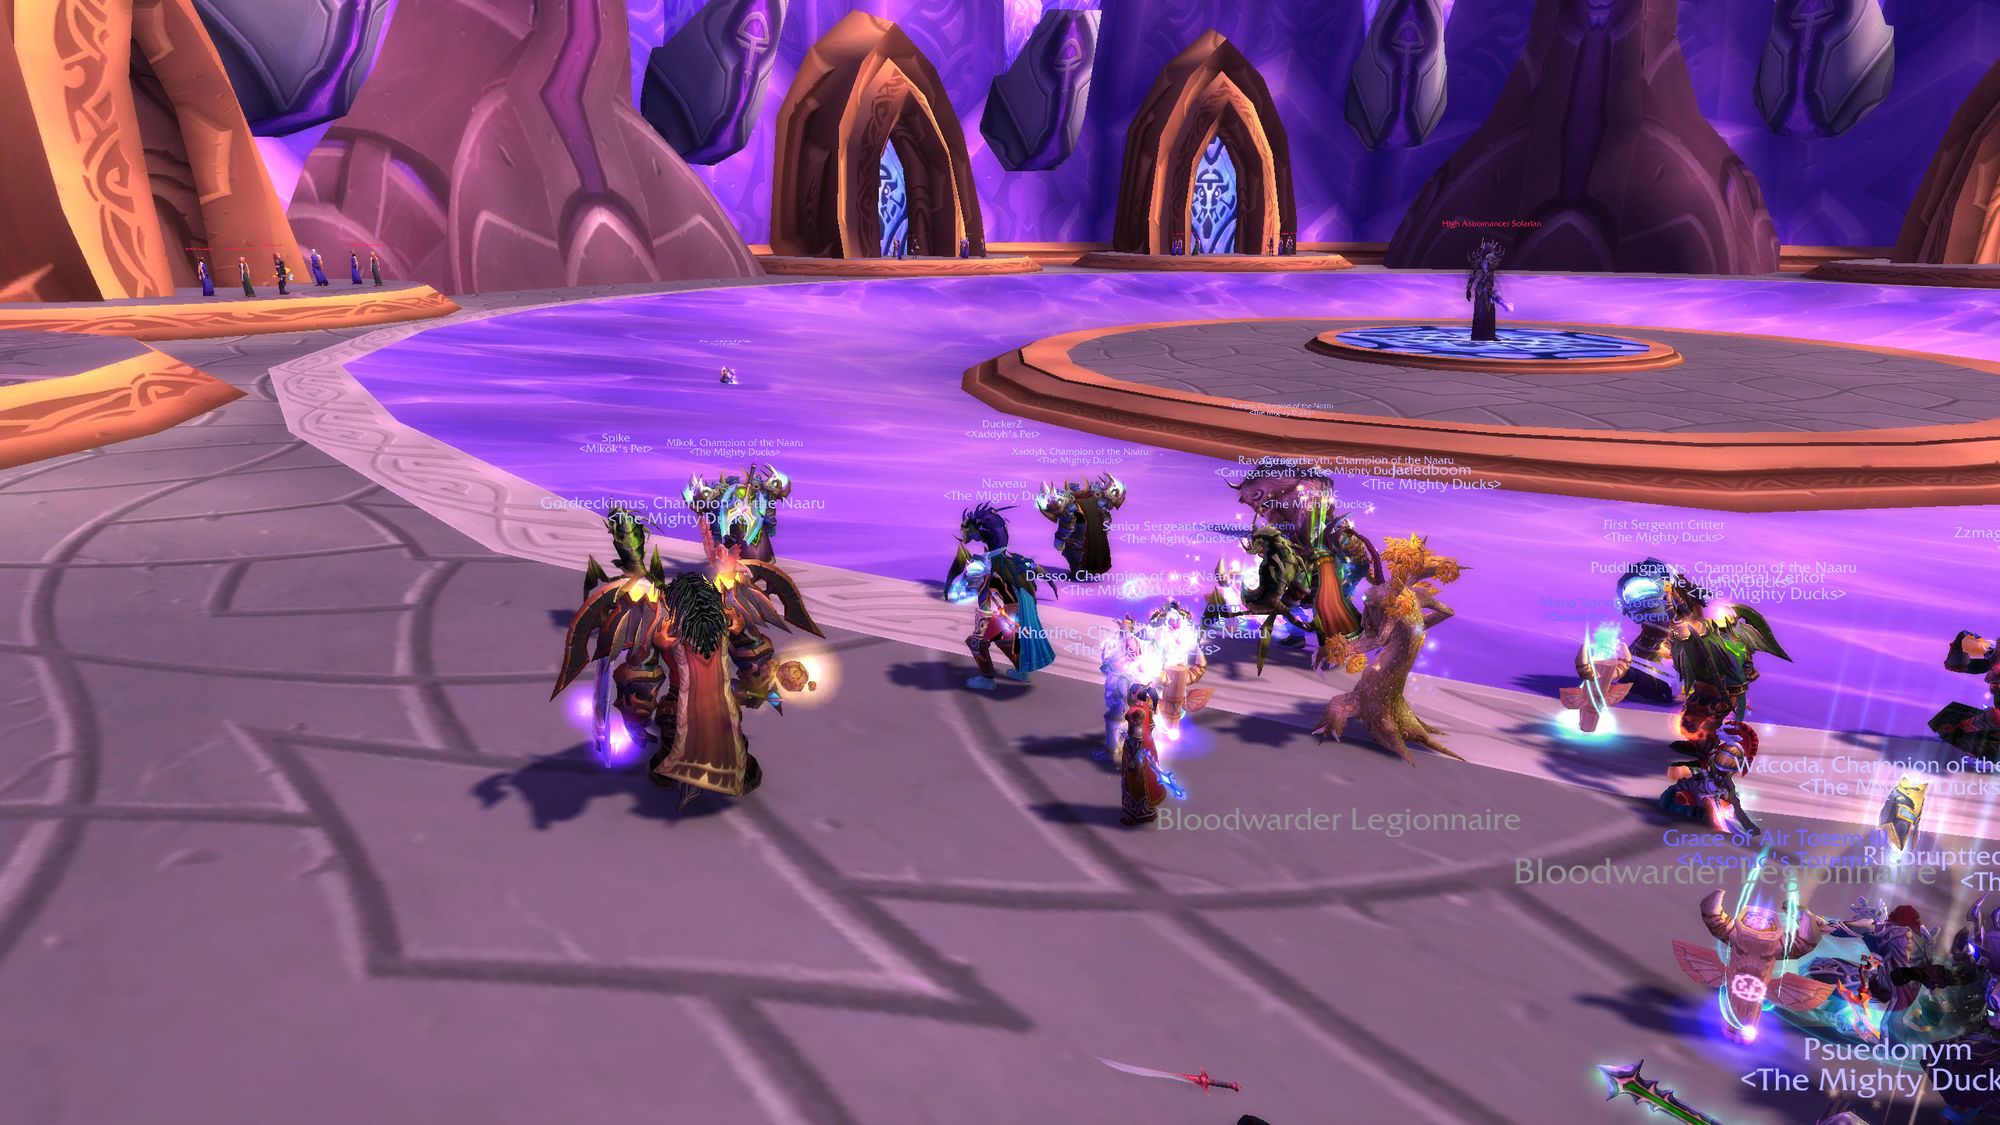
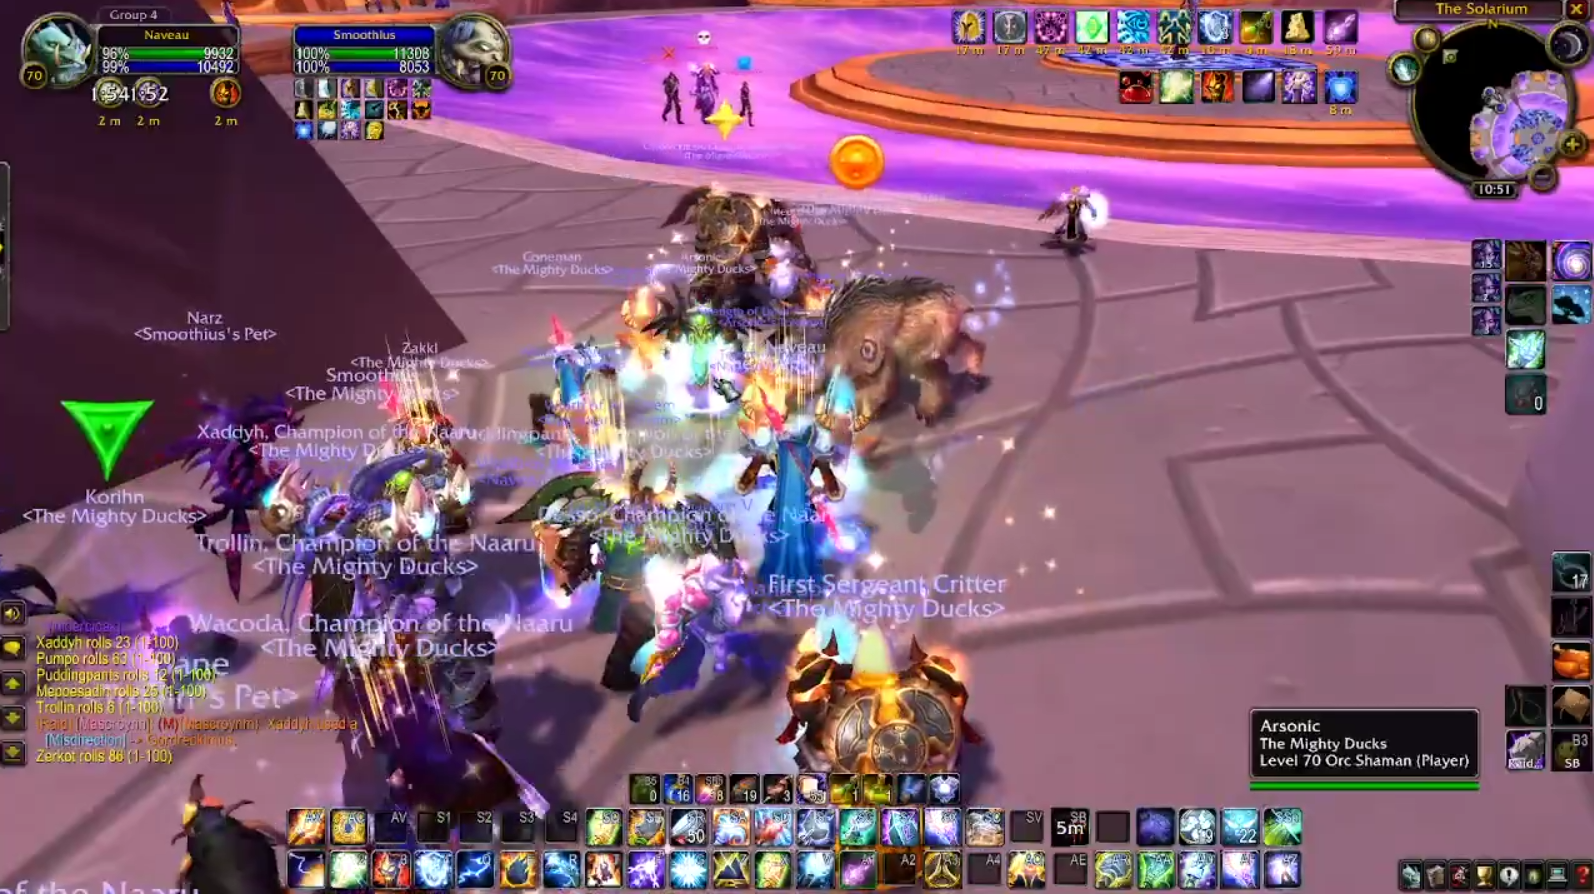
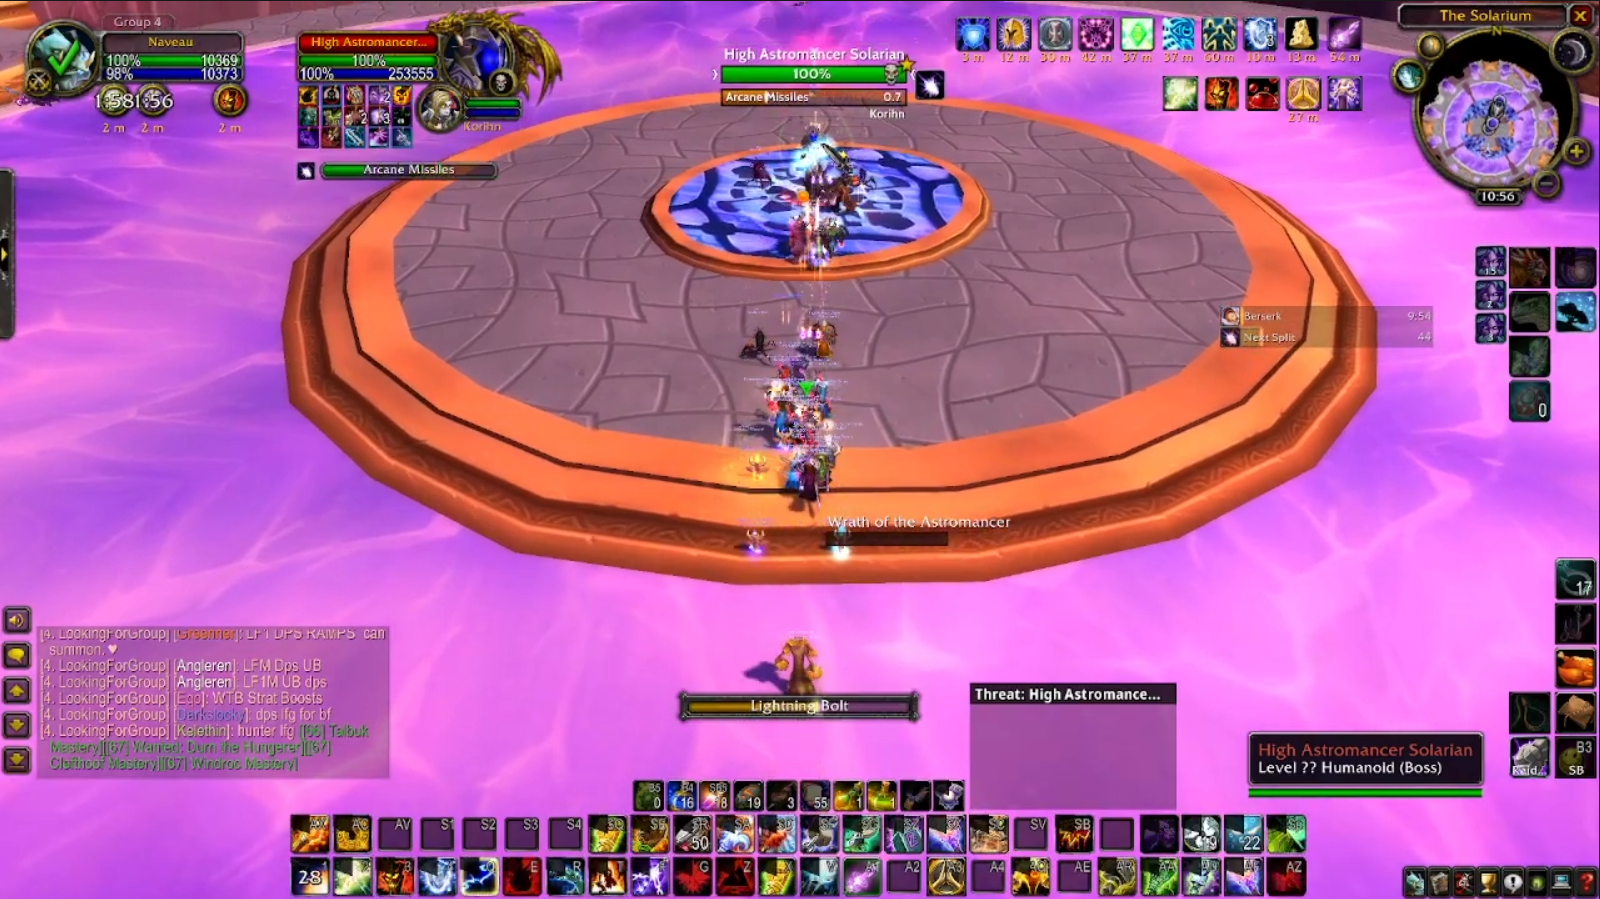
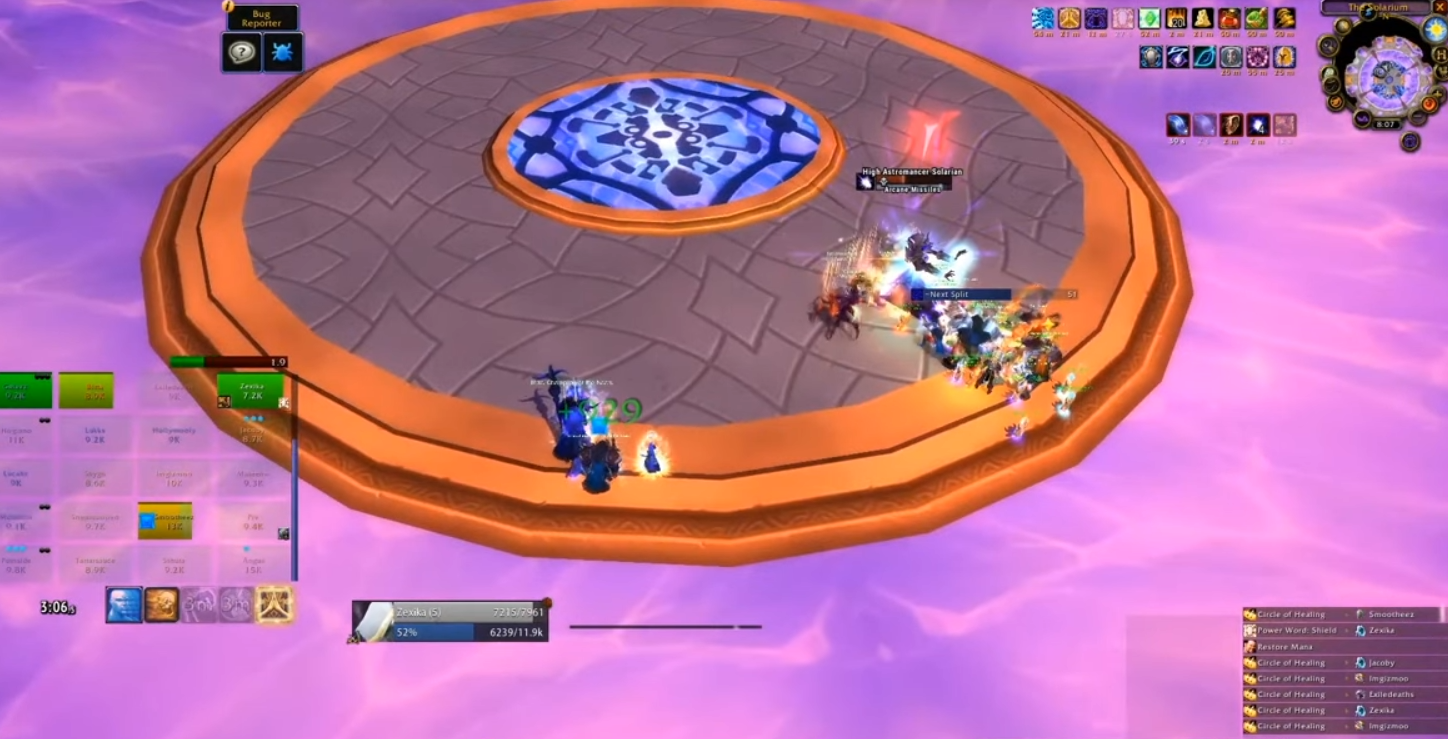
Boss Three - High Astromancer Solarian
Solarian is not mechanically complex, but there's a lot of pressure on the healers to keep up with the crazy single-target damage. Healers who know what they're doing might want to consider using some sort of tracking addon for the boss' abilities.
To start with, you'll want two tanks with maximum arcane resistance. You don't need to be defence capped as you won't need to tank anything, your job as an off-tank is to soak the boss' "Wrath of the Astromancer" ability. Your paladin will need to do the heavy lifting on this one.
Similar to Void Reaver, everyone bar the two off-tanks will need to stack, engaging the boss as one big blob.
Tactics
There are two and a half phases to this encounter. In the first phase, you'll fight the High Astromancer. She'll randomly target someone and fire uninterruptible arcane missiles at a player. As the fight goes on, the boss will cast "Mark of Solarian" on the entire raid, reducing their arcane resistance, thus increasing their vulnerability to the arcane missiles. If the fight goes on long enough, there's a very reasonable chance a single hit of arcane missiles will instantly kill a player.
For most of the fight, your healers will get a short window of time to heal the targeted player. If your single-target healers are alert to the targeted player, the raid should be able to prevent too many fatalities to this ability. DPS shouldn't get complacent, either; if they see they're about to get cleaned up by a tick of arcane missiles, they need to use a healthstone, or health potion if they can afford it.
The second big ability is Wrath of the Astromancer. Appearing as a purple hue on your character, this will jump from player to player after a certain period of time. It increases arcane damage taken and deals damage. This is where your two off-tanks come in. They'll stand off to the side and when a player is targeted by this ability, they'll run out and pass off the debuff, then re-stack.
This is incredibly boring for the off-tanks, however, as they do nothing but stand out and take damage. How thrilling.
In the second phase, the boss will disappear and lots of low-health adds will spawn. Have your raid stack (not including the off-tanks) and use AoE abilities to clean them up. After a period of time (or the adds die), the High Astromancer will spawn, along with two elite adds which cast a heal. The closest add should be interrupted by the melee, the furthest one by range. They don't hit hard, so your main tank can safely grab them, and the High Astromancer, and tank away.
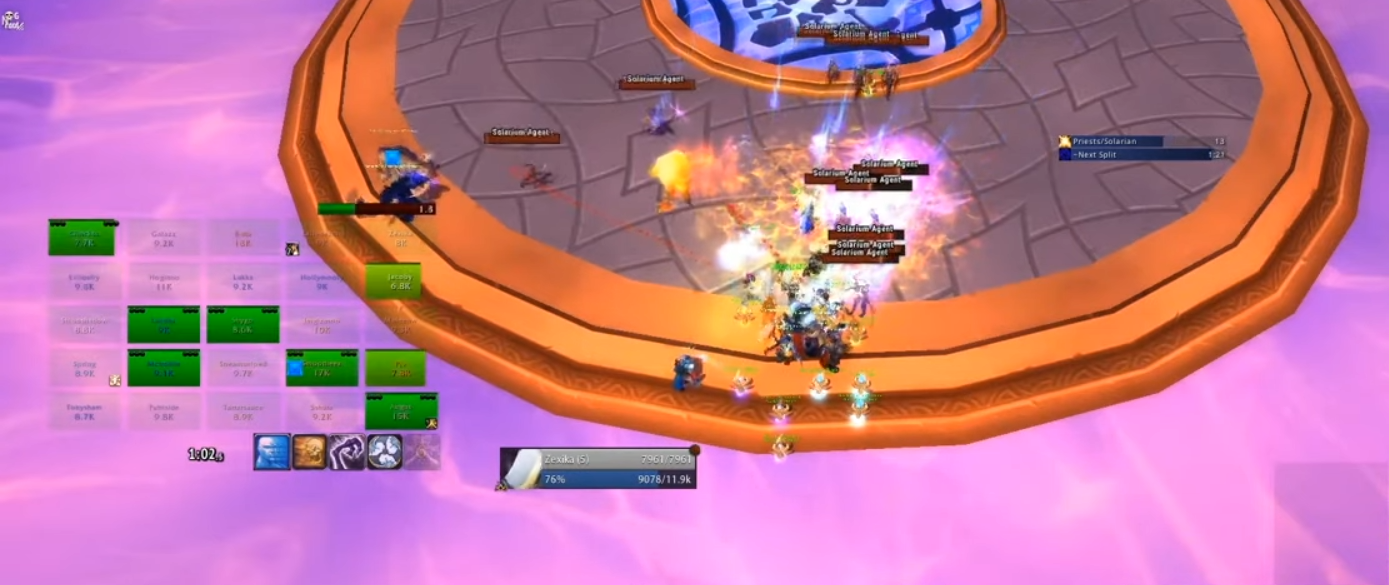
This process loops until you hit 20%, at which point the boss turns into a giant voidwalker. Once you get here the fight is pretty much done and dusted. Fear countermeasures (tremor totems, berserker rage, etc.) should be used, and the boss will keel over.
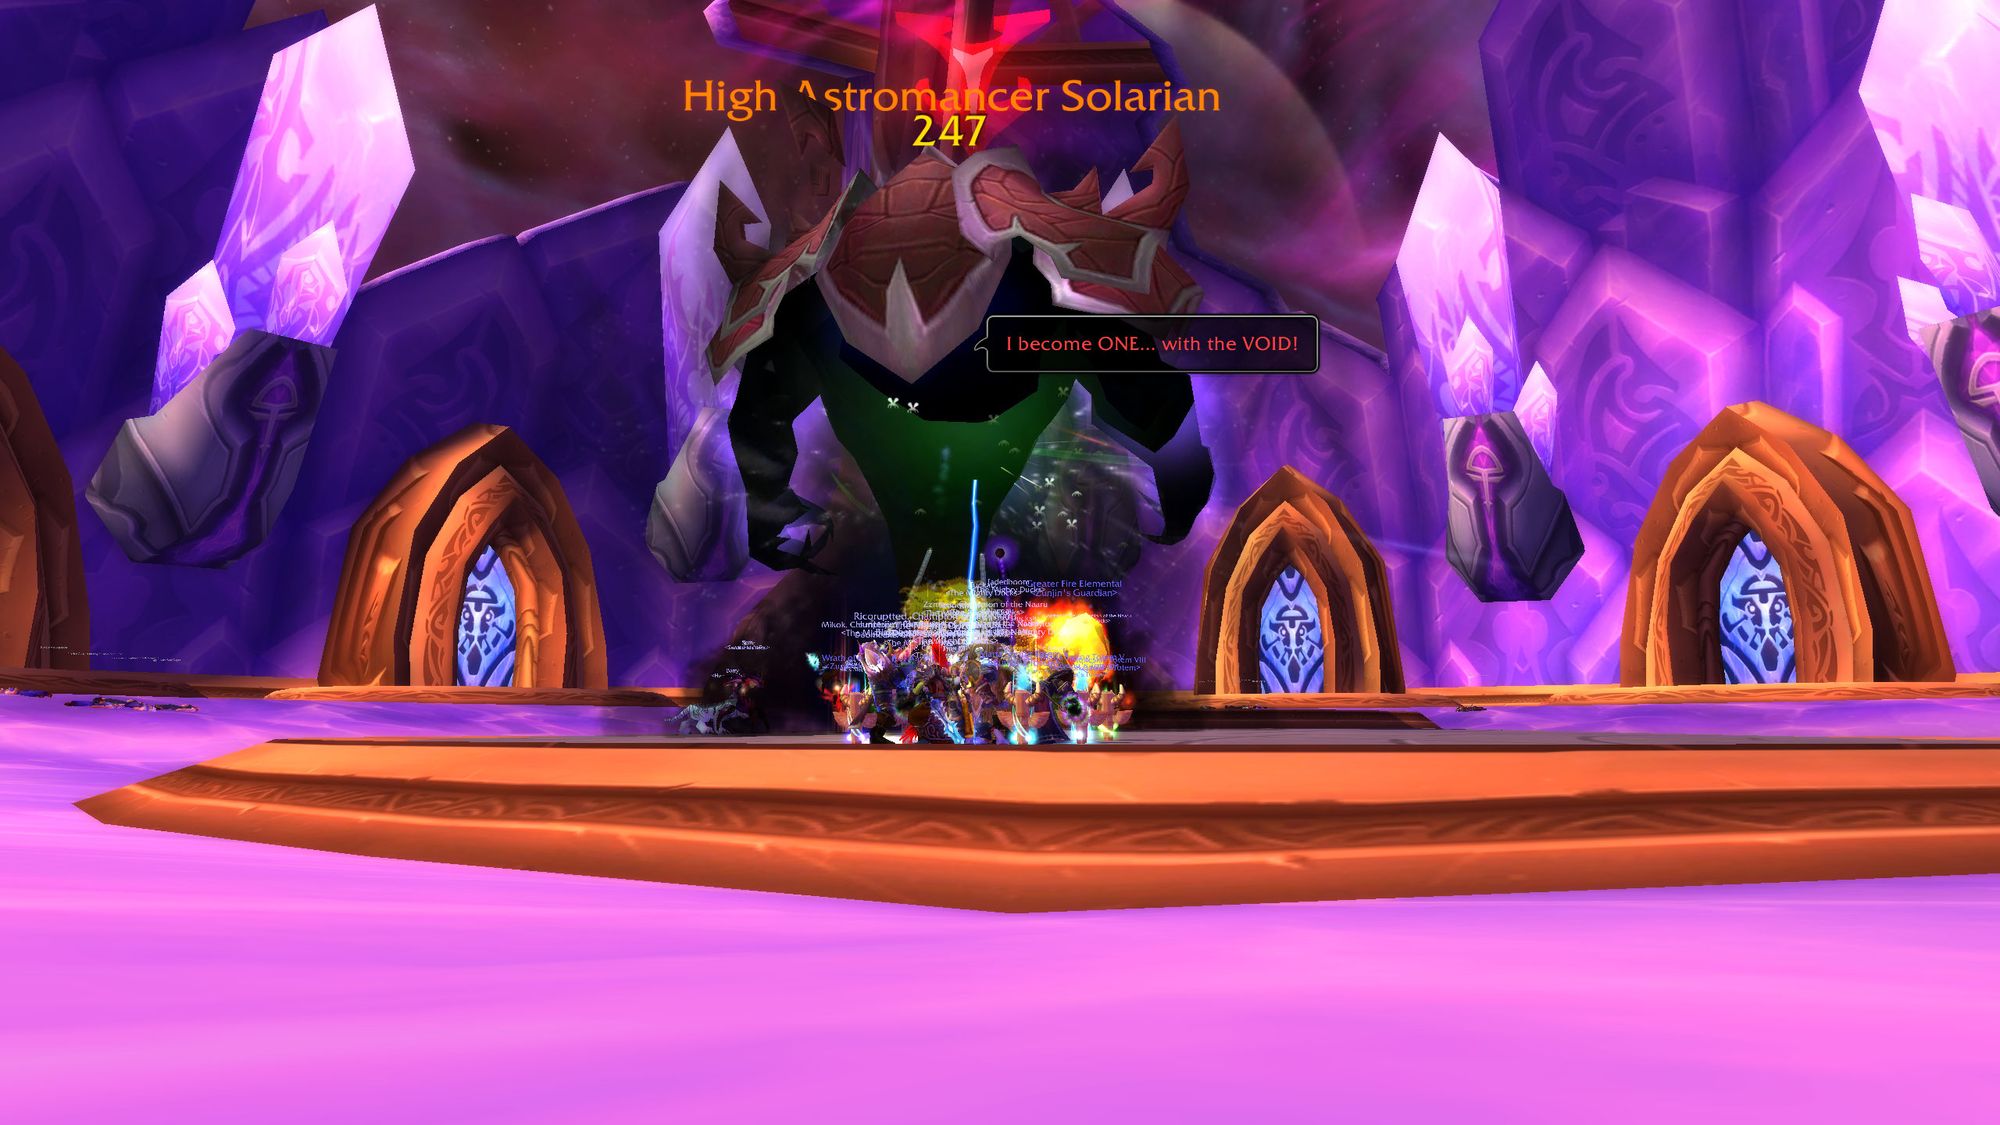
(Editor's note: In the nerfed version of this encounter, pretty much none of the above applies. You don't need resistance tanks to soak, there's no stacking arcane resistance debuff and you don't need to spot heal arcane missiles. However, Wrath of the Astromancer becomes an AoE explosion around the targeted player, so they still need to move out of the stack. If someone's not paying attention, you can still wipe if too many morons don't move when they're targeted. I have had more than one PUG fall apart because of players that didn't move when they were targeted in consecutive wipes. It got so bad that the third time the player was targeted, everyone ran away from them - I call it, "The Gilusmix Experience.")
Collect your phat lewts, then it's time to go through the gauntlet. Prior to phase 3, you needed to kill all three bosses. If you didn't, you would find your path blocked by a mysterious barrier.
You can enter the gauntlet from the Void Reaver side or the Solarian side, the experience is the same. The trash is nightmarish and requires coordination. It can be almost impossible without the right combination of crowd control, or the implementation of unorthodox strategies.
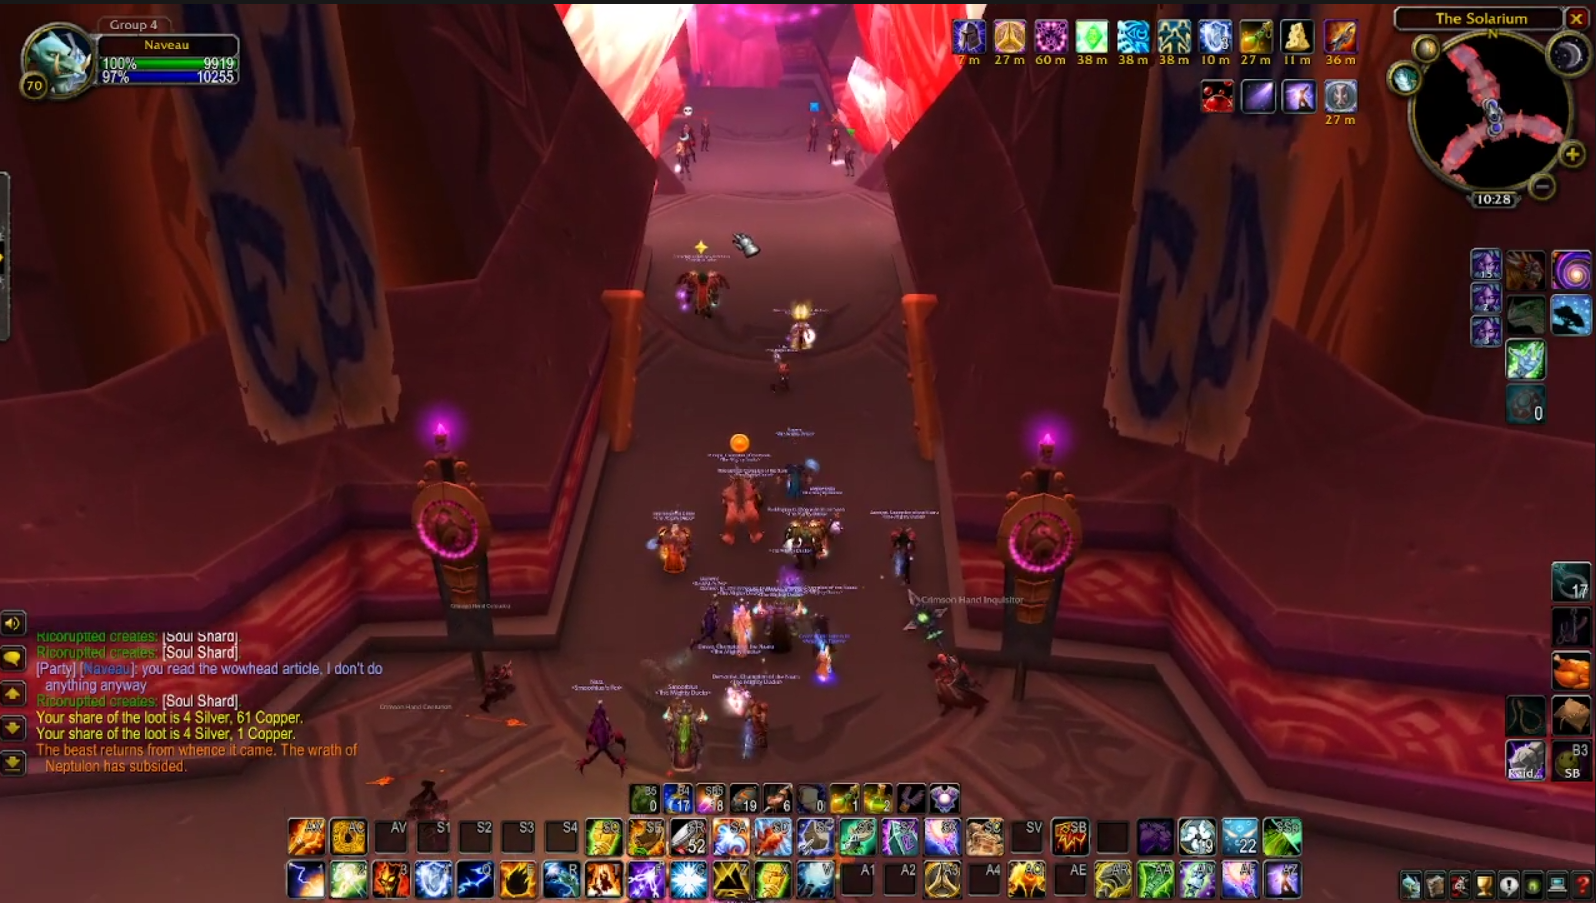
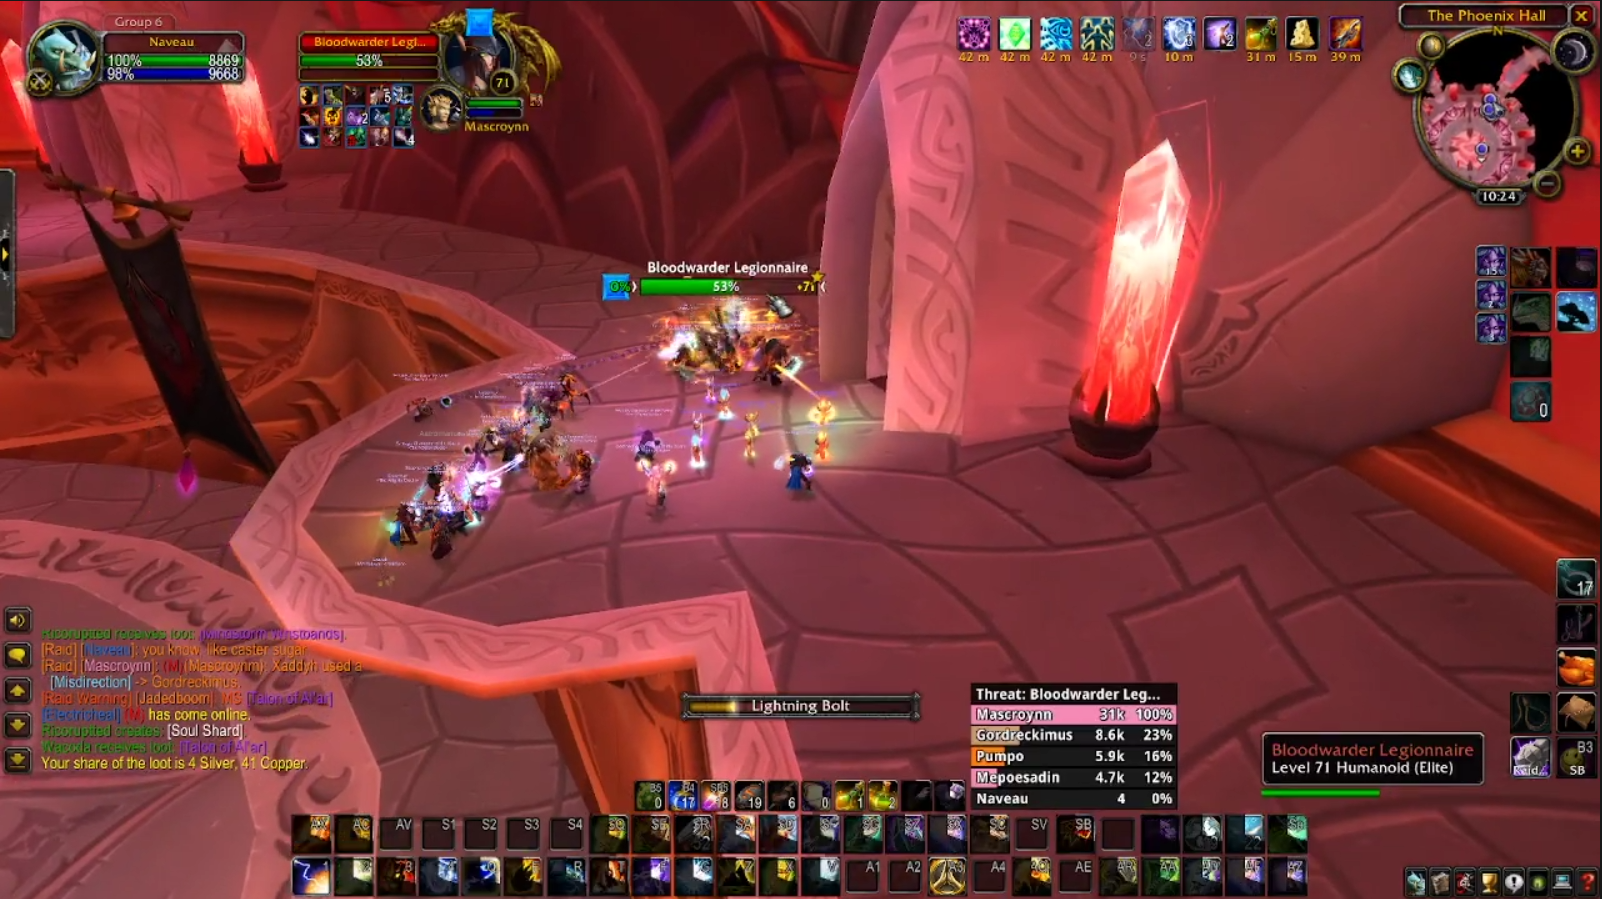
The first pack is a patrol that's a taster of the gauntlet. It consists of two Crimson Hand Centurions and a Crimson Hand Inquisitor. The inquisitor is not particularly threatening, but the centurions cast an arcane flurry, which functions as a whirlwind and a ranged attack. Lovely. You'll need to have your mages abandon any thoughts of doing damage and just constantly cast polymorph on the centurions, to prevent them from instantly killing the melee.
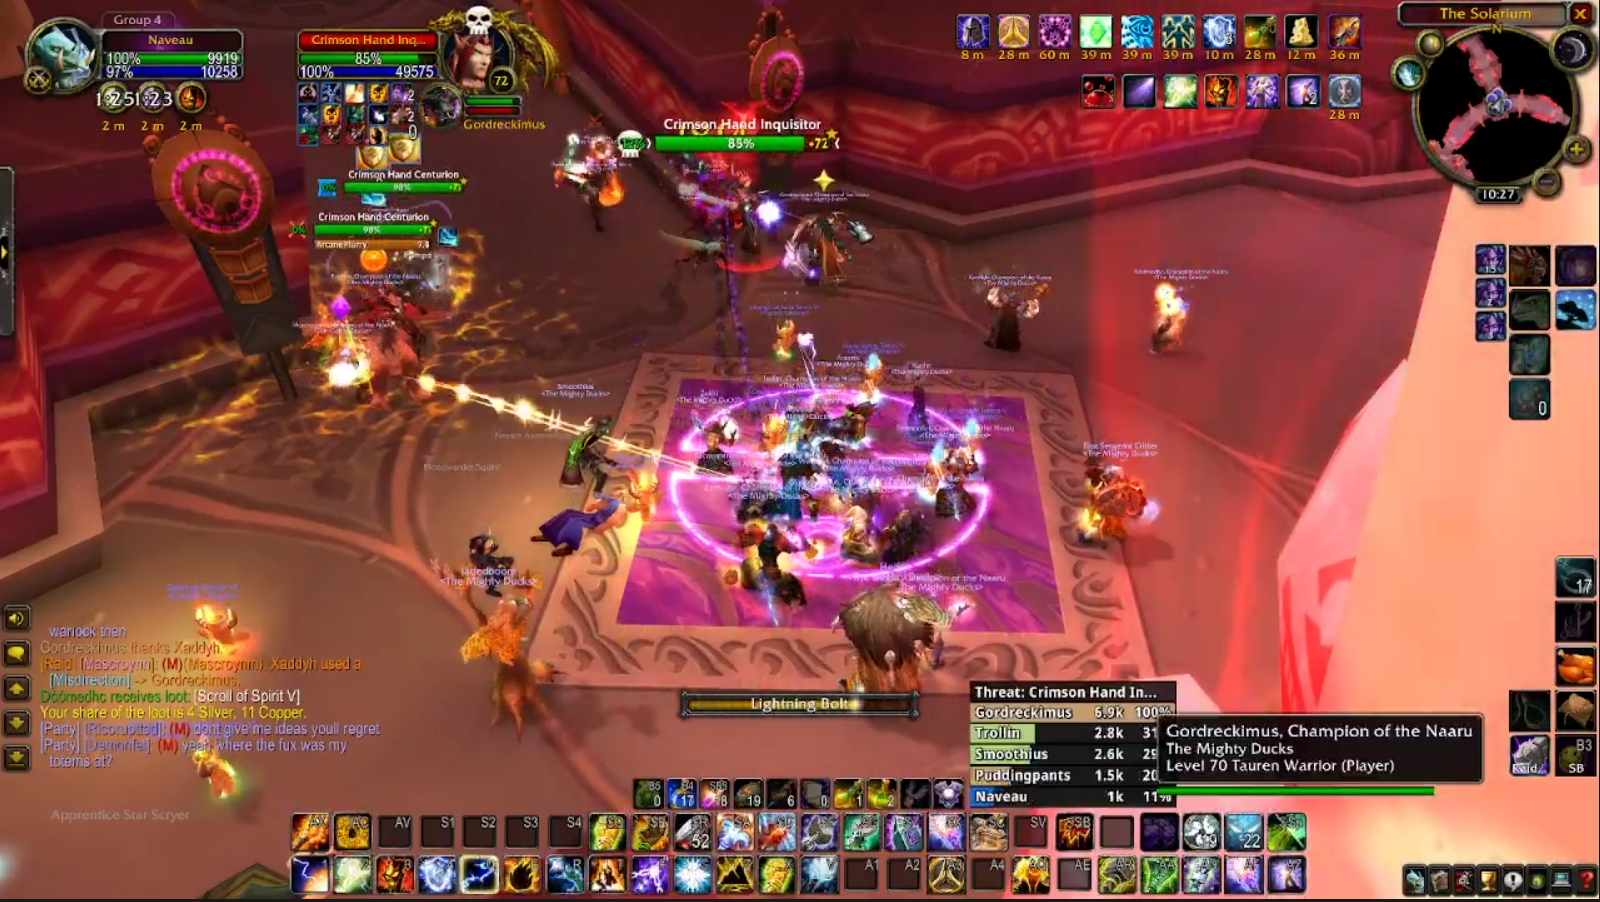
If you don't have enough mages, you can also use a druid's cyclone, or a frost trap. Either way, tank the inquisitor away from the centurions so the melee have something to kill risk free.
The next two packs are the same. Each is six mobs - two battle-mages, two centurions and two blood knights. The blood knights are immune to crowd control, so don't bother.
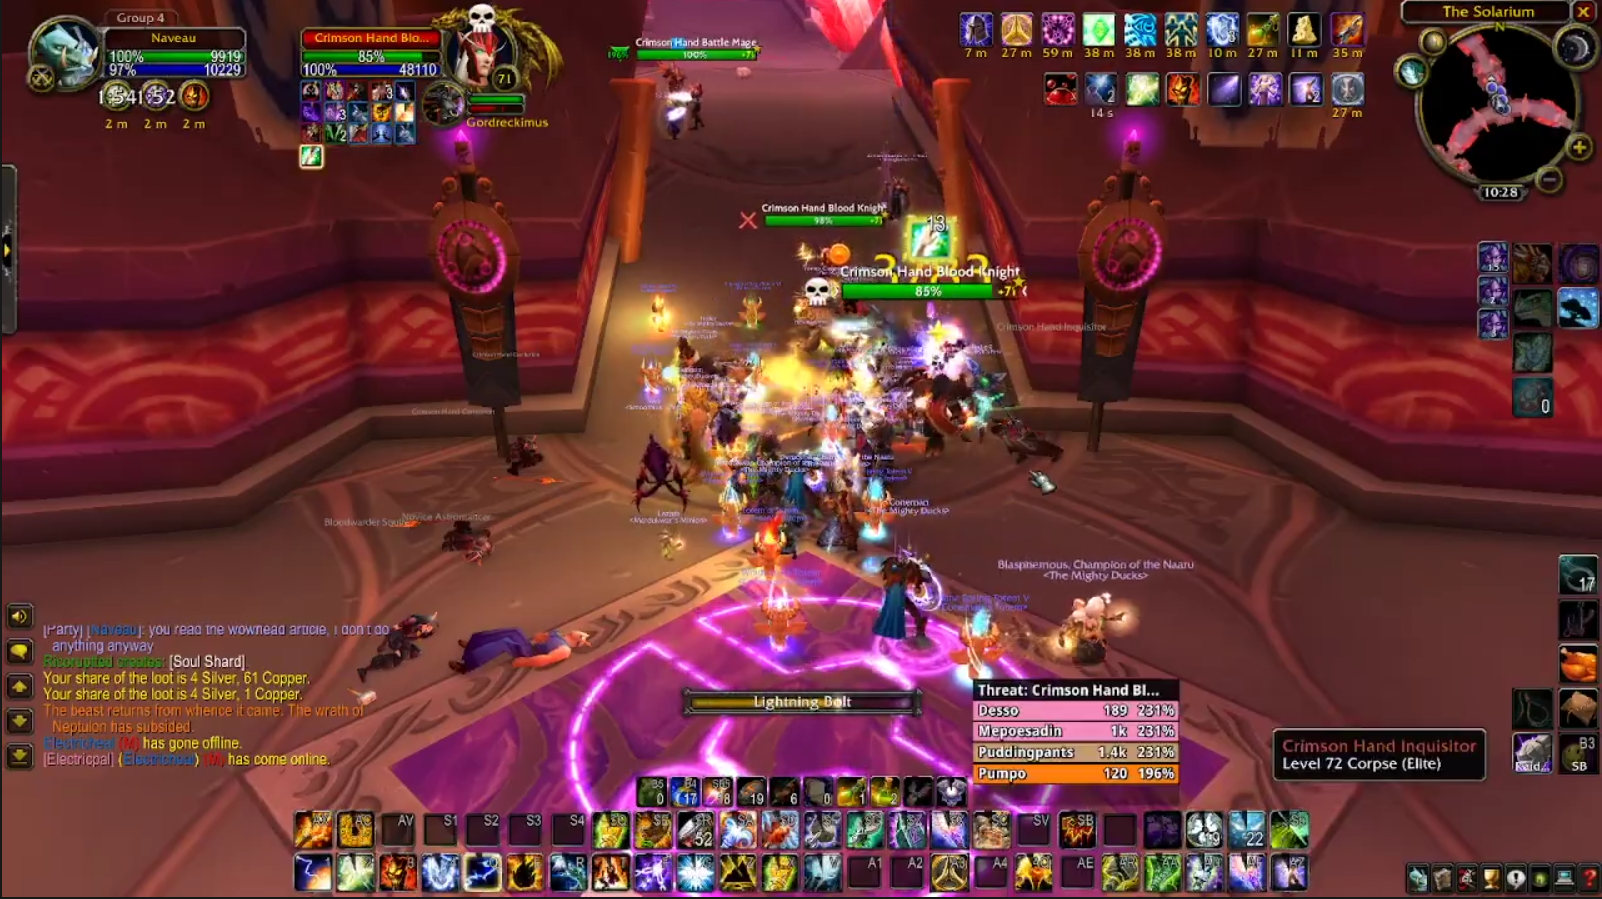
You will want to make heavy use of misdirects. It's easy for healers to lose line of sight of tanks due to the design of the ramp, so best to draw the packs toward the raid. But not too close, of course, thanks to the whirlwinds.
You'll want your paladin to handle both blood knights on the right of the corridor, and you'll want the battle mages and centurions on the left. You'll want to leave the centurions polymorphed and cycloned initially and deal with the battle mages, then the blood knights, then the centurions, continually casting polymorph on them in order to prevent them from using arcane flurry.
The second pack is much the same. Use a misdirect to pull them down from the entrance to Kael's room, use crowd control and kill the mages, blood knights and centurions. If you're hard up for crowd control and you had a rough time on the first pack, you can draw the pack all the way back to the annex and have a warlock (or two) use fear to keep two of the adds controlled, normally the centurions.
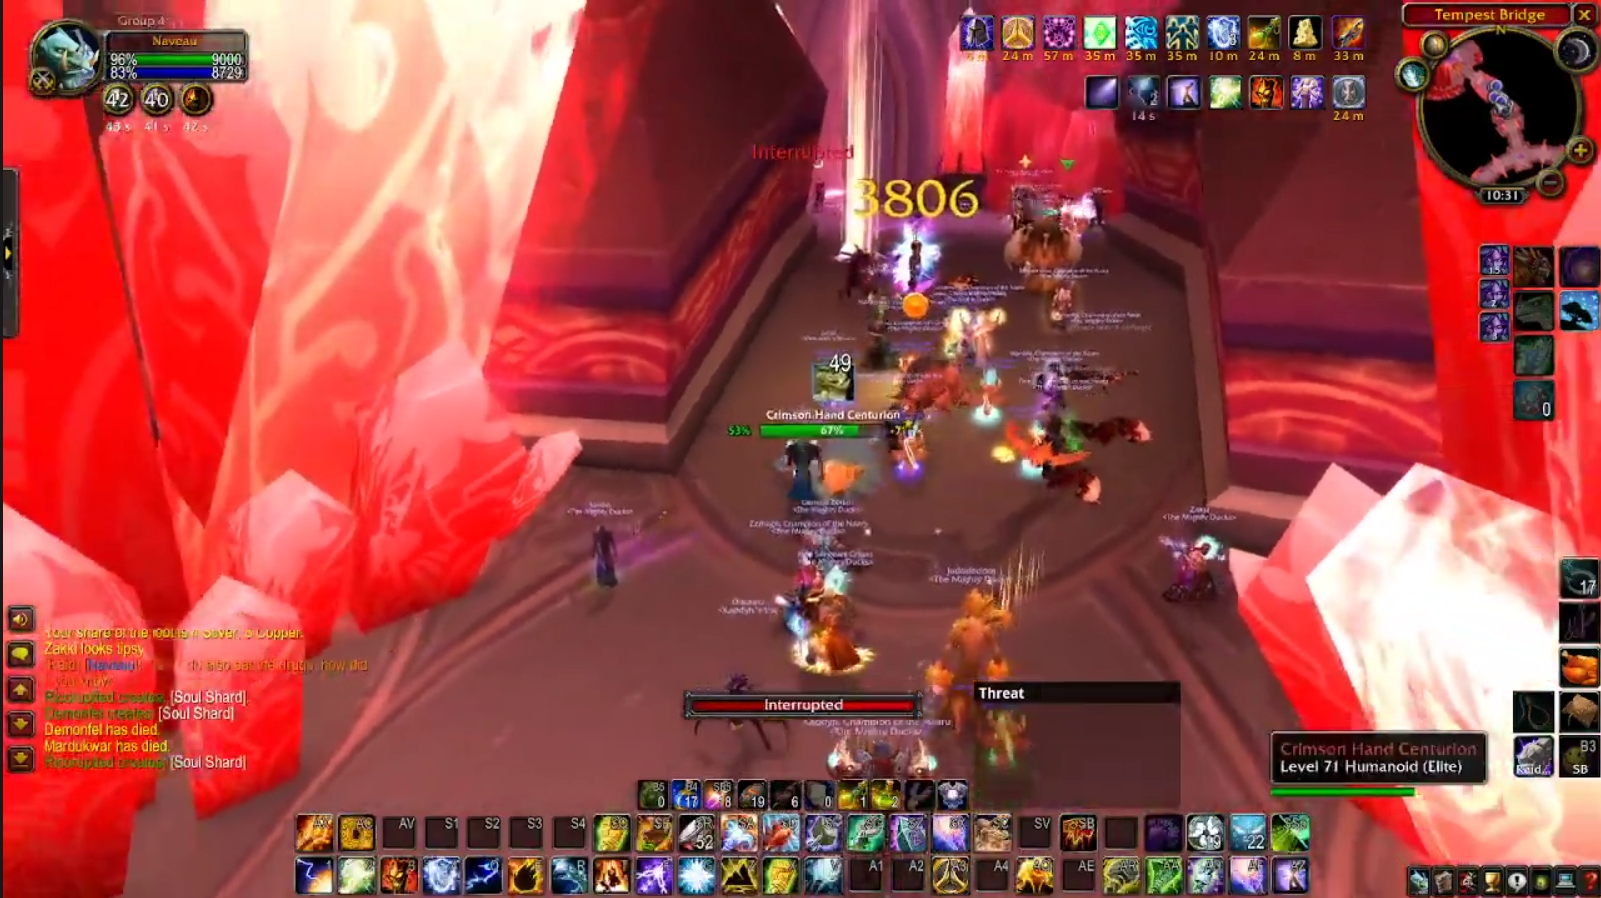
With the gauntlet clear, there are just three packs separating us from a showdown with KT. They're all identical - they consist of a centurion, an inquisitor, a marshal and a blood knight.
You'll want to use crowd control on the centurion, tank the inquisitor and the blood knight together and draw the marshal away. Cleave down the inquisitor and blood knight, then have your melee attack the centurion whilst your range deal with the marshal. Have a mage continue to constantly cast polymorph on the centurion to make it safe for the melee.
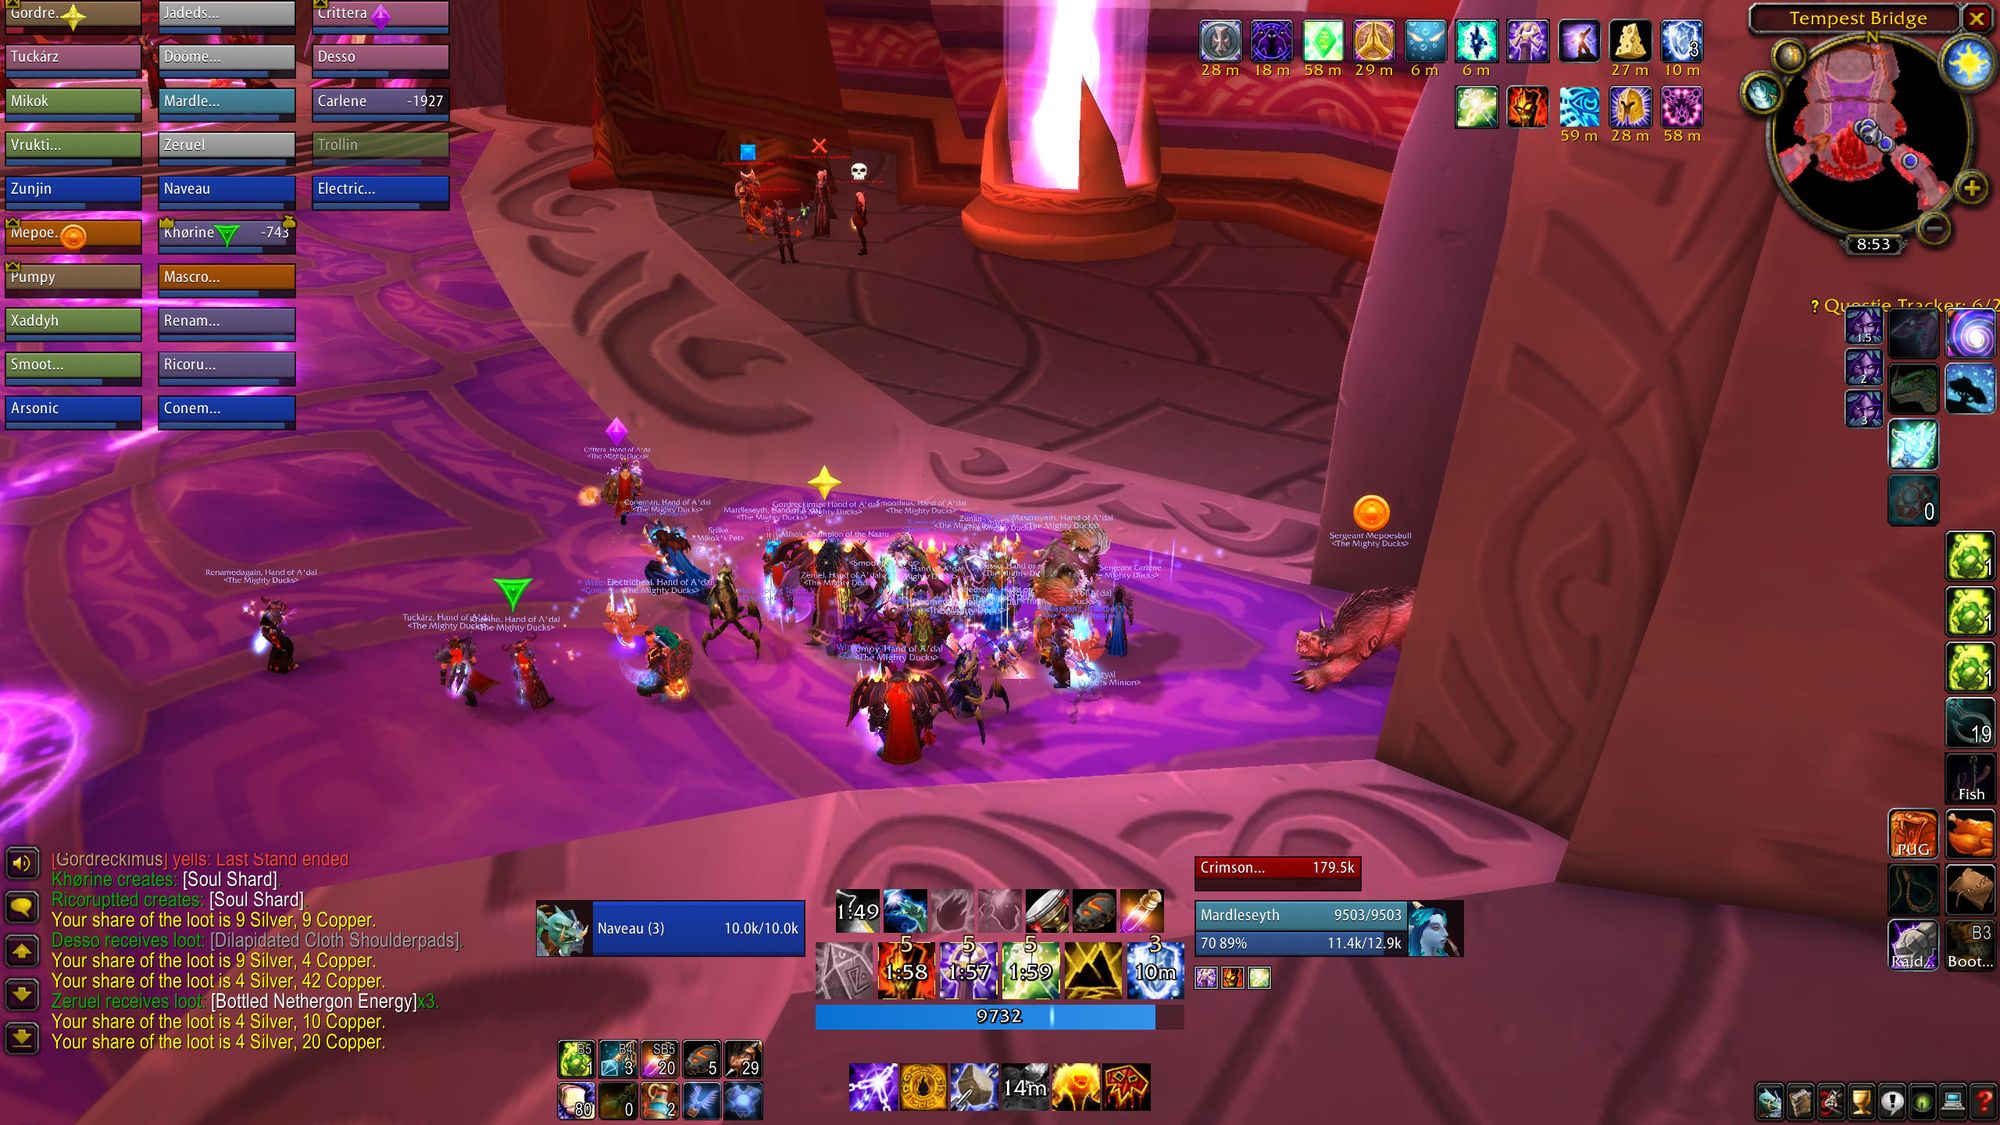
Once you've cleared all three packs, it's time to deal with the big man himself.
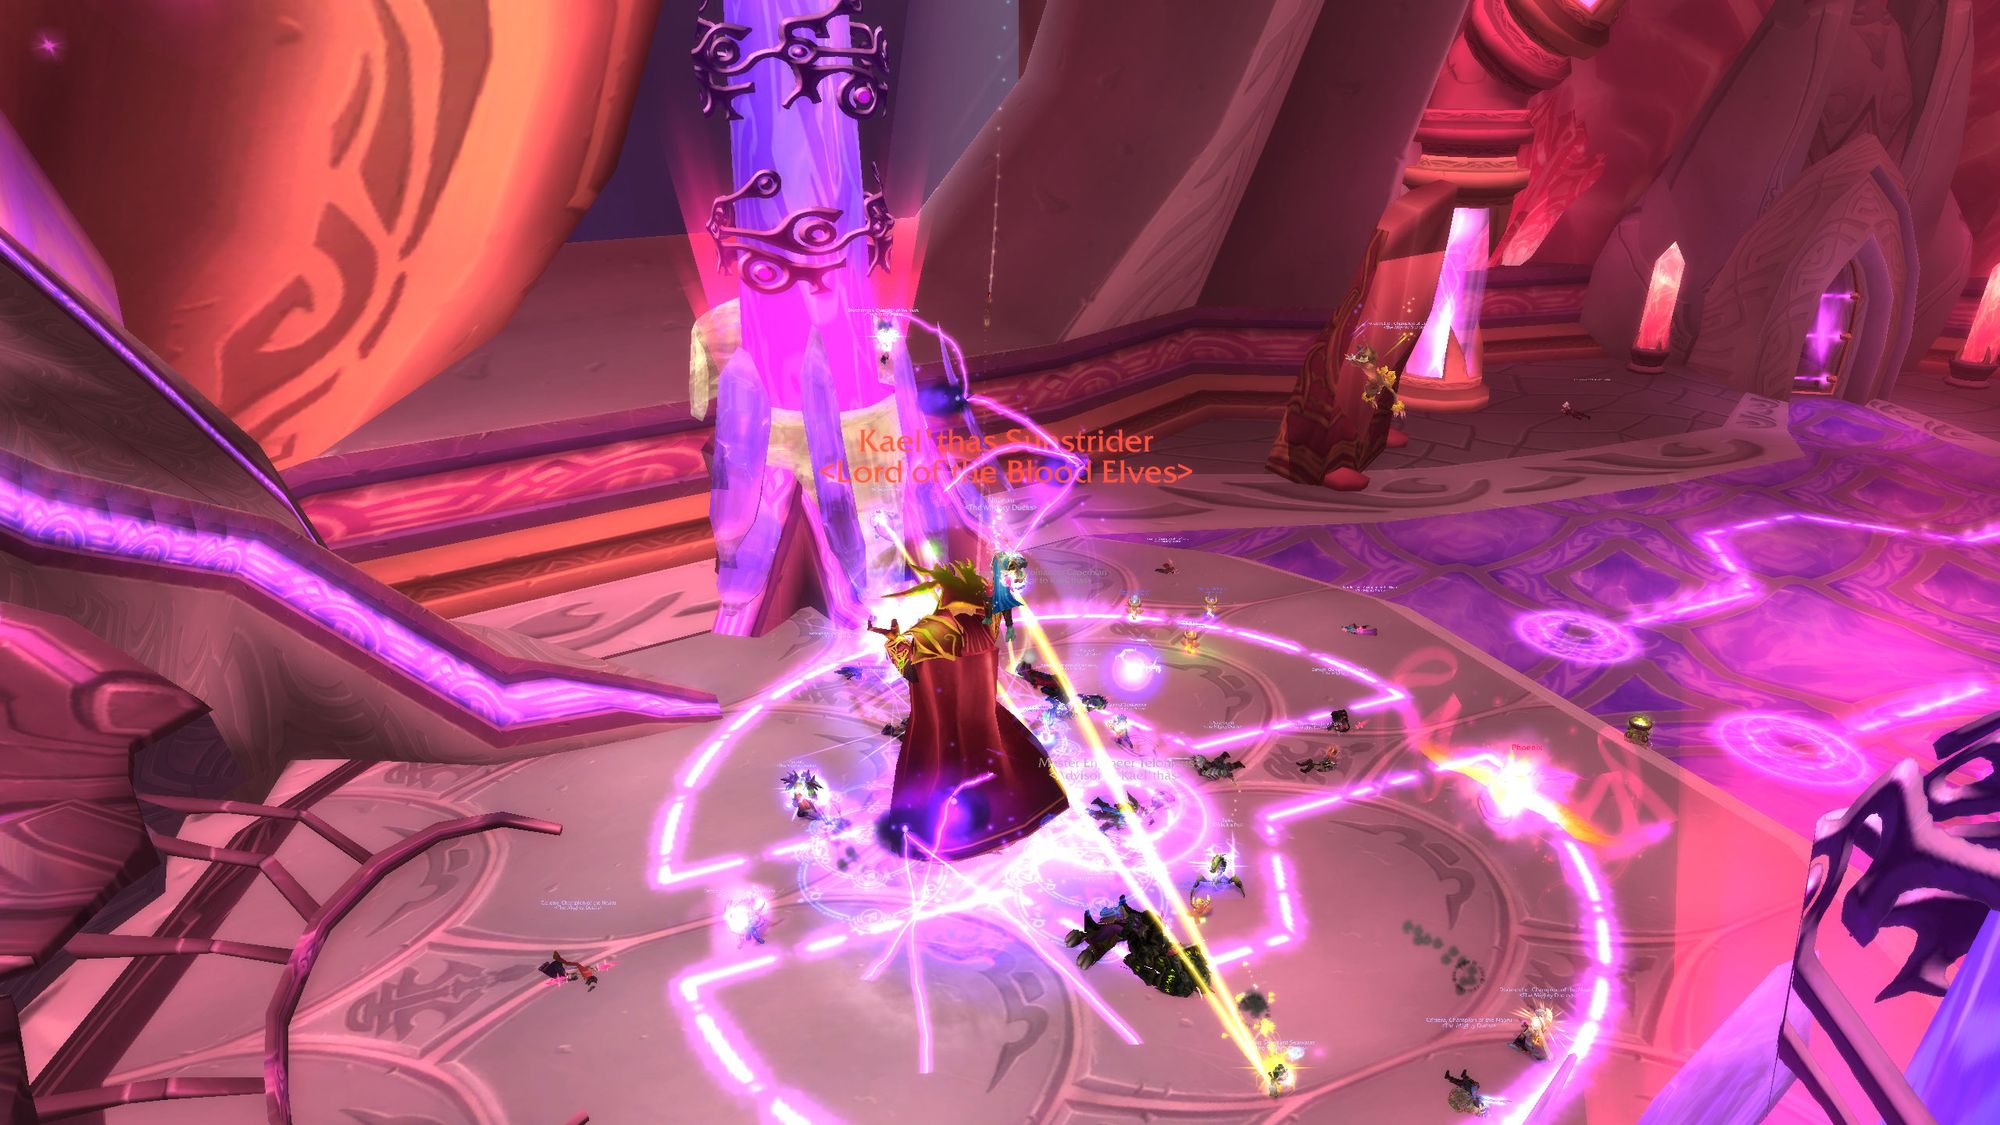
Boss Four - Kael'Thas
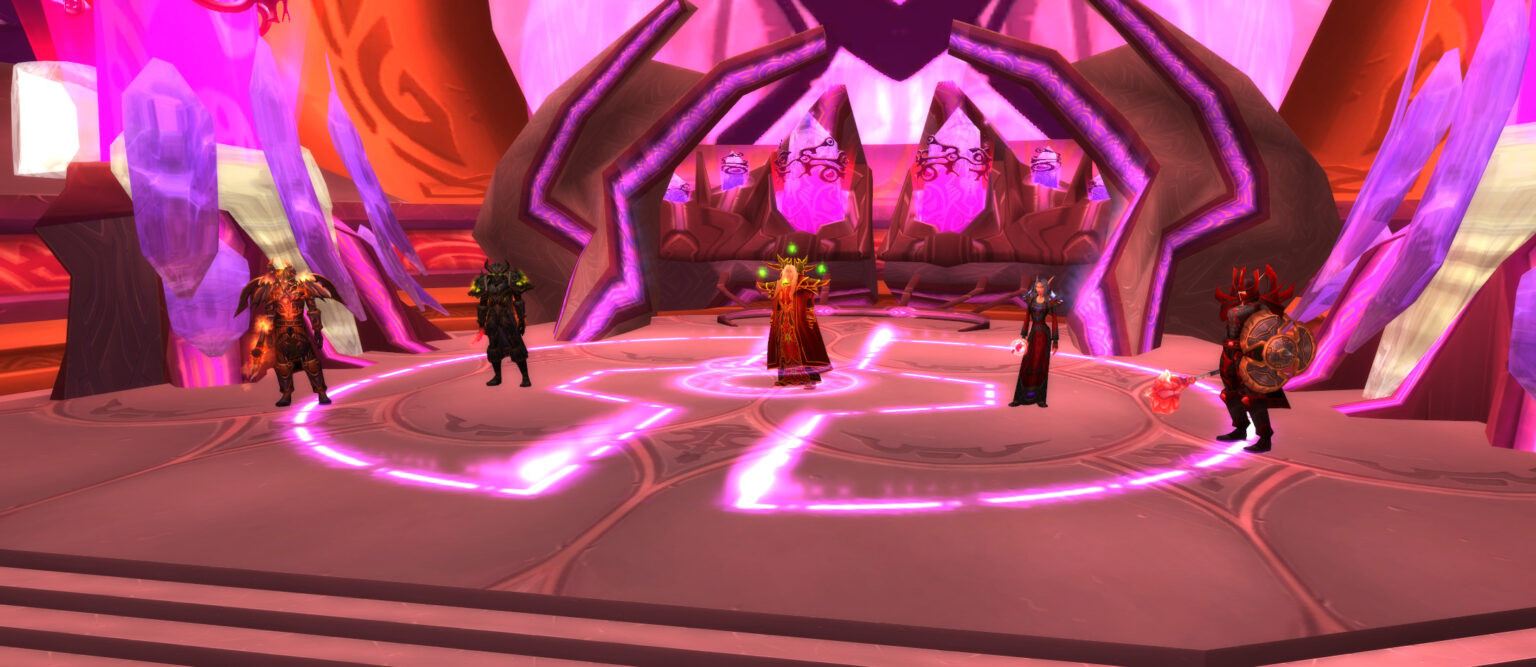
The former leader of the blood elves, the big man upstairs, and, after Illidan gets removed from the picture, one of the key antagonists of phase 5. But that's something you'll find out later.
It's line ball between which is harder - Kael'thas or Lady Vashj. Both are overtuned, very difficult bossfights which require coordination, individual and group play skill, and the correct composition of raiders to maximise success. I think Lady Vashj is harder because of the uncontrollable nature of her mind control, but it's unbelievably close.
In terms of preparation before the fight, you'll want to designate a bunch of roles. You'll need a warlock tank and an assigned healer. You'll want to assign out priest fear wards to your off-tanks. You'll want to set positions to kite one of the sub-bosses and you'll want to make sure everyone has a macro to pick up, equip, then use, the legendary weapon relevant to their class, or their role.
Your hunters will all need to have max dagger skill to break Kael'thas' mind controls, as will your Rogue and your Fury Warrior. If there are too many complaints about a reduction in DPS as a result, players need to figure out a way to swap quickly between their nominal weapon and the legendary dagger, as having reliable mind-control breakers in melee and range is not optional.
There is no room for error. The damage checks for this fight are ridiculously high. There are multiple races and mini DPS races, all of which require maximum attack. If there are players phoning it in, you'll find out in a hurry.
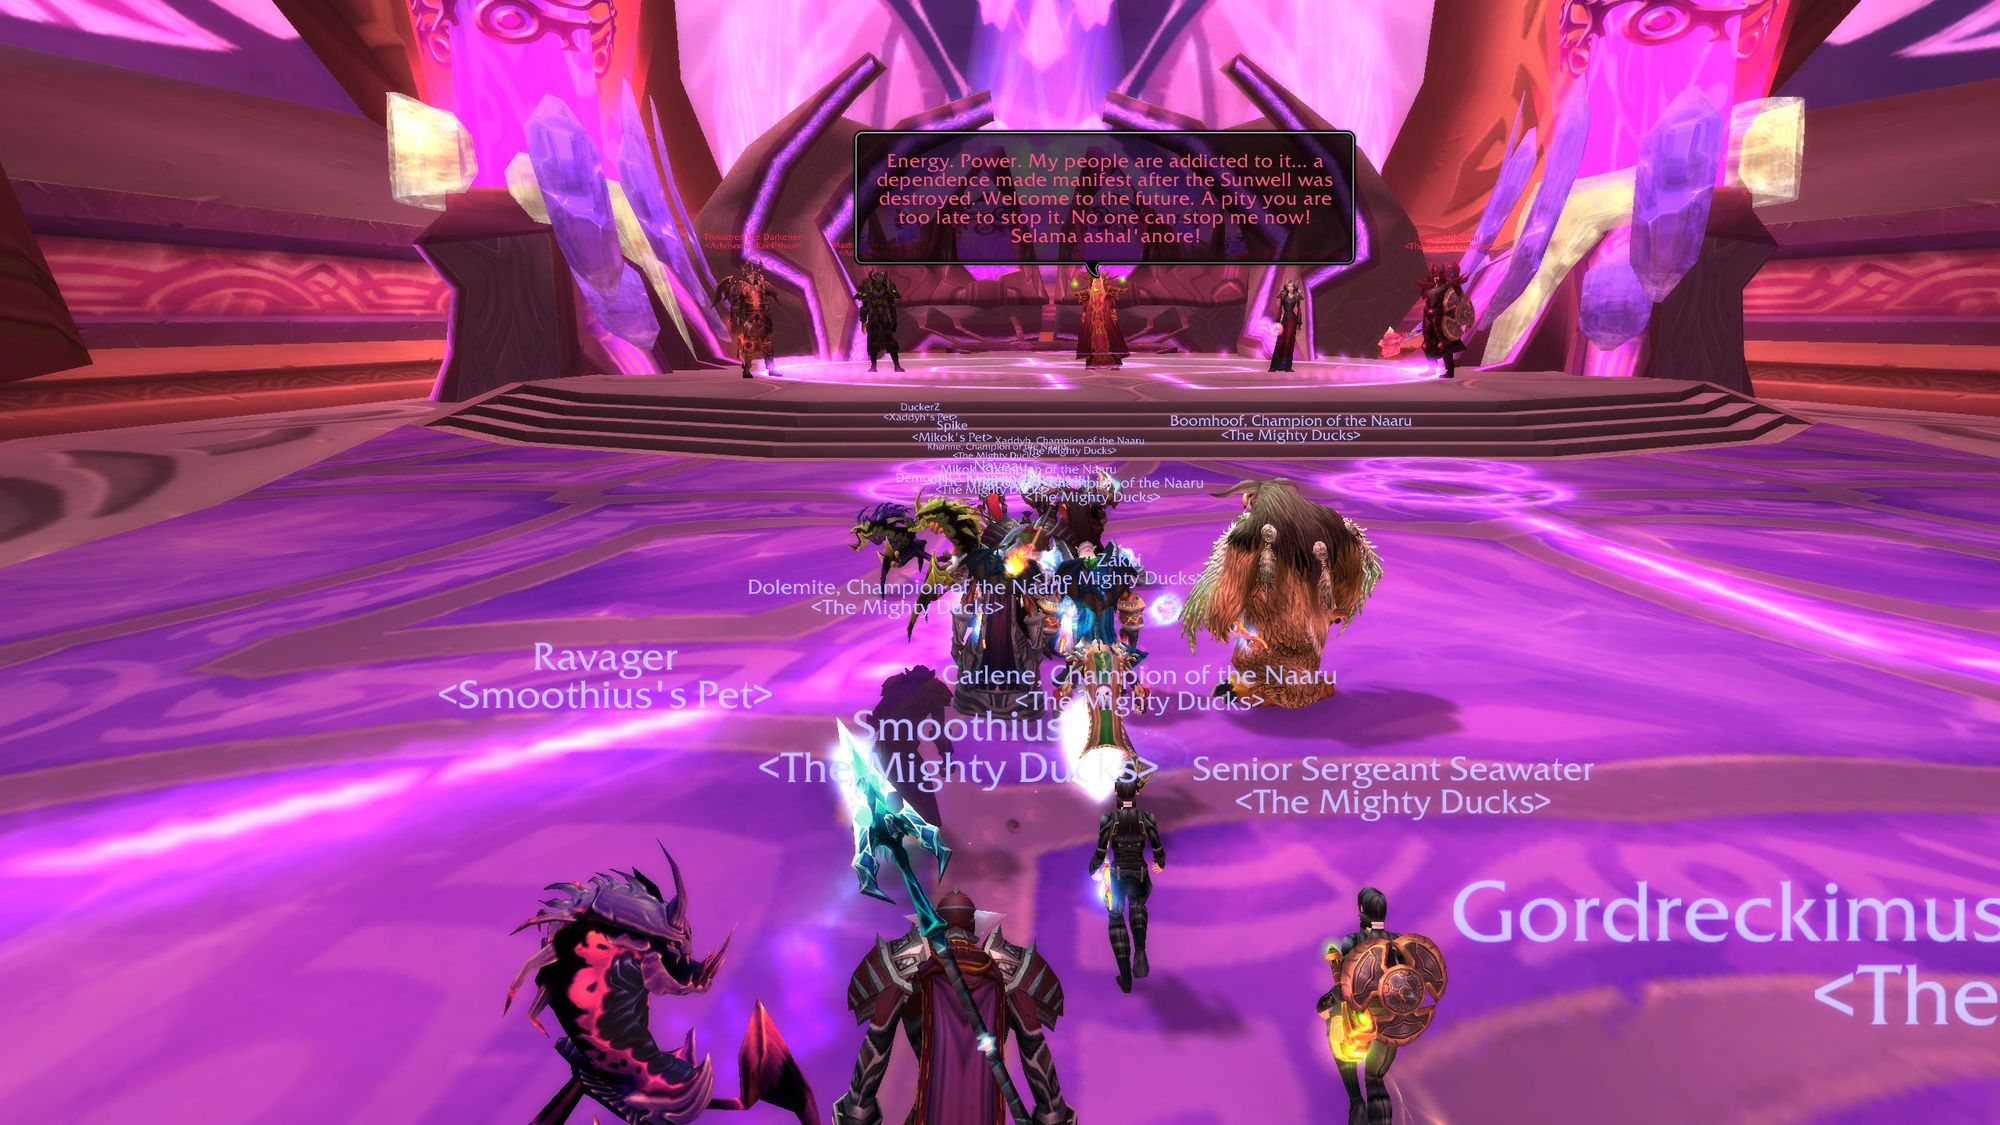
The bossfight doesn't start until you cross an imaginary trigger line approximately three quarters into the room. This means it's relatively easy to scrape people up after a wipe, but Kael'thas does love to hear the sound of his own voice, so attempts will take time.
Once everyone's buffed up, consumed up and has done some research on the fight (it is a fifteen year old game at this point), it's time to cast down the Lord of the Blood Elves.
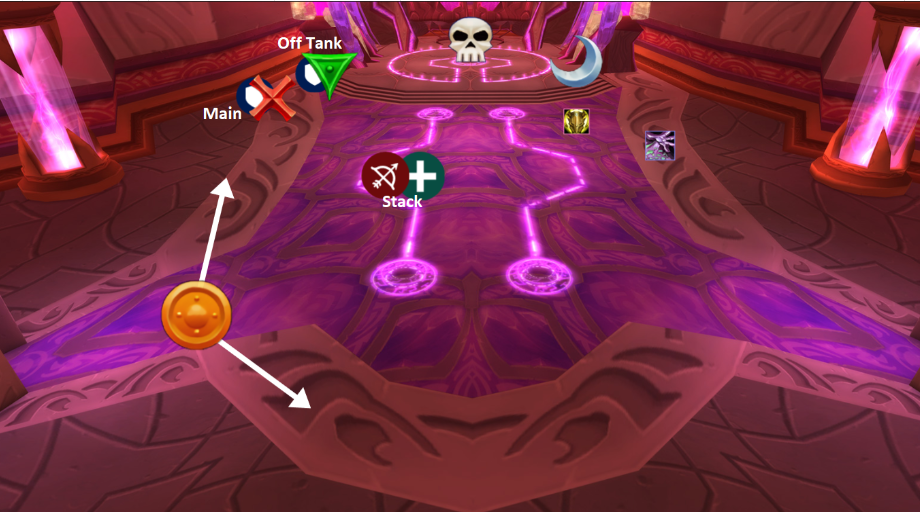
Tactics - Phase One
Buckle in, because you're in for a long one. Kael'thas has five phases - each one has it's own set of dangers to kill players with.
To start, Kael'Thas doesn't fight you directly. He'll let you fight his advisors one by one. It's important that you kill them in the right part of the room, as he'll reincarnate them all later and you'll want them to be in prepared spots.
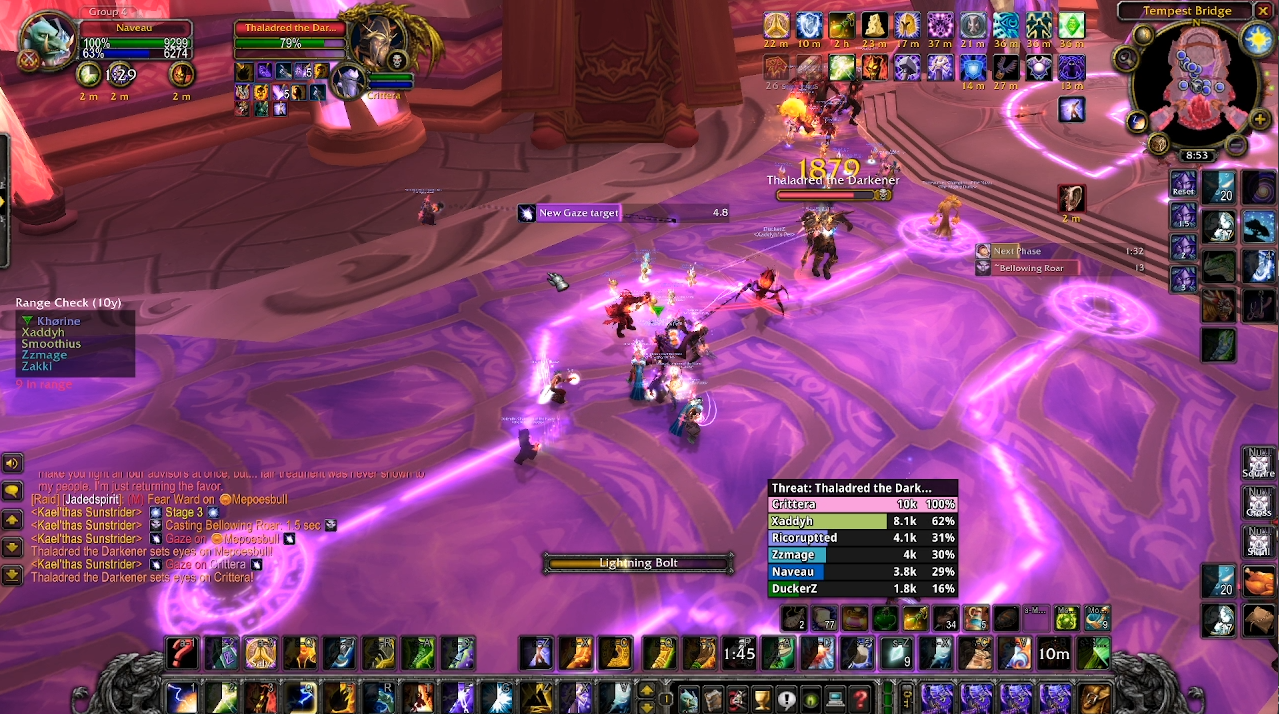
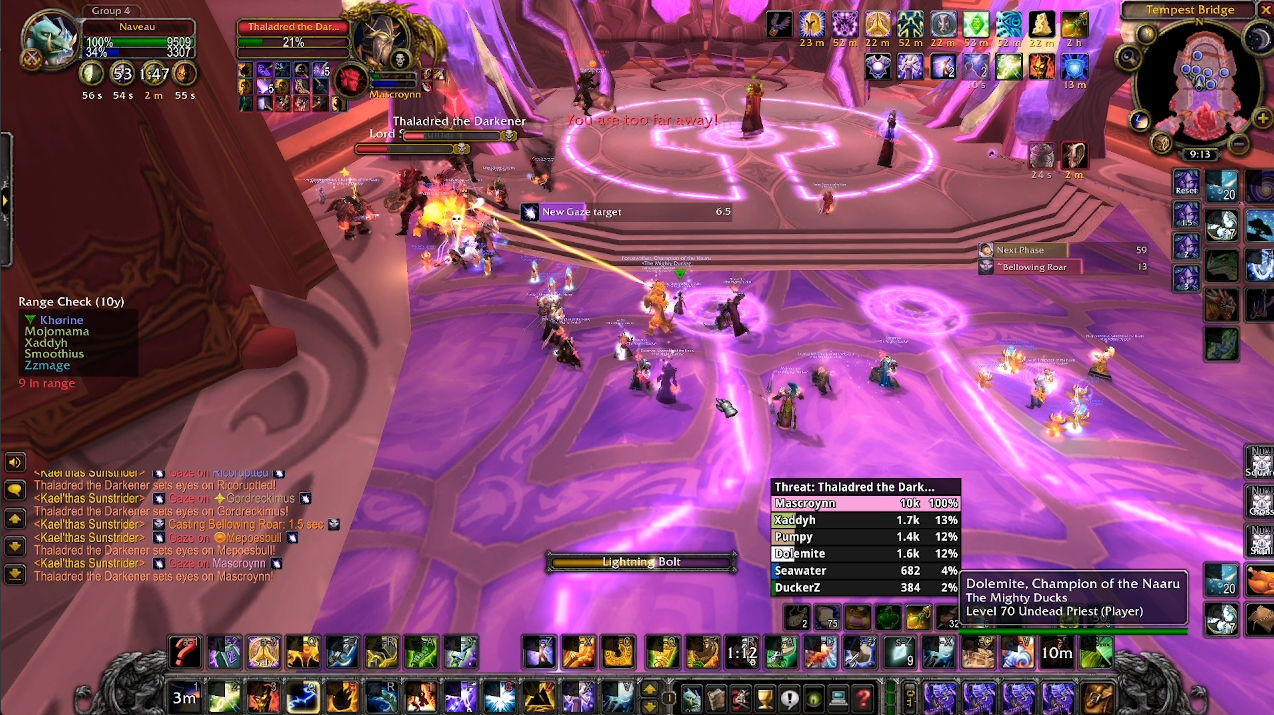
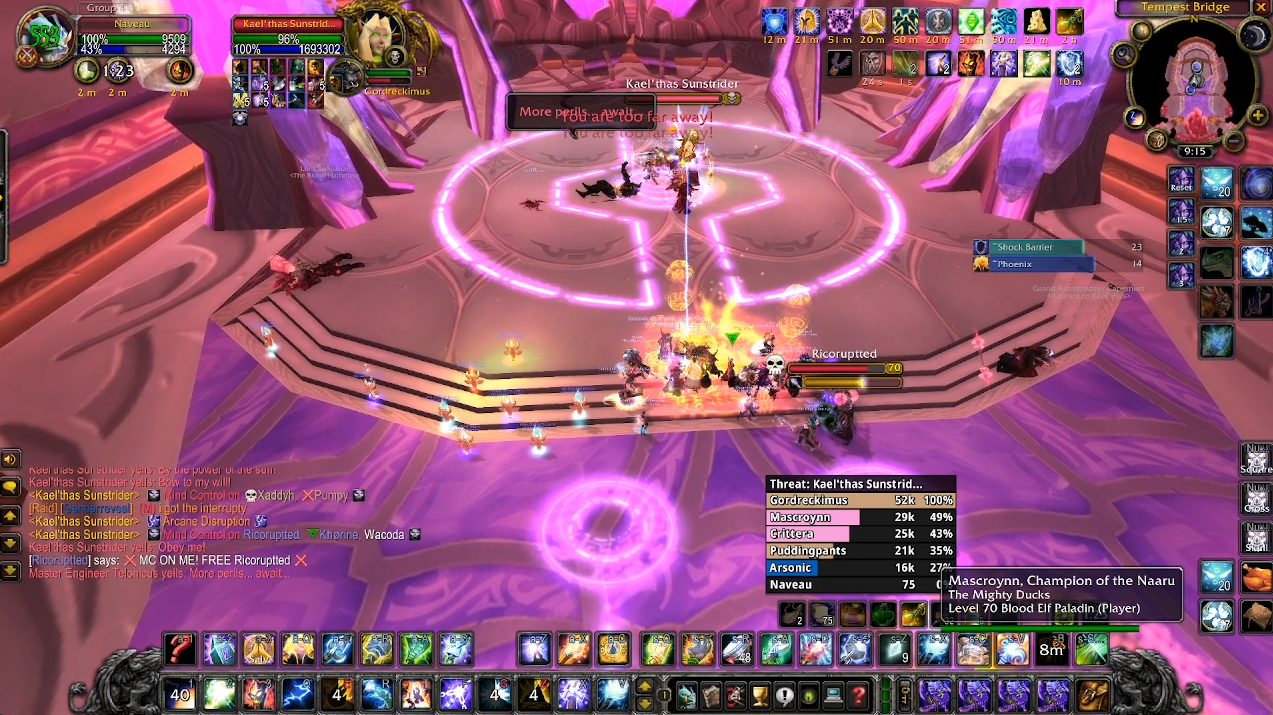
First, you'll fight Thaladred the Darkener. He's fairly straightforward - he'll fixate on a random player. If a player generates 10k threat on Thaladred, he will switch to that player instead. He silences in an AoE around him and will oneshot anyone who isn't wearing plate, or who isn't a tank.
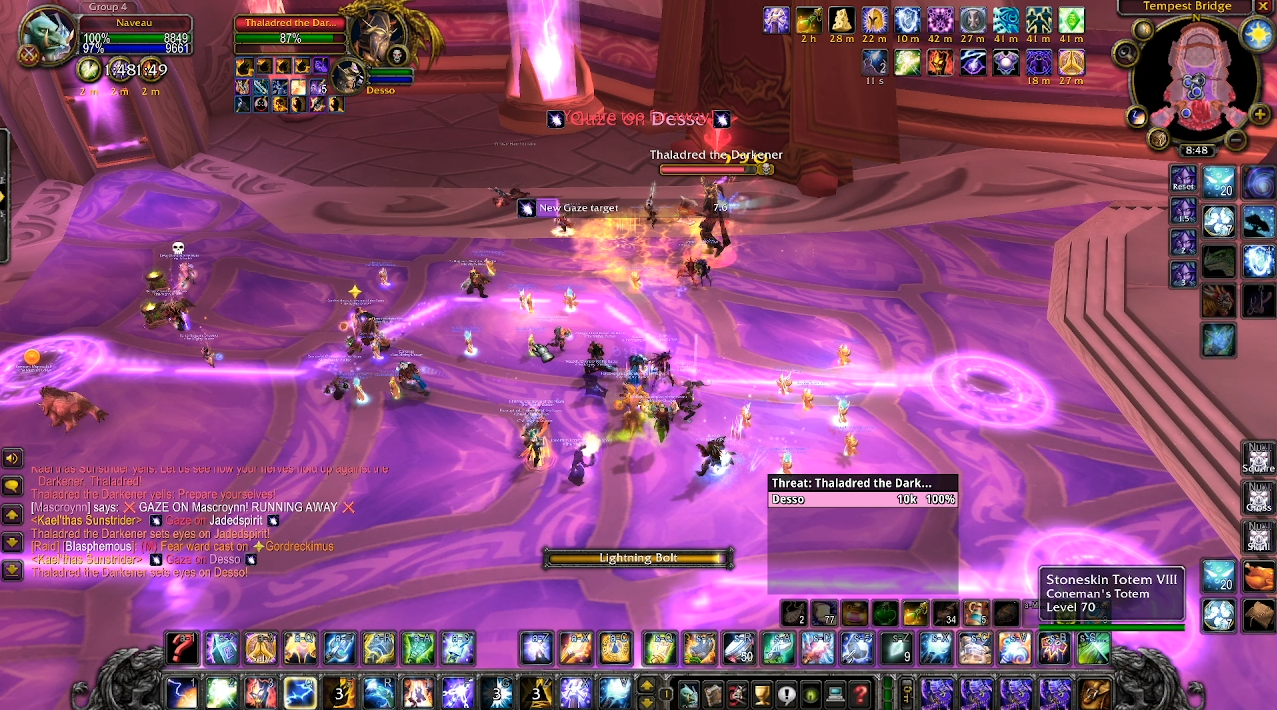
You'll want to draw Thaladred to the back of the room. Once he's at the back of the room in the relative correct position, you'll want your DPS to draw him back and forth as he switches between players. This ensures Thaladred stays put to maximise uptime. This is important for phase three, so practice now.
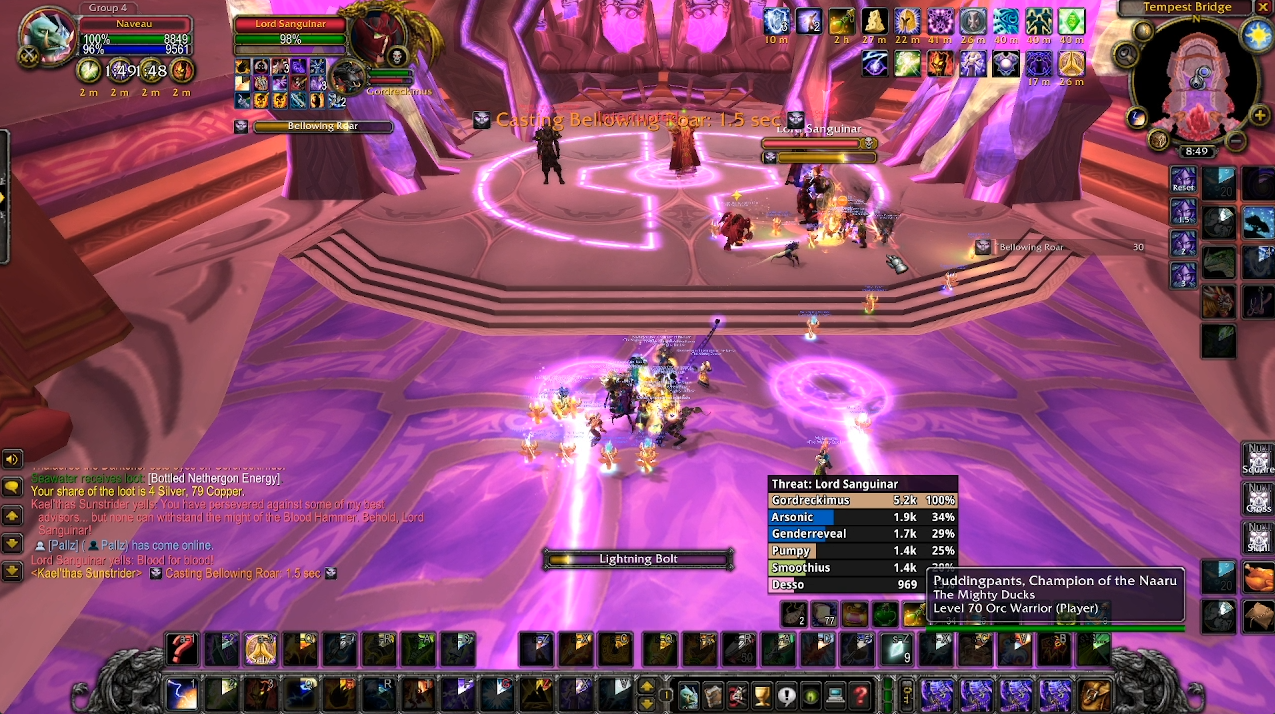
Next is Lord Sanguinar. As soon as he activates, he'll cast an AoE fear. If your assigned tank is a druid, they'll need a fear ward (warriors can use berserker rage.) You'll want to drag Sanguinar over to the left, underneath the statue of Kael'thas. This is a relatively simple tank and spank, just make sure you're using fear countermeasures.
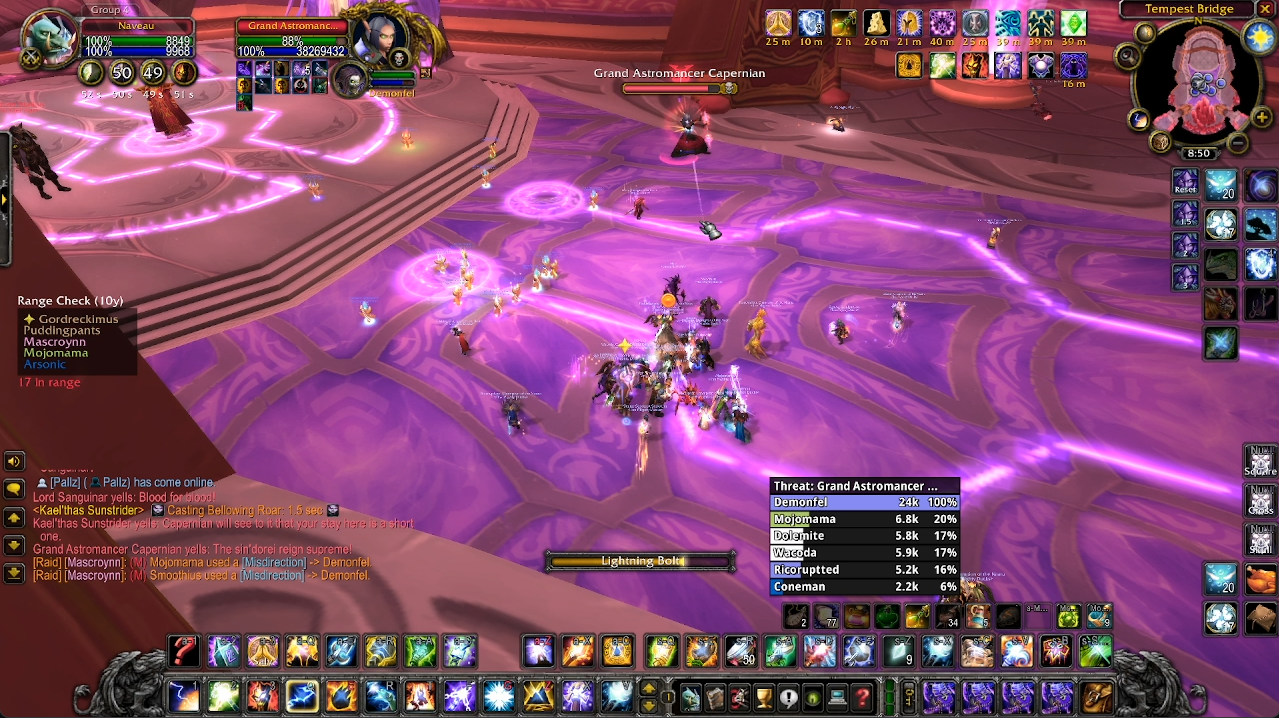
Third is Grand Astromancer Capernian. For this you'll need to have an off-tank (nominally your Paladin) stand close enough to be hit with conflagrate, which an AoE fire damage ability that disorients and does fire damage. You'll want your warlock to hold threat and your ranged DPS to deal with Capernian, whilst standing more than 30 yards away to avoid being targeted by conflagrate.
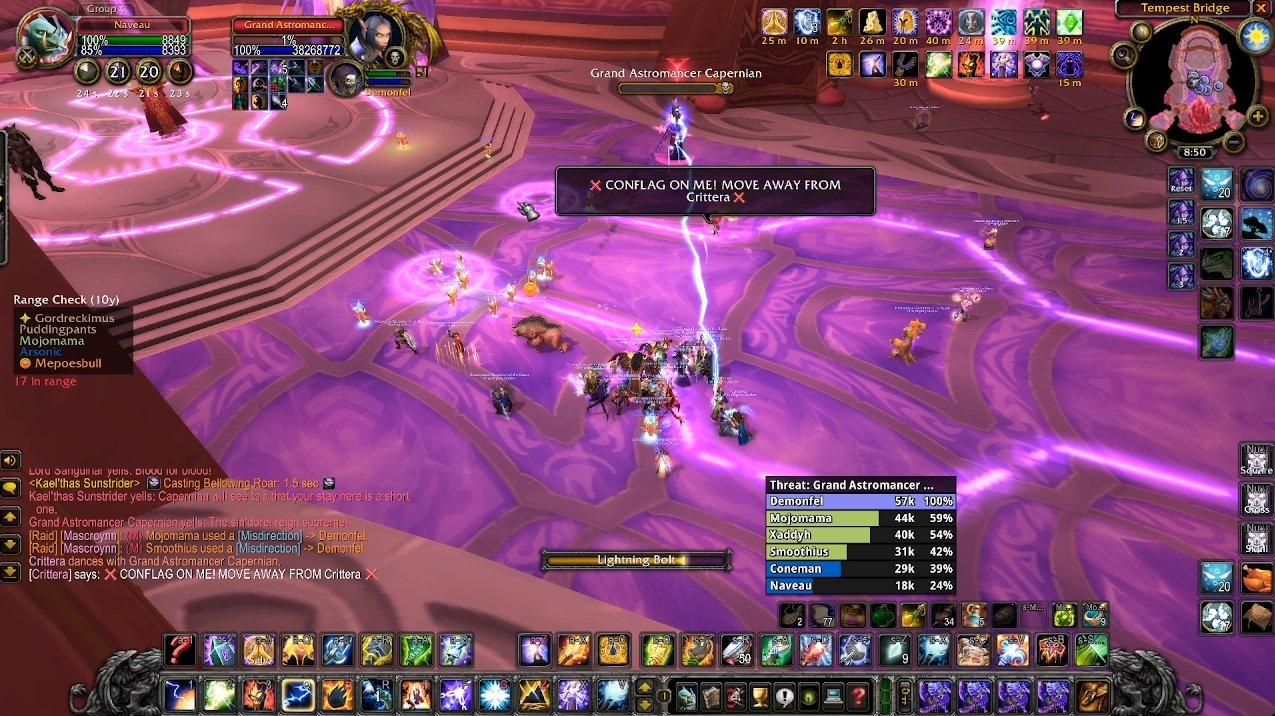
A small side note here is that there's a quirky bug related to the boss' aggro range. If a unit (so a totem, or a pet, etc.) is more than 50 yards away from the boss when she spawns, she'll freak out and start running all over the place, ruining your nicely laid plans. Emphasise to your raid that they need to pull totems and keep pets close (but also off the boss.)
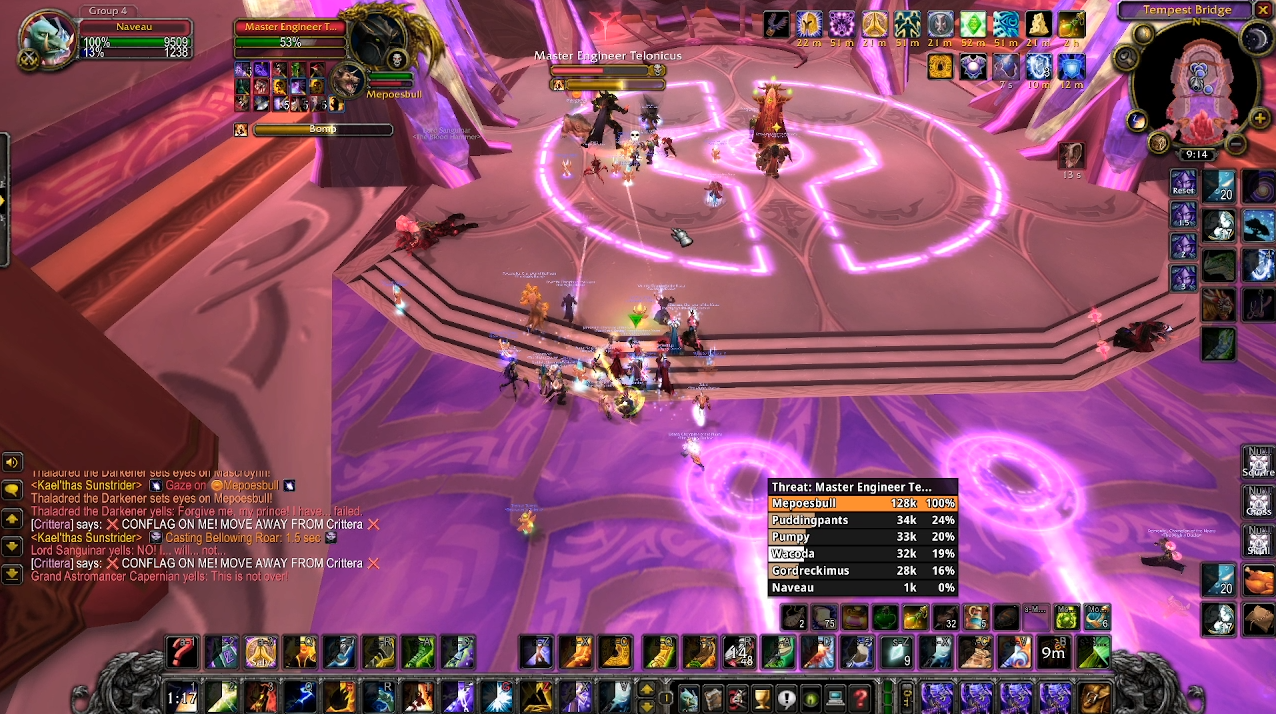
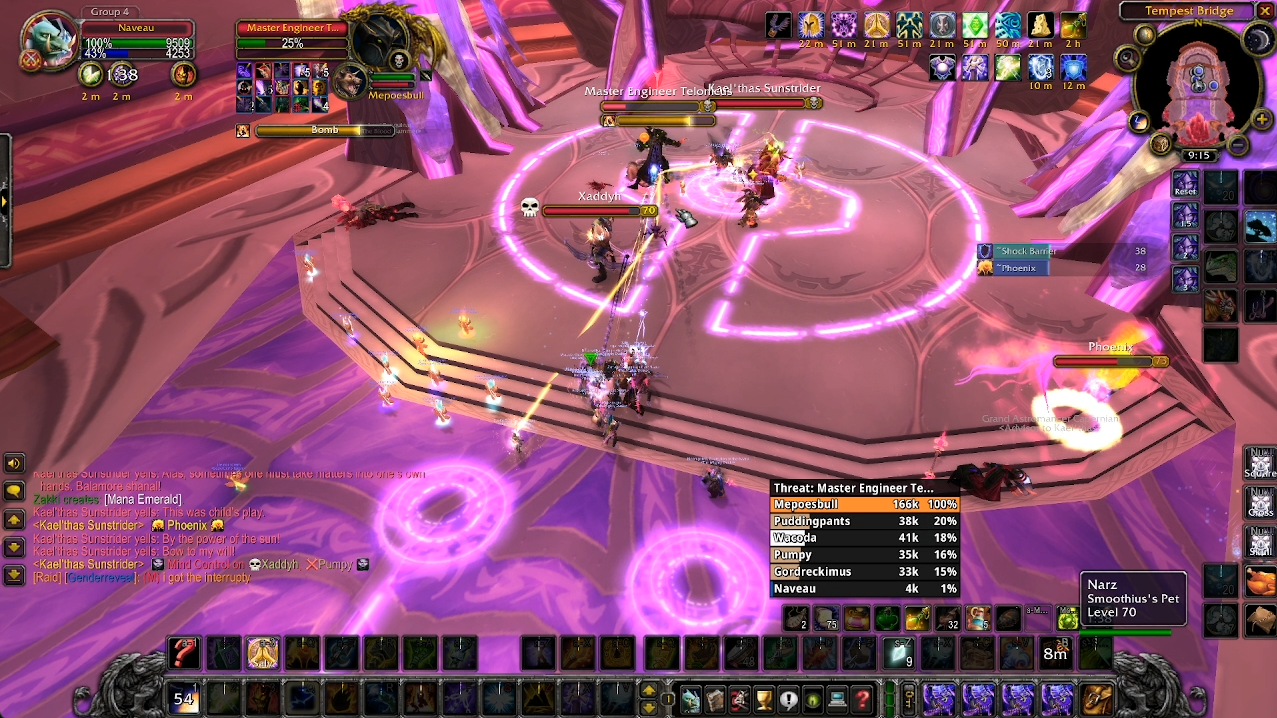
Last, but certainly not least, is Master Engineer Telonicus. He doesn't hit particularly hard, but does throw bombs at the tank which deal significant fire damage in an area around the target. Unless your melee players are solidily built, you'll want to wait until your off-tank has positioned Telonicus before diving in to attack to make sure you don't get cleaned up.
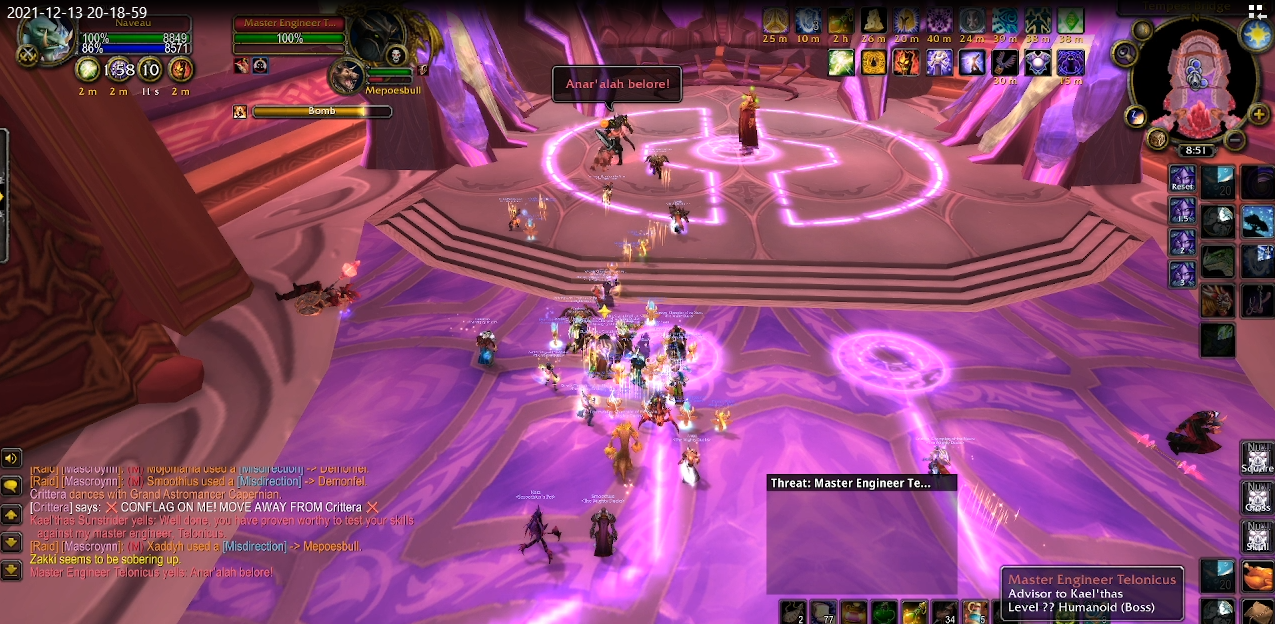
The master engineer will also debuff players with something called a "Remote Toy". This stuns a player every four seconds, and lasts for sixty. This can be a real hindrance to a key raid member, such as your tank warlock or a key healer, so it can be worth delaying Telonicus' death to remove this debuff as a factor.
Once all the advisors are dead in the right spots, you'll want to stack up on the stairs to the left of Kael'thas, and get ready for phase two - the weapons.
Tactics - Phase Two
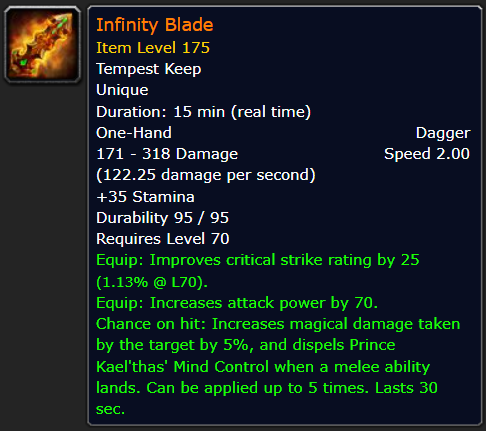
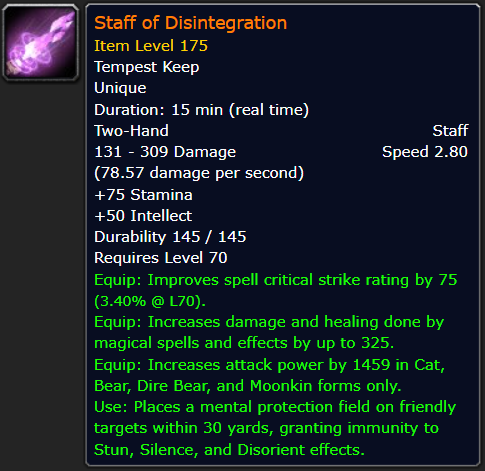
Kael'thas spawns seven weapons for your raid to deal with - a bow, an axe, a sword, a dagger, a shield, a mace and a staff.
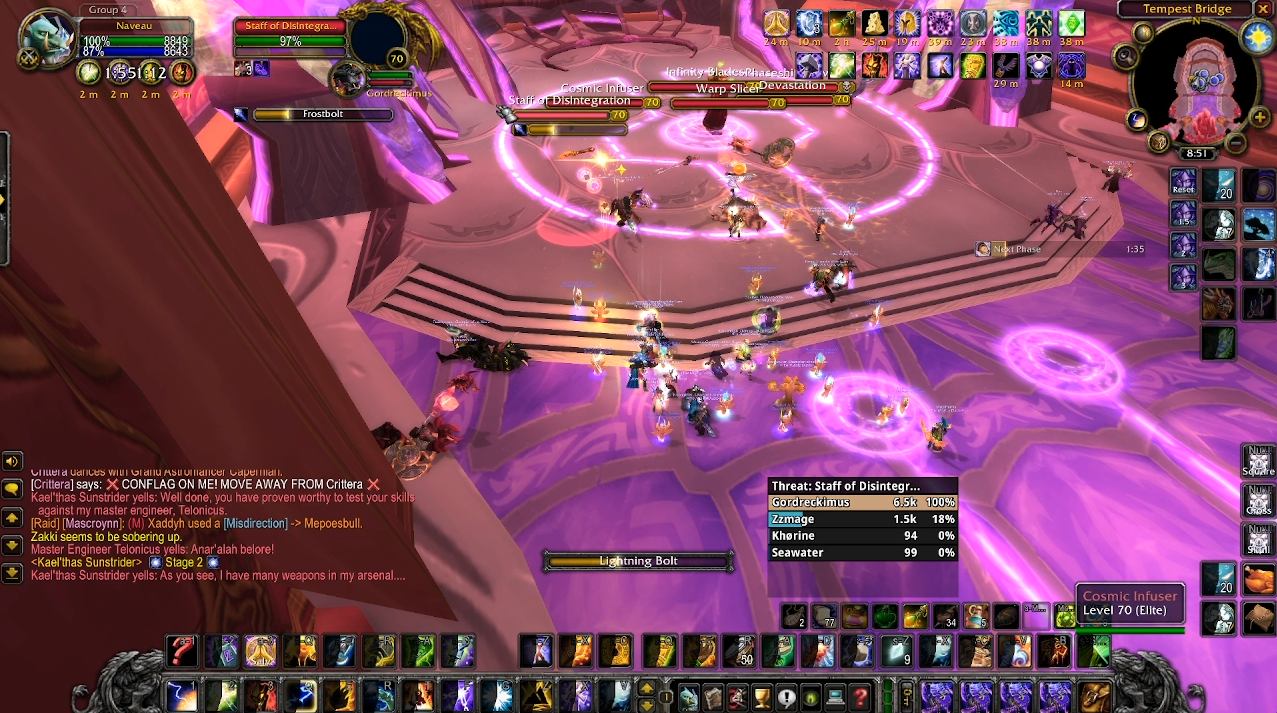
Most weapons have low health, but the next phase starts whether you're ready or not, so you need to get the weapons in position and clean them up as quickly as possible to be in position for phase three.
Initially, you'll want one off-tank on the axe, one off-tank on the staff, you'll want a hunter (if you have the luxury of a survival hunter, he gets the job) to tank the bow, and the paladin (you ARE sick of this joke, right...) to pick up the rest.
If your paladin is even moderately built he'll still get smashed by the weapons, so it's important he's the focal target for the healers.
You'll want your staff tank to move it right on top of the ranged stack so they don't have to travel far to pick it up. You will also need Shamans or a warrior tank to handle interrupting the staff so it doesn't get bogged down casting frostbolts.
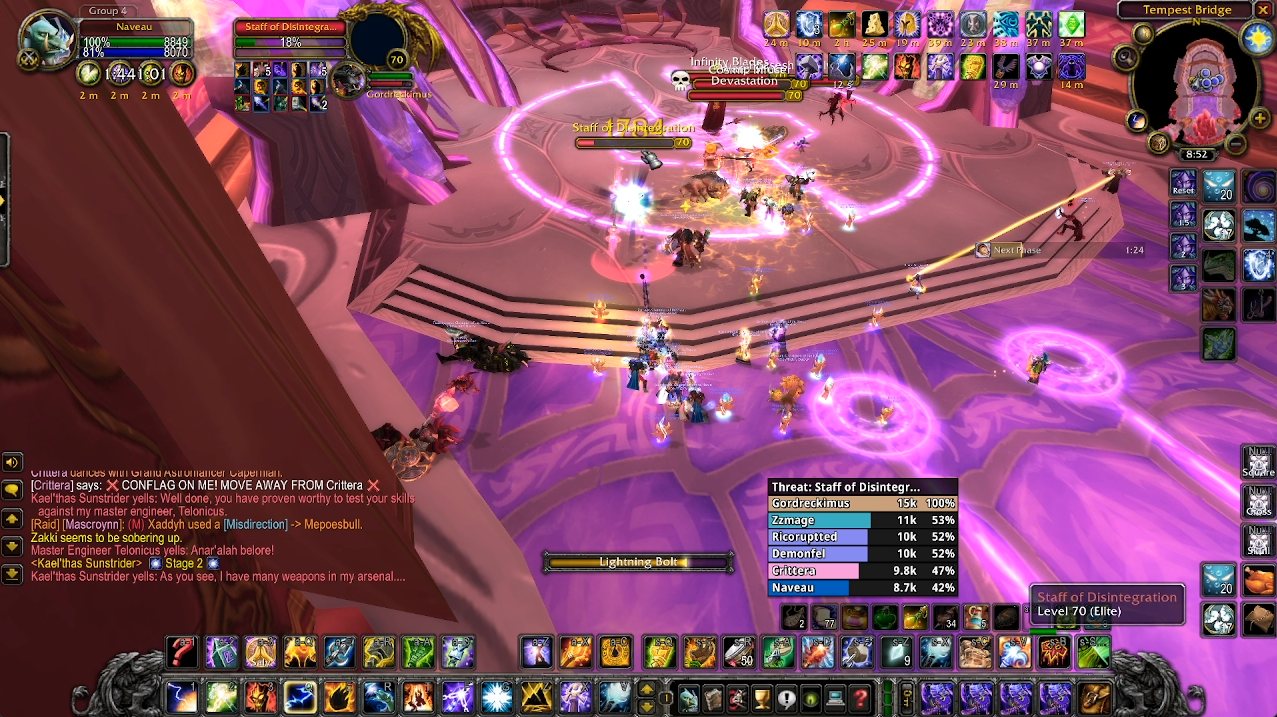
The axe does a whirlwind, of course, so you'll want to move it away from the stack so it doesn't kill the melee. If your axe tank is a druid, you may need to do a taunt swap so the druid has time to pickup the staff, as the active is important for subsequent phases.
Depending on the number of hunters you have, you'll want to designate one or two ranged DPS to assist with cleaning up the bow. Normally this job goes to the Elemental Shaman, but it can be just about anybody. Everyone else should be cleaving down the ranged stack, interrupting the heal on the mace (called the "Cosmic Infuser") and trying to move through this phase as quickly as possible.
Once your off-tank gets loose from their assignment, you'll want them to taunt the Cosmic Infuser (the mace) and move it slightly out from the ranged stack, in order to make it easy for the healers to pick up and to reduce damage on the Paladin handling the shield, sword, dagger and mace.
It should be fairly self explanatory what each class wants to pick up, but for the sake of recording.
Arms warriors and retribution paladins will want the axe. Healers want the mace. Combat rogues (implying there are any other rogues in TBC) will want the sword in their main hand and dagger in their offhand.
Protection warriors and paladins will want either the sword, or the dagger, and the shield. The shield is critical for the next phase - you can make it without the dagger or sword, but the shield must be picked up.
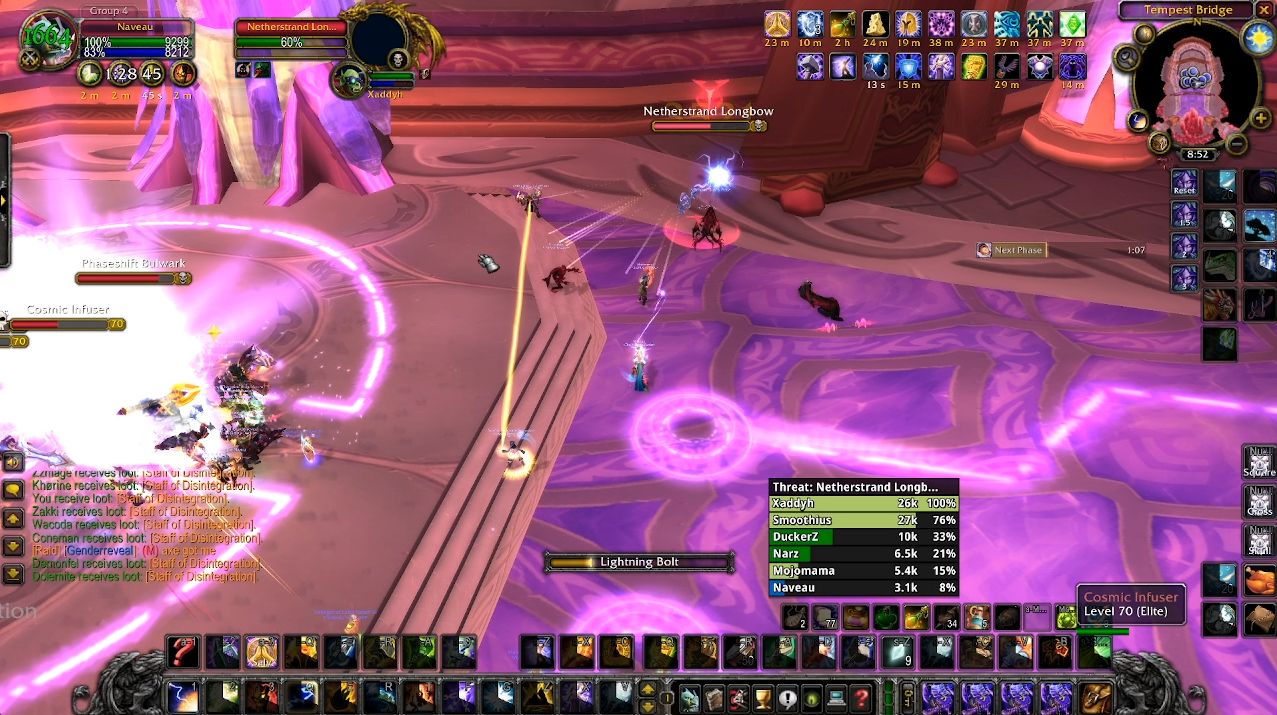
Casters will want the staff, in addition to the feral druid, who will want the staff for the active ability, which prevents loss of character control, which is important for the melee stack. Hunters will want the bow, but they will also want the dagger in their main hand to break mind controls in the ranged stack.
The weapons despawn once all the advisors are resurrected, so it's important that all necessary weapons are picked up prior to the start of the next phase. Don't wait too long, though - because having to deal with the advisors with a weapon or two up, normally the axe due to its high health pool, will normally kill the attempt.
Get used to the idea that to get through this fight you need all players alive, and you need to cleanly make it through each phase before the next one starts.
Speaking of which, once all the weapons go down, or two and a half minutes has elapsed, phase three starts. Ready or not, here they all come...
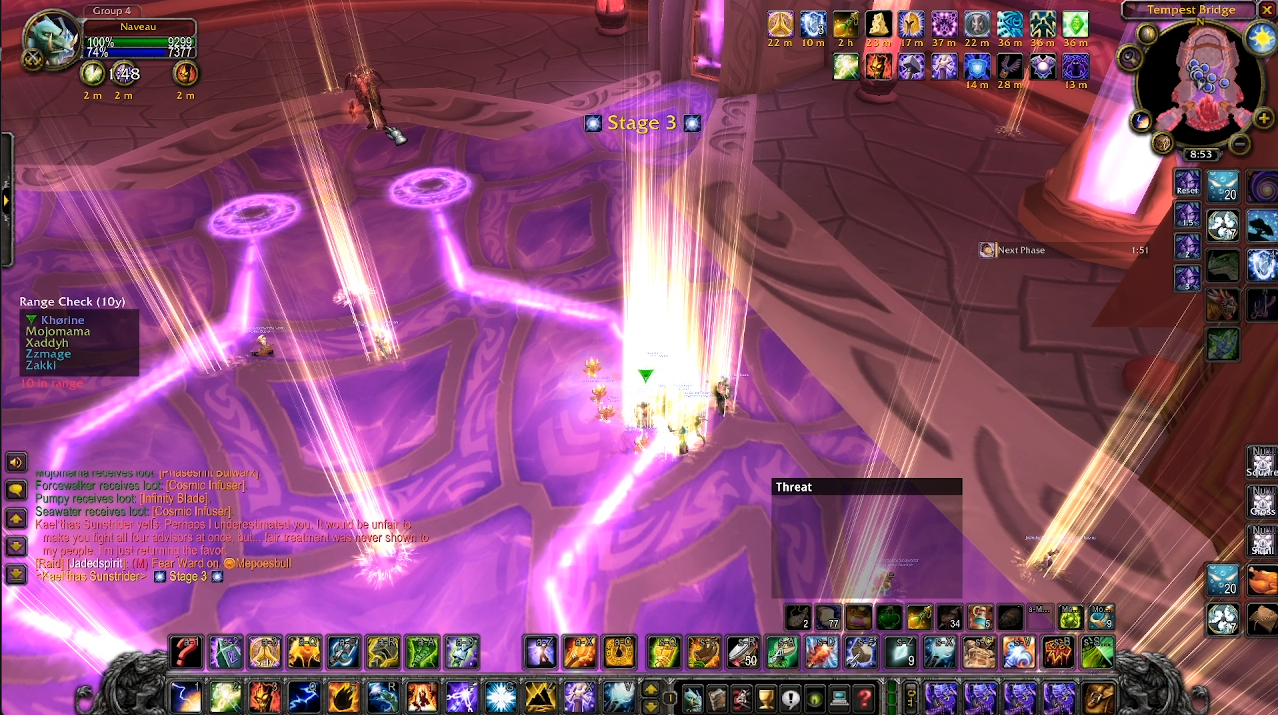
Phase Three - Tactics
Phase three is the real race. Kael'thas cries at you about how the Blood Elves were treated unfairly, then resurrects all four advisors at once.
Phase three is phase one, but on a strict time limit and with all four advisors and their abilities going at once.
Let's take it from the top. Thaladred needs to be kited back and forth by the ranged members of the raid. If a melee player (or, god forbid, a tank) is fixated, they need to move up and around the back of Kael'thas' platform. Kill him first. Use all your cooldowns here, the quicker Thaladred goes down the easier this phase is.
When Thaladred goes down, the ranged need to switch onto Capernian, being aware of her thirty yard limitation. If you get feared into conflagration range by the boss, just stand there, wait for it to expire, then move back so you don't spread it and wipe out the DPS. Just like the first phase, your paladin, warlock and assigned healer will need to ranged tank and absorb conflagrates.
Whilst the ranged do their thing, melee need to kill Lord Sanguinar first, thanks to that AoE fear. If the boss' tank is not a warrior, they'll need a fear ward. Again, you'll want to use cooldowns and get rid of Sanguinar to stop that nasty AoE fear - and all groups in the raid will need to use countermeasures to avoid getting feared into Capernian's conflagration range.
Provided you've popped Thaladred, Capernian and Sanguinar in a reasonable time, you're pretty safe to pick off Telonicus.
I make it sound easy on paper, but remember this is all happening at once. Your tanks need to pick up Telonicus and Sanguinar simultaneously with active fear wards, your warlock needs to have threat on Capernian, AND your ranged stack needs to be ready to open up on Thaladred as soon as he stands up. And that's just to make sure you don't wipe on the spot - you then need to get through it in a DPS check that is insanely tight.
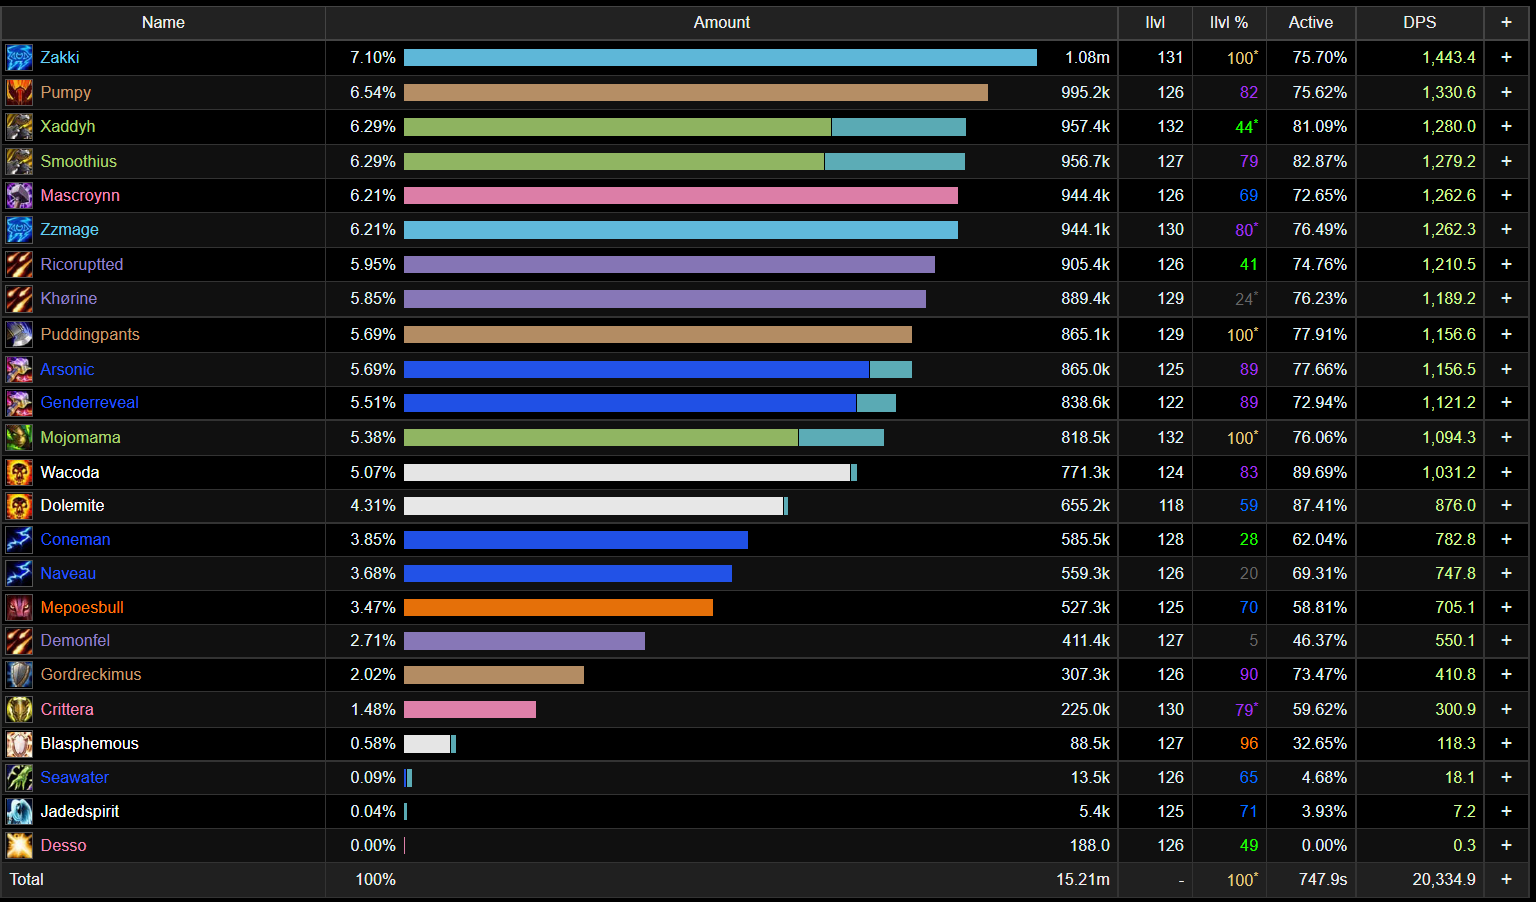
I don't like to talk about specific numbers, but in a minute and a half, you need to chew through four 750k health sub bosses. Assuming you have an optimised raid with 16 DPS, 3 tanks and 6 healers, each DPS player needs to do an average of 187k damage, or 1050 DPS per player.
To put that into context, my best DPS for pre-nerf Kael'thas as an Elemental Shaman support class was 750. Again, don't expect this all the time, but this was the Ducks' best kill on Kael, where he had some of his loot equipped, having killed him twice at this point.
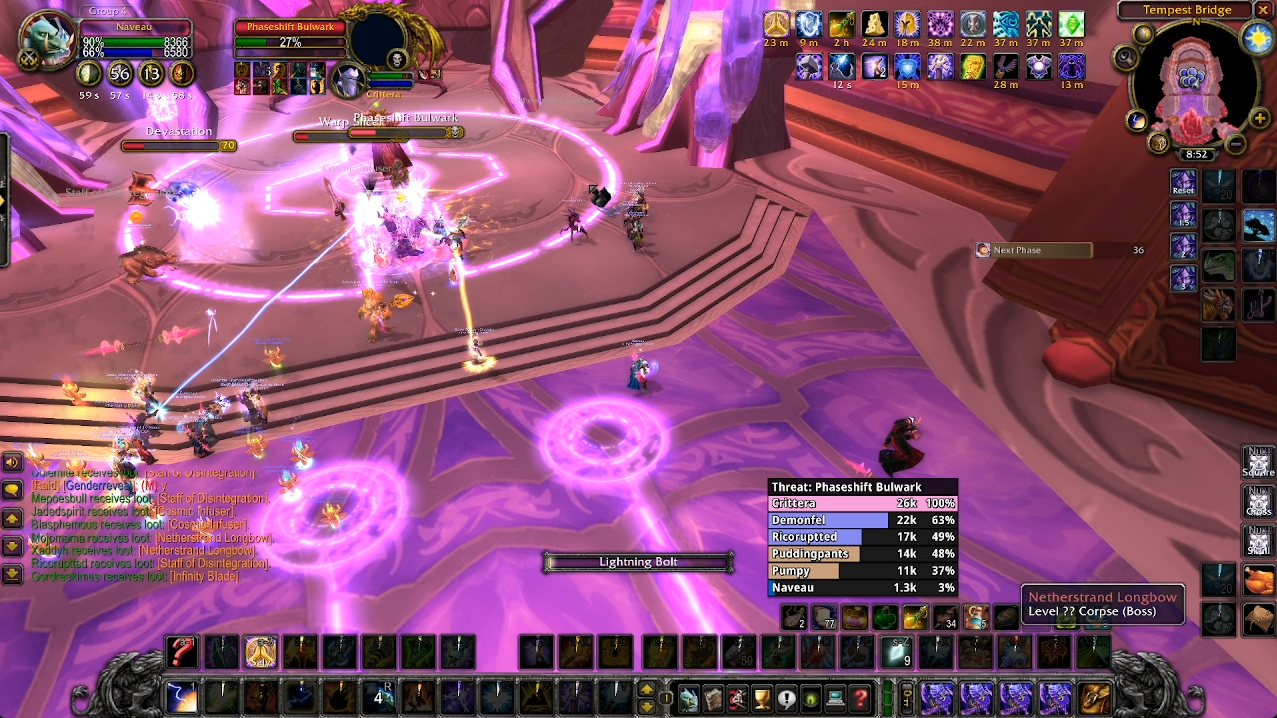
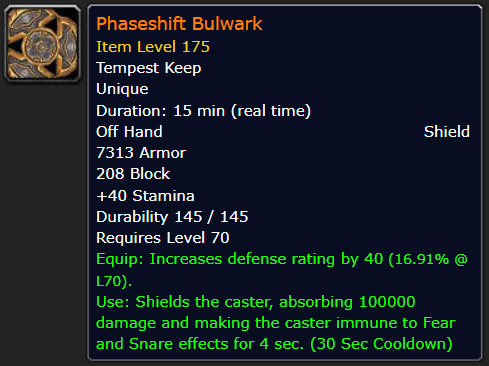
Once you're finally able to pass the damage check and kill all the advisors, Kael'Thas finally comes out to play. Even on solid attempts the window is pretty tight - you'll have ten seconds or so before the transition, so you'll want your ranged to stack up in the same place they did for the weapons, and your melee to be stacked off to the side. Your main tank must have the phaseshift bulwark equipped, and should be ready in front of the big man.
Phase Four - Tactics
Phase four represents the last big hurdle before it's all downhill in the next phase. If you can hang it together cleanly, you're in the box seat to kill KT.
Before we dive into the proper mechanics of the fight, all spellcasters, and your feral druid who are equipped with the Staff of Disintegration need to make sure it's active. This is because the boss will frequently cast "Static Disruption", which does light arcane damage and disorients all targets. The staff provides a bubble of immunity to stun, silence and disorient, provided it's active, which it should be, on multiple casters. You should never wipe to this.
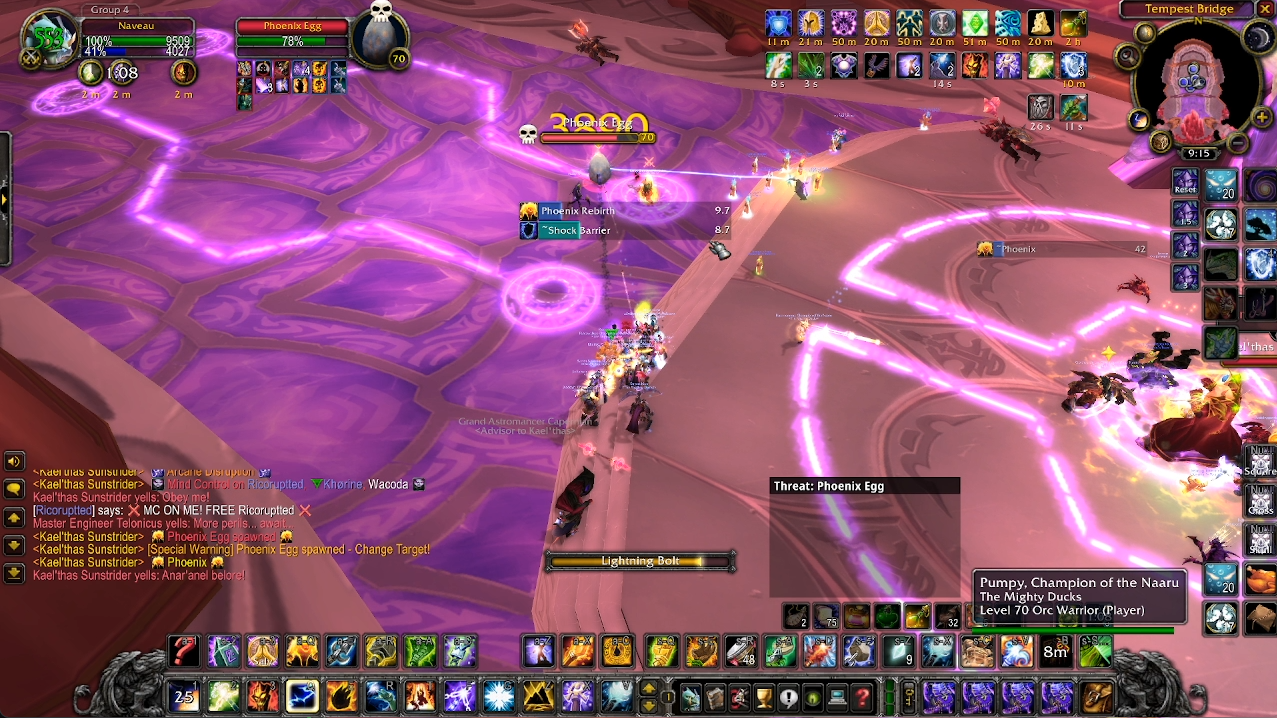
Kael'Thas will mind-control a handful random players, except for the main tank. Depending on the targeted player, your hunters will need to break mind controls in the ranged stack using wing clip, your rogue will need to use shiv, and your protection warrior, if they were quick enough, can use devastate. You can also conscript your fury warrior in this duty as well if you're really hard up.
You can get really unlucky, and have all of your dagger-equipped players in a specific stack mind controlled. Yes, it happens, it's really bad. This normally happens when you only have two hunters. It's ok to ask for your melee dagger-equipped players to use movement abilities, such as sprint, to head towards mind controlled players.
If RNG hates you in particular, or there's not enough hunters, you should get one of your melee players to lurk in the ranged stack and just gimp their damage.
Kael will also periodically cast flamestrikes - this is why the raid needs to stack, to control where these are cast. Your raid will need to move together to stay stacked, as the boss can cast flame strikes in quick succession. It also leaves a brief lingering flame patch, so the stack will need to stay in the new position. The effect doesn't linger forever, so you can return to the original point eventually, normally after two flamestrikes.
The method the Ducks used to control flamestrikes in the ranged stack, was to move right twice, and then back left twice. As for melee, it's fine to just keep rotating around the boss.
You can get very unlucky and have a mind control go out, or be active, when Kael'Thas casts a flamestrike. If a player is mind controlled, they don't take flamestrike damage, so you're better off waiting until the AI moves the player away, then breaking them out. Of course, this can be difficult to coordinate in the chaos, so, try your best. This will be your leading cause of death in this phase, and will happen quite often.
Whilst the fight is going on the boss will cast fireballs which will need to be interrupted. They do significant damage to the tank and put pressure on your healers. You can let one through on occasion, but don't make a habit of it.
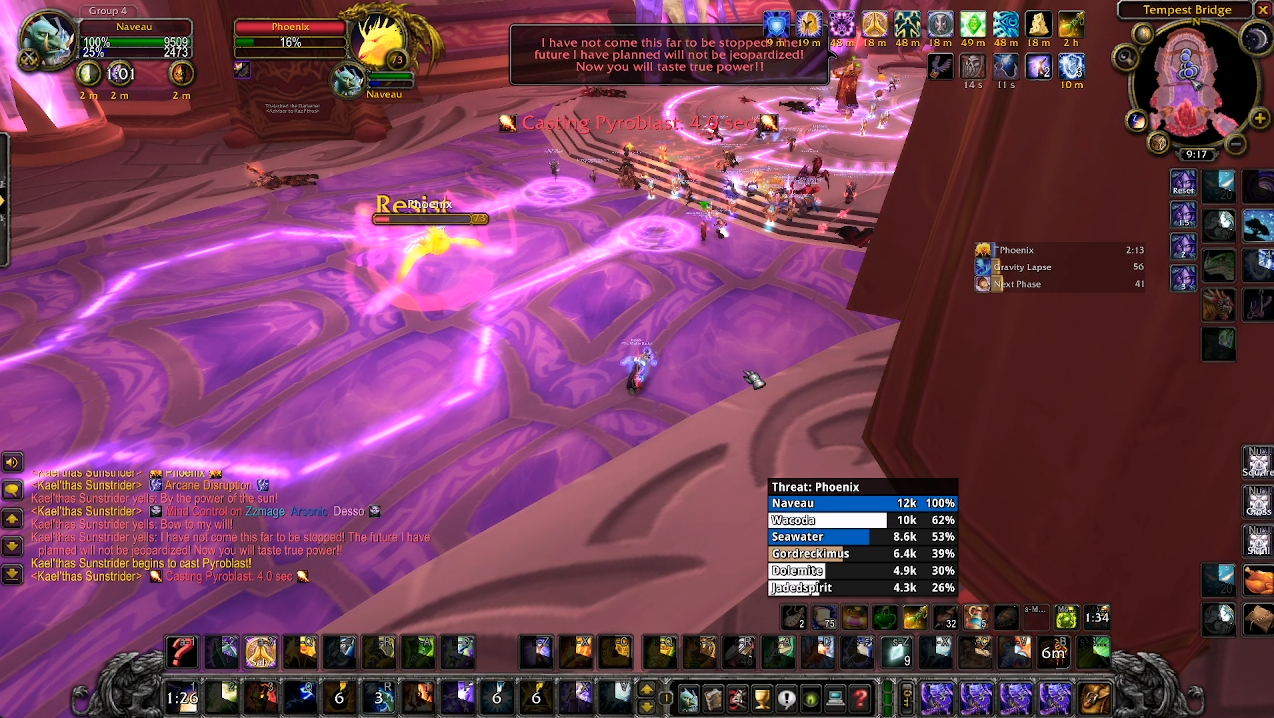
There are two DPS-race mechanics going on in this phase - the first is Kael'thas casting pyroblast. Every thirty seconds, the boss will put up a shock barrier and start casting an interruptible pyroblast which will oneshot the main tank. You'll need to burst down the shock barrier before being able to interrupt pyroblast. The timing here is incredibly tight, so you will want an assigned interrupter.
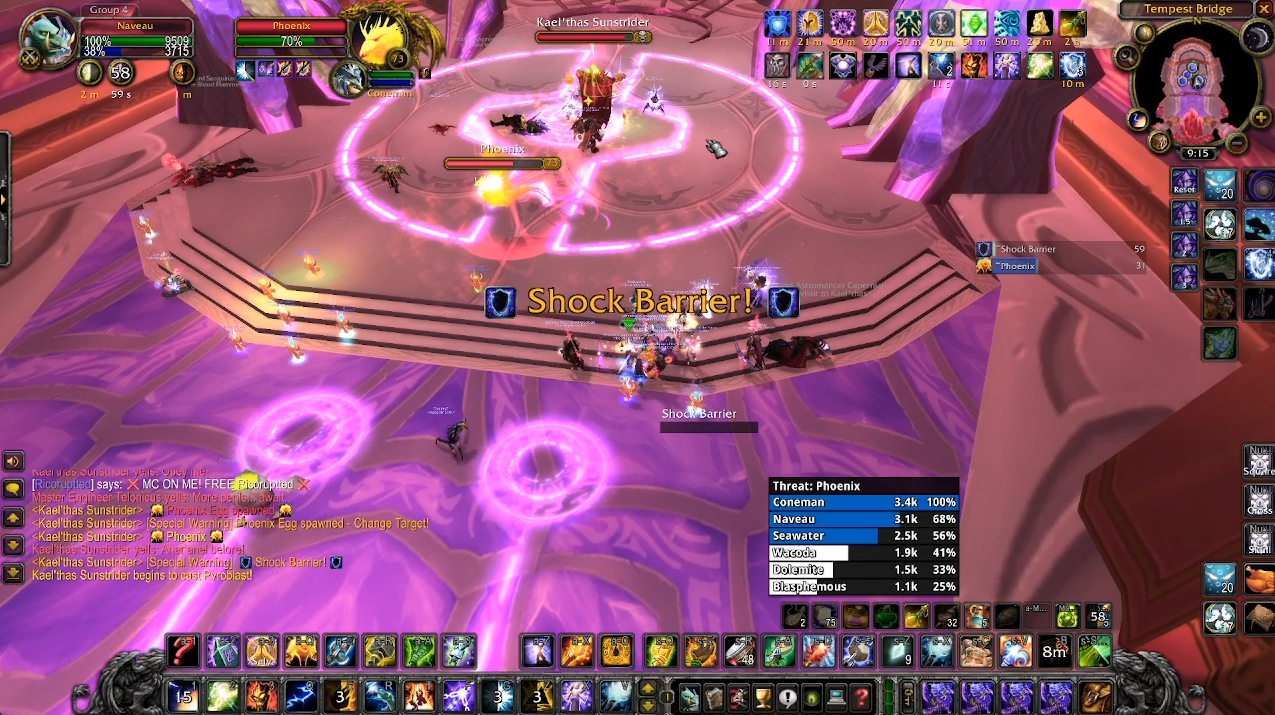
Because Kael'thas is a good sport, the Phaseshift Bulwark that your tank must have, has the ability to put up a damage shield to absorb one pyroblast hit. But the catch is that the cooldown on Pyroblast is shorter than the cooldown on the Bulwark, so you will need to manually interrupt Pyroblast at least once.
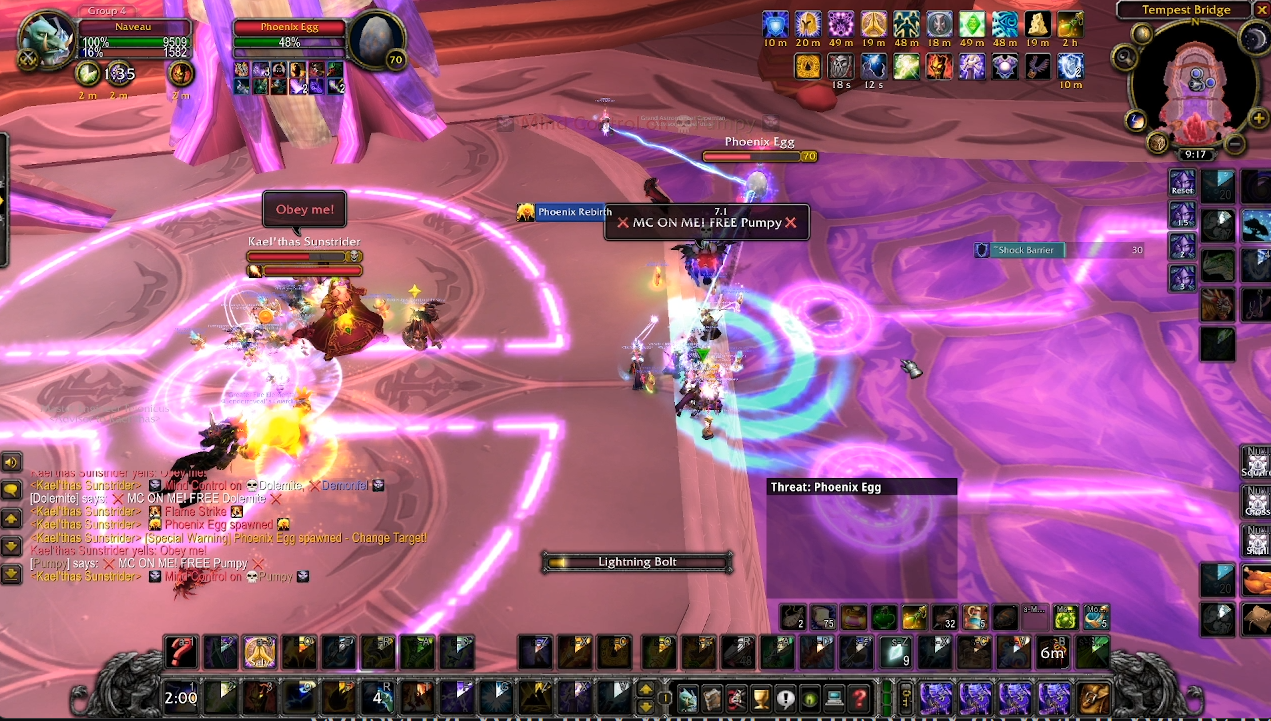
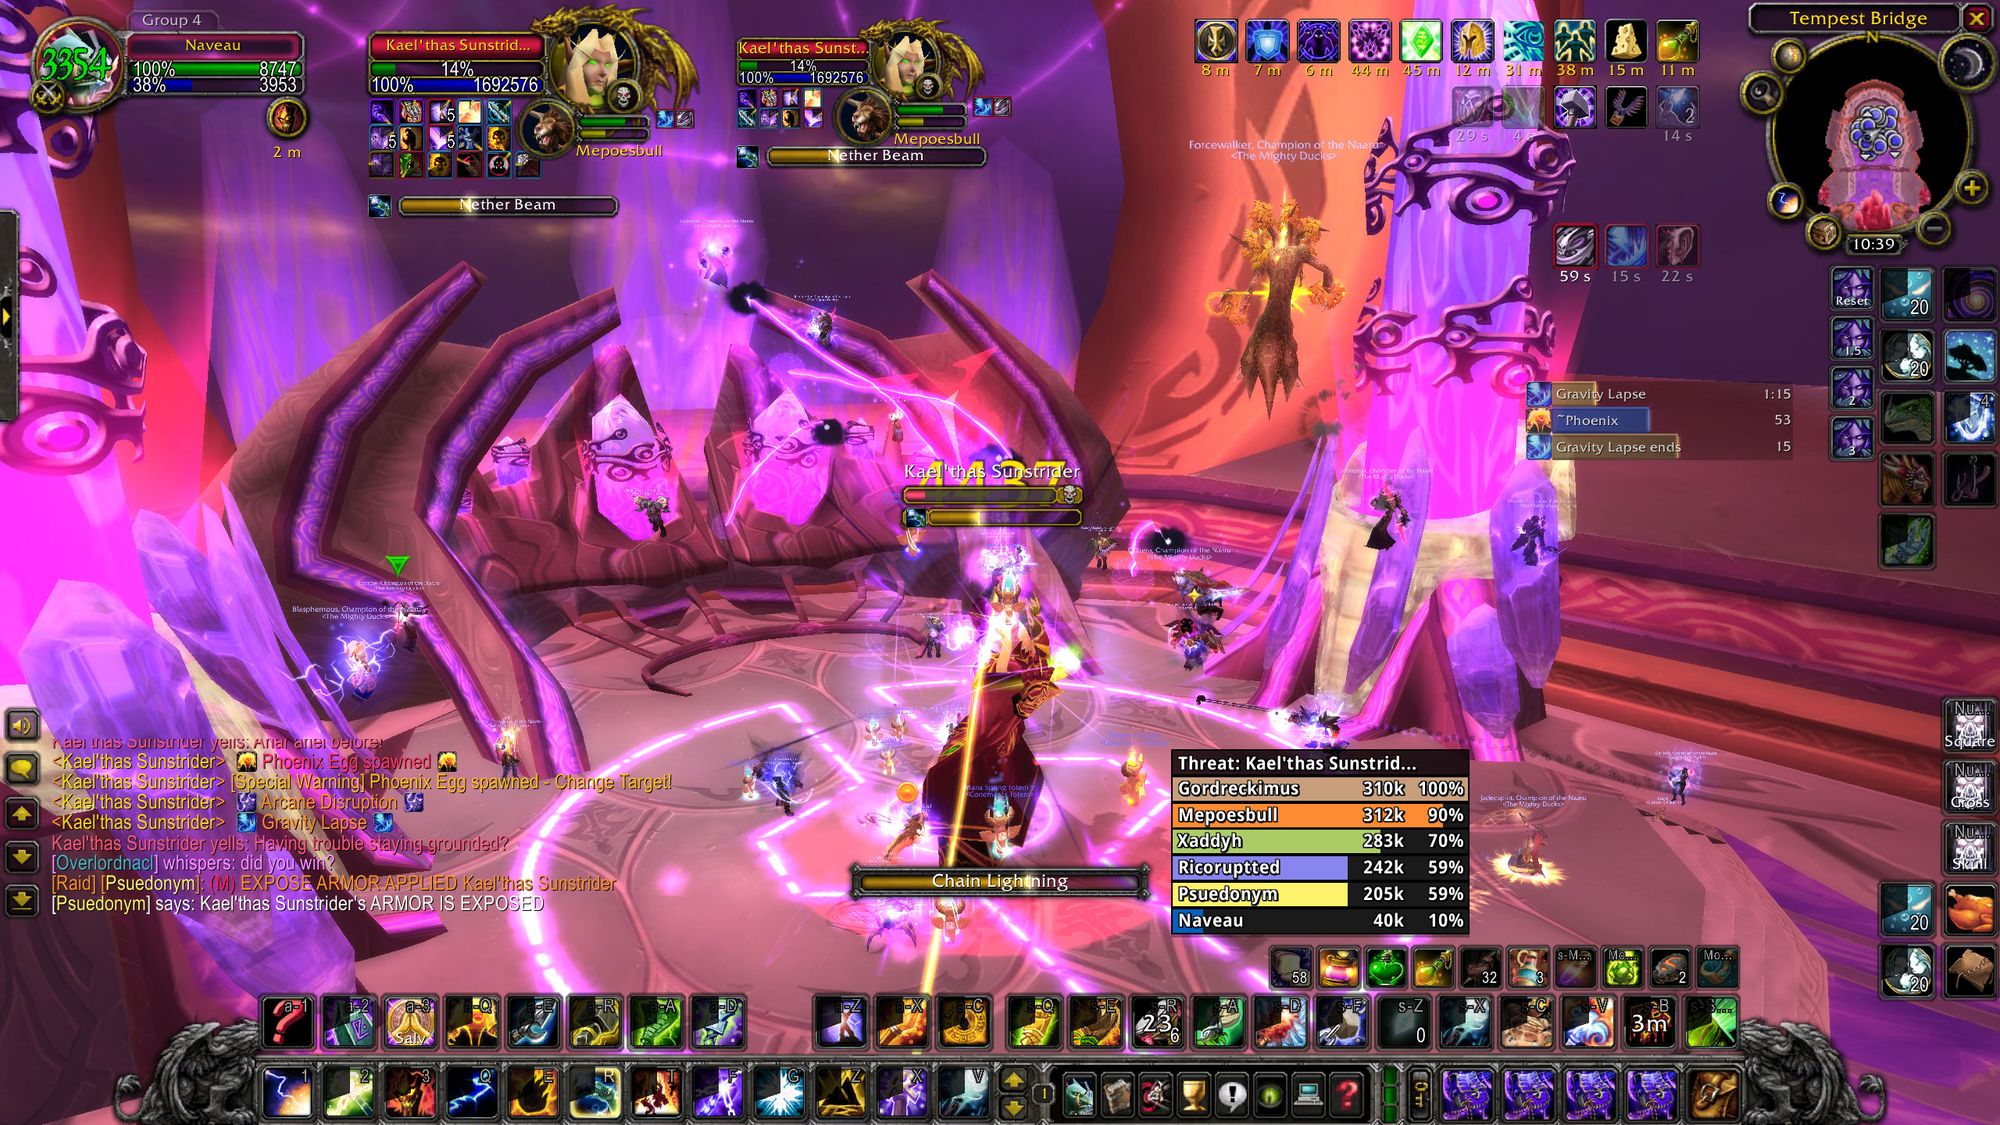
Just because there's not enough going on, Kael'thas will also spawn phoenixes which do a pulsing fire AoE. If one of these crashes your ranged stack, no prizes for guessing what'll happen to your attempt.
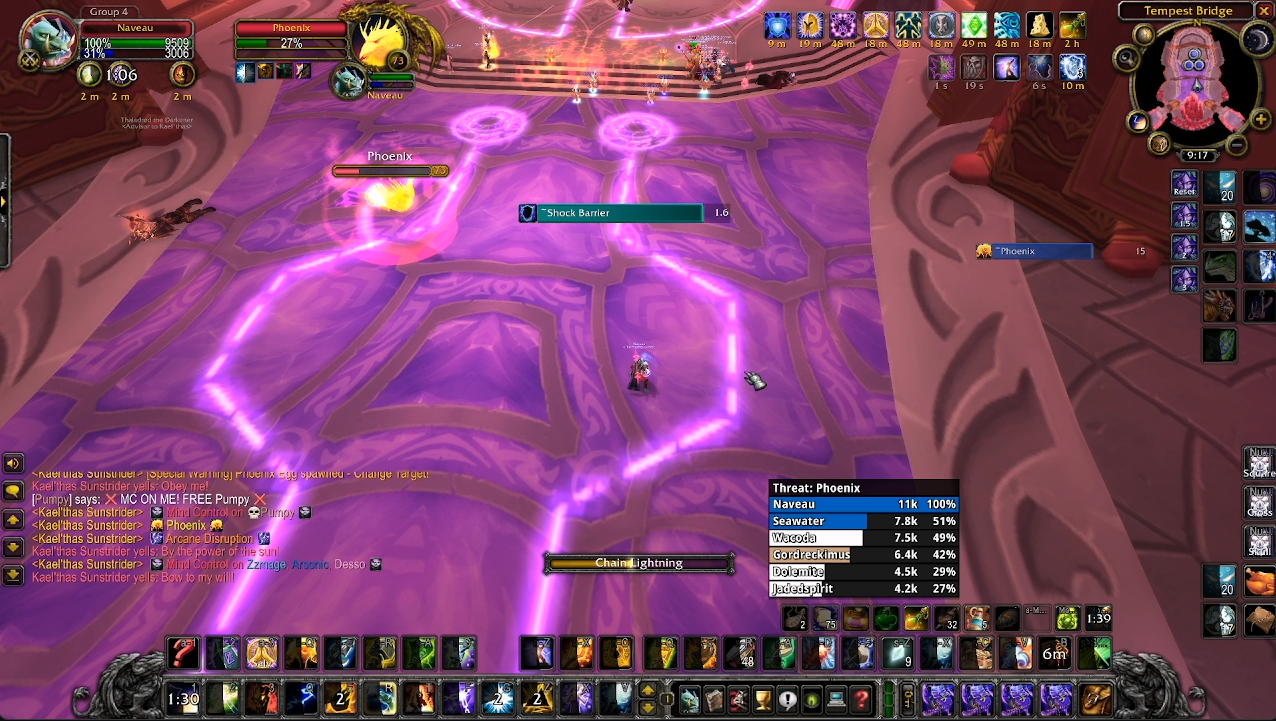
You'll want to have a spell caster with the legendary staff (like, say, an Elemental Shaman...) generate threat on the Phoenixes and drag them away from the raid. But that's not all. When the pheonix dies, it leaves behind an egg - if the egg isn't killed off, another phoenix will spawn. Letting a single egg live can be massively problematic for a raid and allow for you to be overwhelmed by phoenixes, as you run out of spellcasters capable of manuevering them around.
Remember, if you're kiting or designated as the tank on Capernian, you will want to remove your blessing of salvation. You don't have a lot of room to work with for either role, so the more threat you can pump out in a short space of time, the better.
Where this can get very spicy is when Kael'thas puts up a shock barrier whilst you're trying to deal with an egg. Your priority at that point should be the shock barrier, and just hope that you can clean up the new phoenix and its egg before Kael'thas spawns a new one.
It gets to Blair's Hot Sauce levels of spicy when Kael'thas mind controls a spellcaster responsible for kiting phoenixes, then puts up a shock barrier, whilst an egg spawns. To mitigate this, you'll want your kiting spellcaster to stay close to the range stack to reduce transit time for your hunter or gimped melee DPS.
Once Kael hits 50%, he has a massive hissy fit and blows the back out of Tempest Keep. Provided you've been able to keep enough of your raid alive, you're on the home stretch now. Make sure you clean up any and all phoenixes and eggs whilst Kael'thas is busy complaining.
Phase Five - Tactics
There's no more mind controls in this phase. Your melee DPS can swap back to their preferred weapon type. You'll also want to spread out in front of the boss for flamestrikes, which will be coming thicker and faster.
There's also no more pyroblasts, but the frequency of fireball casts will increase dramatically. Like the previous phase, you'll want to have dedicated interrupters communicating when they have their interrupt available. Kael'thas will still put up shock barriers, so if it looks dire, you can use the Bulwark to absorb a fireball to keep pressure off of your healers.
Kael will continue to spawn phoenixes, but for some reason he has a limit of two at any given time. Have your dedicated spellcasters (in this phase you can get a druid or paladin to do it as well) just drag a phoenix each around the room. Don't get greedy for damage, just keep them fixated.
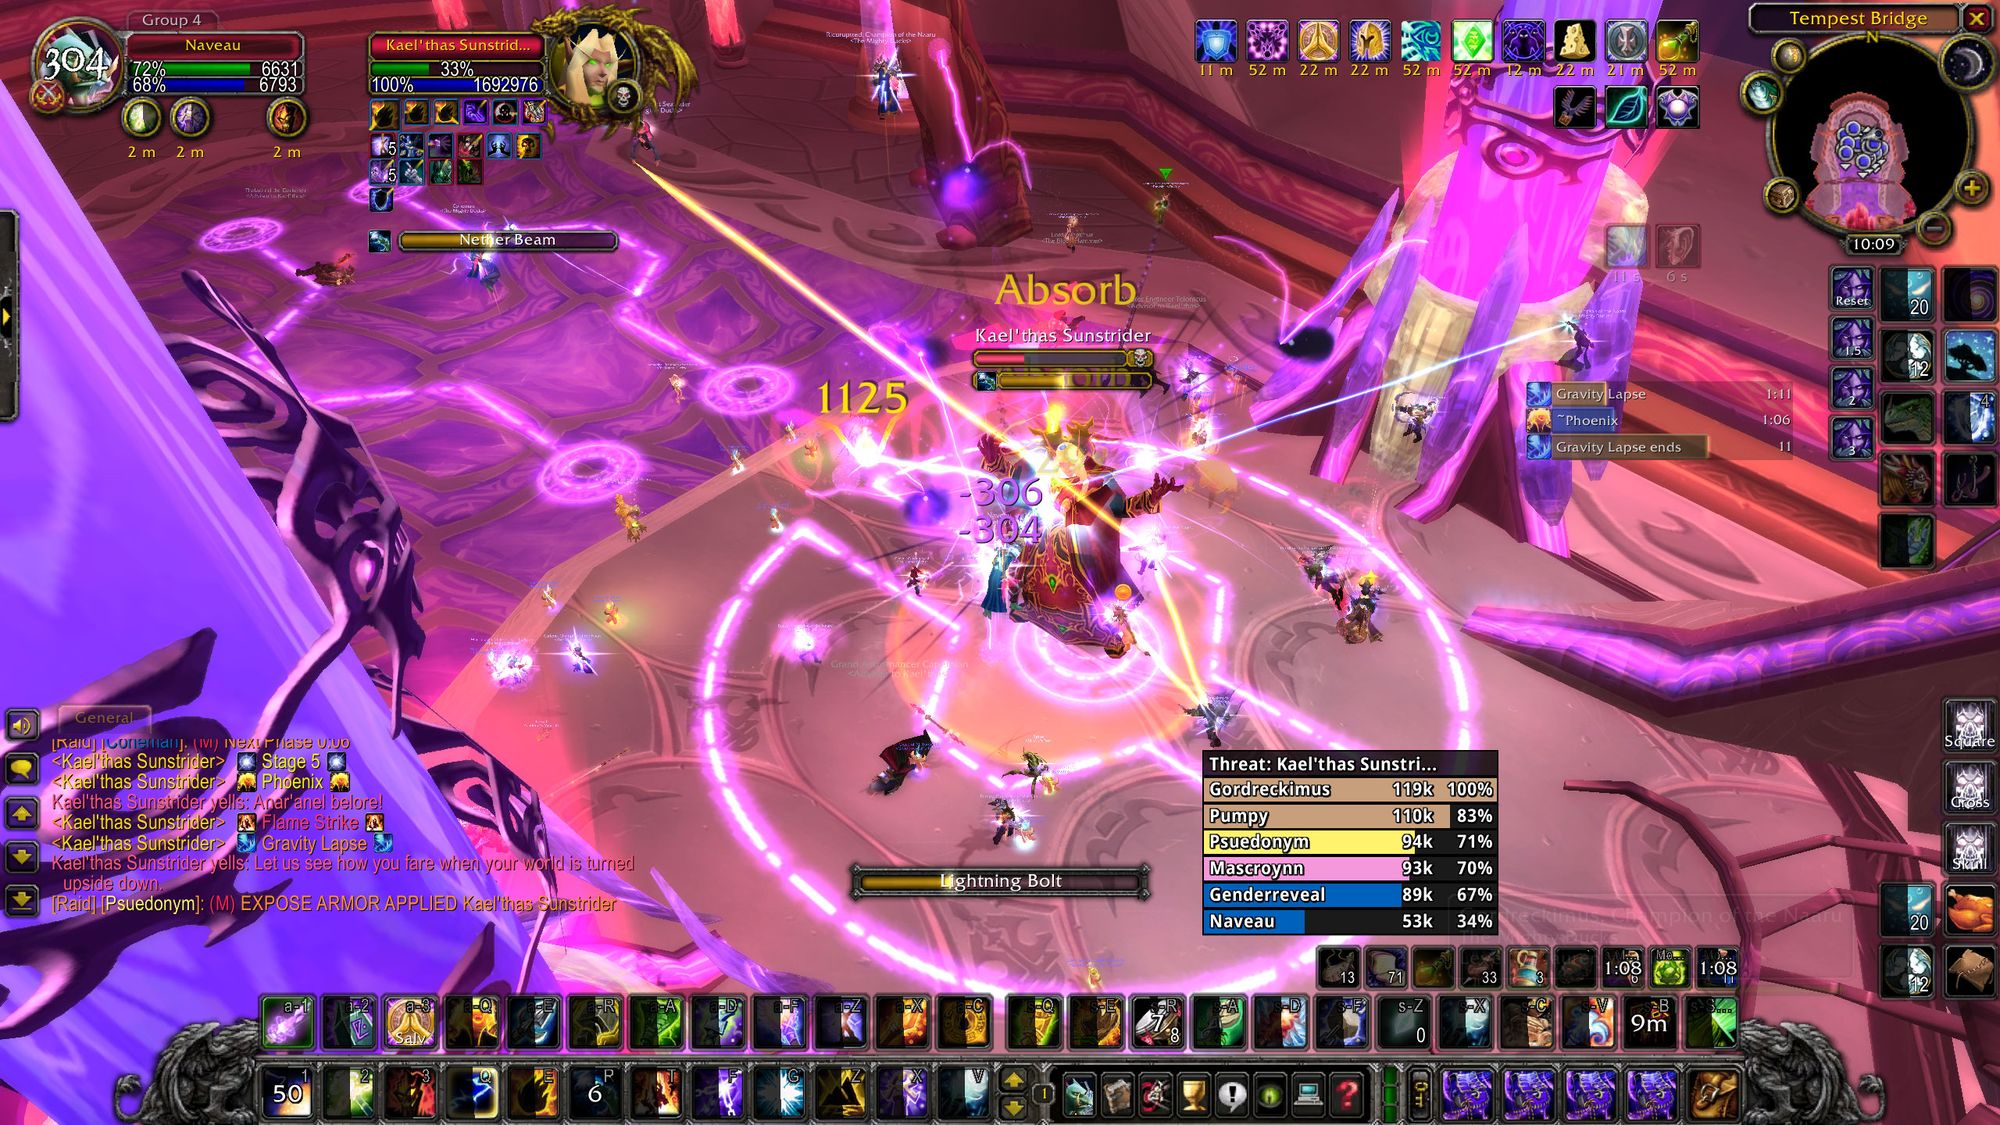
The signature mechanic of this phase is Gravity Lapse. All the alive players in the raid will be summoned to the front of the room and tossed up into the air and players can move around as if underwater. Small purple clouds will appear, reducing your max health by 10%, which applies approximately once every second. In this phase, the boss' primary damaging mechanic becomes Nether Beam, a targeted spell that bounces between close players.
This is a cool fight mechanic, but if you've got this far, it doesn't represent a significant threat to your or your raid. Spread out, avoid the clouds (particularly if you're the main tank) and make sure that when you're close to the ability ending, you either land on the floor or you're close enough to the ground that you don't kill yourself from falling damage.
In this phase, every shock barrier Kael'thas spawns has marginally more HP than the last, making it a soft enrage. Eventually, the shock barrier will absorb so much damage it'll be impossible to get through it before he summons the next one. It doesn't come up very often if your raid has enough players alive in this phase, but if you're at half strength or less, it can be a factor.
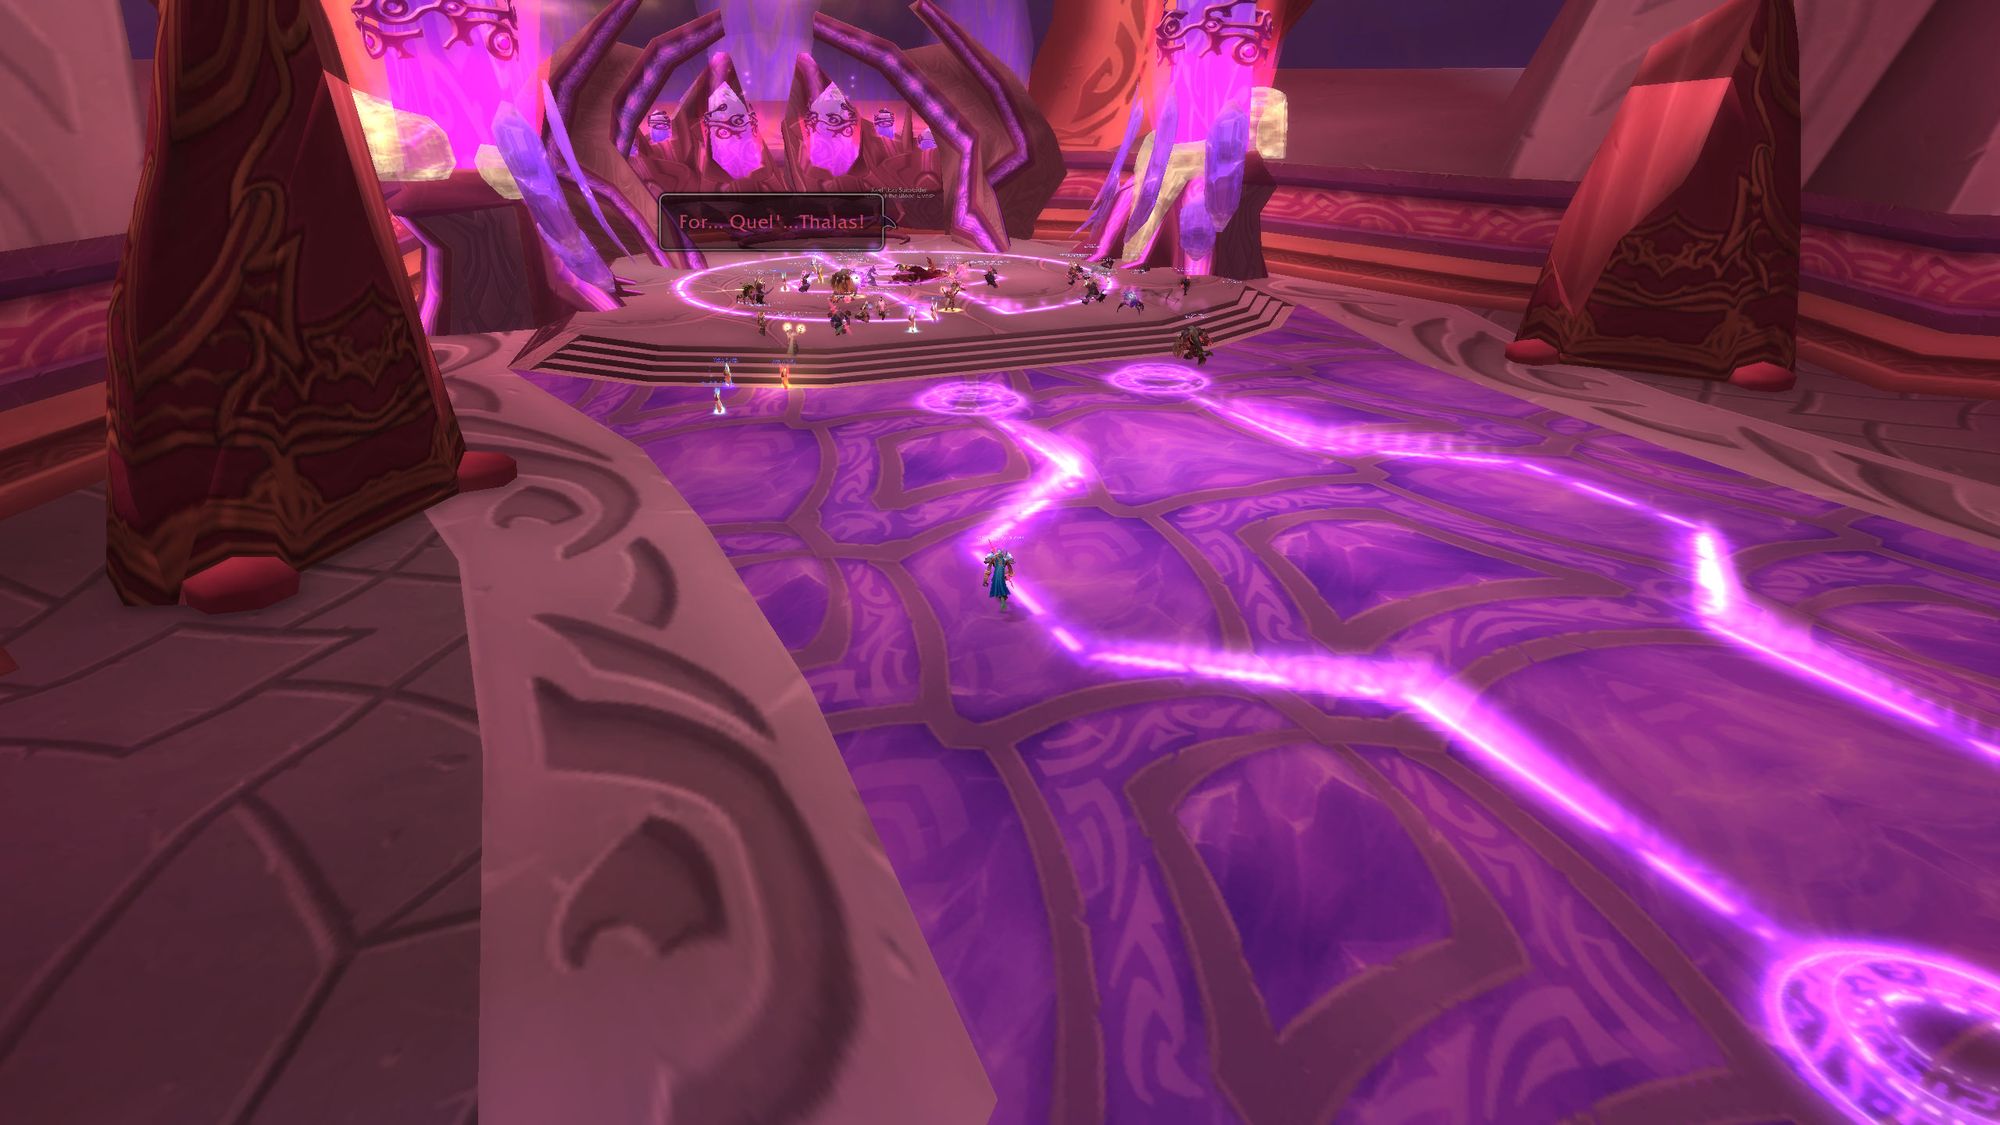
Once he hits zero, that's all she wrote. Tempest Keep is clear! Collect your phat lewts and give yourself a pat on the back. Well done.
On my home server of Remulos, Kael was a genuine guild killer. The severity of the DPS requirements caused a number of guilds (most notably Drop Bears group 2, headed up by TheRealBull) to shatter upon his tiny, arrogant elf body. Make no mistake, on paper, this looks like a straightforward fight. But it's chaotic, and requires everyone to use all of their skill to get through it in one piece.
This was all stomped out when the end of phase two dropped - the advisors had their health cut by four-fifths and to a seasoned group, it wasn't much more than a speedbump on the way to phat lewt. Much like Lady V in SSC, though, it wasn't a walkover for PUGs and less geared groups, and could easily wipe a raid.
Conclusion
There's an interesting post-raid component of Tempest Keep that I want to discuss in this epilogue.
The first, being that Kael'thas drops a quest item called "The Verdant Sphere". You can turn it in to A'dal for a neck piece, which was good for spellcasters and some (not all) tanks.

That's all very ho hum, but when you turn it in, or anyone else turns it in, everyone who is in Shattrath City at the time is presented with special dialogue.
In it, A'dal informs all that Kael'thas and the Sunfury have been defeated. You'll get a world buff called A'dal's song of battle, which increases reputation gains and damage in Tempest Keep dungeons (i.e, the Botanica, the Mechanar and the Arcatraz).
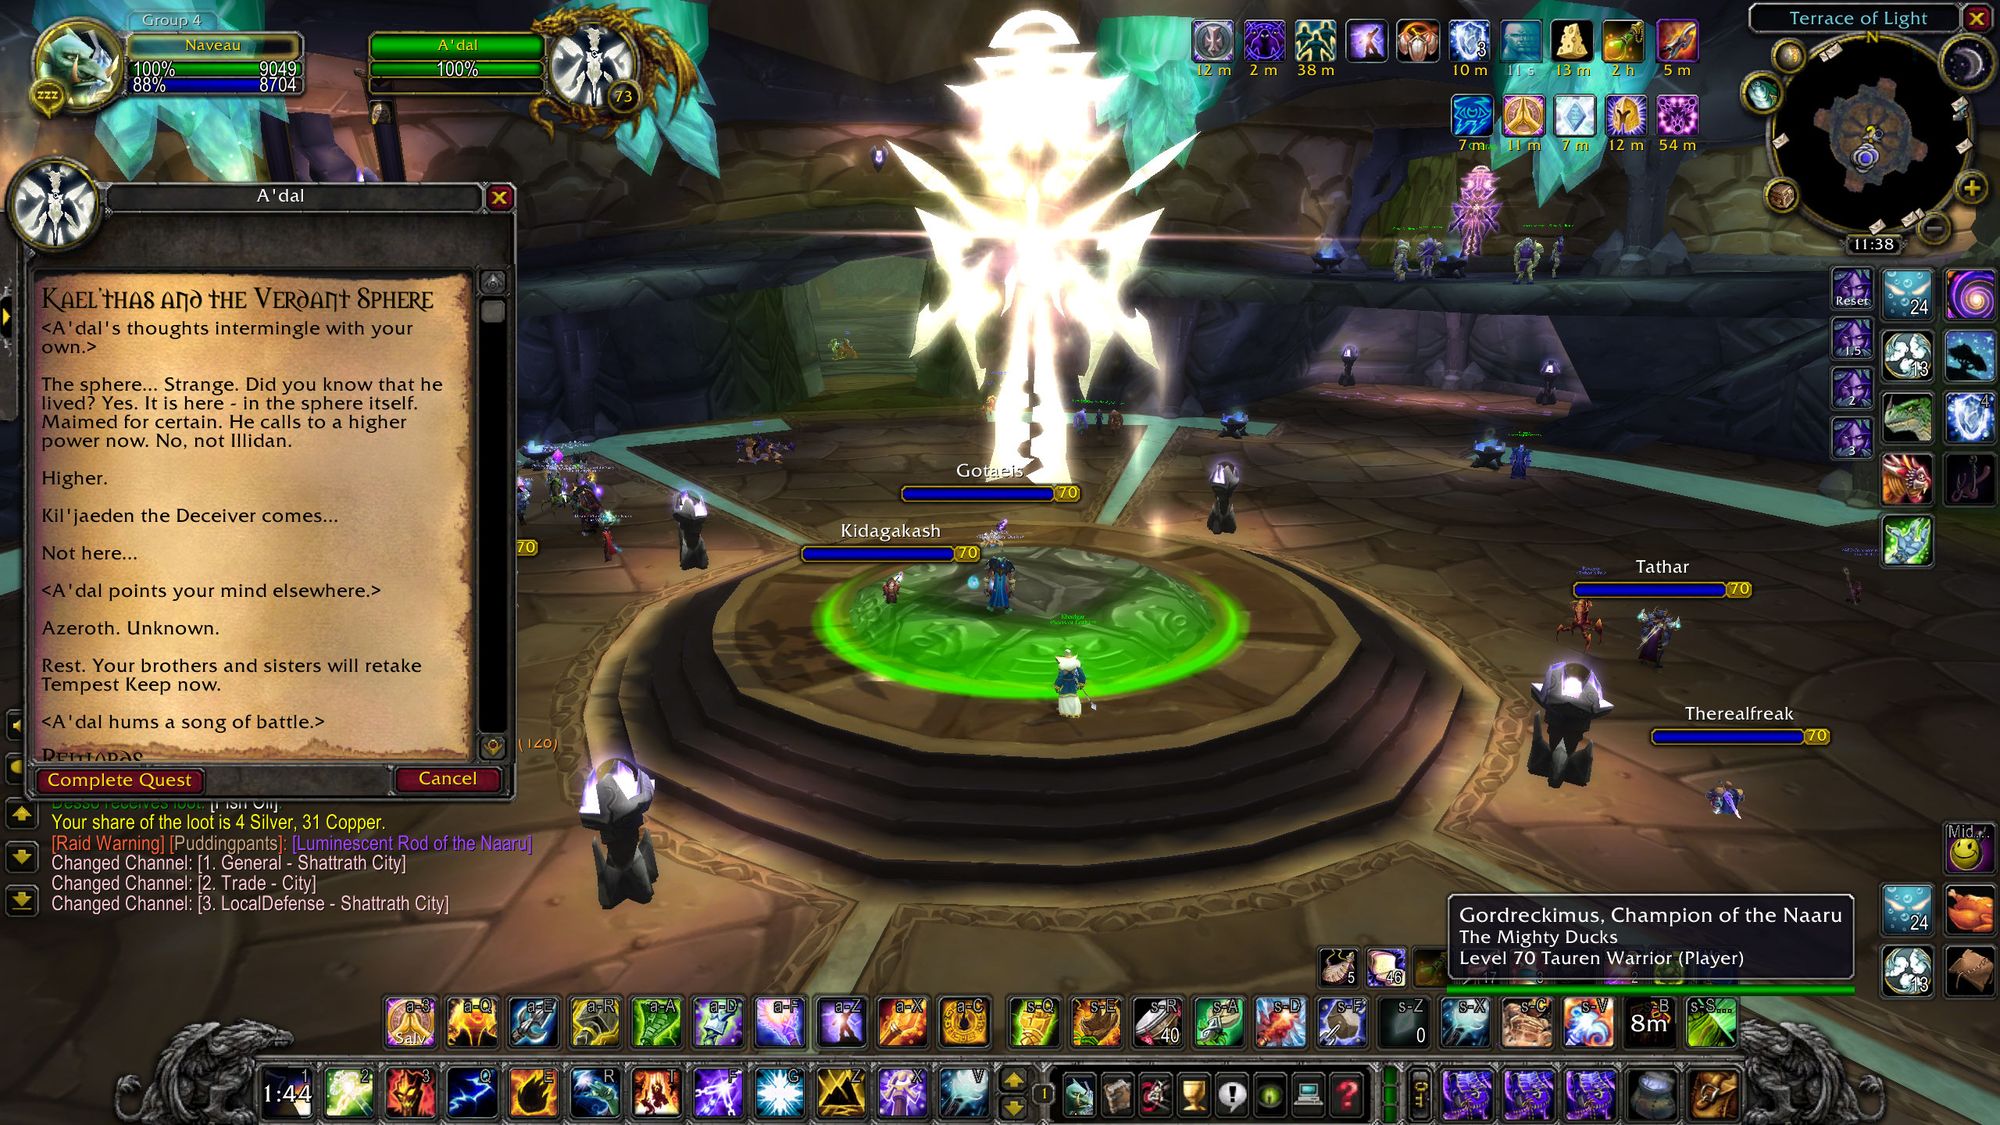
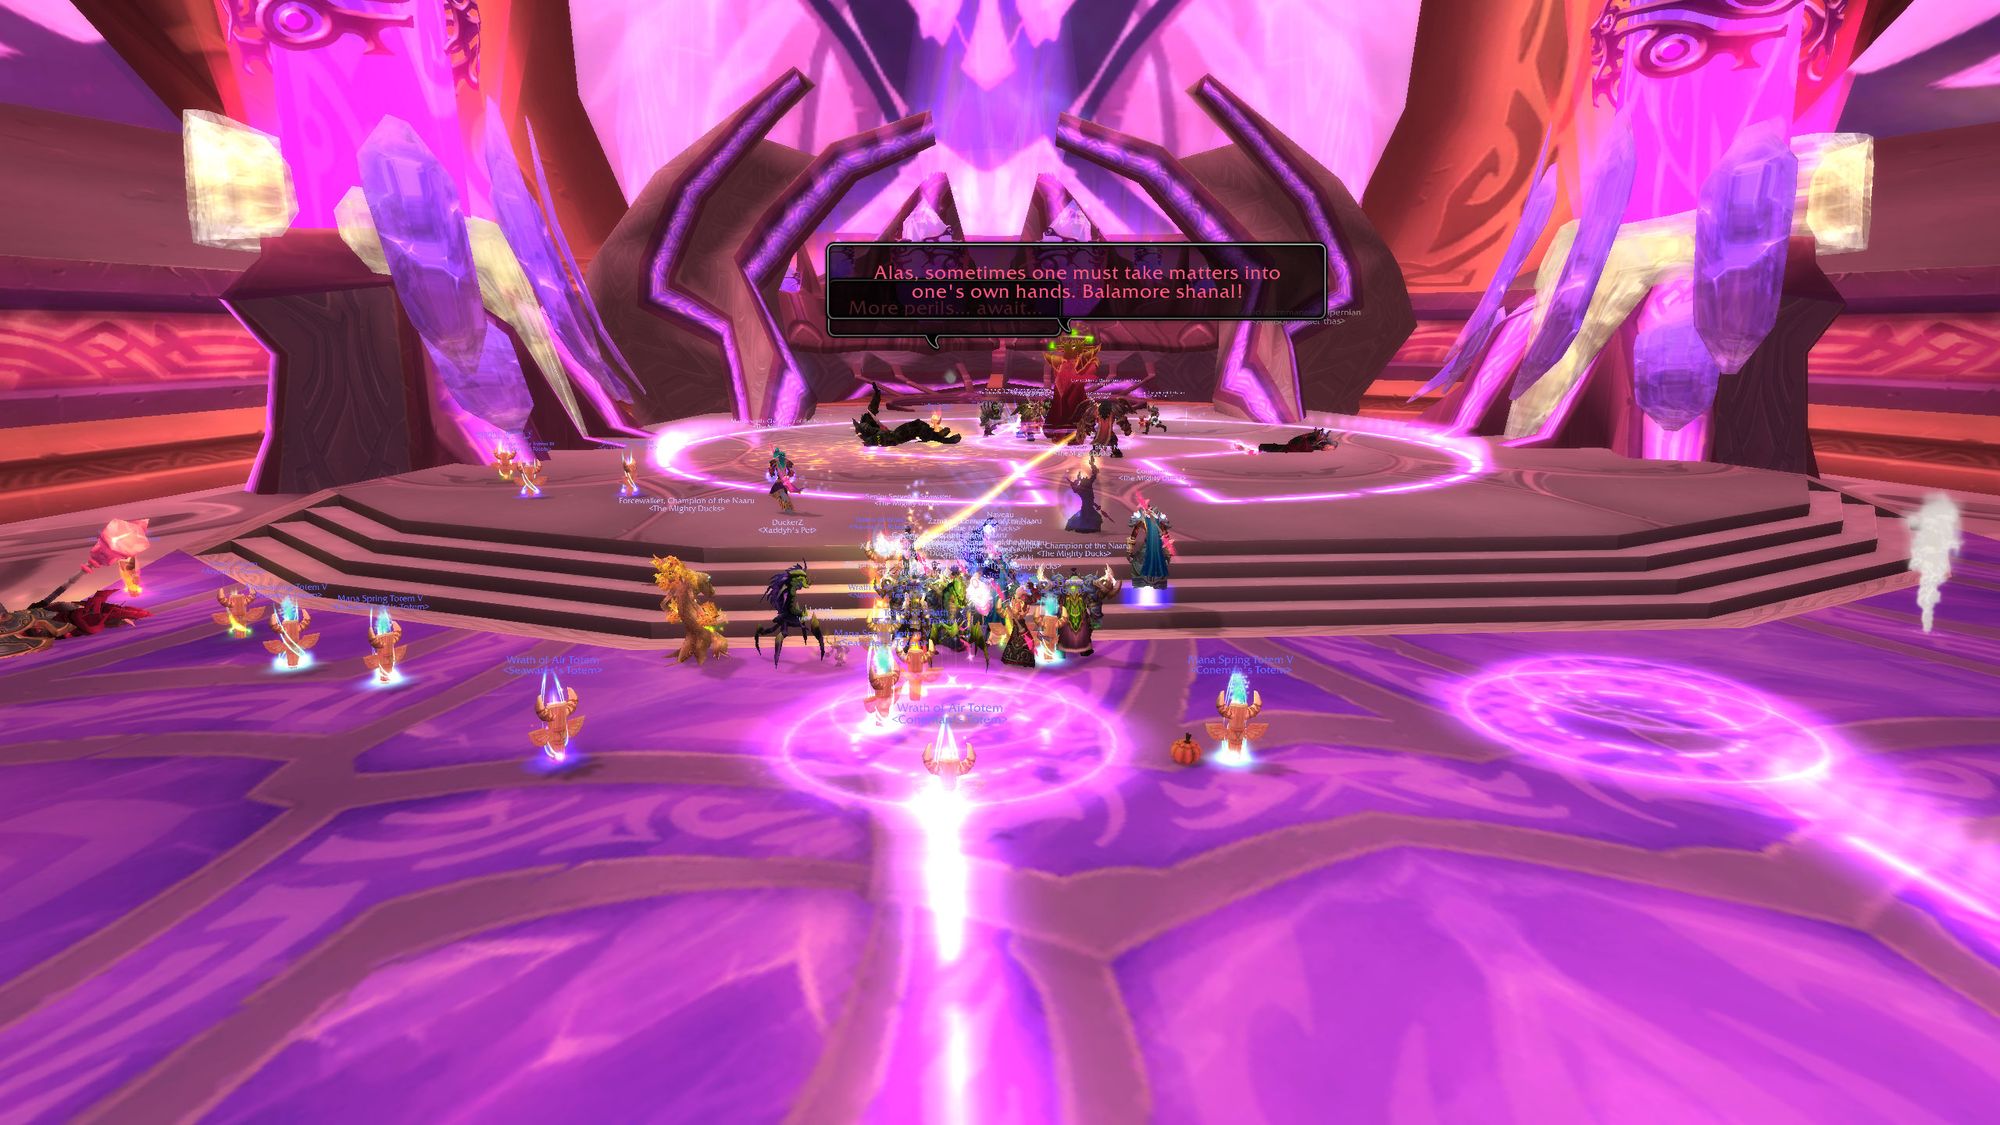
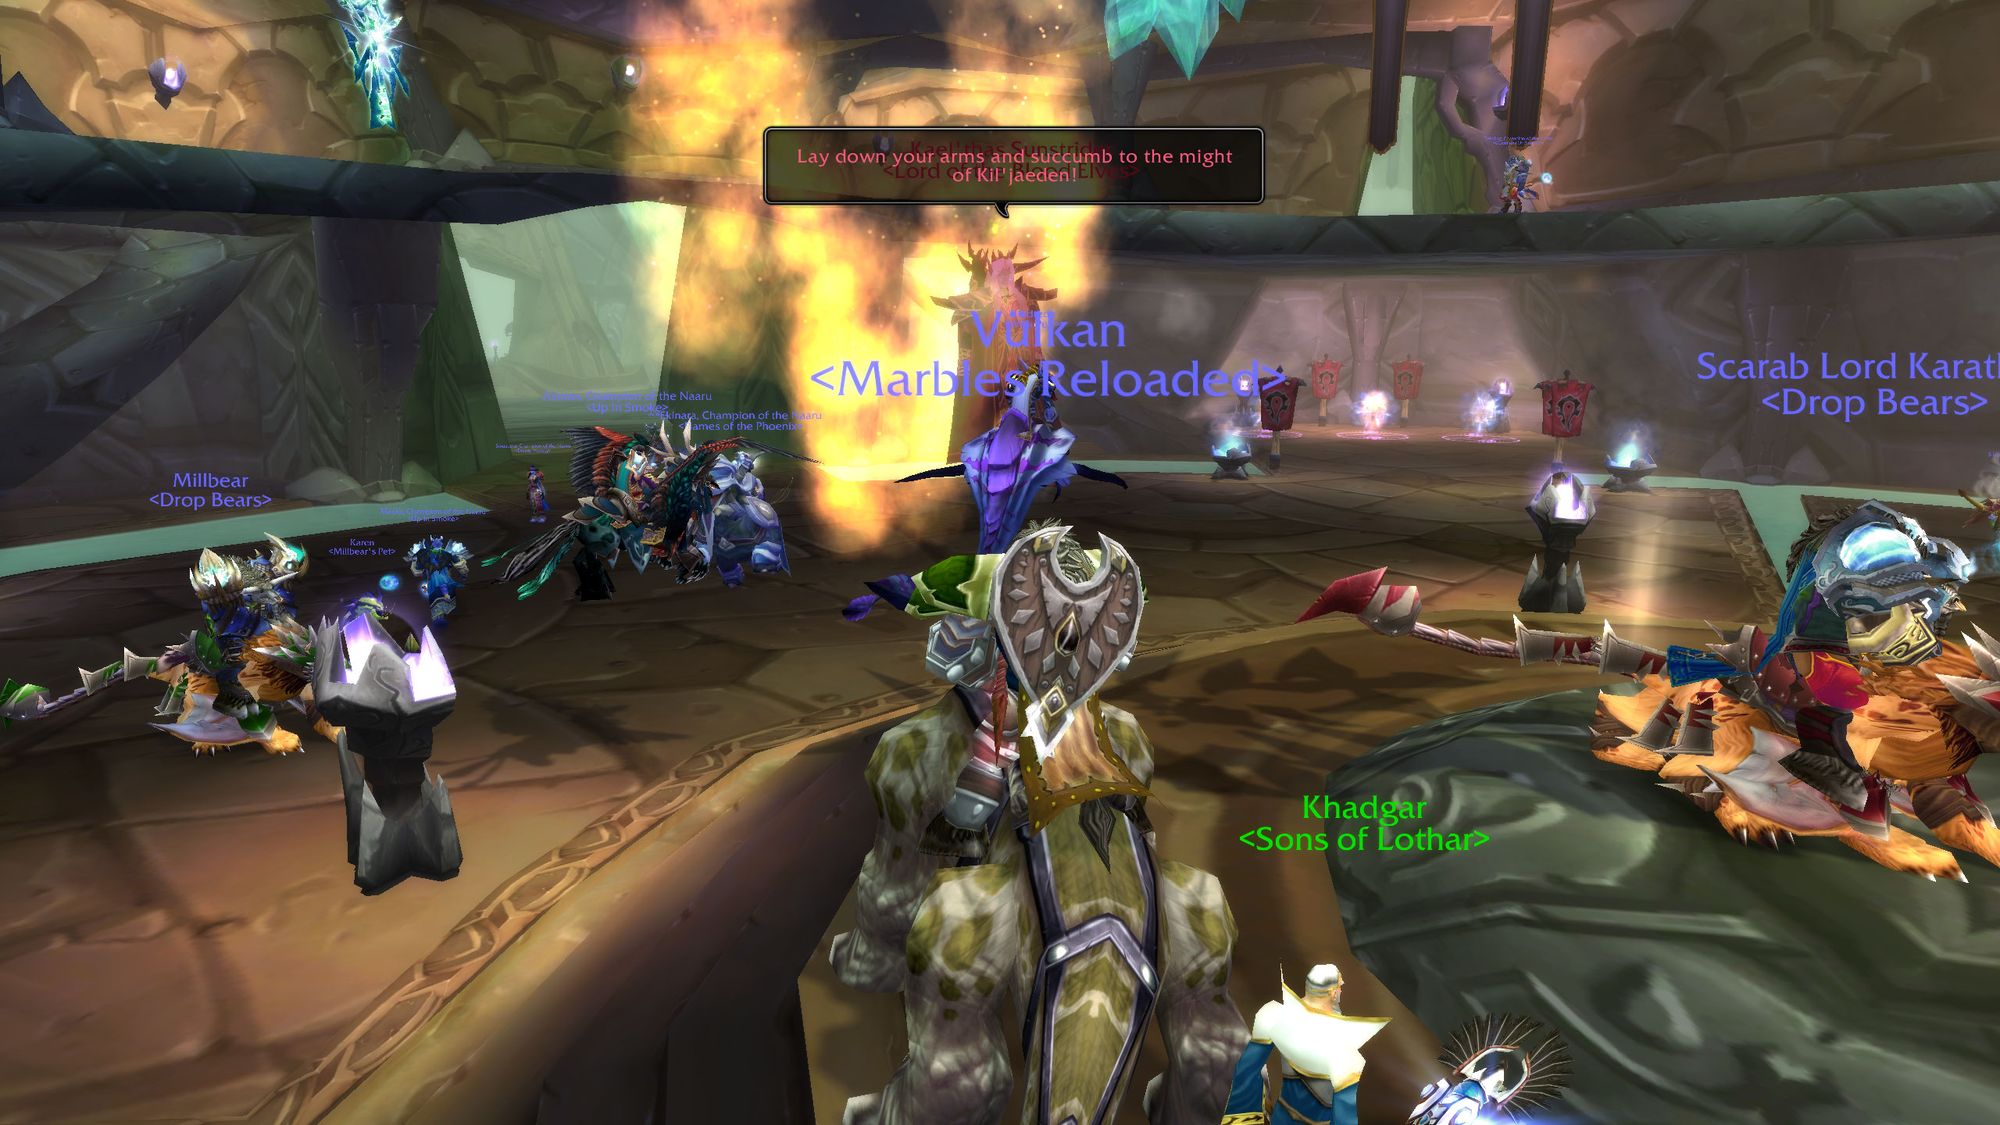
But what is more interesting is that if you're in A'dal's chamber as this quest item is turned in (or you turn it in), you get a special psuedo-cinematic featuring Kael'thas. In it, he proclaims that he survived, and that his real master (the true end boss of the expansion) Kil'jaden, will return.
That is a straight up cool bit of continuity and I love how much the core plot points tie together. It does suck that you have to raid in order to see the whole game, but that's how the designers wanted it, I suppose.
You've got three phases to go before then, though, so don't get too excited, hotshot.
Overall, though I still prefer Serpentshrine Cavern as a raid, Tempest Keep, despite being cleared by guilds many moons ago, felt fresh and original to me. A completely unseen and unexperienced part of TBC.
You could see that the difficulty really does stem from big numbers, rather than depth in mechanics, but that didn't cheapen the sense of achievement I felt when I got my first kill.
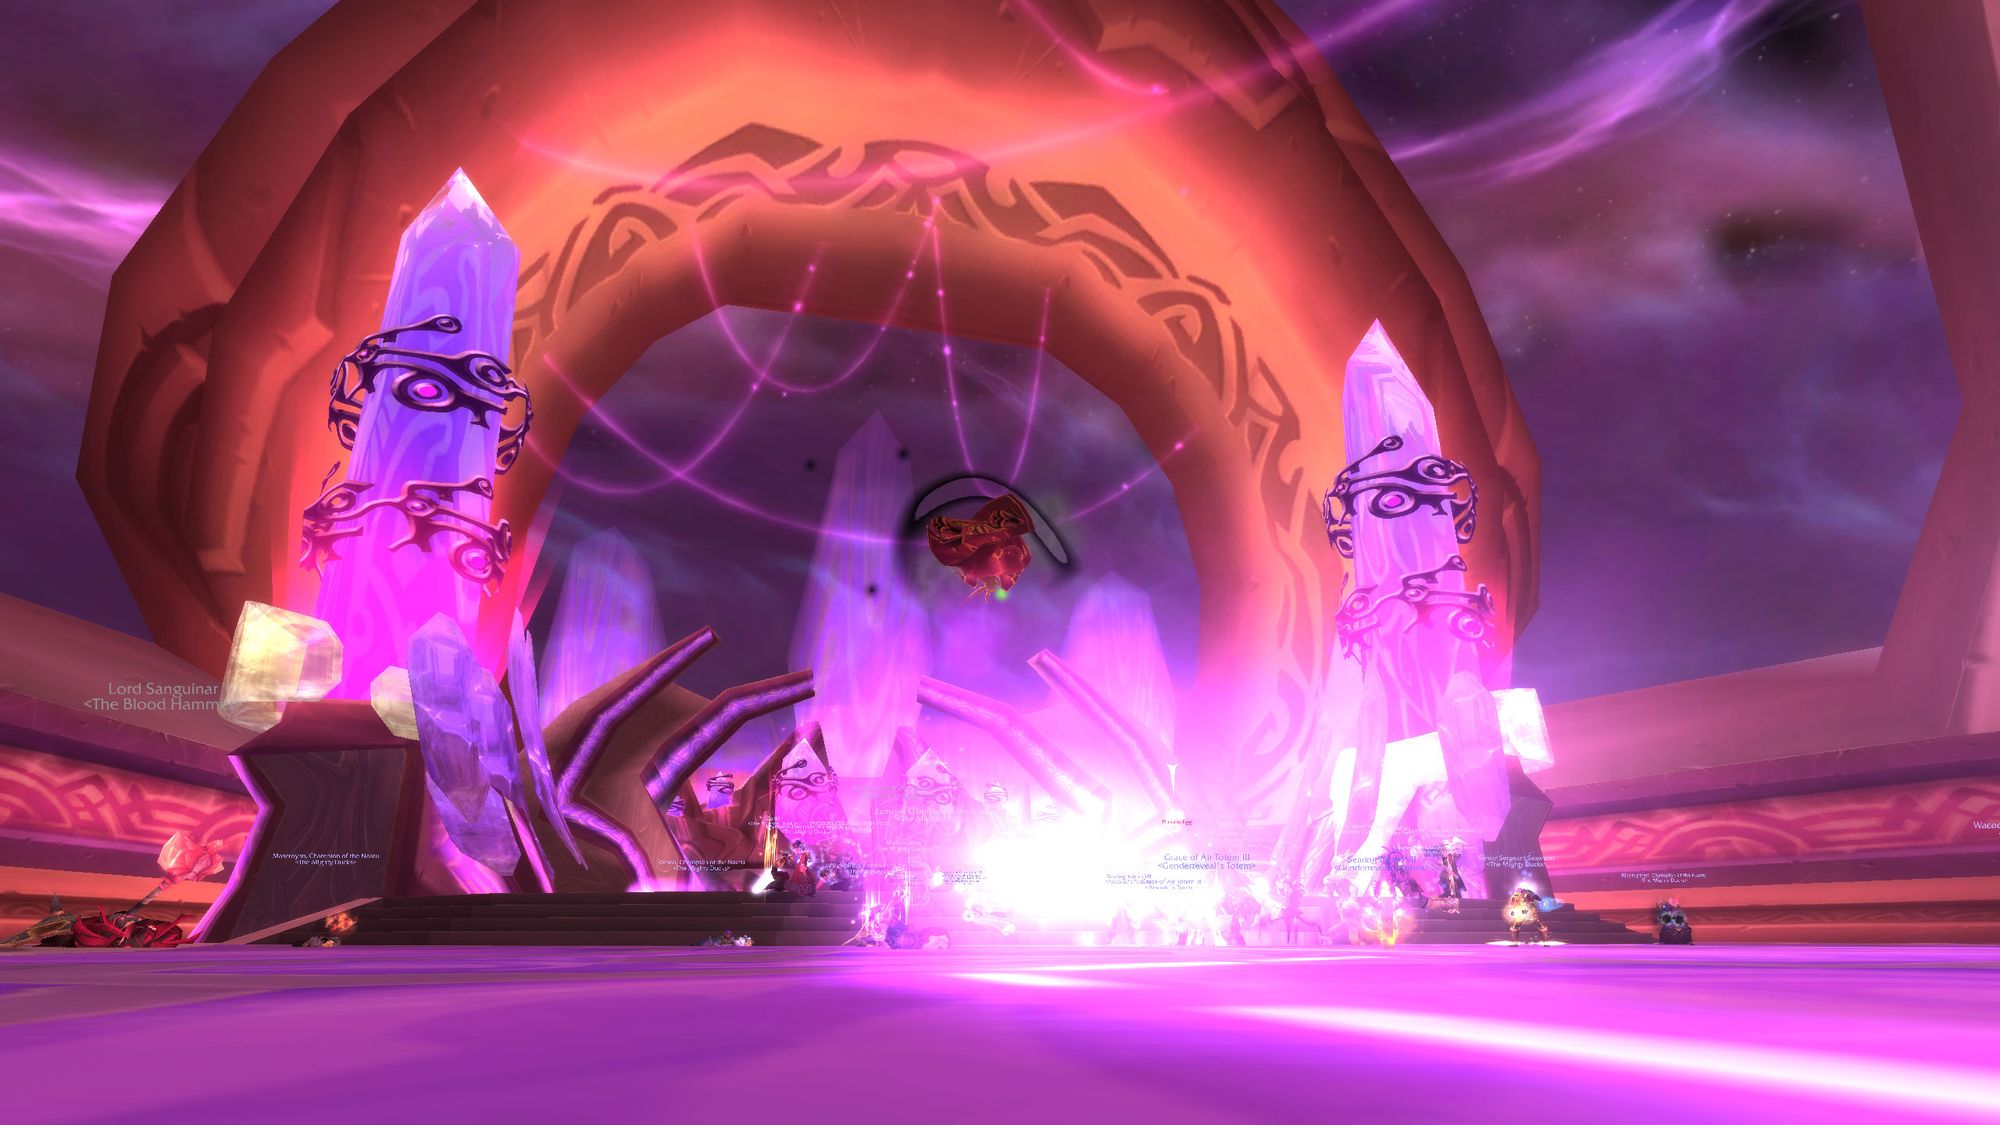
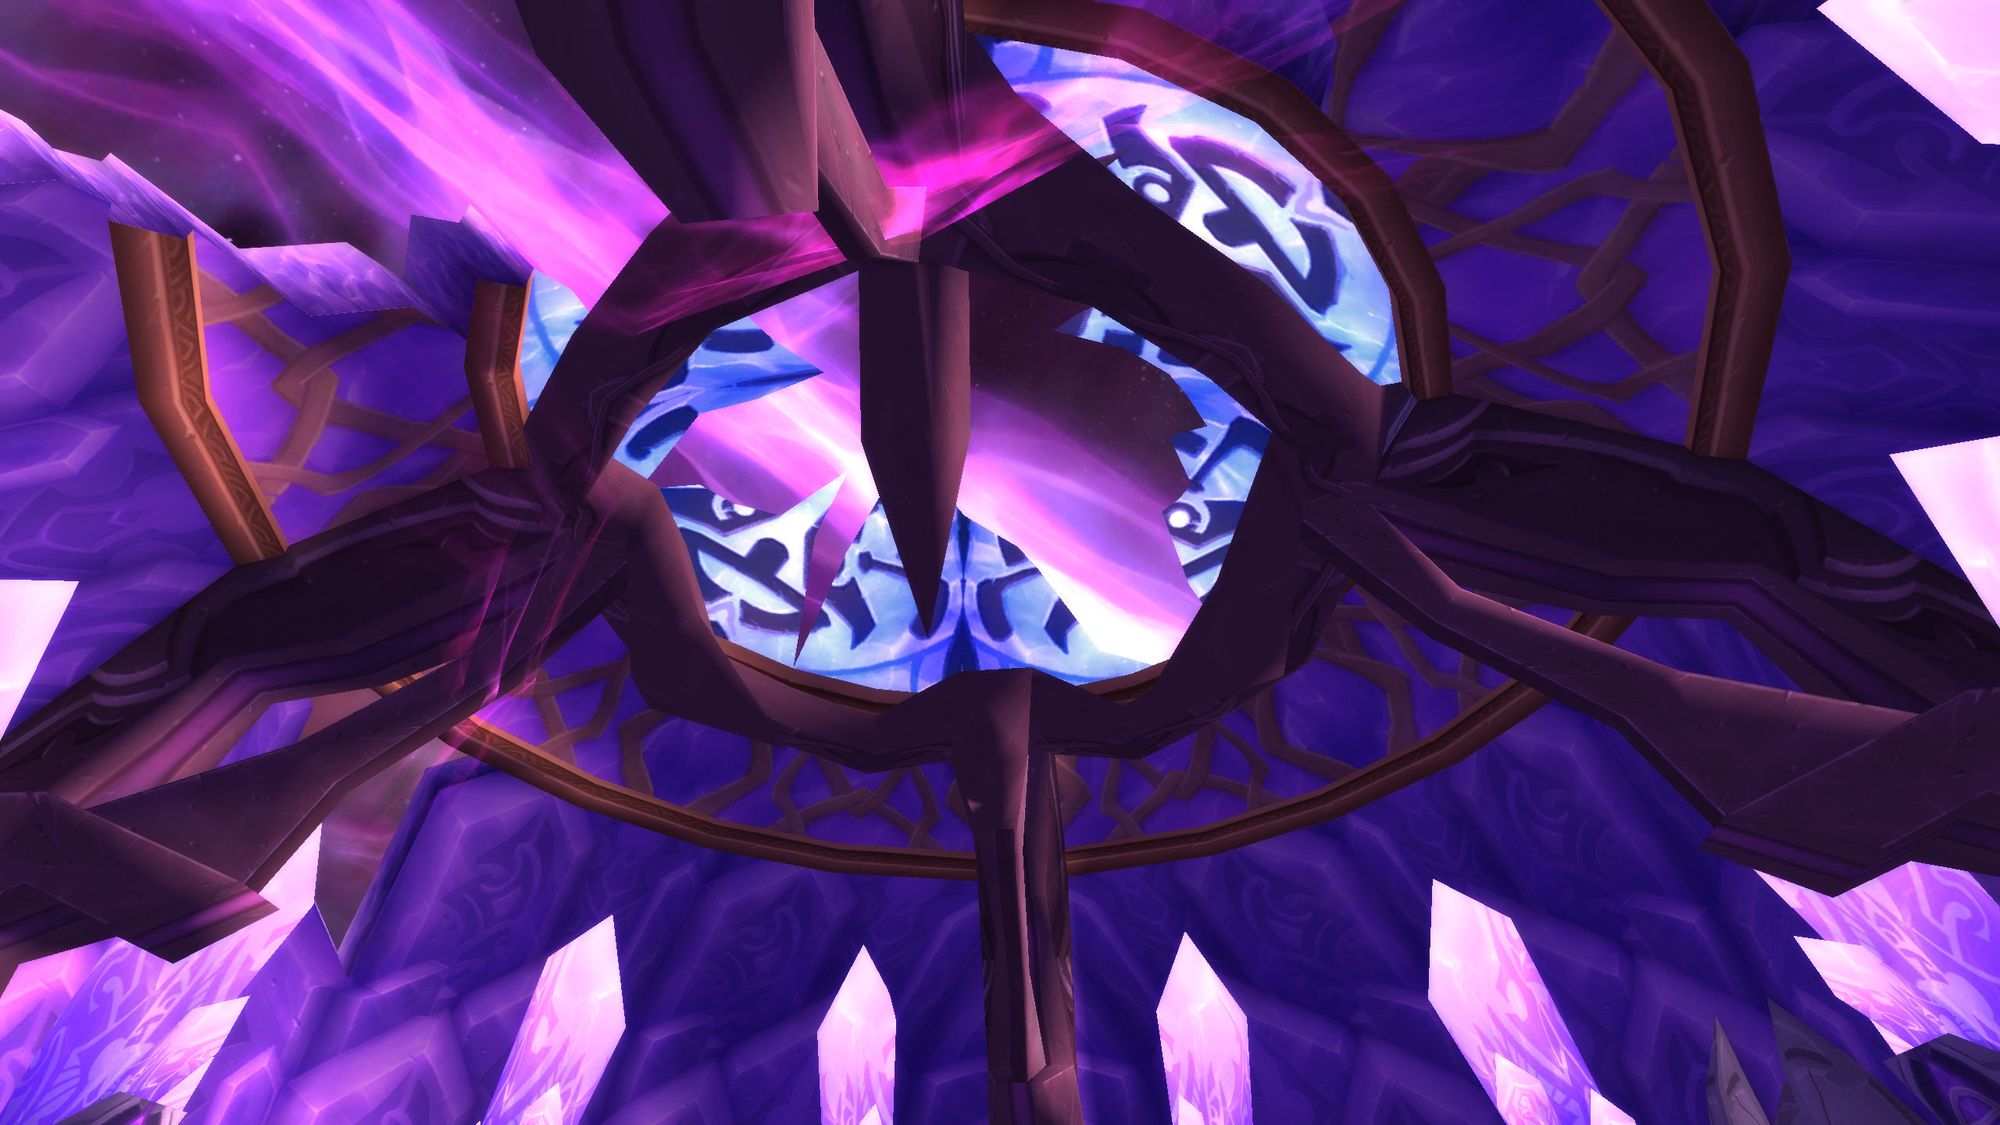
The goal to experience the entirety of TBC, as it was presented to players in 2007, was my mission statement. By experiencing, clearing (and recording, kind of.) Tempest Keep, I have definitely done that. It perfectly encapsulates the magicpunk aesthetic the design team was aiming for - and reminds us that the Outlands are an eerie, otherworldly place.
But I digress.
With the first fall of Kael'thas, phase two draws to a close. In the next phase, we get to see some of the serious big bads of TBC.
But that's another tale, for another time.
Additional Resources
Pre-nerf Kael'Thas kill - video is identical to the one in the SSC article.
Post-nerf Tempest Keep run, as above.
Catch you next time,
Vulkan
Did you like this article? Did you hate it? Go over and keep the discussion going on the official Vulkan's Corner facebook page! - whilst you're at it, leave a like!
